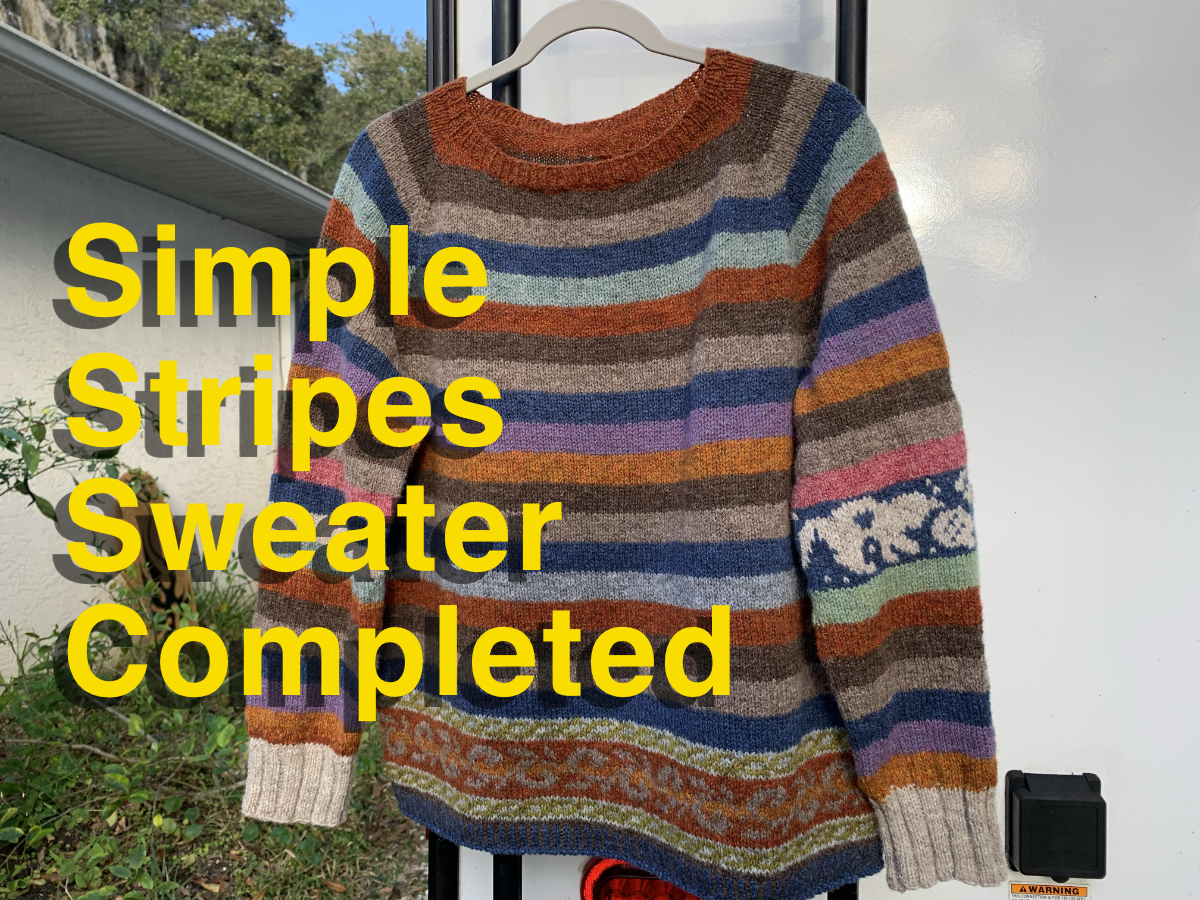
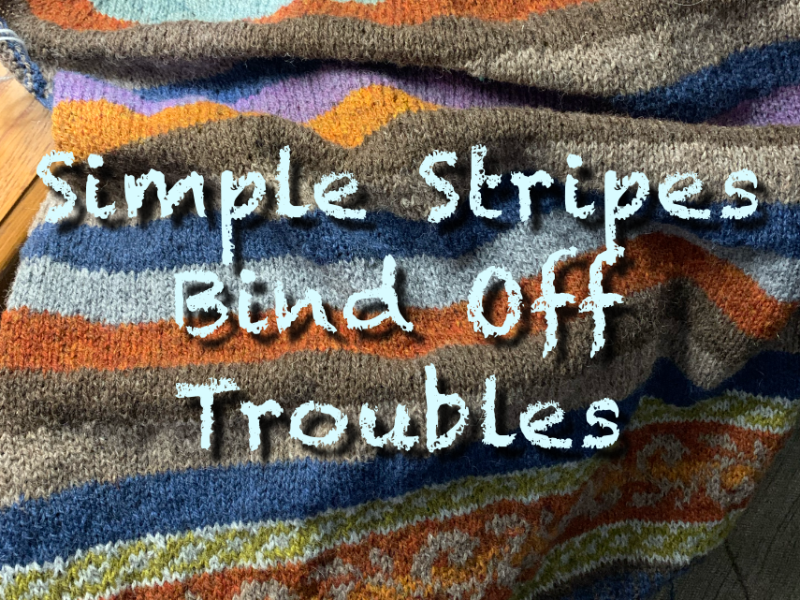
I had a little trouble while doing the tubular bind off on my newest sweater project.
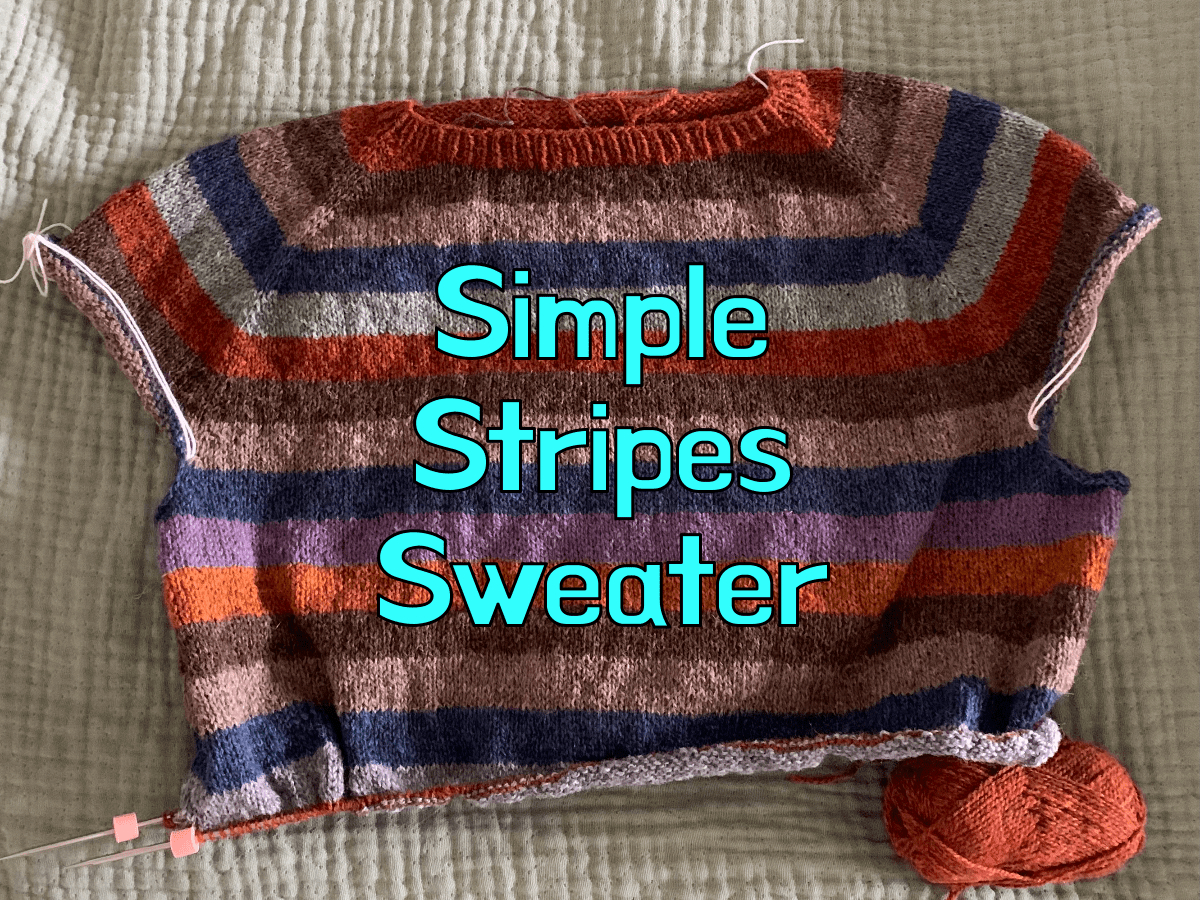
The Simple Stripes sweater pattern is done is rows of color. A pattern like this is fun to knit, and a great way to use up leftover yarn. In my case, I decided to use some wool yarn that I wasn’t thrilled with.
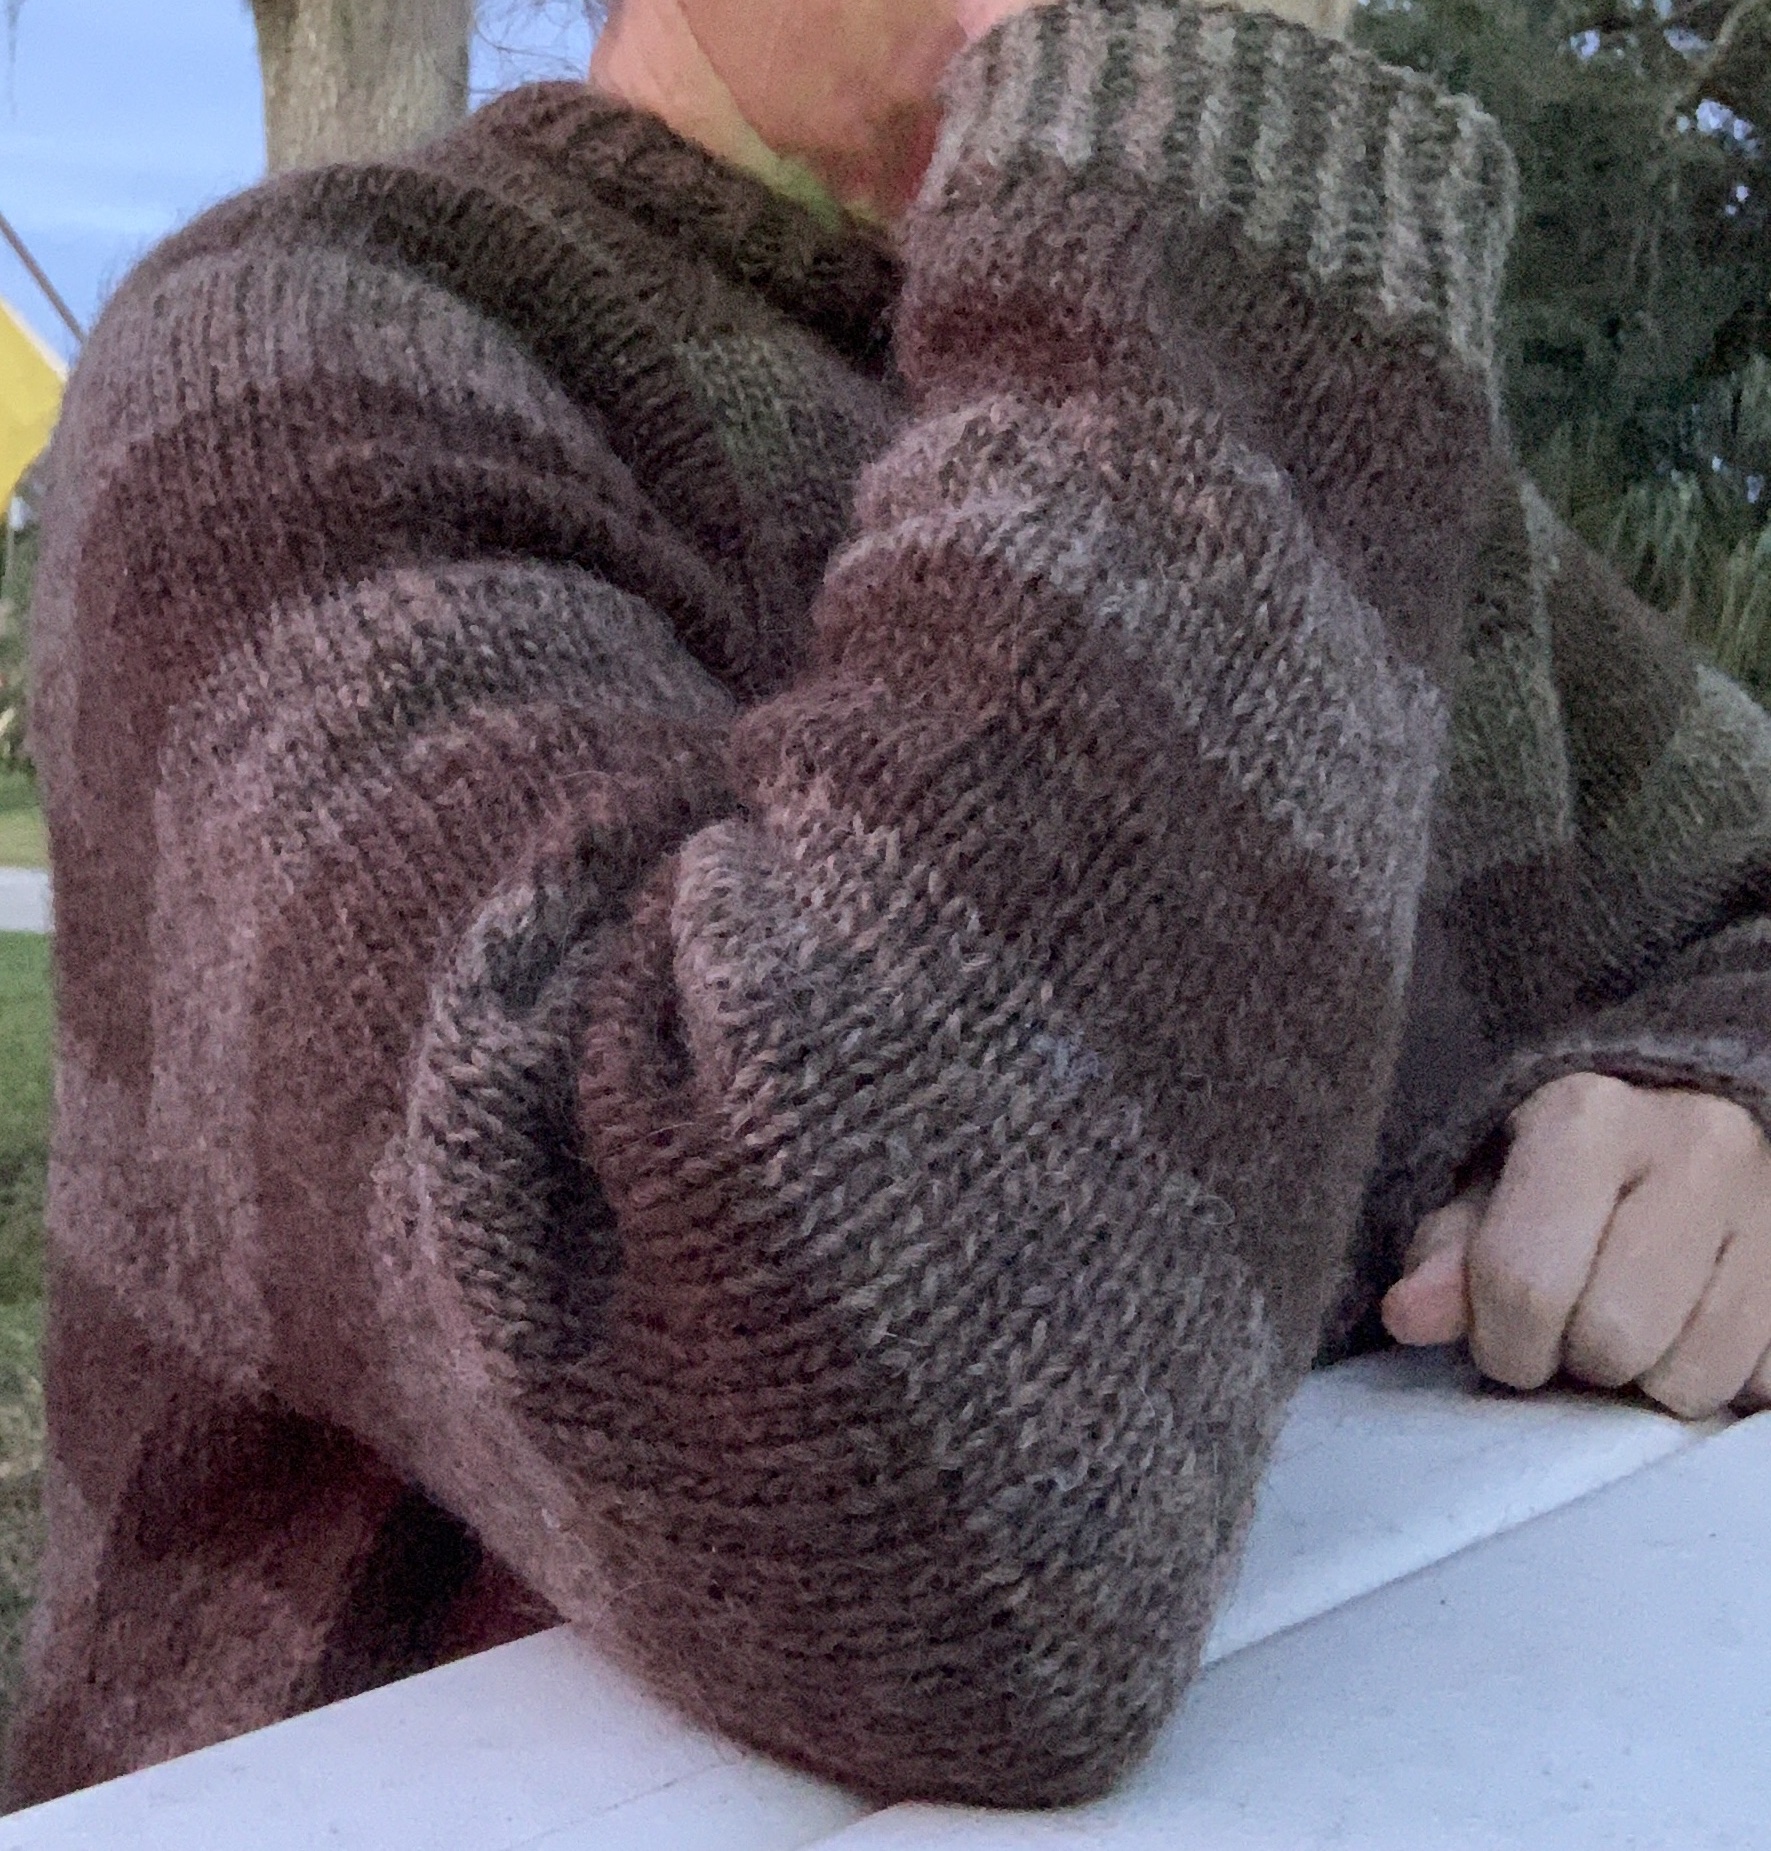
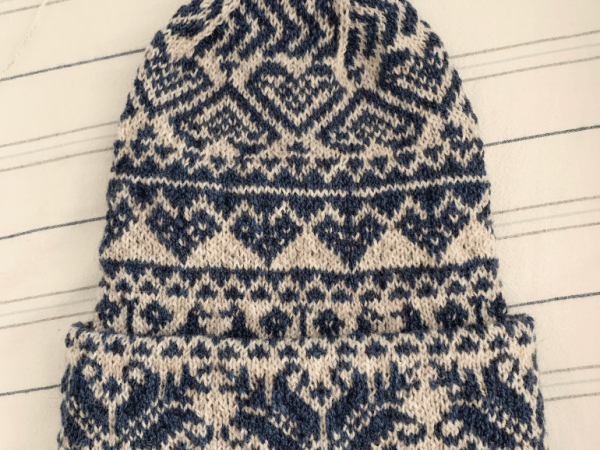
All was going well while knitting this pattern. As I reached the bottom part of the body, I added a strip of colorwork. Then, for the hem I decided to do corrugated ribbing. The pattern calls for a folded hem that is sewn and I didn’t want to do that.
After the corrugated ribbing was finished, using Uradale’s dark blue and dark brown, I was not sure of the best way to bind off. I searched for suggestions and found nothing too helpful. I ended up doing a knit one, purl one row in blue only and then did an Italian style, sewn bind off, using the blue.
When sewing a tubular bind off, a long tail of yarn is needed. With wool, I don’t mind using a shorter piece of yarn because all wool I have worked with spit splices nicely!
As I got close to the end of the yarn, I did a spit splice to attach more blue yarn. It seemed okay, but as I knit along and got to the splice, it pulled right apart. This left me with a short piece of yarn that would not splice to itself.
I’ll tell you, I was a bit ticked off about this. I tried again to splice the yarn, with no luck. I looked up some other ways to attach yarn together, but most of them needed two longer ends. I only had about an inch. I have never un-done a bind off, so that was not an option.
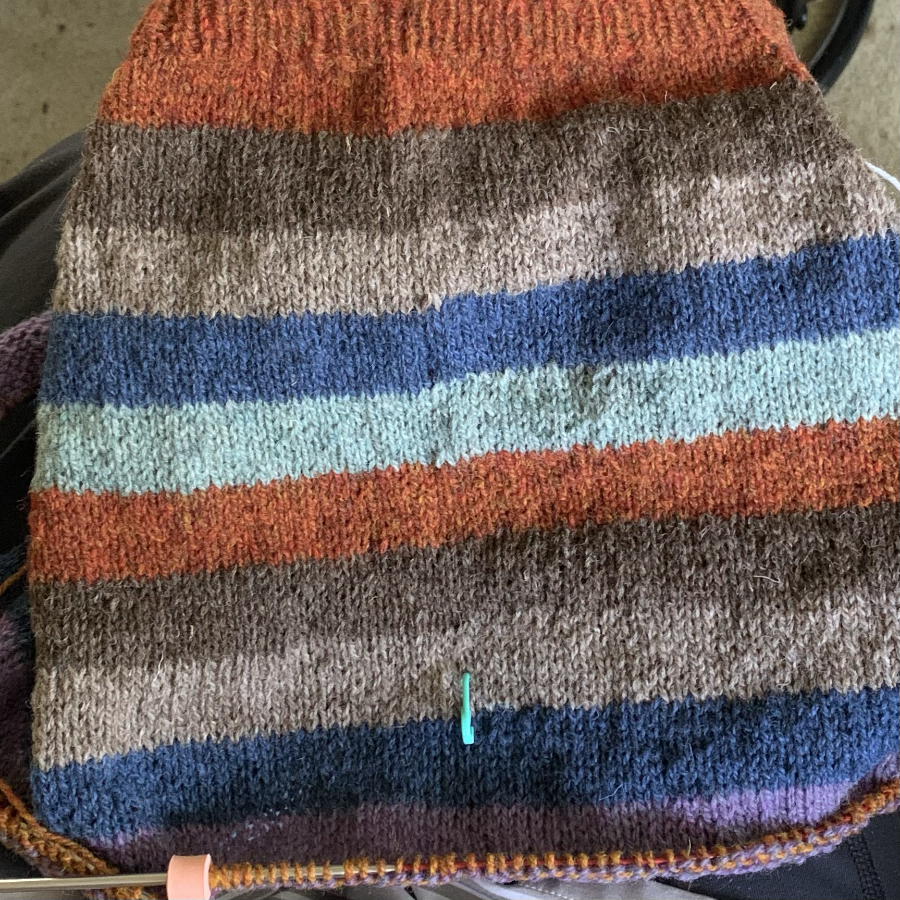
I was so completely OVER this yarn. I went to my wool stash and found some Rauma in dark blue that nearly matches. I KNOW that Rauma will splice. I took the end apart, separating the plies and wrapped them around the Uradale piece. I did the split splice hoping it would hold. It seemed to stay attached. I marked the area with a stitch marker to keep an eye on it.
From there, I continued my tubular bind off without any further problems.
The body is finished, and I plan to use Magic Loop for the sleeves. I may add some colorwork to them as well. I will definitely not be using Uradale yarn for the cuffs and bind off.
I did try on the sweater once everything was complete, and the fit is very good. As always, everything will look better when it’s washed and blocked.
I played yarn chicken with the green for the colorwork, and just made it! That olive green color was a bit of Tukuwool that was leftover from something long ago.
My newest knitting project is a simple sweater with stripes. A link to the pattern page on Ravelry is further down the page. This one is advertised as a good project to use up stash yarn. I can see how that would be true.
I was finishing up knitting the Warm Up sweater (#3), and I had to decide on a new knitting project. In the queue I had planned on a colorwork pullover and I was looking forward to it.
I began the cast on for the Secret Garden Sweater (pattern page at Ravelry). I messed it up when completing the join. It was twisted! I have not done that since back when I was a beginner. While casting on, I really was not happy with the yarn. It was very thin. And I had my doubts about the pattern. Something told me to move on and skip this one for now.
Uradale yarn
If I don’t use the Uradale gift yarn for this planned project, what will I use it for? The Simple Stripes sweater was a pattern I had recently saved. It uses the same weight yarn. If I mix the Uradale with some of my stash wool, that could work. I could incorporate some colorwork into it. 🤔
I almost decided to simply use an old pattern I had already purchased. After knitting a few sweaters over the years, I could easily knit almost any pattern and do stripes, as I did with Warm Ups #1 & 2.
The Simple Stripes Sweater Pattern
The Simple Stripes pullover is a pattern by SuviKnits. I’m using needle sizes suggested in the pattern. Main needle is a 4.
Although this is a straight forward raglan sweater, there are two things you should know before getting started. Further down the page, I explain how to do both.
First, the stripes need to be smooth and even. This is simple until a new color is added. You need to make the Jogless Join. Find a method you like, and do it. You will be happy to have smooth stripes in the end!
Second, learn to weave in the yarn ends as you knit. This is not necessary, but will save lots of time later when the project is complete.
Cast on and short rows complete
Know How to Do the Jogless Join
This is important. While knitting this sweater in stripes as indicated, you will need to do the jogless join when adding a new color. What this does is leave a smooth transition from one wide stripe to the next. You will want this!
In my photo here, the jogless join was made up the center of the back, until the separation for the sleeves. After that, the BOR (beginning of round) is placed at the side of the sweater. You will still need to do the special join whenever the colors change. It is easy to do, but there are a variety of methods for this.
If you simply keep knitting around and around without making the join correctly, there will be an obvious “jog”, or uneven rows, at the location where the new yarn is added. There could be a little hole there as well.
YouTube Videos For the Jogless Join
I could not find a video with the method that I used. But this is how I knit my jogless join. When a new color is needed add the new yarn. Before knitting the first stitch, wrap the old color over the new, so it tightens up the stitch. Knit normally around. On round #2, at the BOR first stitch, lift the right side of the stitch below onto the left-hand needle. Then knit that stitch together with the new color.
If you don’t have a preferred method for doing this, these videos may help.
The Chili Dog has a video for doing the join a bit differently, with the same outcome.
Suzanne Bryan has yet another way to do this. See her video here.
Weave in The Ends As You Go
Each time a new stripe is begun you will have a two new yarn tails to weave in. The old color will be cut (tail #1) and a new color is added (tail #2).
What I do is grab one of the tails and carry it along as I do when knitting colorwork. I hold the extra strand in my left hand. This tucks the yarn into the stitches for about 8-10 stitches. On the next row, I grab the other color that is left hanging, and do the same thing.
If you need another way, watch this video by Stephen West. He explains how to easily twist the yarn (in Continental or English style) so that the ends are held.
If you choose not to weave in the ends as you go, this leaves LOTS of ends to do all at once, when the sweater is finished.
Simple Stripes – The Beginning
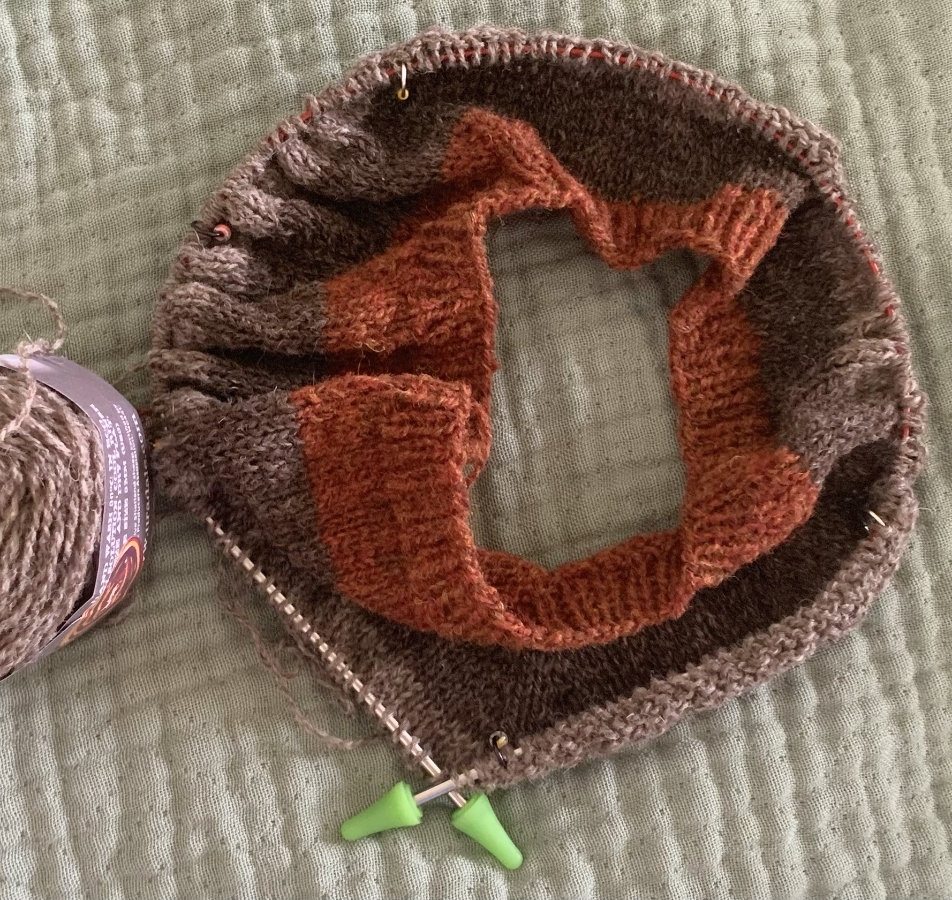
My cast on is complete, and I went with the Jamison’s in a rustic orange. Jamieson’s yarn is a consistent size, whereas the Uradale is not. The pattern is very basic with short ribbing at the neck, then raglan increases along with short rows.
The Uradale yarn is fickle. The darker brown Moorit was quite thin compared to the Jamieson & Smith. When I added the Uradale Aess, which is beige, it is thicker. In general the yarn seems to deviate, sometimes becoming very thin.
I like the fact that Uradale yarn comes from a small farm on Shetland, but I can buy similar yarn in the US that costs me much less. This yarn was a gift, and I would not use it again.
I intend to mix the yarns I have to create stripes that vary in colors. I won’t have enough of the Jamison’s in one color to continue the color palette.
As I knit this pattern, the raglan increases are done differently than most raglan patterns I’ve knit in the past. I’m wondering how this will turn out.
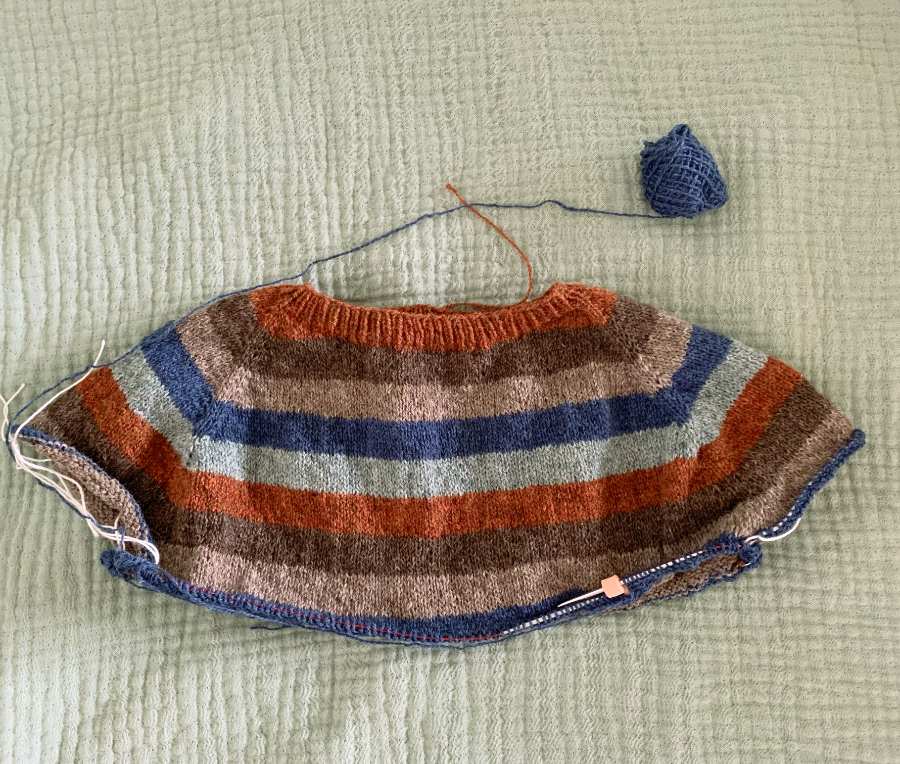
I’ve separated the sleeve, and there are big cast ons for under the sleeves. Now the knitting is round and round for the body.
More to come as I knit on this pattern. It’s the end of summer and here in Central Florida it’s a time to get planning the Fall garden. It means I am not doing a lot of knitting.
Update: Sleeve #1 is Finished
Hey, it’s September and I have finished knitting sleeve #1 of the Simple Stripes sweater. A little kitty-cat colorwork was added, and the cuff is a 3×2 (3 knits / 2 purls) ribbing on 65 stitches. Sleeve length is approximately 17-18 inches.
Sleeve number two will be all stripes and I will try to match colors. I do love the ribbing I chose, and the Rauma wool in off-white.
The Bind Off is normal and follows the knits and purls.
The holidays are coming – believe it or not – and any holiday knits need to be worked on. I have one or two on the needles. How about you?
Knitting the Warm Up sweater number three. Peace Fleece wool yarn in color Siberian Midnight. Here’s how I made the modifications.
For a few months now I’ve had some beautiful Peace Fleece yarn sitting in my yarn stash. Finally, I could wait no longer and cast on for the Warm Up sweater. This is Warm Up number three for me.
Warm Up Pullovers One and Two
The first pullover was knit using Lettlopi Icelandic wool, in wide brown stripes. The second pullover was made using Peace Fleece, and I also knit it in wide stripes.
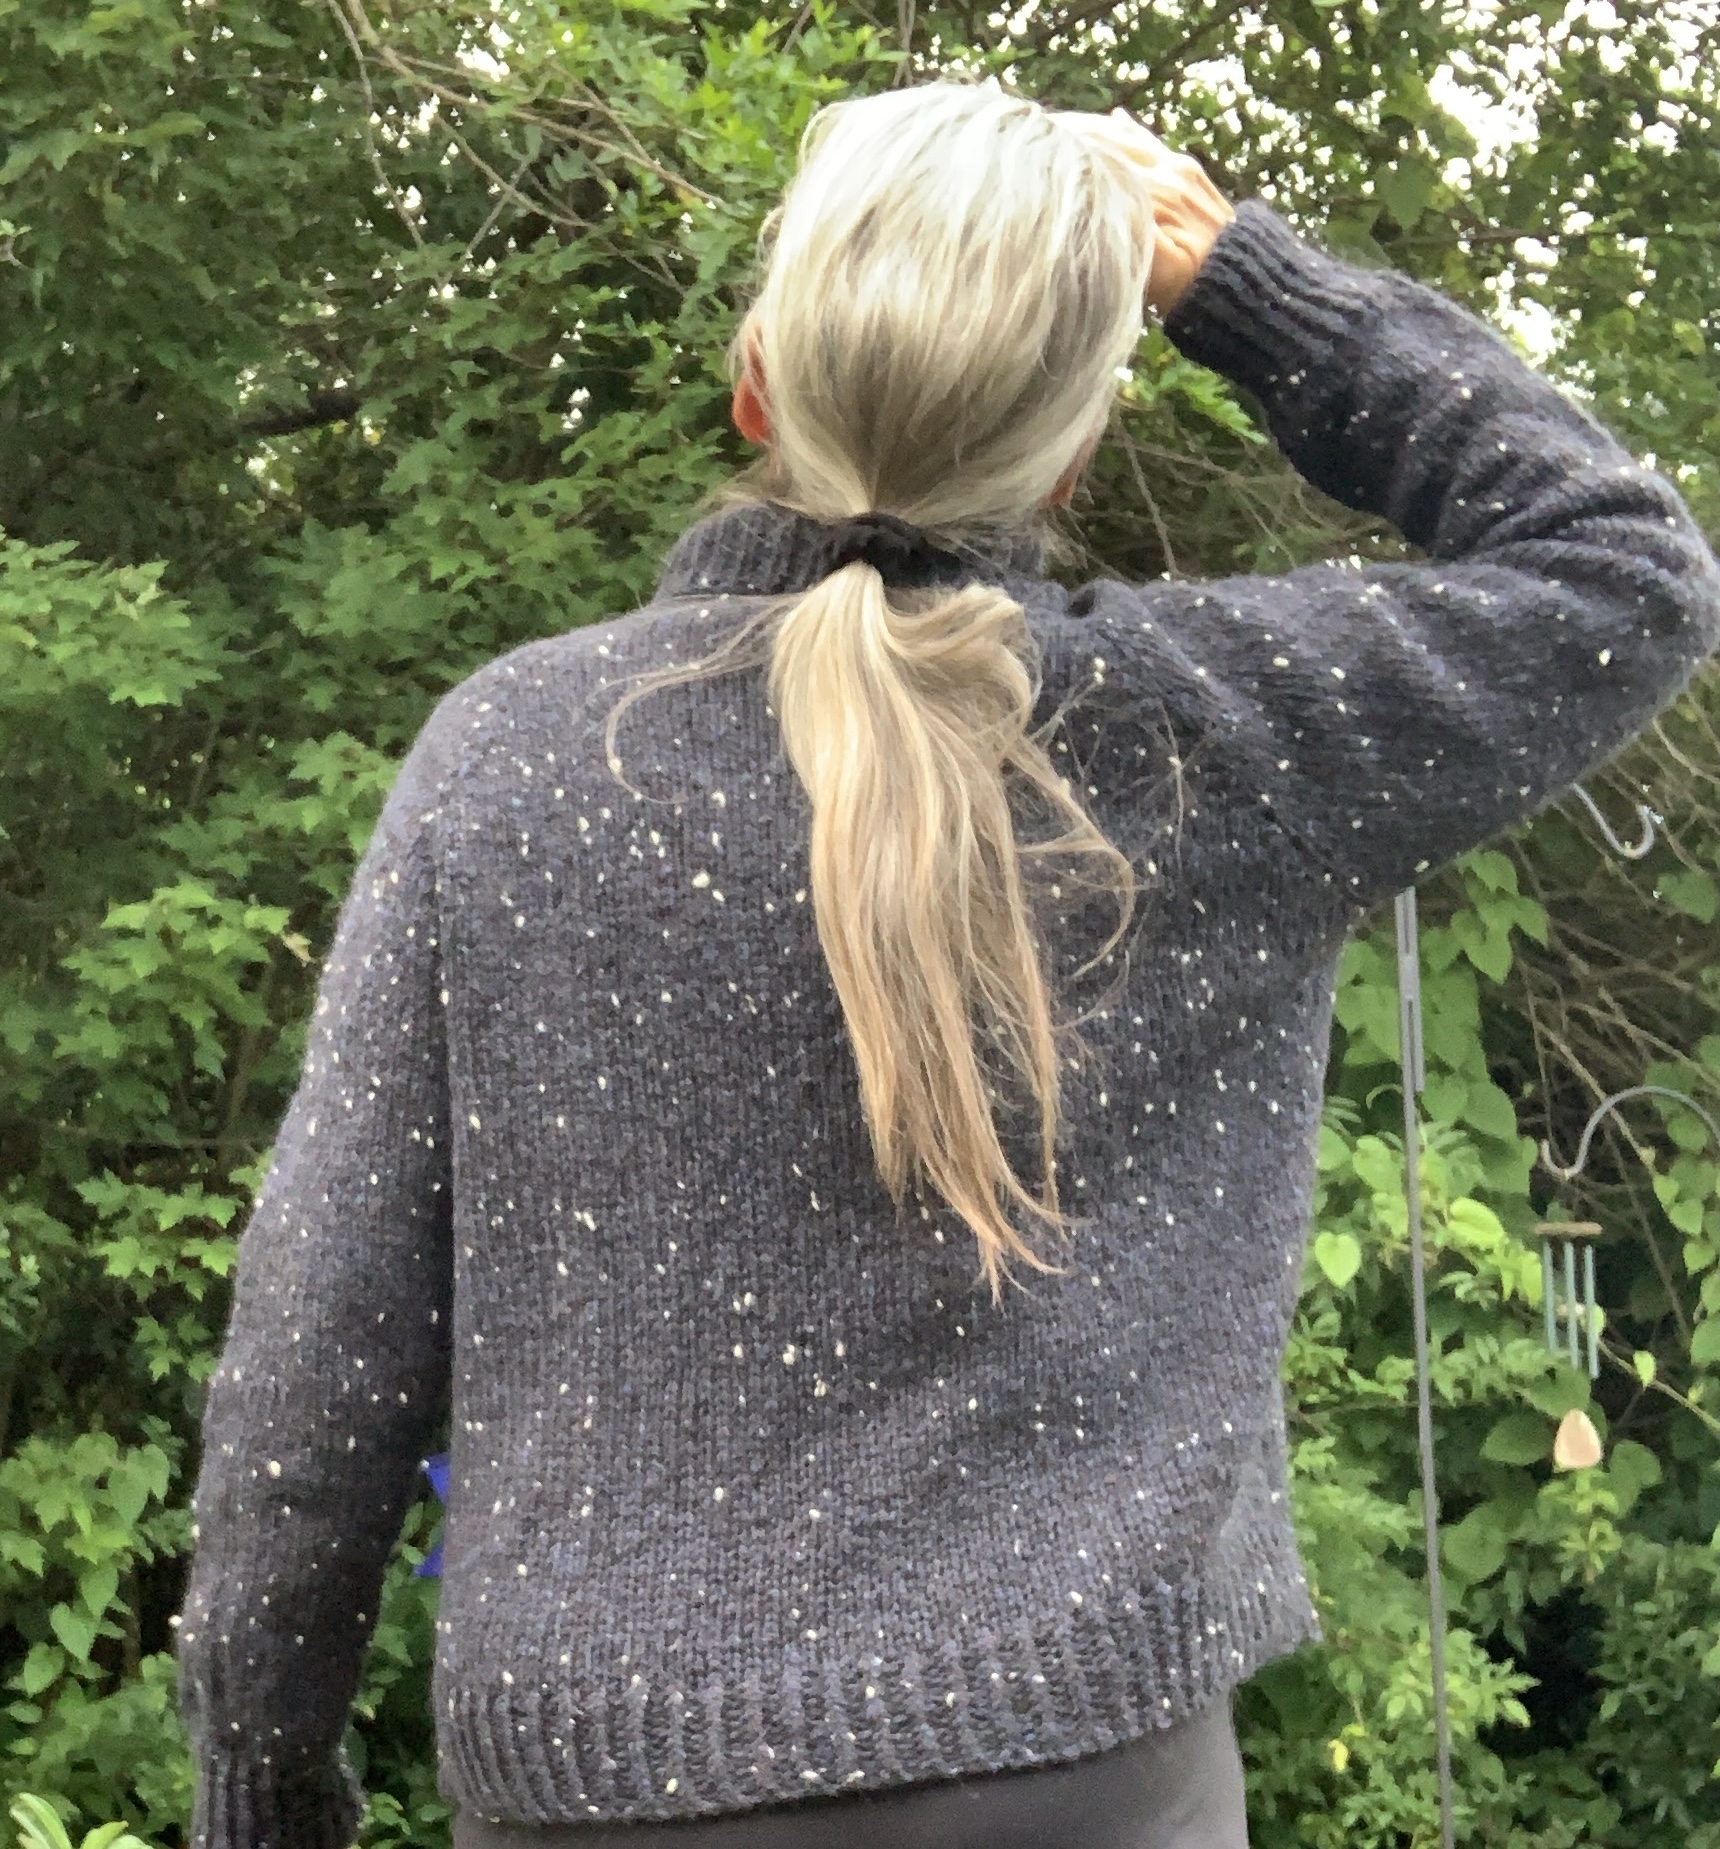
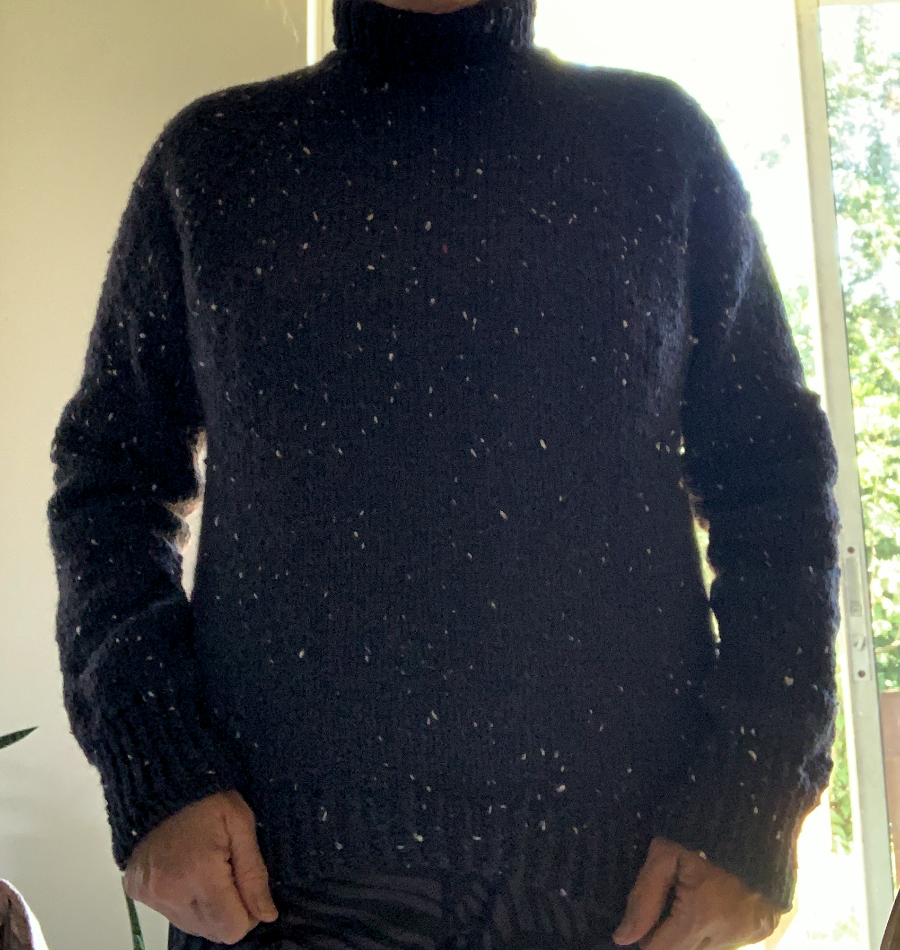
Warm Up #1 – Lettlopi yarnWarm Up #2 – Peace FleeceWarm Up #3 2025July – quick modeling
Sweater number three was knit using Peace Fleece in color “Siberian midnight”. It is a heavy worsted wool with bits of white, and sometimes red, throughout. After washing I find this sweater to be not quite as soft as the non-tweed Peace Fleece. I did a quick, early morning photo shoot.
Changes, or Mods Made to Sweater #3
I changed up the collar for my second knit. The original collar was the only part of the pattern I wasn’t happy with. I gave sweater number two (red stripes) collar a bit of a curl, then did the ribbing.
This time, I decided to go with a tall, funnel neck. I’ll probably end up folding it down. I went up a needle size, and knit a smaller pattern size. Sweater number two, also came out very wide, with long armpits. I’m trying to avoid that this time.
Photos of Warm Up #3
Cast on size 10 needleRibbing size 8 needle
Now that I am finishing up the body ribbing, I can measure the width. This sweater measures 21 inches across the body. This is of course before a wash. It shouldn’t change too much. My red striped sweater is 24 inches across, so I’ve made this one a bit smaller, which was my intention.
I also want to mention that the warm up pattern calls for worsted weight yarn. I am using a bulky worsted, so my yarn is heavier. Even the Lettlopi yarn is not as thick as Peace Fleece. This is why I went up to bigger needles, and knit the size 2 sweater.
Warm Up #3 Notes
This is how I knit this sweater. I had to change things to accommodate my bulky yarn choice.
Cast on 56 stitches, using a size 10, 16 inch, circular needle. I knit a twisted rib for 5 inches. (I would use 60 stitches next time for a bit looser fit.)
To increase to the 60 stitches needed for the size 2 sweater, I made increases by doing a “Make 1, knit 14” – around. Still using the size 10 needle.
I continued to make the short rows using the larger size 10 needle. I mainly did this because I don’t have a size 9 circular needle that was short enough.
At the raglan increases, once I had enough stitches, I was able to switch to a 24 inch, size 9 needle. From there, I went up to the 32 inch size 9. The remainder of the sweater is knit in a size 9 needle, except for the ribbing. I dropped down to a size 8 needle to do the twisted rib at the hem.
Body is finished and fit is good!
As I knit the increases, I watched the length. At about 12 inches, from neck to split, I split for body and sleeves. On my red sweater, the armpit length is 15. So, I did better with this one.
For the bind off I am using the tubular bind off for body and cuffs. HINT: I picked out the white bits to make the yarn smoother for sewing the bind off.
Knitting the Sleeves
I picked up the stitches and ended up with 50 to begin with. I followed the decreases and knit 10-11 rows before making the decreases. At 40 stitches I continued knitting until the sleeve measured 16 inches. I used the magic loop method, which I am beginning to like best for small circumference knitting.
Switched to size 8 needles and did magic loop. Twisted rib for 3.5 -4 inches, knit a normal knit and purl row as the last row. I did a tubular bind off.
Finished knittingBefore washing
Knitting this sweater was very relaxing. After my last, super long project (Birthday61), the Warm Up was a joy to knit.
Each time I have knit this pattern I think it would be a very good pattern for a beginner sweater knitter. Be aware that if you use this thicker yarn, the sweater will come out larger.
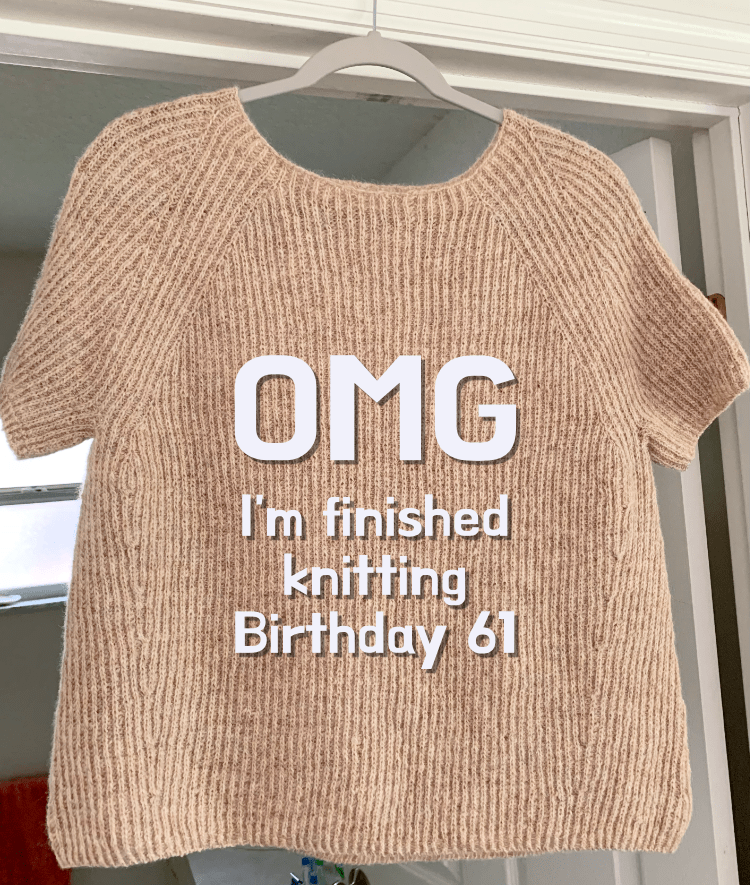
My sweater knitting journey is over. At least it’s over for Birthday61. This project was so very slow at coming to the end. I’m glad to be done.
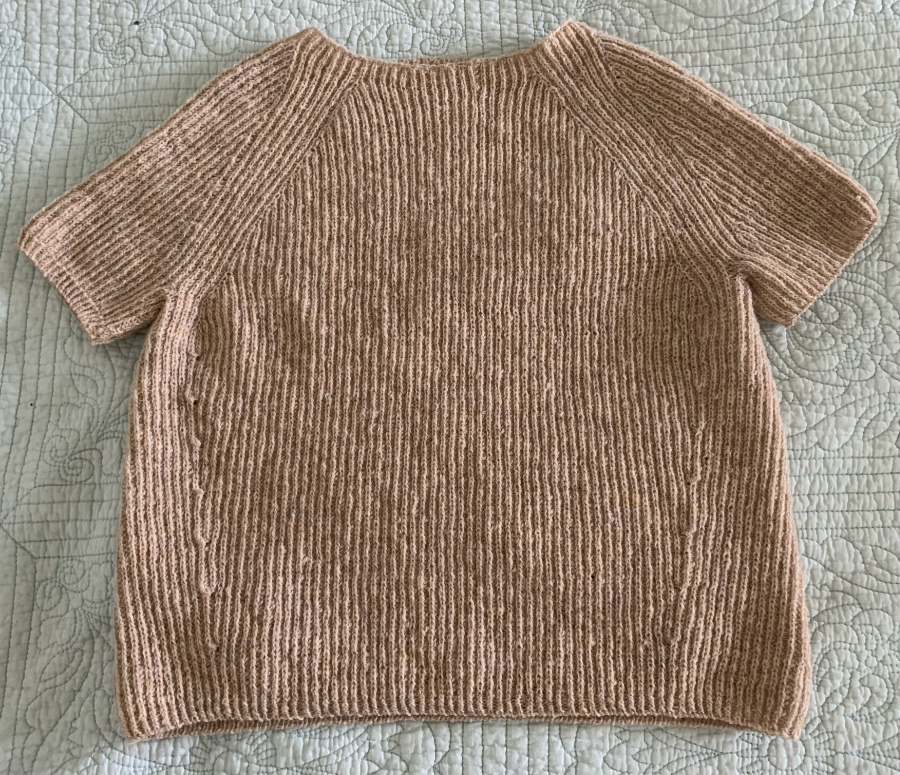
Cheers to me, I have finished knitting Birthday61!
This was a pattern that haunted my days. I’d come too far to rip it out or leave it to mold. I had to trudge on. As I began the sleeves, I couldn’t find a good way to do that small circumference.
On the first sleeve, I tried Magic loop, DPNs, and 9 inch circular. I ended up sticking with Magic loop.
Off the needlesTighter than I preferWashed
As I knit the first sleeve, and of course noticed I was getting nowhere fast, I said the hell with this!
I did the short sleeve version and I’m not sorry. I almost couldn’t believe I was done. I kept wondering if it was really true!
My sweater ended up being a bit tighter than I would have liked, although it’s a bit better after washing. The fabric is very nice, and I was so happy with the yarn. I’d definitely buy Biches n Bûches again. I do have nearly 3 full skeins of yarn left because I had planned to do long sleeves.
I don’t want to dis this pattern. (See the pattern page at Ravelry.) If you are an experienced, and fast knitter, this may be a great pattern for you. It is well-written. Many knitters have successfully made the long-sleeve version.
In a nutshell: One row is knit (in the stitch below) and purl, and one row is all purls. So lots of purling. I don’t mind purling. What I do mind (I’ve discovered) is knitting 2 rows that equal only one in reality! This is what makes the squishy fabric – and contributes to the time invested in the project.
ALSO… No one is evergoing to notice the work (time)I put into knitting this top. It is a pretty plain looking, short-sleeved, pullover. I’m the only one who will ever know the months it took to create.