Knitting Scarf No. 4 Using a New Cashmere Yarn

Another little scarf knitting project called Scarf No. 4, has a fun texture and rounded edging.

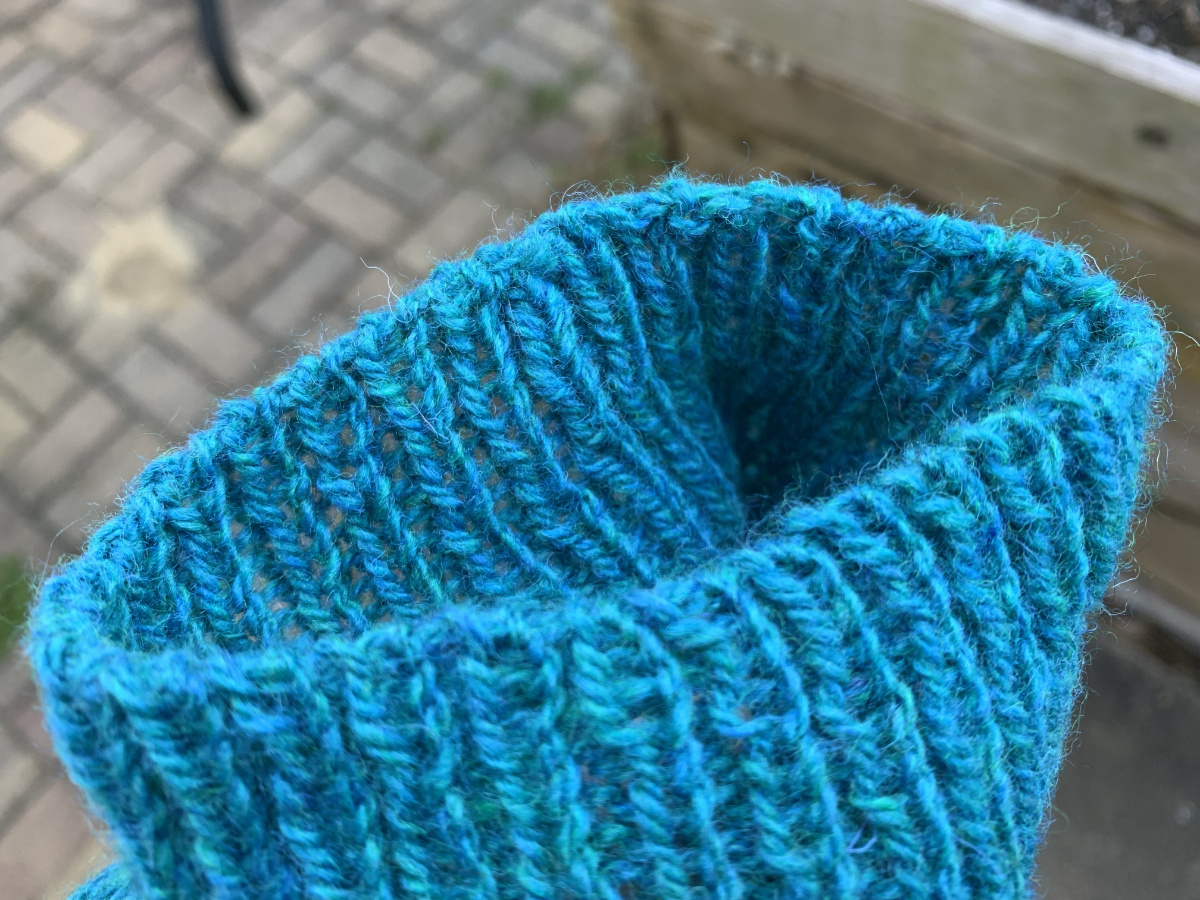
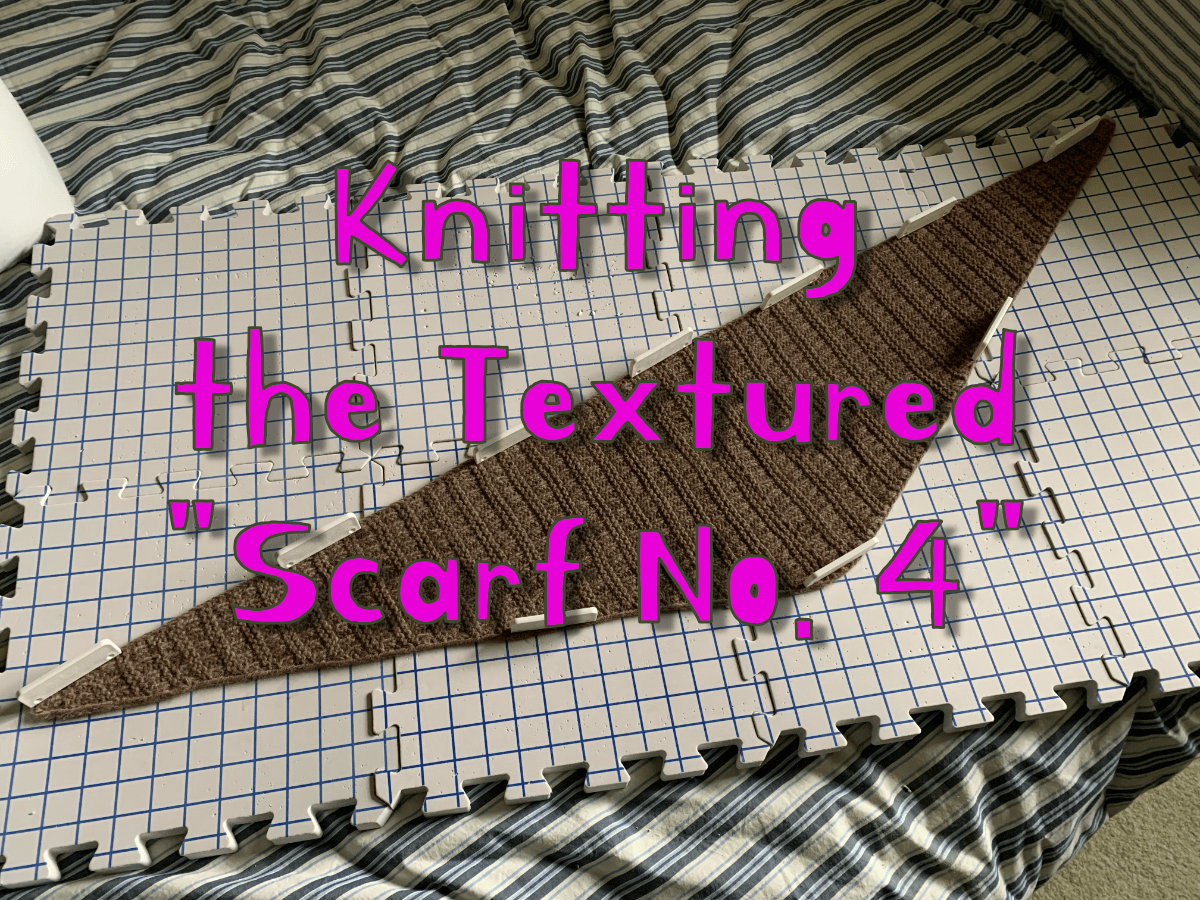
When the tiny scarf bug bit me, I ordered some nice yarn and got knitting. I’ve completed two Sophie Scarves so far and now I’m starting to knit “Scarf. No. 4”. It’s scarf knitting project three for me, but it’s named No. 4. I should have planned that better.

This pattern is by My Favorite Things Knitwear (go here to see her pattern page at Ravelry). The scarf will measure approximately 49 inches and has a texture made by knitting and purling. It also includes an edging called “Distitch”. Watch this video to see how it is made. It’s very simple.

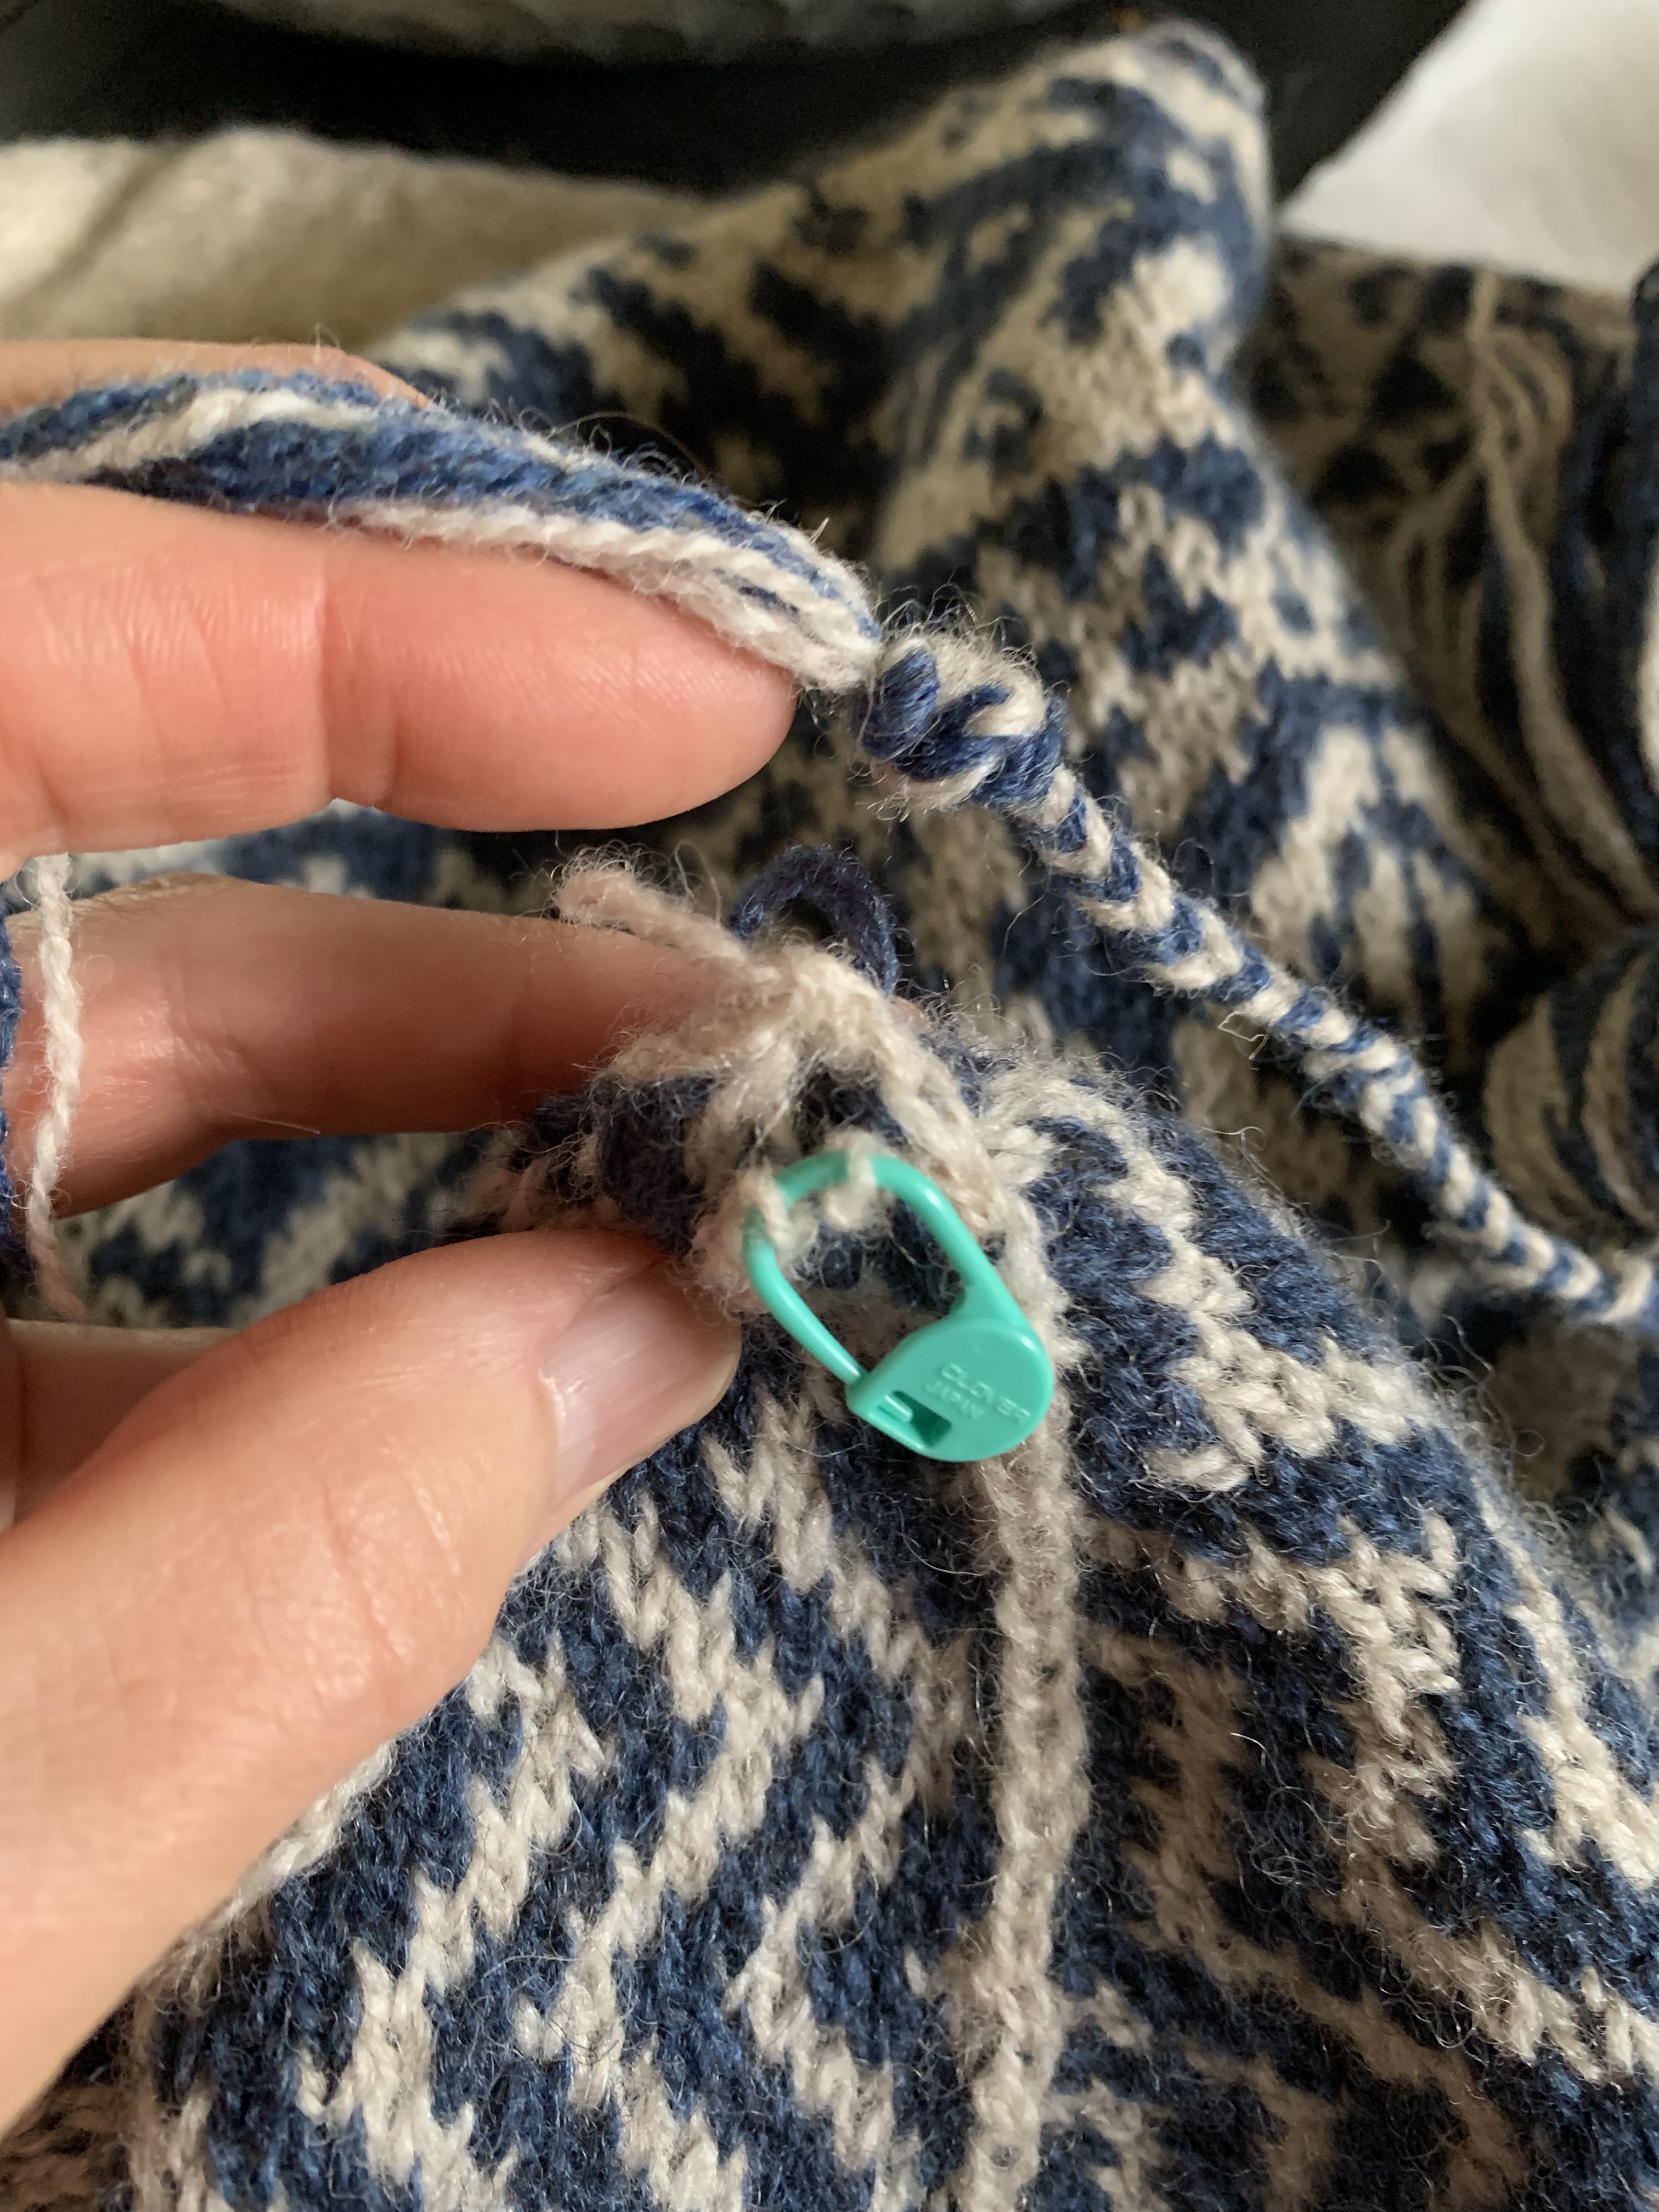
A Simple Way to Make a Neat Edge

In the pattern, the edge is referred to as “est” . It occurs at the beginning and end of the row directions. At first I was confused.

Here is what it means: When “est” is at the beginning of the row, it means “slip a stitch purl wise with yarn in front” and when it’s at the end of the row, it means do the distitch – or knit the two stitches together (see the video link above for how to do this). In other words, each “est” means to do that specific part of the edge, which all works together to form the nice edging.

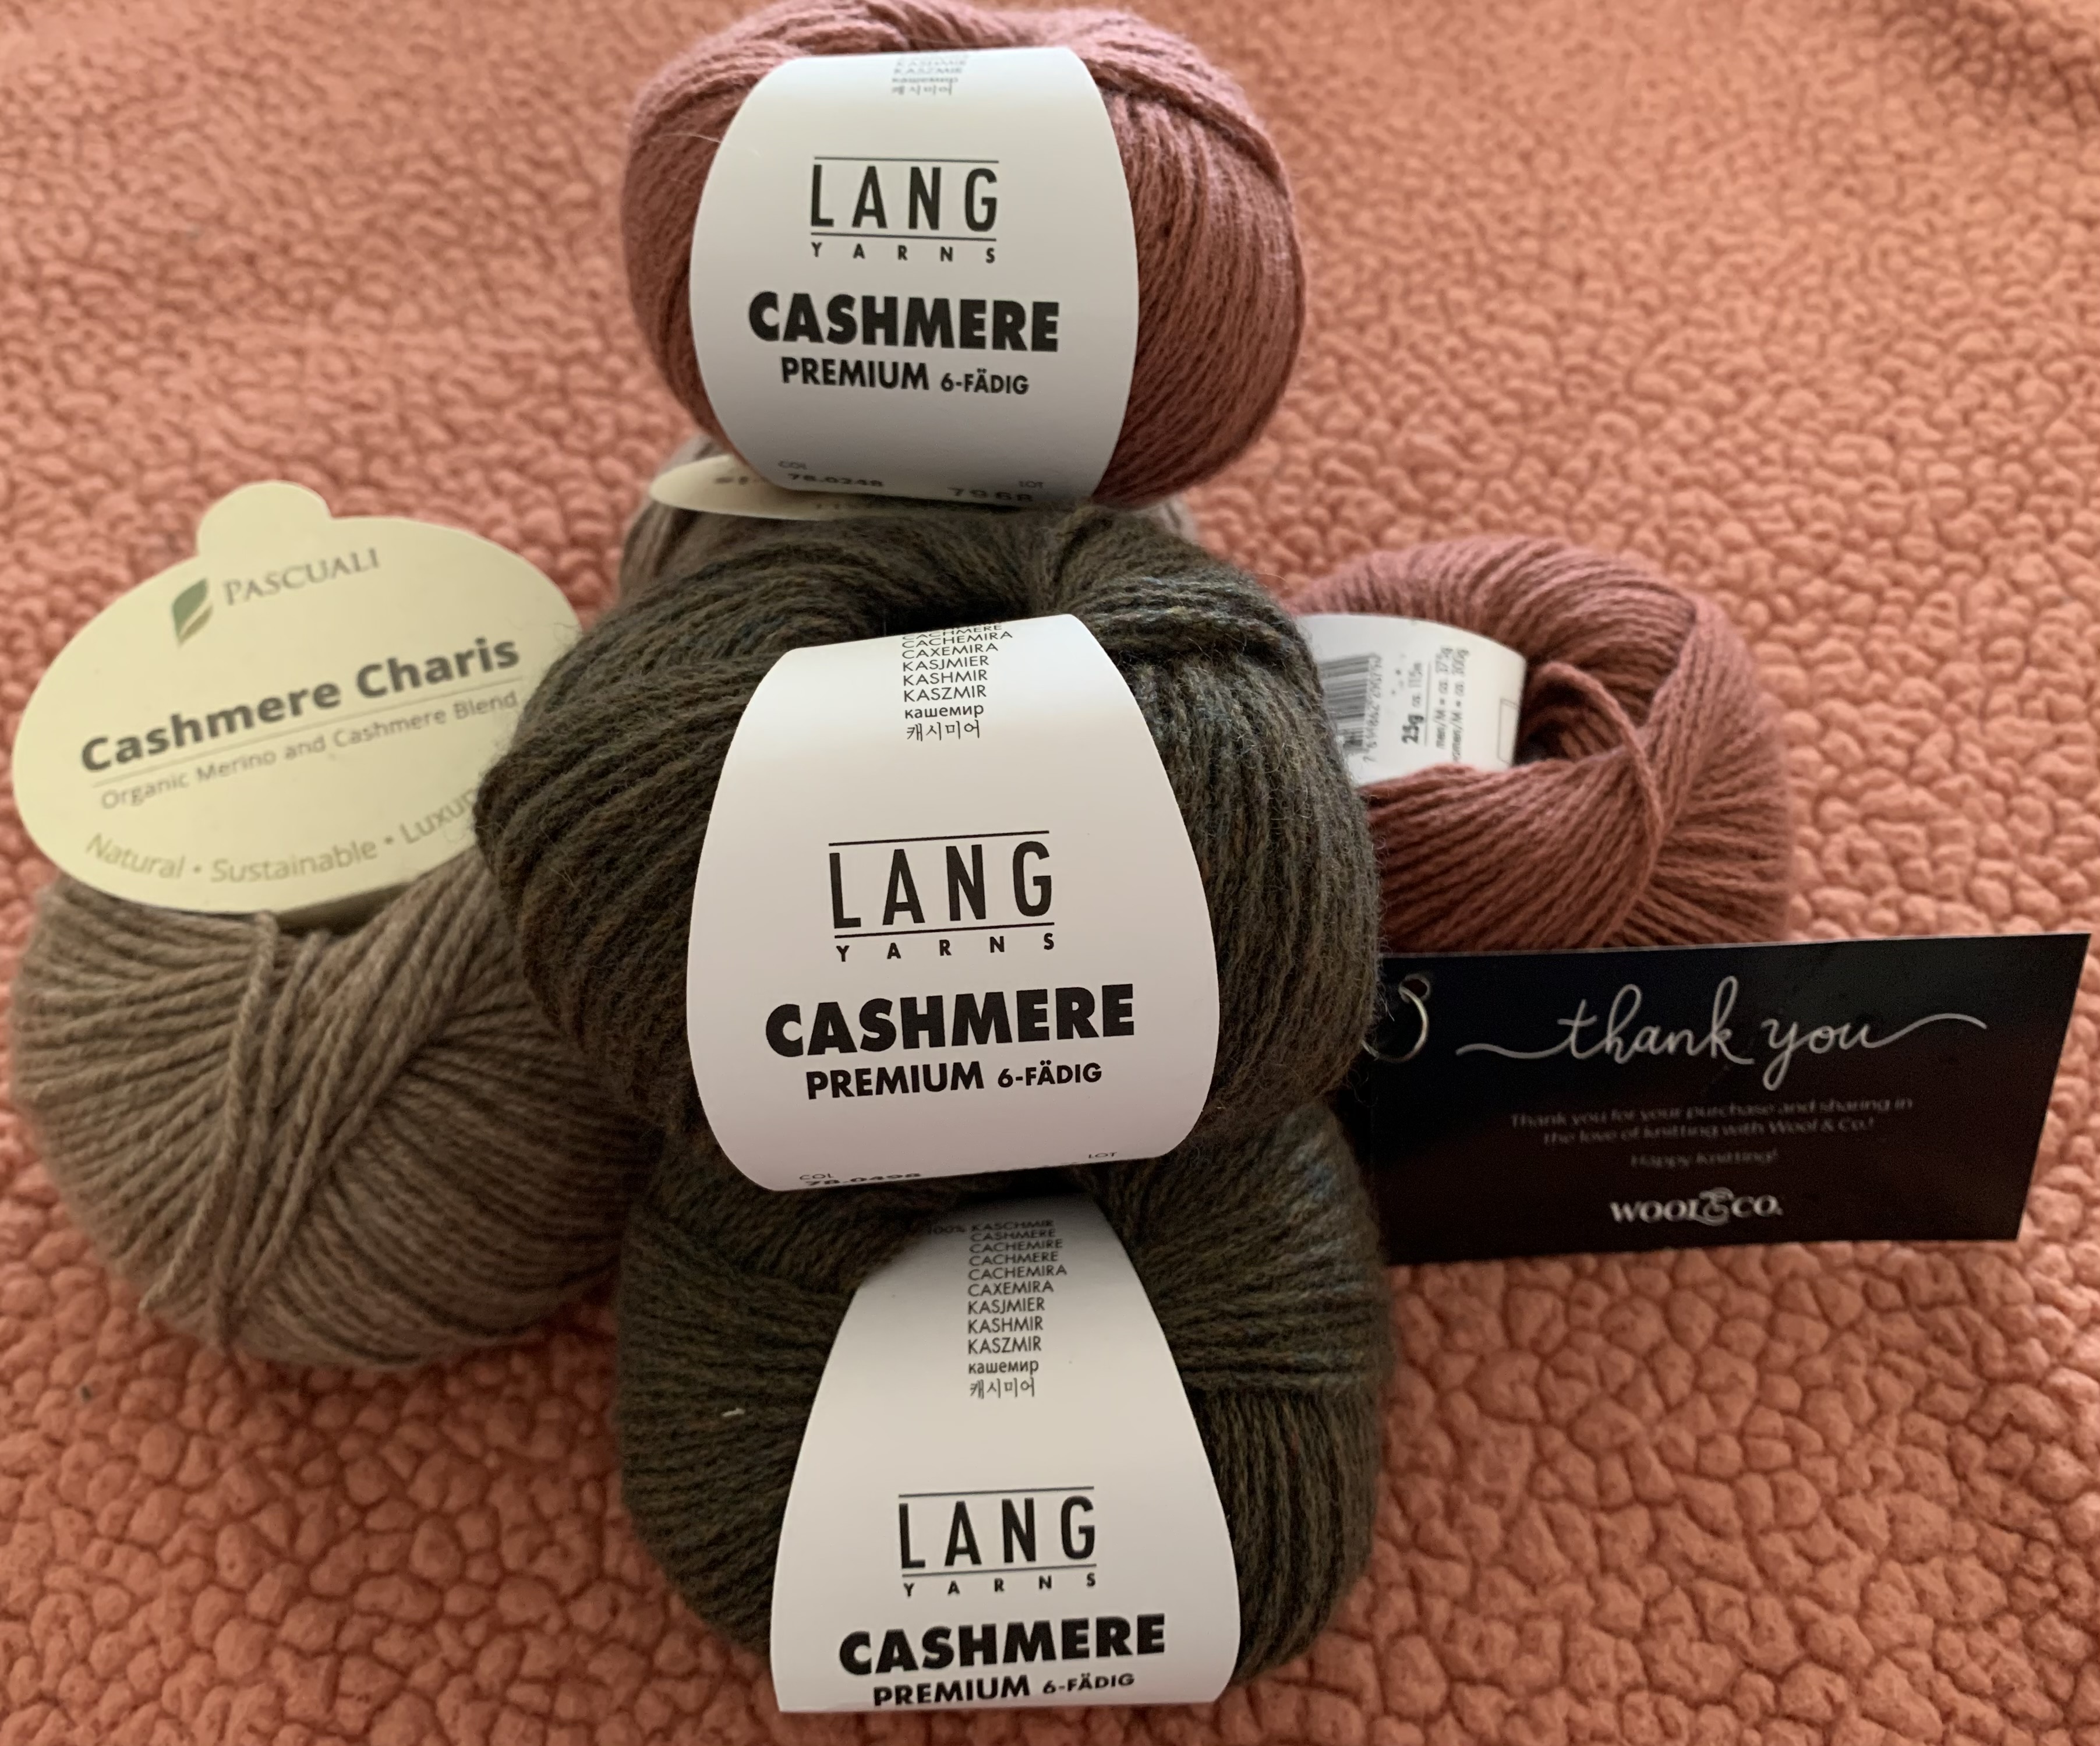
Pascuali is A New Yarn For Me, and I Think I Love It!

I am knitting this scarf with Pascuali Cashmere Charis. It is an organic Merino and Cashmere blend (70/30). The color is 06, which is a light brown. The strand is very round, and gives nice definition. ALSO… I was able to spit-splice the strand to the new one (yay) and continue on. (I could not do that with the Lang yarn when I knit the Sophie Scarf. I also had knots and splits in the Lang.)

cashmere yarn Lang, Pascuali
My cashmere yarn purchase with Lang and Pascuali balls.

I did need to skip some of the middle rows of knitting in order to head to the decreases. With any luck, I will just make it to the bind off.

The reason I am running out of yarn sooner than I’d hoped, is that I went up to a size 6 needle. The weight of this yarn just seemed to need bigger than a 4, which is recommended in the pattern. Now, I wish I’d chosen a size 5, as it may have been perfect.

Ran out of yarn

Swatching – Yes, Do It For This One

I usually don’t swatch for a scarf. But when the yarn amount is so close, it’s probably the smart thing to knit up a swatch. I’d have had to unravel it to use the yarn, but now I wish I did.

The swatch would have shown me how close I was to the yarn amount used. I may have realized that I needed to use a different needle size. Also the swatch, in this pattern, would have helped me to learn the pattern repeat. This would have definitely helped when beginning the scarf.

Scarf No. 4 is a really nice, soft little neck warmer. I definitely want to make another one using the size 5 needle. Also, I’ve found a new favorite yarn – Pascuali brand.


Something went wrong. Please refresh the page and/or try again.

My Solvi Sweater is Finished and This is My Review

I have finished knitting Jennifer Steingass’s Solvi sweater pattern and here is my review.

Jennifer Steingass is the designer of the Solvi sweater which is a pullover. I began knitting this pattern on October first. Now it is mid-April and I have finished the project.

The delay in finishing was due to many things, but mostly because I doubted a good outcome. Do you ever start knitting a pattern with much excitement only to loose that excitement somewhere along the way? If you have done enough knitting, I suspect you will say “yes”.

I love the yarn. I chose “Peacock” blue in Harrisville Design’s Shetland. What a beautiful fingering weight yarn, and in a great color. For the long colorwork yoke, I dug into my stash of fingering weight wool. I tried to keep a more muted color scheme going with colors that flowed into each other. I’m happy with the colors.

Solvi sweater finished

What caused me to pause this knitting project (many times) was the large look of the yoke. It seemed very wide, and the depth was an inch over the schematic size. I considered ripping it all out, but what a pain in the neck! So I put it aside and worked on other things.

Finally, I picked it up and got to knitting. I would finish and see how it was.

I was right. It ended up large.

I like an oversized sweater, but this one is too much. I could easily have knit one size smaller and been happy with the fit! (I knit size D – or the 4th size.)

The sweater has a very wide neckline that flows into a wide, colorwork yoke. I like the pattern of feathers that comes down the front, but the whole thing is just too wide. This is my fault for choosing the larger size. There is nothing wrong with the pattern. Just be aware of the width of this sweater. My gauge was good, but I was between sizes and chose larger. It was my mistake.

I used the same size main needle for all the colorwork as well. I was considering going up a needle size because colorwork tends to be a little tighter. I’m so glad I did not do that!

Mods I Made

Because the yoke was getting too long I had to leave out a bit of the feathers pattern. This project has been put aside quite a bit, so I can’t remember exactly what I changed.

If I knit a larger size sweater, I often go down a size for the sleeves. I did that for this one. I followed size 3 (C) stitch counts so the sleeves would be more narrow. I also knit them longer. For the cuffs, I did not do the last row of tightening up, and instead did a tubular bind-off with a sewing needle.

Solvi cuff bind off

For this pattern, I finished the body first. I used a new skein of yarn for each sleeve. I had three little balls of yarn leftover, which you can see in my first photo above.

Solvi sweater in peacock blue wool

I will absolutely be wearing this sweater next winter. It will work best as a layer over a turtleneck on the coldest days.

I usually have good luck knitting Jennifer Steingass patterns. Her Ravelry pattern page is Knit.Love.Wool. and the link goes there. The previous sweaters of hers, that I have knit, have fit me pretty well. Her patterns are well-written and easy to follow. Most are colorwork patterns with stranded work done on yokes and sometimes sleeves.

Now, I am moving away from colorwork yokes. Stranded knitting is my favorite thing, but an all-over Fair Isle is a lot more fun.

I’ve moved on to knitting fun little scarves and just finished up the biggest hat I’ve ever knit!

Please keep reading…

Yarn Selections From Harrisville Designs For Two Sweaters

More yarn has been added to my stash. I do have patterns in mind for it, but of course buying is quicker than knitting.

After I finished knitting the latest Warm Up sweater, I knew I wanted to have another. The Warm Up is an easy pattern and is perfect for worsted weight yarn. I have a particular affinity for yarn that comes from a place I love.

Peace Fleece yarn now comes pre-washed and it is squishy and soft. I used three colors to knit my Warm Up #2. The red tones were something new for me. Usually I stick to more earthy and neutral colors.

I saw this yarn in person when I visited Harrisville Designs during a trip back to New Hampshire. I knew I wanted to knit more sweaters using it.

Harrisville Designs is a yarn company located in an old mill in Harrisville, New Hampshire. I lived near enough to shop there, but at the time I knew nothing about this place. I wasn’t much of a knitter back then. I couldn’t wait to stop in when I was back in the area for a visit. But I need to buy the yarn online so I don’t get to see the colors in person.

I don’t remember what happened, but as soon as I saw the Siberian Midnight colorway, I wanted it. The yarn is black with white specks throughout. I believed it would knit up into a pretty pullover.

Of course the yarn, in the Siberian Midnight colorway, was hard to find. It seemed to be sold out everywhere. Then I found it for sale at Firefly Fibers and bought enough for a new sweater project. They also had some Daylights yarn for sale, and I bought enough of that for a different sweater. I chose the colorway Chirp. I’m thinking I will try to knit a cable sweater with the lighter color.

Peace Fleece and Daylights yarn
Peace Fleece – worsted and Daylights -DK

I now have two new sweater patterns in my queue. I just need to find a cable pattern I think I can handle.

Keep Reading

How to Add the Tassel to The Doublemassa Hat

How to make a tassel for a knitted hat. Finding a way to attach the tassel to a lined hat with no underside access.

Making a tassel is not difficult, and I was looking forward to making the one for my Doublemassa. But there was a problem. How is a tassel added to this type of knitting project?

I have now assembled the tassel (and it’s far from perfect looking). But, my big problem is how to add it to this hat. Ordinarily, when finishing up a hat, you have an underneath, or wrong side, where the yarns are pulled through and tied off under the crown. The Doublemassa is knit in a way that the underneath can’t be accessed. It is completely closed up. The pattern is no help.

Tassel Making Video

It was hard to envision tassel making in the Hat’s On book where the Doublemassa pattern is found. This video on YouTube was very helpful. However, I still must figure out how to add the tassel to my finished hat.

One of the Doublemassa knitters mentioned opening up the top of the hat and making a big knot to tuck through. Then, she closed up the top again. I ended up doing this, but a little differently.

My Tassel

I wrapped both yarn colors 60 times around a six inch cardboard. I tied two strands of yarn around the top and then braided the 4 strands. I wish I’d used more strands for this.

Next I wrapped the blue yarn around the tassel.

I do not have a bodkin (Amazon paid link), which is a special flat “needle” which is used by the woman in the video. My larger sized embroidery needle worked fine. This is used to wrap the tassel and tuck the yarn down inside.

After my washed hat was dried, I noticed that two stitches at the very top were loose and not bound off! Somehow they did not unravel (wool is so awesome). It left a small opening.

Adding the tassel was a challenge, but I simply did as one of the other knitters mentioned. I made a big knot and pushed it through the top. My dropped stitches mistake turned out to be the thing that saved me. Then I used the two yarns, one blue and one off-white, to close up the top tightly. I wove the ends down through the hat and cut the yarn.

A Better Way to Attach The Tassel

Now that I have done it, I feel lucky that it worked out. And I know that there is a better way to achieve this. The pattern simply says make a tassel and attach it – which is very unhelpful.

My advice is this: When knitting the last rounds of the crown, do NOT close up the top of the hat. Leave a tail and tuck one tail down inside the hat. Put the open stitches onto plastic holders, or waste yarn, for washing.

Make the tassel and wash the hat.

Once the hat is washed and dried, open the top and tuck the knotted end of the tassel braid down into the hat. Use the remaining yarn tail to close up the top.

Alternatives

A few of the Doublemassa hat knitters decided to begin knitting the hat with the colorwork. By using a provisional cast on, the lining of the hat could be knit last. This would do away with the need to begin the hat with a tiny disappearing loop cast on, and magic loop knitting.

It also makes adding the tassel easier. Then, the tassel would be washed along with the hat. I’m not sure how that would work. It could take a while for a tassel to dry.

Have you knit this hat, or one like it? Do you have ideas about adding the tassel?

More knitting stories…