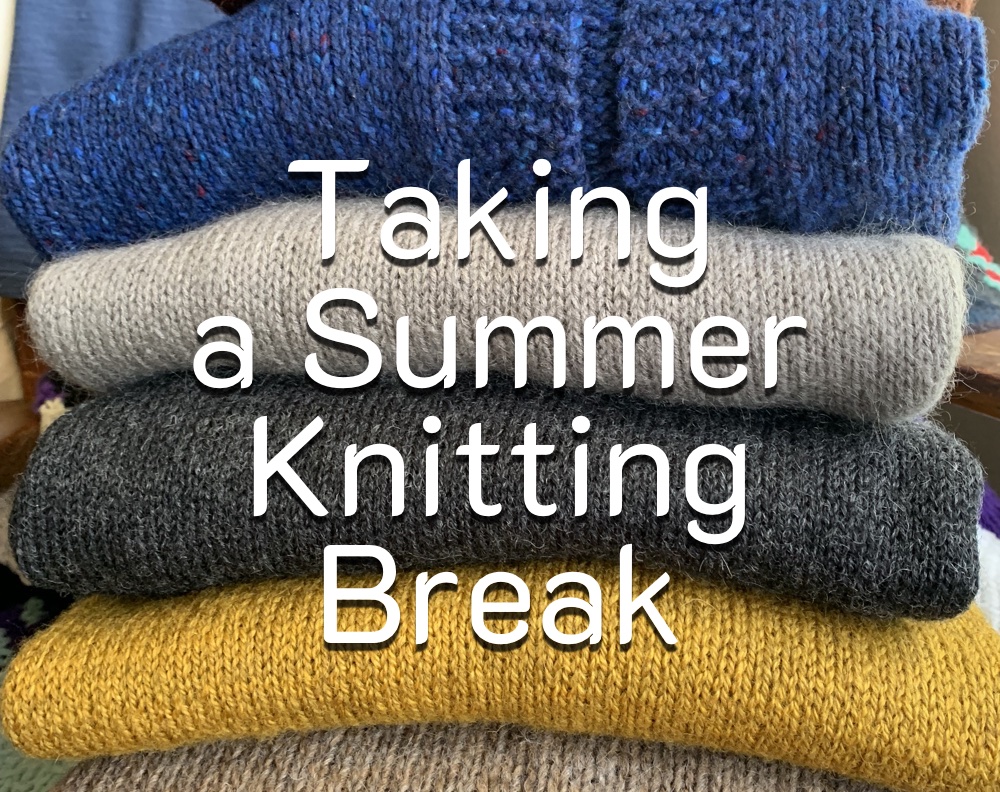
I can only imagine the cool, crisp Fall air swirling about my head and filling my lungs. I miss New England always, but especially at this time of year. Knitting season has arrived, and I know my fellow knitters are excited. I am excited also to see all the new patterns.
Before I get too far along, I want to give credit to the creator of the cute kitten in an orange scarf image at the top of my post. I just love it! The image was created by GrumpyBeere and there are more like it at the free image sharing site, Pixabay.
Prospective Projects On My Fall Knitting List
I’ve been a bit down on knitting lately, and it has nothing to do with the summer season. In Florida, it’s either hot or less hot, so I’m pretty much always knitting during non-sweater weather.
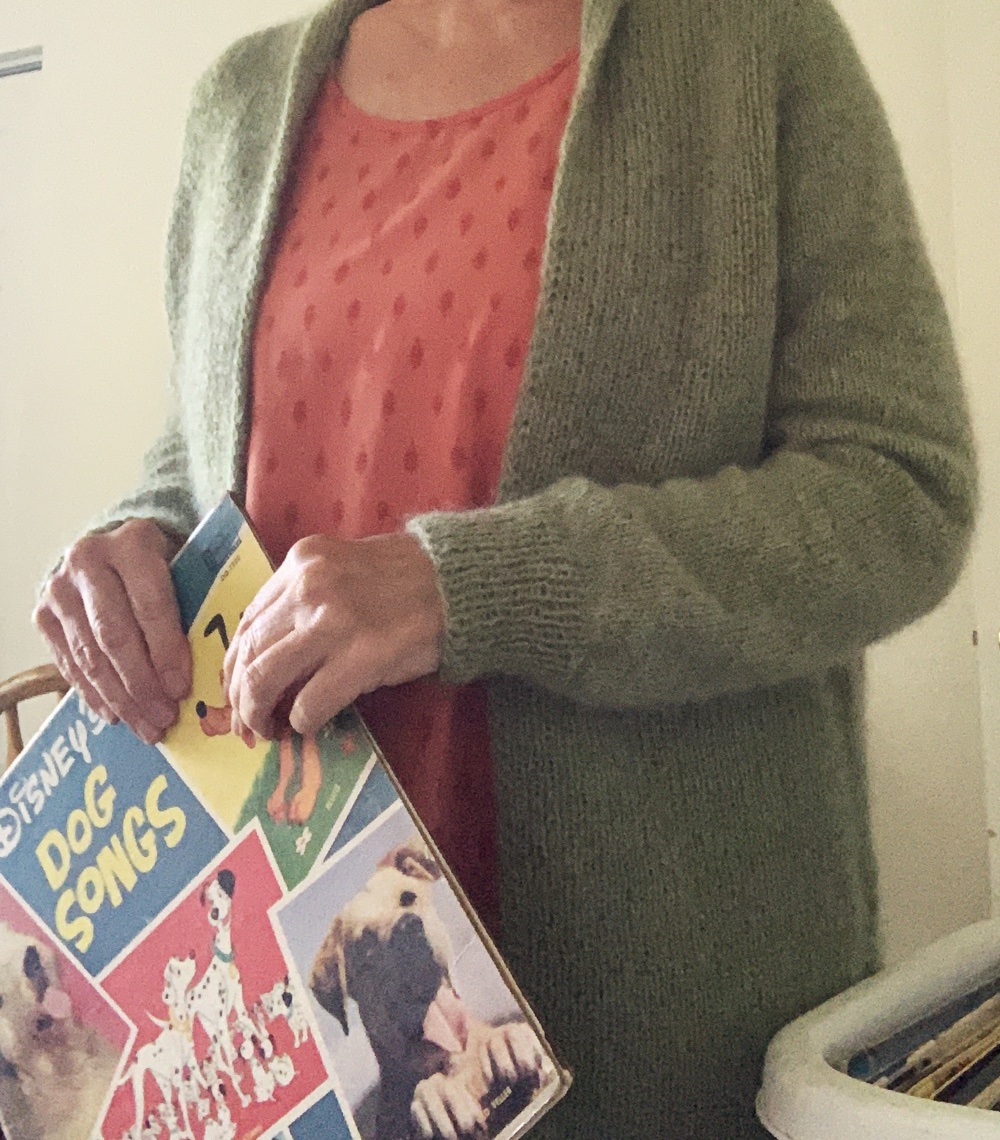
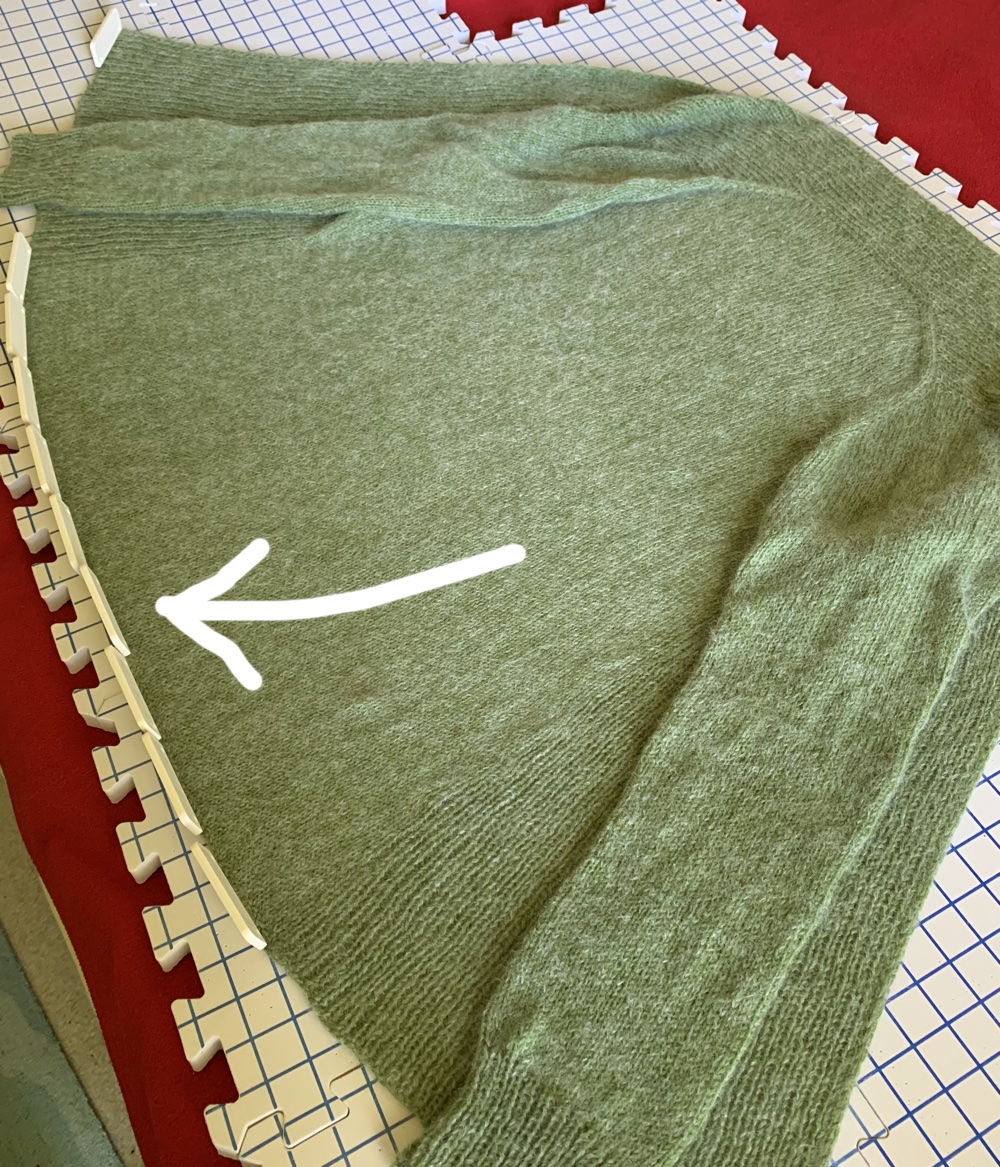
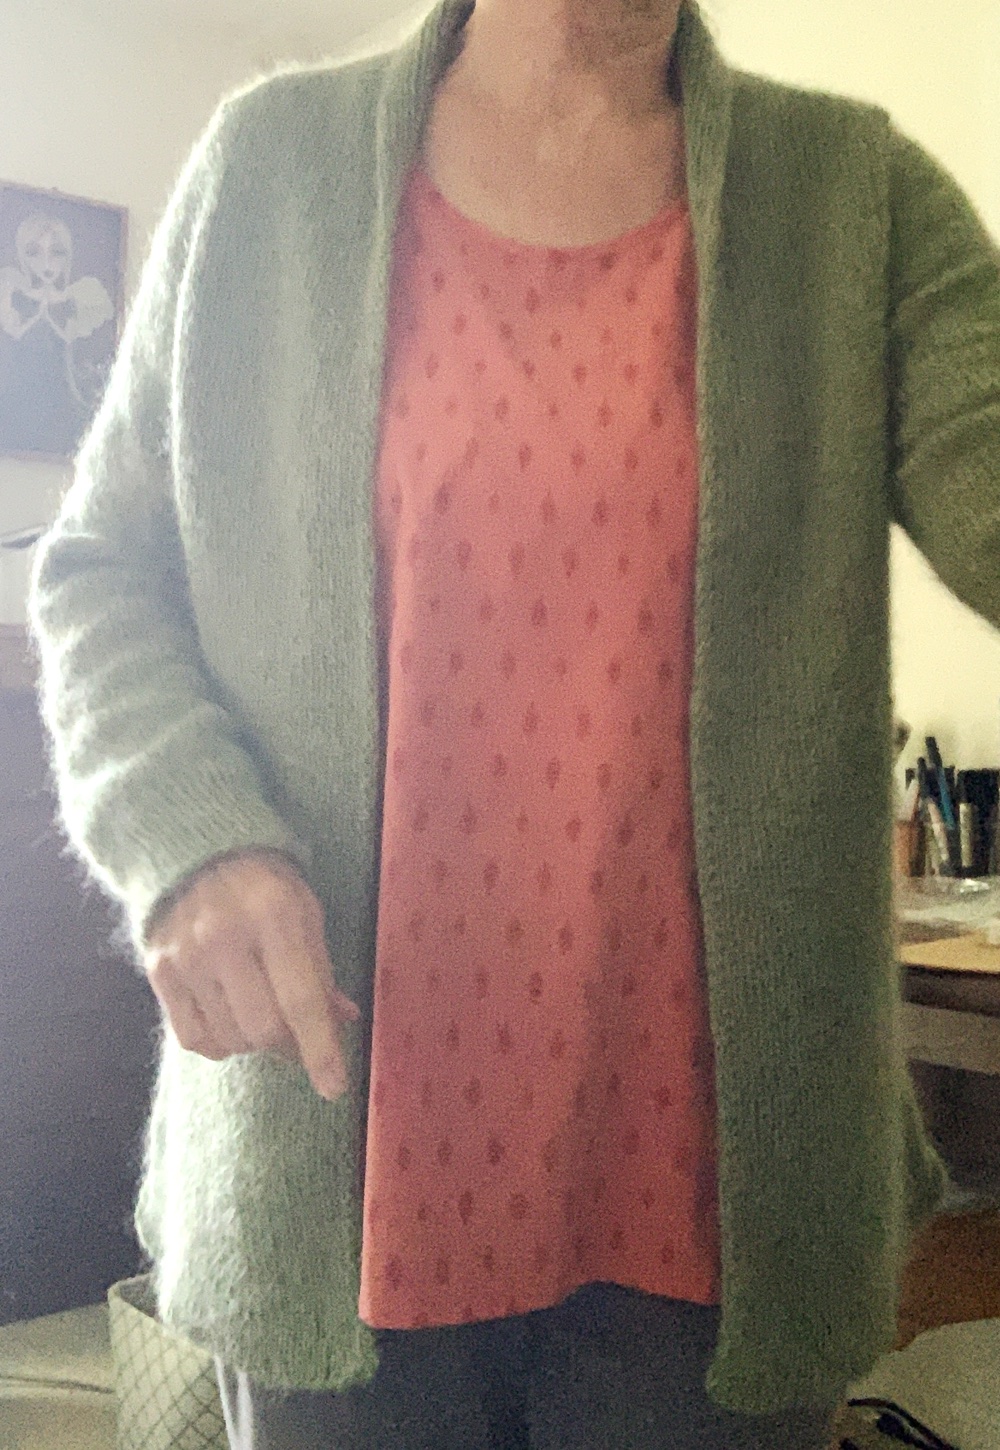
My last few finished knitting projects have not thrilled me. I’m currently knitting a big, over-sized sweater (it’s really big) that has lost my interest. The recently finished Rebel Cardigan is very nice, and I do look forward to being able to wear it.
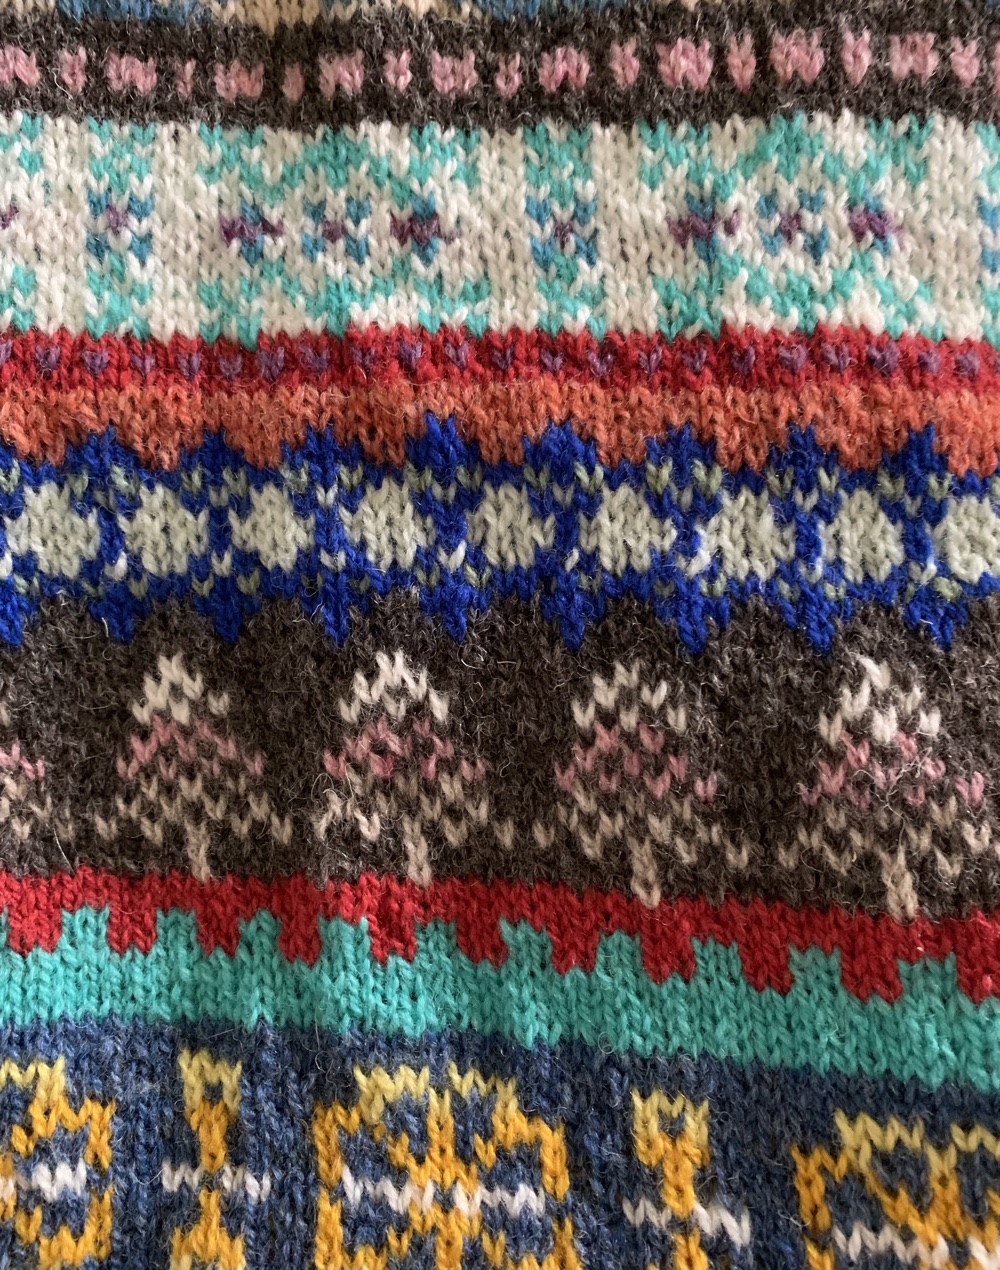
For the sake of having something to do while I watch TV, I’m doing some colorwork on a tube scarf. I’m making the designs up as I go, which is fun.


Little Projects to Consider
Mittens can be fun to knit but they need to be gifts in my case, because no one wears mittens where I live. Fingerless mitts, or fingerless gloves, are more likely to be on hands here. I would wear them early in the day, before the temps creep up. I’ve already knit some of these patterns, and others look interesting.
Mittens and Fingerless Mitts
If you know how to finish off mittens – any mitts pattern could become mittens.
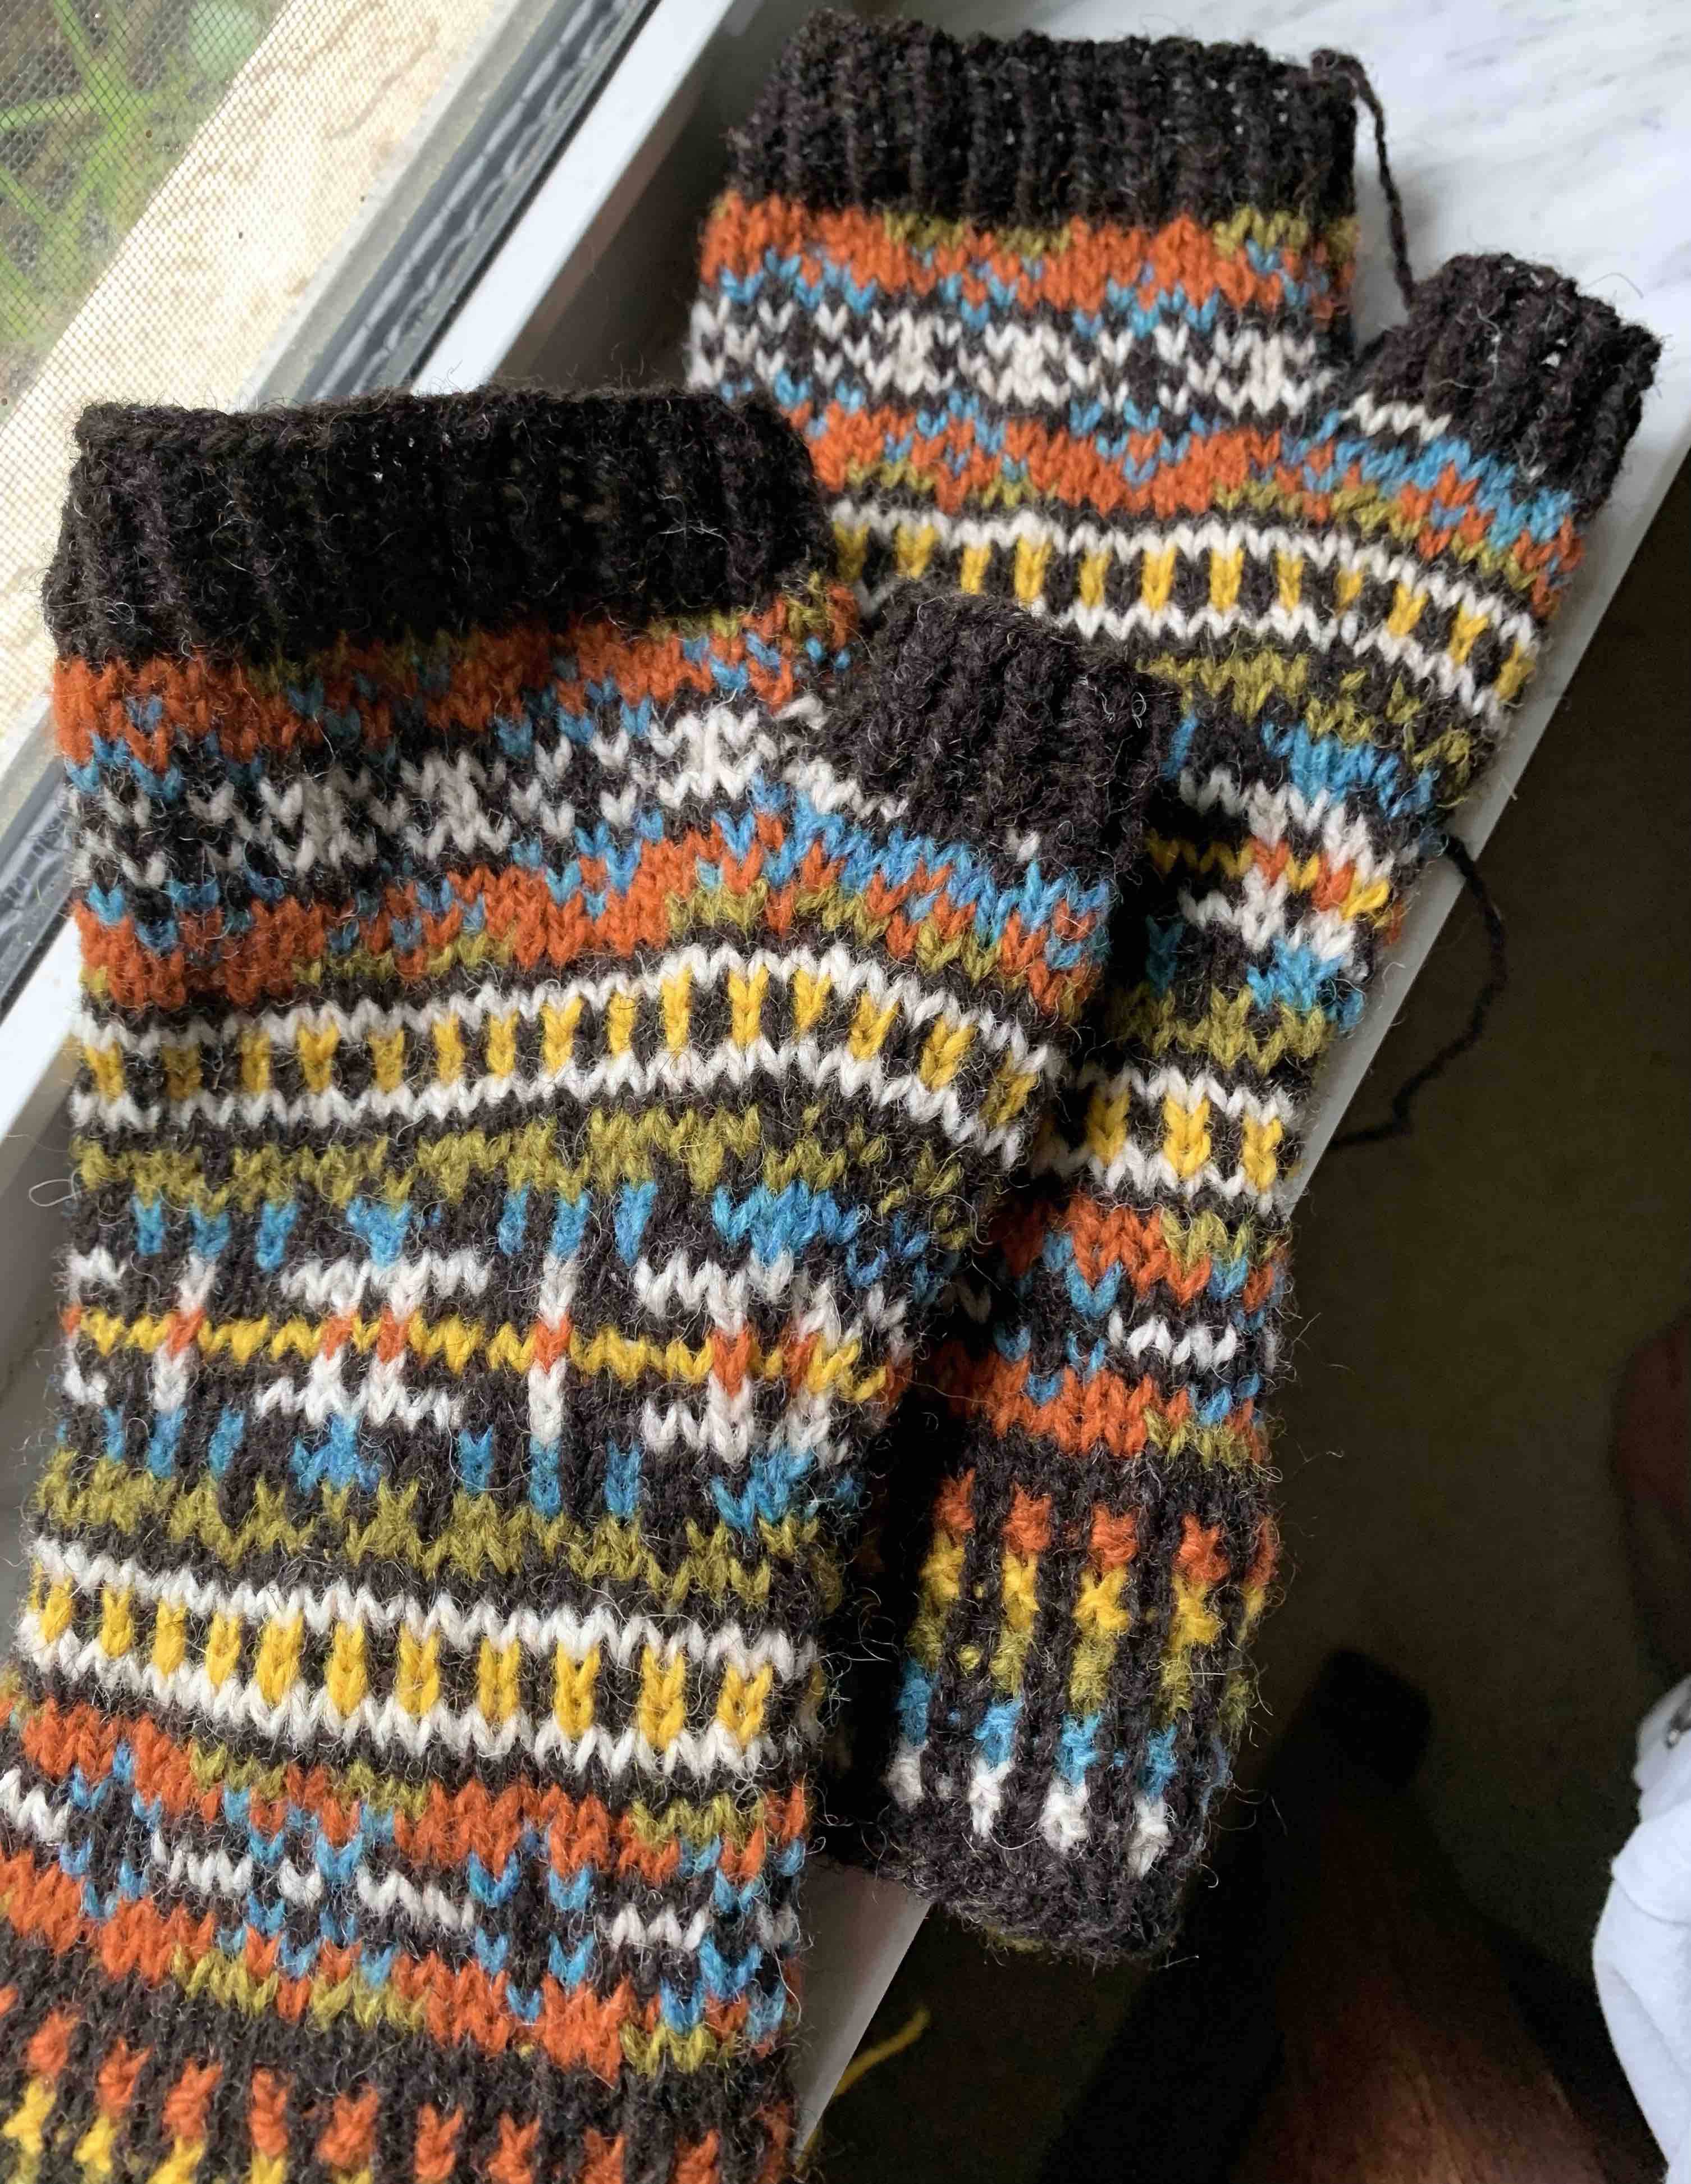
- Fair Isle Mitts – FREE colorwork pattern, using Fingering weight yarn. I have knit these – see my page (and photo below)- and love them.
- Hiedra Mitts – Solid color, using DK weight yarn. These are in my Ravelry favorites, and would make a nice gift.
- Bee Creative Mittens – or fingerless mitts done in colorwork. Who doesn’t love bees? As a gardener, I am drawn to this pattern.
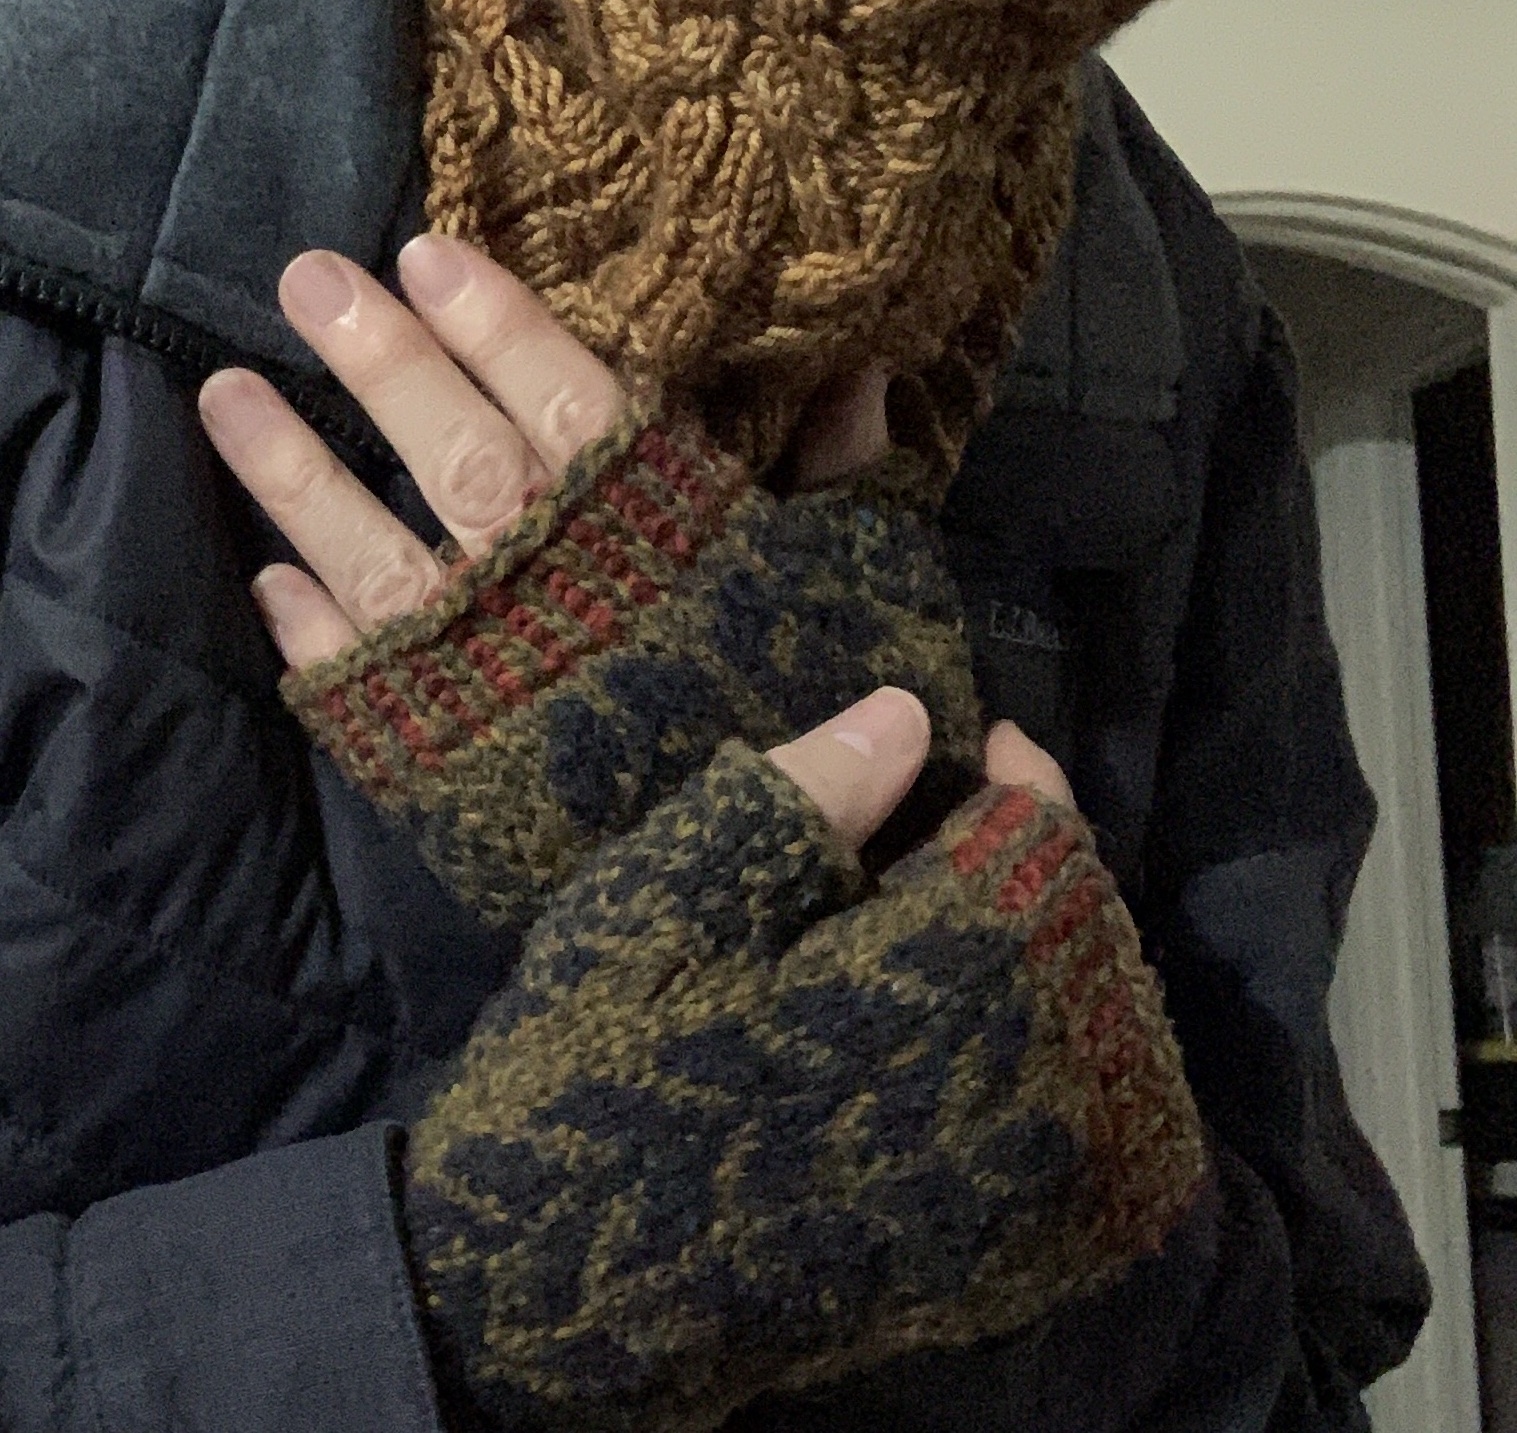
- Simple Fingerless Mitts – FREE pattern! Has some optional colorwork for a beginner, which could be skipped. Very simple knitting project.
Mitts I’ve Knit


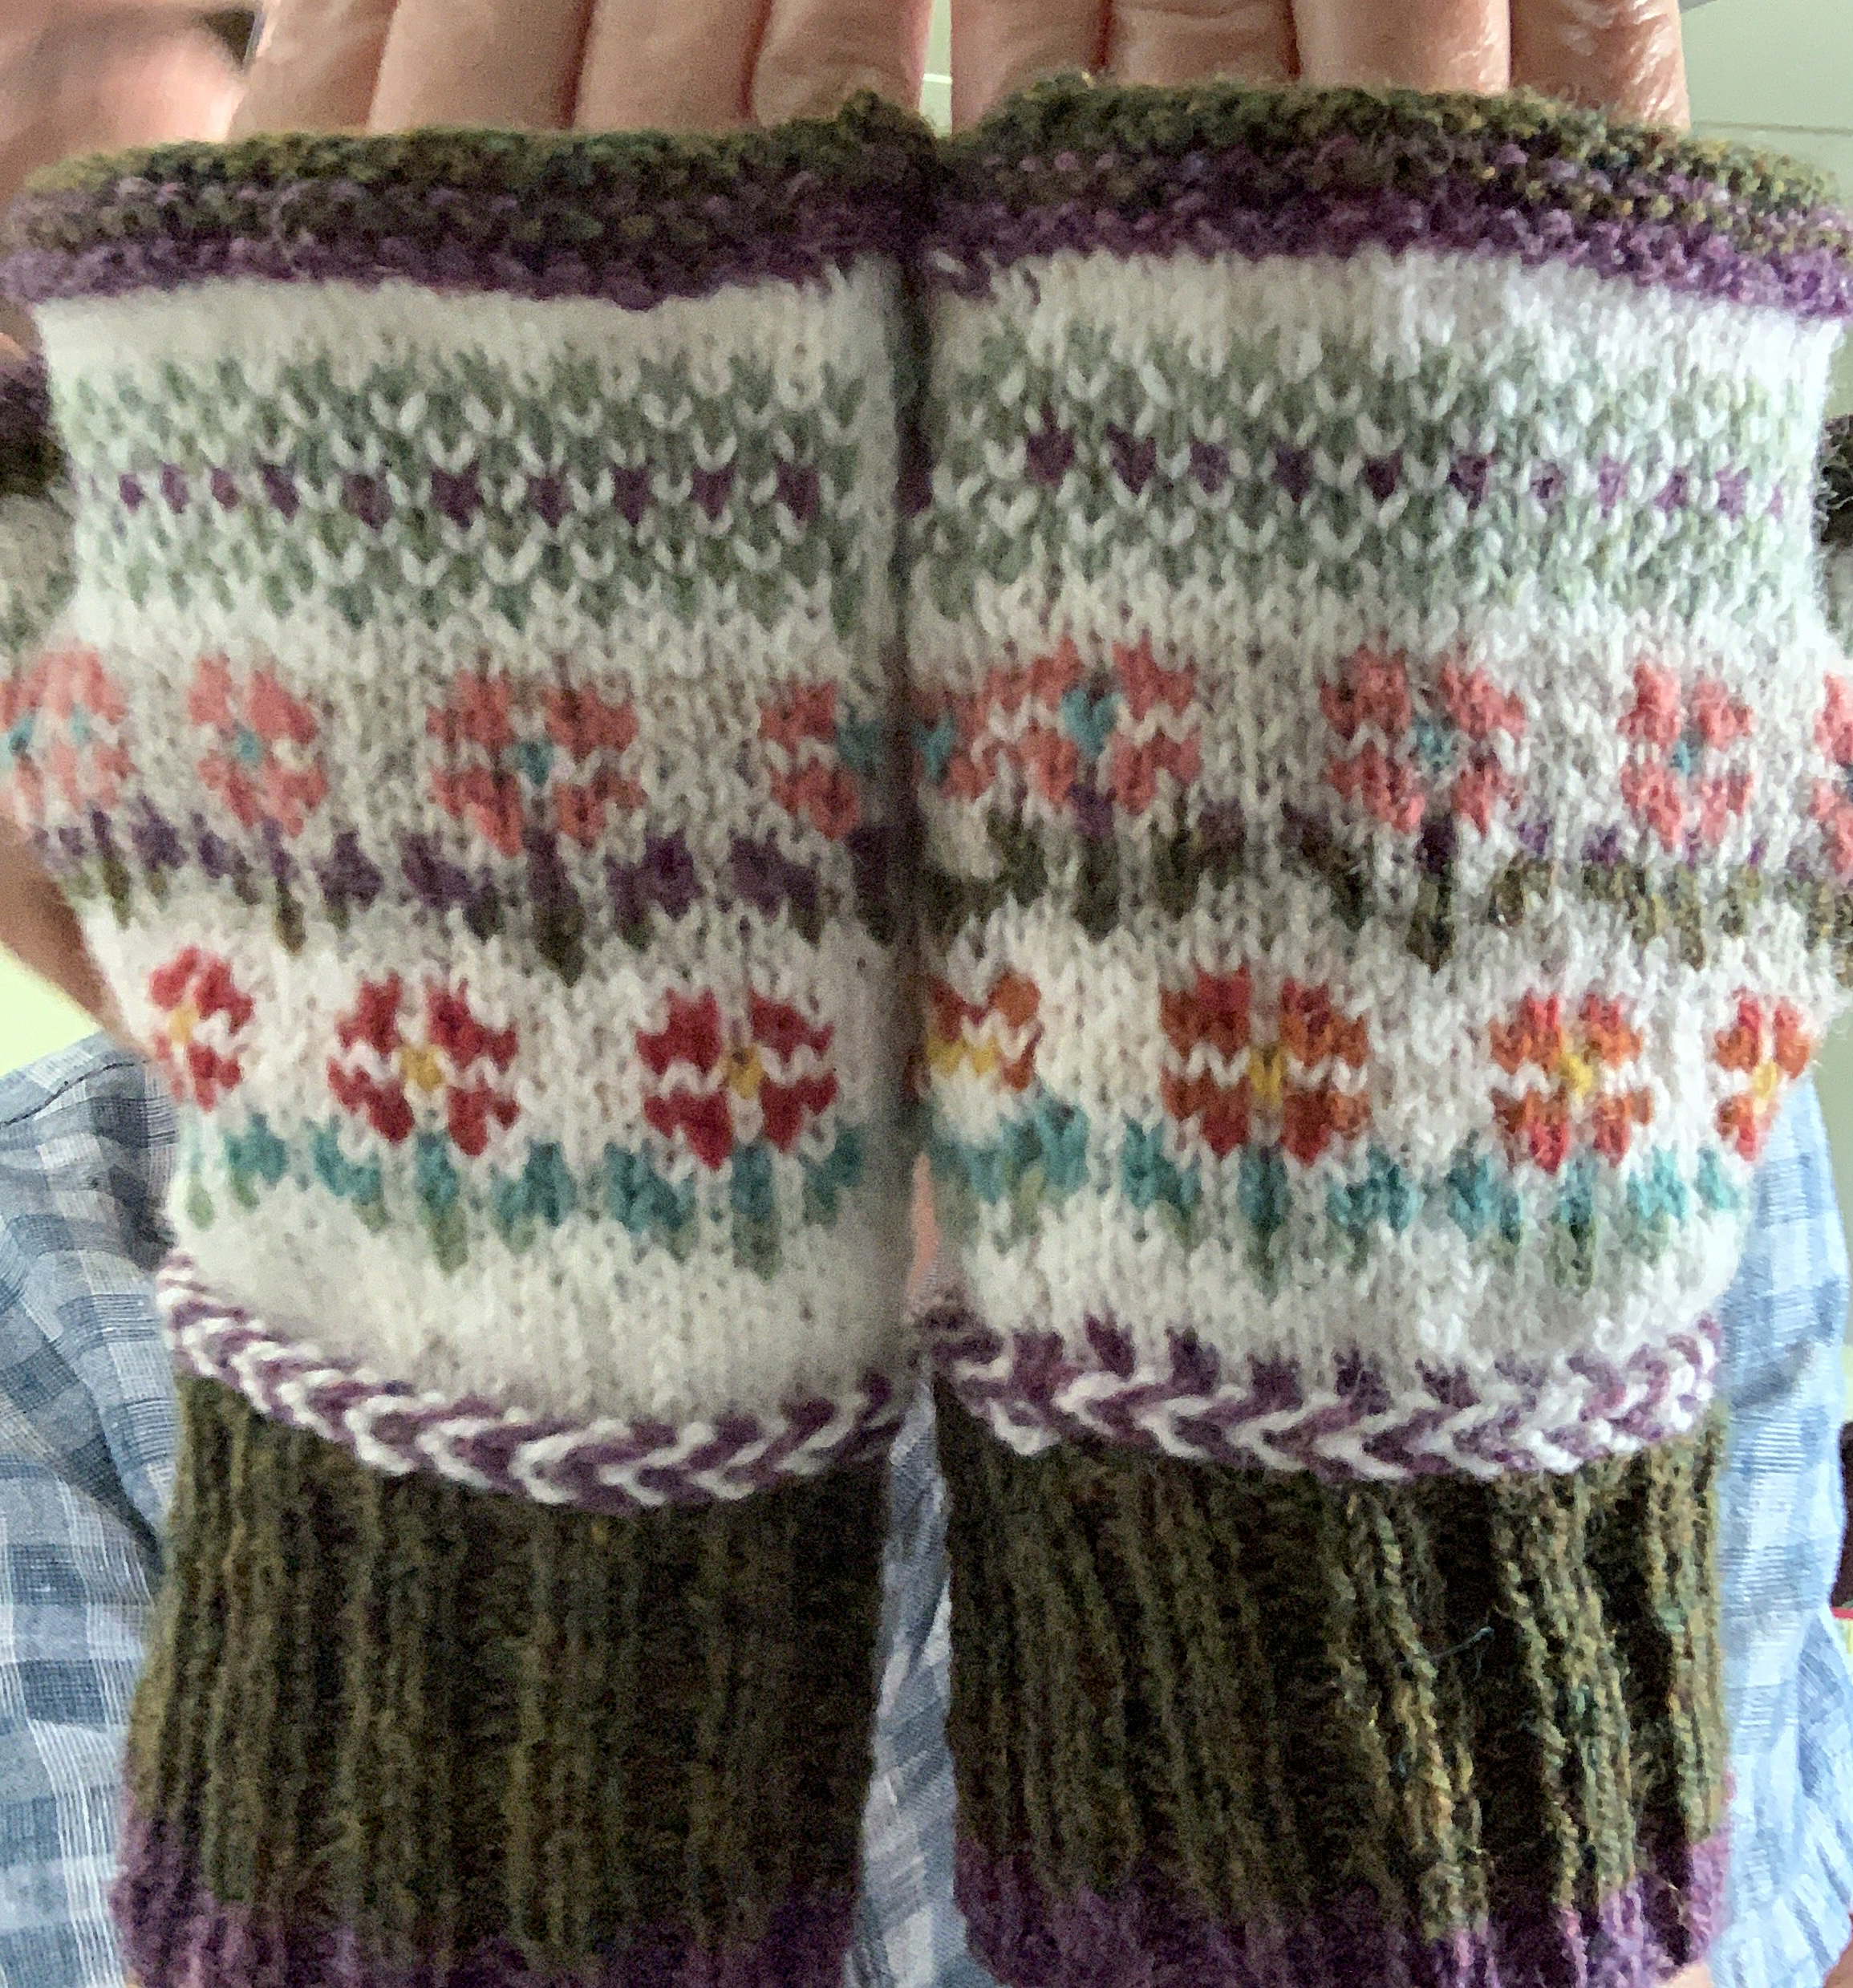
Just a word of advice here about knitting with wool. Mittens and mitts should be knit in wool, IMO, because of the warmth factor. Choose a good wool too – like Jamieson, Shetland, or Rauma come to mind. These brands have nice, consistent yarn, basically without knots. The wool creates a lovely project.
Shawlettes
A simple little “shawlette” works perfectly for keeping a neck warm. Knit it in warm wool, and keep it handy for the southern winter season. A small shawl will work up quickly and may use only one skein of yarn.
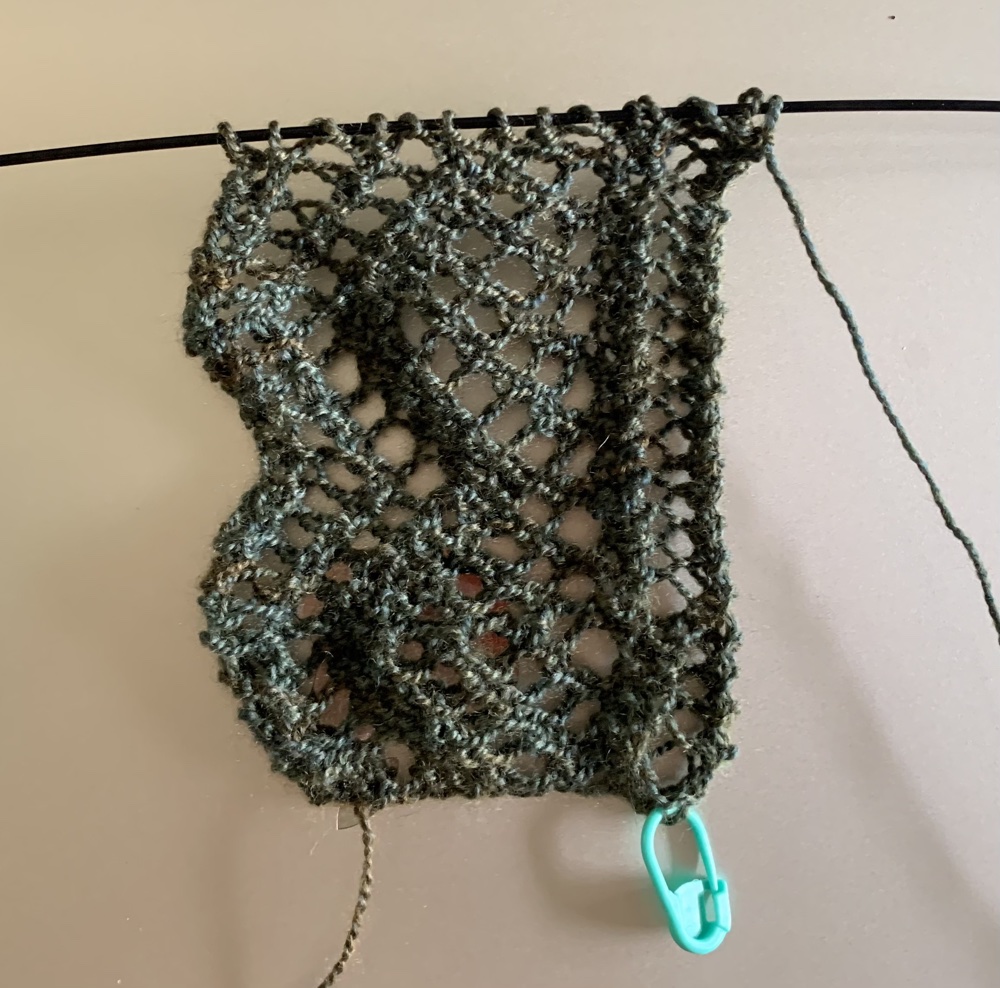
- Interisland Shawl – this one is on my needles, but has been neglected. It begins with the lace edging and I’m not a big lace knitter. I do plan to finish it!
Bigger Projects: Namely Sweaters
- Fallow – Yoke colorwork with deer / woodland design. This one is at the top of my sweater knitting list because it is so cute.
- Schneeflocken – lots of pretty colorwork on this pullover.
- Shake a Tail Feather – Colorwork pullover
- Low Tide – a new pattern by Rachel Illsley is absolutely stunning! It’s on my list, but I’m not sure I can handle all the lace knitting.
That’s about it for my list, and it changes all the time! There is a new yarn (new to me) that I’d love to try. It can be machine washed on a delicate cycle. This would be a game changer for gift giving. Schachenmayr Regia Premium Merino Yak (link goest to the Ravelry yarn page) is the name of the yarn, and it is not cheap. People don’t like it for knitting socks apparently because it pills. But, I read a review by a test knitter who uses it often and recommends it. I plan to buy it at some point and see for myself.
What do you have on your knitting roster for this Fall and coming year?


Something went wrong. Please refresh the page and/or try again.