Excited About Knitting Birthday61 Pattern Using a New Yarn

I have the yarn and will soon begin knitting the Birthday61 sweater pattern by Ankestrick. The yarn from Loop has arrived and it very nice. First time using this brand and ordering from this online shop.

I should not be starting a new knitting project. I’ve been in a bit of a knitting funk lately. This has caused me to jump from one project to another without finishing any of them! That is a bad habit to get into.

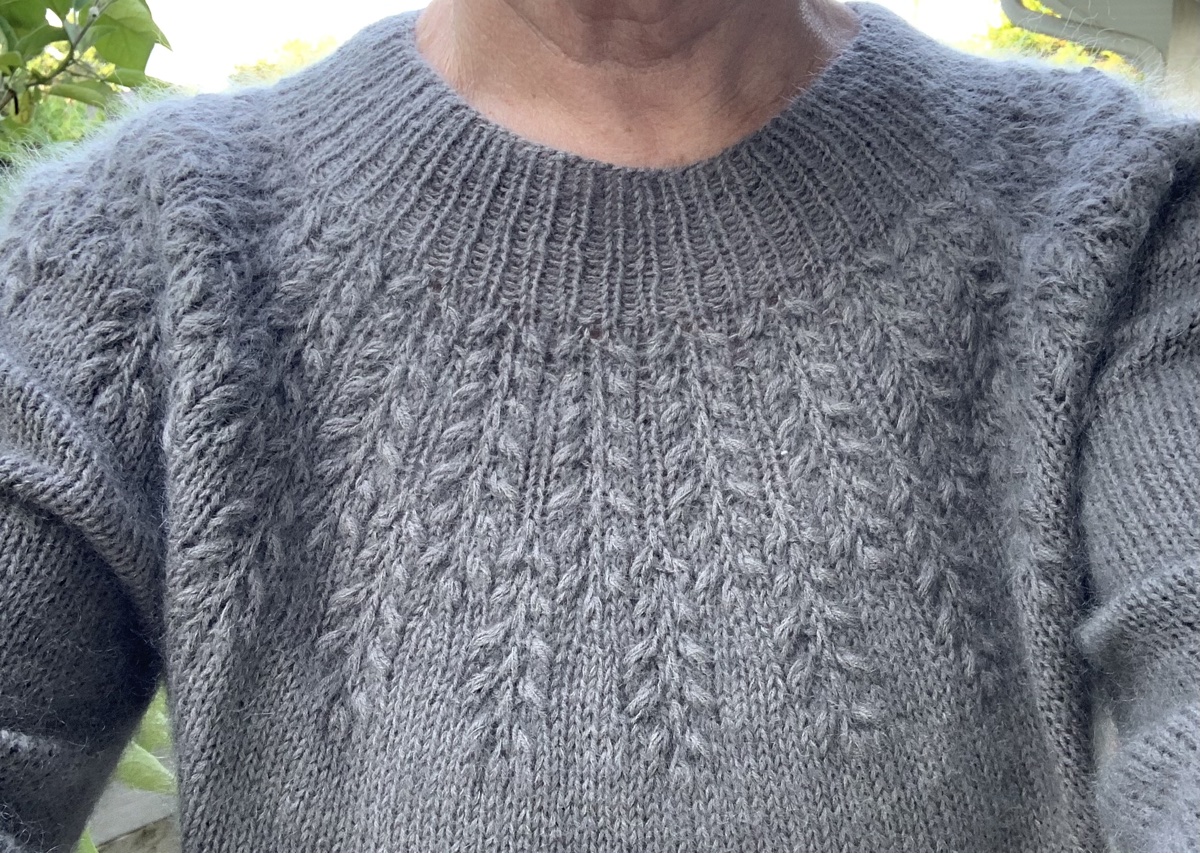
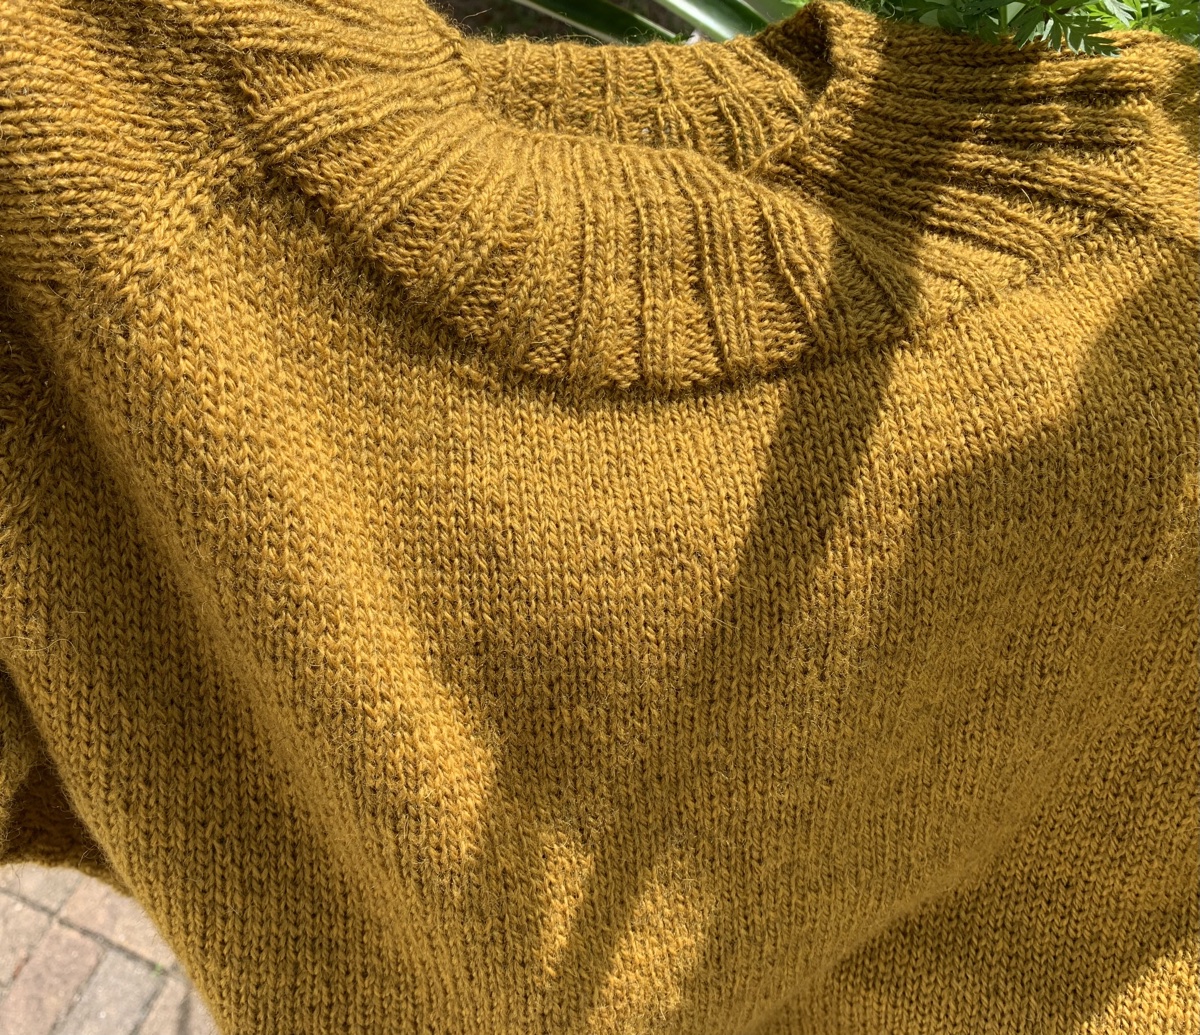
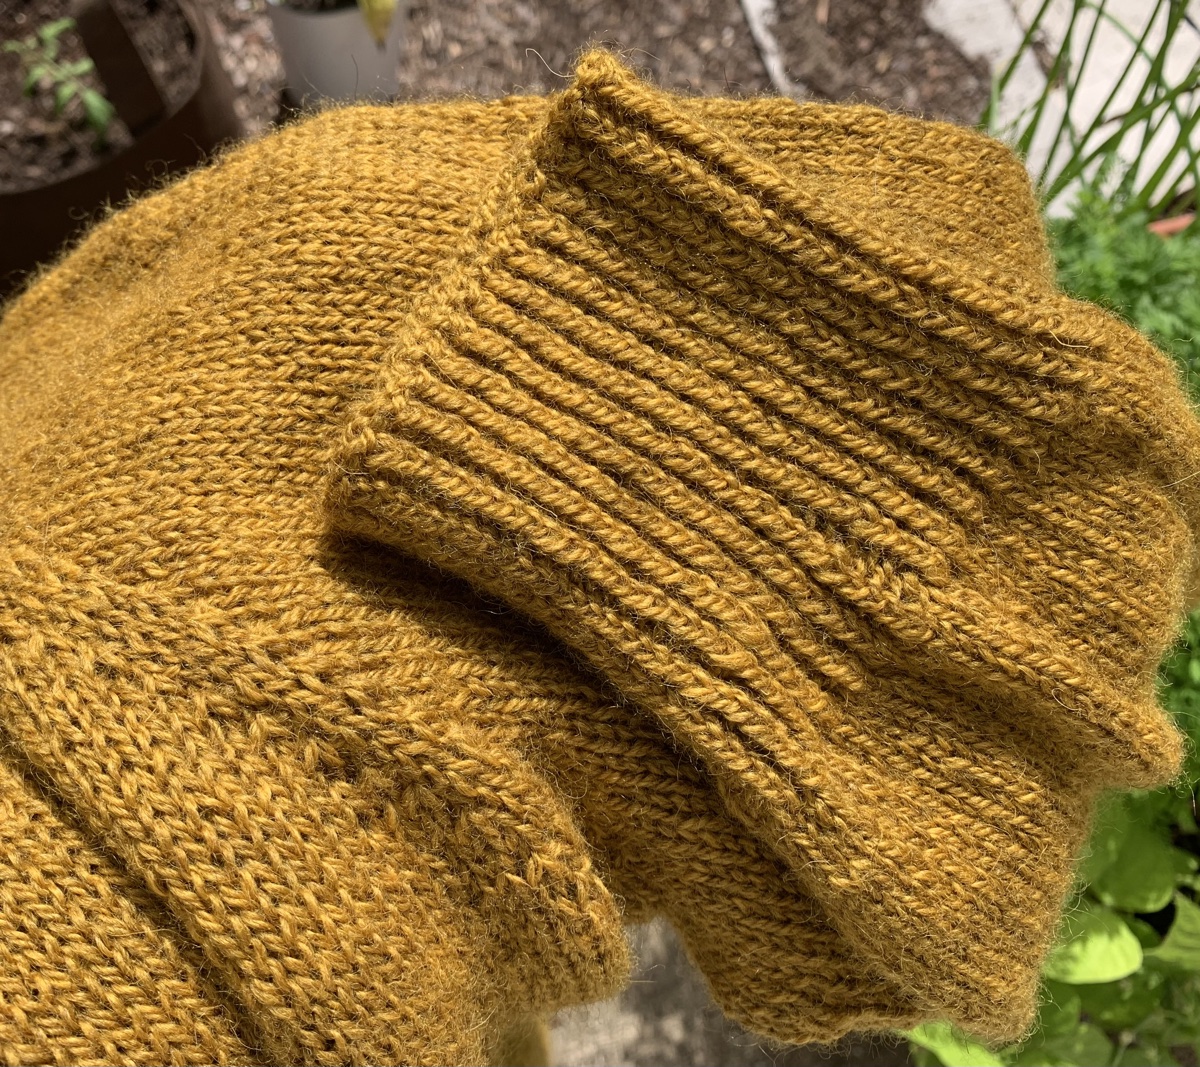
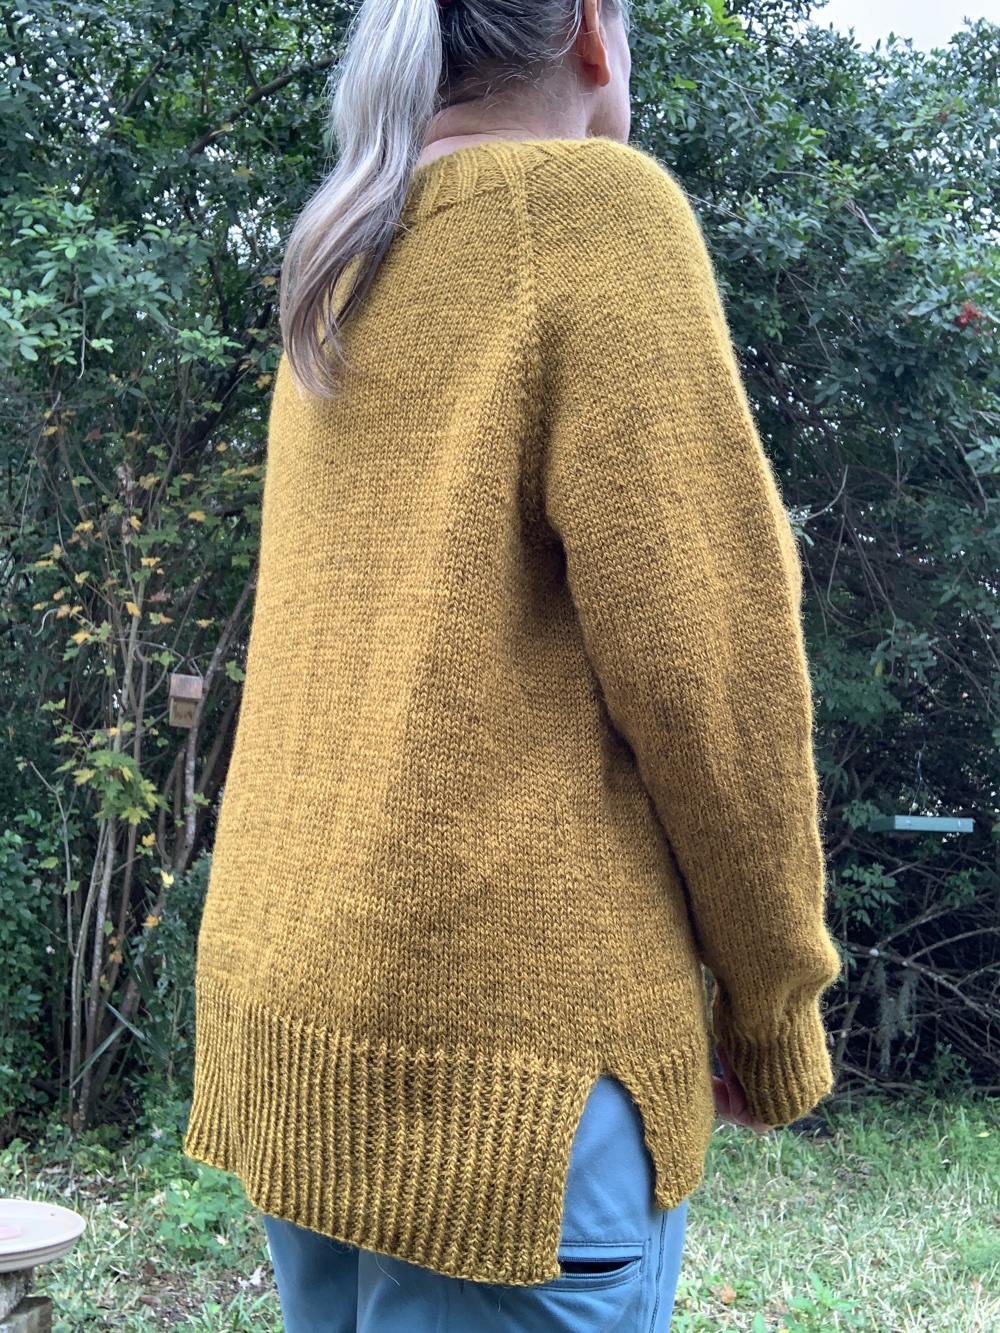
This new sweater pattern is by a designer I am familiar with – Ankestrick. She wrote the pattern for the Rebel Cardigan, which I have knit and successfully finished. The Birthday61 sweater is a textured pullover. It is knit in all one color using a fingering weight yarn. The pattern is the half-fisherman’s rib. Needle size is very small, between 0-1.5US size, depending on gauge.

Buying Yarn

The designer knit her sweater using Biches & Bûches cashmere and lambswool yarn. I bet it’s gorgeous. The yarn is quite expensive and hard to find in the US. So, I looked at the Biches & Bûches lambswool – no cashmere. It is the same weight and costs less. Also, it is easier to find.

Ravelry has a feature where a yarn page links to shops that sell the yarn. I use it a lot. It does not list every place the yarn is sold, but enough to give me an idea of pricing.

If others have an opinion on the yarn, they can leave comments.

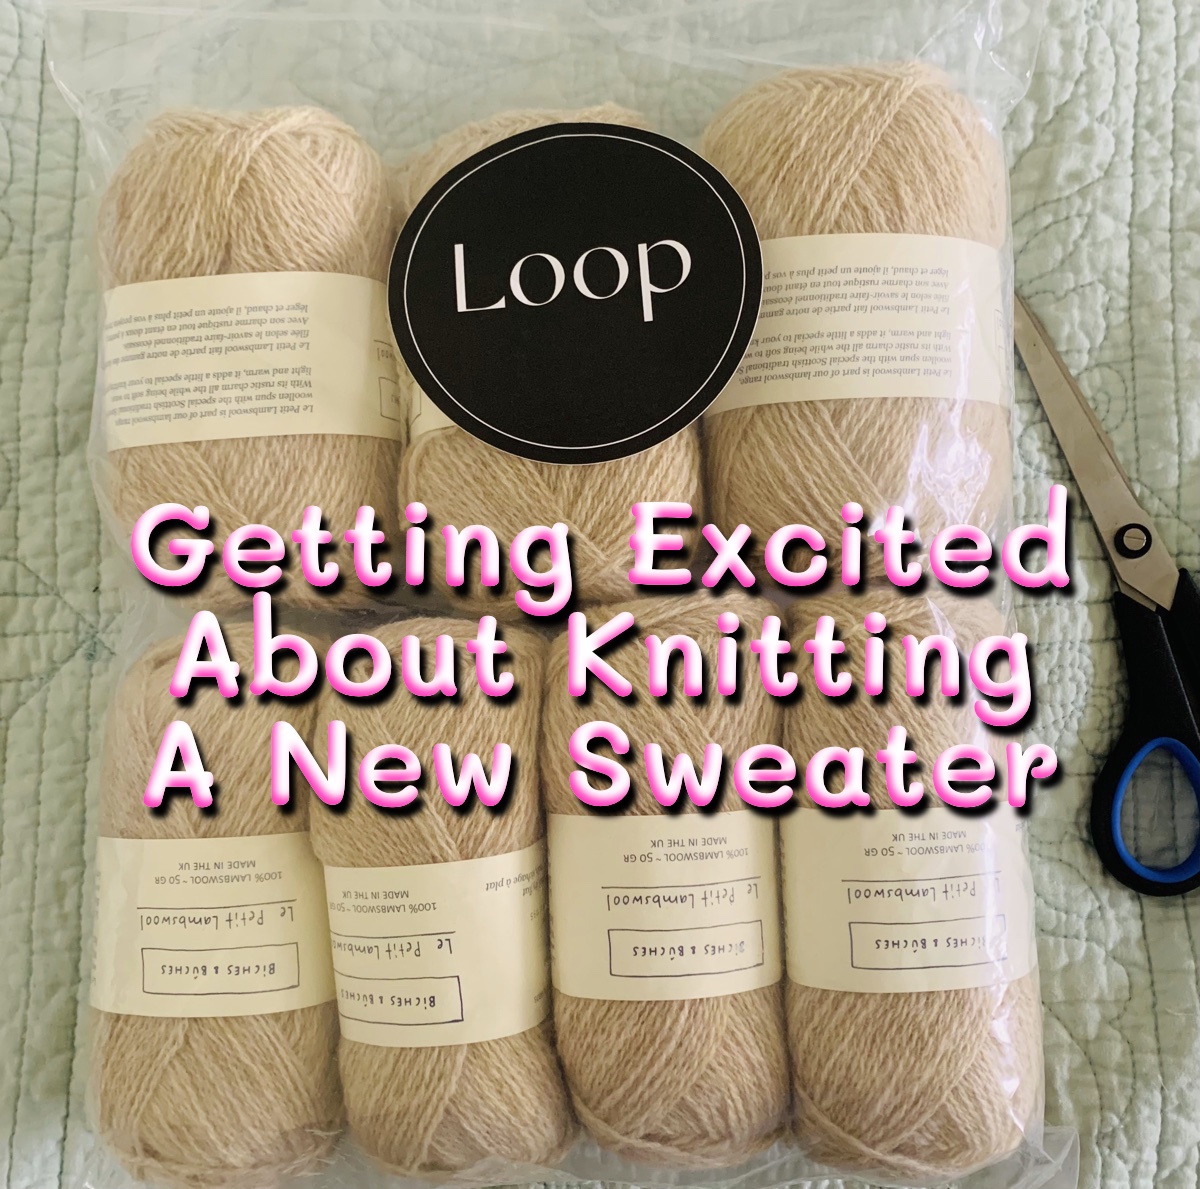
To see what types of yarn have already been used for a project, go to the Birthday61 projects page and click the “yarn ideas” link at the top. When I do that for Birthday61, I see that Biches & Bûches La Petite Lambswool has been used for six of these sweaters already. I ended up ordering seven skeins from Loop Yarn. They offer free shipping for orders over $95. I chose color Beige.

I’ve read that Biches & Bûches is changing their skeins from hanks (that have to be wound) to skeins that don’t. When ordering, it seems you could get either type. On the Loop site they showed hanks on the ordering page. Here is what I got … & YAY – no winding required! I’m so happy.

beige yarn skeins from Loop yarn

The Birthday61 Pattern – Buy the pattern here at Ravelry

I’ve already been knitting a sample of the Birthday61 sweater pattern. Mainly, I wanted to see if I could do it. Check out my page here. I’m not convinced that I will not mess this up. A light colored yarn is going to show all the goofs, but it will also be easier to see the stitches as I knit.

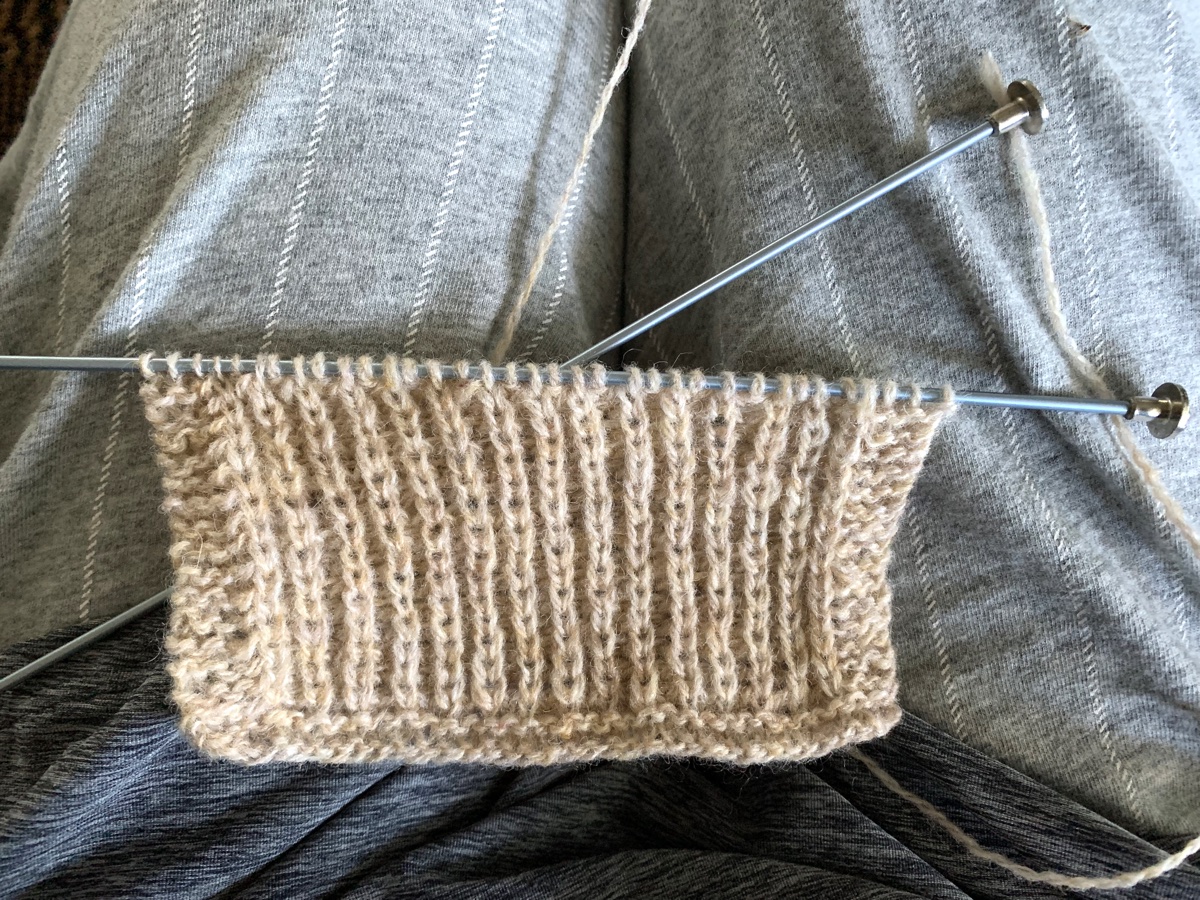
The Swatch on Needle Size 1 US (2.25mm)

Initially I had hoped that my sample piece would serve as a swatch, but the new Biches & Bûches yarn is thinner than the Rauma. I needed to knit a swatch. Swatch stitch amounts (for a 4×4 size – before and after blocking) are given but I wasn’t sure how to knit the swatch in the half-fisherman’s rib.

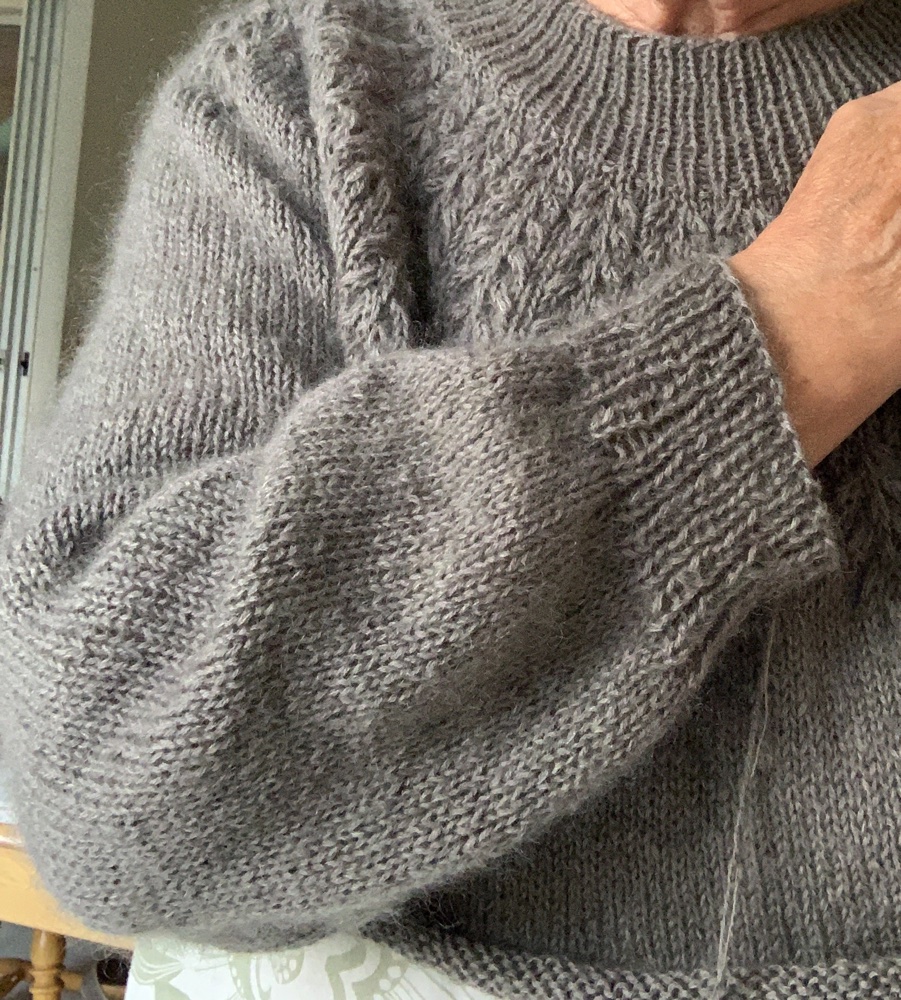
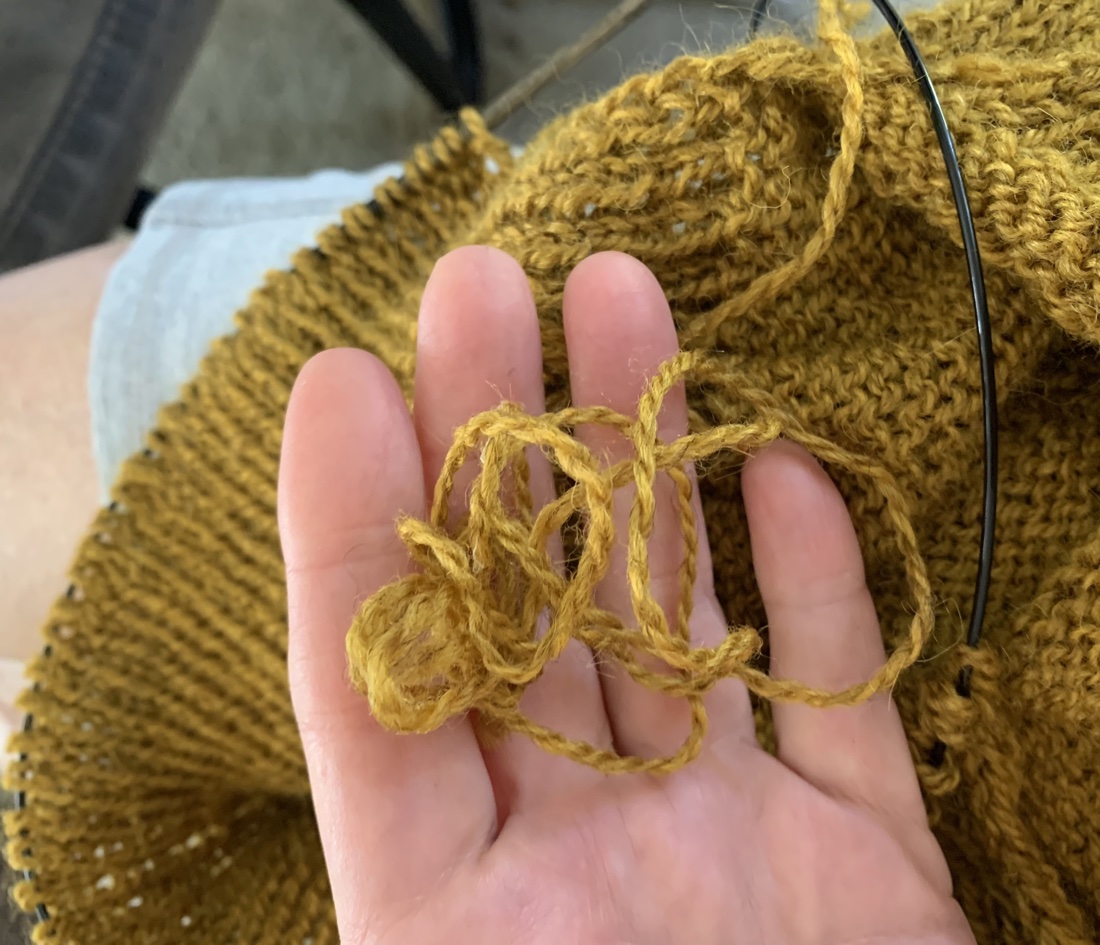
I ended up knitting a flat piece (using size US1 / 2.25mm needle) following directions for this on page 2. The wrong side is knit and the right side is done in the kbl, purl. I left 3 border stitches on each side of each row. I began and ended the swatch with 4 knit rows.

Before I got the swatch finished I could tell it would end up being too tall / long.

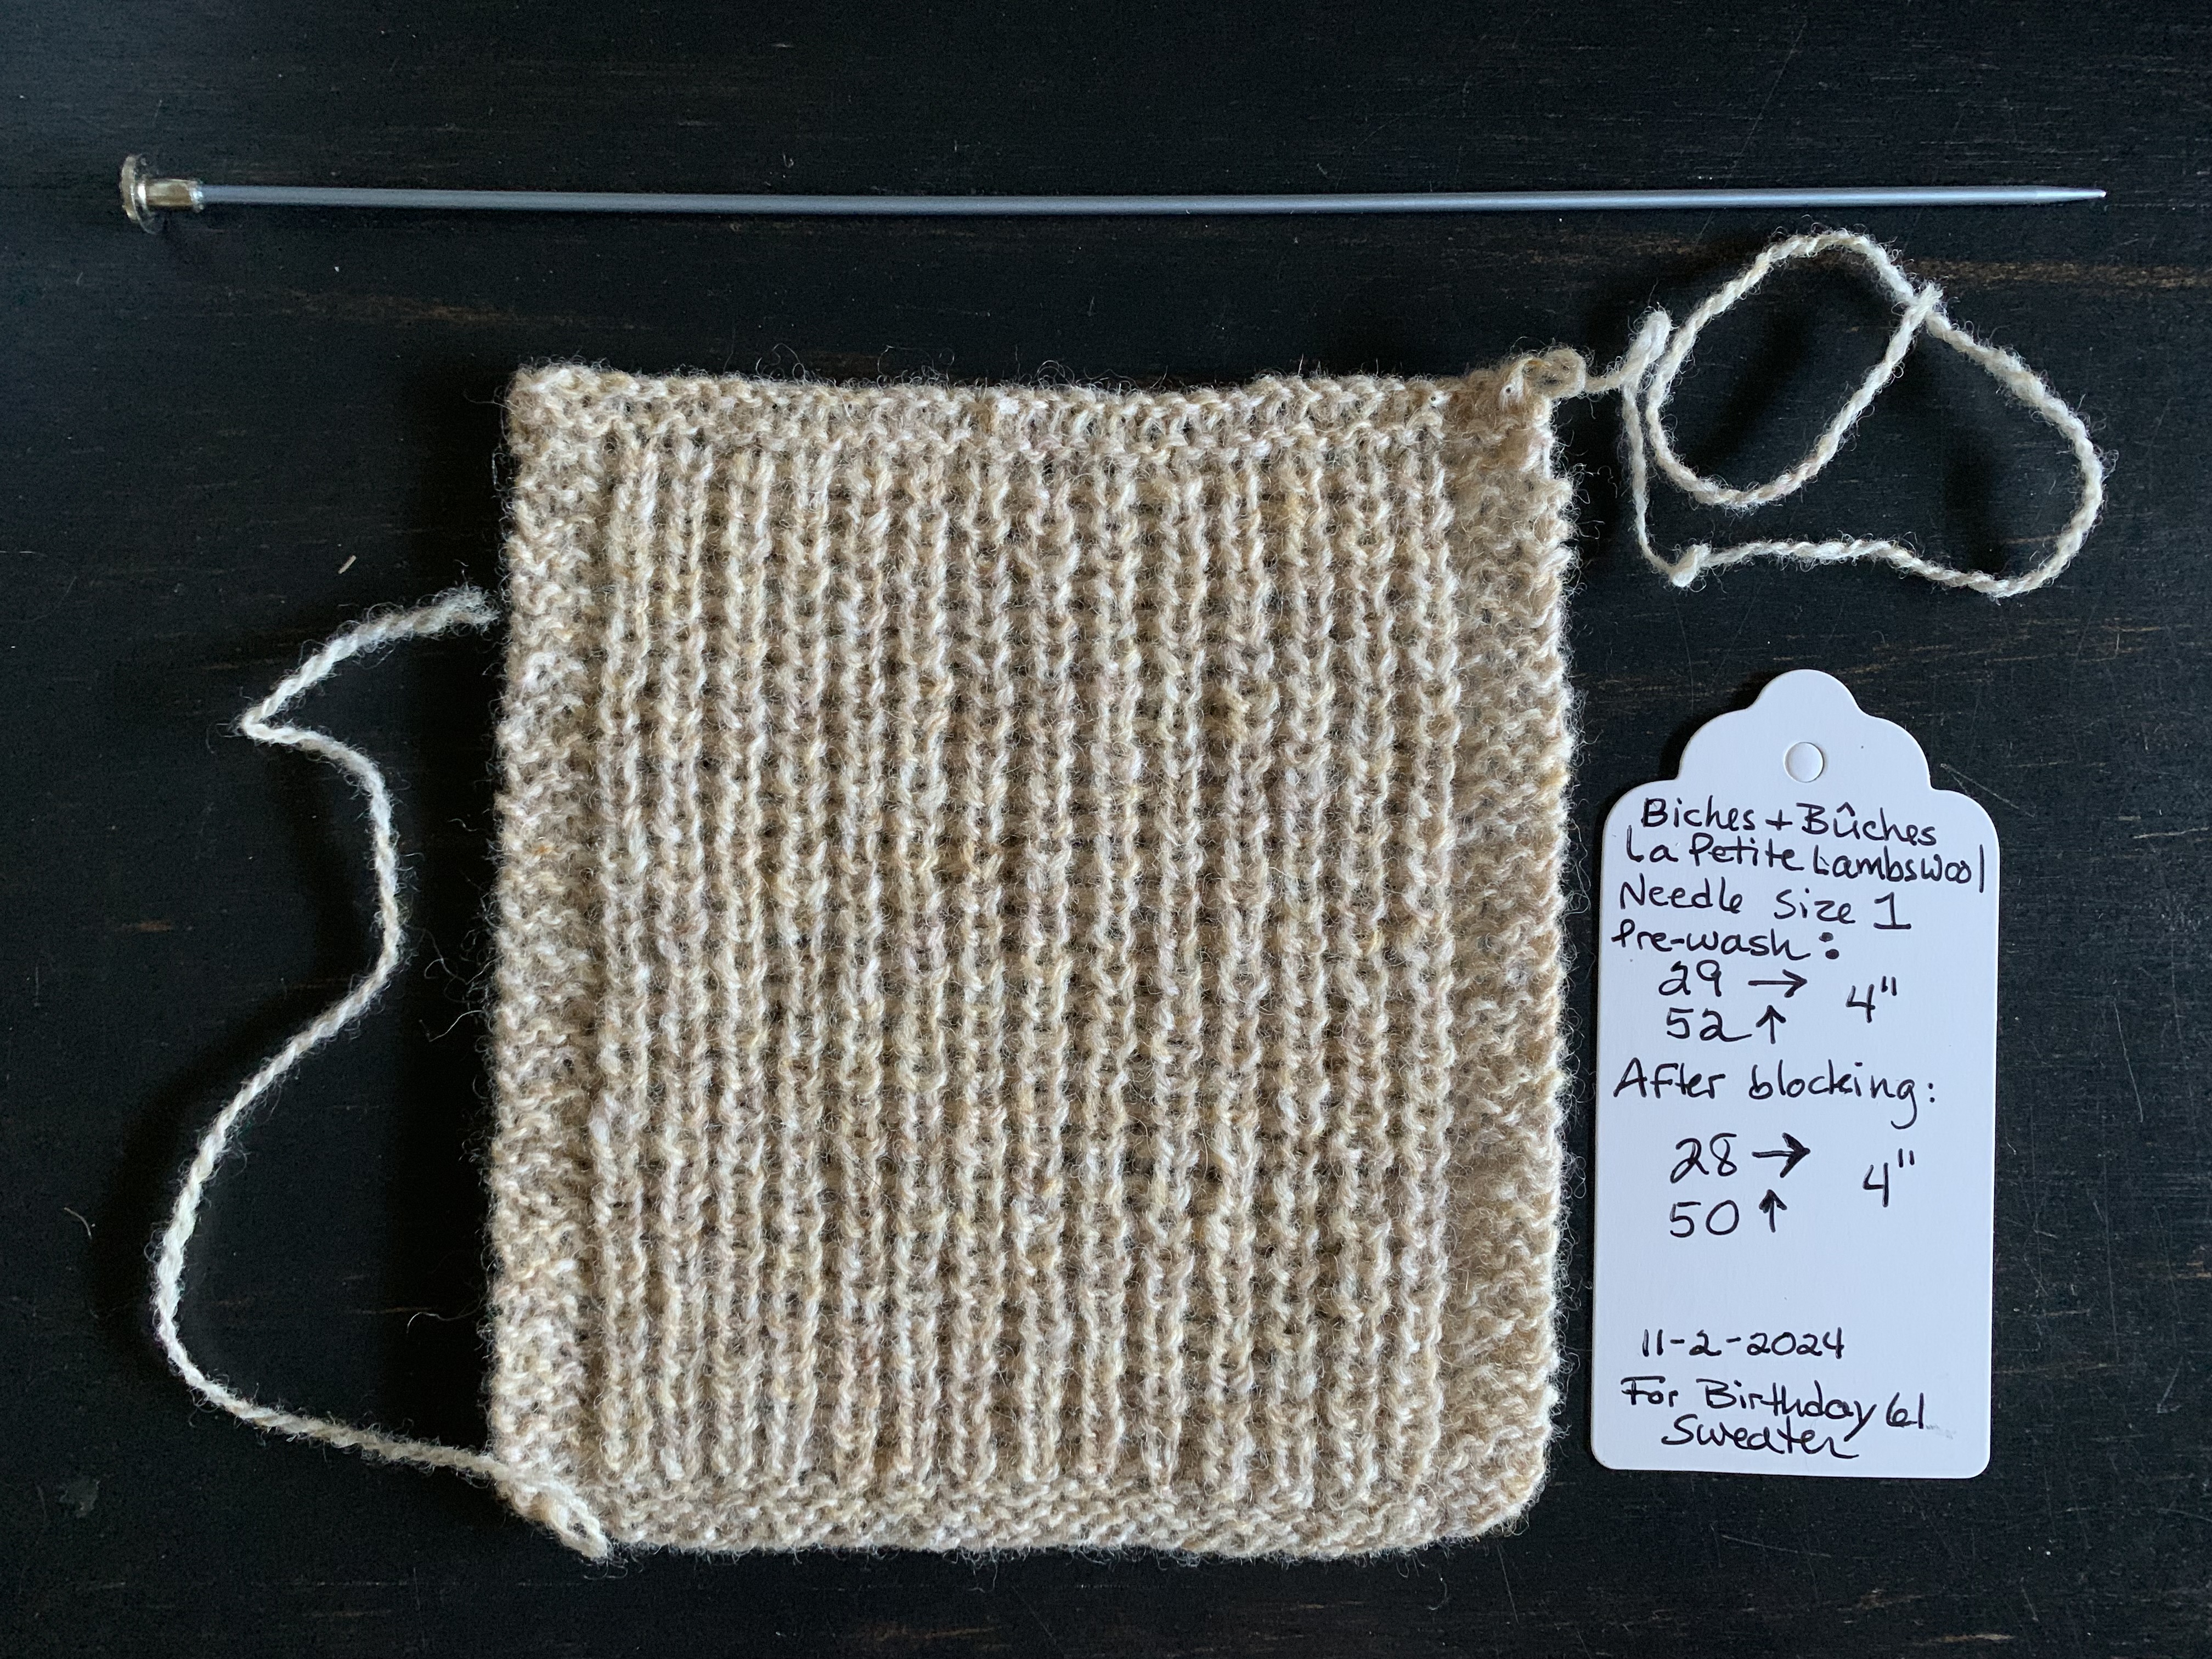
My gauge is really off on rounds. Width / stitch number in 4 inches is very close, but I should have 8 more rows. What this means to me is that my sweater will end up very long. I’ll have to watch the length as I knit.

This swatch should be 64 rounds that equal 4 inches. If I knit 64 rounds I get something like 6 inches. Knitters also say that this type of stitch stretches downward with washing.

I began to wonder if I knit the swatch incorrectly. So I asked on the Ankestrick designs forum at Ravelry (this is the place to ask pattern questions). I got a quick reply and found I had knit it correctly. So maybe I need a smaller needle. I ripped out this swatch and began again with the smaller needle.

swatch for Birthday61 sweater front
Front
Back

However, my swatch with size 0 needles did not change much. My plan is to cast on with size 0 and switch to size 1 for the sweater. I am hoping that the cast on edge will look okay.

More info to come as I begin this project.


Something went wrong. Please refresh the page and/or try again.

The Field Sweater Knitting Notes and Outcome

My experience knitting the Field Sweater pattern was a good one and I am very happy with the finished project.

The Field Sweater knitting pattern has a beautiful textured yoke. The “grains” can be a bit daunting to knit, at first. A kind knitter has shared informational tutorials on her YouTube channel, and these helped me a lot. I wrote a whole page about beginning this sweater project and knitting the grains.

The Pattern

I found the pattern to be very easy to follow, but a few things were not as well explained as they could have been. The description of the M1L increase was different, but each row of the entire grain section was written out. I did find the grains easier to knit after watching the videos that were made by another knitter.

Changes

The only change made by me, was to knit a wider sleeve. Once the sleeve stitches were picked up, I decreased only enough to come to the 70 stitches that begin the top of the sleeve, for the size I knit.

I continued knitting, using a 16 inch circular needle, all the way to the cuff. For the row before the ribbing began, I decreased to the suggested number (50) for the cuff.

Sleeve Decrease Round

Just before the cuff ribbing, I did one round and decreased from 70 to 50 stitches. After much contemplation (and exasperation!)… I finally figured it out and did the round like this:

To decrease from 70 to 50 stitches all at once: *k1,k2tog,k1,k2tog,k1 – Repeat to end of row.

Hey, I have come across this page / site by Mimi Codd where she shares a calculator for this very thing! You can try it out HERE. In fact when I put the numbers in (70 stitches to decrease to 50) this is what I get: K5, k2tog, [k1, k2tog] until last 6 stitches, K6. This would have saved me loads of time. I’m linking it in my top of page menu under knitting.

The sleeve ended up being loose, as I’d hoped, and was knit to the length suggested in the pattern. With a wider sleeve, it is possible to wear this over a top.

I did my bind off a little differently with a k1, p1tbl. Someone on Instagram had mentioned doing this as a bind off and I do like it.

Finished and Happy

Now, I have finished knitting this pretty pattern. The sweater fits me perfectly. It still needs a wash, but I’m already in love with it. It won’t be the last time I use this yarn.

More Knitting Ideas and Stories…

Something went wrong. Please refresh the page and/or try again.

Knitting the Calliope Pullover in Rustic Gold Wool

Stumped while knitting the sleeves of my second Calliope sweater.

After I had knit my first Calliope sweater, I wanted to knit another one. The style is basic raglan, but it has some rib at the yoke. The sleeves also have an extra long rib. I ended up changing that on my project. (The pattern was free at one time, but no longer is.)

The yarn is something new for me, and came from the Sonder Yarn Company. It is a pretty, golden color called “Toast & Honey”. I’m really enjoying knitting with it. Some skeins had more than one knot though. Thumbs down on all the knots, which I cut out and “spit spliced“.

The sweater had some weird looking stitches as I knit, but after washing all things magically smoothed out and it looks wonderful!

An Easy Sweater Knitting Project

This sweater pattern is quite easy to knit and might be perfect as a first sweater project for beginners. It helps to know the basic construction of a raglan. Increases widen the front, back and sleeves as the yoke expands. The pattern says exactly where and when to make the increases. Stitch markers help to keep track of it all. I used removable stitch markers to mark the two sleeve sections, for my own preference.

The sweater designer used two yarns held together: a fingering weight with lace to make a DK. I did that for my first Calliope and used Superwash yarn. The sweater stretched and ended up very big and droopy – that’s why I now avoid this type of yarn for sweaters. This time I am knitting a smaller size overall, and using a single strand of DK wool.

Buy the Calliope Pattern at Ravelry

Knitting the Sleeves

My one concern is the sleeves of this sweater. I’m using a completely different yarn this time, but as I knit the long ribbing, it seems big around.

I considered doing the sleeves differently. I do like the unique long rib, but I’m not sure this yarn is right for it. Yarn can change a great deal once it’s washed and blocked which usually makes a sweater look much better. *Yes, this happened! I think the original ribbing in the pattern would have worked out fine.

Sleeve changes: I ripped back to the beginning of all that ribbing on the sleeve. I did a few more decrease rounds to end up with 60 stitches on the needle. Knit to about 16 inches and made a 2 inch rib cuff. I’m not happy with the bind-off and may go back and do an Invisible rib BO. *Update: I am now knitting the second sleeve with a 1×1 twisted rib cuff that is about 4 inches long. Will go back to the first sleeve and re-knit to match! I’m happy with my ending choice on the cuff. See below.

twisted rib cuff
Ribbing on cuff after washing

I used magic loop on the cuff but it was leaving ladders, so I changed to DPNs. The ladders are now gone and the cuff looks perfect – through the magic of washing! (Soaked entire project in Eucalan -Amazon paid link- for 20 minutes and put on boards to dry.)

Making it a Split Hem

I decided to split the hem and do a twisted rib. I’ve never done this on my own, without following a pattern, but it’s simple enough. Divide front and back stitches in half. Make a nice edge at each side of the rows. I did have to learn how to knit the wrong side of a twisted rib because it’s different than going round and round.

Doing a Flat (Back and Forth) Twisted Rib

For the hem ribbing I did this once the stitches were divided between front and back of sweater: Right side: begin row with K1tbl, sl1wyib – then *knit through the back loop and purl one across to last two stitches and end row with sl1wyib, k1tbl. Wrong side: begin row with Sl1wyif, P1 – then *knit one and purl through the back loop, to last two stitches and end with P1, Sl1wyif.

Lost at Yarn Chicken (Knew I Would)

When it came time to bind off the back hem, I had only a small bit of yarn remaining. I did not make it, so had to wind up my last skein. I encountered two knots in that one skein and it was my one complaint with this yarn. Too many knots to cut out. I have nearly one entire skein of yarn leftover.

Washed and Photographed

As is so often true, this yarn became soft and lovely after a wash. My sweater is plenty loose, long and comfy – just like I’d hoped it would be. I would have no trouble wearing this without a shirt underneath. But layering would also work. I am very happy with the finished project. On to the next…

End measurements: Total length from top of back to bottom is 26 inches. Sleeves are 18.5 inches, Body knit for 12 inches and then did a 3 inch twisted rib in the front, and a 4 inch rib in the back. I knit the size 3 Calliope using a size 6 US needle as my main needle. I used 4 skeins of Sunday Morning DK = 1072 yards (plus about a foot!) See notes on my Ravelry page.

Have you knit the Calliope sweater?

Please leave a comment, as I’d love to hear if, and how, you changed the sleeves.


More knitting projects, reviews and stories.

Something went wrong. Please refresh the page and/or try again.

New Sweater Pattern and Yarn Overs to Learn

Figuring out how to knit the yarn over eyelets for the Blueberry Vodka Lemonade sweater knitting pattern.

These days I find most of my new knitting projects while browsing Instagram. I’m pretty clueless about the tech side of Instagram, but I have found some very interesting patterns.

The Blueberry Vodka Lemonade pullover is the newest, and I have just cast on to knit it. This pattern is by designer Thea Colman, aka Baby Cocktails, and it is a raglan style with a wide collar and eyelets down the sides of the sleeves.

It calls for a fingering weight yarn and I have chosen to use Sandnes Garn Tynn Peer Gynt. A mouthful, but a beautiful wool that comes from Norway. It is a bit thin, so I had to go down a needle size to get gauge.

Two firsts here for me: I’ve never knit anything by this designer. The pattern is one of the best I’ve ever followed. It’s 9 pages long, and full of good info needed to successfully knit the project. I did have some trouble in the beginning and had to begin again, but it was totally my own fault for not paying attention.

Sandnes Garn Tynn Peer Gynt fingering wool yarn
Pretty black wool
knitting the yoke of a sweater in black wool
Short rows have been completed and I’m on to knitting my way down the yoke.

Help on Knitting the Eyelets

This sweater has eyelets, or little holes, along the edges of the sleeves. To create them, you must be familiar with yarn-overs. And I was not! I never knit much of anything that calls for yarn-overs, but I have done them before. I needed a refresher.

The YouTube video from Purl Soho is very good and covers all the ways a yarn-over is made. But the pattern yarn-overs are made at stitch markers so a “slip marker (sm)” is included, and that is where I got confused.

For instance, the directions will say, “Yarn over, slip marker, purl”. What this means is to do the yarn over (forward) and it will be on the needle before the marker. Then the marker is slipped, and when the purl is done – by wrapping the yarn back around the needle (watch that Purl Soho video if you need to), that purl strand must stay on the needle to the right of the marker. Not doing this throws off the stitch counts between the markers – the strand will be next to the purl when it should be behind the marker. I was doing it wrong, and it took me a few rounds to figure it out.

By the time I knew what I should be doing, my stitch counts for the back section and sleeves were off. I had to add in some stitches as I continued knitting.

So, the sweater is a big mess already… LOL. I already had to re-start this project, so onward I knit. My counts are good…the eyelets are a little off in some places, but …. It’s all good.

Knitting eyelets with yarn overs

I thought I would share this info just in case anyone else is having the same kind of trouble doing the yarn-overs.

I look forward to seeing how this sweater turns out. More to come about knitting this pattern.

balls of yarn graphic

Keep reading…