My Solvi Sweater is Finished and This is My Review

I have finished knitting Jennifer Steingass’s Solvi sweater pattern and here is my review.

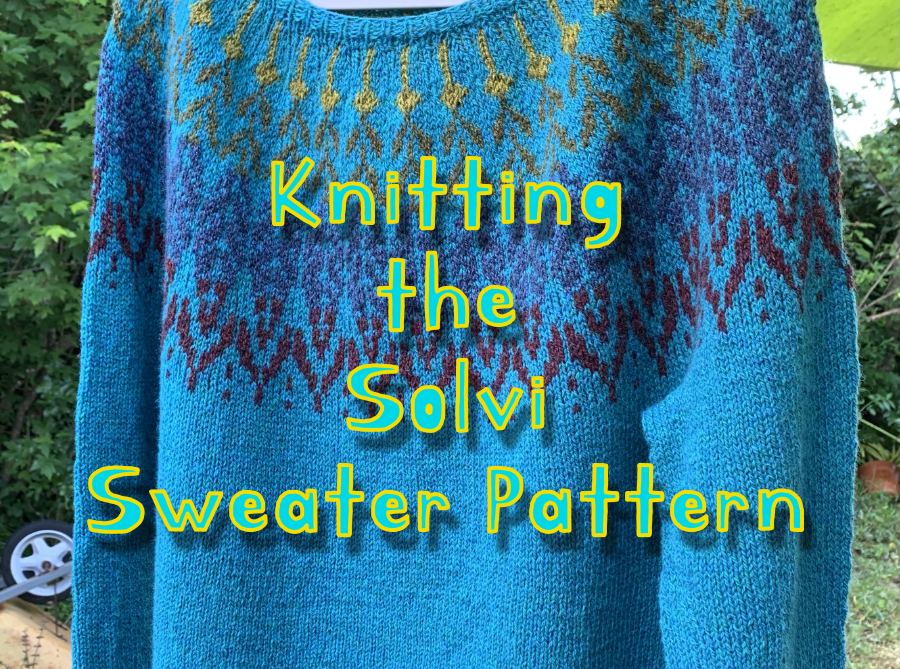
Jennifer Steingass is the designer of the Solvi sweater which is a pullover. I began knitting this pattern on October first. Now it is mid-April and I have finished the project.

The delay in finishing was due to many things, but mostly because I doubted a good outcome. Do you ever start knitting a pattern with much excitement only to loose that excitement somewhere along the way? If you have done enough knitting, I suspect you will say “yes”.

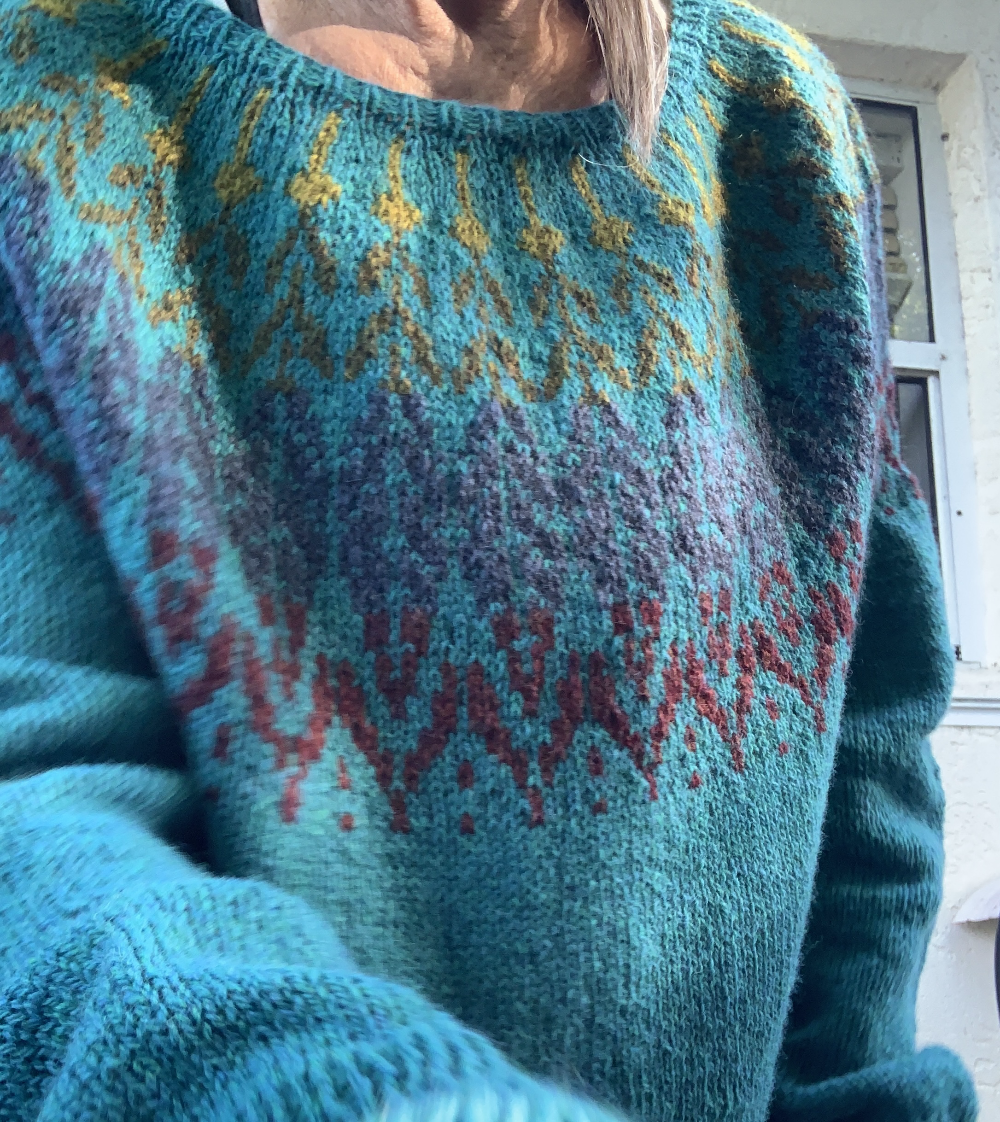
I love the yarn. I chose “Peacock” blue in Harrisville Design’s Shetland. What a beautiful fingering weight yarn, and in a great color. For the long colorwork yoke, I dug into my stash of fingering weight wool. I tried to keep a more muted color scheme going with colors that flowed into each other. I’m happy with the colors.

Solvi sweater finished

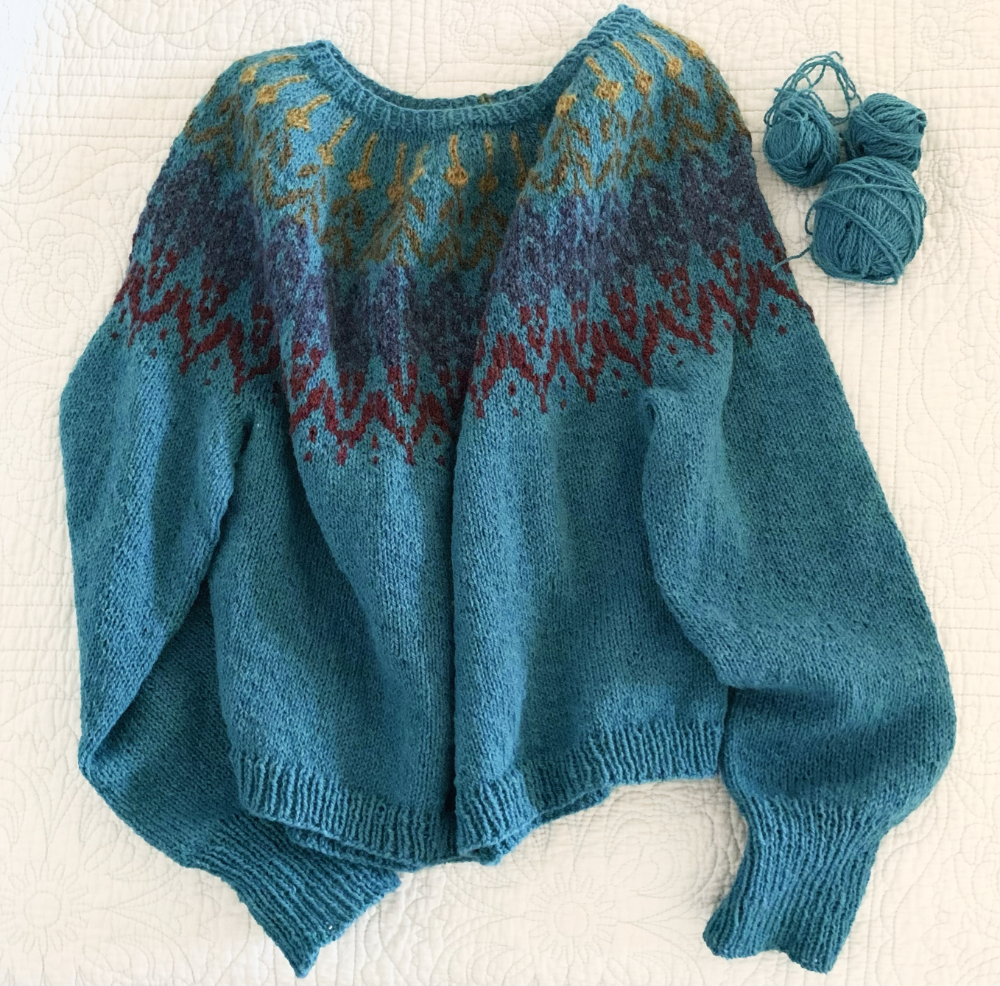
What caused me to pause this knitting project (many times) was the large look of the yoke. It seemed very wide, and the depth was an inch over the schematic size. I considered ripping it all out, but what a pain in the neck! So I put it aside and worked on other things.

Finally, I picked it up and got to knitting. I would finish and see how it was.

I was right. It ended up large.

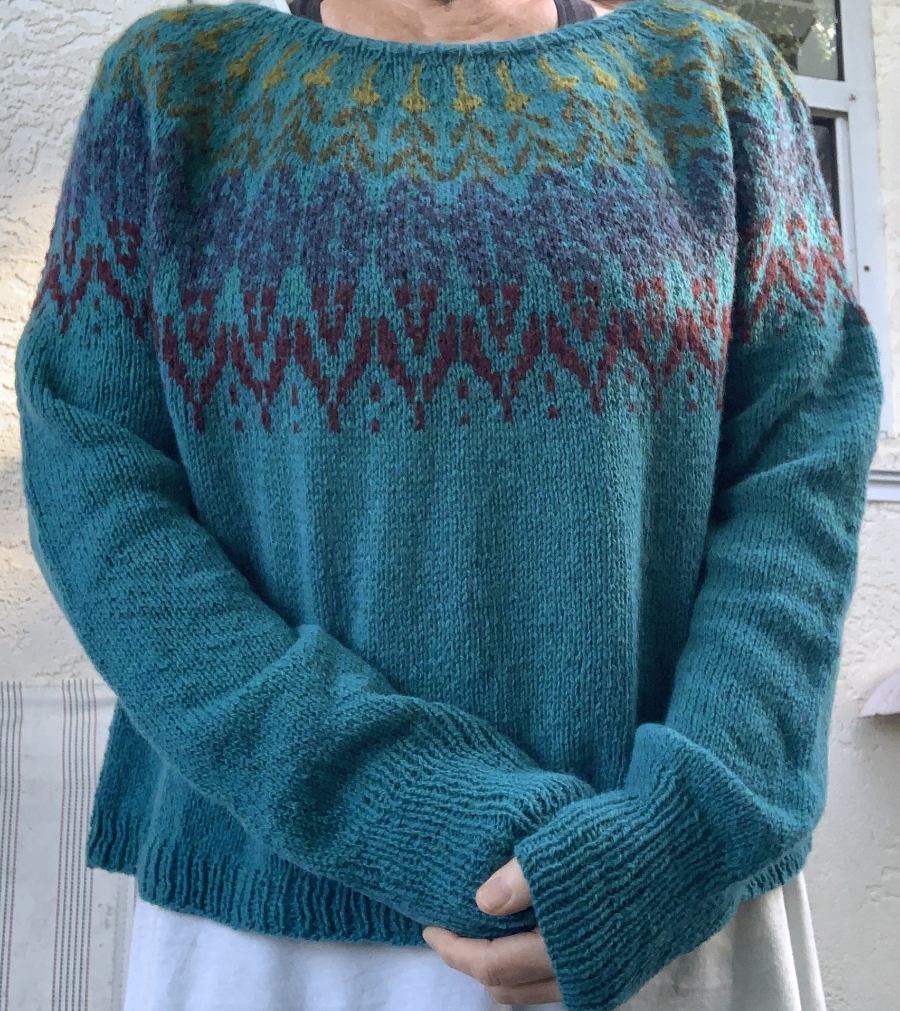
I like an oversized sweater, but this one is too much. I could easily have knit one size smaller and been happy with the fit! (I knit size D – or the 4th size.)

The sweater has a very wide neckline that flows into a wide, colorwork yoke. I like the pattern of feathers that comes down the front, but the whole thing is just too wide. This is my fault for choosing the larger size. There is nothing wrong with the pattern. Just be aware of the width of this sweater. My gauge was good, but I was between sizes and chose larger. It was my mistake.

I used the same size main needle for all the colorwork as well. I was considering going up a needle size because colorwork tends to be a little tighter. I’m so glad I did not do that!

Mods I Made

Because the yoke was getting too long I had to leave out a bit of the feathers pattern. This project has been put aside quite a bit, so I can’t remember exactly what I changed.

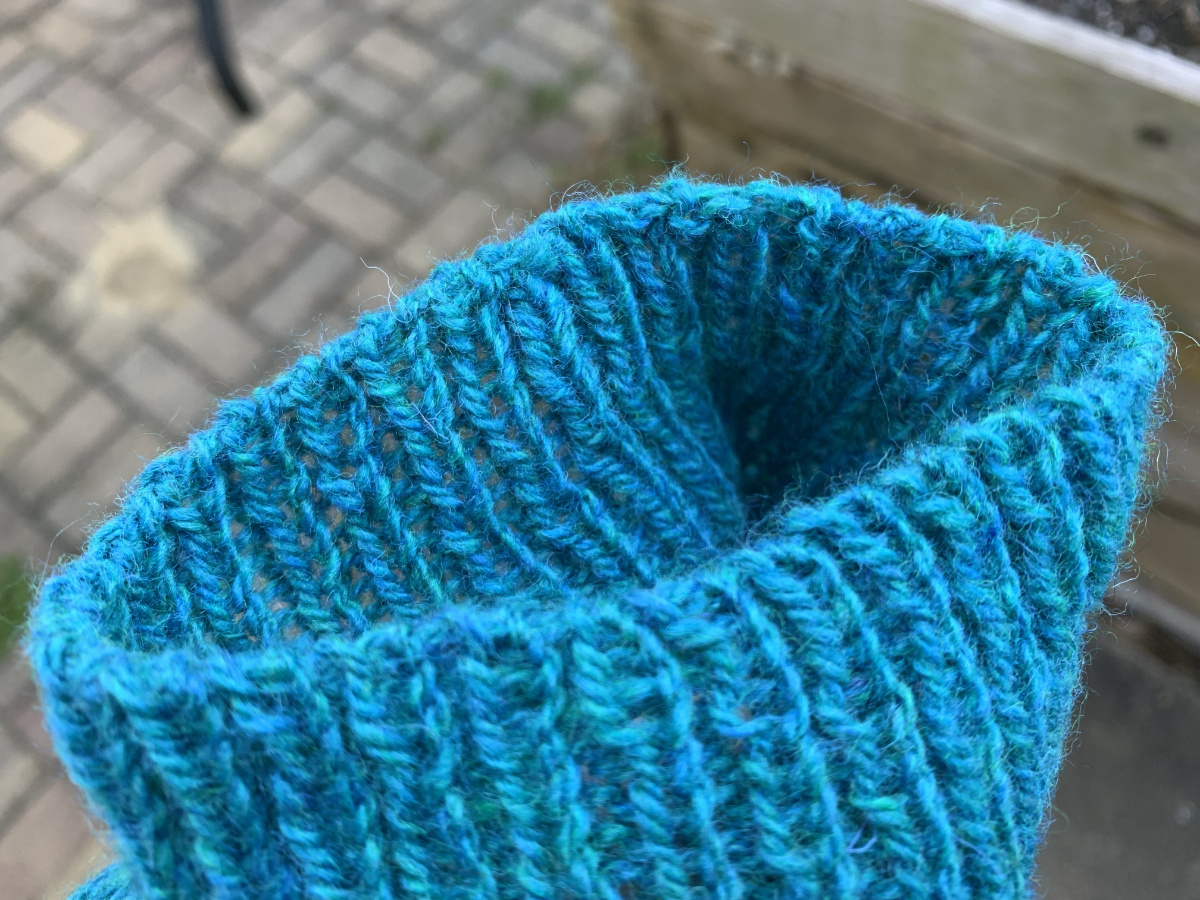
If I knit a larger size sweater, I often go down a size for the sleeves. I did that for this one. I followed size 3 (C) stitch counts so the sleeves would be more narrow. I also knit them longer. For the cuffs, I did not do the last row of tightening up, and instead did a tubular bind-off with a sewing needle.

Solvi cuff bind off

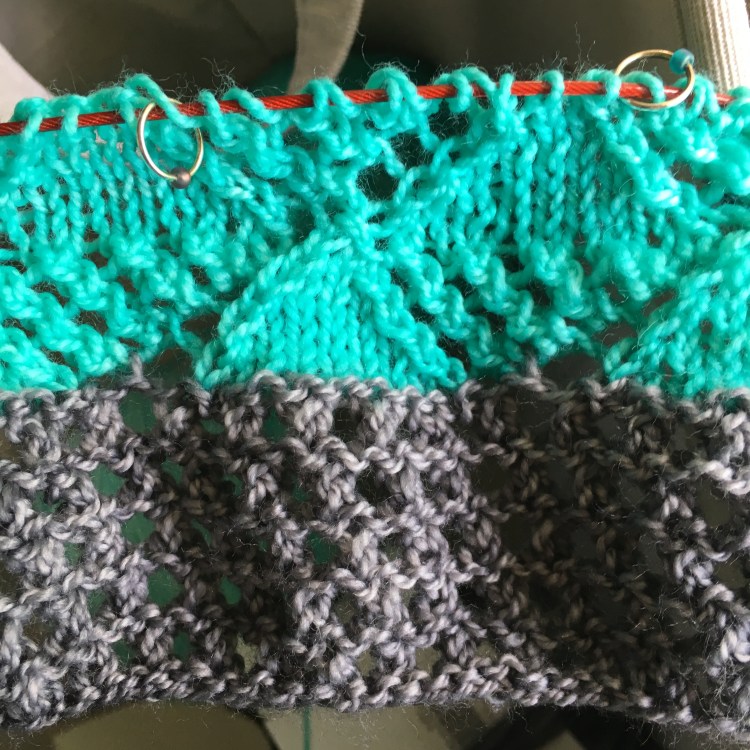
For this pattern, I finished the body first. I used a new skein of yarn for each sleeve. I had three little balls of yarn leftover, which you can see in my first photo above.

Solvi sweater in peacock blue wool

I will absolutely be wearing this sweater next winter. It will work best as a layer over a turtleneck on the coldest days.

I usually have good luck knitting Jennifer Steingass patterns. Her Ravelry pattern page is Knit.Love.Wool. and the link goes there. The previous sweaters of hers, that I have knit, have fit me pretty well. Her patterns are well-written and easy to follow. Most are colorwork patterns with stranded work done on yokes and sometimes sleeves.

Now, I am moving away from colorwork yokes. Stranded knitting is my favorite thing, but an all-over Fair Isle is a lot more fun.

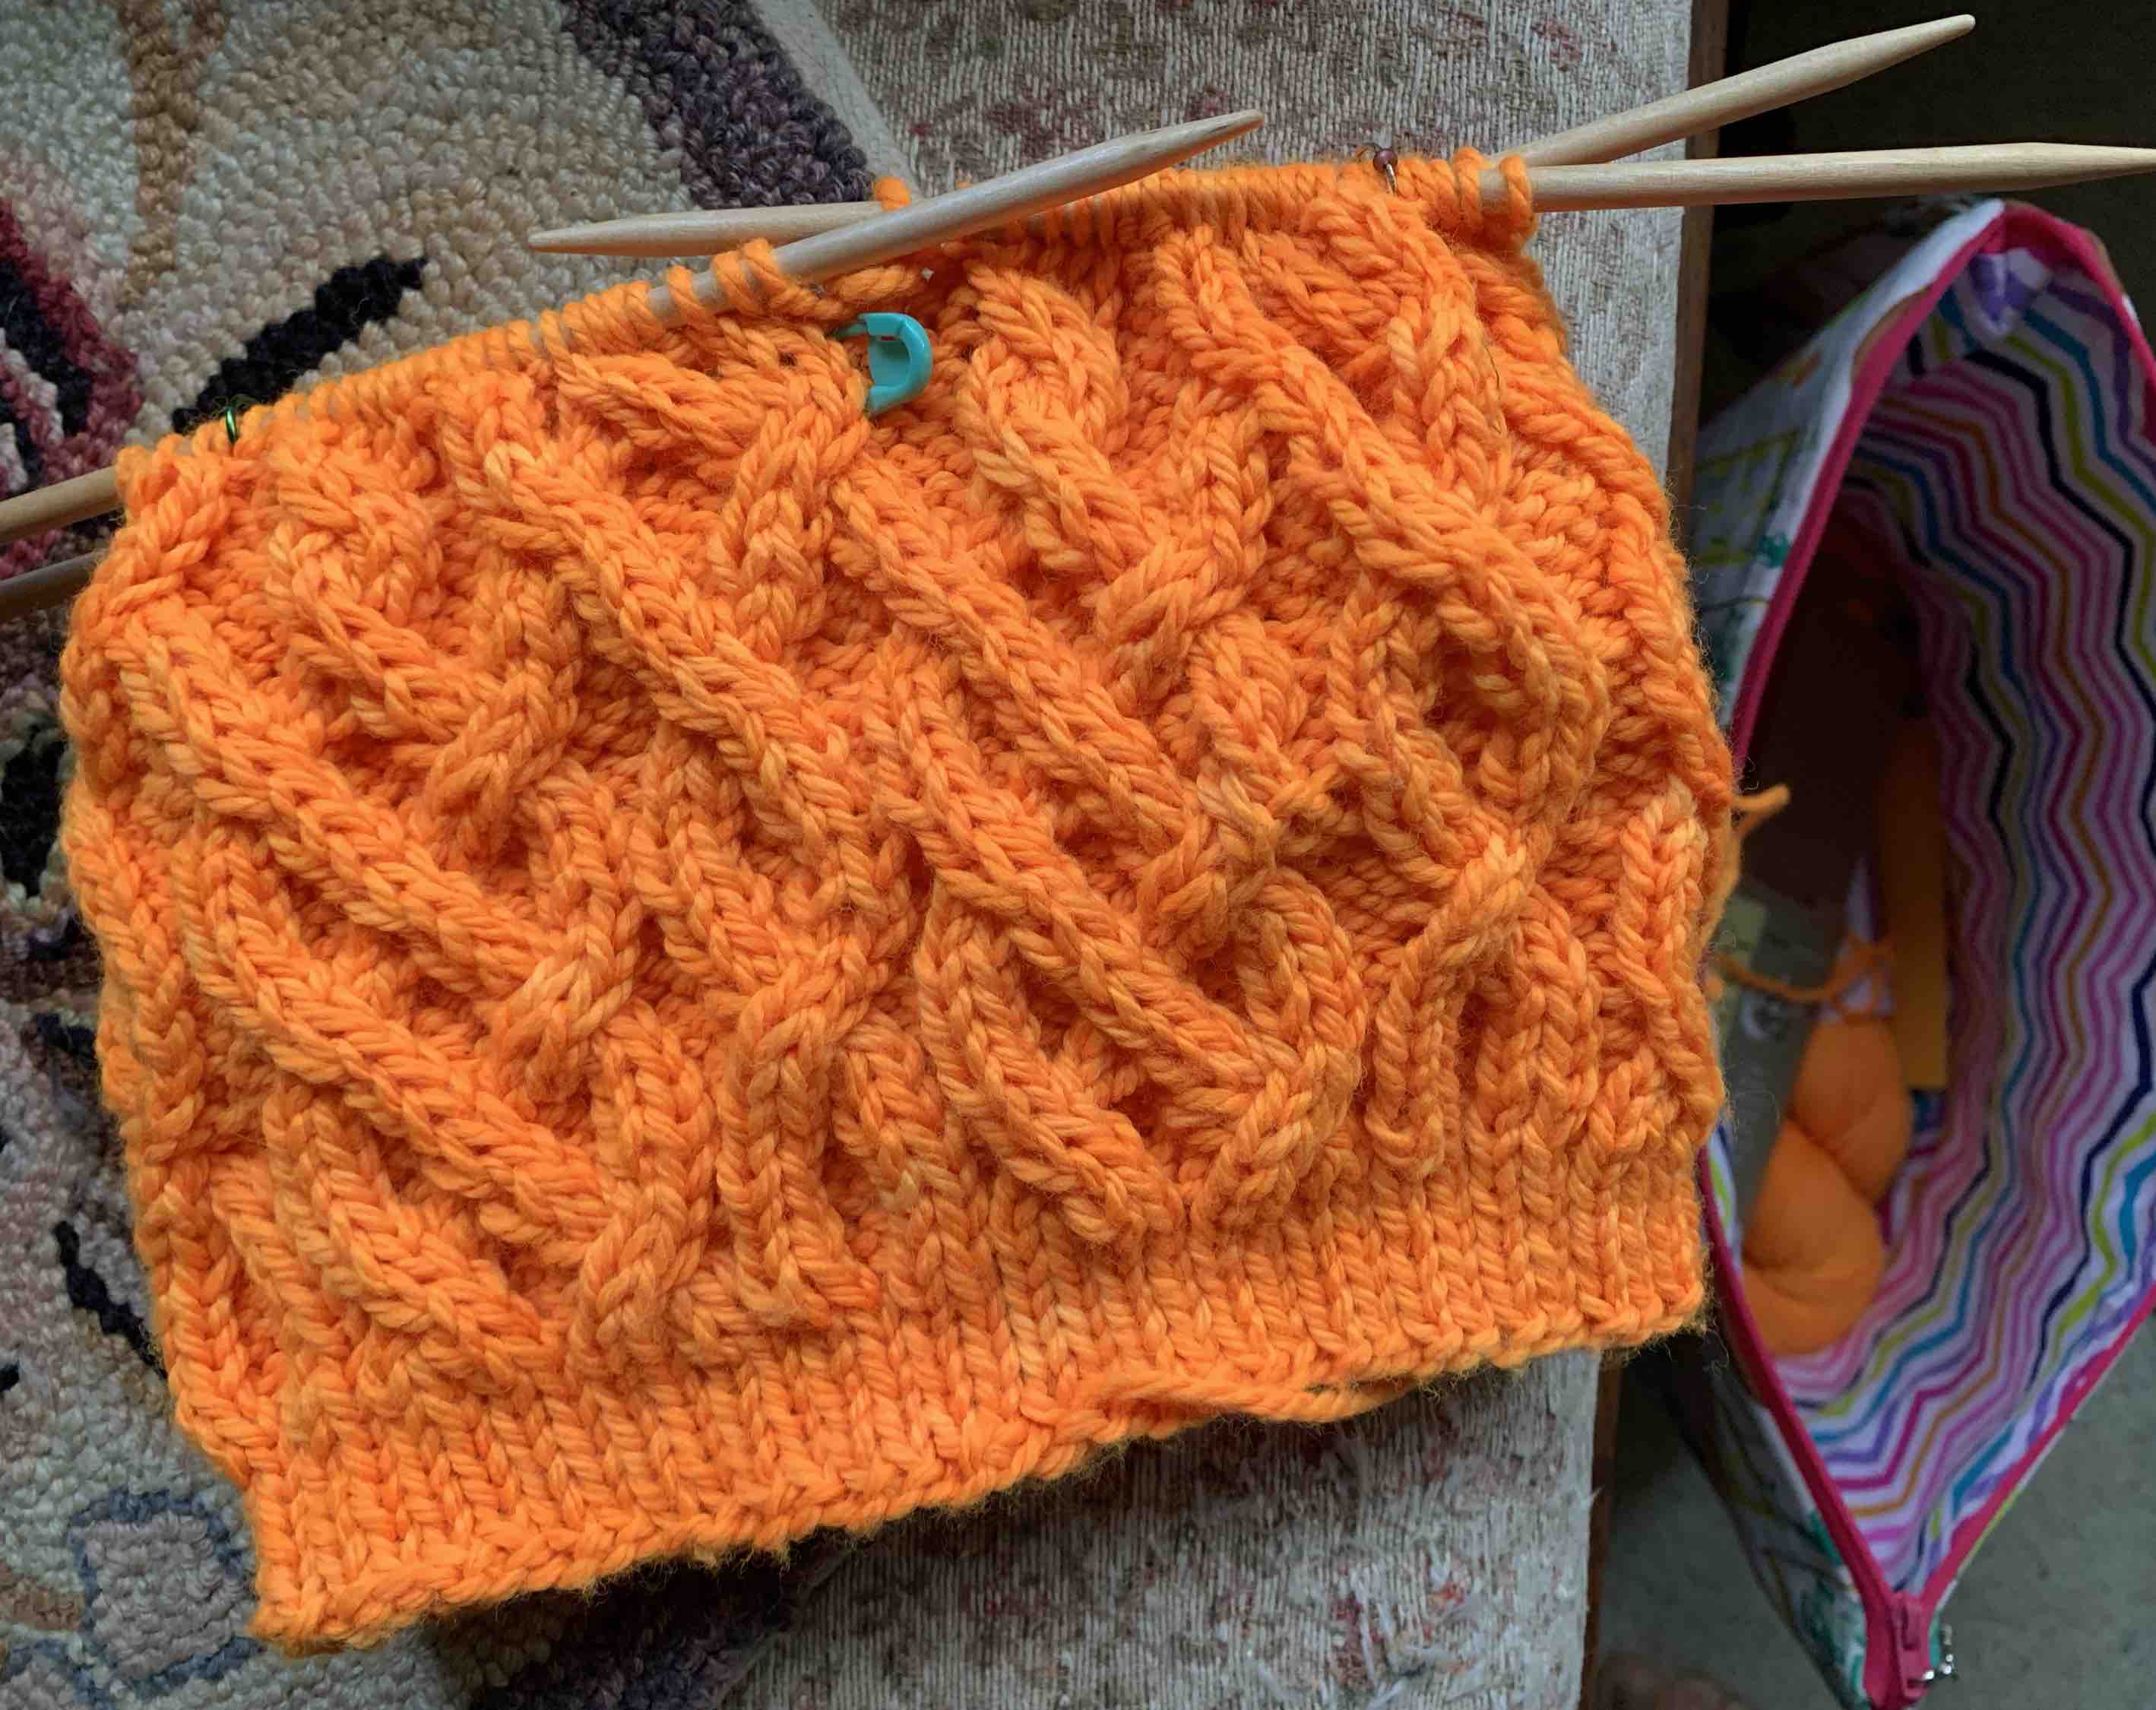
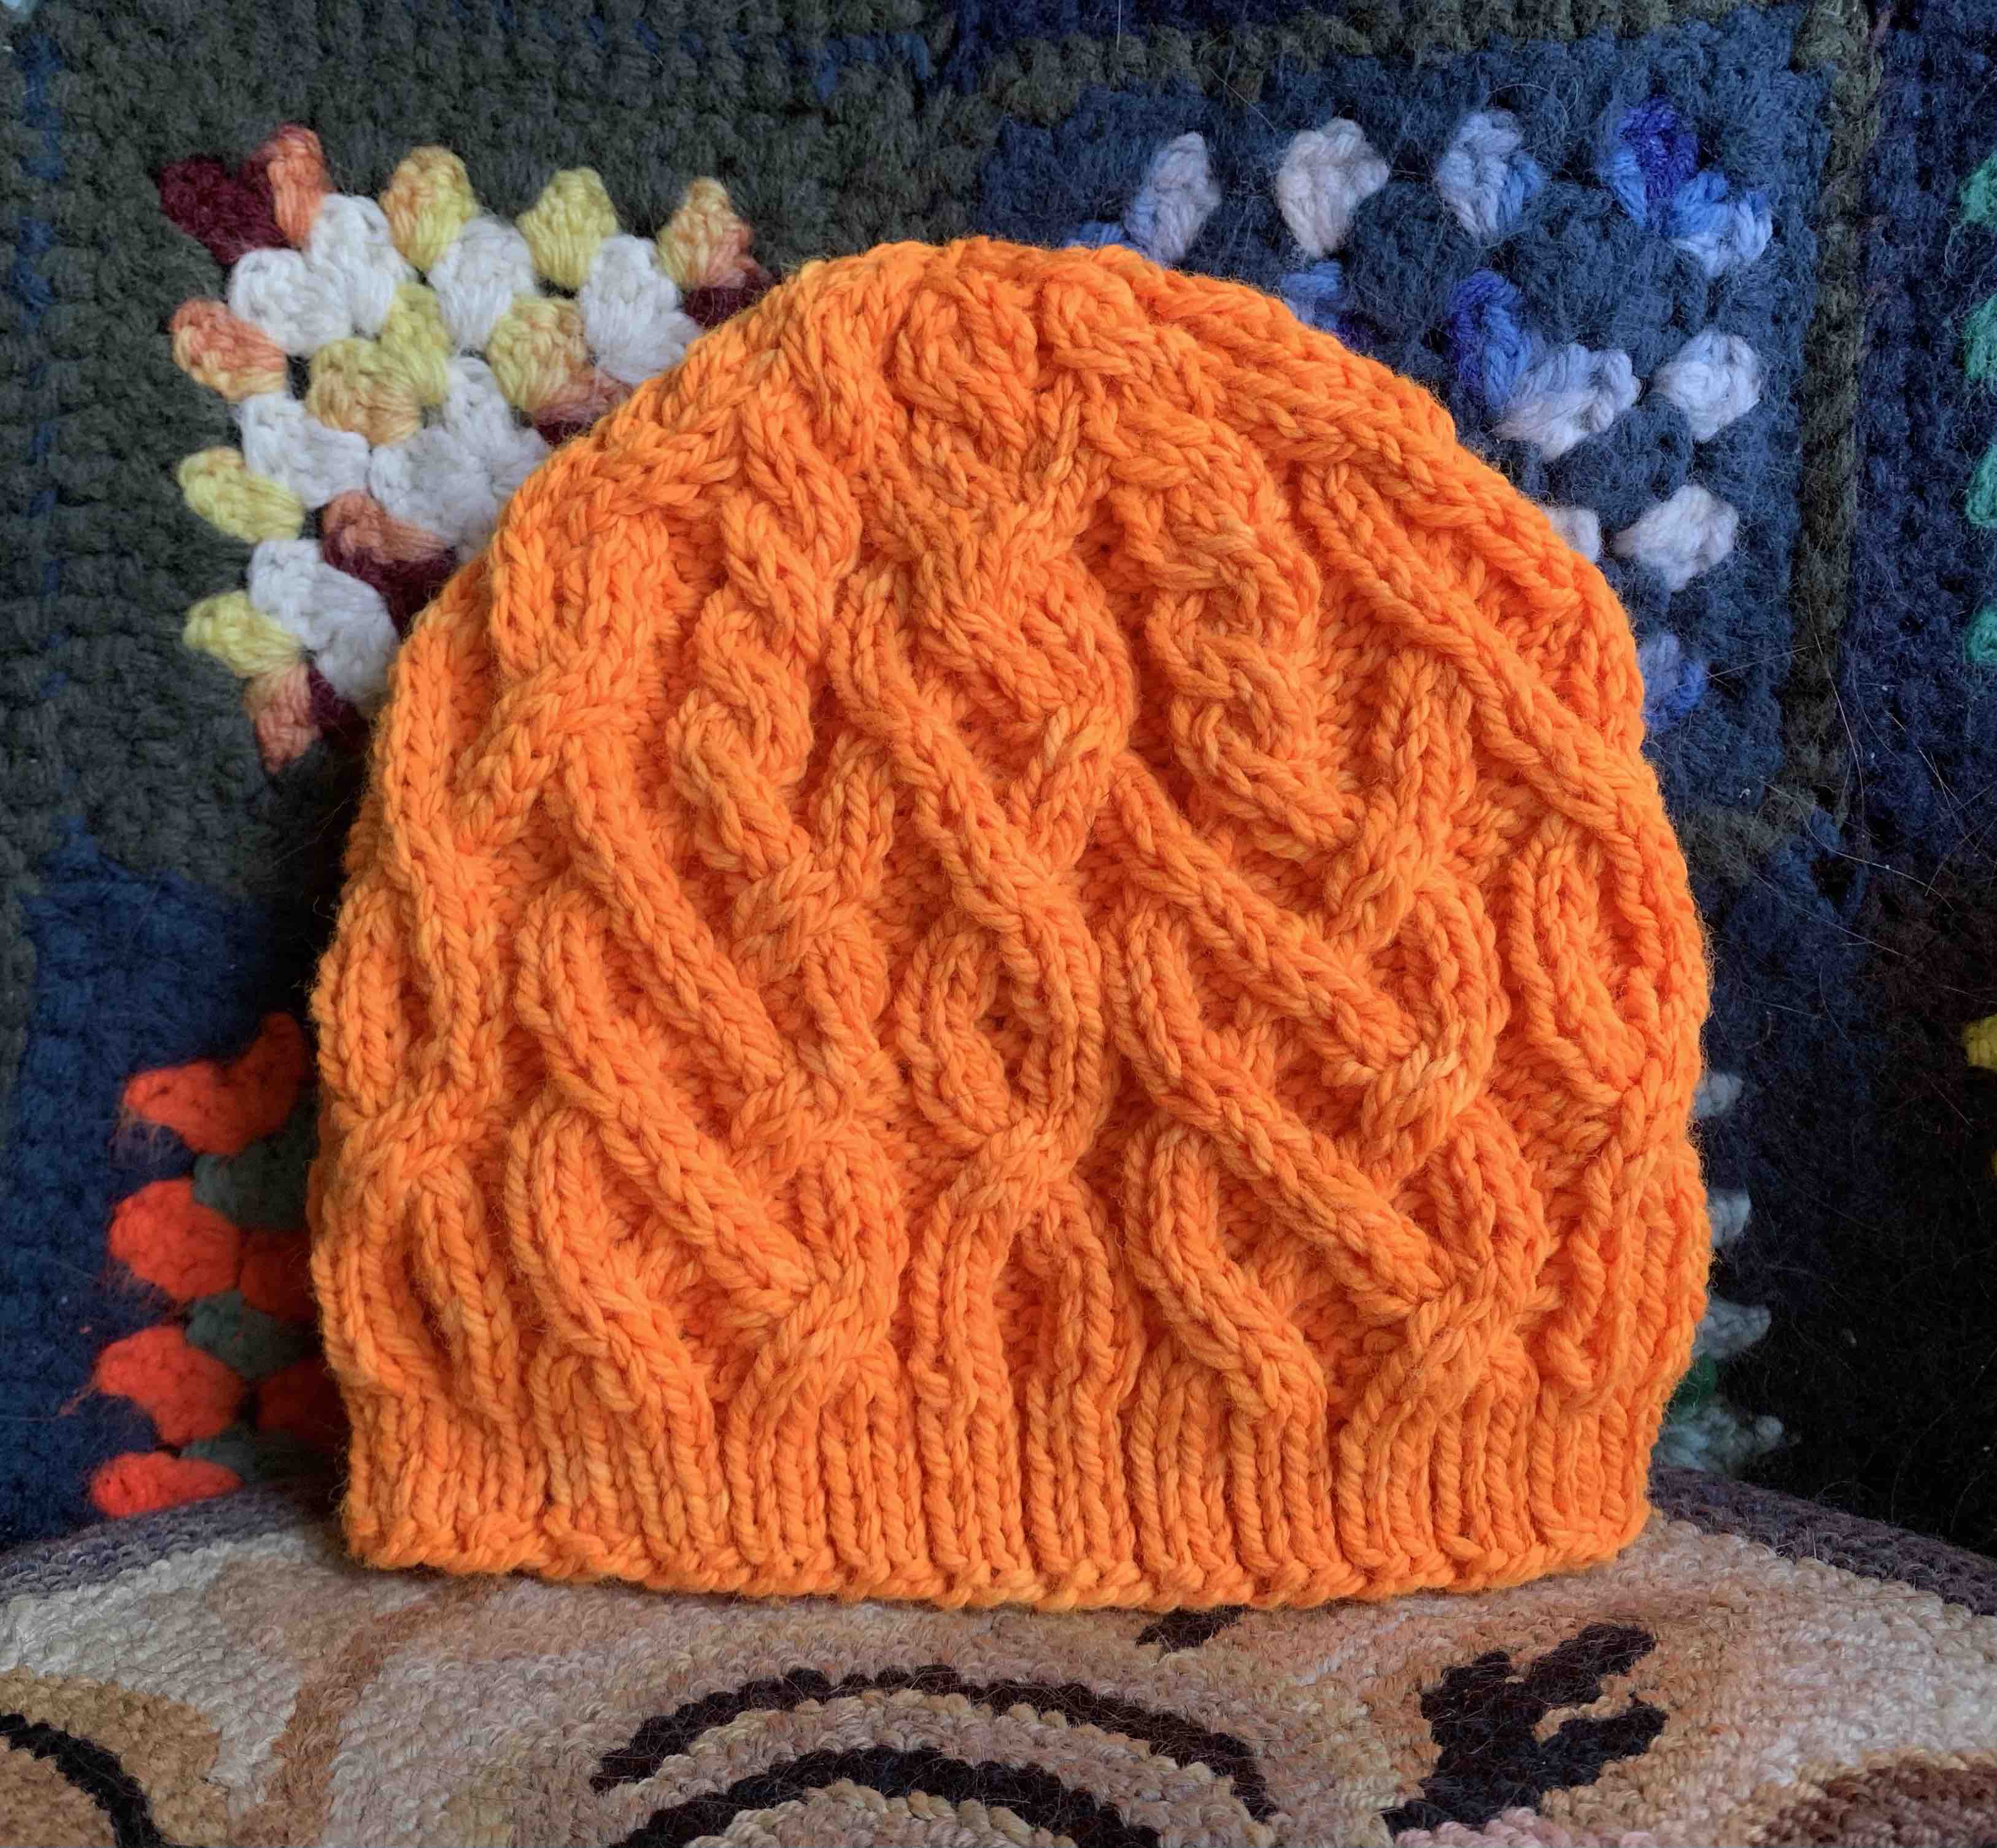
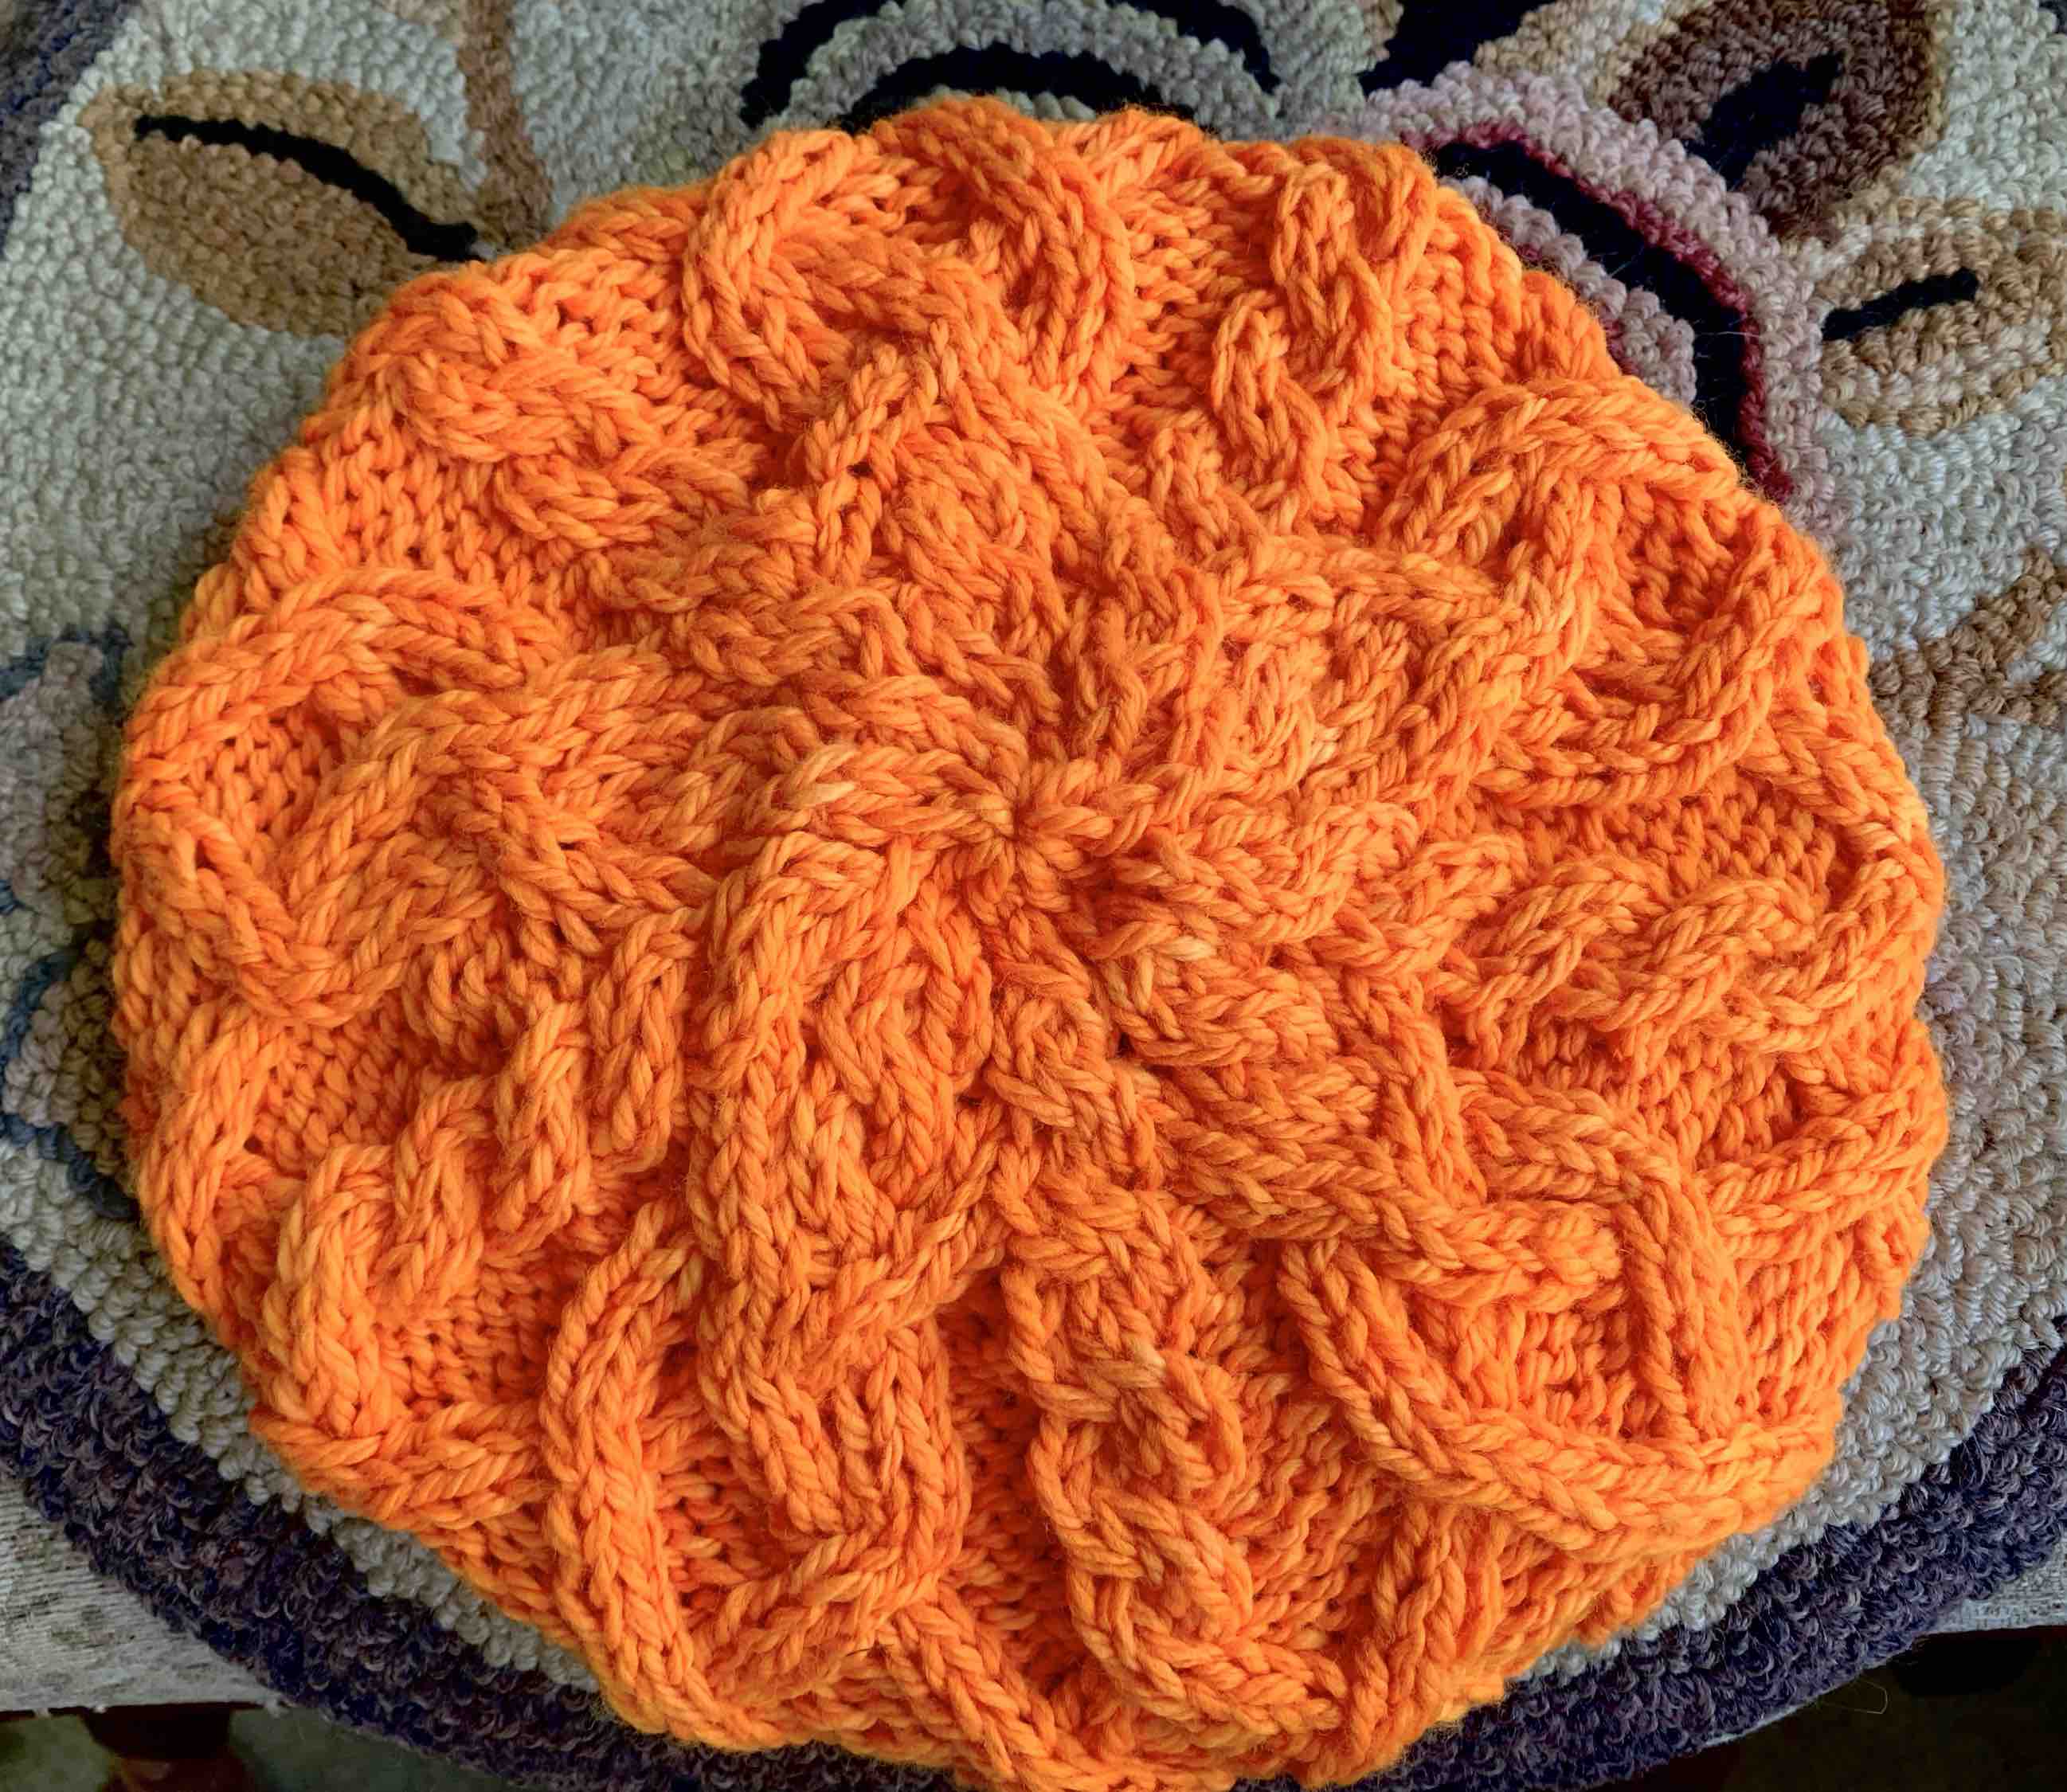
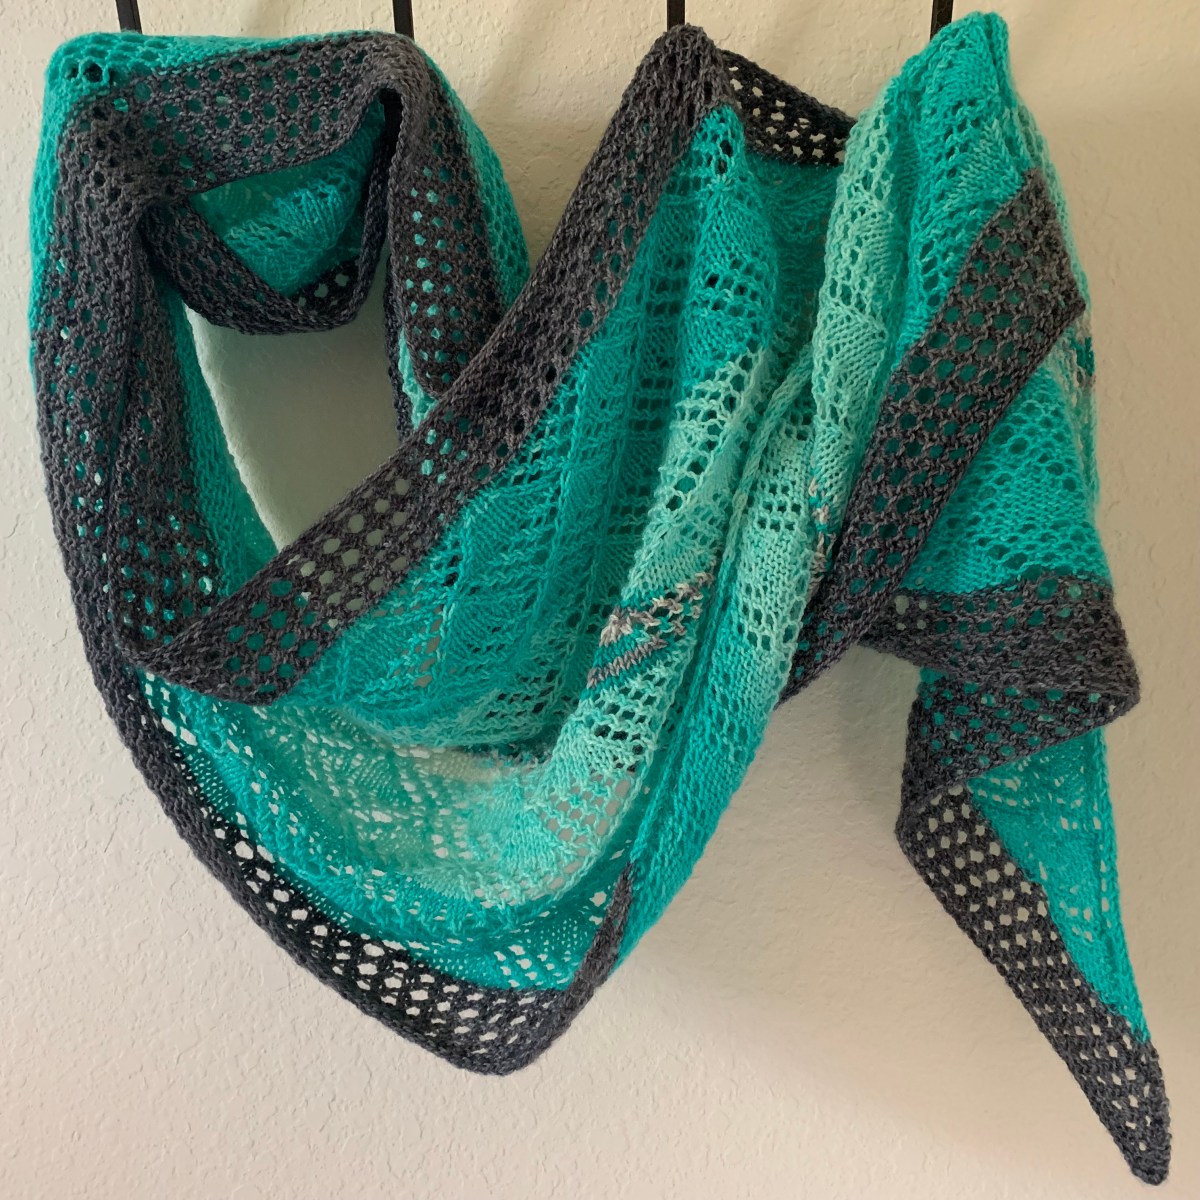
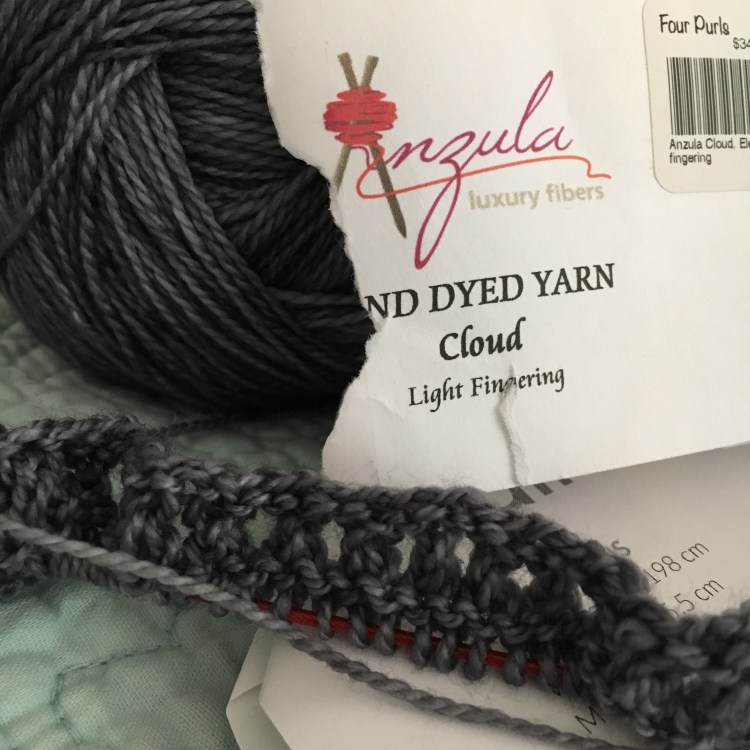
I’ve moved on to knitting fun little scarves and just finished up the biggest hat I’ve ever knit!

Please keep reading…

Something went wrong. Please refresh the page and/or try again.

Knitting “Habitat” Hat With Cables in Hunter Orange

Last year I searched for a hunter orange yarn so I could knit hats for my kids who live in New Hampshire. Whenever hunting season is open – and it is regularly open year round for various animals in NH – walkers, hikers, bikers and anyone who ventures into the wilderness needs to wear hunter orange, aka safety orange, or an equally bright color.

Last year I was unsuccessful in finding the perfect, brightly colored yarn. This year I believe I have found it!

I came across the colorway “Kid You Not” by Hedgehog Fibres, in aran worsted weight and took a chance and bought two skeins from Eat, Sleep, Knit. Later, I found it at Wool and Company and was a bit less expensive. Hedgehog Fibres yarn is hand-dyed and comes from Ireland. It is beautiful, but pricey. What I also love is that it is superwash. Some people I knit for will not hand wash.

Knitting the Cabled Hat “Habitat”

Because the yarn is a semi-solid color I wanted to knit some cables. I searched through many cable hat patterns and ended up with the “Habitat” by Jared Flood. I’ve knit his “Skiff” cabled hat a few times, so I suspected this pattern would be similar, and it is.

I love the way the cables criss-cross up the hat, but that means lots of various cables to do all throughout the project. I do okay until I have to switch and use the DPNs, but the end product is always worth the work.

Shorten the Cable Descriptions

This pattern is charted only, which can be a bit intimidating, but not too tough to figure out. Every cable used is listed on the right-hand side of the chart, with a description of how to make that cable. The chart and cable description prints out on the same page.

The printing is tiny – too tiny for those of us with older eyes to see well – so I use a pen and make each cable easier to read at a glance. This can be seen beneath the pencils in my photo below.

For instance: C3Lp = Slip 2 stitches to CN (cable needle) and hold in front. Purl 1, and knit 2 from the CN. That description is written out, but I make my note to simply say: 2F, P1, K2. When I get to this cable stitch in the pattern, a quick glance tells me what to do.

colored pencils
Creating my easy-to-read chart using color coding

Coloring the Cable Chart

The next order of business before knitting this cable design, is to get out the colored pencils. I’m sure some tech-savvy people can do this using some sort of spreadsheet, but I color the chart by hand. (I do use Knit Companion and I think this can be done with “Magic Markers” in the program, but I haven’t tried it. I do like having a paper printout too, just in case technology is down.)

Next, I go through each cable listed and find it on the chart. Each of the seven various cables used in this knit will get it’s own color coding. Doing this is time consuming, but totally worth the effort. The C3Lp cable which I mentioned, is colored pink for my chart, so every time I come to a pink colored cable in the pattern, I know at a glance to do 2F, P1, K2 ……. 2F (hold 2 front on CN), P1 (purl 1 from the normal needle), K2 (knit 2 from the cable needle).

When I am knitting each row from the chart, I use a sticky note to mark my place. I find this way of knitting the cables to be quite easy to follow.

Needle Sizes I Used

This hat is being knit for my daughter who has a small head. The hat is offered in two sizes, but that only means the length will change, not the diameter. Because of this, I dropped down a needle size and used a size 6US to cast on and knit the short brim. In general, I am a tight knitter, so I hope that will help with size reduction. I switched to size 8US for the cables.

The difference between the Small / Medium and Large sizes is a cable section which is done right after the brim. Choose the shorter, Chart A for S/M or the longer Chart B for size L. Whichever chart is chosen, it will be knit only once. This is a set up section before moving on to the longer, main hat chart.

Habitat Hat Knitting Photos

After a few inches of knitting, the cables begin to show. There are a lot of cables to do in this pattern. The yarn is beginning to remind me of Cheetos!

Switched to DPN’s on row 25 which is not a cable row, to make things easier.

Cabling on the DPN’s and keeping track of the cable sections got a bit difficult, but I hate DPN’s in general.

The Gift

Hiking mountains wearing Habitat hat
Gifted this hat to my daughter who wore it on a New Hampshire hike in Fall!

My Last Remarks About Knitting “Habitat”

Loved the pattern and the yarn. Although this hat comes in “two sizes” there is not much difference between them. I may go up a needle size if I want to make a larger hat, but cables are stretchy.

I know from my experience knitting Jared Flood’s “Skiff” hat that I can do cables. This hat was similar, but was a quicker knit because there is no long brim.

Brooklyn Tweed patterns are full of information but sometimes it’s spread out on various pages. It is imperative that time is taken to read through the entire pattern carefully before beginning any project. I take a highlighter and mark all the important information as I read.

I used the sm/med size which makes the hat shorter only, and not by much. I knit it for my daughter, but for myself, I would knit the large size to make it a bit taller – only 4 more rows, so not a huge difference. I may do a rolled brim next time.

getting the shot newly knit cabled beanie
Getting the shot!

It’s fun to experiment with photography and as soon as I finish weaving in the ends (and sometimes before that!) I grab the iPhone and begin to get the shots that will be added to this blog and my Ravelry project page.

Knitting the Quince Wrap Pattern

Ambah O’Brien’s Quince Wrap caught my eye because I liked the shape. I’m not big on those triangular wraps because I never know just how to wear them – if I could even wear them here in Florida!

But a long wrap is more like a scarf, and that is easier to deal with.

Aqua blue Emma's Yarn
Practically Perfect Sock yarn by Emma’s Yarn in two tropical blue colors

Choosing colors was very tough for me. The pattern designer used color sets from Miss Babs and knit the shawl in rows of color. I decided to save money and knit using some yarn I already had.

Yarn I Used

Because I am in Florida and that means I love tropical colors, so why not use them in the Quince wrap? I used my two aqua blue skeins of yarn from a local Florida yarn store called Four Purls. These skeins of Emma’s Yarn were purchased when the Four Purls Yarn Truck visited my area of the state.

I had purchased a big skein of Anzula light fingering in gray (Elephant) and had no idea what to do with it. The gray color became my border for the wrap. The other colors I used are listed here and can be found under Emma’s Yarn Beautifully Basic at Four Purls online.

  • Ice Ice Baby (aqua blue)
  • Zuni (aqua blue)
  • Juneau (mix of blue, gray and white) used for center rows
Gray Anzula yarn
Beginning the shawl with Anzula Cloud in “Elephant” gray.

All of this yarn was wonderful to work with, and I discovered the joy of Anzula which I had never knit with before. It’s definitely a favorite.

Beginning the Quince shawl pattern
Beginning the lace section of the Quince Shawl

Figuring Out My Color Placement

I was a bit afraid that I might run out of yarn so I ordered the Juneau color way which I used for the 10 center rows. It contained similar colors to what I was using!

Aqua blue Quince Shawl knitting
Rows of aqua in my Quince Wrap knitted shawl.

The pattern was fun to knit, but it did seem to take me a very long time to finish. I used stitch markers between the repeats on the lace rows and that was super helpful.

Click on the link to the Quince Wrap at the top of this page to see more like this at the Ravelry website.

Quince Wrap knitting project
Quince Wrap in aqua blue