Practice Knitting a Cardigan, Tips for Beginners

If you are like me, sweater knitting is frightening. I’ve knit two now and I’m still intimidated by knitting a large project. For so long I checked out the forums and blogs and knitwear designer sites and would be amazed that people could create such things from strands of yarn. They all seemed so intricate and large! I doubted that I could get through the pattern directions and balked at the word “charts”.

The First Dumb Thing I Did

Not the first dumb thing I ever did, but this shows what a complete beginner I was. I bought a book of cute baby sweaters thinking that smaller would be easier. Not! As I looked through the pages of instructions – for knitting one sweater – I realized my mistake. I’d never be able to knit any of the sweaters in the book. Not until I advanced my knitting skills.

FYI – smaller projects are not necessarily easier. You probably know this, but just sayin’ for those just starting out.

Finding a Beginner Sweater Pattern

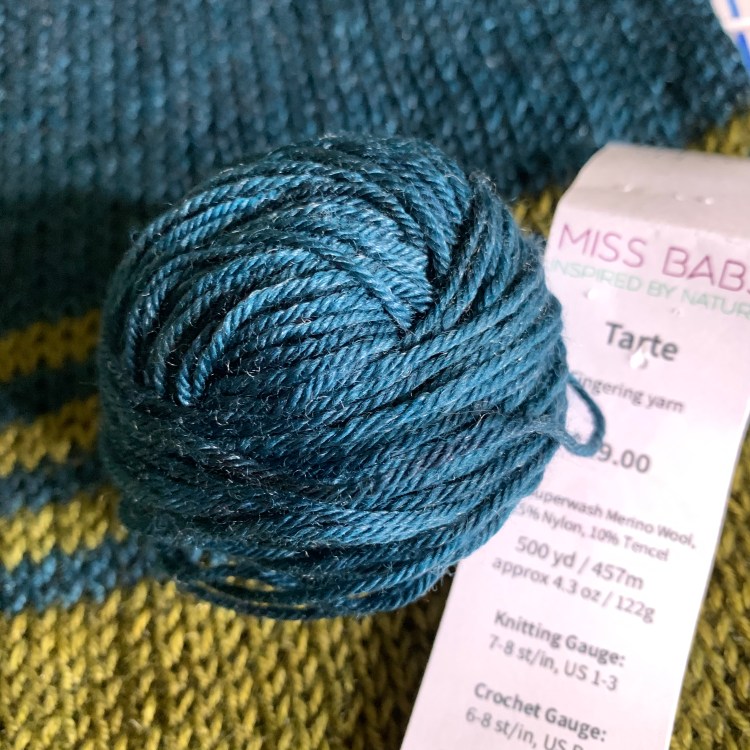
I needed to find a beginner sweater pattern, but I was having no luck. The patterns I found either were not my style or did not look easy to me. Of course I had never knit one, so what did I know? The second thing stopping me was the yarn. Lots of yarn is needed to knit an adult sweater and that equates to cost. I was very unfamiliar with types of yarn and getting gauge. I wondered what I would do with 5 or 6 skeins of yarn if I couldn’t manage knitting a large project?

Arranmore tweed in Finnegan yellow
Sweater yarn, Arranmore tweed in yellow

Basic needs for knitting any sweater

  • Long, circular needles in correct size for gauge.
  • Double-pointed needles / DPN’s, for sleeves – or a 16 in. circular will sometimes work.
  • Stitch markers
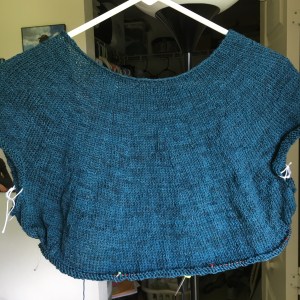
  • Yarn – washable / non-washable? Or use the exact yarn called for in the pattern. And waste yarn to hold sleeve stitches.
  • Ruler, darning needle, and scissors
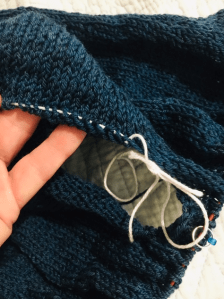
  • Know how to cast-on, bind-off, put stitches on hold (sleeves), increases, decreases, possible shaping (German short rows).

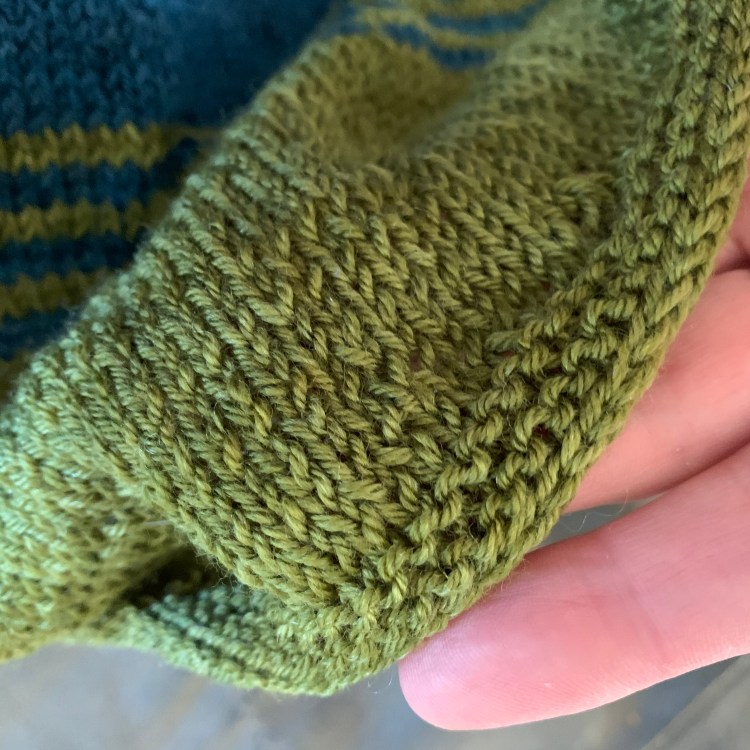
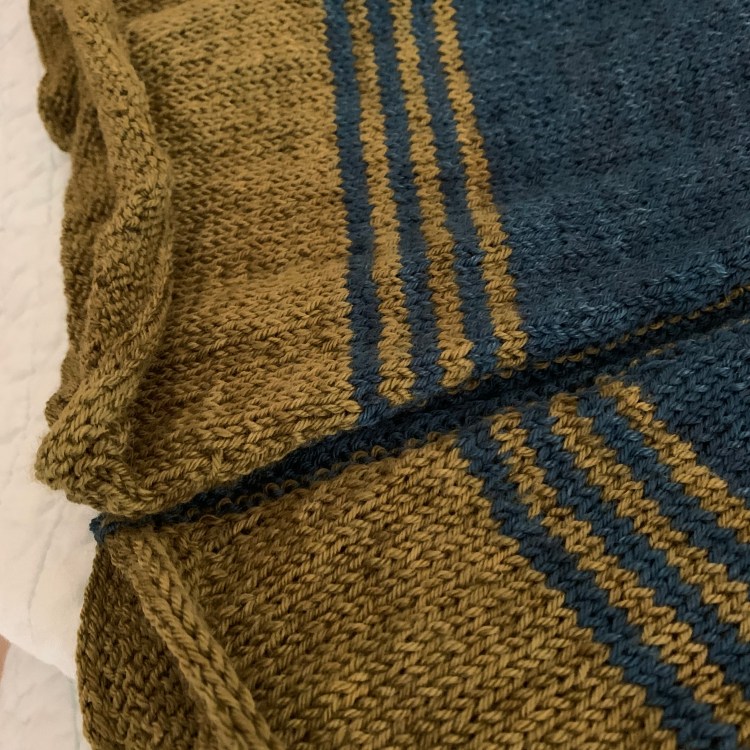
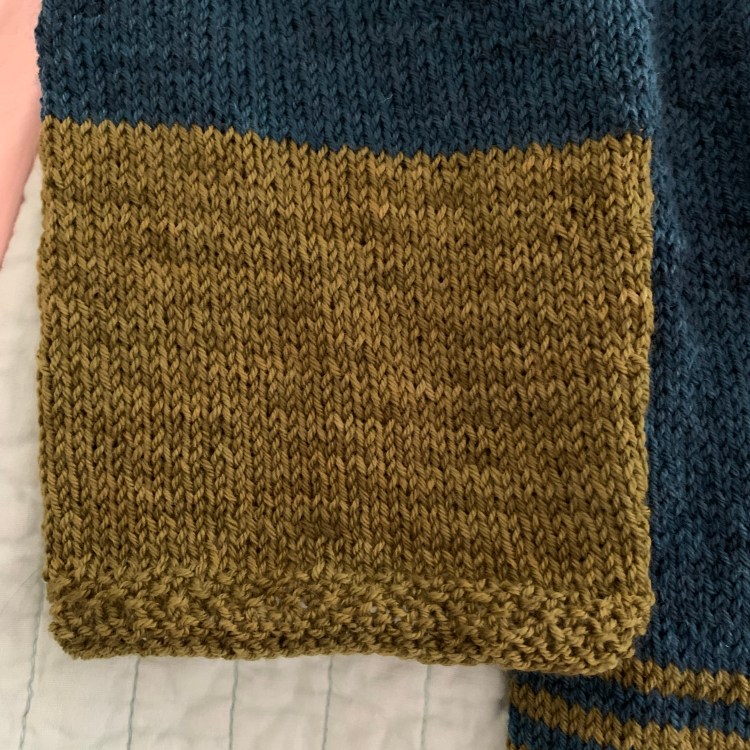
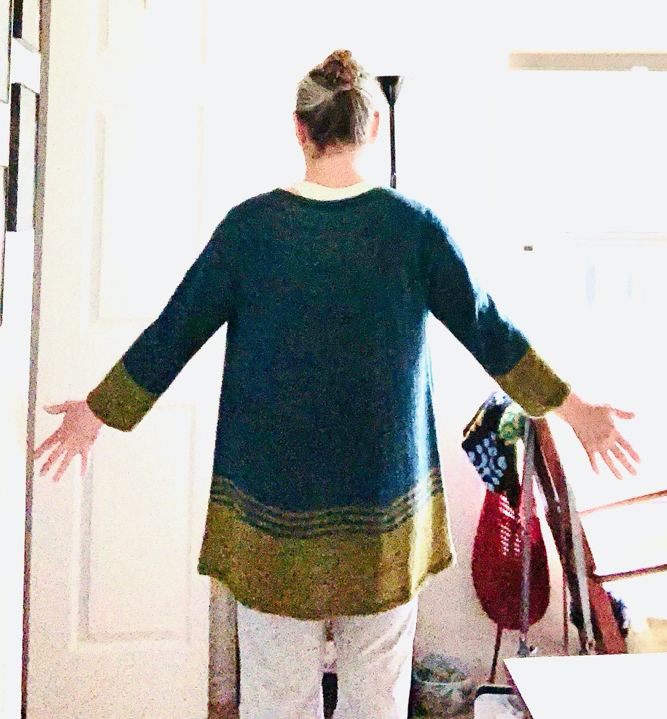
As I did with my first (and only, so far) mystery knit-along (MKAL), I had to jump in. I found a pullover pattern I liked (the Umpqua sweater), bought it, got some yarn, and began. I think I chose a pullover because I wouldn’t have to mess with buttons! I don’t know if I would call this a beginner sweater, but I managed to finish it and although it’s pretty large (that gauge thing) I can wear it. My second was a cardigan – the Fine Sand pattern. I posted my knitting notes on these links, which might be helpful.

Tin Can Knits has a lovely and very helpful website and they offer a free beginner cardigan knitting pattern! How nice is that? I wish I had seen it during my search, but I’ll share it with you now.

Harvest Cardigan by Tin Can Knits – It’s Free!

The three best aspects of knitting this sweater are: It’s a free pattern (and it’s cute), you can knit a very small size (save money by using one skein only), and there is a page of tutorials which give good explanations, photos, and links to more help if needed.

The Harvest Cardigan has no buttons to deal with either (TCK has a great page on button bands too for when I get brave). The link to the tutorial page is at the bottom of the sweater pattern page – bold link above. So I looked at the tutorial page and wow, it does not seem like a beginner sweater to me! First you must do a provisional cast-on, which in itself is not difficult, but you have to pick up those live stitches later, which is where I have my problem. There is a lot to learn for those who truly are beginning, and that can be a good thing. Sometimes we just have to jump in…! Or start with some of their simpler free patterns and work up to the sweater.

cardigan sweater knitting

Free Bundle of Patterns by Tin Can Knits

The Tin Can Knits site offers a bundle of free patterns called The Simple Collection, and they reference it on the Harvest Cardigan page (or click the link I made). They call the collection a “step-by-step learn to knit program” and offer 12 free patterns which include a scarf, cowl, hats, mittens, socks, sweaters and a shawl. I highly recommend this site. They show off their knitwear on the cutest kids too! Recently I knit a pair of their mittens, which was also a free pattern.

More of My Favorite Cardigan Sweater Patterns

I have not knit any of these sweaters yet, but they are saved as some of my favorites to try. Currently I am focused on Christmas knitting and smaller projects and for the time being I am giving up shawl and big project knitting.

But here are some you might like, and they don’t look too difficult. The patterns listed below are not free.

If you are a member of the Ravelry site it will be easy to see all the sweaters other knitters have made following these patterns. Also read their notes and view the yarns they used. This is helpful especially if you have trouble visualizing, or selecting, a color for the project.

Finished Knitting the Fine Sand Sweater

Here it is, part 2 of my journey through the knitting of the Fine Sand sweater. (To read Part 1, go here.) It came off the needles October 7th (2019) and has been washed and blocked.

hand knit long-sleeve sweater in Miss Babs Tarte yarn

Overall I did like knitting this pattern. It’s only my second sweater, but with the exception of the short rows – wrap and turns, no part of the pattern really annoyed me. If you are familiar with knitting wrap-and-turn short rows, you would get by just fine. I have vowed to substitute German Short Rows in their place from now on.

Bottom Edge Finishing

Here is a photo of the bottom edge of the sweater showing the rows of garter stitch and my i-cord bind-off. The pattern does not suggest this type of bind-off but I’ve used it before on my Scrappy Bias shawl and Bays Edge. It creates a smooth, rounded rib and looks very nice. (See the end of this post for links and notes to binding off with the i-cord.)

I-cord bind-off
Bottom edge with i-cord bind-off

This type of bind off takes a while, but it’s not difficult. The sweater bottom is curling like mad, but I assume washing and blocking will take care of that. Yes, it did! While knitting I couldn’t even try this on to see about length because it curled so badly.

hemline curling up
Curling hemline

Once I finished binding off the green bottom section of the sweater, I had to begin picking up stitches along the front edge. I am not used to doing this. I’ve only ever picked up stitches when making socks (and I have not knit many socks because I dislike making them), or beginning a shawl, so I was feeling a little overwhelmed at this part of the pattern. There were a lot of stitches to pick up – all around both edges and neckline and I wasn’t sure if I was getting too many, or too few, but it turned out okay.

Picking up stitches along front edge of sweater
Picking up stitches along the front edge of sweater

Because I ended the bottom with green, I just kept right on using the green up the front edge. After I got part way along I realized that I was supposed to be using blue! It’s what I had planned to do, but I didn’t want to go back and begin again, so I kept on with the green, then switched to blue for the next few rounds of knitting and the bind off. I used the I-cord bind off here as well. In hindsight, I wish I had ripped out the green and done the edge in blue. The edges of this sweater tend to curl inward along the front so it really doesn’t show.

long-sleeve hand-knit sweater
Washed and blocked and ready to wear!

Finishing Up The Sleeves

Maybe it’s because I am a “new” knitter, but I really dislike making two of the same thing. Two socks, two mittens, two sleeves! But the sleeves knit up quickly and I didn’t have to use DPNs because I used a 16″ circular for the sleeves.

I messed up and followed the size M2 for the sleeves, when I should have been following the size L. But that worked out better because my sleeves are long enough. Before the garter rows I did four rows of seed stitch, which added a wider band of interest before the bind off. I did a regular bind-off here, not the i-cord.

End of sleeve
First sleeve done

Finished length is perfect – I knit just as the directions said, but added a second color. I knit the size L and three skeins of Tarte yarn would be plenty. I had very little blue color left, but lots of green.

Fine Sand sweater
Finished knitting my sweater!

Final Thoughts – This is a sweater I will wear!

It fits perfectly, and the light weight, flowing drape is comfortable and good-looking.

For much of the knitting of the Fine Sand you are doing straight knits and purls. I could easily watch TV and do those rows. If you hate to purl, don’t choose to knit this one!

Once I got the hang of the LLIs and RLIs they were no problem. I like to learn new things when knitting new patterns, and these increases were explained well in the directions.

I will not do short rows again because the pick ups on the purl side were impossible for me to figure out! I don’t have the experience.

I’m not crazy about the front edge of this sweater. It will be something to throw on to keep arms warm, but won’t do much for the front of me.

Love The Yarn!

The yarn I used is Tarte, fingering yarn which is a 4-ply, superwash merino with added nylon and tencel. The skeins are large at 500 yards and it was purchased online at Miss Babs. I love the yarn and the finished feel after washing. That blue color is called “Franklin” and it’s beautiful. The darker color is also more forgiving of mistakes, but harder on the eyes to knit – especially at night. The green color is “Moss”.

I hand-washed the sweater and LOTS of color came out. I rinsed many times before it stopped bleeding color. The colors didn’t bleed together, just into the water. The sweater dried very quickly on the blocking mat – within a day – and it really is lovely and light weight as I’d hoped.

ball of blue yarn
All that is left of my blue yarn!

Tutorials and Notes For I-Cord Bind-off

Very Pink Knits has a video tutorial on how to do, the I-Cord Bind Off, but she does not say what to do at the end of the bind-off.

I have a pattern that says to slide the last three stitches to the opposite end of the circular needle and then pull the yarn through all three.

Or: when you get to the last 3 stitches on the needle, slip them to the left needle as you’ve been doing and then bind them off like regular – one at a time.

Or maybe bind-off one stitch and then the last 2 together. I’ve read that binding off the last 2 stitches together makes a neater ending.

This video does show the end, but the i-cord BO she does is different.

Below, I wore my sweater to the beach one morning in January.

Wearing my hand knit sweater on an early morning visit to the beach

Knitting the Fine Sand Sweater Pattern

After knitting my first pullover sweater Umpqua by Caitlin Hunter, I decided to try a cardigan. I chose Fine Sand, by Heidi Kirrmaier because I could knit it in a light weight yarn suitable for my Florida climate. At least, that is my hope. Also it is knit top-down, so that is something new for me to try.

Part 1 (of 2)

This post has photos and comments about beginning the sweater and knitting to the short rows. I’ll finish up on the sleeves and bind-off on another post (Part 2).

Miss Babs was having a sale on the Tarte fingering weight yarn, which is made up of washable merino wool, nylon and tercel. Sounds sturdy and washable, which should make a nice sweater. (Yes, I love this yarn, and the color is wonderful!) The pattern called for DK or Sport yarn, so I knit up a swatch using a needle two sizes larger and I got close to the gauge. I’m hoping the sweater will be a bit large in the end. I don’t wear tight clothing.

Casting on a top-down sweater pattern "Fine Sand"
Center back marker of Fine Sand cast on

This is the Franklin blue, and it’s very close in these photos to the actual color. And I have never been disappointed with any Miss Babs yarn. I knit a Mystery KAL Shawl with Miss Babs “Woodbury” yarn, which was soft and pretty.

Dark yarn is not as fun to knit due to difficulty in seeing stitches (my eyesight is not great), but I love this dark blue. Also the pattern is fairly simple, with no crazy lace stitches, so it shouldn’t be a problem. I can only knit dark colors during the daylight when stitches are easy to see.

Miss Babs Tarte yarn in "Franklin" colorway.

What I’ve Learned From This Pattern

First of all this pattern is written very differently than any other I’ve followed (ya, that ONE other… hahaha). Charts are substituted for complete written directions. These are not knitting charts, like in colorwork, but charts with letters which are used to take the place of changing repeats / number of stitches for each row.

I always read through a pattern and highlight the parts I will need to pay attention to, such as repeats in a row, or info for my chosen size. I’ll admit that when I saw the first page of instructions, I had to spend a few minutes figuring it out.

Right off the bat I had to learn how to do the RLI (right lifted increase) and LLI (left lifted increase). Specific instructions for how to do those are included in the pattern and links to video help are included too. The LLI gave me a bit of trouble at first and I lost count on one row, but every row contains stitch counts (thank you!) so I was able to easily add those stitches back in.

Separating The Body and Sleeves, How To

To separate the sleeves a bunch of stitches must be moved to waste yarn. That was easy enough to do using a darning needle and white yarn to be a contrast to the dark blue. The pattern called for a cast on of stitches and that threw me for a bit. Here’s what I did:

Turn the work to the wrong side. Yarn will be coming from the L needle. Use the R needle to begin a knit stitch but when it comes off the needle pick it up with the L needle (from the bottom) and let it stay there. Do this for the number of stitches called for in the pattern. For this sweater in my size I had to cast on 6, place marker, and cast on 6 more.

The video below is the one I followed. Begin it around 2 minutes for this type of knitted cast on. As he points out in his video, this is how to make a buttonhole!

Ridge of extra cast on stitches which became part of the armhole
The cast on edge at the armhole
Armhole stitches are on hold while I continue working the body.
Armhole stitches on hold

As of the beginning of July, 2019 here is where I am on my Fine Sand (photo below). I’ve passed the tricky armhole area and now the knitting will be pretty straightforward for a while. Next I will have to reacquaint myself with short rows. I love the yarn. I would definitely buy Tarte from Miss Babs again.

Along with this project I am also working on the Quince Wrap and Moon Sisters Shawl.

My first sweater was a bottom-up project and this is a top-down. With my cool new needle tips – those things that keep the knitting on the needles – I can try on my sweater as I go.

Fine Sand sweater knitting
Fine Sand sweater knitting with armholes on hold
Fine Sand sweater knitting project
Front of Fine Sand sweater in progress

Adding a Contrast Color at The Bottom

When I reached the last few rounds (rows 1-6) toward the bottom, I began adding the moss green color. Although it looks more gold in my photo, it really is green. The blue is also more teal.

Now that I am finishing up the repeats the short rows come next to create a longer back section. I think I am going to change that and do a longer squared off back leaving slits between the front sections and back of the sweater bottom. I can picture it in my head but not sure I should try it. I may chicken out and follow the pattern. (Yup, I chickened out!)

Once the sweater bottom edge is done, I will go back and finish the sleeves. The other day I began to knit one of the sleeves with the blue color I was using for the bottom. This pattern calls for 3/4 sleeves which I like. In the photo below one sleeve is still on the white place-holder yarn and the other is in the knitting stage.

By the way, I love those stitch stoppers! Mine are by Cocoknits and I bought them at Webs (that is where the link goes). I can easily try on this sweater as I go without worry about losing my stitches.

Finishing the Sweater With Edging

The Fine Sand pattern gives directions for finishing the sweater with a knit edging. The edge is curling so it does need something. As I looked through the finished Fine Sand sweaters at Ravelry, I have found a couple that had really pretty edging. I’ll be there soon, so I need to decide.