Crazy About Knitting Hats and Tips For Perfect Results

Since I began knitting, I’ve discovered that the item I love most to make is hats.  Over the years I have become crazy about knitting hats of all kinds, in all sizes, for everyone I know. (The green hat shown is the Aran Watch Cap from the “Hat’s On!” book.)

Scarves were what I made most of the time when I lived in New Hampshire because my hats didn’t turn out all that well.  I loved to knit hats, but didn’t have all the info needed to begin them correctly – using a good-looking cast on, and then joining in the round.   And the beginning of a hat is one of the most important parts.  When beautiful yarn is used and intricate cables and colors mix to create a lovely handmade garment, it pays to do everything correctly, from the cast-on to the pompom on top.  

Three Ways to Join In The Round

Because I can’t always remember how to join in the round, I’m adding this YouTube video.  Once the cast on is complete, the ends must be attached so circular knitting can begin.  If the “join” is done wrong, the edge of the hat will have an obvious indent.  The YouTube video below, by Very Pink Knits, shows three easy ways to make the join correctly.


Creating a Jogless Stripe in Circular Knitting

Another knitting trick I usually can’t remember and have to look up is how to make stripes, or changing colors, in circular knitting.  The tutorial below shows how it’s done.  

Topping Off a Hand Knit Hat

Once the decreases are over and the hat is finished, it may need something a little extra at the very top.  Pompoms and tassels are often chosen for this honor.  

I’ve also come across a fun tutorial for making covered buttons to top off a hat.  This tutorial can be found at Kate Davies Designs and has pictures along with the description of how to cover a button with yarn.  The end product is quite stunning and would make a unique addition to a special hand-made hat.  I plan to try it myself one day soon.

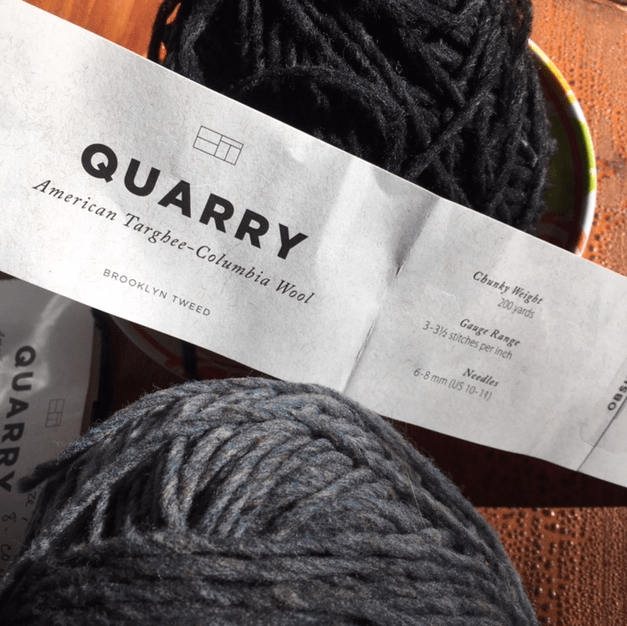
Choosing Yarn and Figuring The Cast On Number

Most hats are knit on 16 inch long circular needles.  The needle size depends on the yarn weight and gauge.  I found a good printout which helps you guesstimate the number of stitches to cast on.  View the Earth Guild “Super Simple Circular Hat Calculator“, and if you know your gauge – how many stitches per inch – and the circumference needed to fit the head that will wear it, the cast-on number is given.

All types of yarn can be used to knit hats.  Yarns can be held together to create a speckled look, like the chunky child’s hat I made from Purl Soho’s Snow Day Hat pattern.

Often a soft merino, or some type of warm wool, is used because hats are usually meant to keep heads warm in winter.  

Pink baby hat, free knitting pattern
I added a flower to the side of this little pink baby hat, then mailed it to someone as a gift.

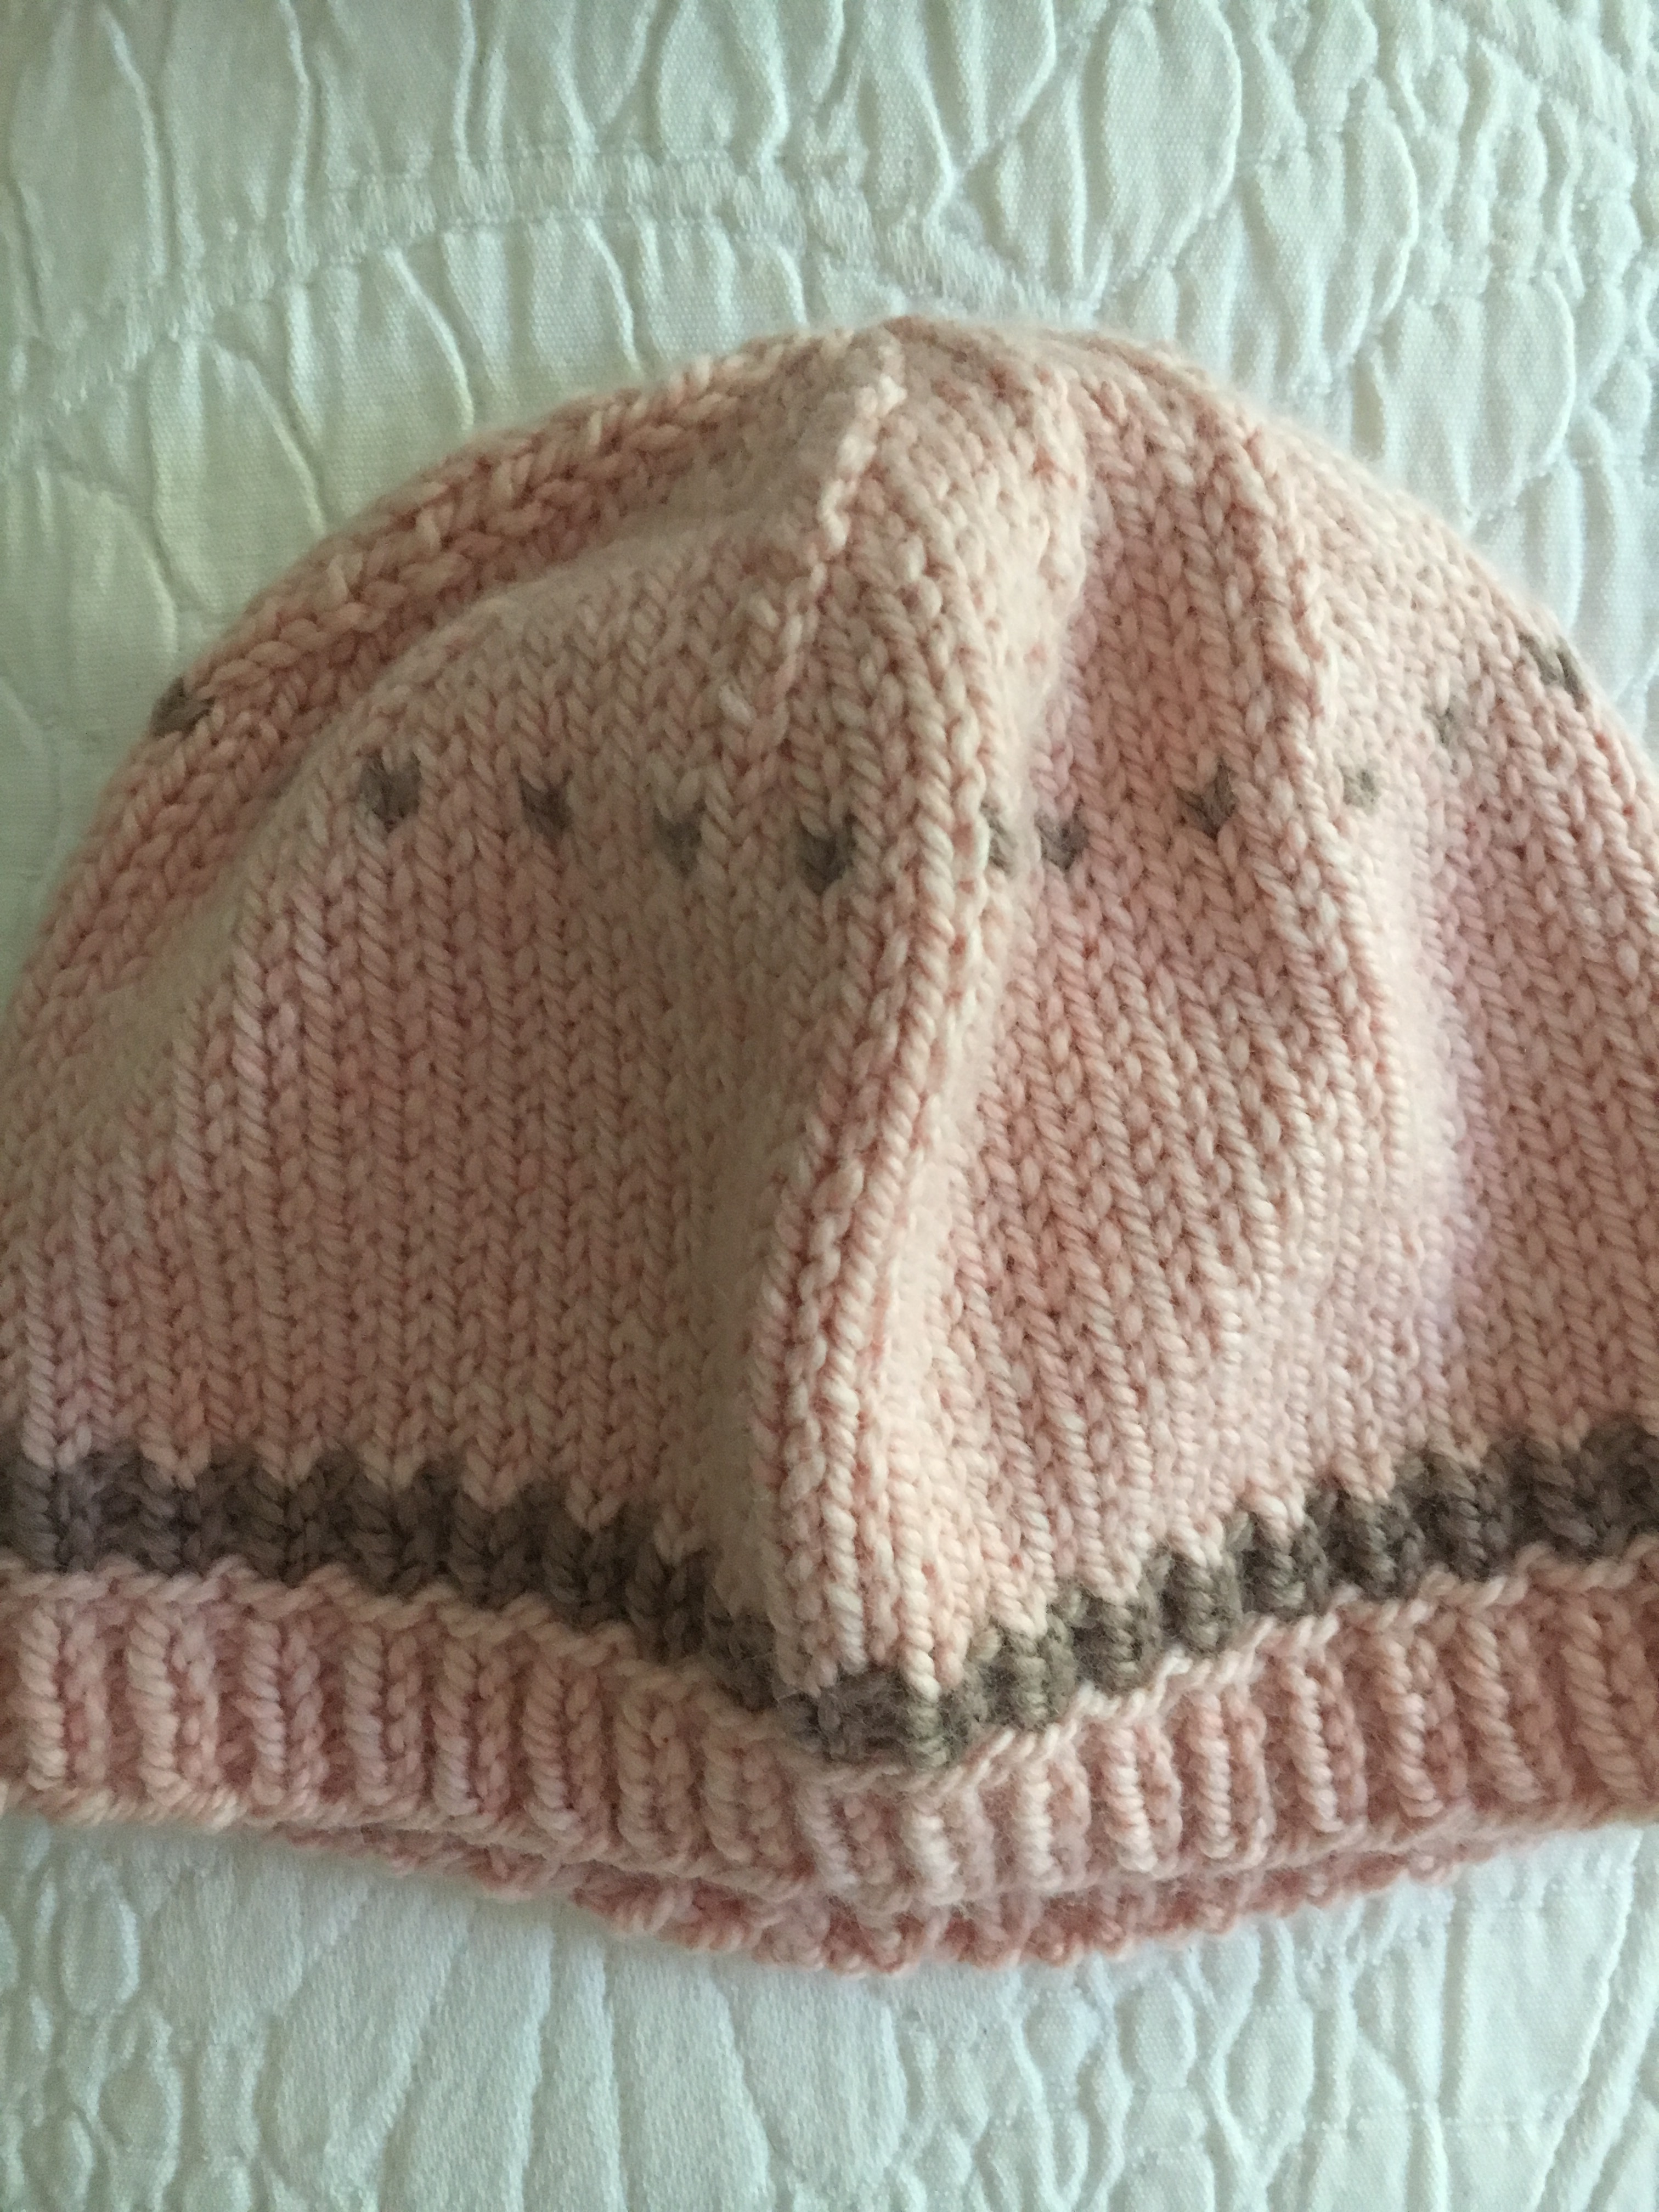
Some fun beginner hats to try are the Pink Baby Hat (see the one I made and find the link to the free pattern).  And my Dusty Rose Long Rib hat, which I knit with yarn to match a scarf I had made.  Or buy a Knitting Book for the Beginner.

Advanced Hat Knitting

Once I got the hang of hat knitting with basic knits and purls, I decided to try more intricate cables and patterns.  For hat knitting with advanced stitches, plan to pay for a pattern or buy a book.  It’s good to know how to read a knitting chart also because some pattern designers use charts only.

Here is a link to a YouTube video which shows how to knit a Fair Isle hat- called the Fimmel Hat – in 5 colors.  A link to the yarn kit and pattern is located beneath the video and Very Pink Knits provides the helpful “how to”.  This includes casting on using a German Twisted (or Old Norwegian) Cast-on.  It’s pretty involved, but it makes a nice edge.  I’ve never done it myself, but will definitely give it a try on my next hat.  I love the top of this hat with that star design.  She also shares how she blocks her hats.  It’s a great idea.  Watch the video!

Buy Hat Patterns and Books of Hats

Following a pattern all the way around and up a hat can be challenging, but fun.  Hats are small enough so as not to be overwhelming.  They are good practice for cables and intarsia / Fair Isle (using multiple colors to create patterns).  Or maybe start with two colors, like the Fana Cap I knit for my daughter (find in the Hat’s On book).

I just ordered the book listed below which has some very unqiue hat designs.  I only hope I am able to create them!

“Mair Heids” from Kate Davies Designs https://katedaviesdesigns.com/2018/11/26/mair-heids

Pink "snow day" hat for baby girl
Baby girl “Snow Day” hat to knit.

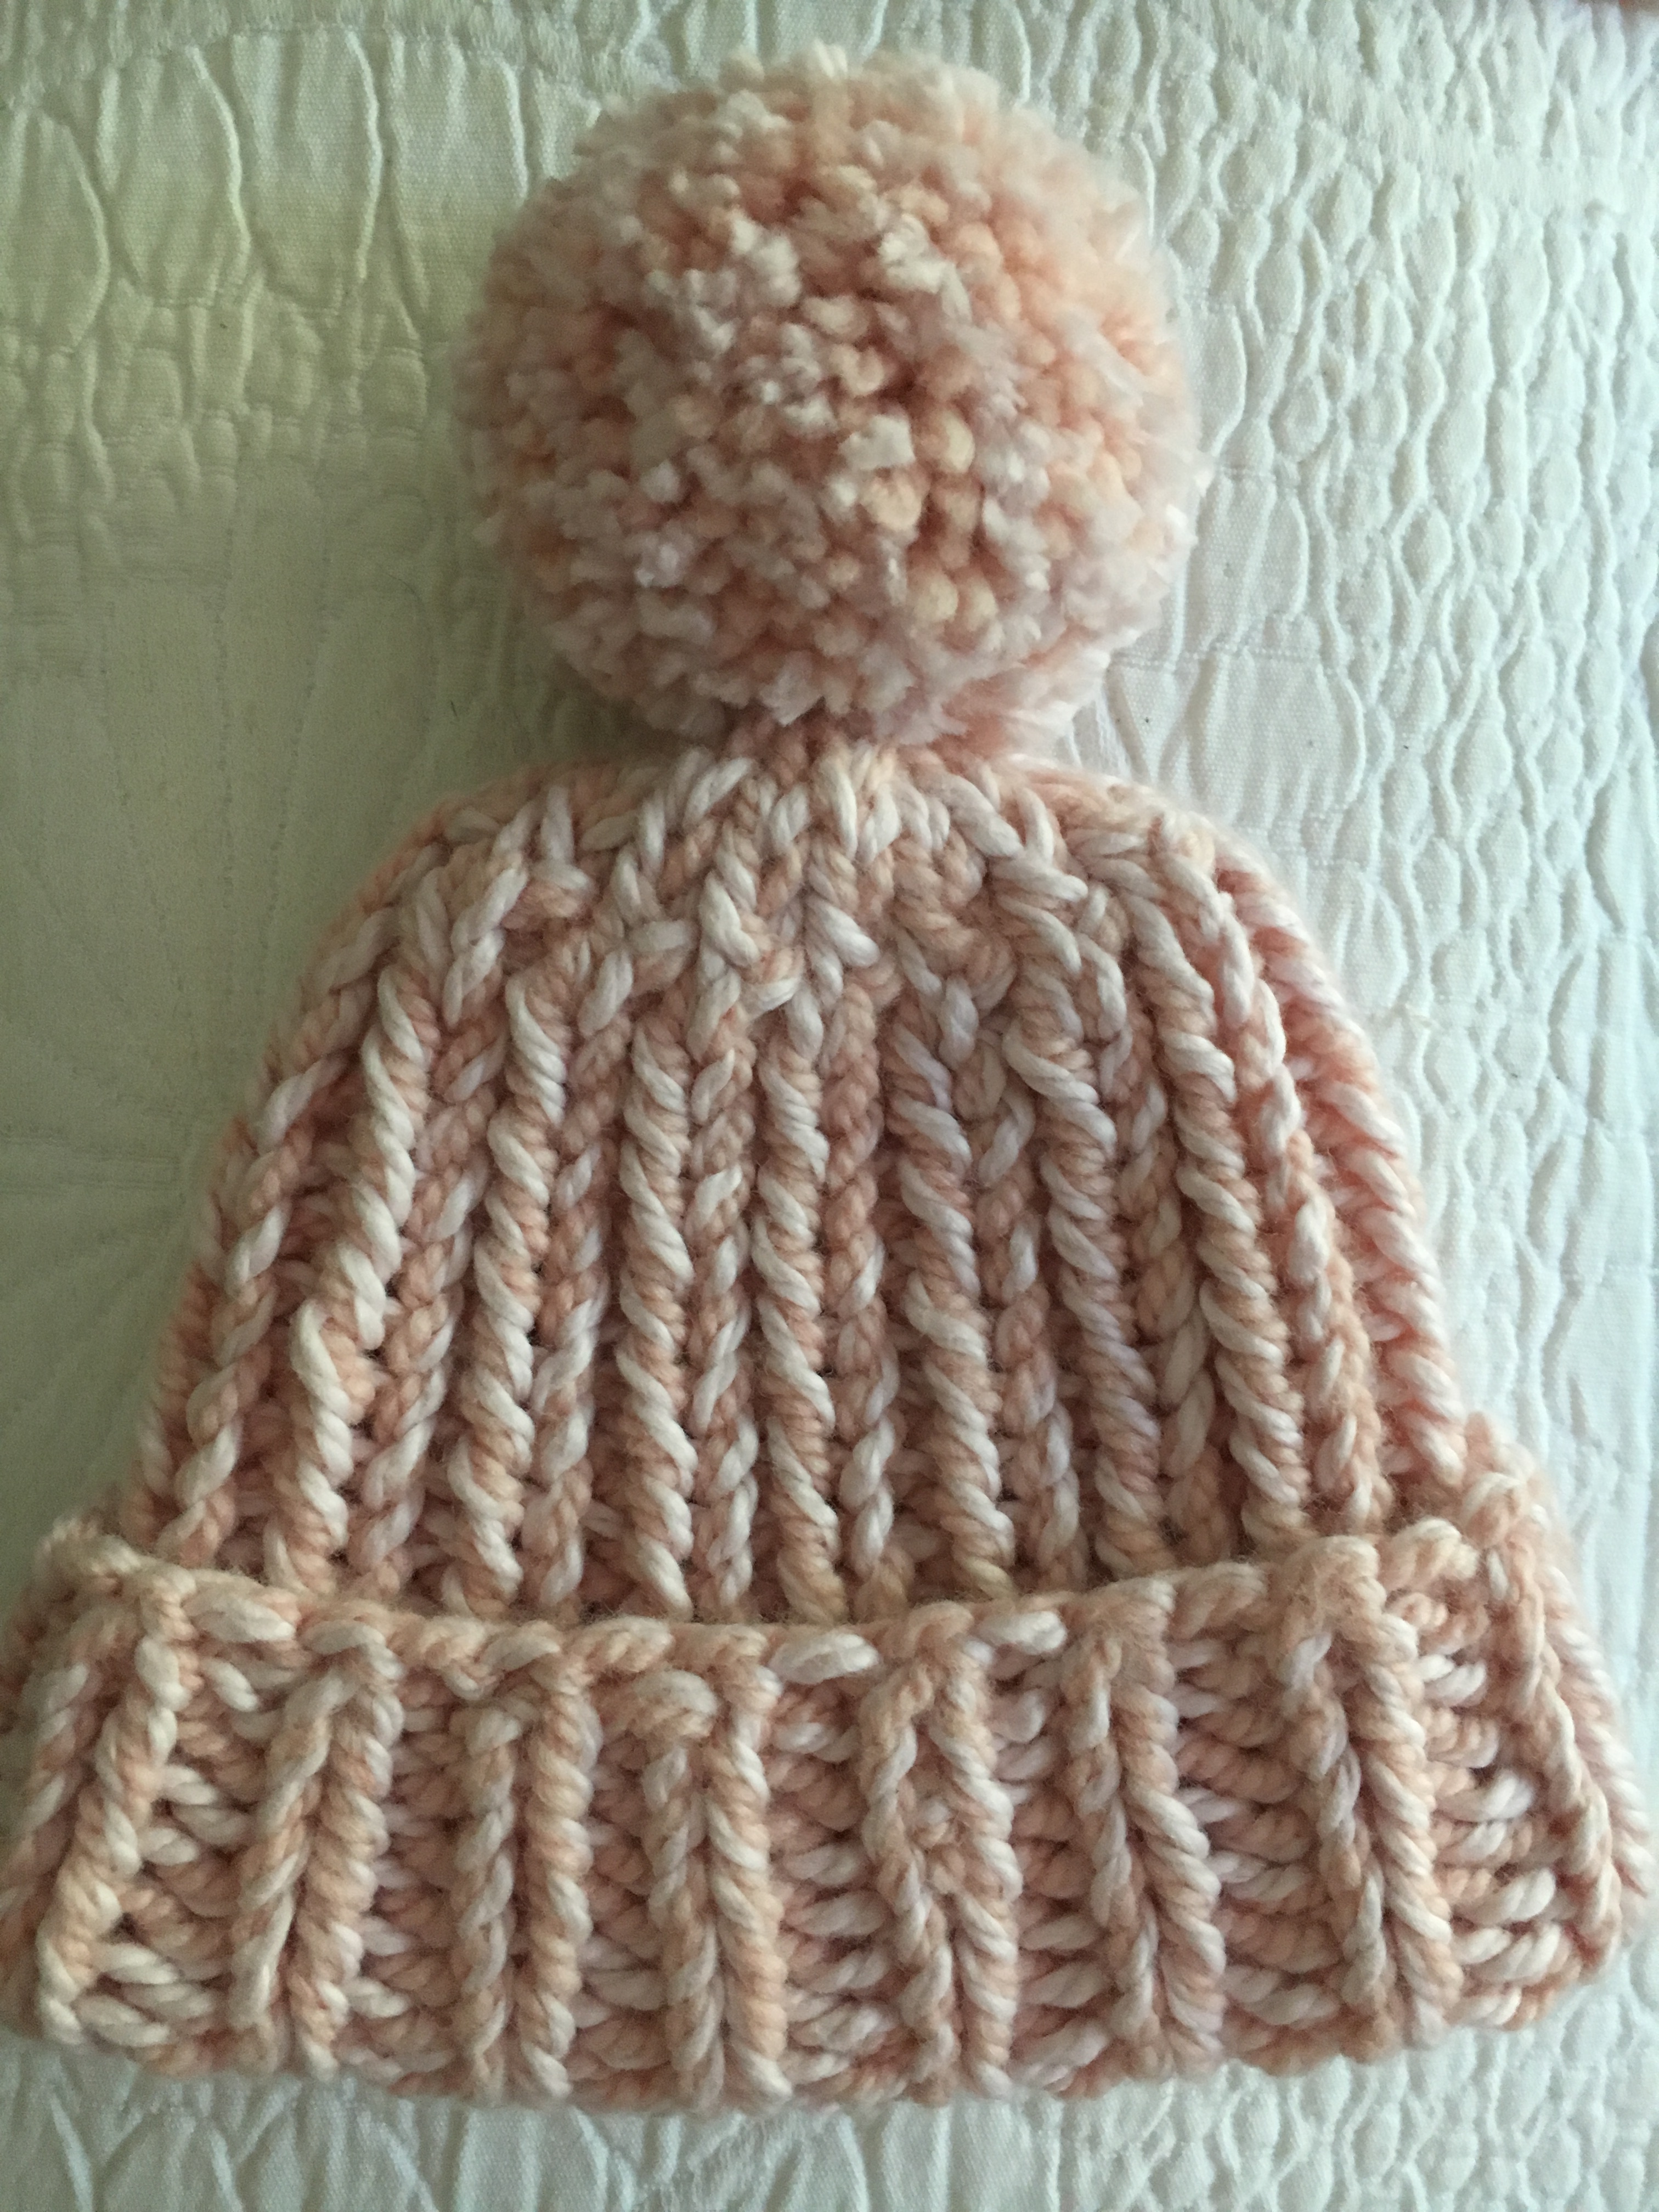
My version of the child’s “Snow Day” hat pattern found at Purl Soho. The chunky hat was knit using a different yarn and needle size to fit a young child.

Not Happy With Quarry Yarn

Recently I purchased two skeins of tweed Quarry yarn from Harrisville Designs.  I’ve been looking for tweed yarn in dark colors to knit hats for my boys.  The company is located in New Hampshire.  The tag notes that the yarn is “sourced” in Wyoming, “spun” in New Hampshire, and “dyed” in Pennsylvania.

Black cat and Quarry yarn

I purchased “Obsidian” and “Slate”, which are black and gray.  The colors are nice.  The yarn is not very soft, but I had hoped that it would become soft after washing.  However, I can’t even get this yarn onto my needles without it coming apart!  I’ve tried twice to start a hat in the round, and any pulling on the yarn (unless you are super careful) will cause it to come apart.

Quarry yarn splits easily when tension is added
This is what happened when I tried to tighten the yarn on my needles.

So I finally had the cast on figured out and had just joined the yarn in the round.  I went to tighten it up, and it came apart.  I can’t knit with yarn like this!  Apparently this type of yarn does this, but I wish I had known.  I spent a good amount of money on this yarn and I am not happy.  UPDATE: I have found this PDF about Quarry yarn and it recommends twisting the yarn before putting stress on it. That should strengthen the strand so it won’t split.

I’m happy to support home-grown yarn, and I used to live near Harrisville in New Hampshire, so I was excited to buy this product. Once I give it another try, I will post updates here.

I’d love to hear suggestions from knitters who have used Quarry yarn, but in the meantime I did find this post by someone who knit an entire cardigan sweater using Quarry. It came out lovely, and here is the link to her sweater page.

Turkey Broth and Leftovers

Yesterday we ate turkey for Thanksgiving like so many other people did.

Today I am making broth, or stock, and chopping up the leftover turkey for meals to come.  

If you have a big pot, like my Lodge Dutch Oven, (6 quart size) add the turkey carcass (you may have to pull the bones apart to make it fit) and some vegetables and herbs for flavor.  I added garlic cloves, celery, green onions, parsley and basil leaves from my garden and covered the whole thing with water.  It simmered for two hours, then I strained it into another big bowl.  Once it was cool enough, I dug through the meat and bones and got about a cup of meat to use in another recipe.

Then….. I made a Turkey Pot Pie based on the Chicken Pot Pie I made recently.

Turkey pot pie in dutch oven
Turkey Pot Pie, the day after

There is much more turkey to deal with, so maybe sandwiches or I’ll freeze it.

Chicken or Turkey Pot Pie in Dutch Oven

Pictures of the pot pie I made in my dutch oven.

Pot pies are delicious and certainly one of my favorite foods.  They tend to be filled with calories, and that is the only reason I don’t eat them more often.

My new Dutch Oven Obsession cookbook contains a recipe which I followed (somewhat) to create the pot pie pictured here.

I used a lot less chicken, only about a cup, and there recipe called for 6 cups.  My favorite meals have more vegetables than meat.   After lots of chopping of the carrots, celery, onions, and herbs from the garden, and boiling the frozen peas, I was ready to create the sauce.  Then it was mixed together and a crust was added to the top.  

I always buy my dough for crust because it’s good, and I don’t want to spend the time to make my own.

pot pie filling
Sauce and vegetable filling

This would have been perfect with mushrooms, which the recipe calls for, but I didn’t have any.  The sauce turned out nice and thick.

Putting the pie crust on was not as difficult as I imagined.  A fork was used to push down the edges to make the outer crust.  Because it all fit down inside the pan, there was no bubbling over to make a mess.  Once it was assembled it was baked in the oven, uncovered.

pot pie
Digging in….

Making my own food is important in keeping excess salt from my diet.  I used unsalted butter, and fresh or frozen vegetables in this recipe.  It’s one of the wonderful aspects of cooking for yourself:  control of what is added.  I also changed the recipe to suit myself.  I didn’t have leeks or mushrooms, and I added potatoes and peas.

chicken pot pie
Pot Pie Goodness

I’m just starting to use the recipes from this book and there are many more I’d like to try.