I had never done an I-cord bind off, but I’ve used the i-cord to make rope handles and long points or tassel holders on the end of hats.
I must say, this type of bind-off is quite nice. I used it recently when the Bay’s Edge Shawl called for binding off in this manner. As I neared the end of knitting on the Scrappy Bias Shawl, I wanted to do the same thing.
Directions for I-cord Bind Off
To begin binding off, first add three stitches to the needle, with right side of project facing, also called a “cast on” of 3 extra stitches. Wrap the yarn around your thumb and place it onto the needle (at the end of the work – or Left-hand needle). Do this three times to add 3 extra stitches at the end of the work.
*Begin the bind-off: Insert the Right Hand needle and knit 2 stitches. Now, slip the next stitch knit-wise (as if you were knitting) from the left needle to the right. There should be three stitches on the right hand needle (see below).
Next…Knit one, and pass that slipped stitch back over the knit stitch. This is the bind-off stitch so it drops. (See the video below for more help). This leaves 3 stitches on the Right needle. Slide those 3 stitches back onto the left needle.
And begin again from *: K2, Slip 1, PSSO and slide 3 stitches back to L needle.
Once you get to the end, there will be 3 stitches left. Either bind them off in the regular way, or pull the yarn tail through all three.
i-cord bind off
Binding-off this way takes longer, but the finished edge is more rounded and substantial than a regular knit bind-off. See it below in my photo.
Rounded edge using the i-cord bind off
Very Pink Knits shows all these steps on the video here. She does go a bit fast, but once you learn the steps, the bind-off will progress quickly.
If you are interested in creating an i-cord edging while you knit, I have a page that explains that as well. It leaves a nice edge up the side of an item, such as a scarf, dishcloth or other flat knit project.
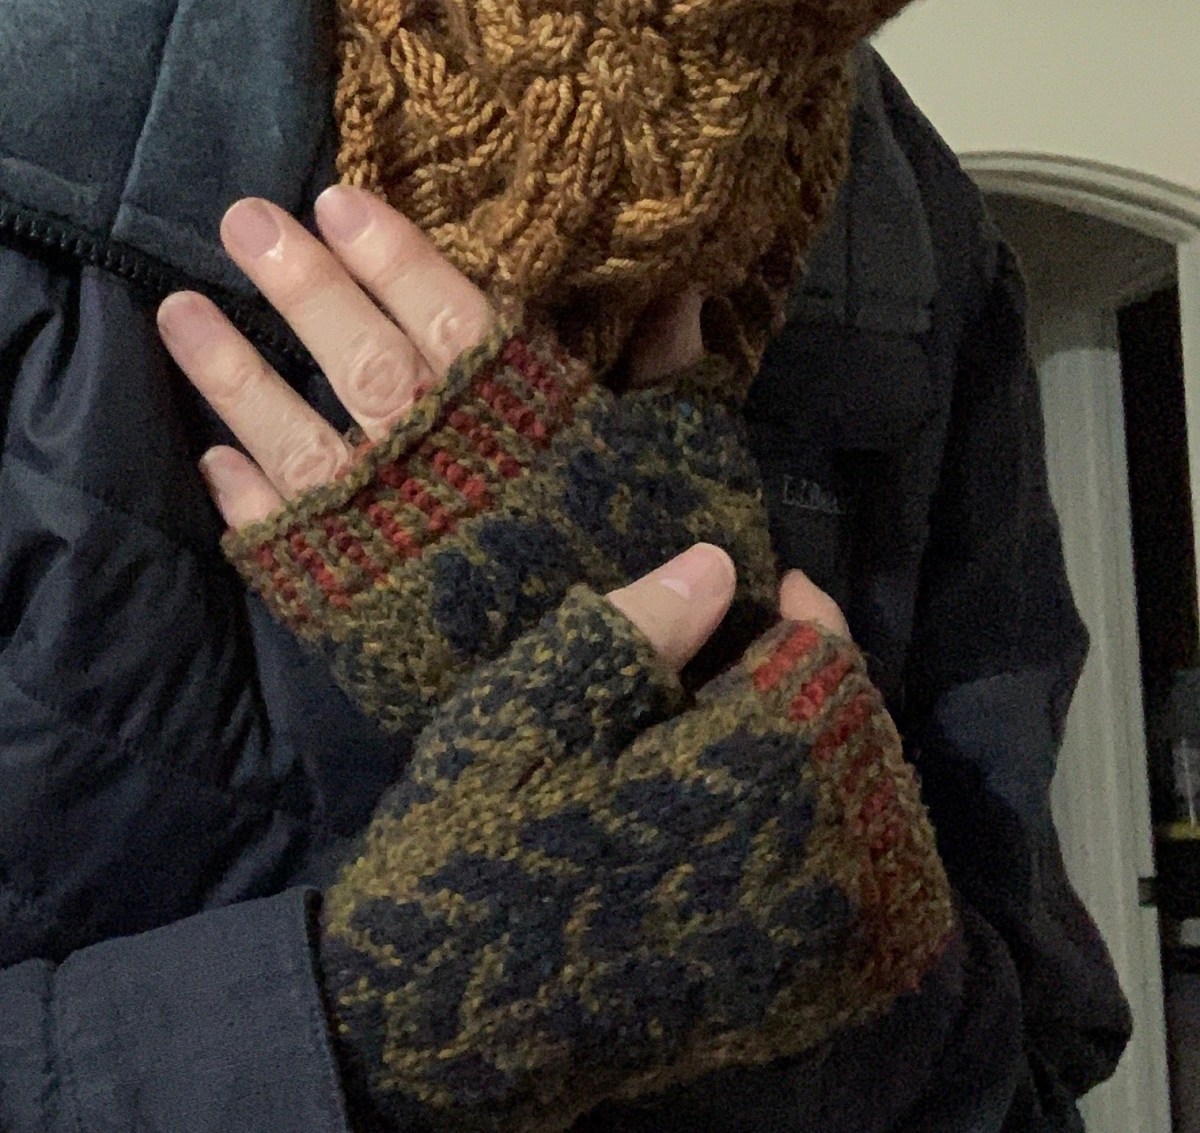
The cold weather is here, and even in Florida temperatures have been freezing in my area. Knitting mittens and better yet, for me, knitting fingerless mitts, has become an obsession. I purchased the Oulu Mitts pattern as it was on sale in December. The pattern is from Caitlin Hunter of Boyland Knitworks.
I could see from photos that the cuff was a corrugated rib, which I am familiar with, and I can do colorwork. I had the right type of worsted yarn called for, so why not?
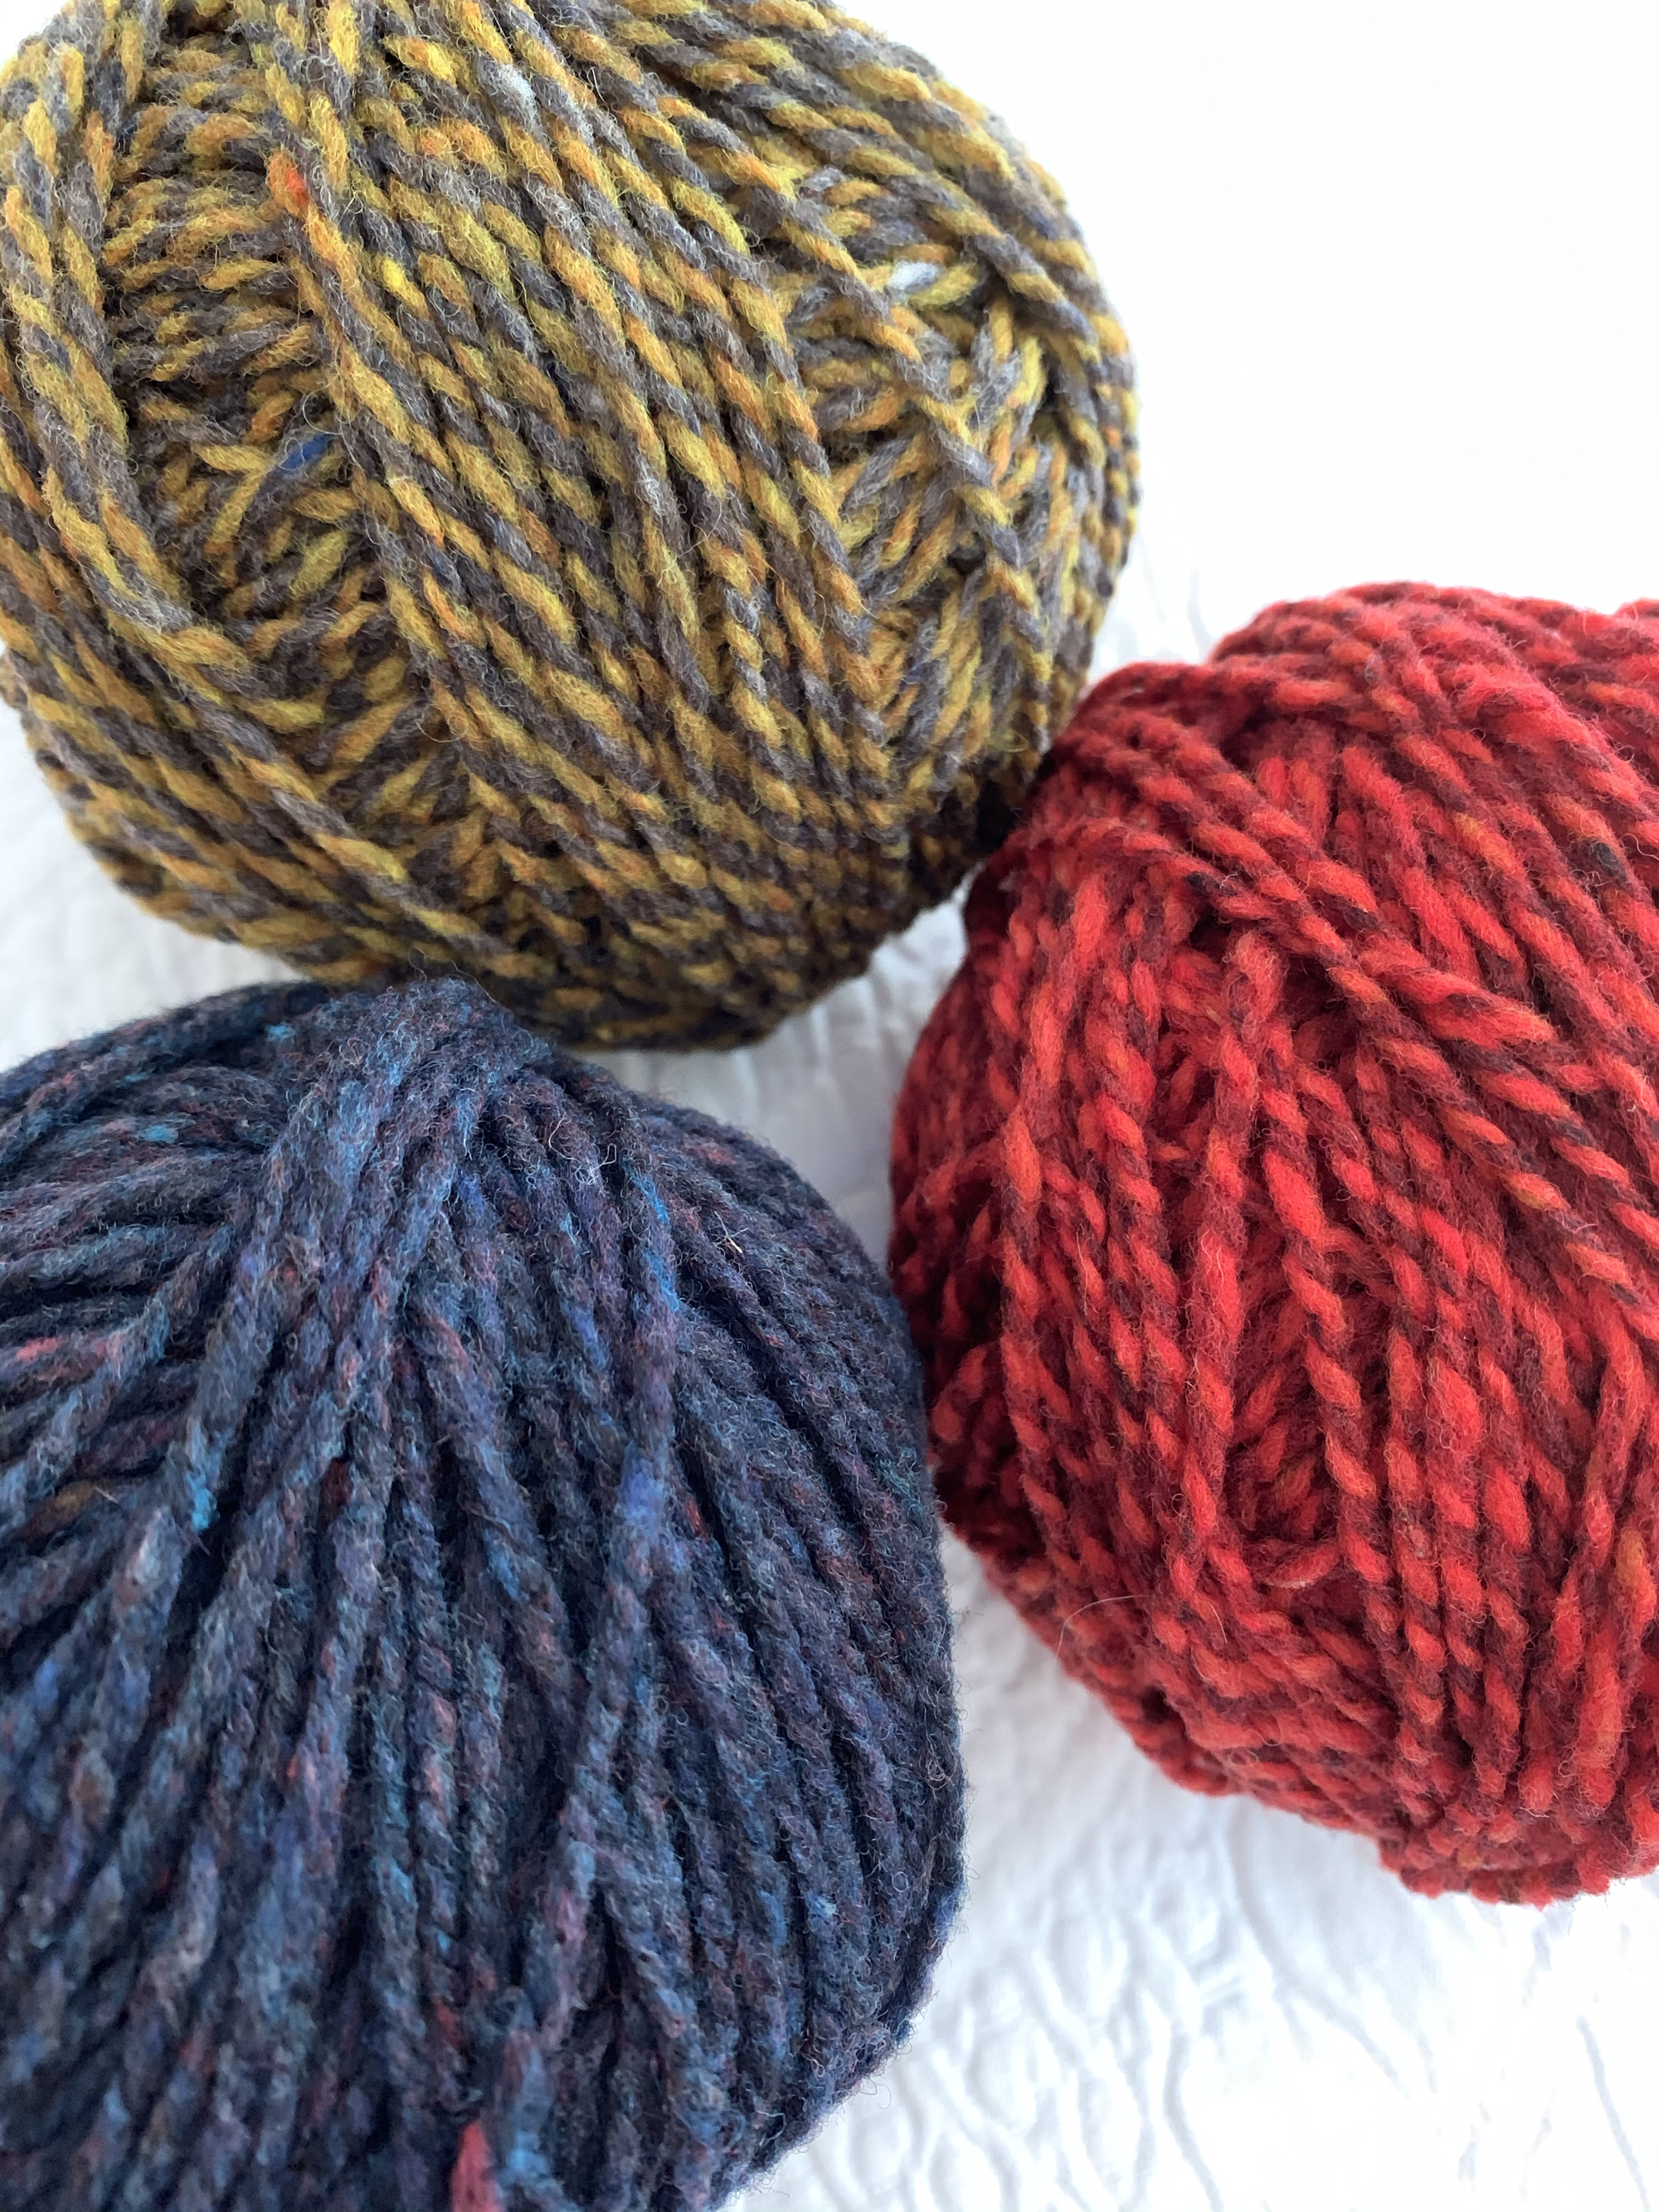
Shelter in Brown: Caraway, Red: Amaranth, Blue: Old World
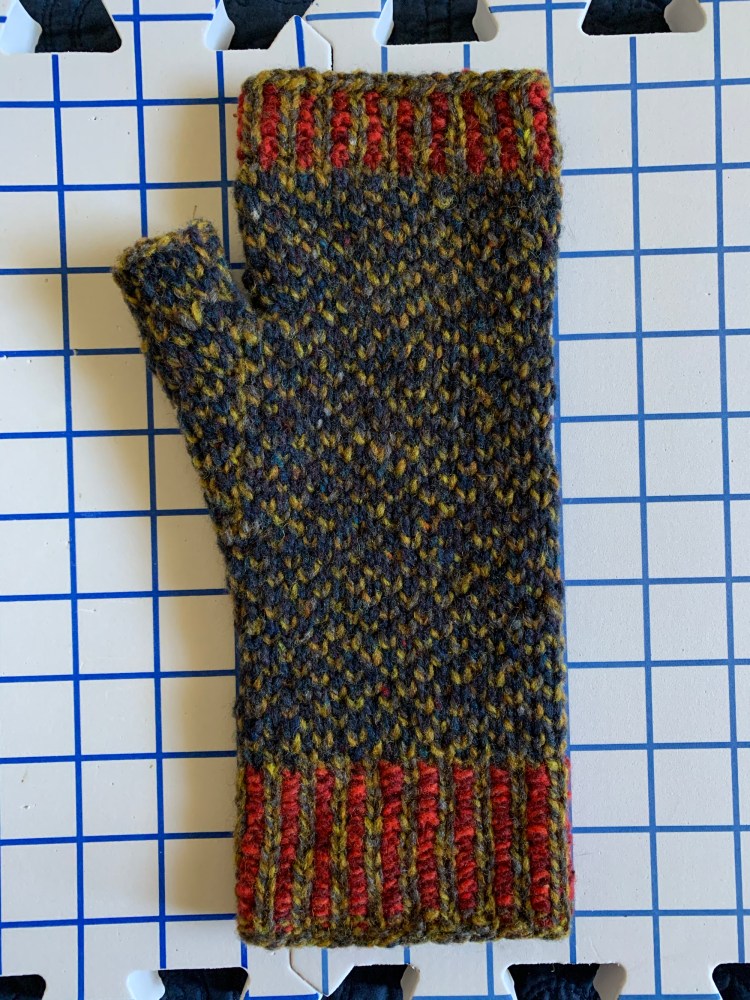
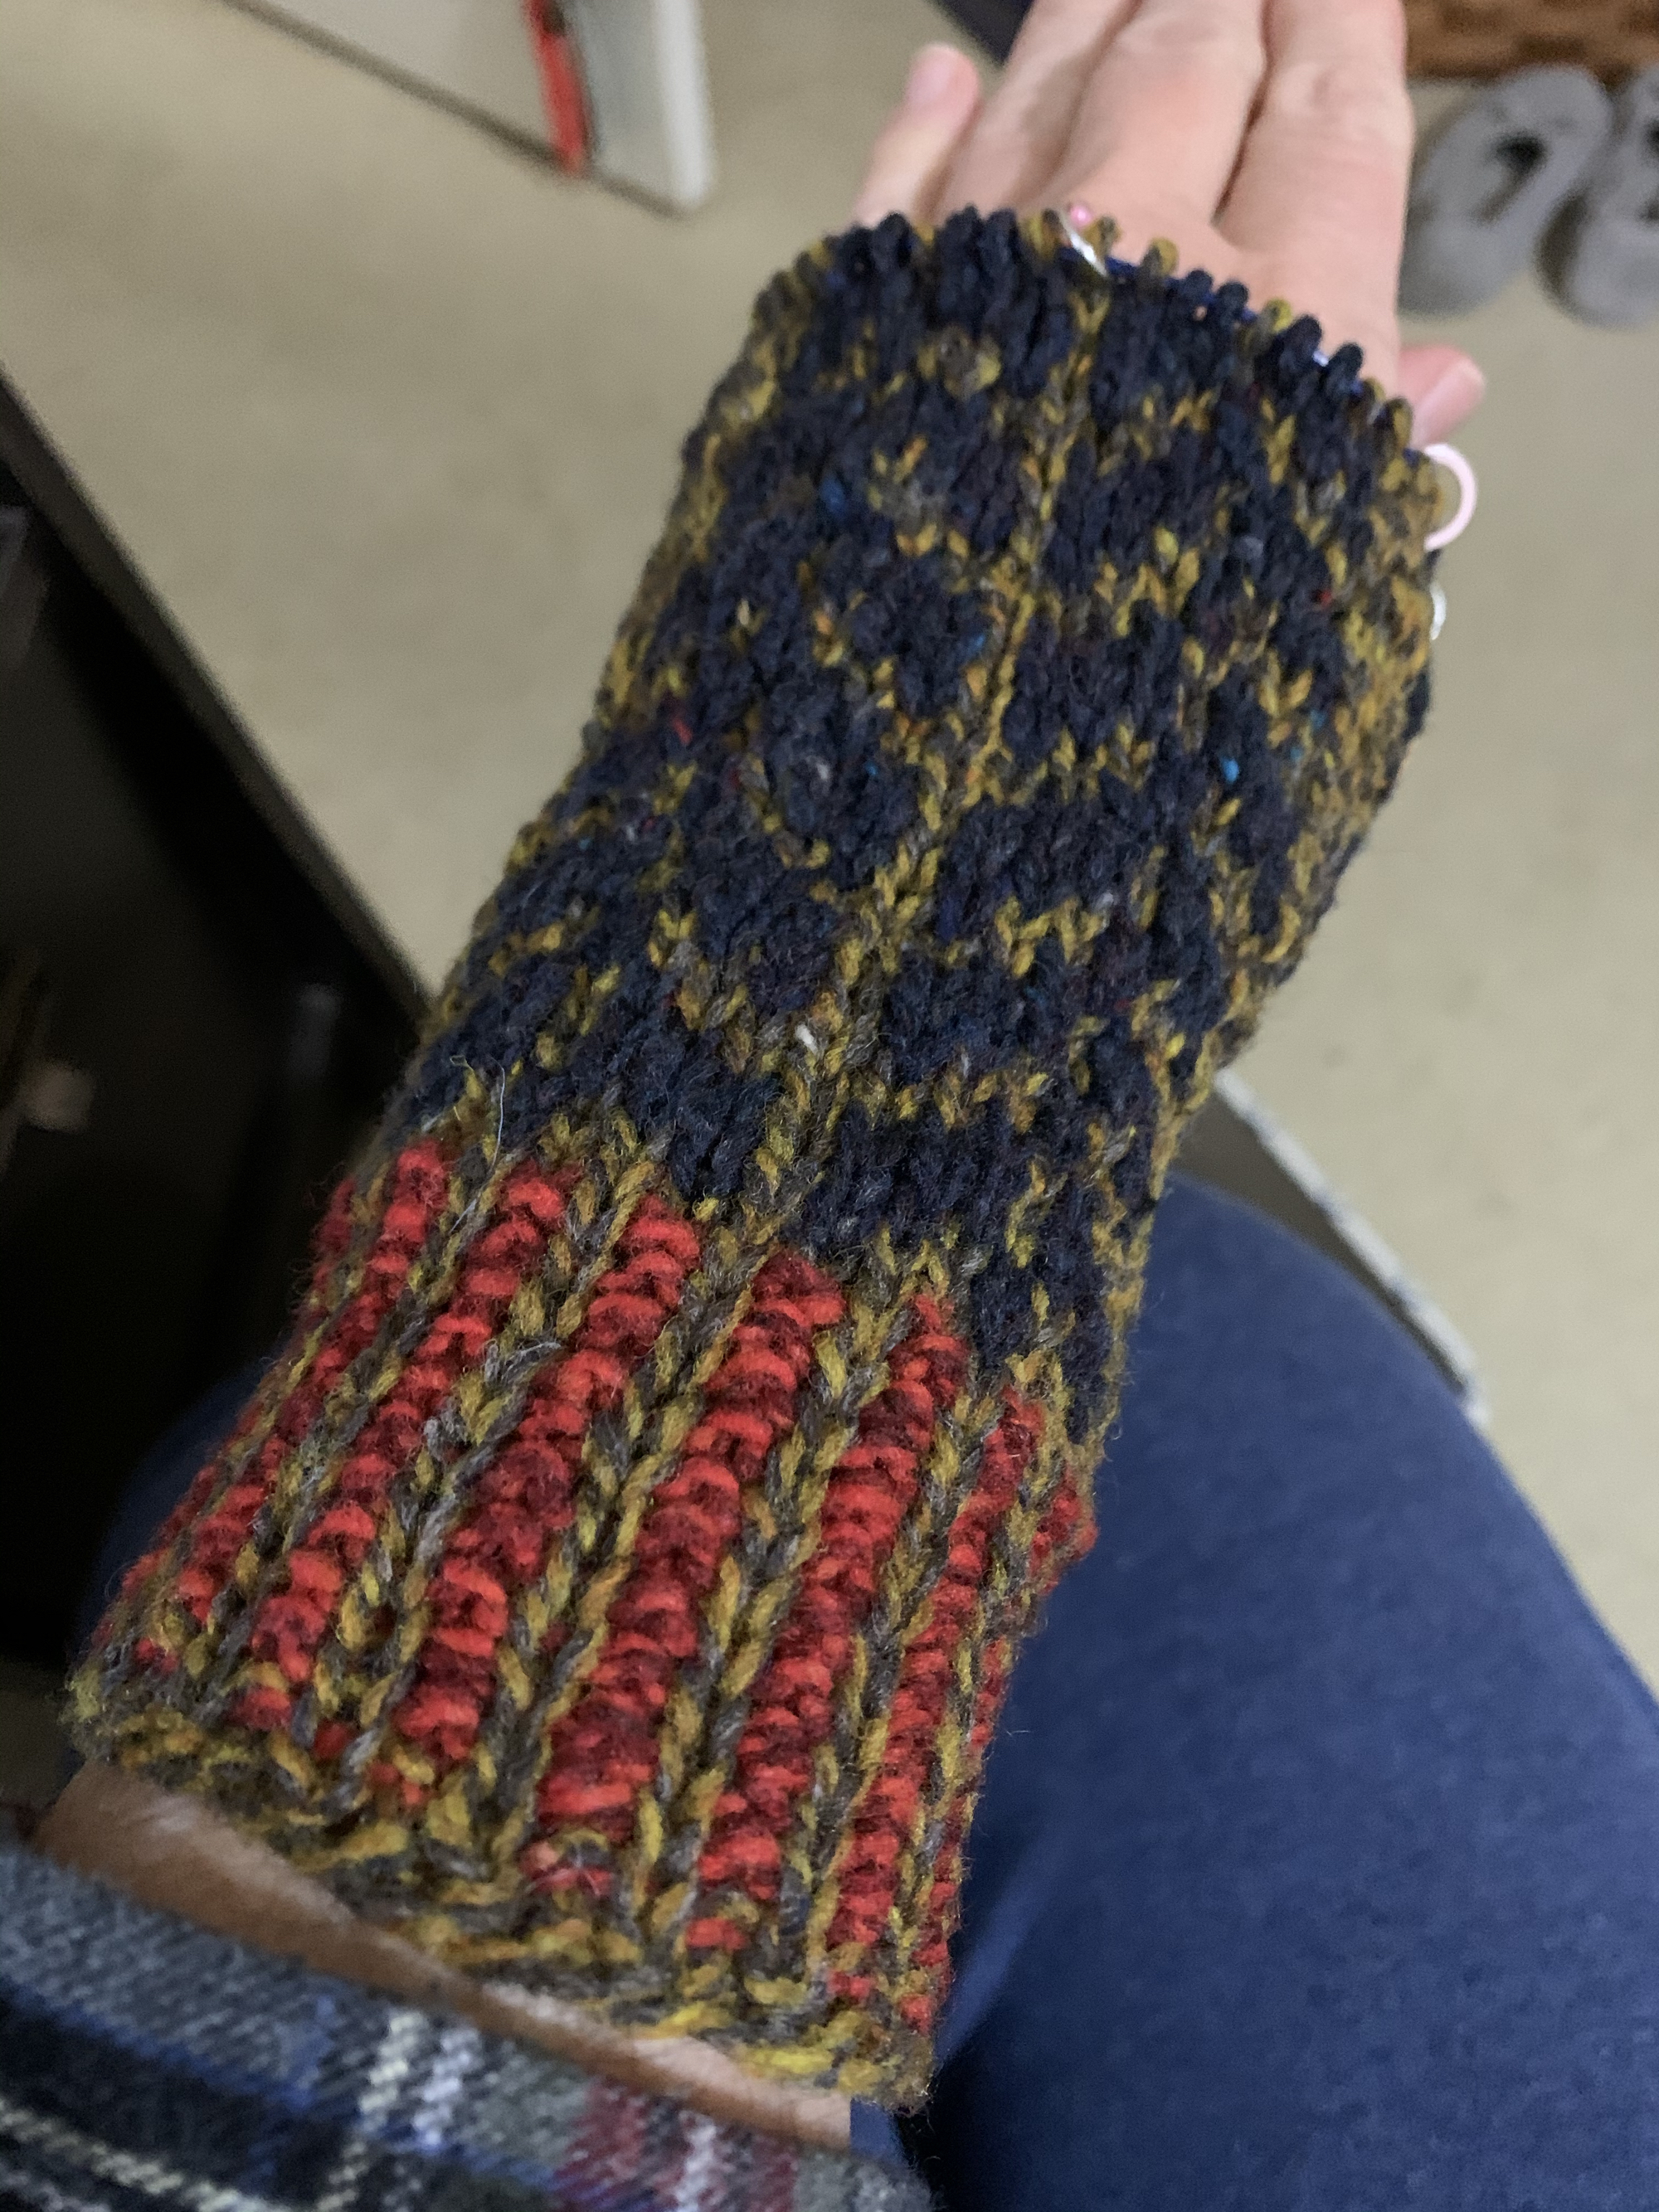
The yarn is Brooklyn Tweed “Shelter” in colors: “Caraway” – the tan for my Main Color, “Amaranth” red for the ribbing, and “Old World” navy blue. I had this yarn on hand so had to find three colors that would work. In the end, I like the look. Here is the left hand mitt drying, in size Medium.
One mitt is finished and drying
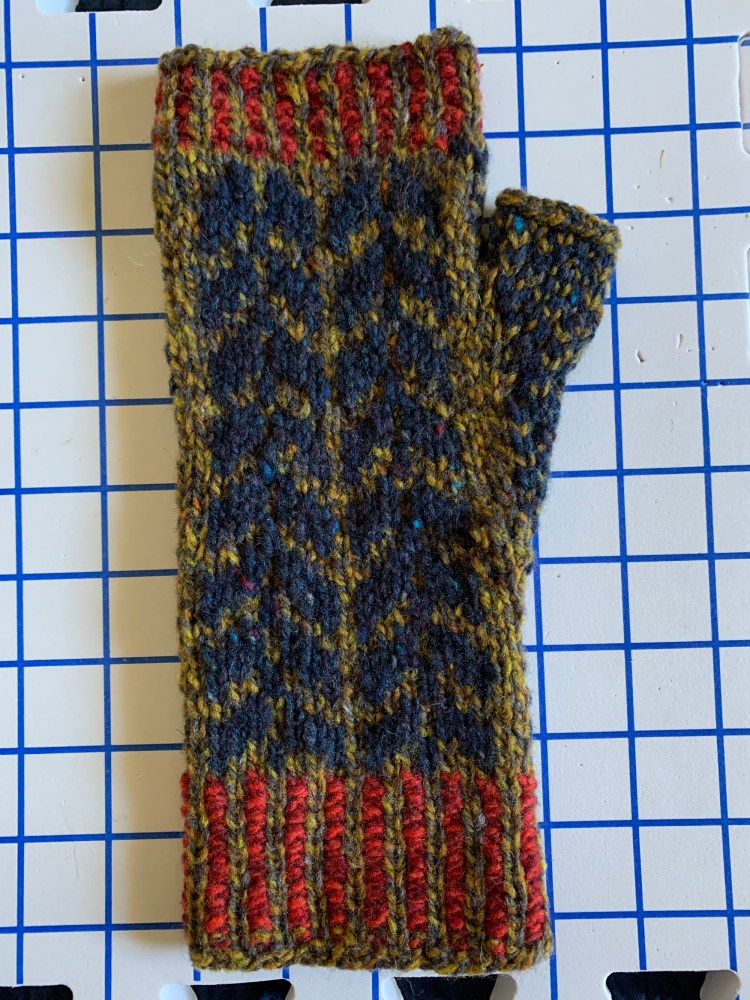
Palm side of left hand mitt
Things to Know Before Knitting This Pattern
First thing to know about this pattern is that the directions are in chart form. The chart shows a k1 MC, P1 CC for the ribbing, which is actually a corrugated rib. The designer does not mention this and assumes the knitter will know how to do corrugated ribbing.
Beginning left hand mitt
The pattern notes say that the instructions are “written for the Magic Loop method of working in the round” – but, that is not really important because the mitts can be knit with small circular needles (which I used) or DPNs. She only references Magic Loop for the cast-on and dividing stitches between needles. I don’t really see the point in mentioning this at all.
Each of the three sizes has a “right” and “left” mitt chart to follow – so 6 separate charts are included. I began with the left, medium size, and ran into trouble with the thumb colors. The color chart is off, and since it was my first mitt, I wondered if I was doing it wrong or if the pattern was supposed to be that way. Eventually, I had to do the alternating colors and ignore the thumb pattern. Because of this, my thumb colors are not all correct, but the yarn covers the mistakes well enough. This problem was not mentioned specifically by test knitters or previous knitters, but a few did mention having trouble in general.
Neither the right nor left hand chart made sense to me when it came to knitting the thumb. It could be me, or a problem with the pattern, I honestly don’t know. In general I can follow patterns, and I have knit mittens without any problem, but the Oulu pattern did not make sense.
Thumb chart is off
Getting Gauge
I did not knit a swatch and used my first, washed and dried mitt to get my gauge. My gauge is way off for rows, which is why I needed to add an extra pattern repeat at the top. I got 24 rows in four inches, and she (the designer) has 31 rows!
While I was knitting the first mitt, I thought the mitt would end up too tight. In fact I added a couple extra stitches near the knuckles to widen it a bit. But the day after I finished knitting, I wore it outside while feeding the birds on a cold 32 degree morning, and the fit was good. Then I washed it and began mitt #2.
Cuff and most of hand finished
Changes I Made to Thumb Knitting
Needle size & Thumb stitches: Although the mitt seemed tight at first, it ended up fitting me very nicely. I knit the size Medium, on size 6 needles for the ribbing at the cuff and top. The rest of the mitt was knit using size 7 needles.
I did not use the smaller, size 6 needles for the thumb, as the pattern calls for. In fact I added stitches, by picking up 4-5 in place of the 1 stitch, and it’s perfect. Doing as the pattern suggested would have created a very tight thumb – for me. If you are also a tight knitter, you may want to do the same on the thumb.
Before washing
Pattern repeats and bind off: I added one more repeat at the top of the hand to get the correct length for me – due to my smaller gauge. For the next pair I would maybe make the cuff shorter. It’s hard to say if I will appreciate the length on the wrist area.
The pattern calls for a “stretchy bind-off” and I did a regular, rather loose bind-off which was fine. Some of the reviewers mentioned that doing a stretchy bind-off made the top flare. I can imagine that would happen. As it turned out the top ribbing could have been more narrow overall. I will plan to decrease a couple of stitches before doing the top ribbing next time.
Finished! I had trouble following the pattern for both the right and left mitt. Don’t know if it was just me, or the pattern. I had to figure too many things out for myself. Maybe a more experienced knitter would not have this trouble.
This cute fingerless mitts pattern, Maine Morning Mitts, is easy to knit and is good practice for knitting in the round. I love knitting hats in the round, but not so much these smaller circumferences. Mitts, mittens and socks require DPN’s, small circumference needles, or the use of Magic Loop.
A trip to New Hampshire is planned – finally. With all this Covid stuff, New Englanders do not want visitors! I have not visited my children for over two years at this point. So it’s time.
I won’t be traveling in deep winter, but early Spring. It could still be cold and I suddenly thought about packing frugally for cold weather. Although I have loads of hand knits, most are bulky and I will only take one medium sized suitcase.
For this reason I decided to knit a smallish neck wrap.
I like the shape of crescent shawls. I wanted something not as big as a true scarf, and I wanted it to be useful and warm. Something I could just wrap around my neck on walks.
I’ve knit quite a few shawls and wraps, but few have been crescent shaped. My pattern collection has built up over the past couple of years and I began to dig through. It’s been a year of conserving and using up what I have, including yarn.
The Pattern is “Railings”, by Janina Kallio of Woolenberry
Railings is a pattern I had purchased and printed out a while ago, but never knit. To be sure of the shape, I looked it up on Ravelry and read the comments of other knitters. Many said it ended up too small, so I have added a few more rows.
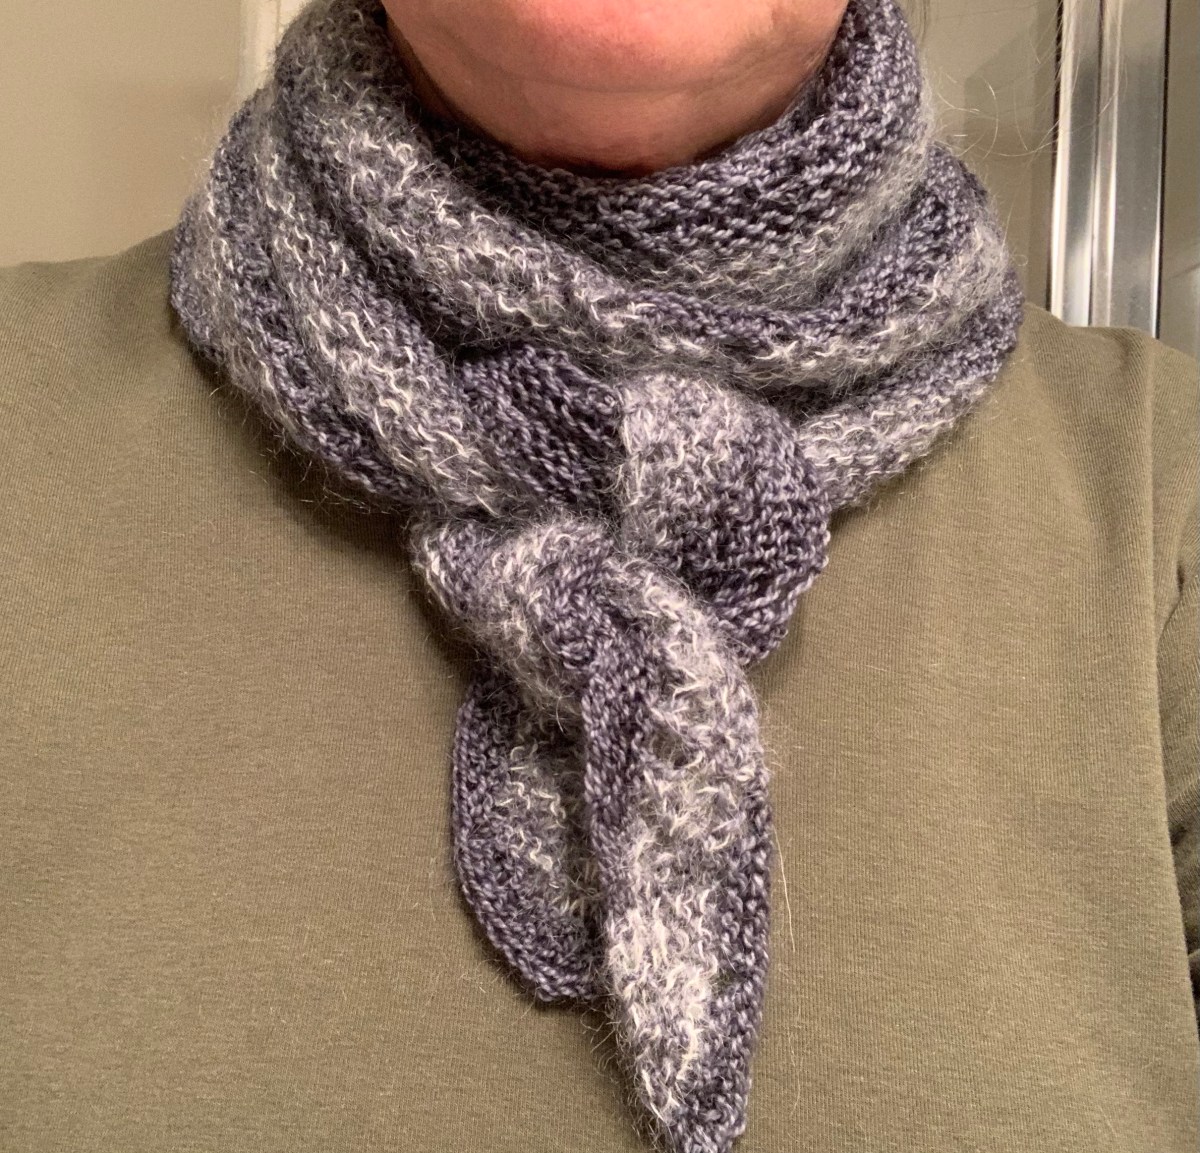
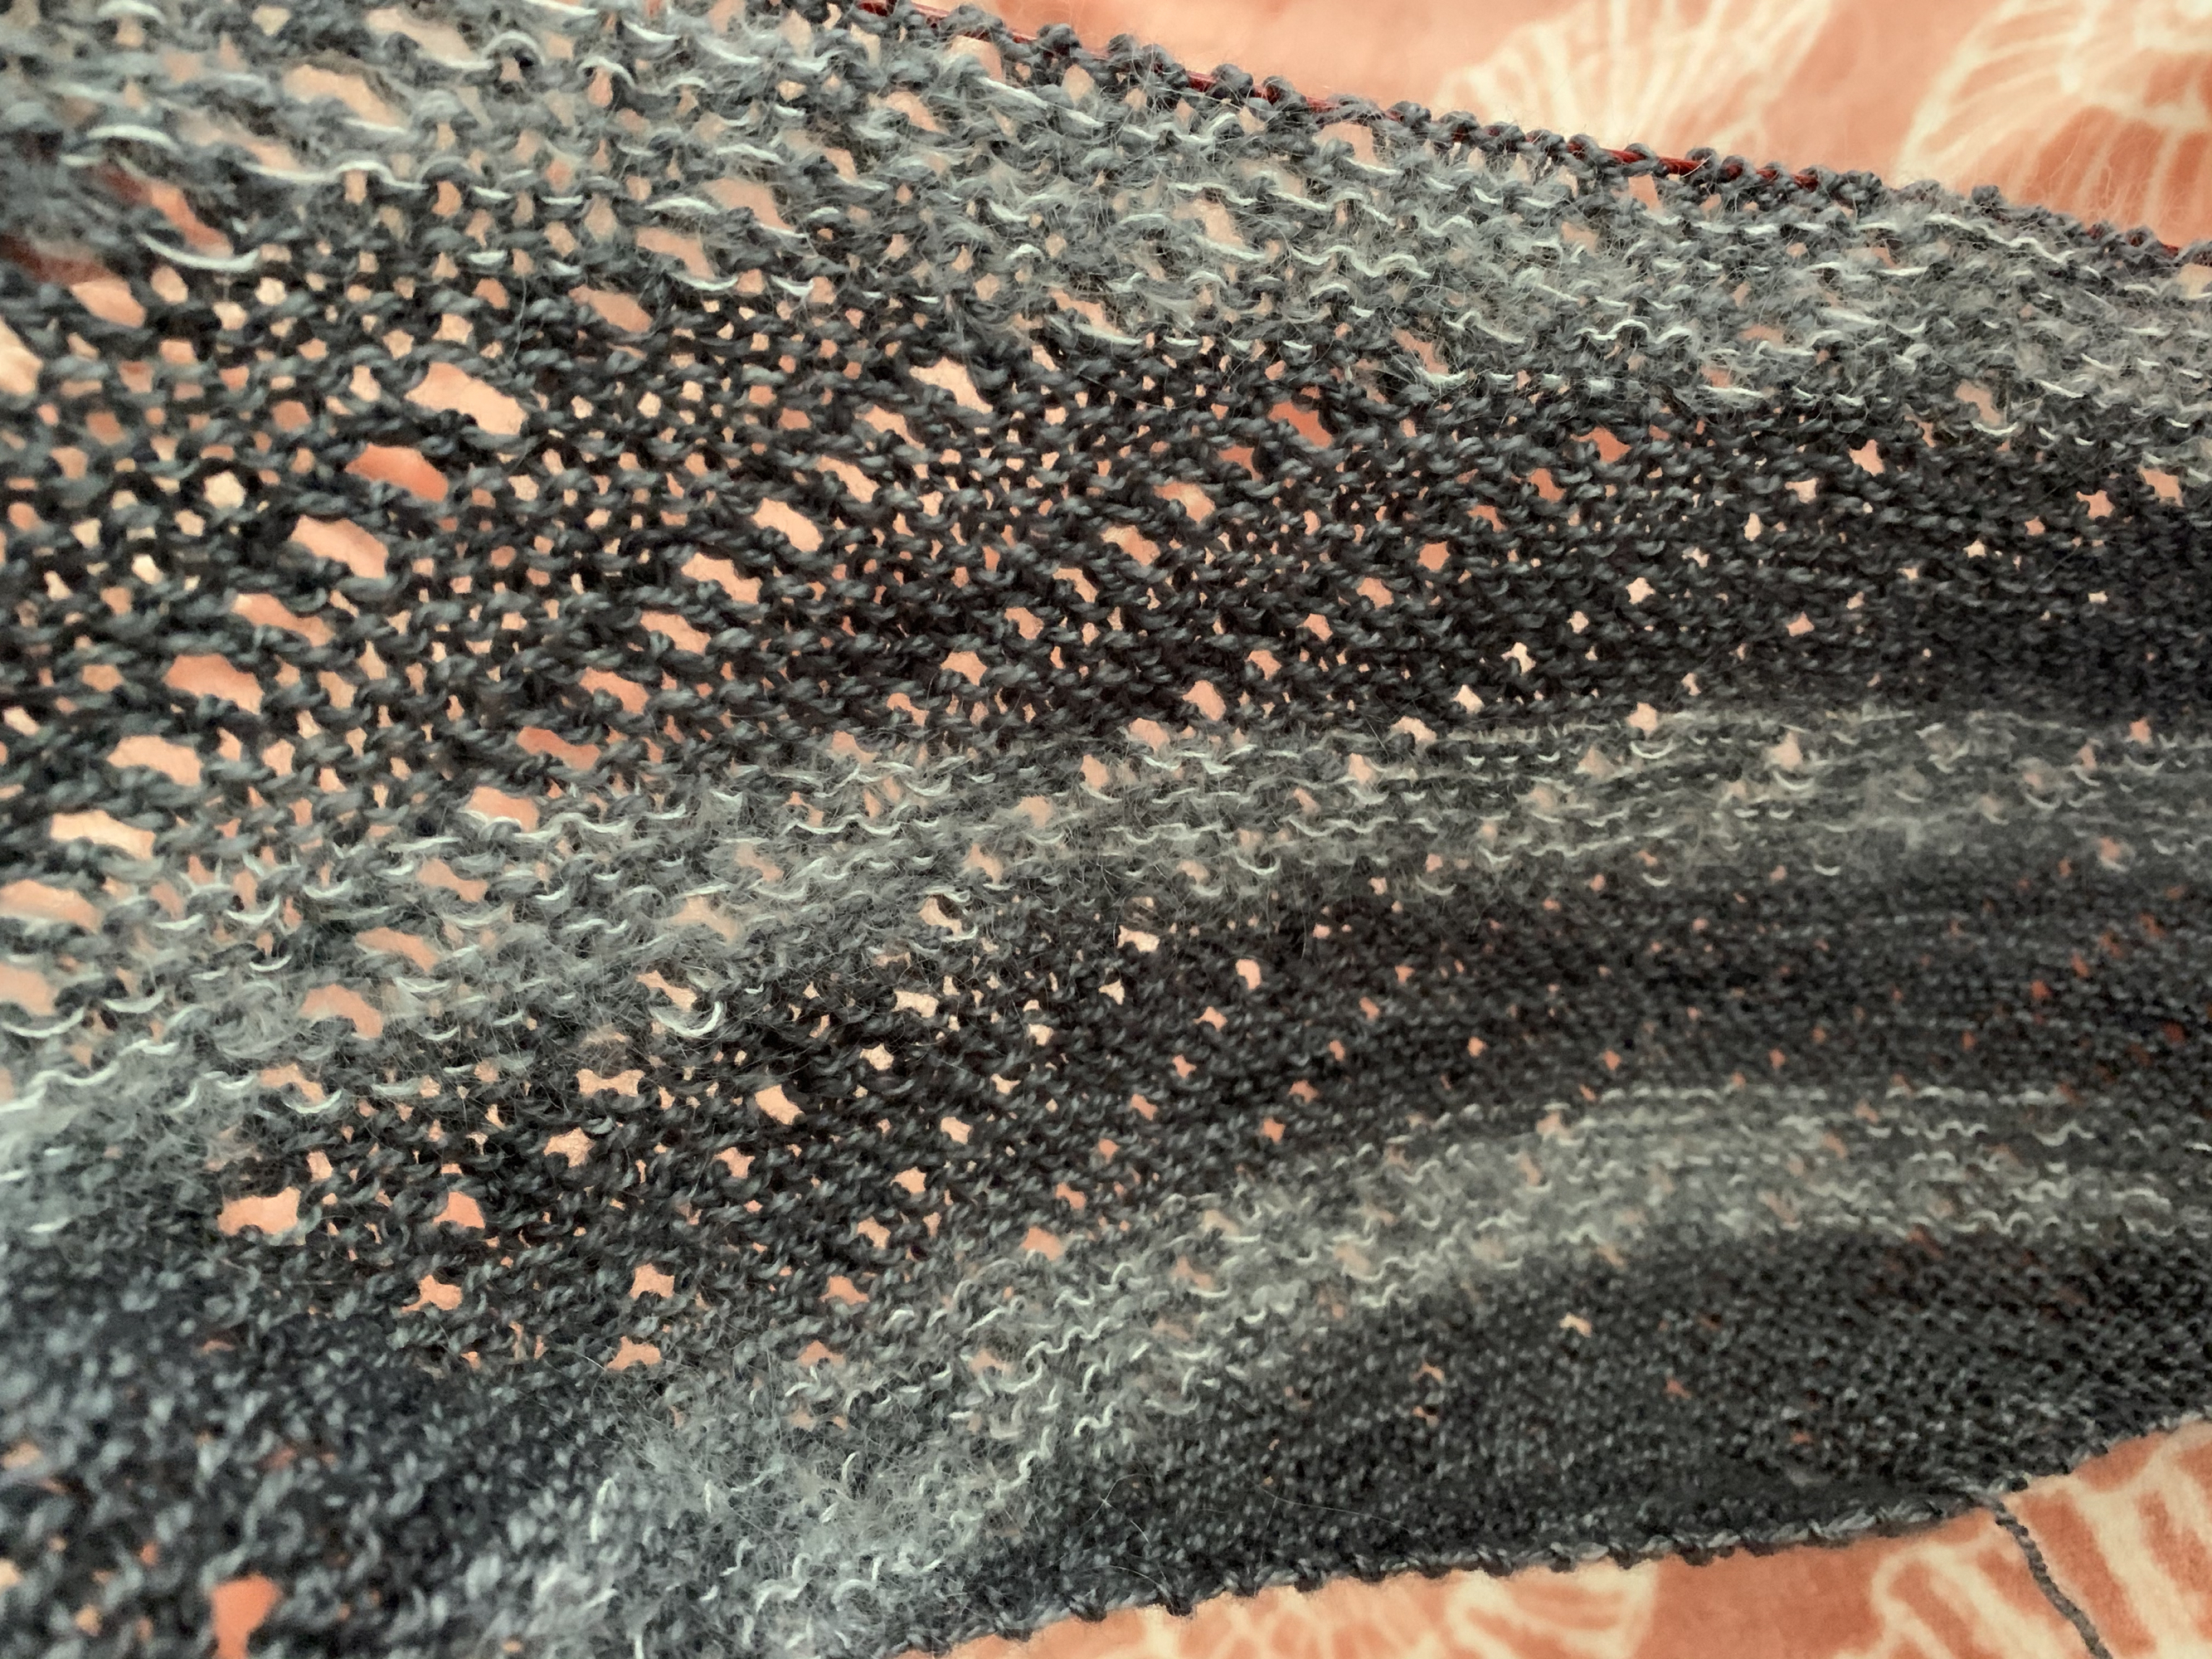
My Railings with stripes of mohair
First thing to consider, after the pattern was chosen, was color. I didn’t want sock yarn because I want this wrap to be warm. It also had to be soft. Digging through my stash, I found a ball of Anzula in dark gray. It is soft and wonderful and has 10% cashmere. To add some fuzziness, I made stripes of Anzula and mohair held together. White mohair would not have been my preferred choice, but it’s what I had.
I might run out of yarn, but I have more dark balls to use up. I’m not really concerned with color matching, just a warm and comfy end product.
Showing the patterning
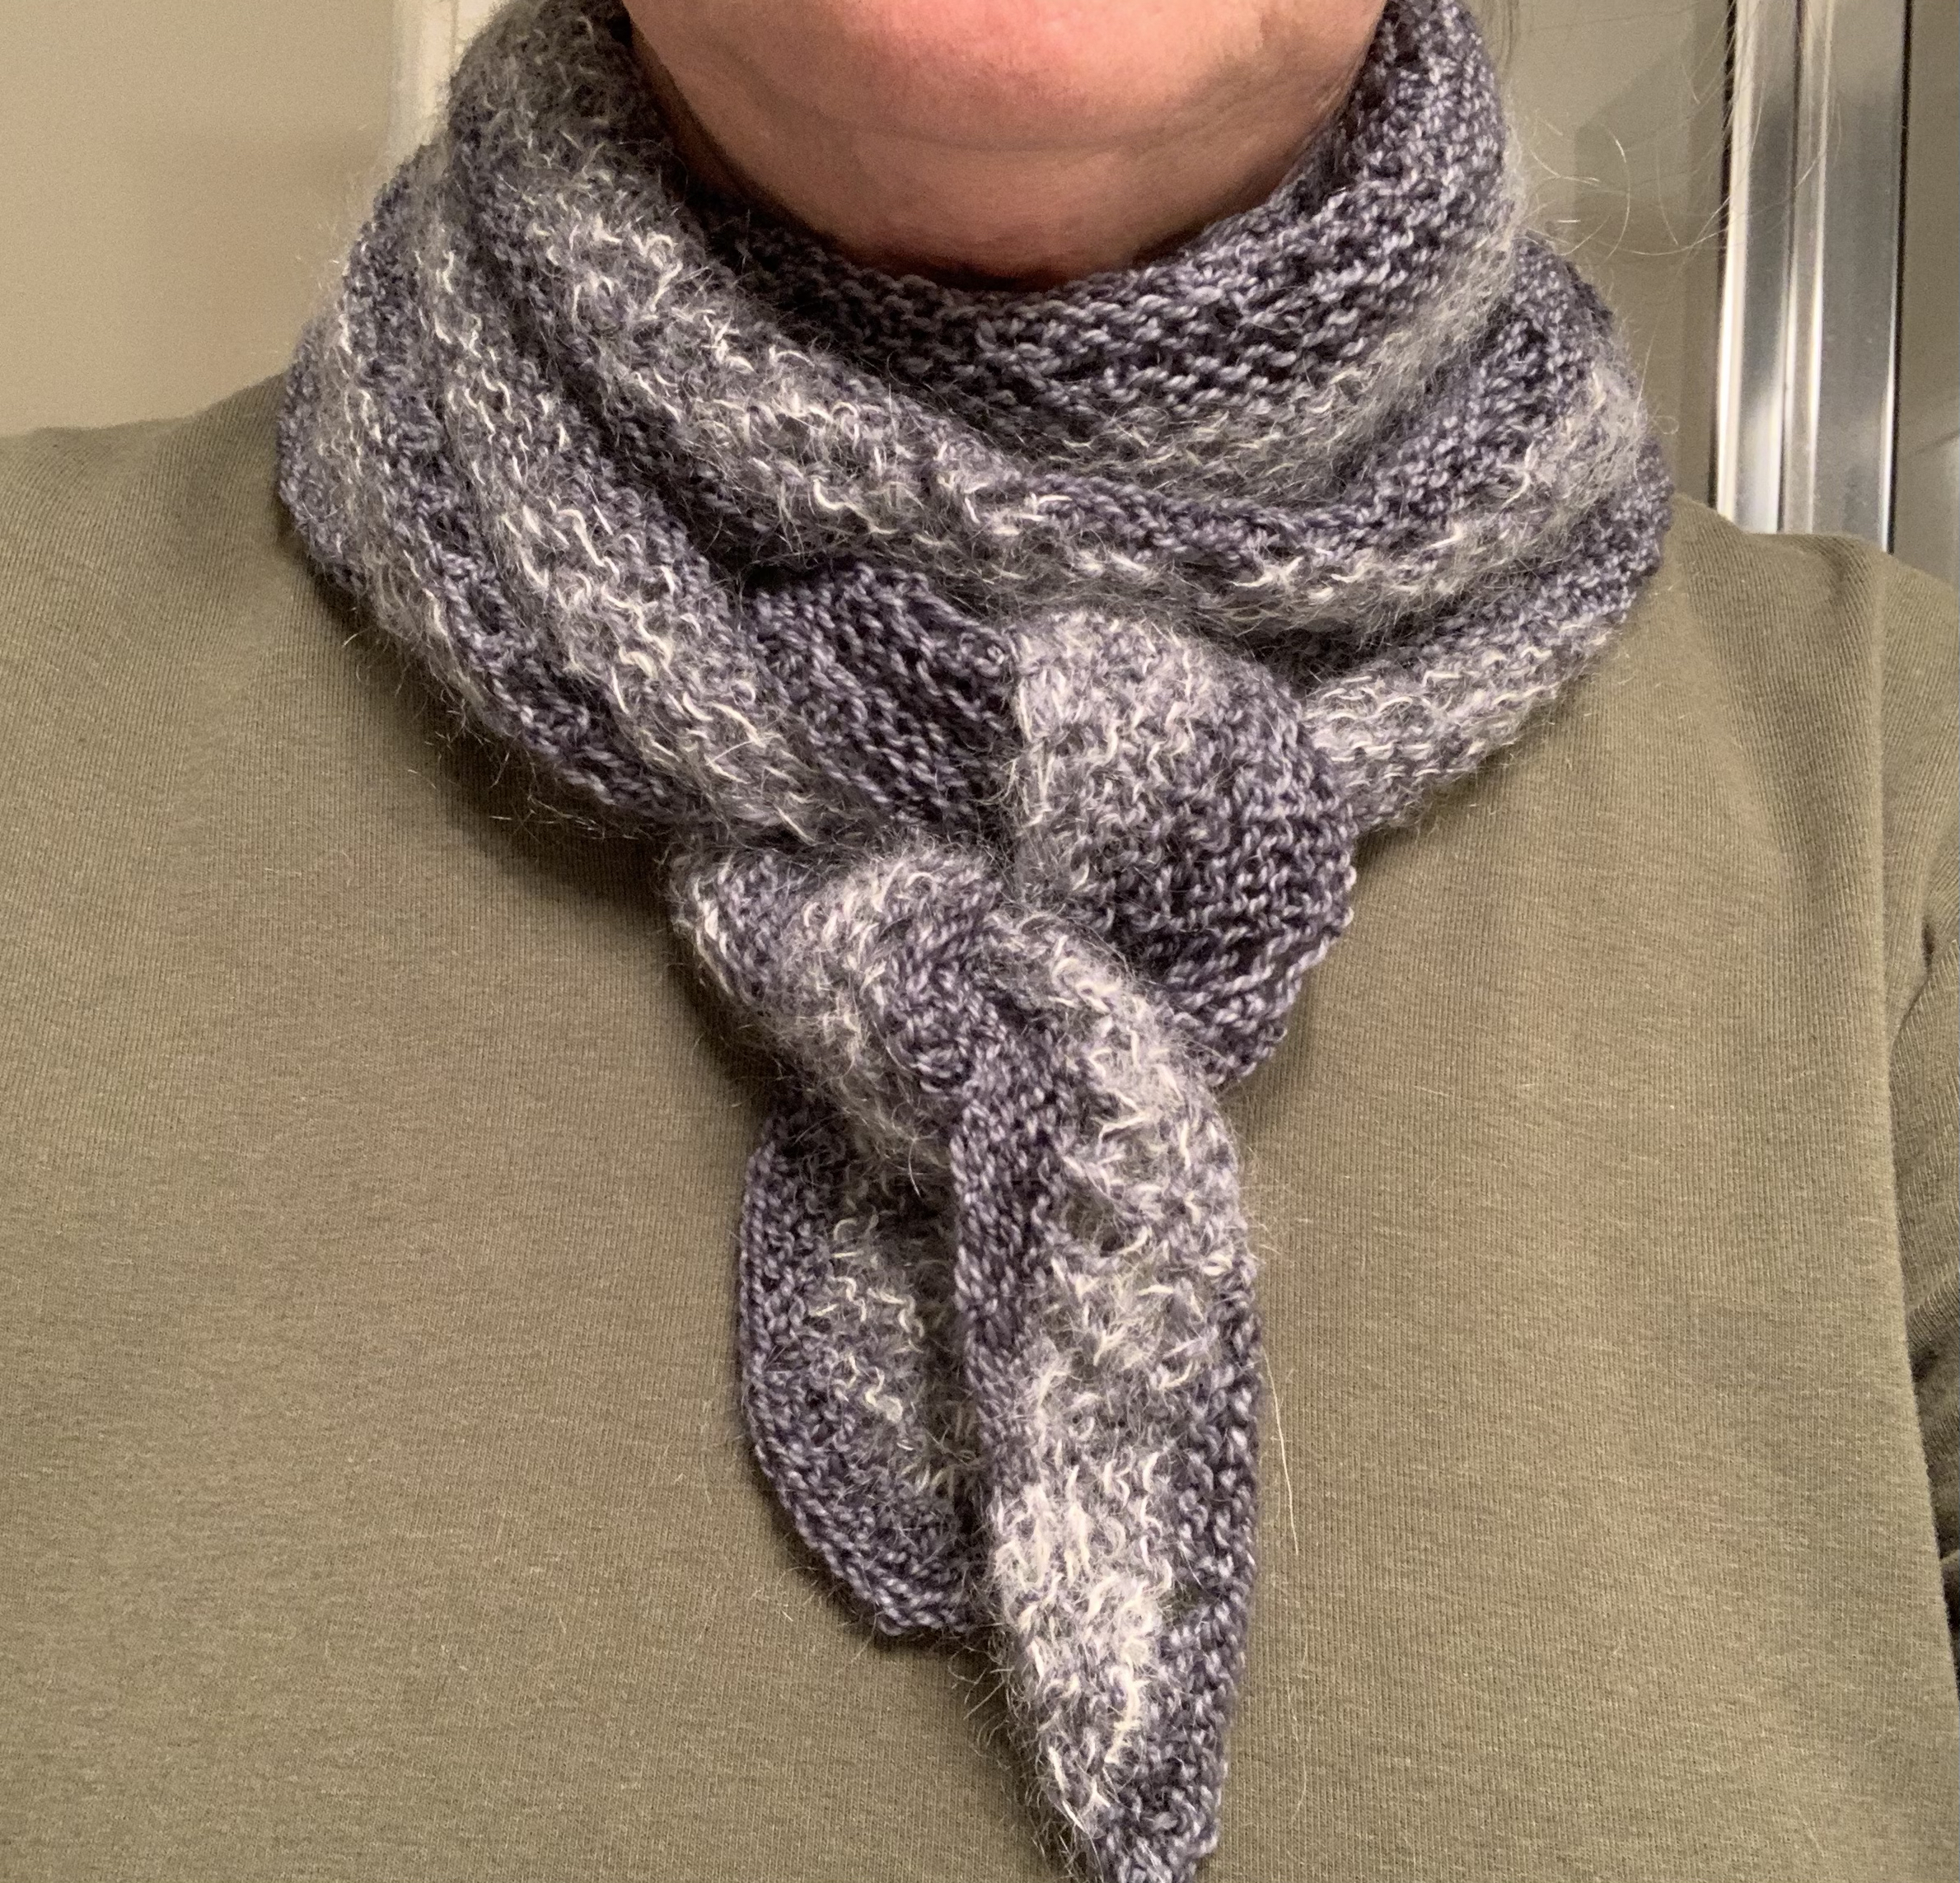
This scarf is the perfect fit
The plan is to have this shawl wrap around my neck with the ends hanging down in front. *Update: photo above shows it wrapped and tied twice in front. I think it is the perfect size. The other thing I’d like to knit before my trip is a pair of fingerless mitts.
Woolenberry Patterns – She Does Shawls
When I think of Woolenberry, I think shawls. She is a good designer to follow if you are a bit of a beginner and want knitting practice. She offers a nice variety of fairly easy patterns which are easy to follow. She may also have more difficult patterns as I am not familiar with all she offers.
I have knit her Dewdrops shawl. It was an easy knit and is triangle shaped.