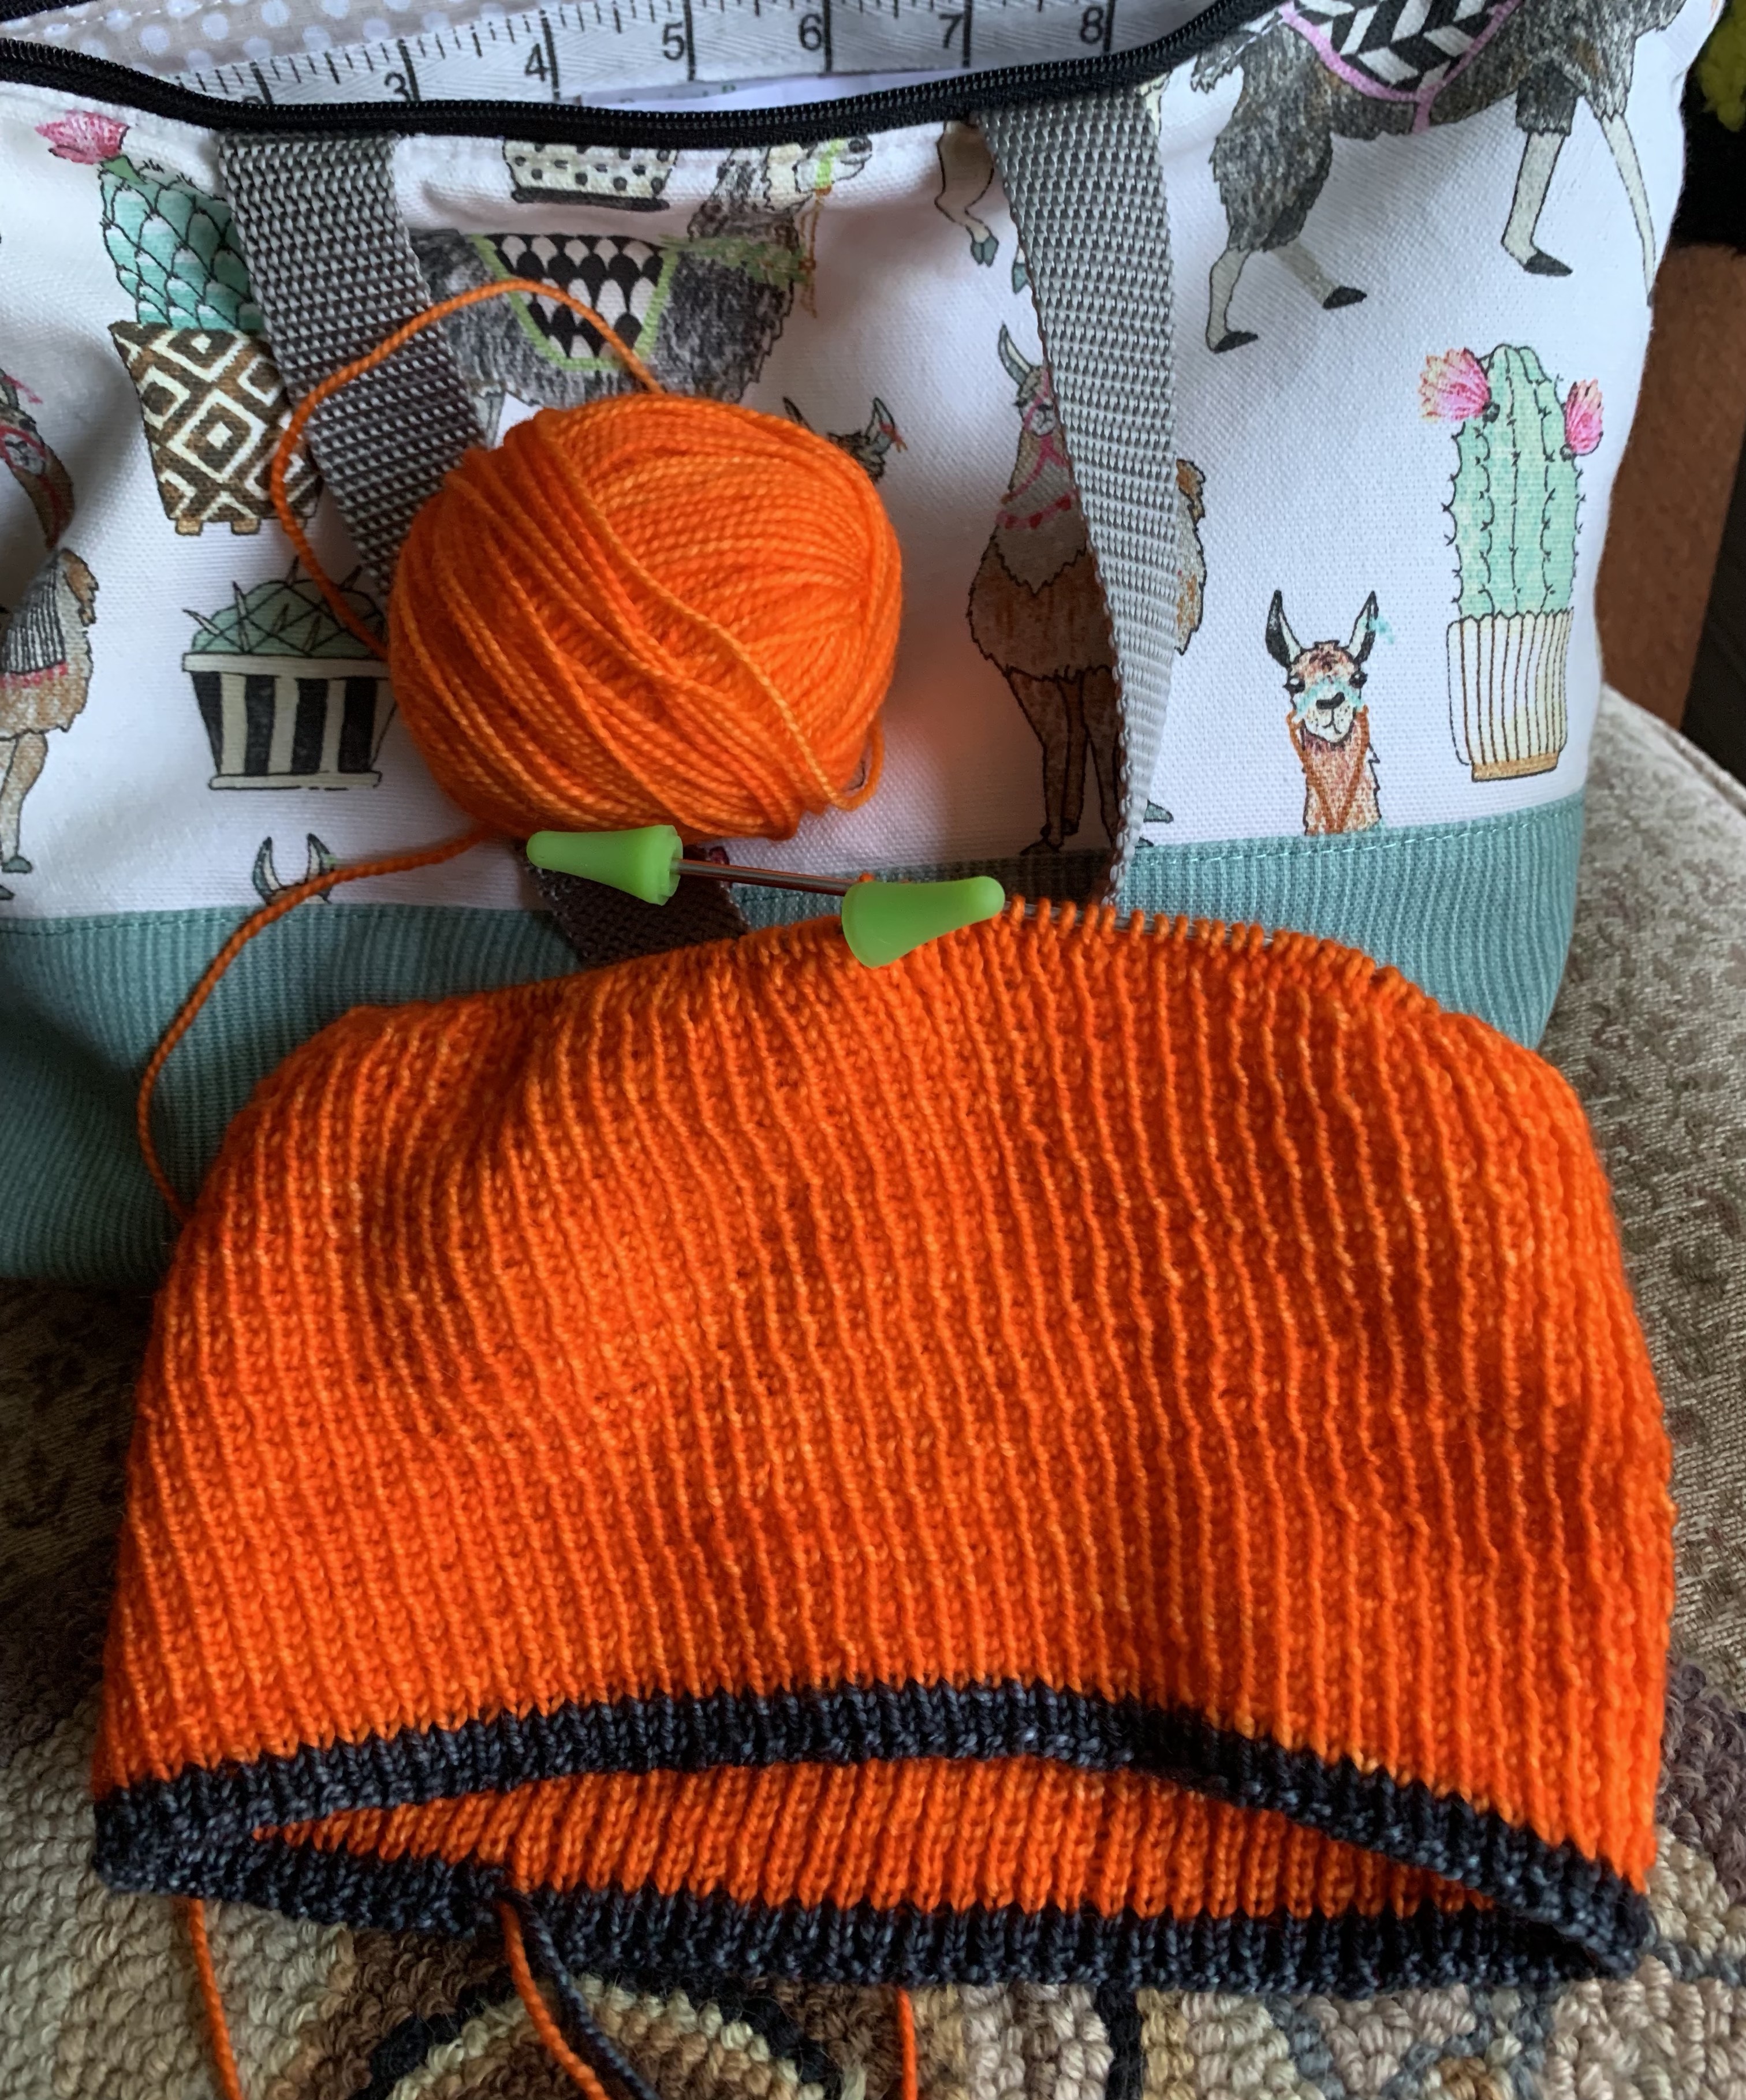
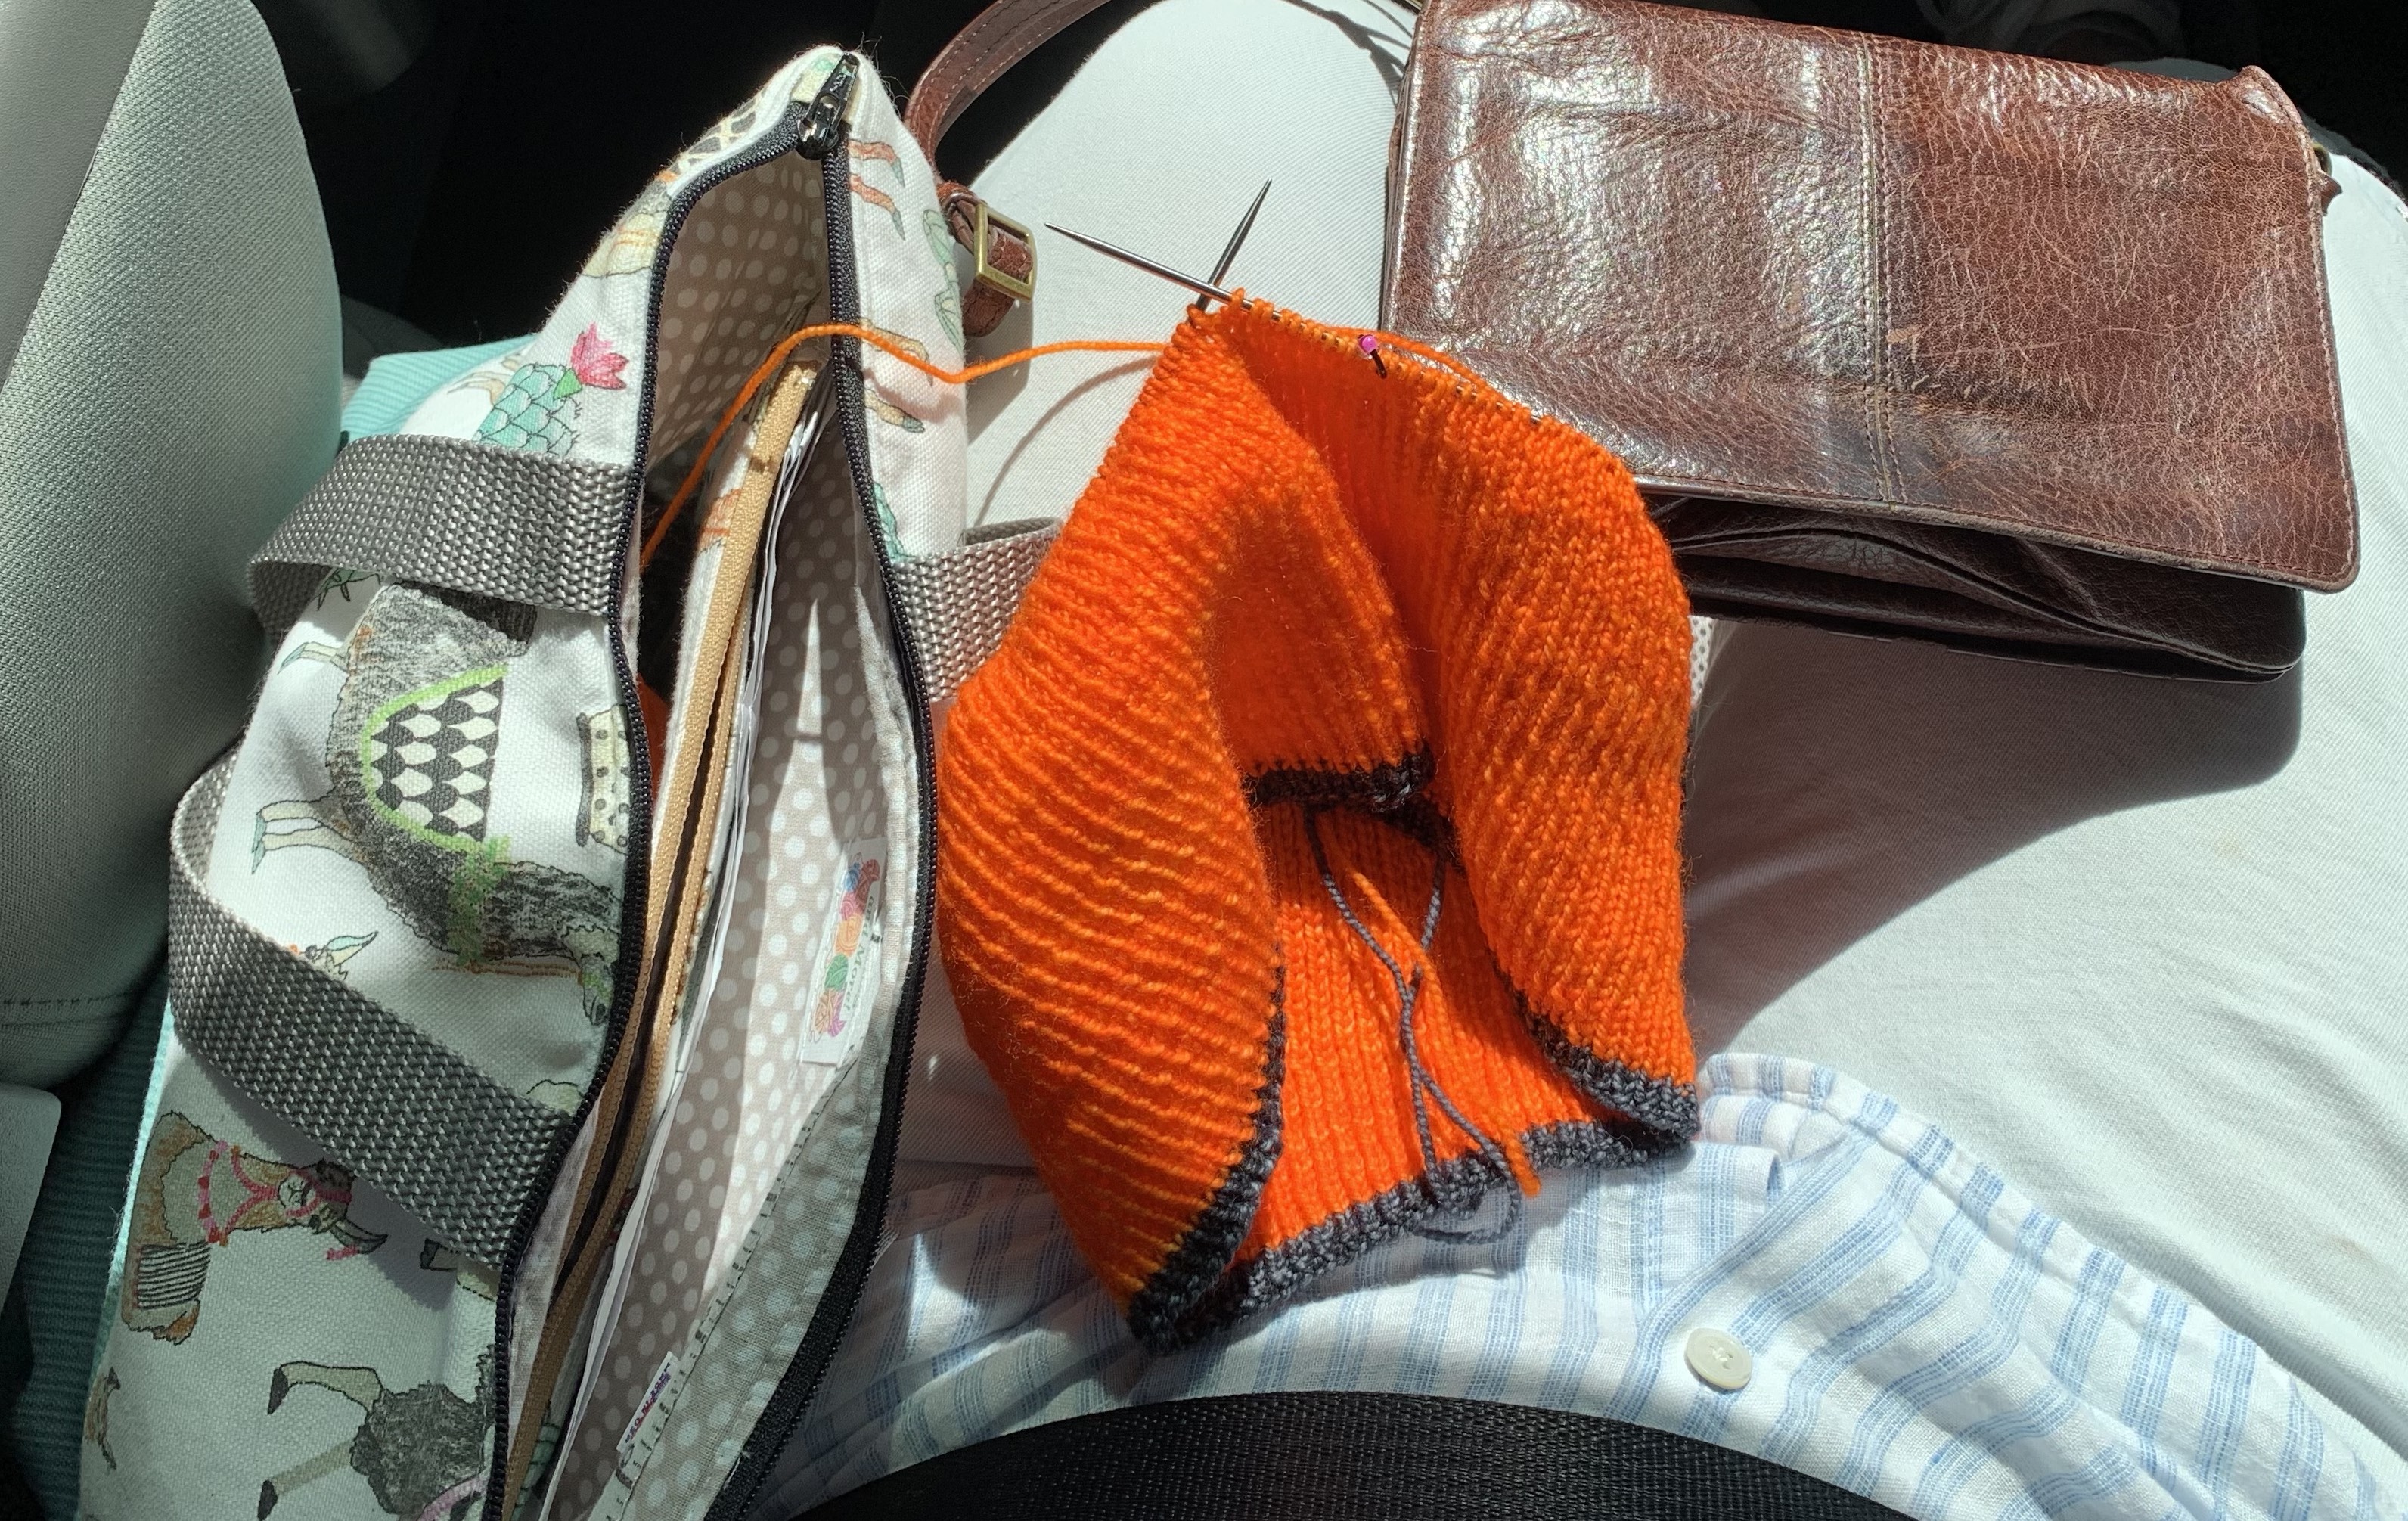
This slouchy watchcap pattern is worth the tedious knitting. It is also an excellent take-along travel knit.
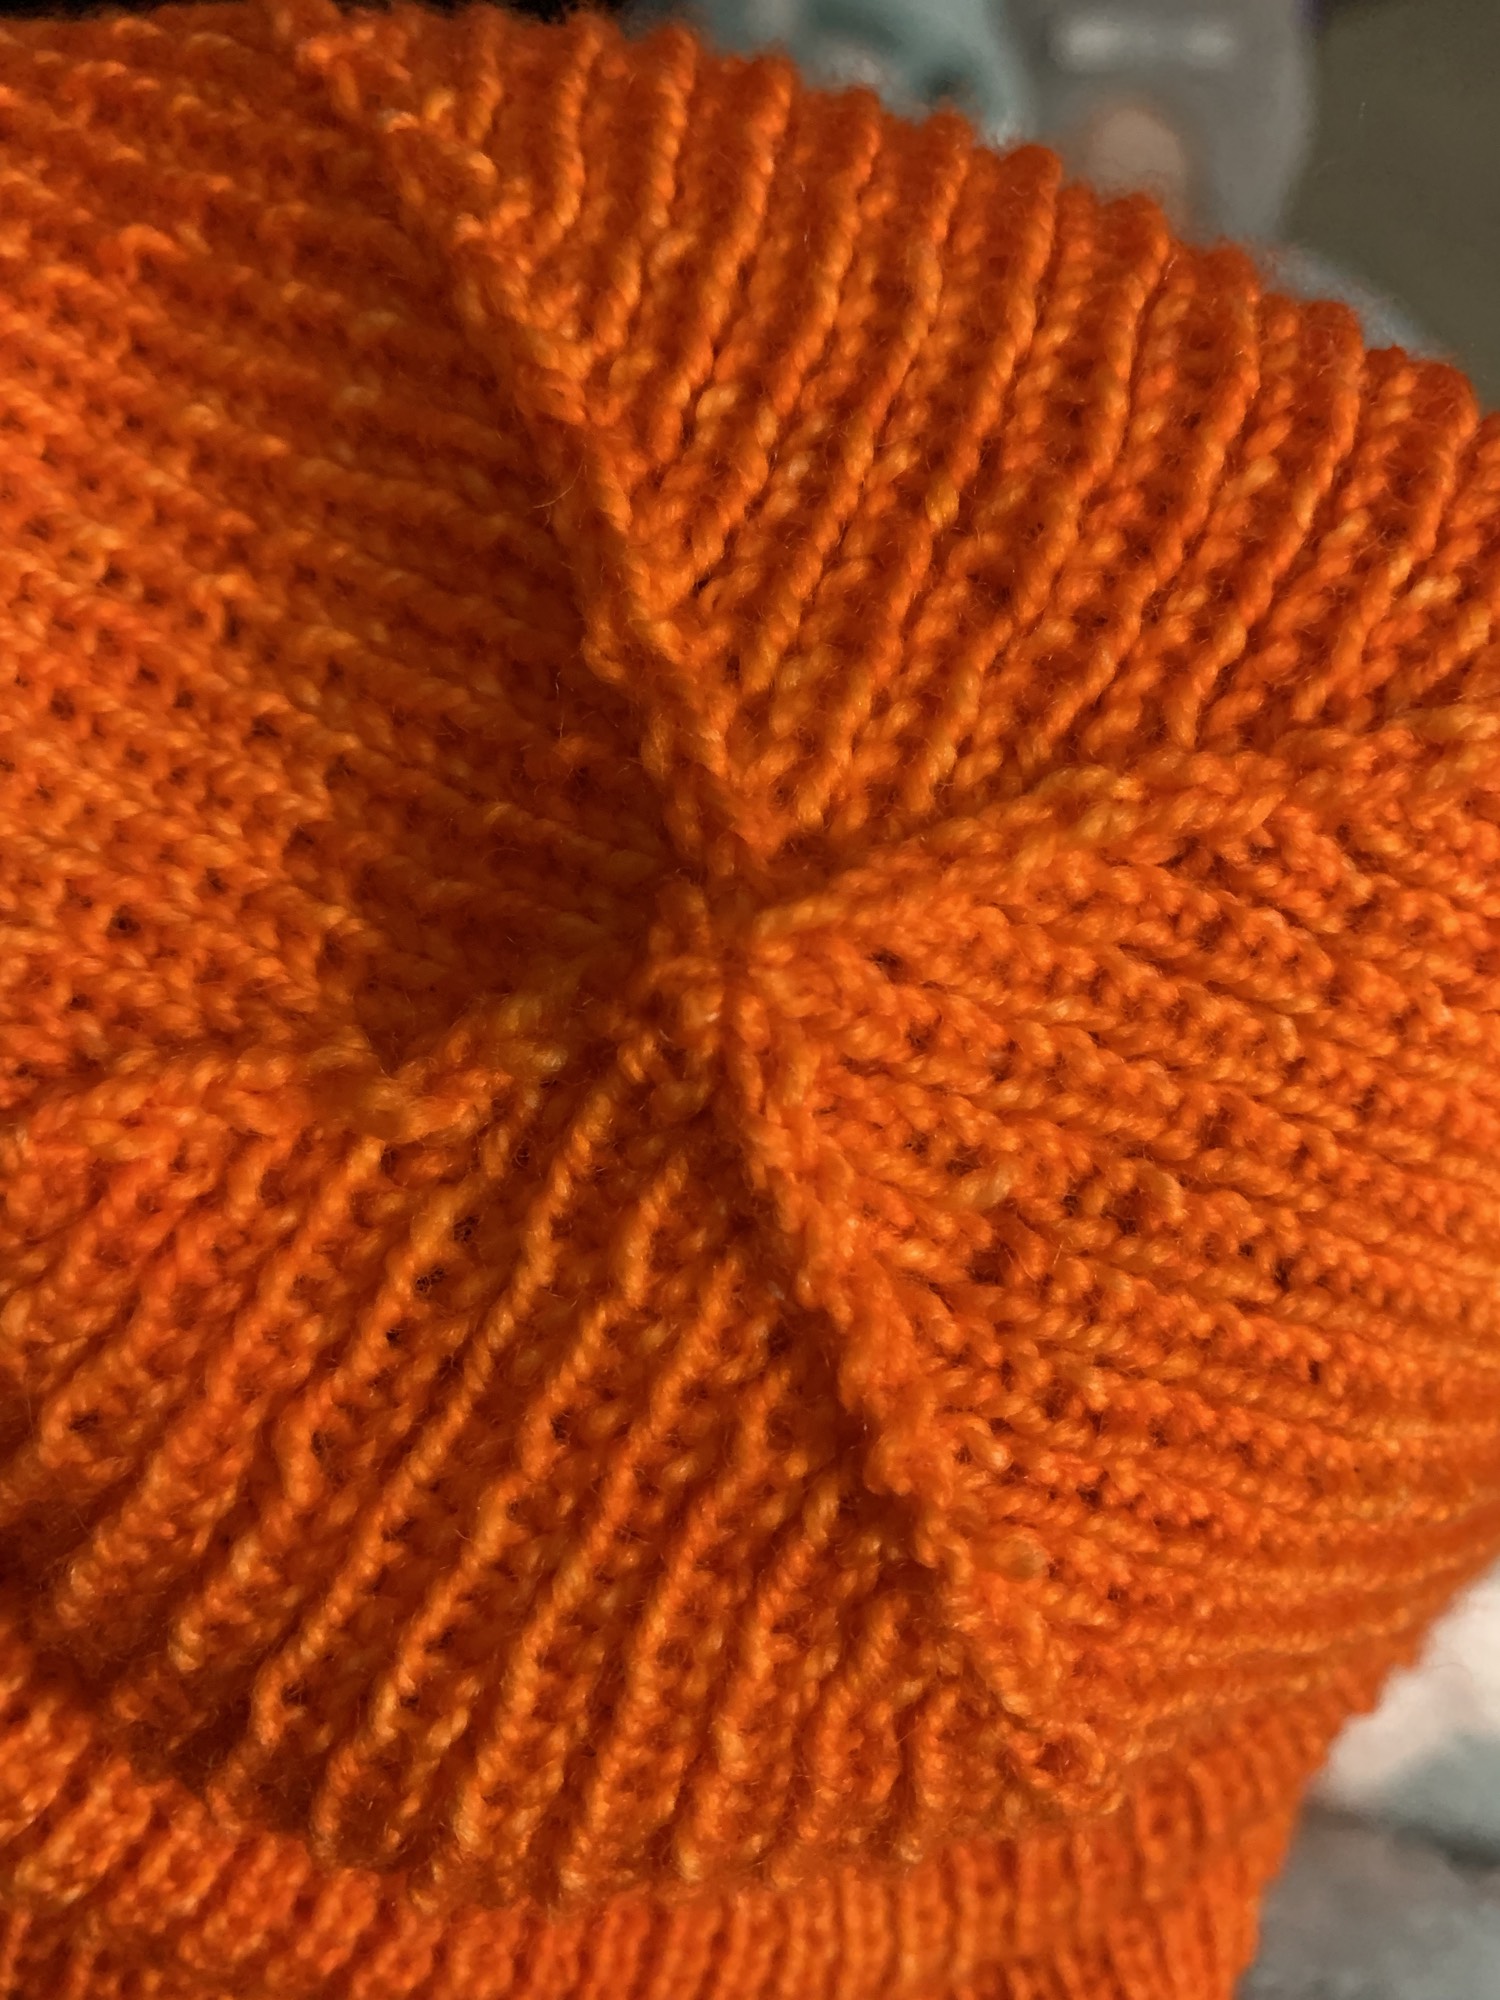
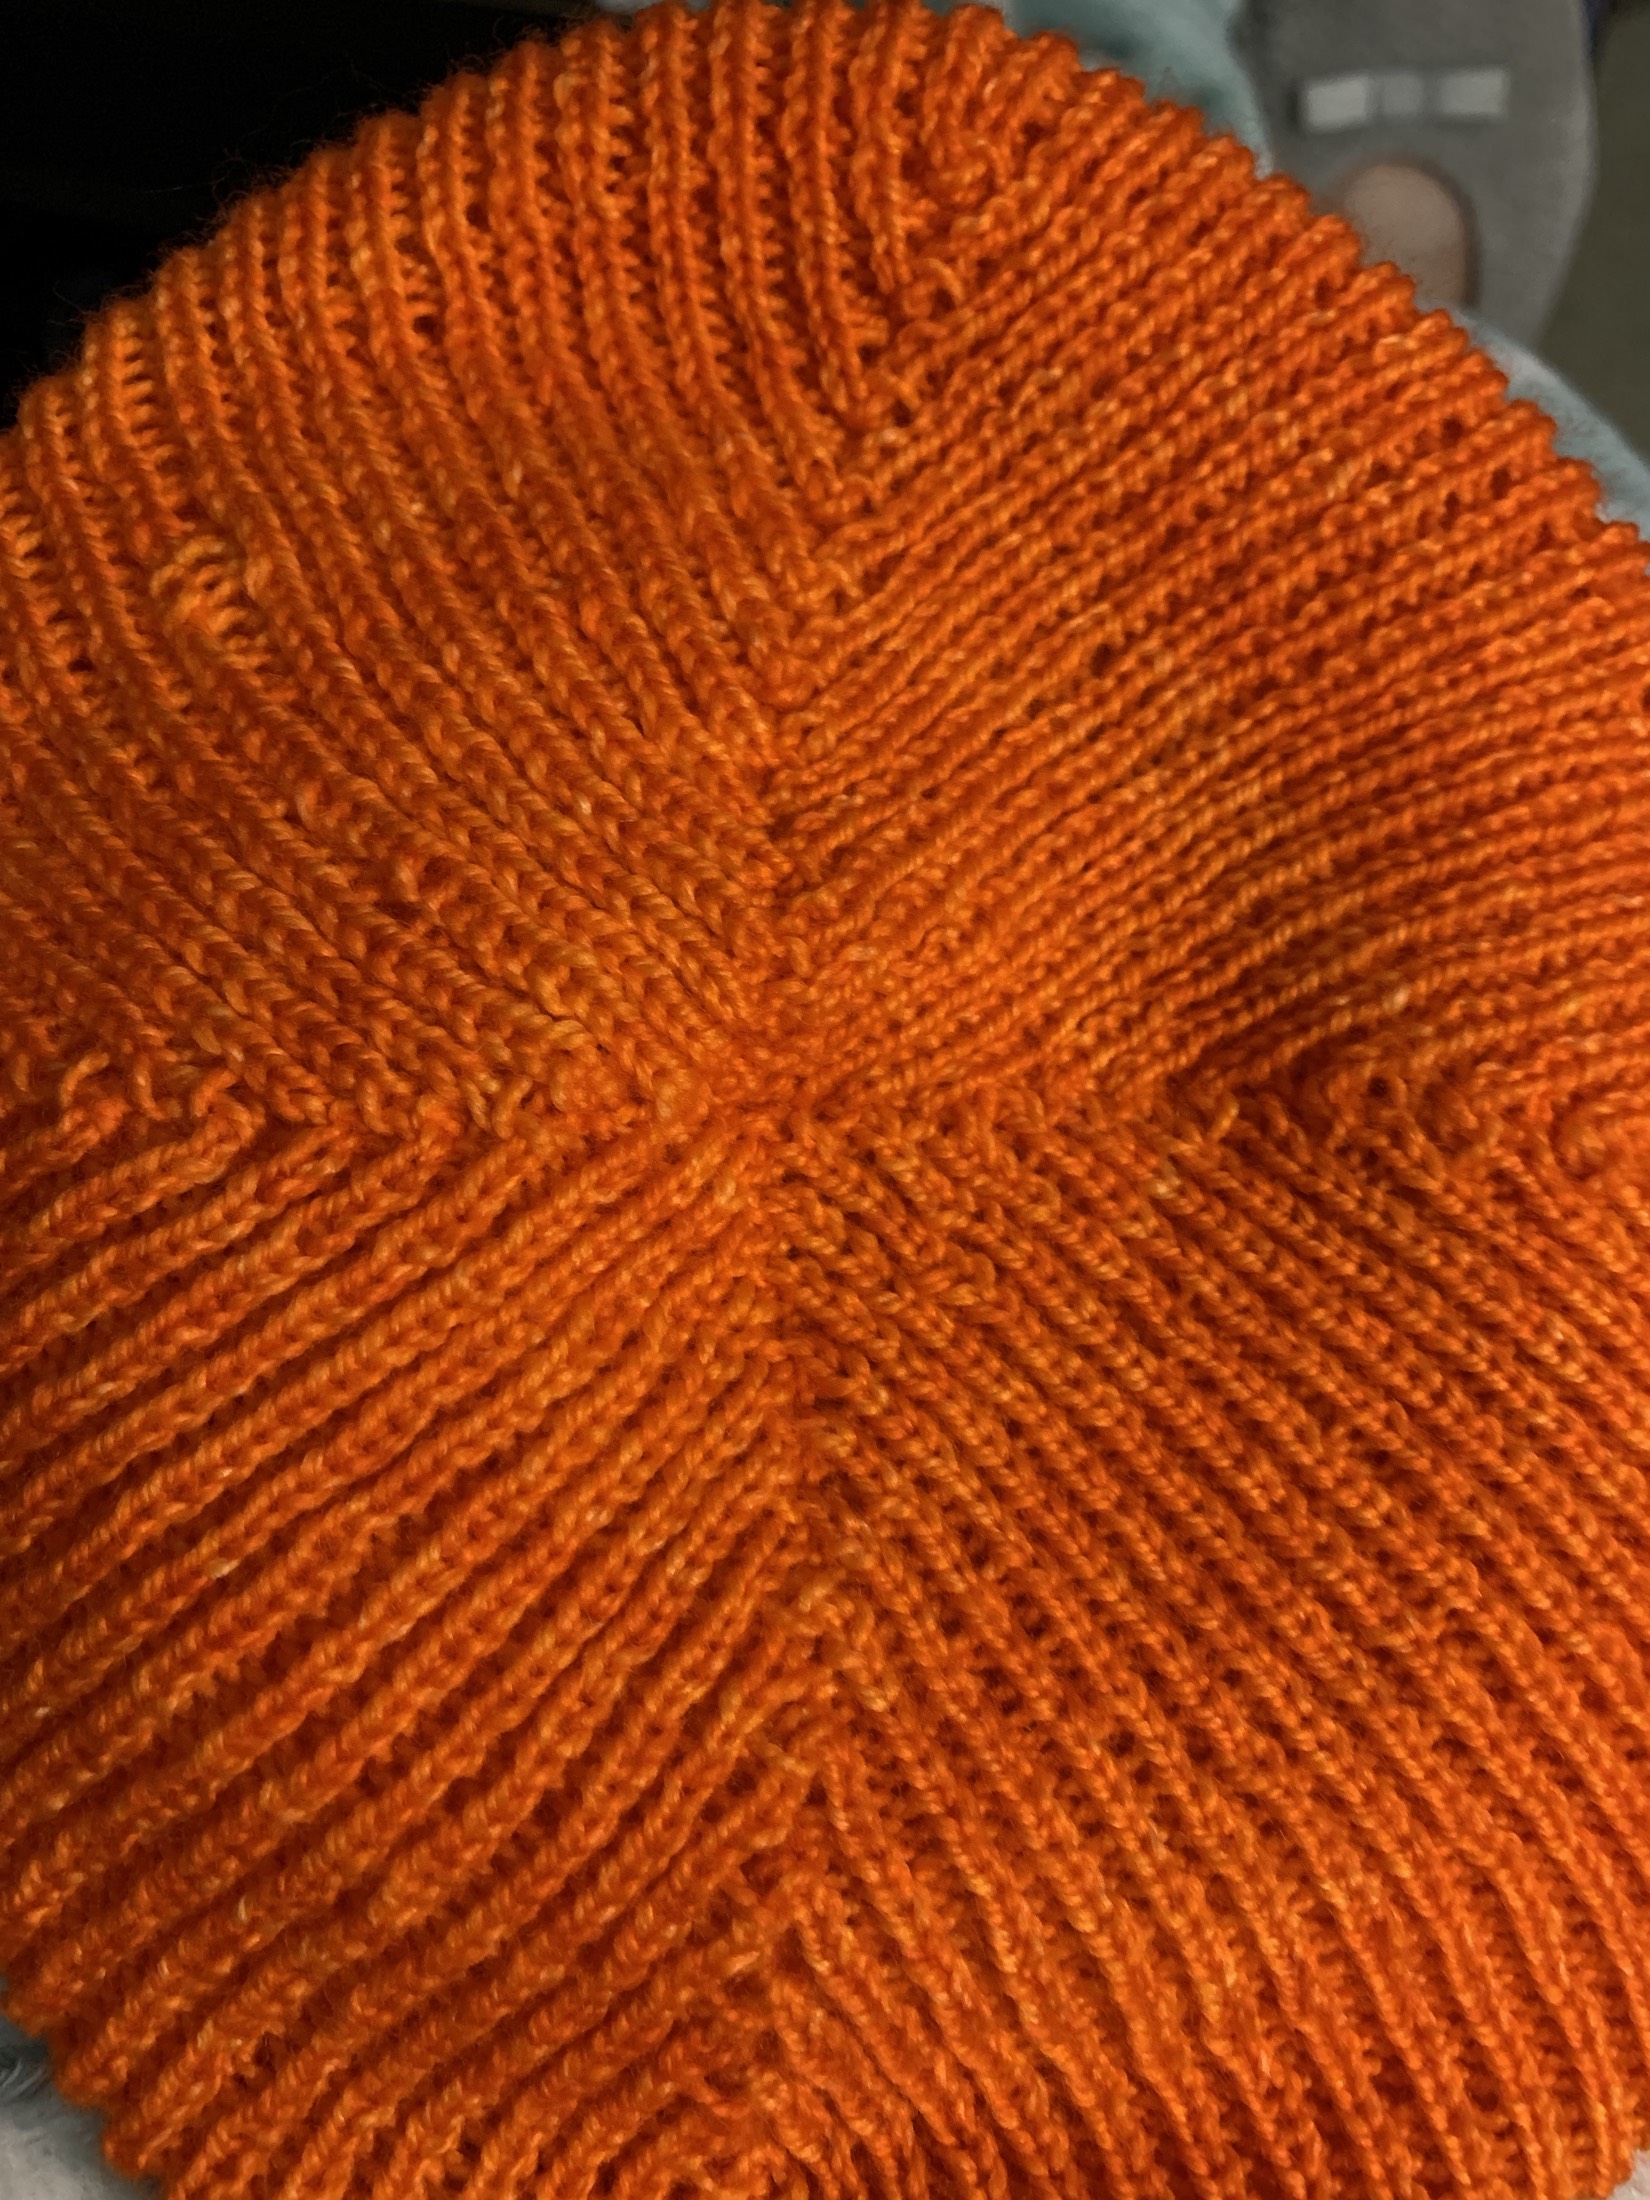
It has taken a while to finish this watchcap pattern. The pattern is simple, but the knitting is tedious. Round and round we go with knit one, purl one. The decreasing is unique, and the end product is totally worth the monotonous knitting. See the pattern link down the page.
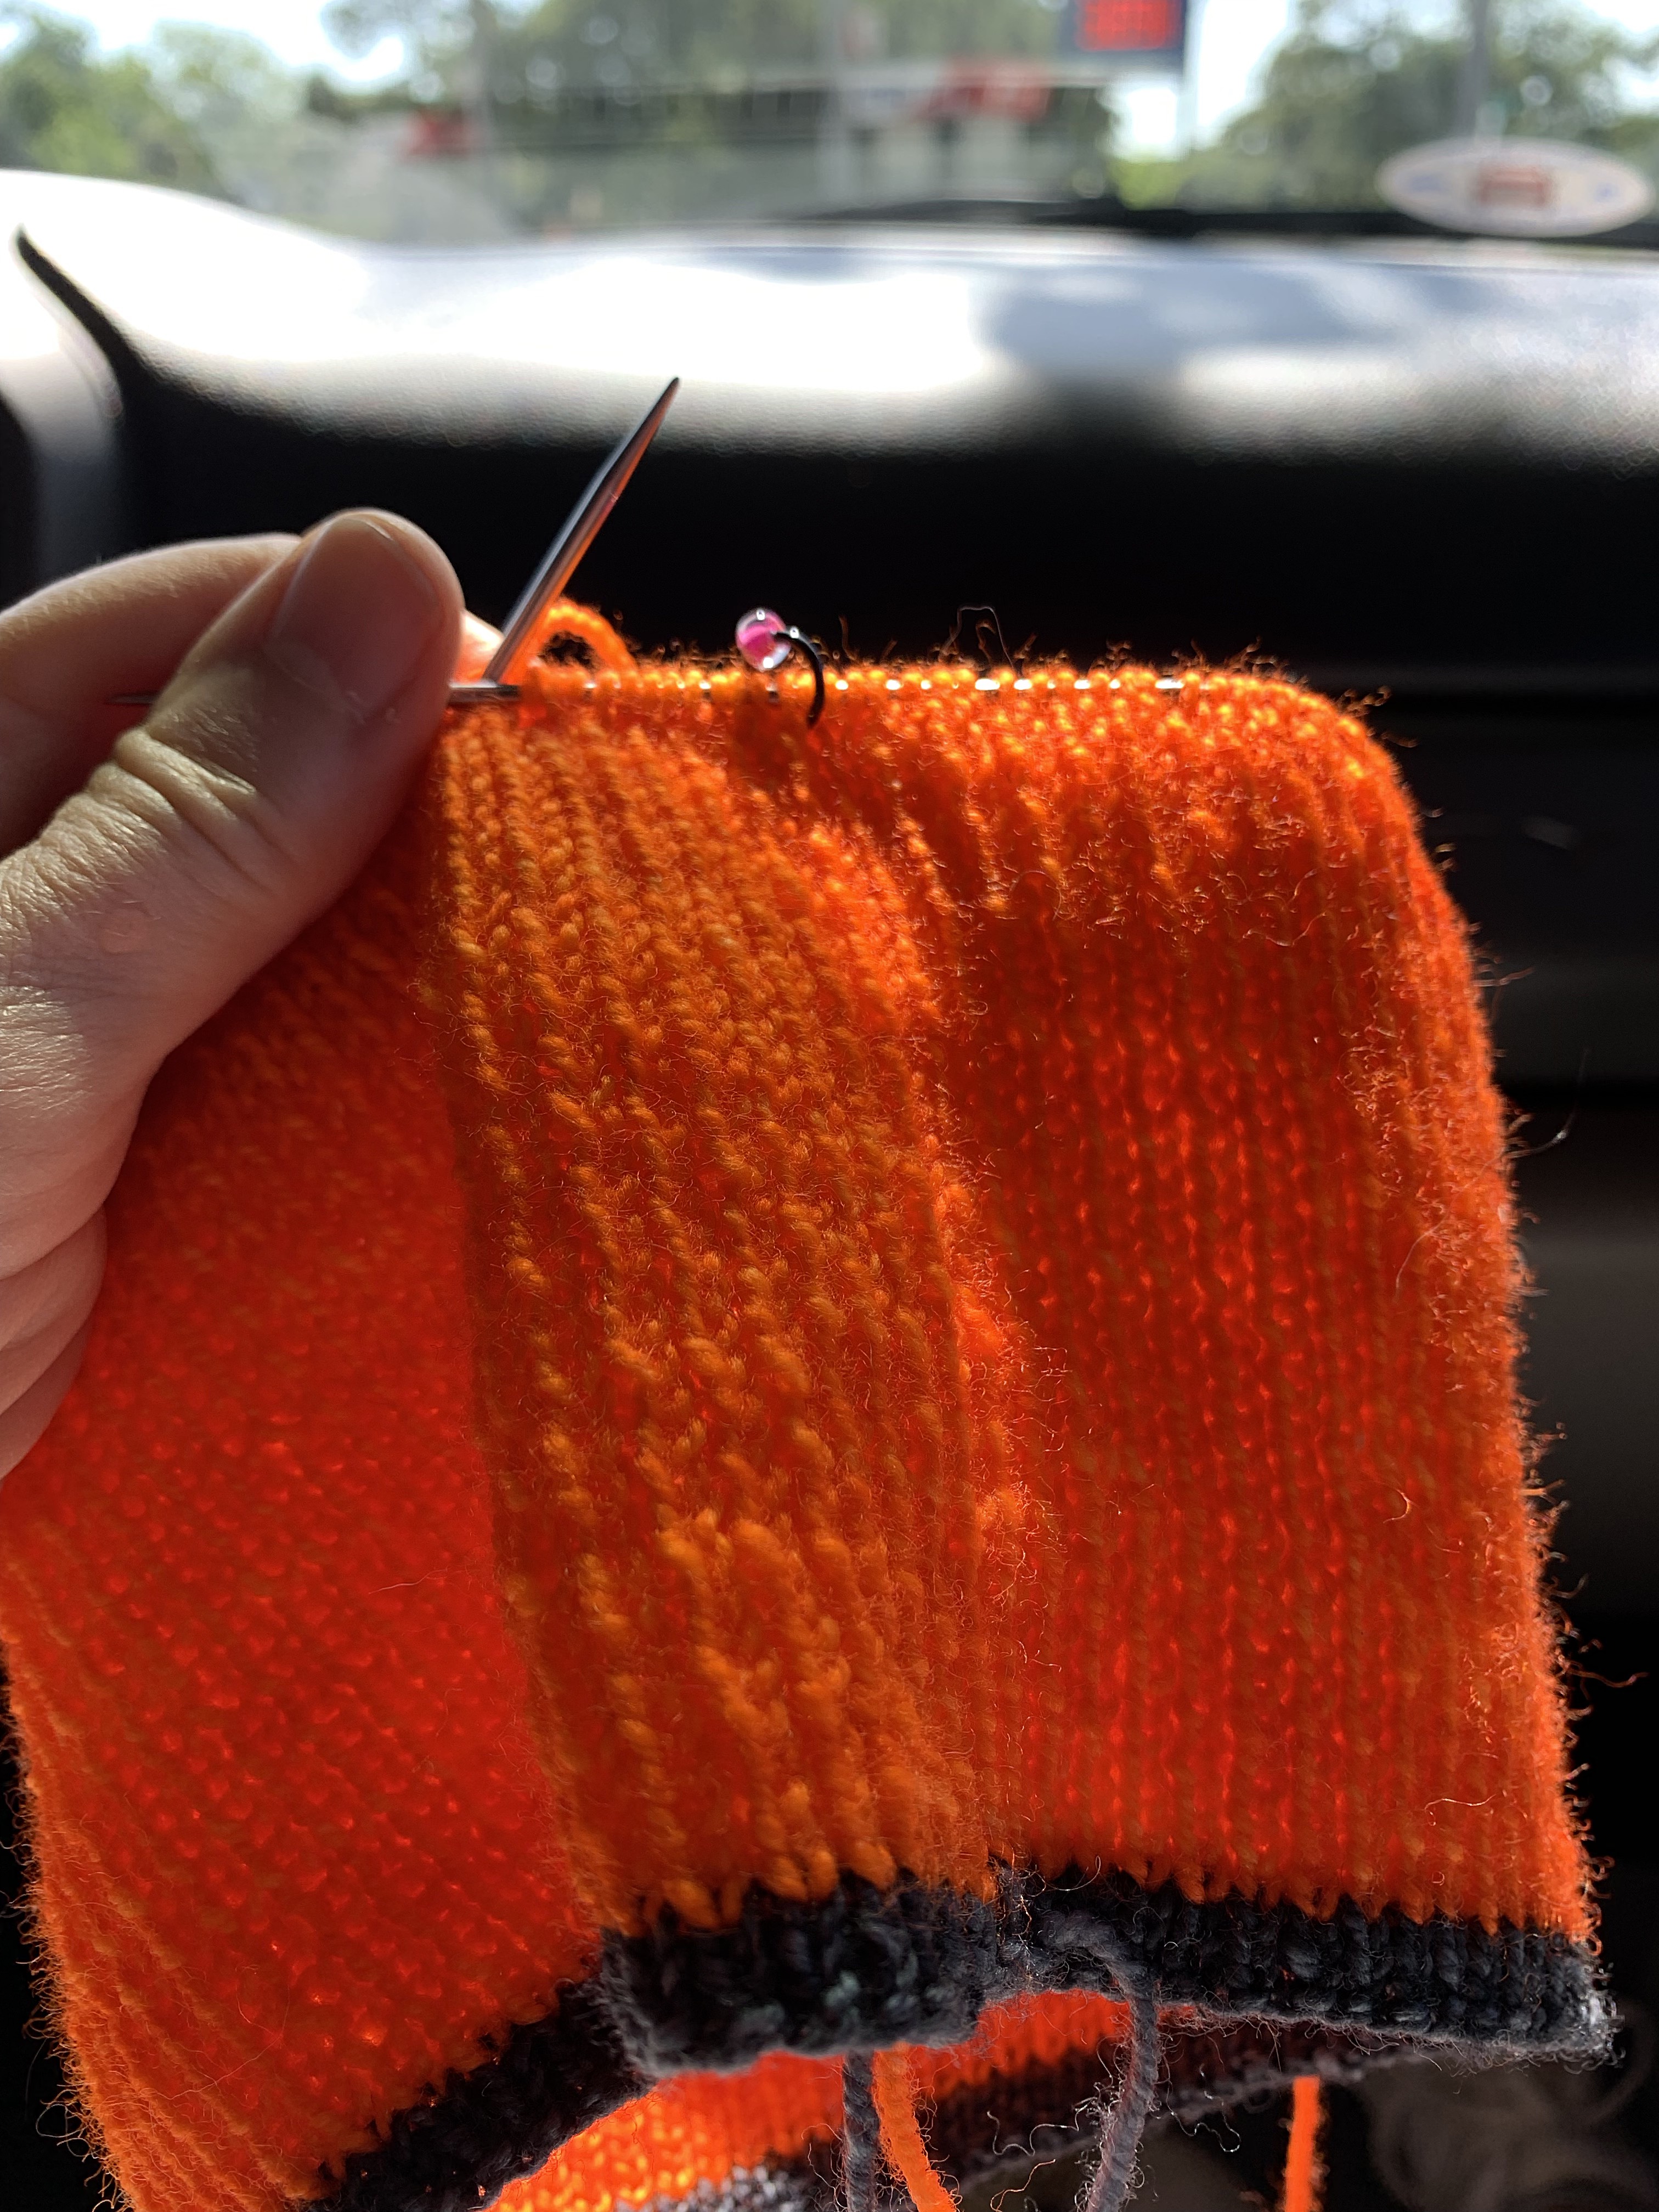
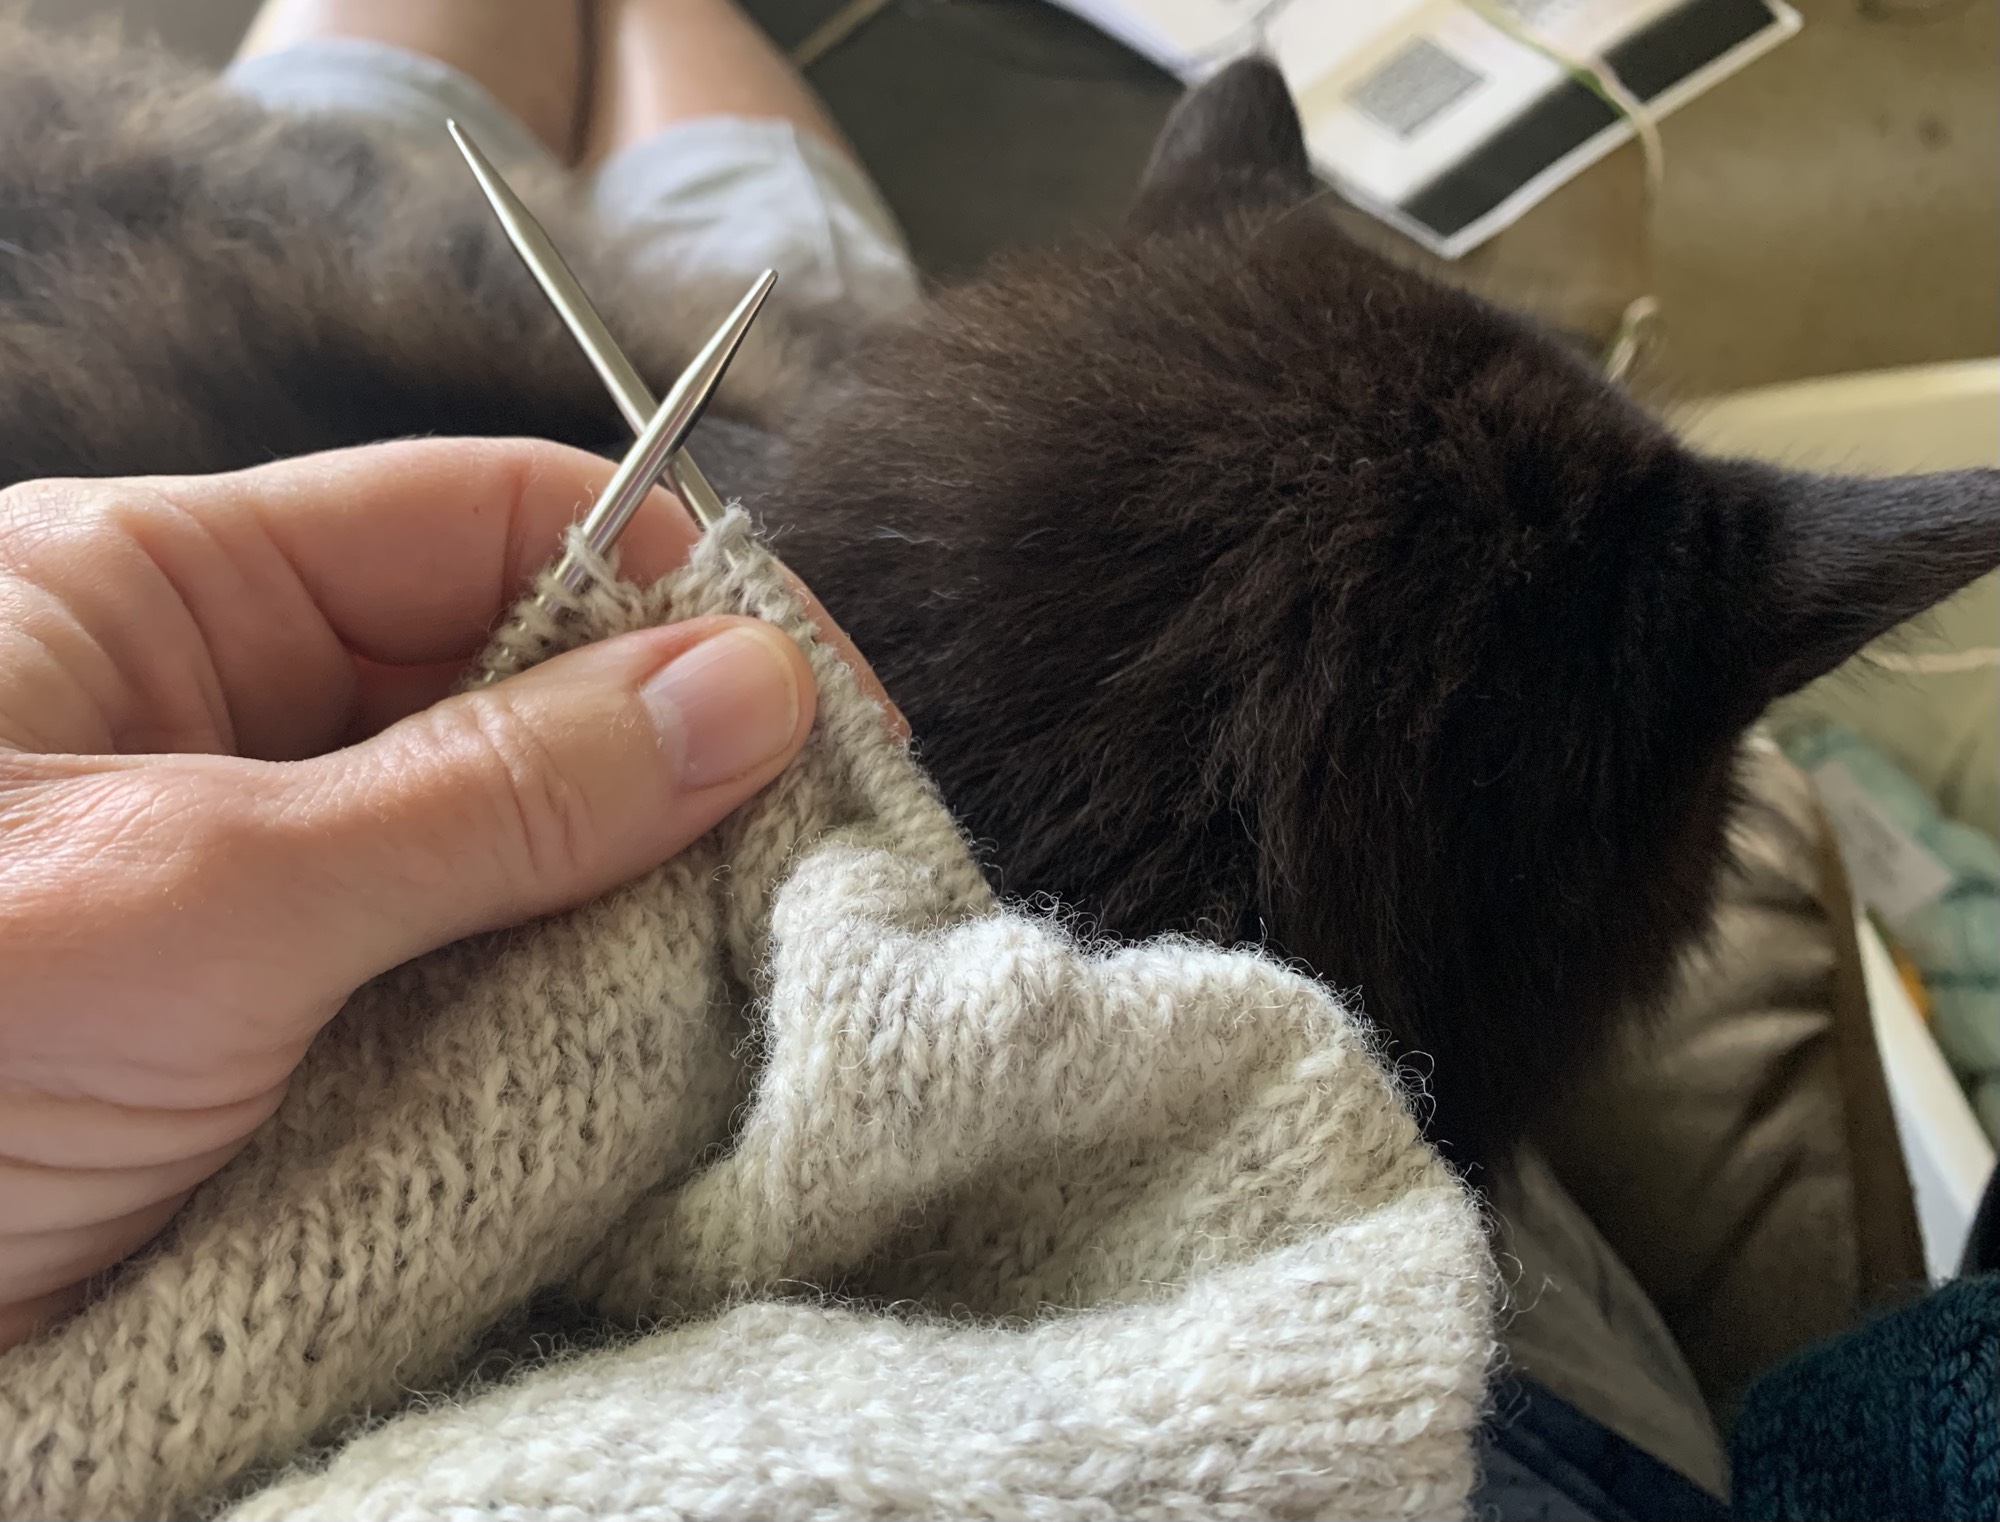
Hats are good traveling projects, and I knit a lot of this one in the truck while taking local trips.
I chose this orange yarn envisioning walks in the woods in Autumn when cool, crisp hiking weather coincides with hunting season. It is bright enough to work as hunter orange.
Yarn used: Camp Colors in Orange, fingering weight. Needles: Size 0 for cast on, Size 1 to knit.
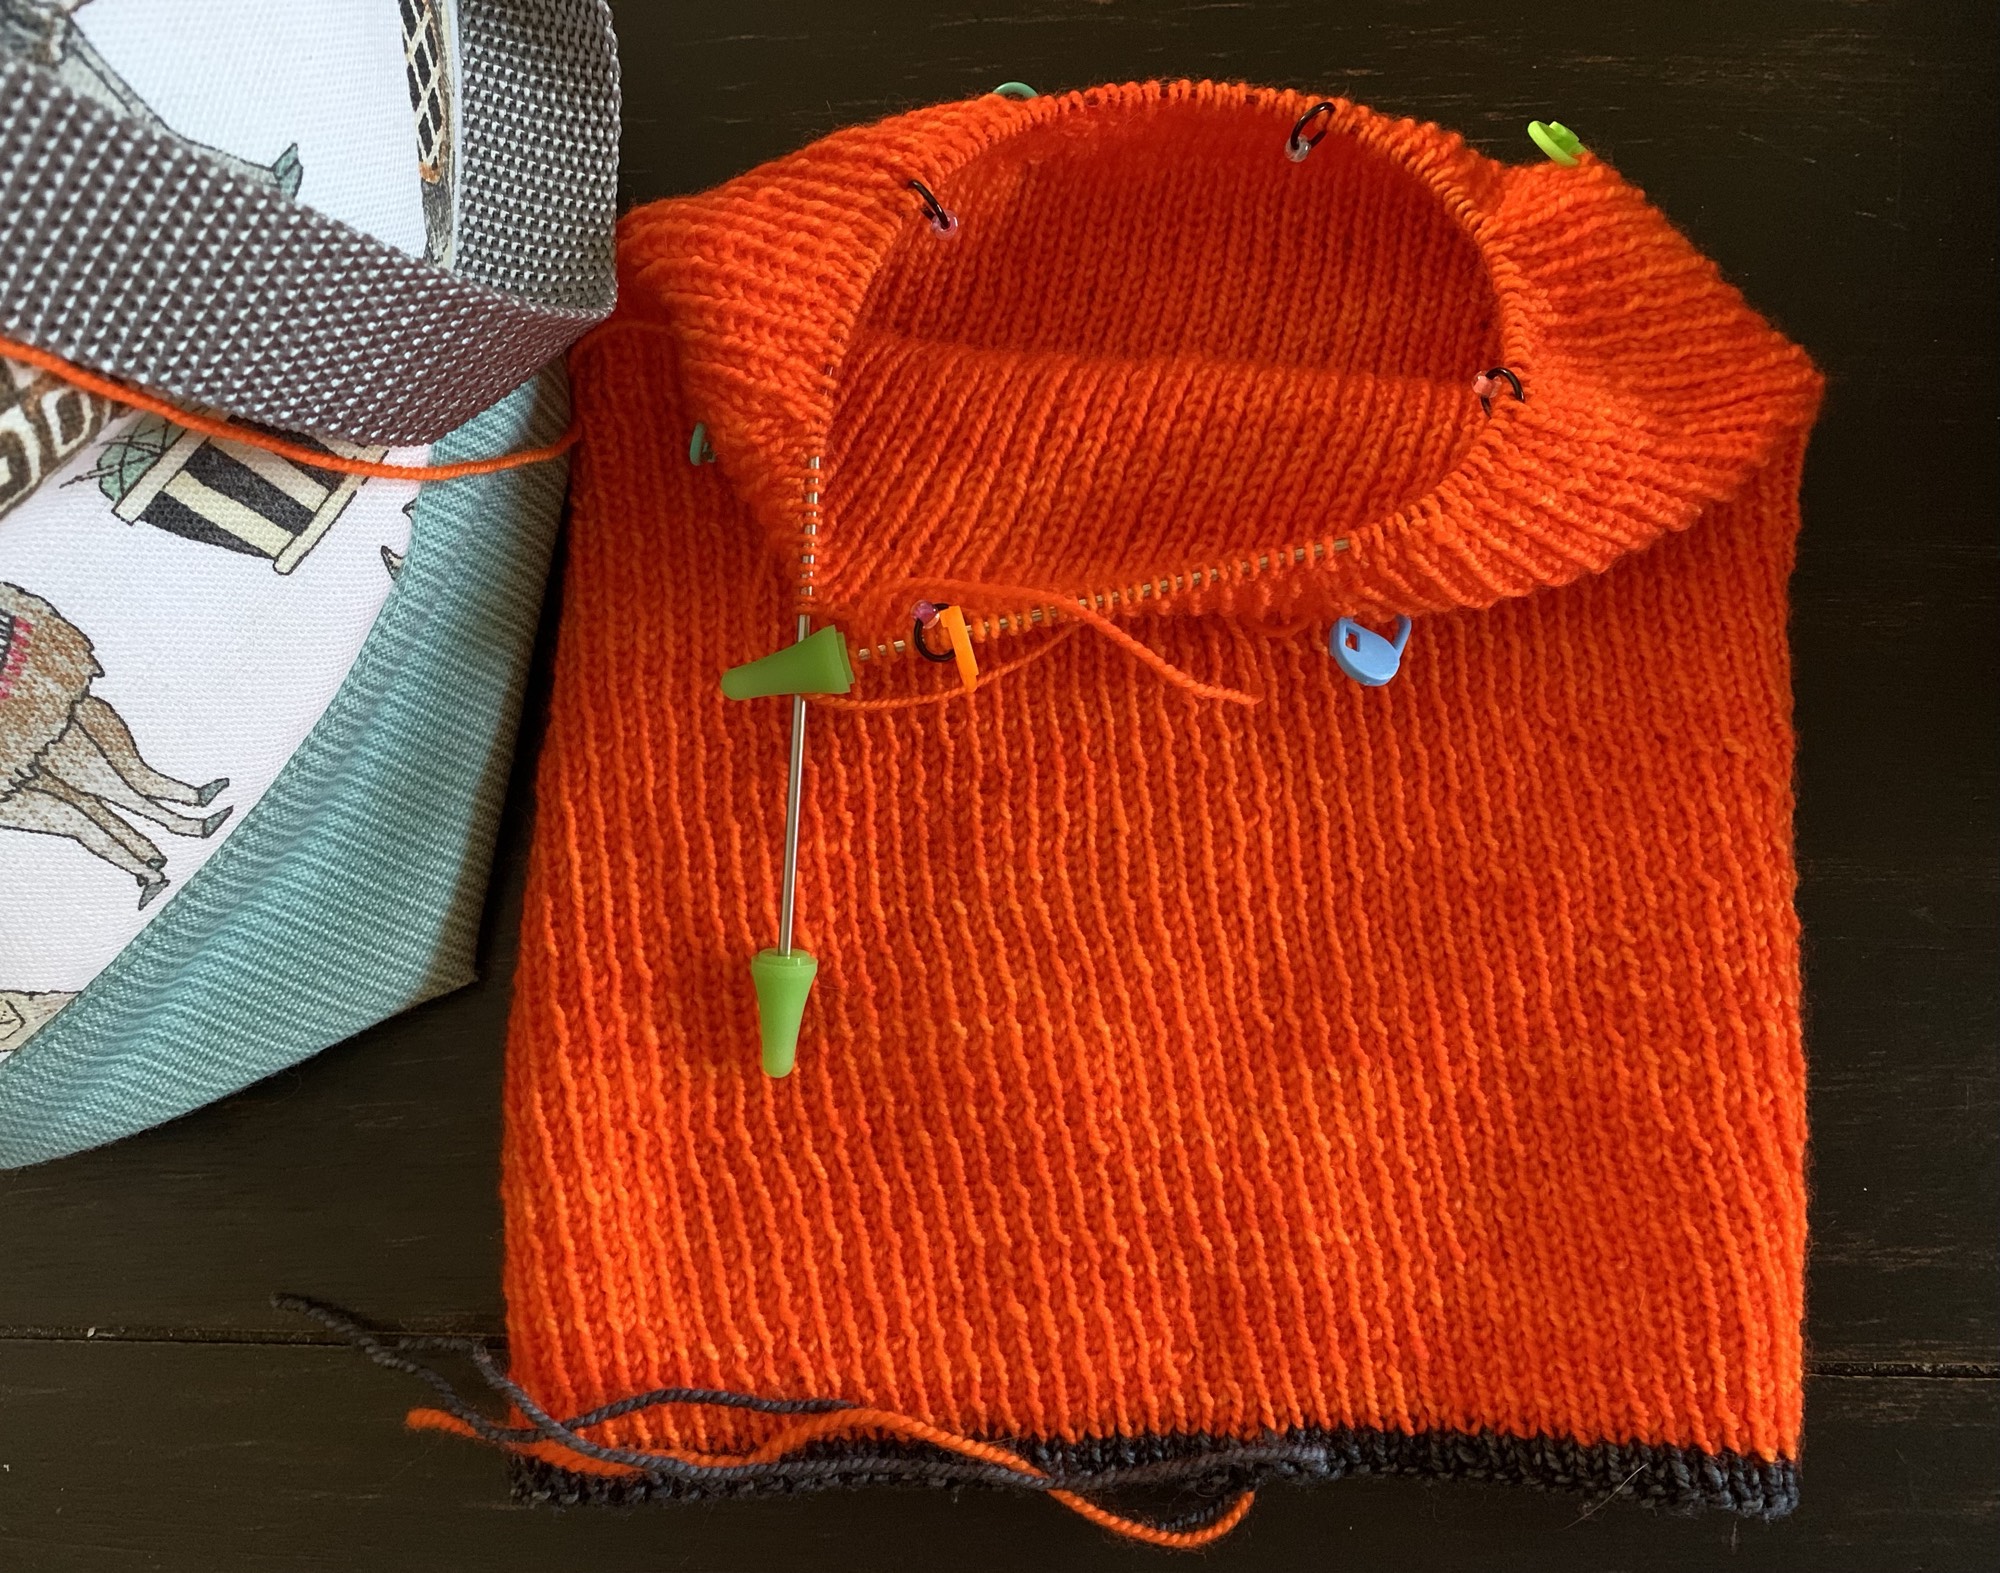
If you dislike double-pointed needles, like I do: When the pattern said to transfer stitches to 4 DPNs, I used one type of stitch markers to divide for the DPN placement (little black markers). I used another type to mark the decreases (colorful pin markers).
Markers for sections & decrease stitchesKeeping the 16” circularKnitting in the truckGood traveling knit
This pattern can be made as a watchcap with a rolled up brim, or a shorter version with no roll. The longer hat can be worn slouchy. I had previously knit this hat using Camp Colors yarn in light blue.
The pattern is well written with directions that are easy to follow. Information is included for those who wish to do a tubular cast-on, which I did not do, but may try if I knit it again.
Remember that the hat is being knit with the wrong side facing.
Be careful weaving in the ends and remember which side will be facing, including with the brim rolled.
*Tip: I despise DPNs and knit nearly all of the crown decreases with circular needles. I kept the 16” circular for quite a while, then changed to a 9” circular. Eventually I went to 4 DPNs when there were fewer stitches to worry about.
Knitting is done on wrong sideCrown
The unisex design works for anyone, and information is given if you want to make it smaller around for the little ones.
I think this hat would look nice knit with any type of fingering weight yarn. A solid color will show mistakes more clearly, as you can probably see I made some!
Finished October 17th, just in time for Halloween!
Learn to do mosaic knitting, which is an easy form of colorwork that even beginners can accomplish.
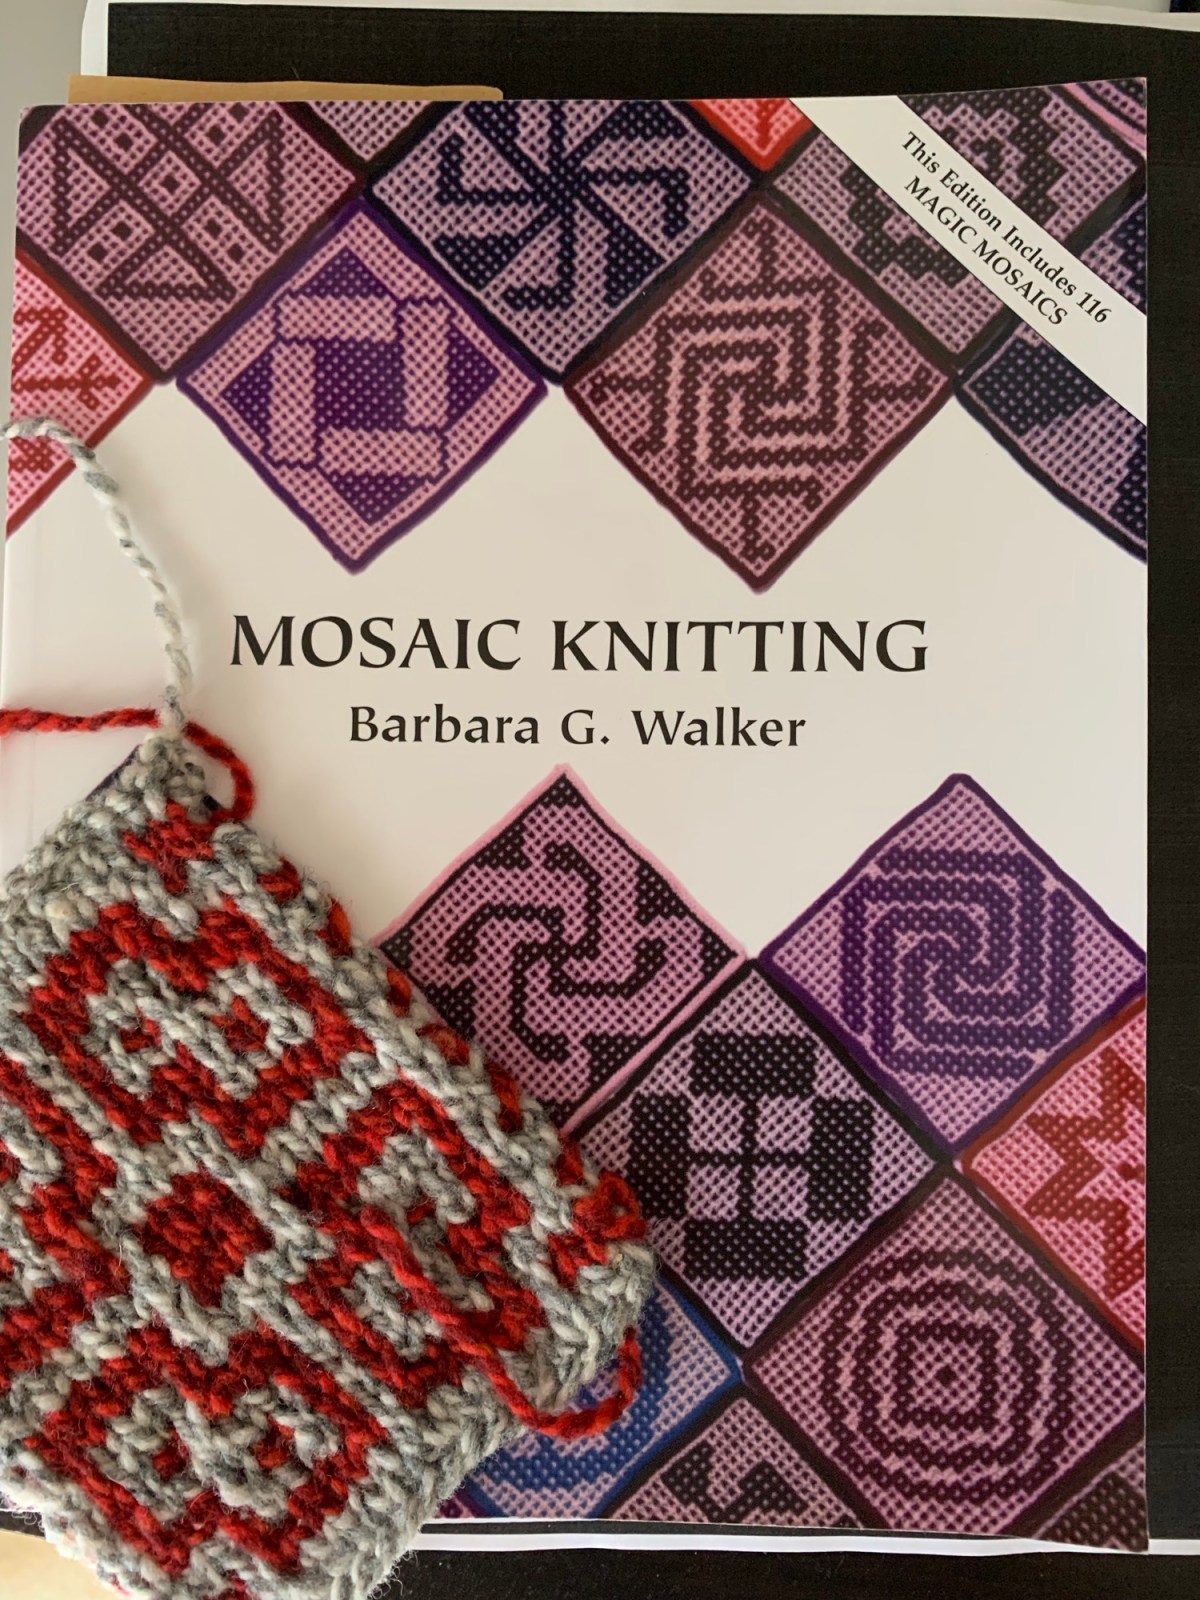
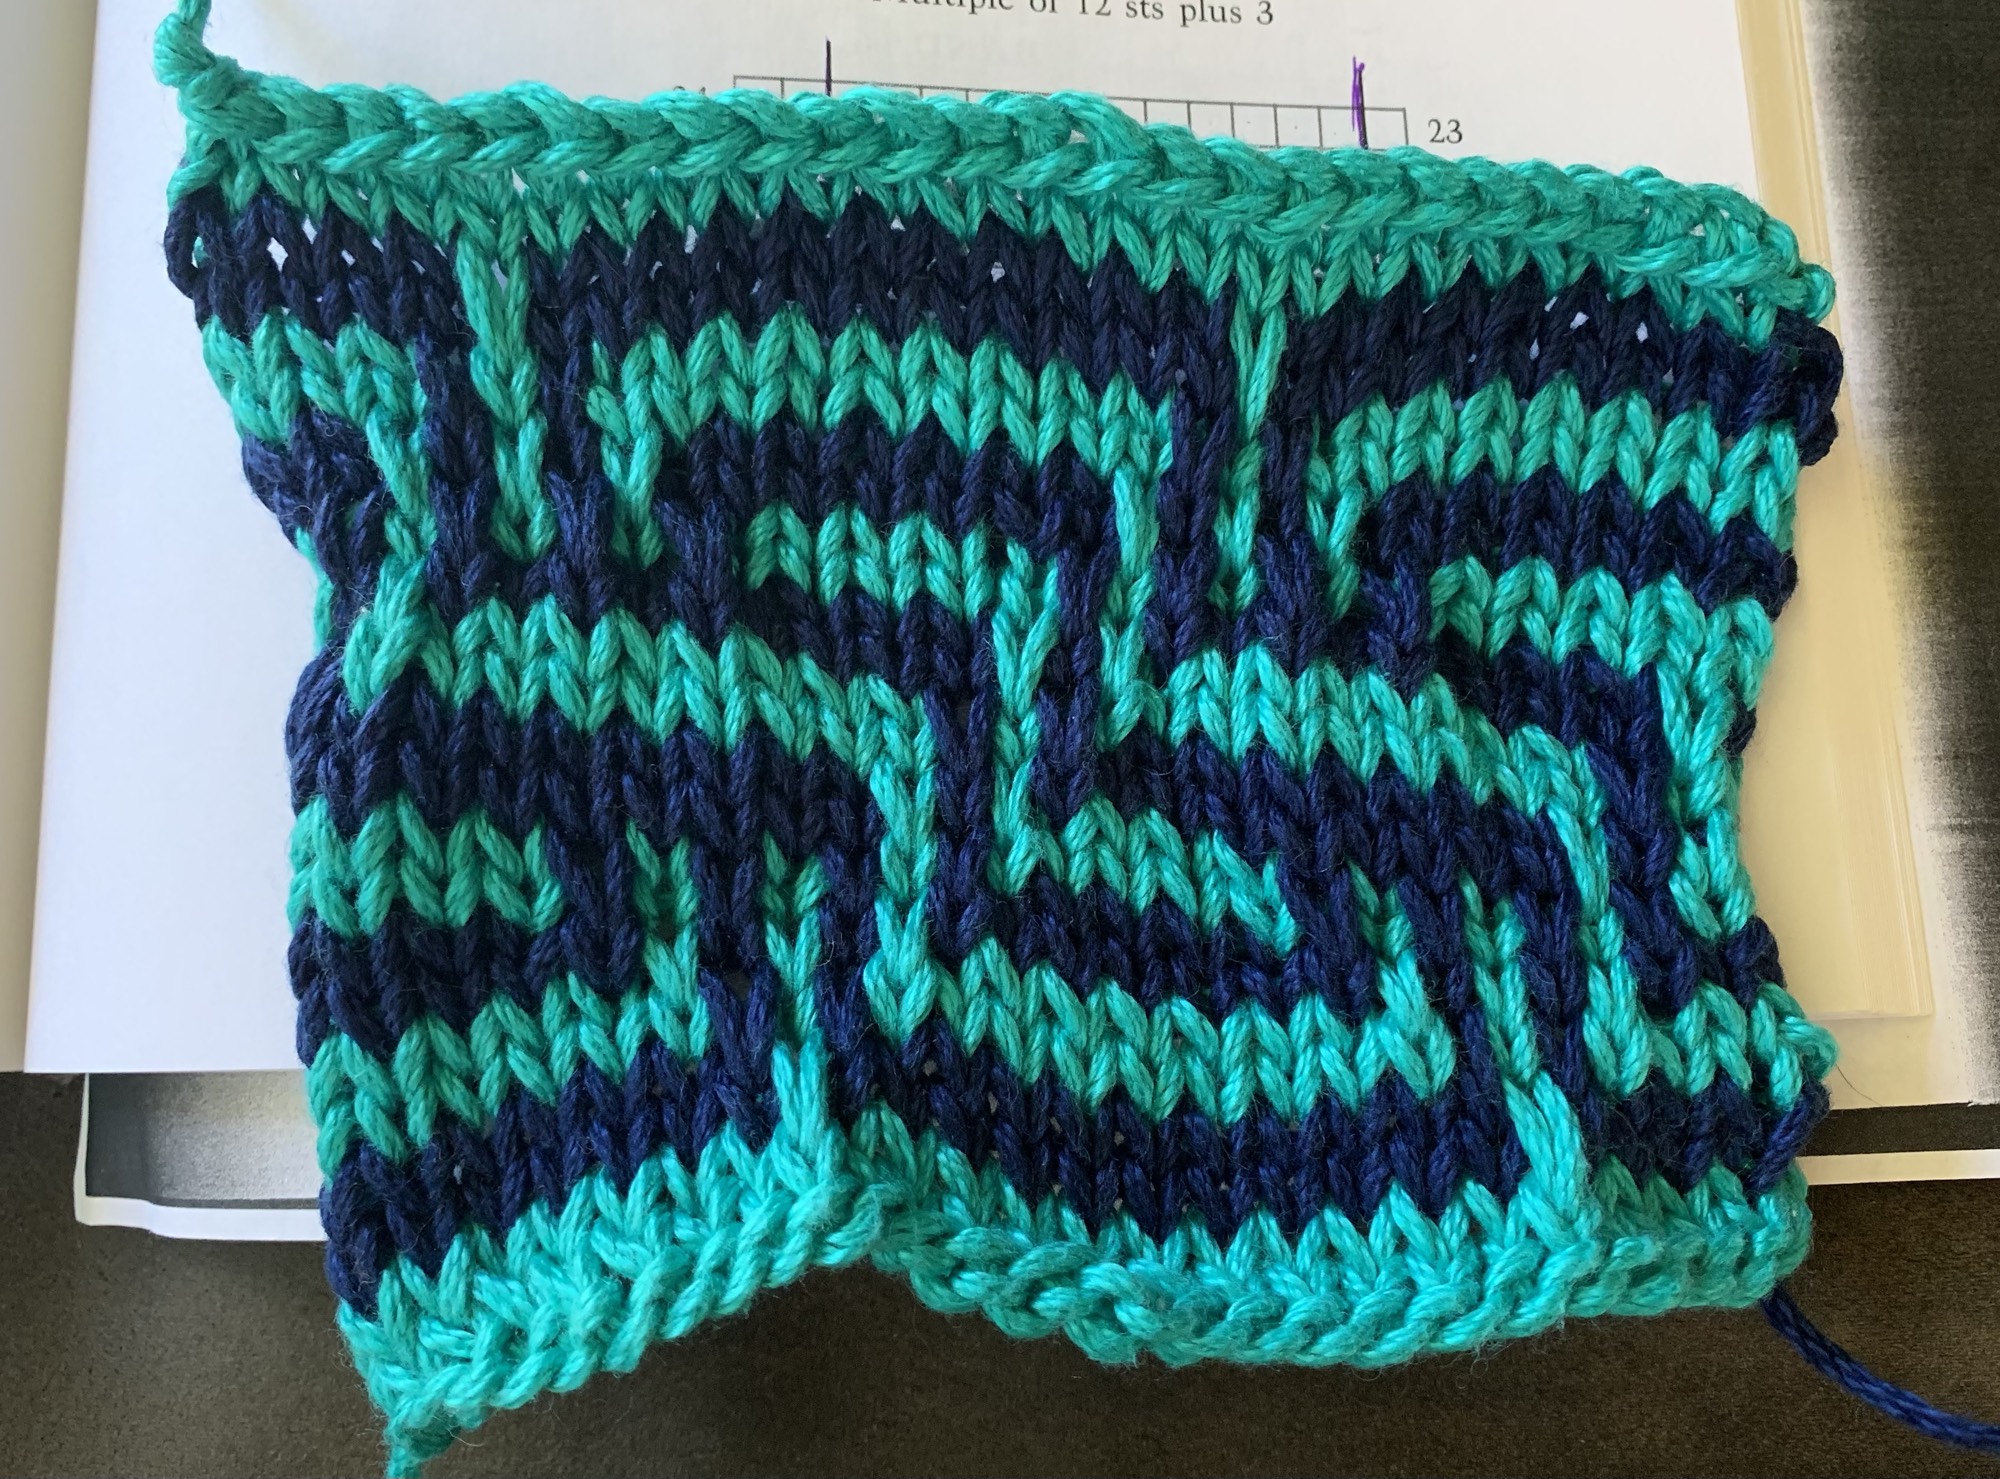
It’s been a few weeks now since we had Hurricane Ian to deal with. Knitting was what helped me keep my sanity while the power was out for four days (read more about that at the end of this page). I decided to learn mosaic knitting and knit three pattern swatches from my new (used) book “Mosaic Knitting” (link is down the page).
Shelter wool yarnCottonCotton, knitting on wrong side
I’ve done mosaic knitting before, but I had totally forgotten how. It is a fun, and very easy, way to create colorwork patterns. I used some pretty wool (the red and gray swatch) and cotton for the others.
Often knitters will choose mosaic as the simple way to make colorwork patterns. This is not why I am learning it.
I love to knit stranded colorwork, or Fair Isle, and I enjoy using two colors to knit. I have made many patterns doing just that (mitts, mittens, hats, socks, pullovers). But, if I want colorwork on a cardigan, or anything that is knit flat, and not in the round, Fair Isle must be steeked and I don’t do steeking – yet. I’m thinking that mosaic is the way to go. I plan to knit a cardigan and incorporate mosaic colors.
How to Knit Mosaic Designs – Stockinette
Even beginner knitters can do mosaic. Only one color yarn is used at a time. All you need to know is how to knit, purl, and slip stitches. It’s super easy.
Find two colors of yarn to work with. One color will be represented by the dark blocks in the pattern and the other will be the light. The way these designs (the red and the blue) were knit began with doing a purl row after casting on. This puts you on the RS (right side) of the fabric.
Begin to knit, following the chart, right to left, across. You go right to left because that is how you knit. All knitting is done that way, unless you are left-handed I suppose.
The color used to knit each row will alternate. When you get to the end of the row, the same color will be used to go back to the beginning. Then, change colors for the next row.
For each row – use the color needed. If you are on a MC (main color) row – knit the black MC blocks, and slip the white CC blocks. Slipping is done purl wise. The yarn thread is always on the backside of the work. While you are knitting, on the front, the yarn is naturally behind the work and will remain there.
Mosaic knitting is one-sided with a definite wrong side.
Once the end of the row is reached, the back of that row is worked. Each knit stitch – color you are using – will be purled, and each CC stitch will be slipped (no following the chart, just do that!) – the yarn stays in front because you are working the WS (wrong side). Back to the beginning of the row.
Begin again with the other yarn color and keep alternating. Knit the white (CC) stitches and slip the MC stitches. This time you will purl the CC and slip the MC stitches on the back, or wrong side.
Mosaic Knitting Videos
Watching good YouTube videos can be very helpful. Here are a couple I found.
This video will help with the ability to read a mosaic knitting chart. She is knitting round and round, and not flat, like my swatches, so there is no mention of what to do on the wrong side of the work.
Suzanne Bryan has a good video showing how to knit garter stitch mosaic. This means you will knit all the stitches – no purling. But the yarn must be moved to the WS when doing the backside stitches.
My swatch below was knit in garter stitch. It’s bumpier and I really didn’t like the end result as much. Also, every time you slip stitches on the wrong side the yarn has to be moved to the front, and then back again to knit.
Knitting stitches on the wrong side (as opposed to purling) creates a bumpy pattern.
Stockinette mosaic is flatter, and my other two swatches were done that way. Purling is done on the wrong side rows. The yarn doesn’t have to be moved back and forth, and I like the look better.
A Book For Mosaic Knitting
The Mosaic Knitting book (Amazon link), by Barbara Walker, is stuffed full of various mosaic patterns. Many pages are dedicated to explaining – very clearly – how to knit this way. I purchased a used copy and spent $21.00.
If you want to try this type of knitting for free, see this page, where I did my first mosaic knitting swatch found on a blog post. When you see how easy it is, and are hooked, then buy the book.
All images and charts are in black and white except for the cover images. I think the book could have been improved slightly by including color when showing finished work. Black and white is perfectly fine for the charts. Charts are what you will use to knit – not written directions – except for the beginning chapter where she will guide you through understanding chart knitting.
I don’t need to say more, because if you buy the book, it will all be explained in detail. You will also have access to many, many charts to use for swatching (my cotton swatches become dishcloths) and garments.
Hurricane Ian in a Nutshell
This is the reason I decided to do mosaic knitting. It was a good time to learn something new as I had many boring, grid-down, hours and days to get through.
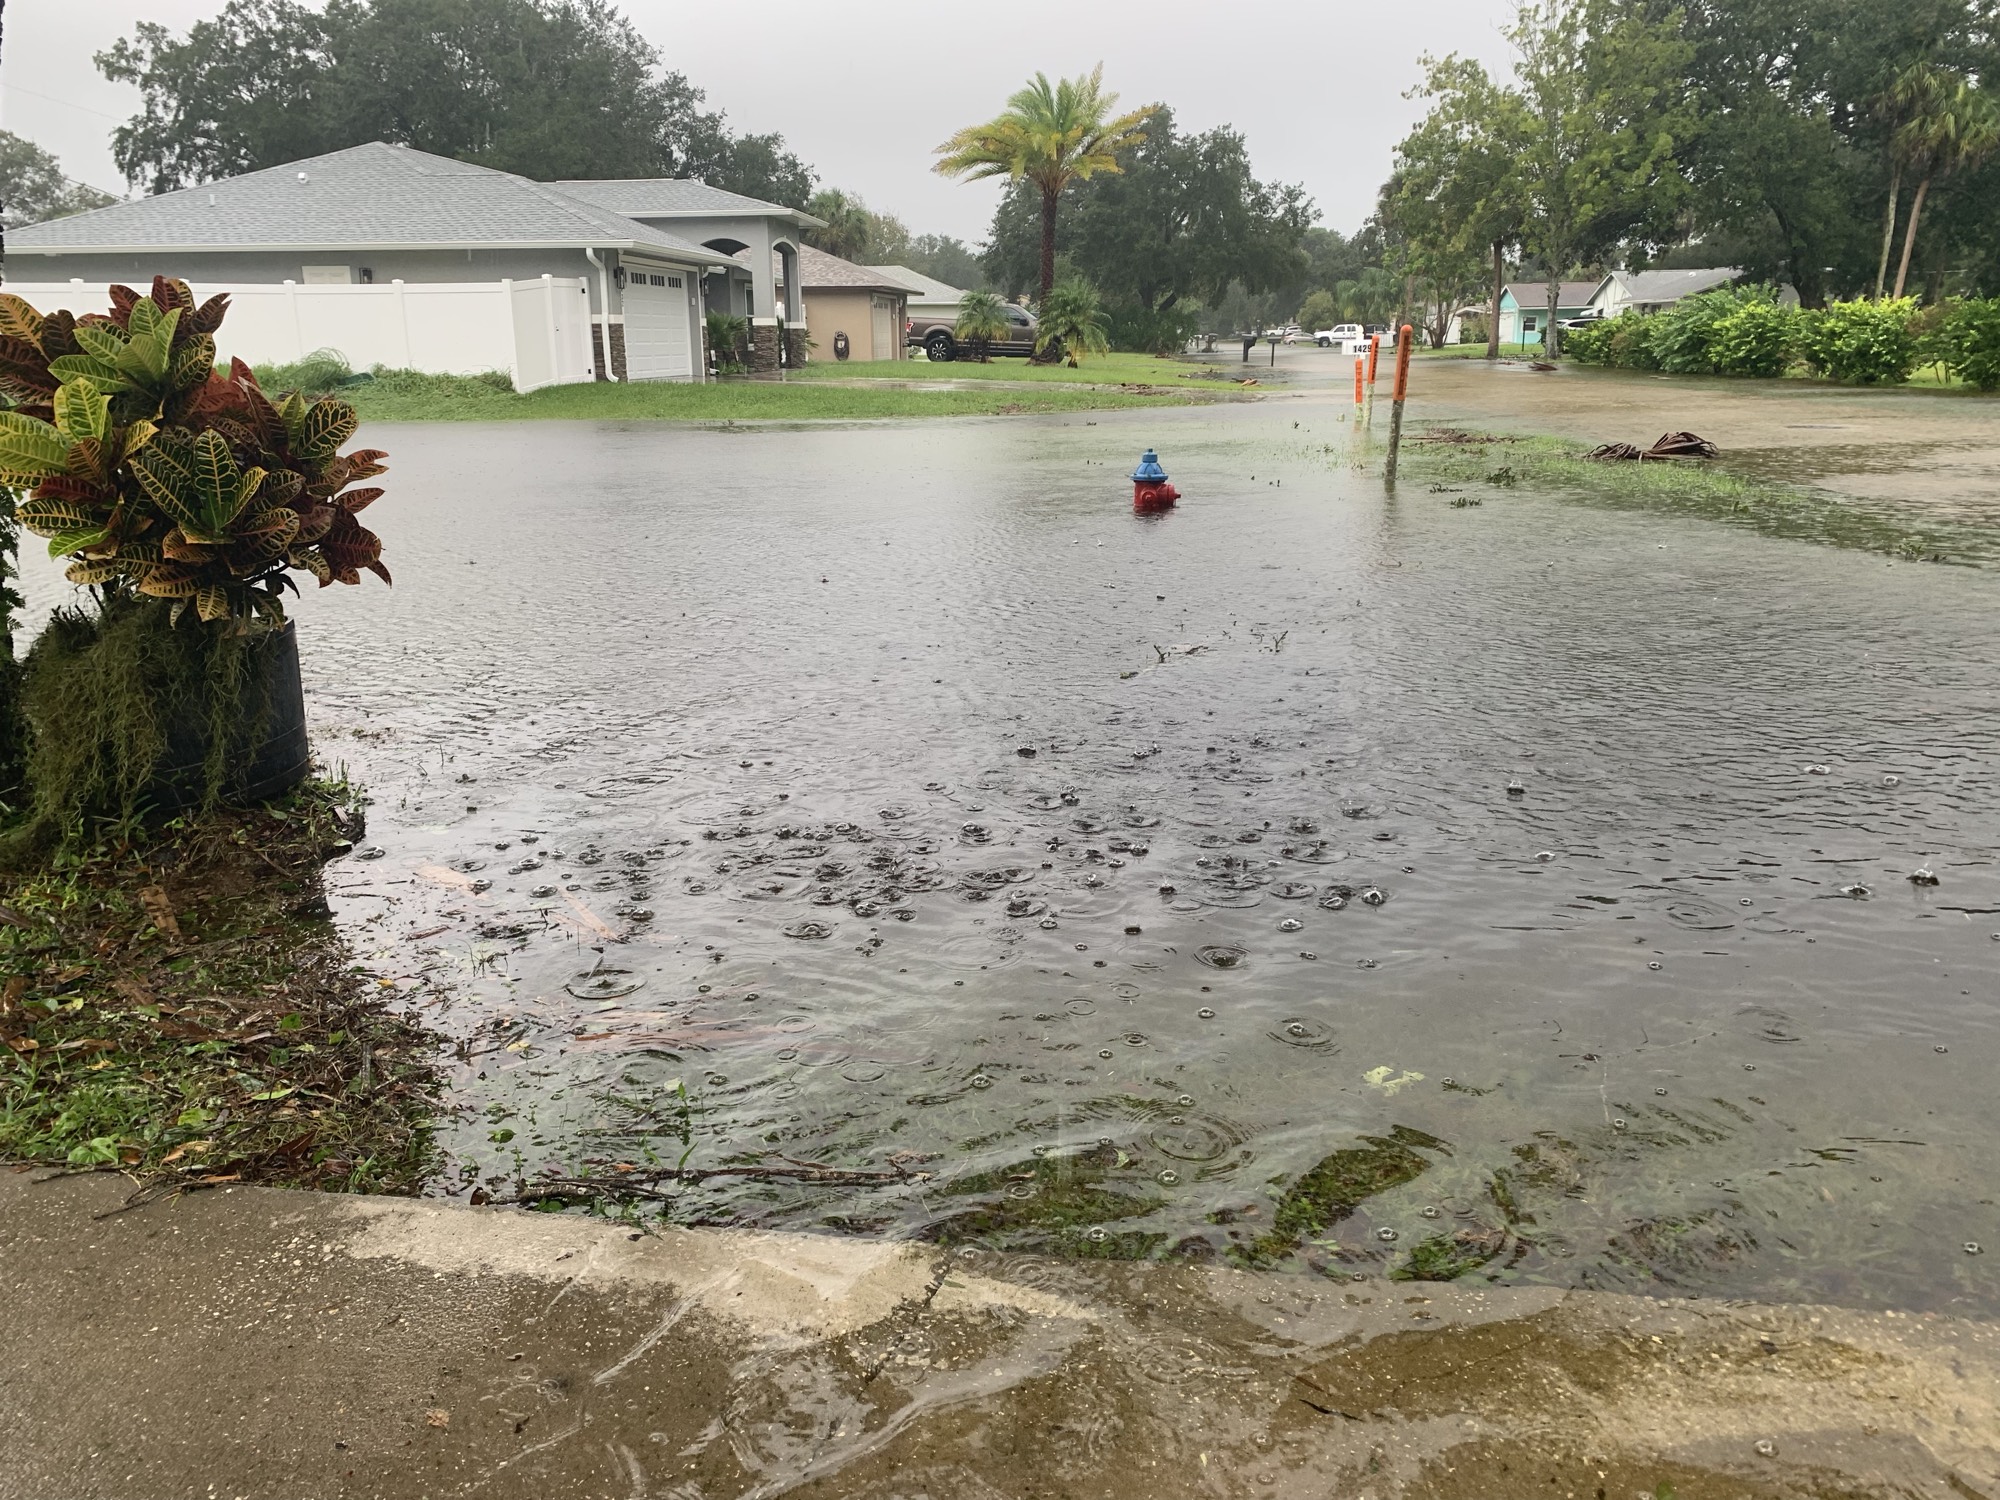
On September 28th Hurricane Ian arrived on the east coast of Florida. It had left devastation along the western, gulf coast and now wreaked havoc on central and east Florida.
We got wind, but nothing like when it first made landfall on the opposite side of the state. Our gusts were around 70-90mph (we heard). The rain was tremendous, and although Florida is a huge sponge, it is also flat. This area got nearly two feet of rain within 24 hours!! That is a lot of water.
Our yard is small and cleanup was quick. Mostly we had fronds from the palm tree out front and some branches from the oaks, but nothing big. We will need a new roof, because we lost a bunch of shingles, but we were lucky because the house did not flood.
FloodingYard cleanupDebris pickup
We have a generator and ran it for the four days while we were without power. It kept our fridge going so we didn’t loose food. We cooked on a single electric burner. Once the internet went out there was no connection to news or anything and it got super boring! I’m glad to have a knitting hobby for times like these.
I know many people are still dealing with the devastation from wind and flooding. Flooding was the biggest issue in my area on the central east coast of Florida, and the debris piled along the roads gives an idea of the ongoing troubles.
Knitting at the window with Fontana in my lapCooking breakfast
Please keep reading the blog
See what I am knitting, and read my pattern reviews.
A knitting pattern review of the Venlig sweater using Woolfolk’s Flette bulky yarn.
I chose to knit the VENLIG sweater pattern mainly so I could use Woolfolk’s Flette bulky yarn. This yarn looked (and is) so soft that I jumped in and bought the pricy pattern. Ten dollars for a sweater pattern is a lot. This page contains my review of an unnecessarily confusing pattern for a simple raglan pullover.
I have a link to the pattern buying page at the end of this post.
Making This Pattern Easier to Follow
Problems with the pattern.
First, pattern printouts should have readable type. My eyes are not good, but this pattern has the tiniest print possible! The teeny tiny print was very difficult to read. Come on designers – make your patterns readable on paper! It may seem old school to print out a pattern, but that is what I do. (Without internet and power, a paper pattern is necessary. I just came through a hurricane (Ian) and had no electricity for four days. Knitting was my sanity.)
I should have added it to Knit Companion on my iPad so I could read it without using a magnifying glass. But a bigger problem was the difficult to follow pattern. The way the designer separated the raglan sections and added increases, along with short rows – done as “wrap and turns” – was confusing.
Tip: Use a place marker on either side of the “knit one”. That is where the increases are made – before the first marker and after the next. It’s quite simple, but the instructions are hard to follow as you knit along and try to read the tiny print at the same time. Use the markers to guide you. Anyone who has knit raglan style sweaters will get this.
More Mods
I chose not to do the “wrap and turn” and did German Short row shaping instead. I couldn’t’ even understand her wrap and turn directions.
I also made all my increases on the Right Side row and did away with the “make one purl increase”. I used the Backward Loop as my increase and not the M1L and M1R. This was my personal preference. This yarn does not show stitches well, so I figured I’d make the increases as simple as possible.
Reviews of this pattern on Ravelry were unhelpful. Surely I am not the only knitter who had issues?
The Yarn
Once I had the VENLIG pattern, I waited and hoped for a Flette sale. (Be aware there is also a lighter weight Flette yarn, but you need the “bulky yarn” for this pattern.)
One day, there in my inbox, was a notice of a sale from Eat.Sleep.Knit with some yarn listed that included Flette Bulky! Woohoo… I immediately grabbed up my four skeins with a savings of $4.80 per skein. That was huge! And I got free shipping… double win! Eat.Sleep.Knit is one of my favorite places for buying yarn online.
Flette Bulky by Woolfolk – ordered from Eat.Sleep.Knit
So how well does this yarn wind, and what about knitting?
Winding
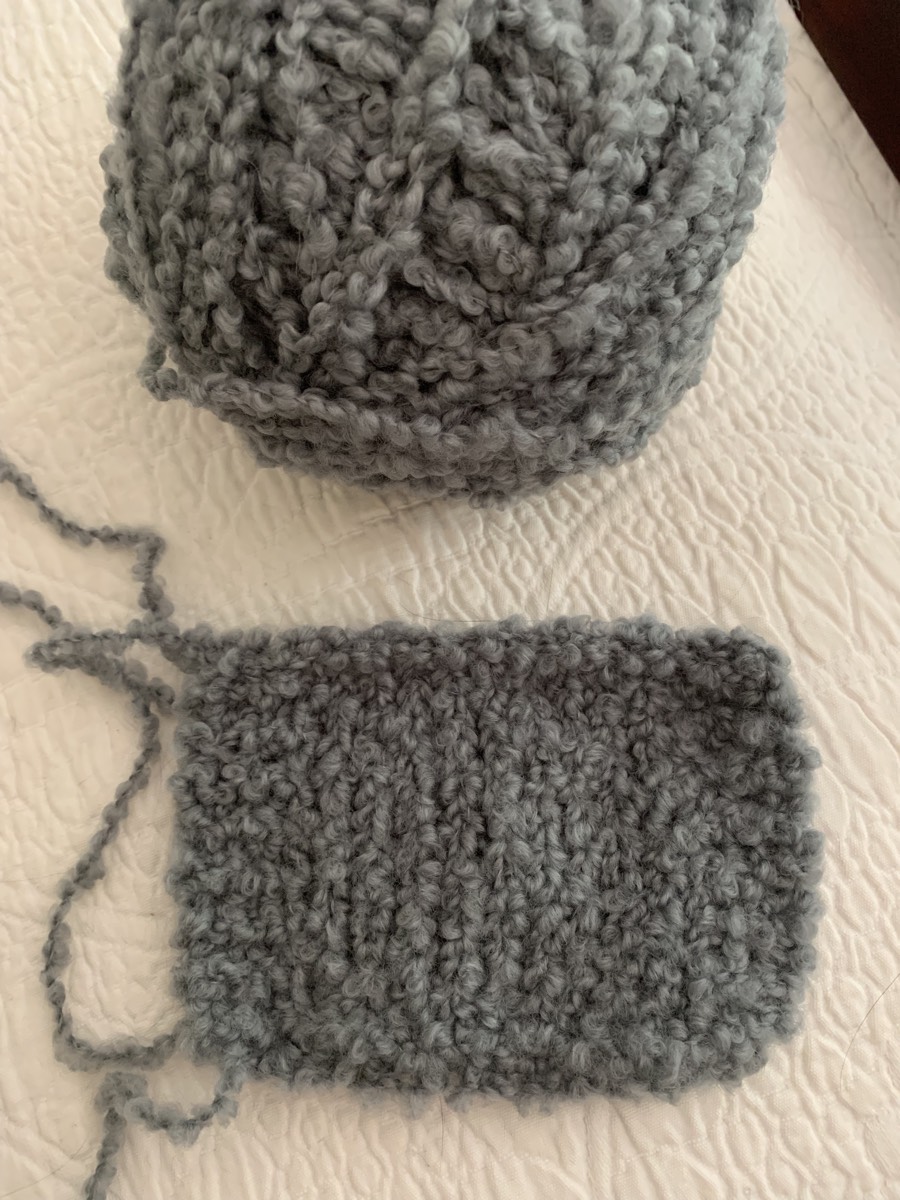
I had to wind my skeins, which I do by hand, over my knees. And I was a bit worried because of the nubby texture. It wound very easily, but there was a tag attached and I mistakenly cut the yarn at the tag- I should have cut the tag – not the yarn! So I ended up with one small ball and used it to knit my swatch.
Don’t cut the yarn at the tag! And when making the swatch, know your stitch and row numbers because you will not be able to count them.
BoucleFlette swatch
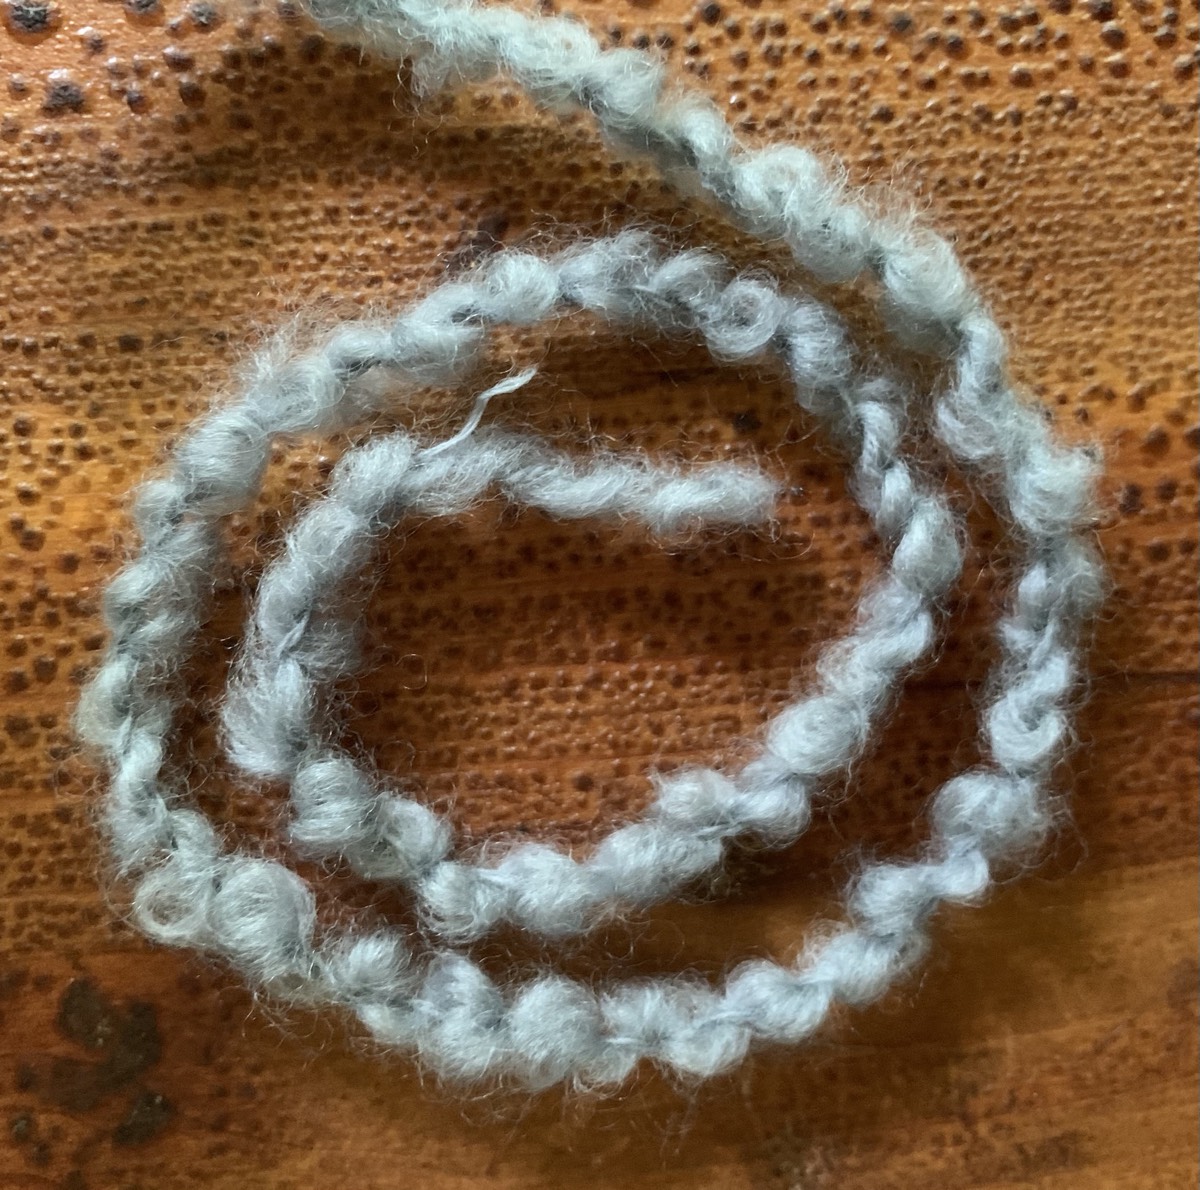
This Flette yarn itself is pretty awesome. It is a boucle (pronounced “boo – clay”) which is a “yarn with a looped, or curled, ply”. It is quite different from anything I have knit with, and super soft. The skeins did have little knots occasionally. I cut out the first one, but decided to knit the others in.
Knitting
As far as knitting with this yarn, it was okay. Unknitting can be tricky and if you have a mistake many rows back there is no way to pick up stitches to unravel – you must tink, or unknit, your stitches. I noticed a dropped stitch and had to bring it up over 5 rows and that was not easy either!
Doing the 1×1 ribbing was tricky too. See my swatch above which has stockinette in the center with garter at the edges – it’s hard to tell what is what!
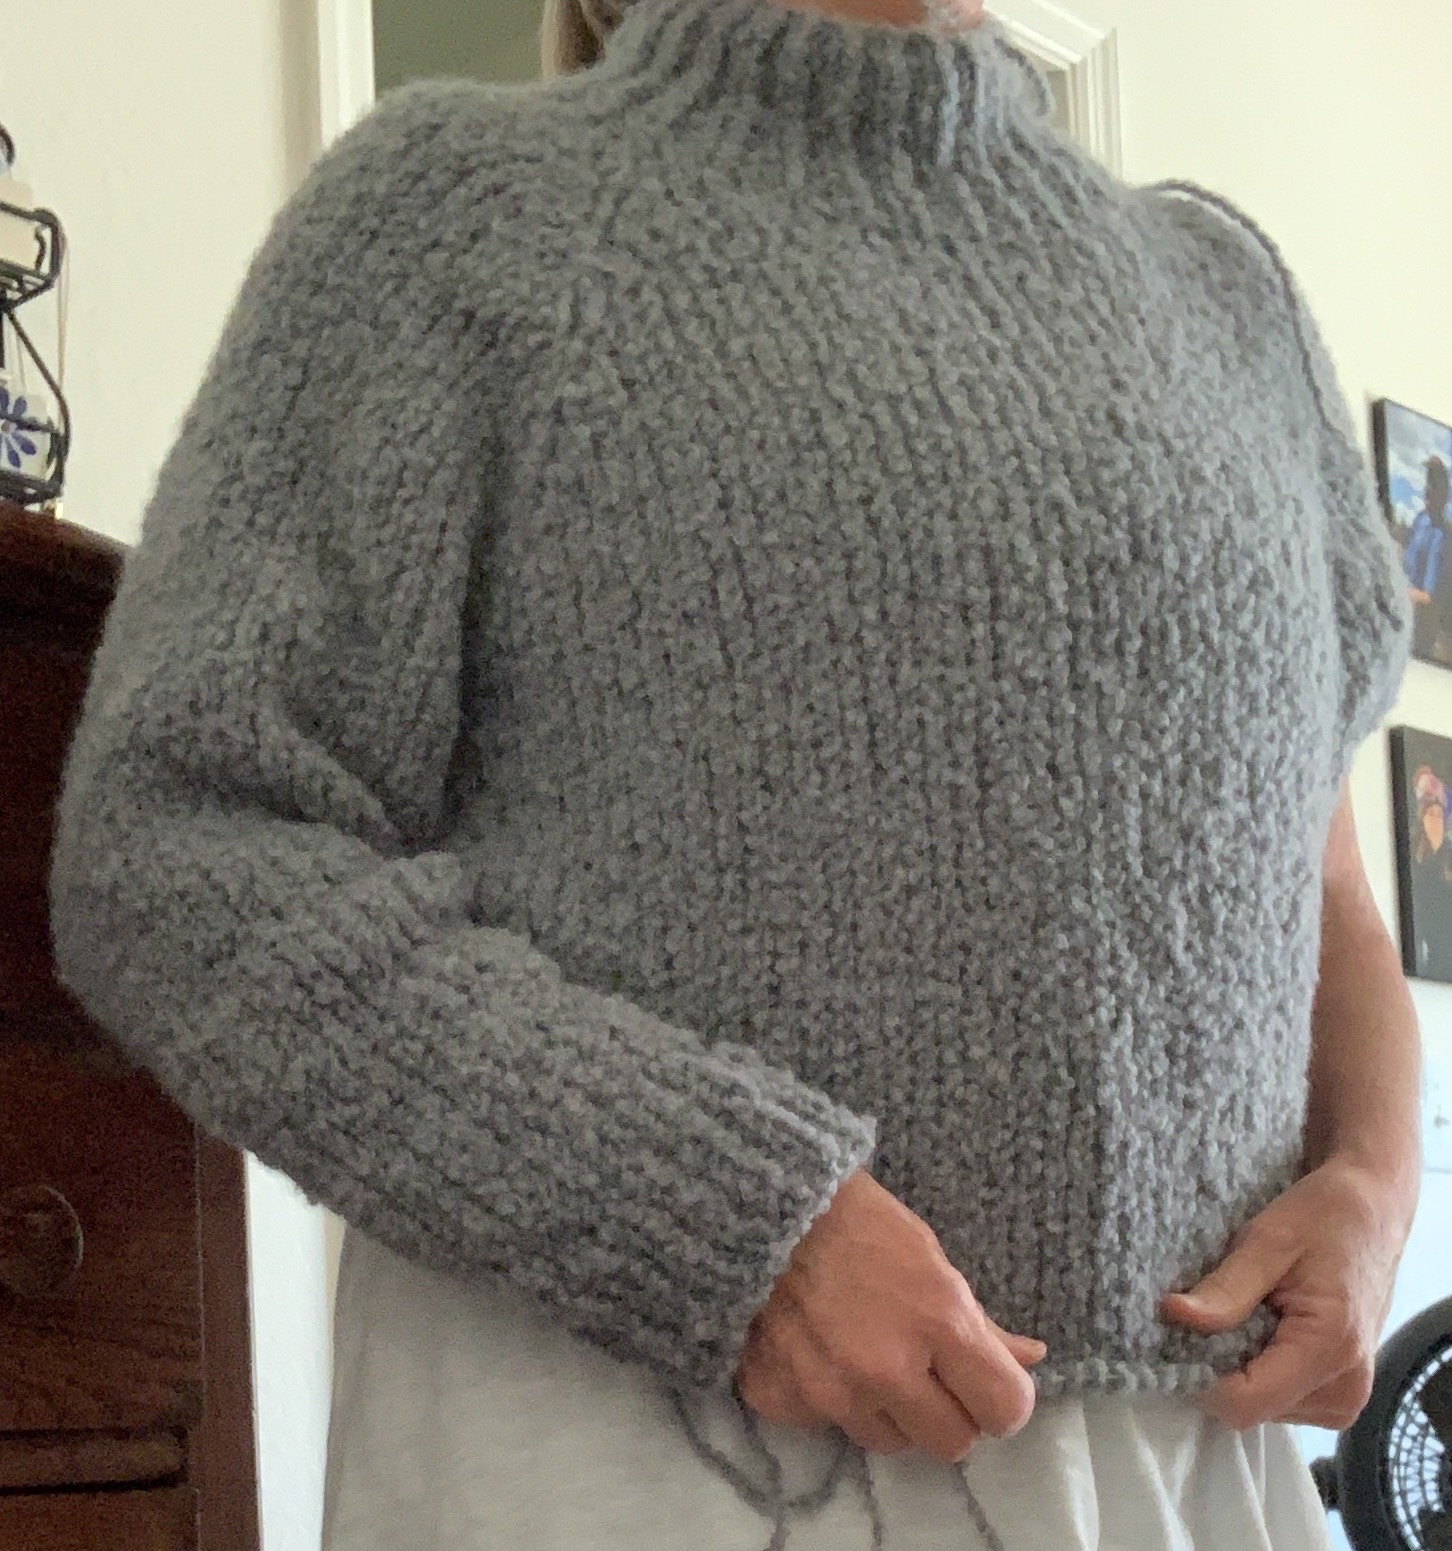
Below is a photo of my body ribbing. I’m doing knit one, purl one. Can you even tell the difference?
These are knits and purls – can you tell?
Suggestion For the Ribbing
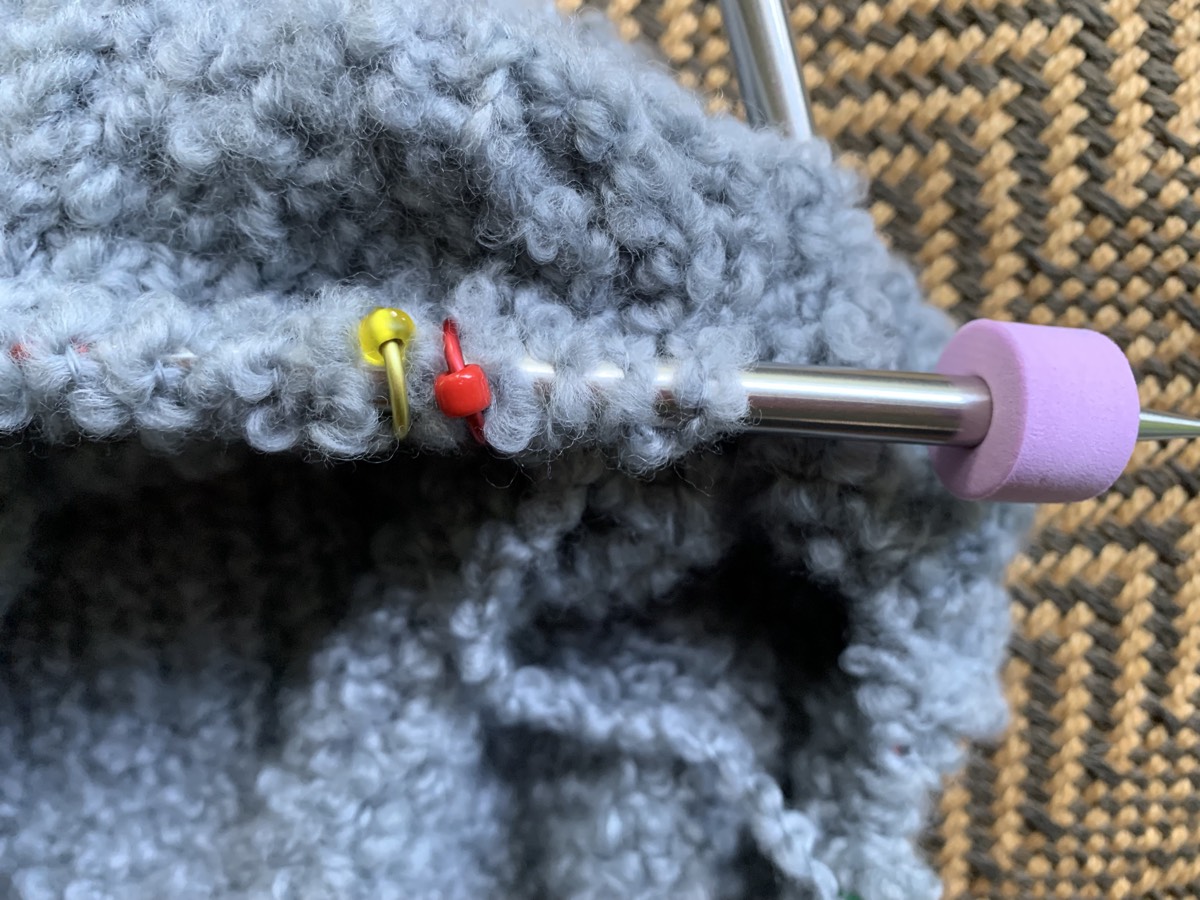
Simply knitting around and around isn’t bad. When it came to the 1×1 ribbing, forget it. I had no idea which was a knit and which was a purl if I lost my place. I ended up placing markers every 10 stitches or so (an even number) knowing that I would begin after each marker with a knit stitch. It was the only way to keep track of my knits and purls.
Knit a 4 inch tall neck
The Sleeves
Because I was worried about yarn amount, I put body stitches on hold at 8 inches to knit the sleeves. I knit the first sleeve on a 16” circular to begin, then changed to DPNs. It was difficult. The yarn is slippery and keeping the stitches on the needles was a pain. On the second sleeve, I used a 16” circular for the entire sleeve after dropping stitches when one of the DPNs slipped right out of the stitches! I was not having fun. (I knit with Lykke wood DPNs, but switched to the same brand 16”.)
I don’t know how to do Magic Loop, but it is probably the best way to knit the sleeves. *Changes made on sleeves: Pick up extra stitches when taking stitches off the waste yarn to close up the gaps under the arms. Usually patterns will say to do this, but this one did not.
Venlig sweater try-on with one sleeve complete
After finishing the sleeves I picked up the body stitches with the smaller size 10 needle and did the ribbing until the yarn was gone – with enough to bind off. I would have liked a little more length, but the yarn was gone.
Flette Colors
On a positive note, Flette yarn has great color selections. Choosing my yarn color was difficult because I had many favorites! I’d have chosen the dark navy blue, but dark colors can be a challenge for my eyesight. I love the dark green and purple-brown colors as well. I’m not ruling out using this yarn for another project. In fact, I wish I had chosen one of the unique colors instead of gray.
Before washing
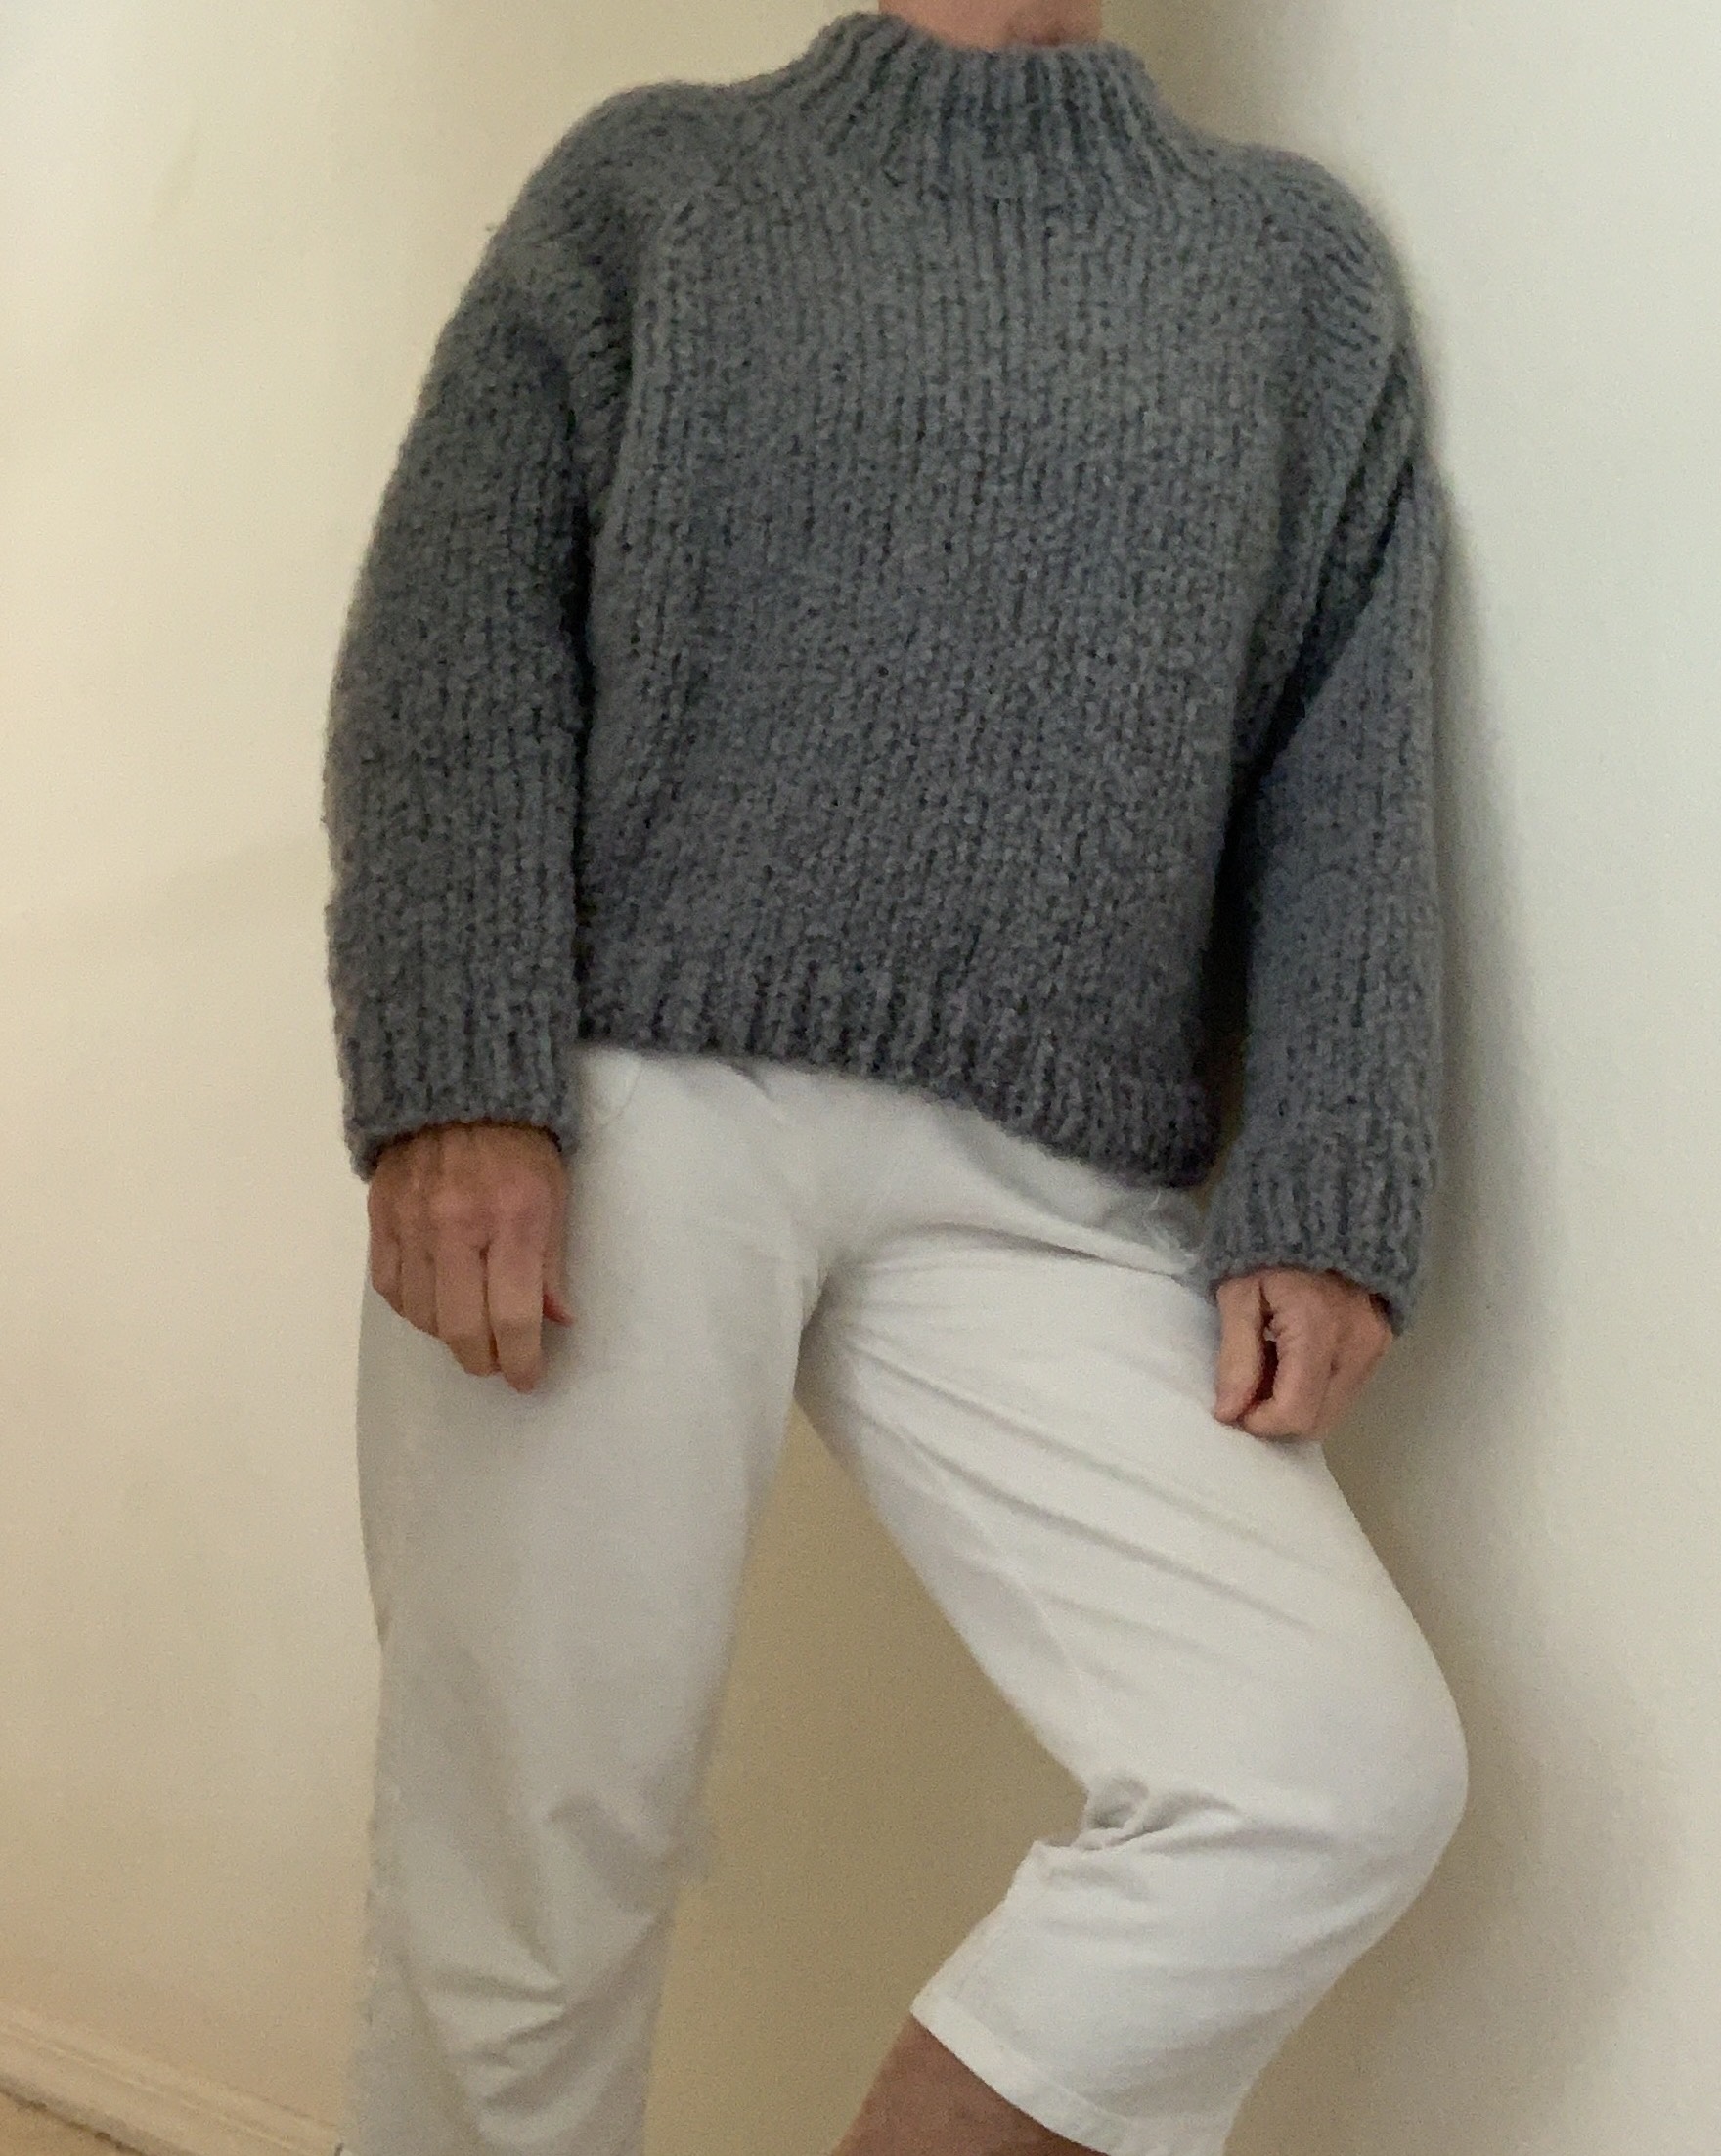
This sweater is probably my most favorite of everything I have knit. The Flette yarn creates a beautiful, soft fabric. The minimal yarn difficulties are completely worth the trouble.
My final opinion of this sweater pattern is to follow my own changes if I ever make it again. The pattern is basically a normal raglan with short rows. Directions were made difficult for no reason.
This pattern (and yarn) is NOT for beginners. Having sweater knitting experience will be helpful.
How Much Do Sweater Patterns Cost?
Here are some sweaters I have knit recently with the price I paid for the patternat the time. Sweater patterns can be found for FREE and up, but the general price seems to be around $7-$8.
The unisex Cobblestone cardigan, by Jared Flood, was also $10.00 but the directions were excellent. (I loved that the buttonholes were made while the sweater was being knit.) I would certainly knit this one again.
Meadow Moon, by Jennifer Steingass, was $7.00 and has colorwork and great instructions. This designer goes to great lengths to explain her patterns and provides helpful links.
The Carbeth cardigan, by Kate Davies, was around $8.00 and certainly gave me lots to learn. The construction was unique and the folded collar was something new for me. It was missing short row instructions, which I had to figure on my own (yikes), but the intricate pattern was worth the money.
The Calliope and Warm-up were both free patterns, with excellent directions. The Turtle Dove (free) sweater pattern from Espace Tricot uses Woolfolk Luft yarn, which is cheaper than Flette, but also bulky. The pattern is also raglan, and the sleeves could be modified to create a sweater very similar to Venlig, but for free!
Tin Can Knits also offers many free patterns including sweaters.
So paying $10 for this needlessly difficult, yet simple raglan, was too much in my opinion. I only chose it because no reviews of the pattern warned me away… and I wanted to try out the Flette yarn. I did search for other sweater patterns that used the Flette bulky, but did not like them as much.
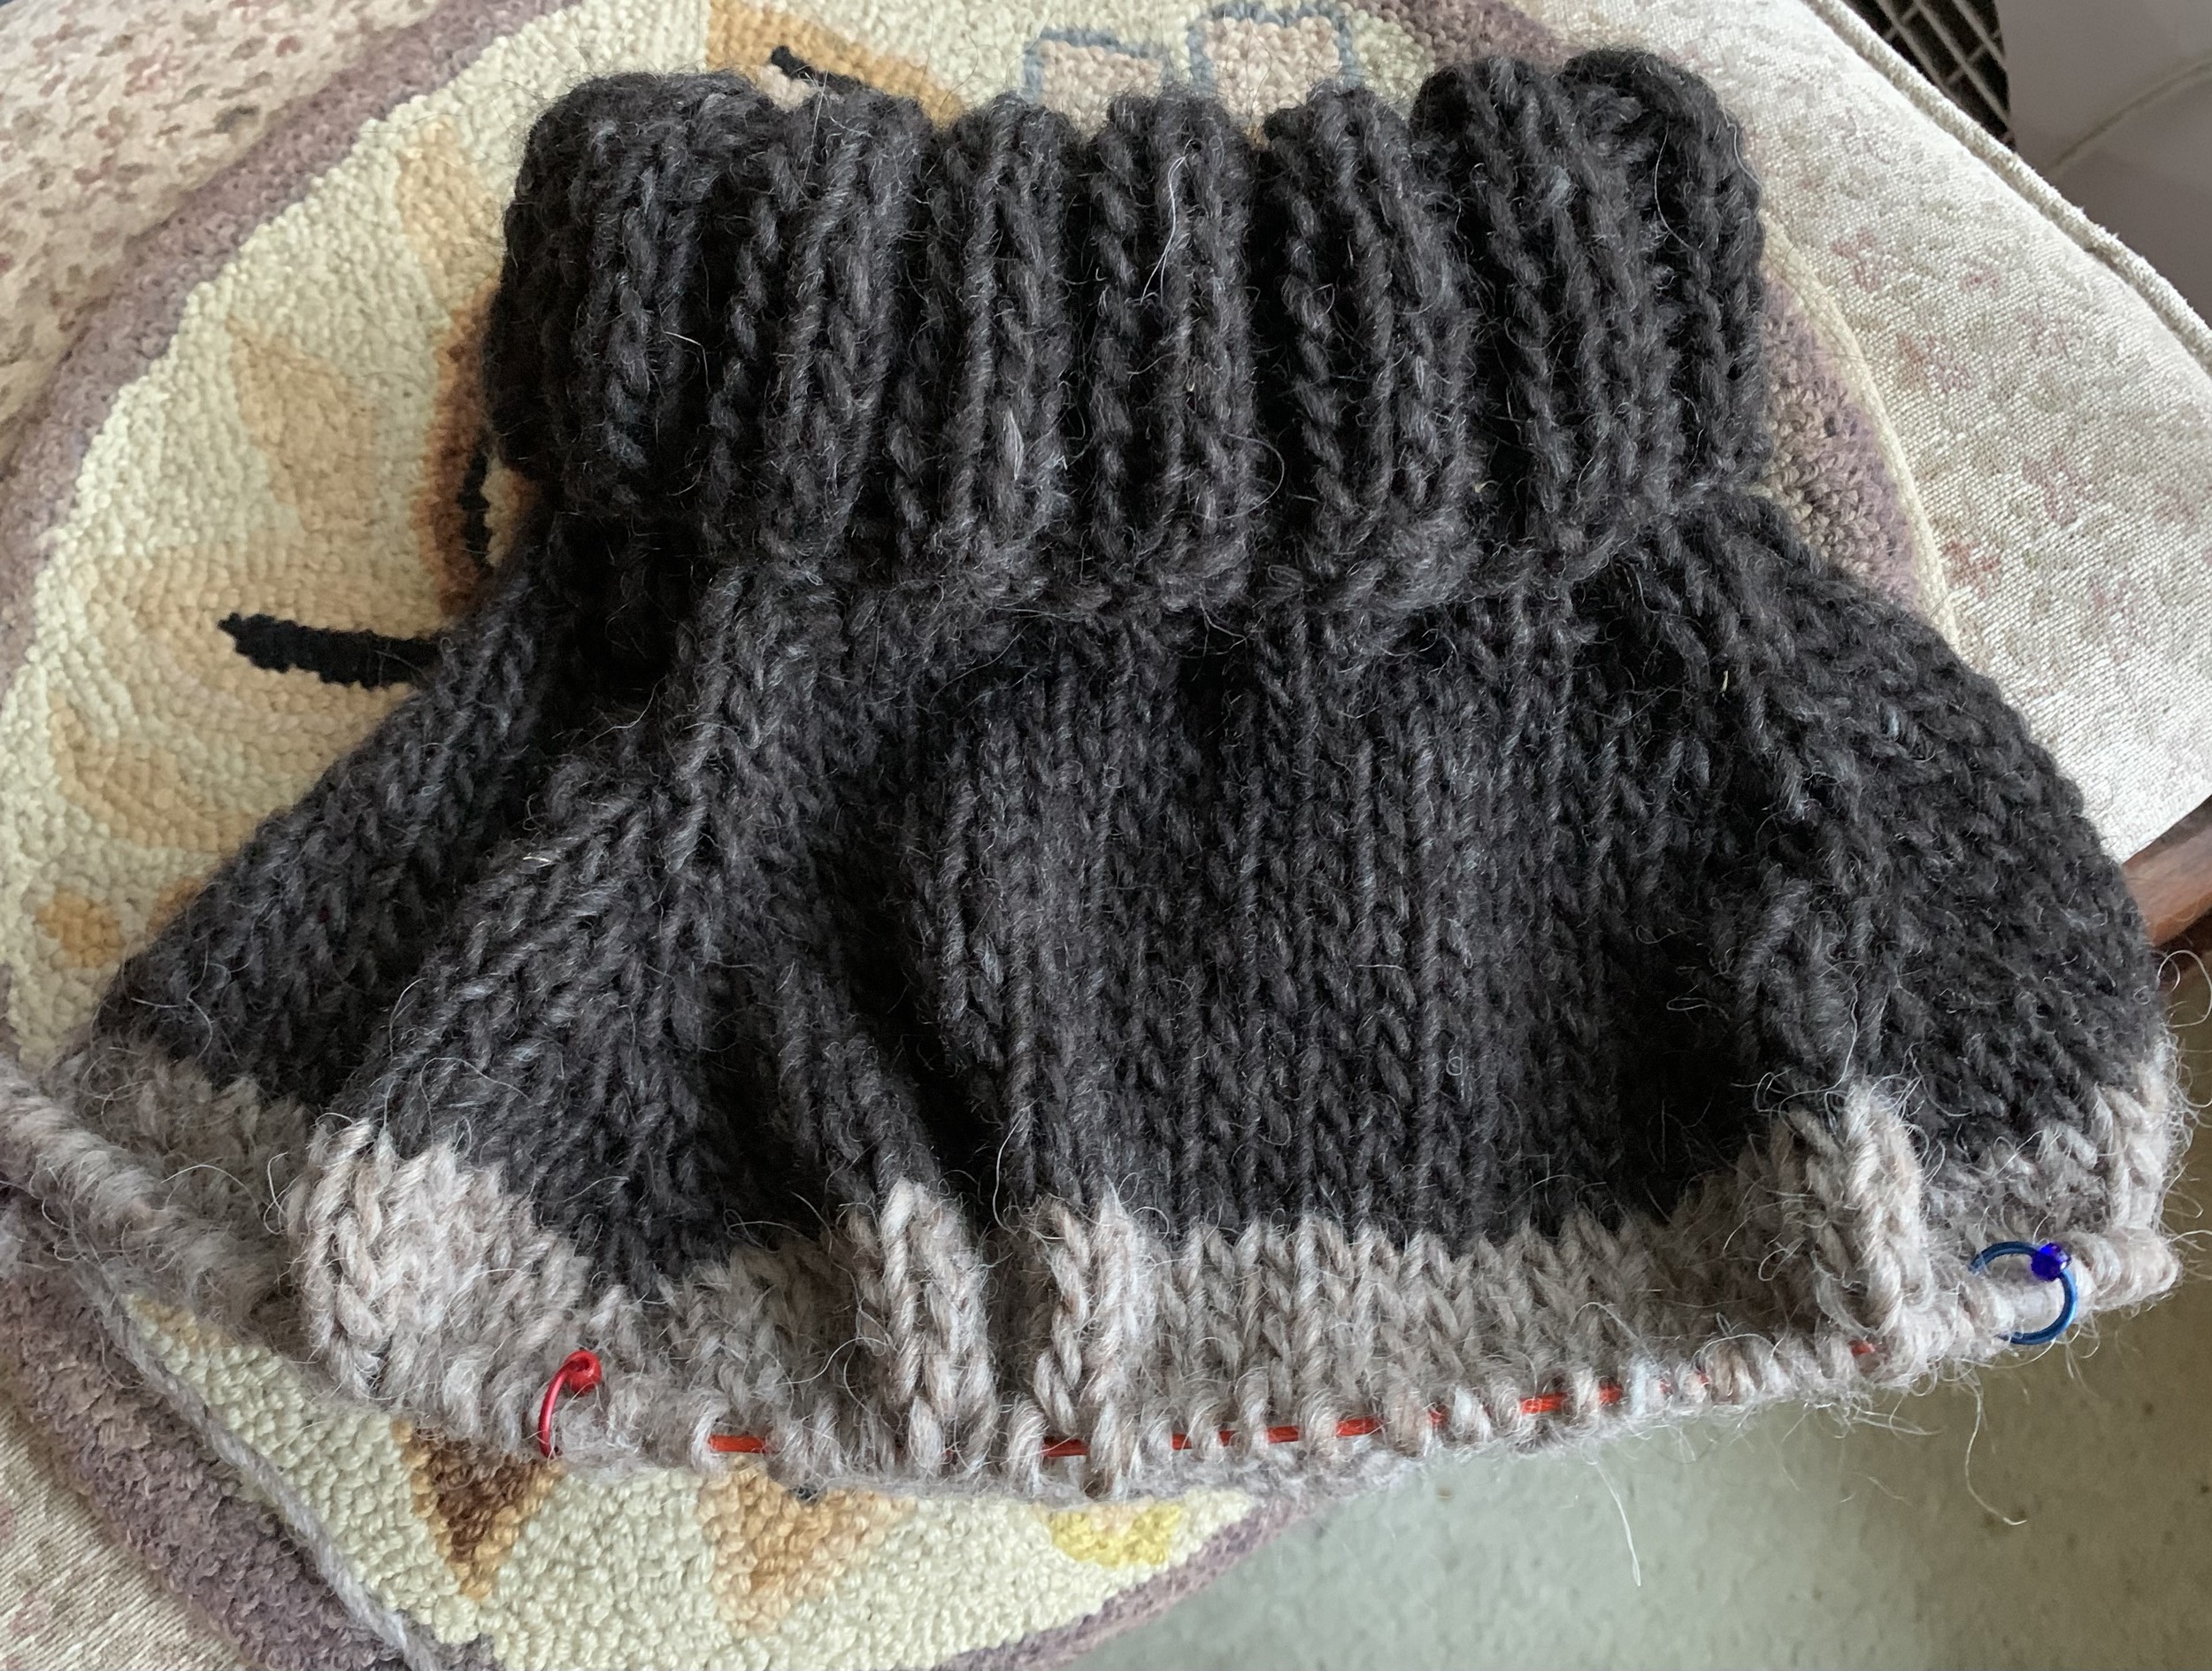
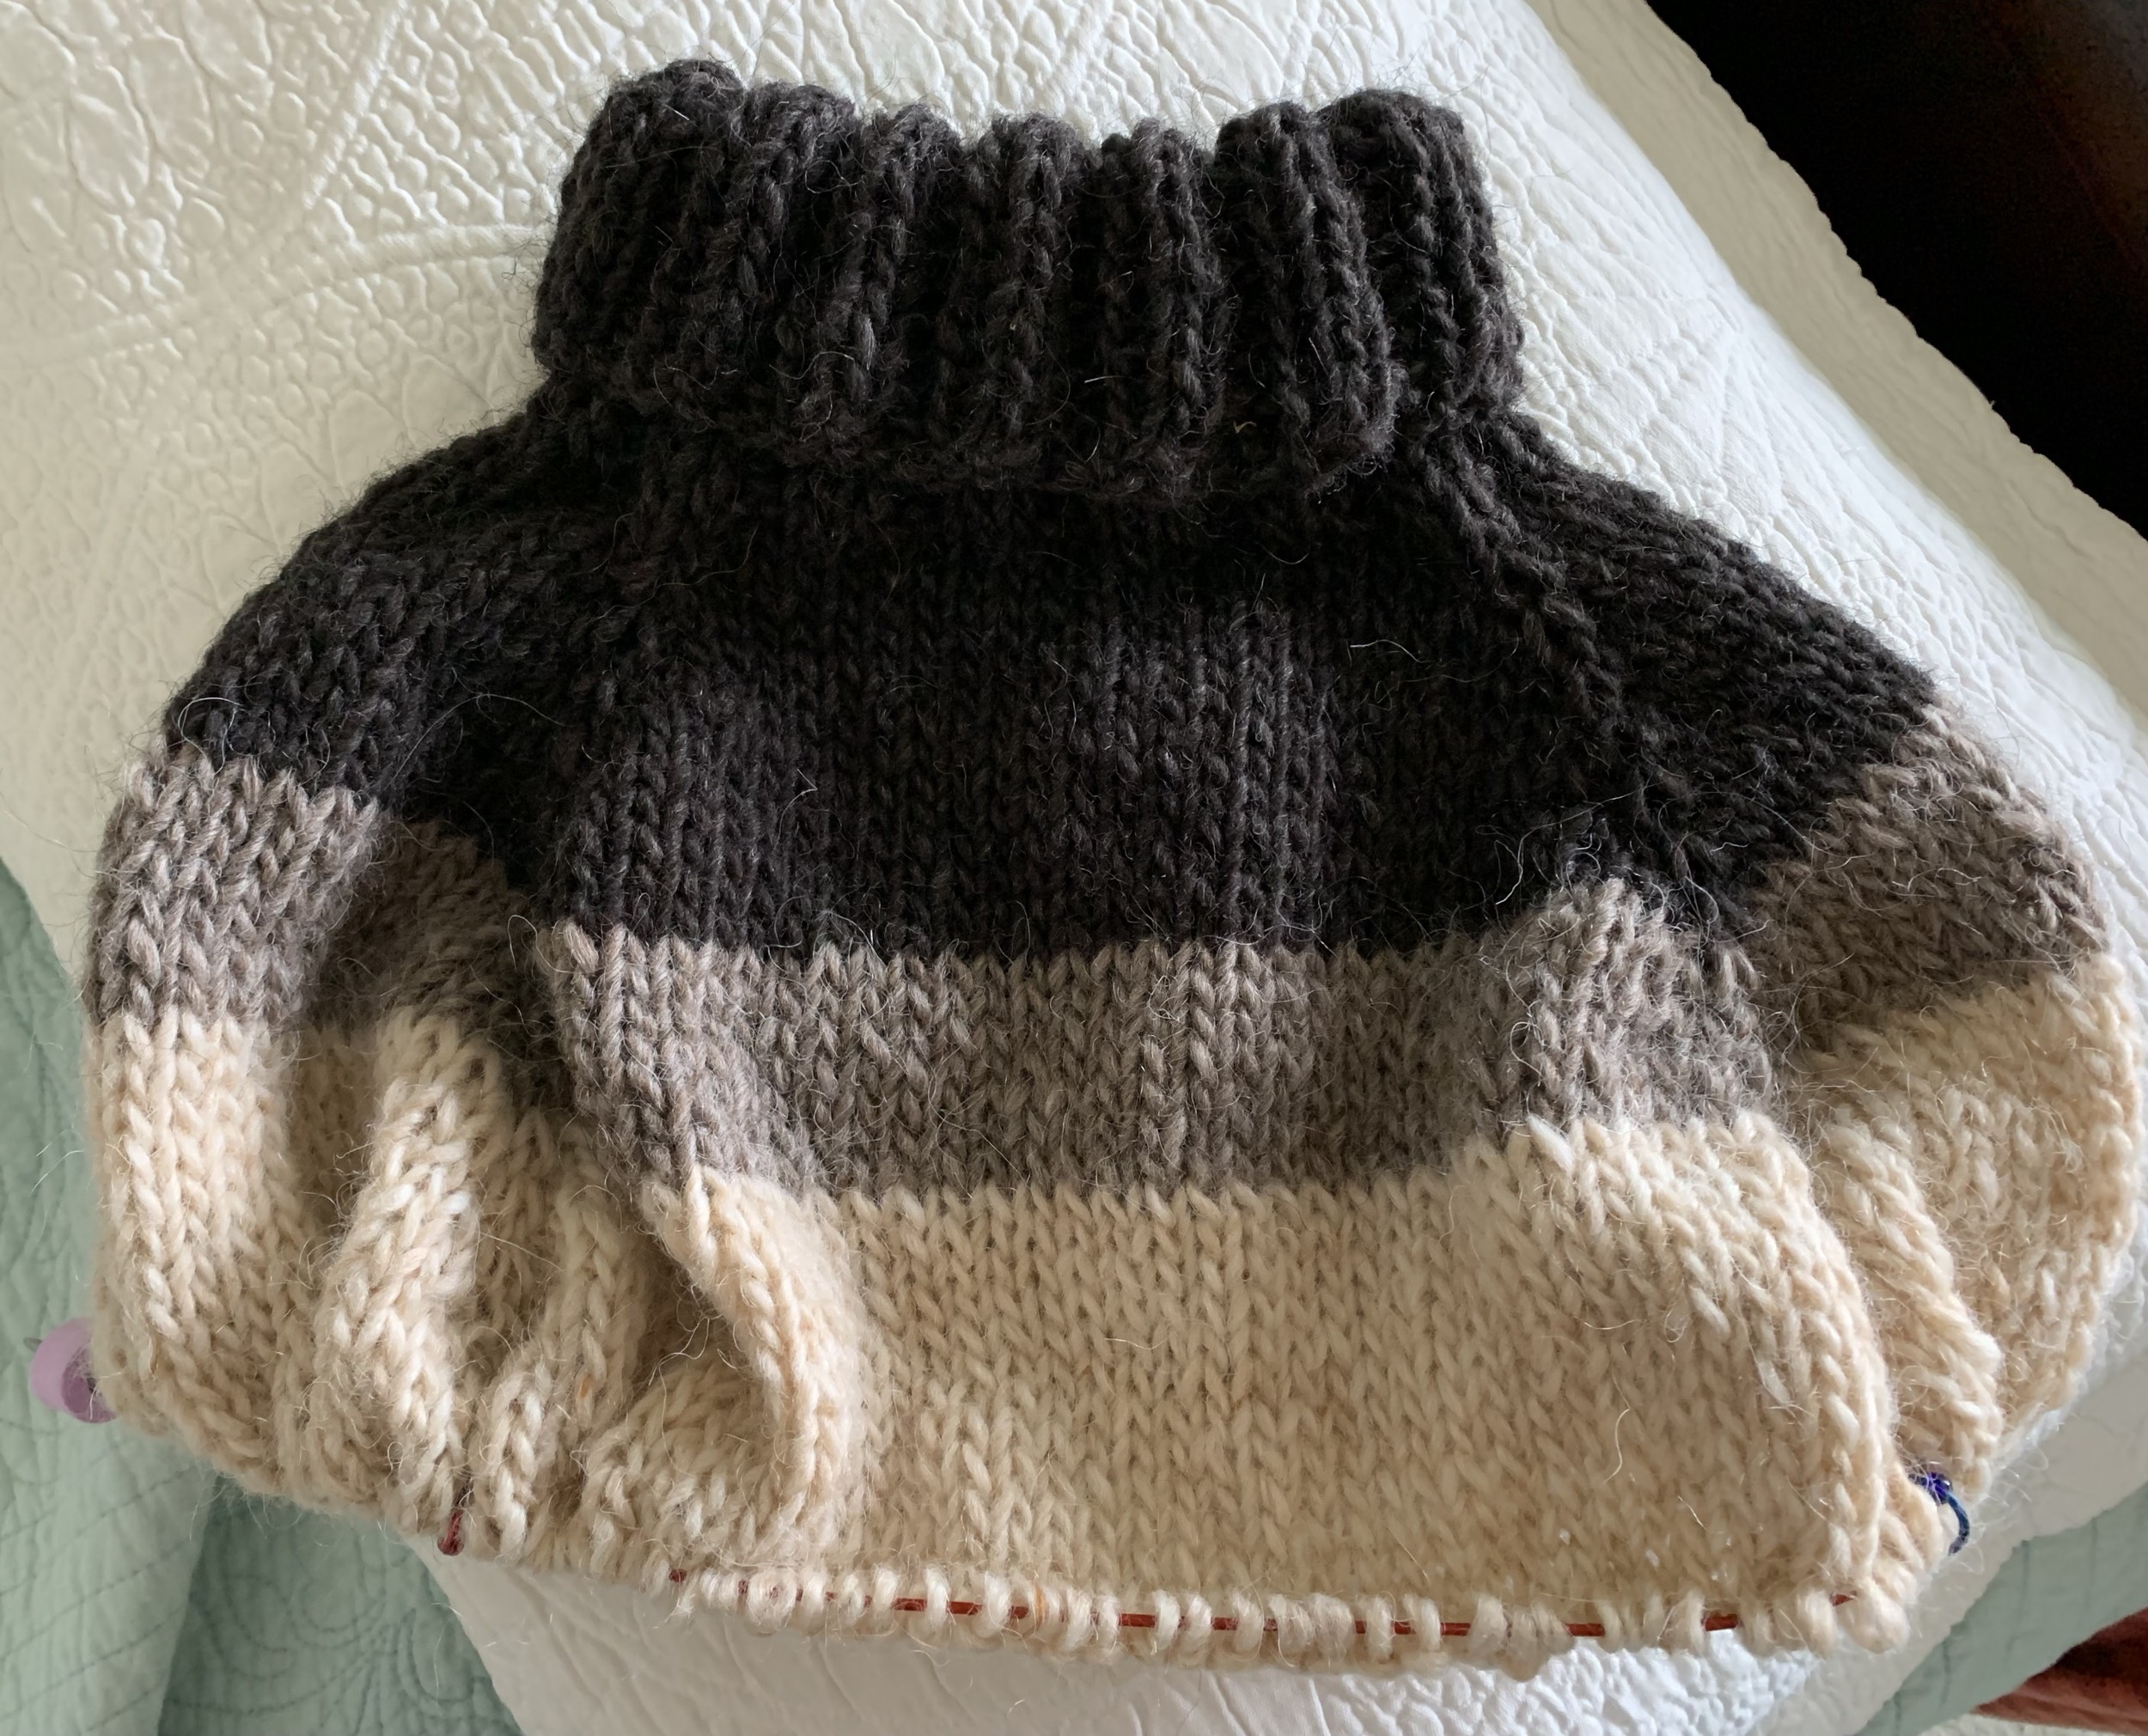
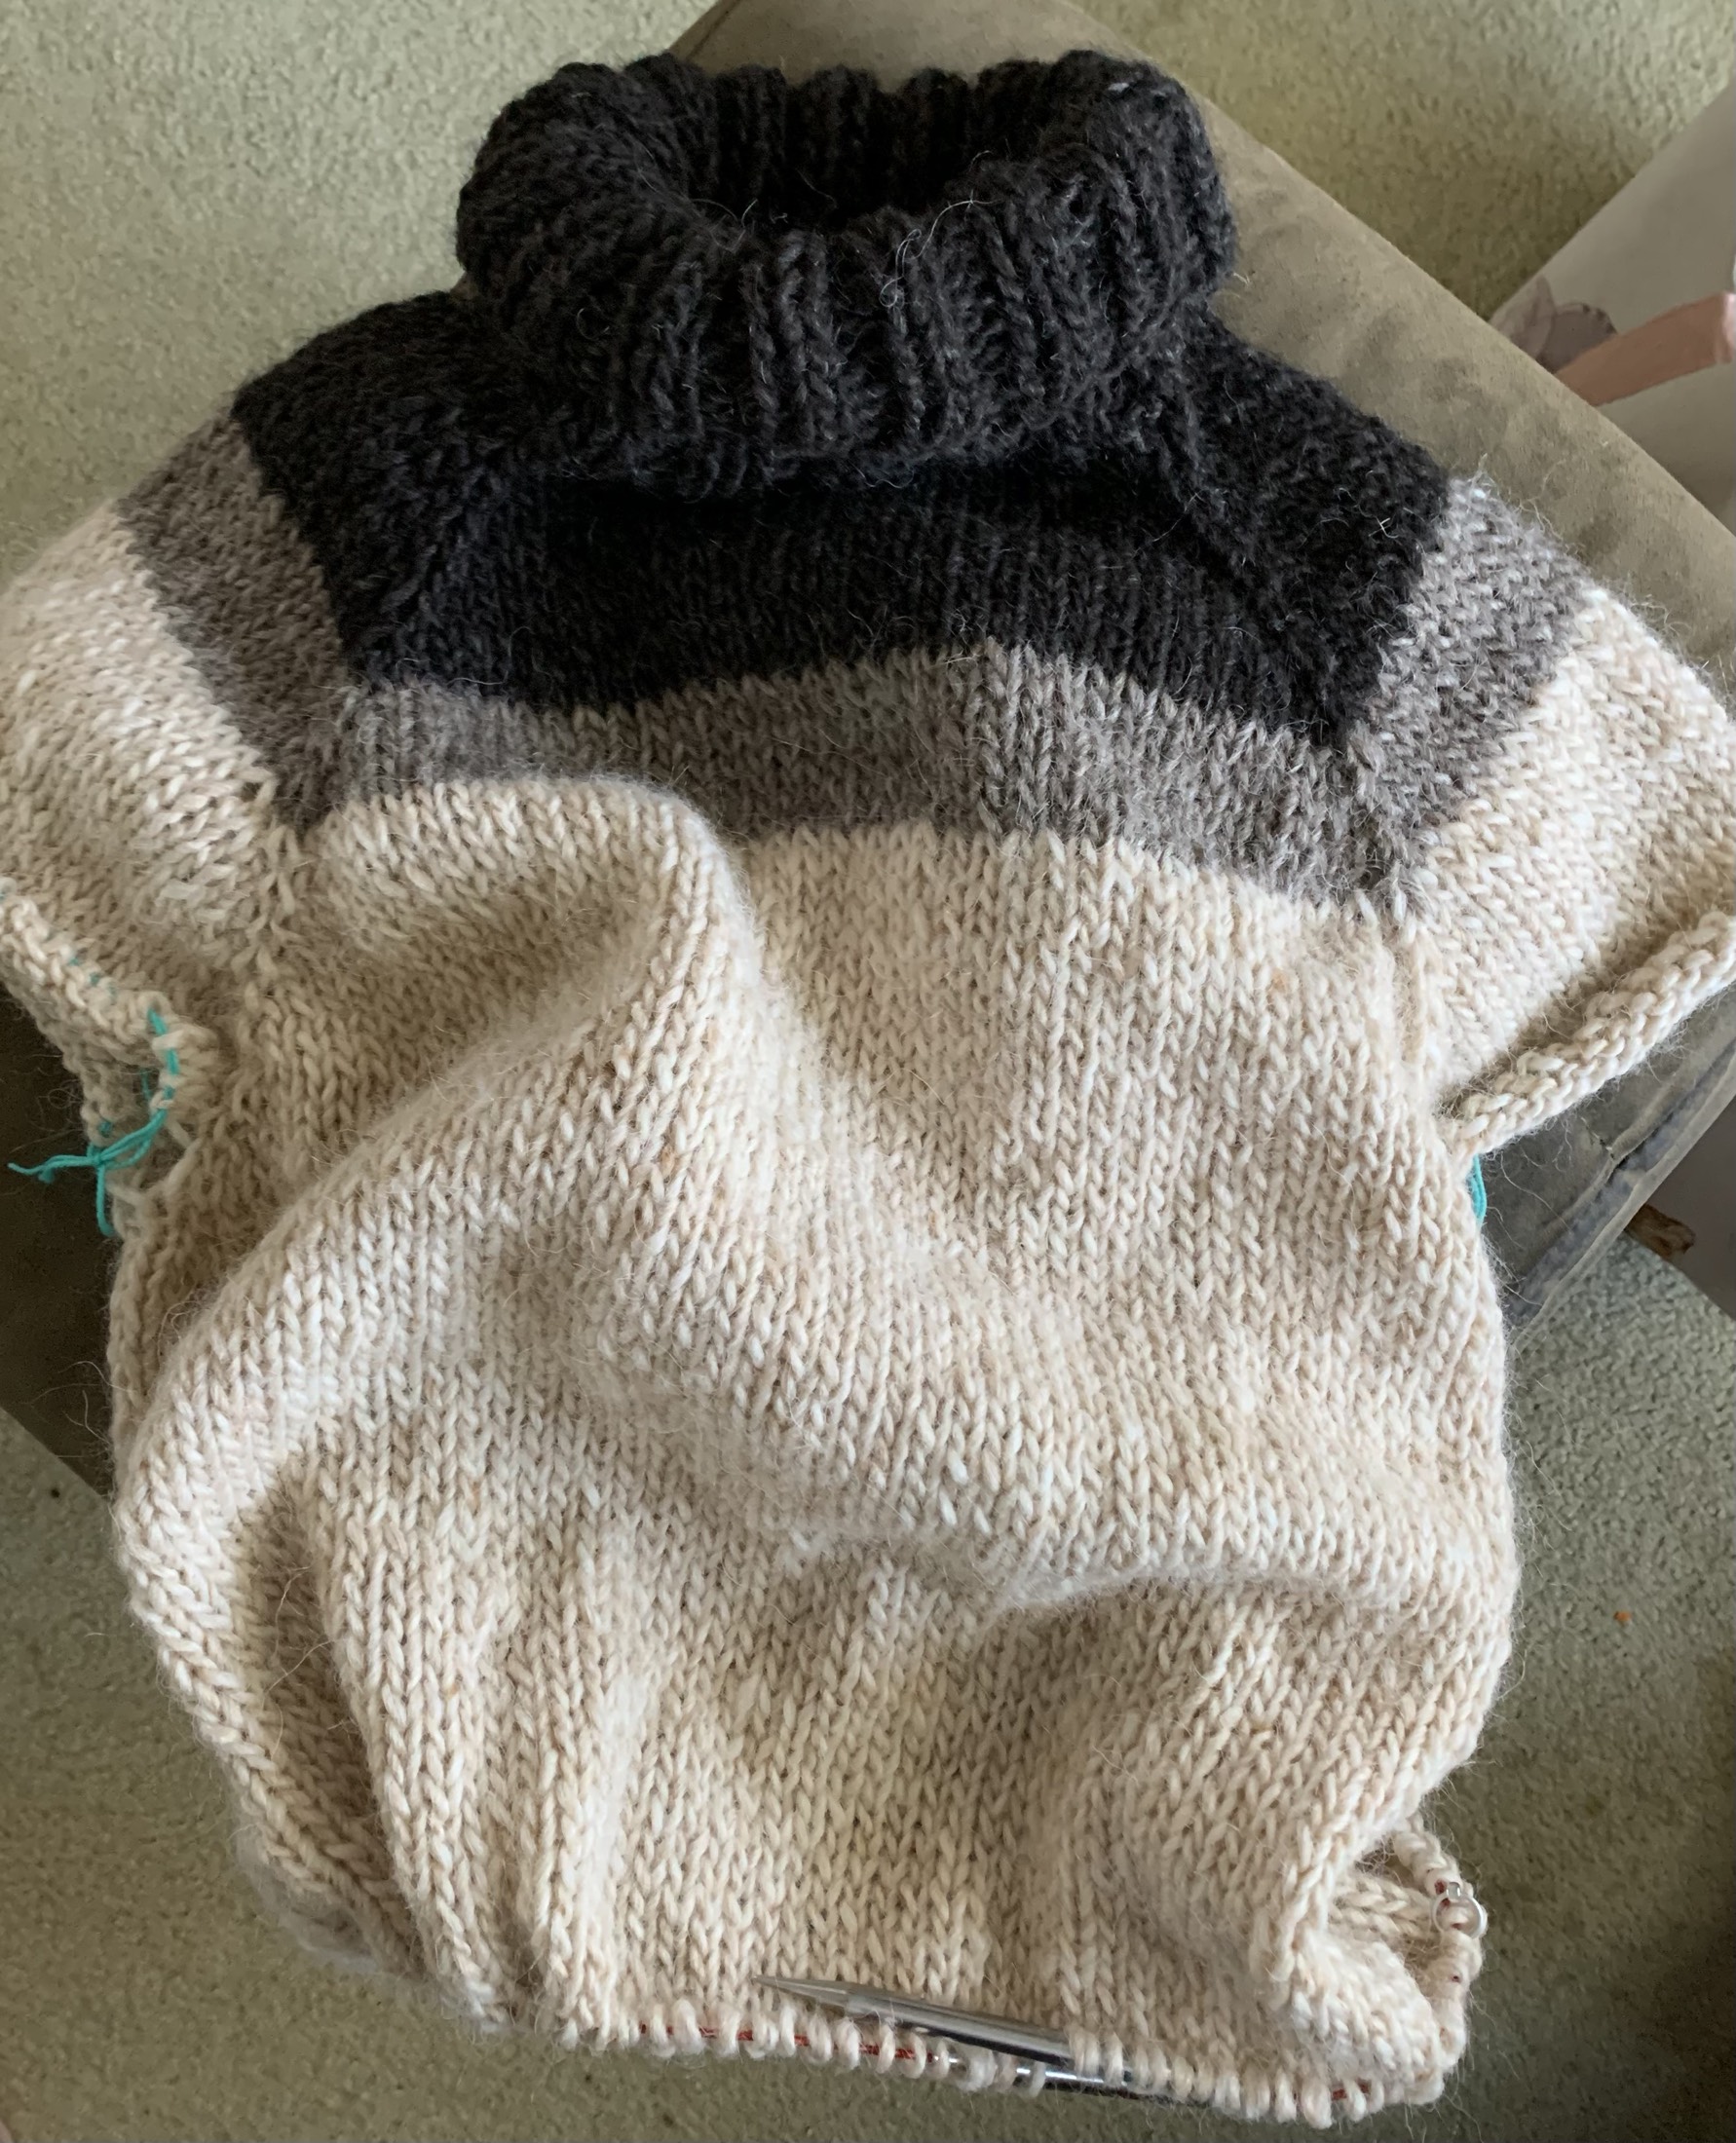
Knitting a bulky pullover using Alafosslopi wool and pulling directions from two different patterns.
This page is all about how I combined notes from two different patterns to create a chunky, turtleneck sweater. Jumping into a knitting project without one simple pattern to follow has expanded my knitting proficiency. I tried some new things here, some of which worked well, and others that did not. I was happy to have had this learning experience, while making a new lovely sweater.
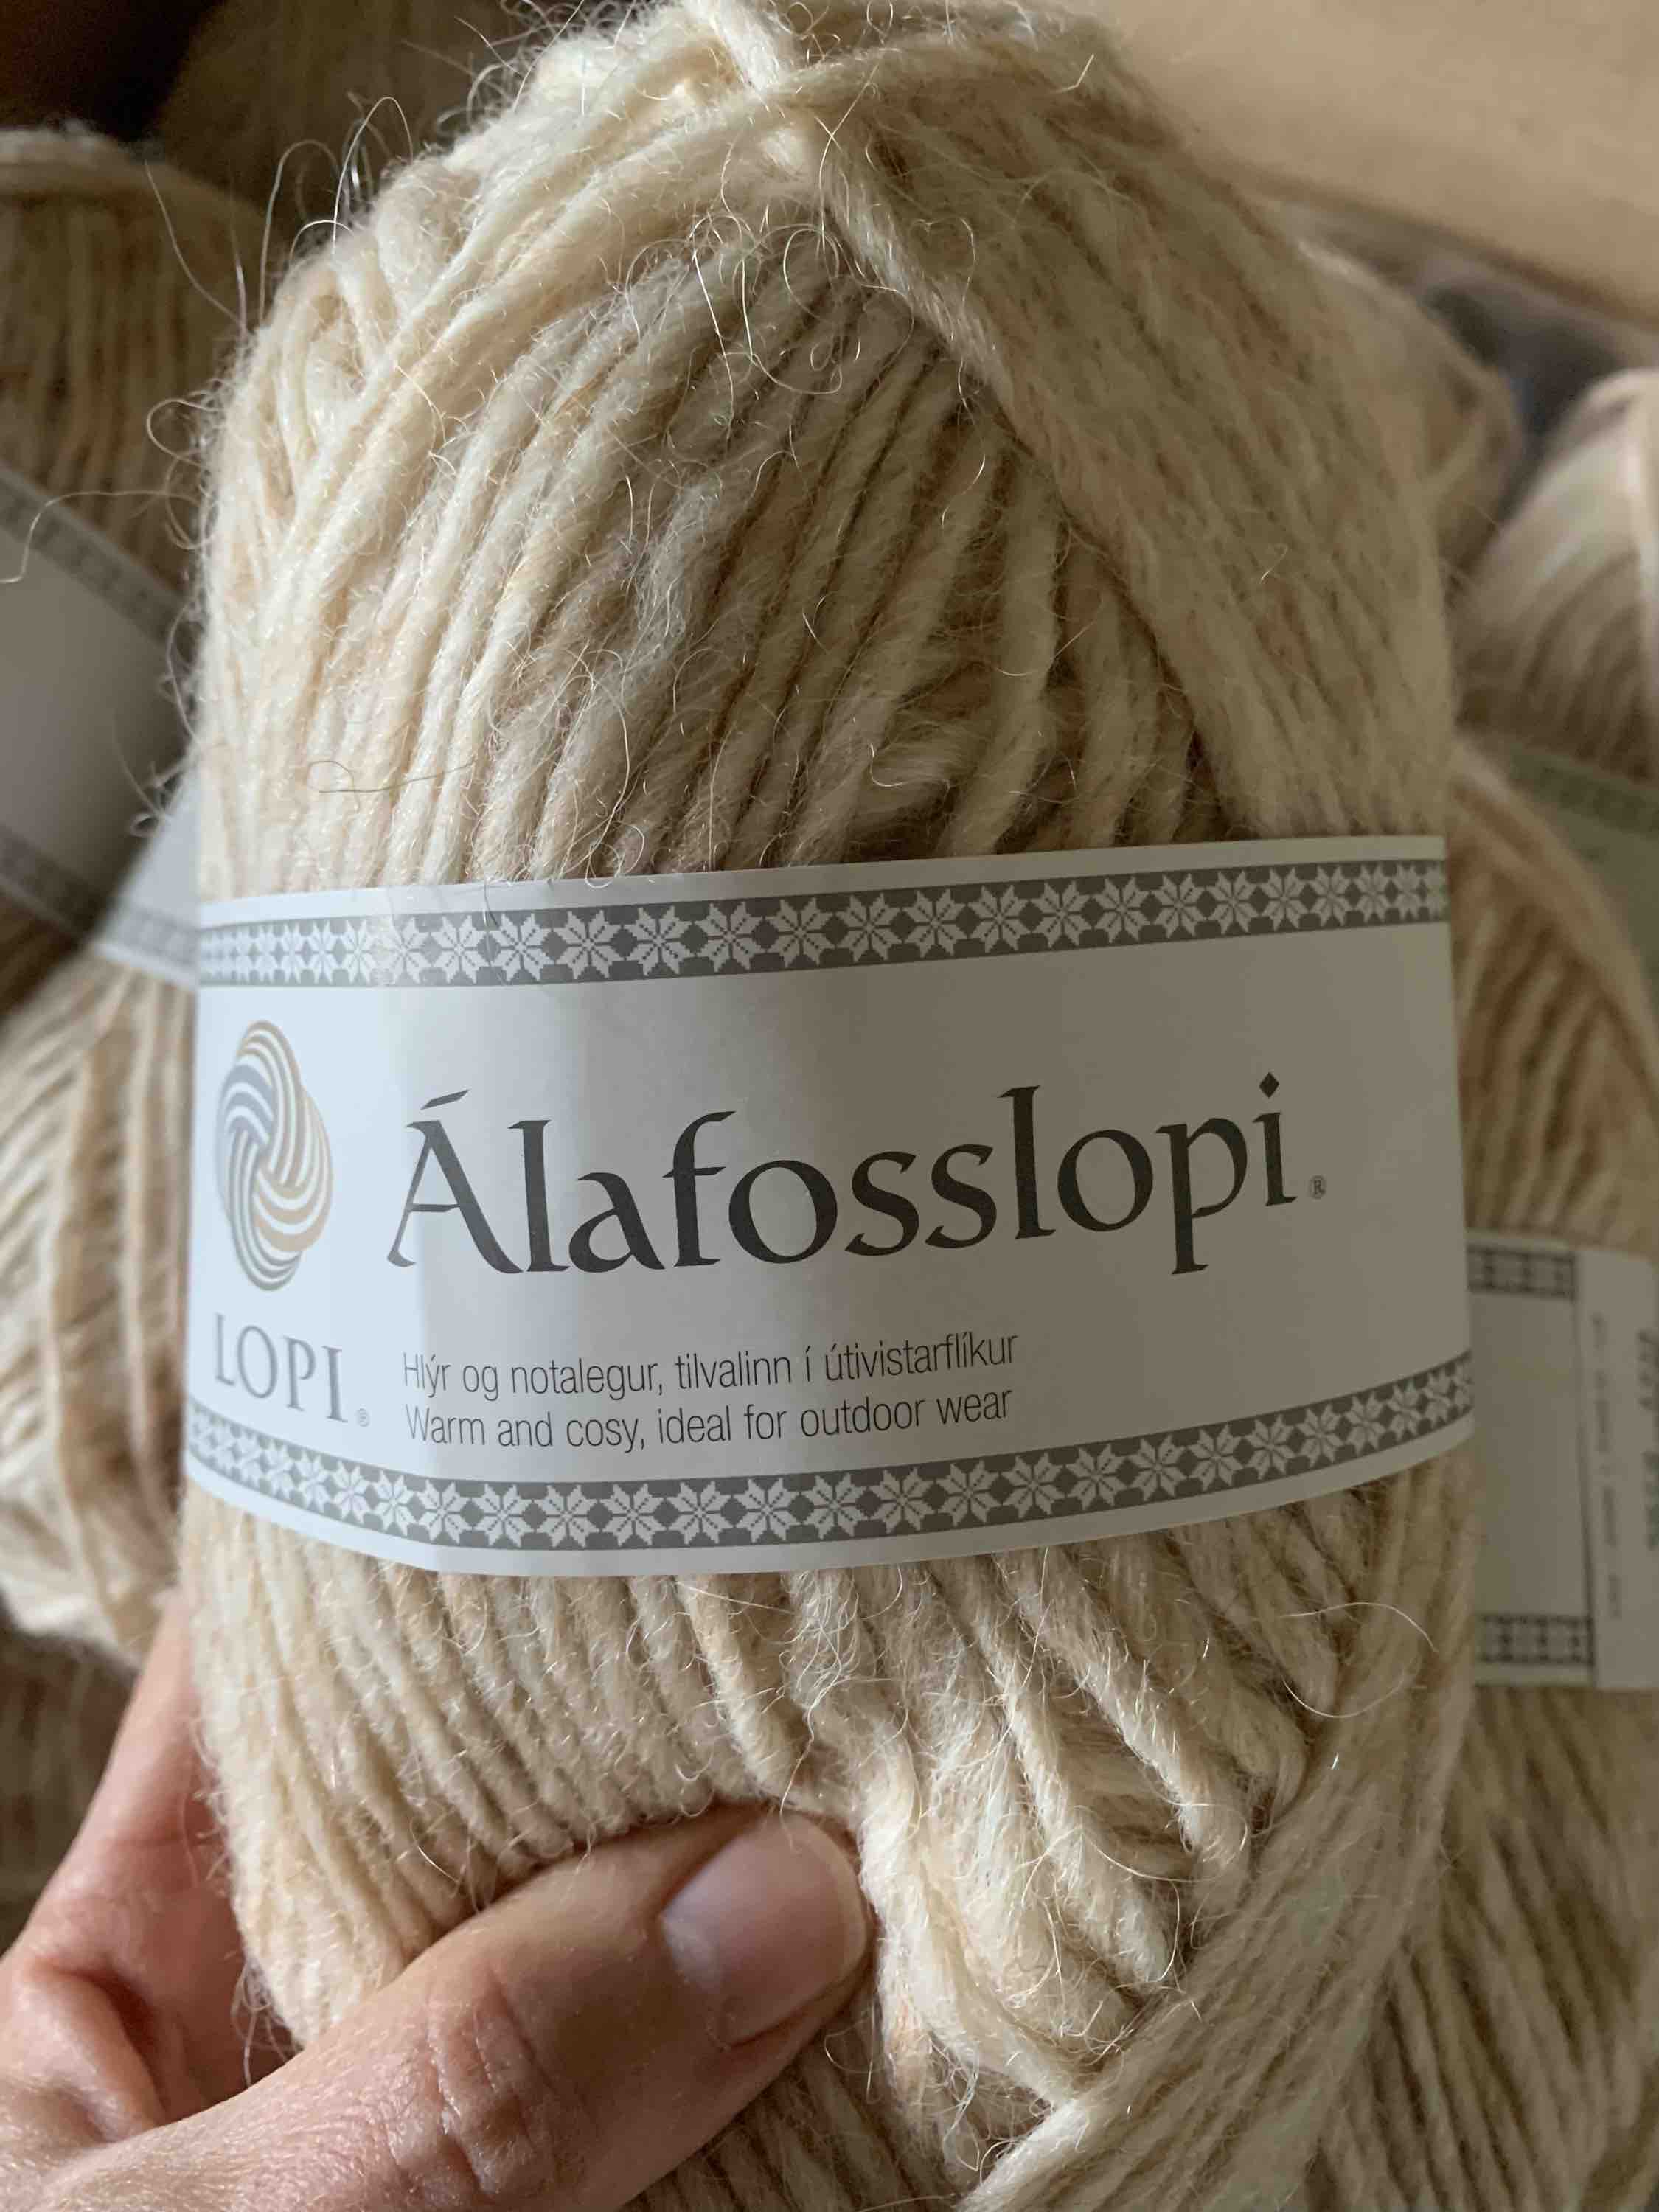
I’m continuing on in my quest to find patterns to help use up stash yarn. Although I did use quite a lot of my Alafosslopi when knitting the Carbeth Cardigan, I still have quite a bit leftover. It would be perfect to use for a chunky turtleneck.
A little candy surprise in with my Alafosslopi yarn delivery!
In my search for a pattern on Ravelry, I found the VENLIG pattern, which is knit with Woolfolk’s newer yarn called Flette Bulky. I love the look, but thought maybe I could also use the pattern and knit it with my Alafosslopi.
My gauge with the Lopi was off for the Venlig pattern, so I had to make adjustments (which I should have done from the very beginning) – see my notes further down. Venlig’s pattern directions for short rows and raglan increases were needlessly difficult. Because of this, I gave up, frogged, and began over with a pattern I knew was easy to follow.
Starting Over With The “Turtle Dove” Pattern
The Turtle Dove pattern is free, from Espace Tricot, and I have already knit it using bulky yarn.
I am using a size 11 needle. My cast on number was 60 and I did six inches of 2×2 ribbing for a rolled neck. After that, I followed the short rows section on Turtle Dove, which are done before any increase stitches. This is much simpler to follow than the Venlig.
The Turtle Dove pattern knits up with big, wide, bat-wing type sleeves, which I do not want. You can see my finished original Turtle Dove sweater on this page. It came out huge – probably because I knit it long ago and didn’t check my gauge!
So, when it came time to knit the raglan increases, I went back to follow VENLIG.
When my body, back and sleeve stitches match up with the number in the Venlig pattern, I will continue and separate for the body and sleeves as VENLIG says.
Fixing Gauge Problems
After 18 increase rows my totals for the body will be 57 front and 57 back, which is a total of 114 for the body (I should have increased more stitches here). The row count (height) is perfect, but stitches are way off.
My gauge is 12 stitches and 15 rows. VENLIG calls for a gauge of 10 stitches with 15 rows. I have 2 more stitches than I should. This changes things.
I have too many stitches within the gauge of 4 inches, which means … that my sweater will end up being smaller than it should be. I need to adjust for this by adding more stitches.
Because I have too many stitches in my gauge, the fix would be to go up a needle size. But, here is my problem – I am already using the largest needle (size 11) that I have! The next size up is needle size 13 US which I suspect would be too big. I’m not investing in size 13 needles just to see if my knitting gauge will work!
Here is a great page at Making Stories that explains gauge and how to fix it. Wish I’d read it before I began knitting this one.
What I should have done (as explained in the link above) is to take my gauge of 3 stitches per inch (12 stitches divided by 4 inches = 3 stitches per inch) and used it to measure size for my needs and adjusted my stitches accordingly.
Bust measures 40 + positive ease of 5 = 45 inches around. 45 x 3 = 135 stitches needed at largest part of body. This does not help me with the cast-on, but at least I know what my stitch count should be on the body. I had to increase to get there because as you read above, I have only 114 total stitches for the body! I created those increases under the arms on each side as I knit down the body.
Corrugated Ribbing at Bottom of Sweater
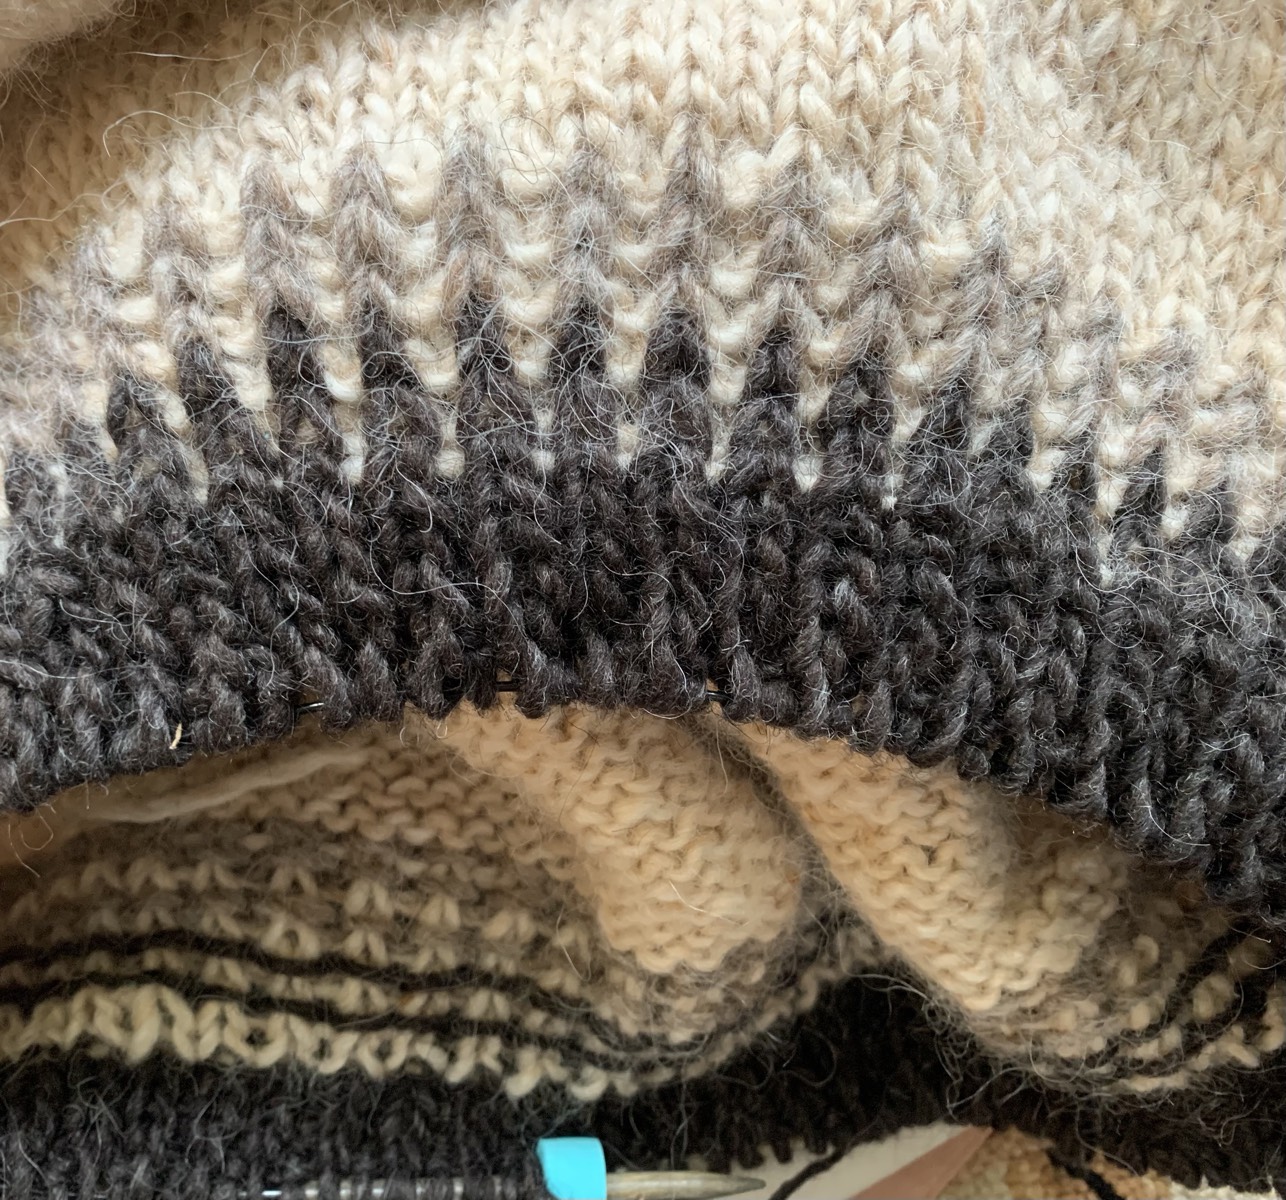
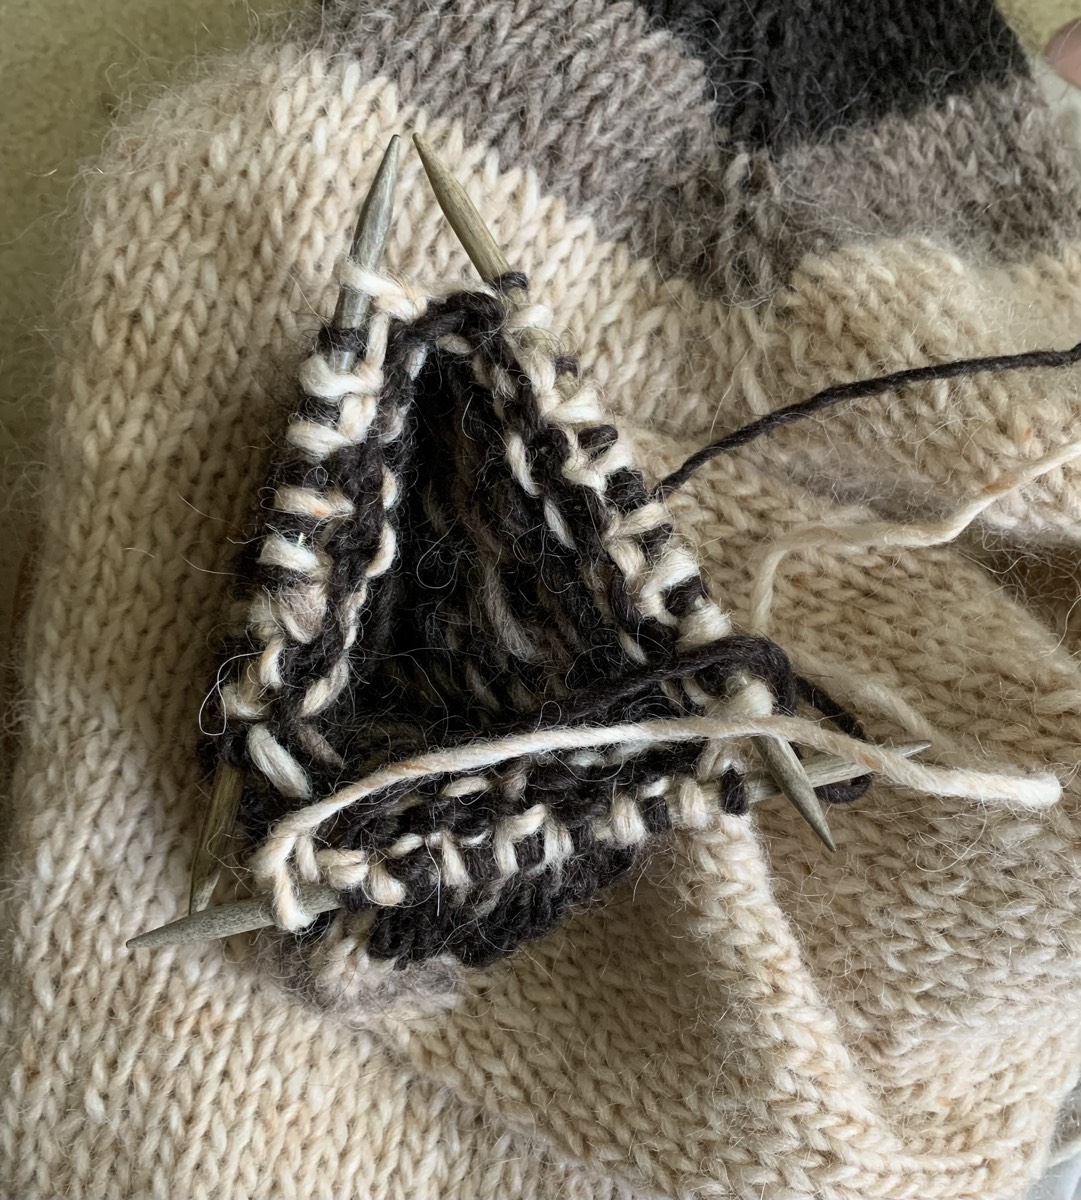
I’ve been trying to decide what type of ribbing I should knit at the bottom of the body. I’ve decided to go with a corrugated rib using the white with the light gray and black.
To this point, all my corrugated rib knitting has been done on hat brims. Cast-on, do ribbing and continue knitting. I’ve never added it to the bottom of a top-down sweater.
After searching for helpful advice, all I read was that when using corrugated rib I would NOT go down a needle size. This type of ribbing is not stretchy like a 1×1 or 2×2 knit and purl ribbing would be. So I am continuing with my same needle, size 11.
Tried on when the body was finished, and yes that bind-off curls up. *In the end I decided to re-do that bottom.
Will unravel stitchesPicking up stitchesNew ribbing
Once the sleeves were finished I went back and picked up the body rib stitches, then unraveled my corrugated rib. I had no idea how to pick up those stitches, and I ended up having to do it twice – the black stitches were on the needle, but the white were not. It all turned out okay, and then I began knitting the 1×1 ribbing in black. I used a size 10 needle for that ribbing – down one size from the 11 for the body. (I used a size 9 on the sleeve ribbing.)
Knitting The Sleeves
So I know that my gauge is off and that means my sleeves may end up being too narrow. I will do only a few of the decreases down the sleeve and then continue to the cuff without more decreases. *I ended up doing only 3 decreases and ended up with 42 stitches on the needles.
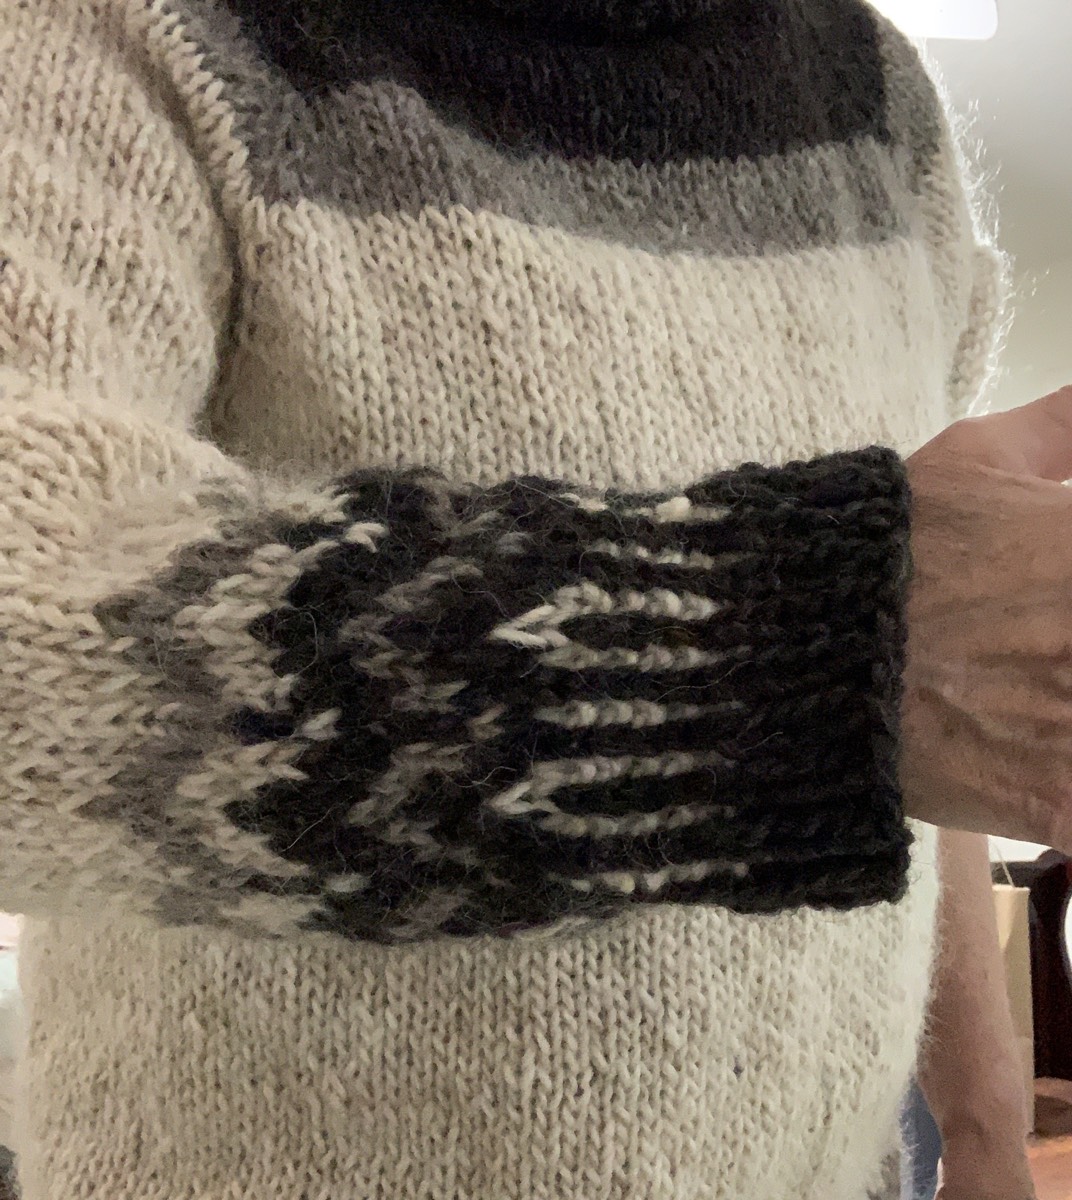
I’m considering some colorwork near the cuff. I also don’t know what type of cuff I will do. I like the colorwork on my other Lopi sweater sleeves, so maybe something like that.
After the three decrease rounds (done as pattern directed), I knit round and round until the sleeve was 11 inched long before beginning the pattern incorporating the gray and black. For the colorwork, I chose to follow a chart on pg. 92 in Alice Starmore’s Charts for Color Knitting (Amazon link to the book) continuing to use the size 11 needles. I know colorwork will pull in a bit.
Next, I changed to size 9 dpns – right after the patterning part – and did a few rows of corrugated ribbing. To finish the sleeve, I did a few more rows, in black only, of 1×1 rib. This way the end of the sleeve won’t roll. I’m very happy with the sleeves!
Finished knitting the sweater
In the end…
I’m happy with the end product and just need to give it a wash and block. I’ve decided to wait for cooler weather and have a photo shoot day for this, and all my other wool sweaters.
Now that I know a little more about sweater knitting than I did in the beginning of my knitting journey, this type of project expands on my list of accomplishments. The more I knit things that I’m happy with, the more I will have to draw from as I continue my knitting journey.
The collar may need to be tacked down, but otherwise this sweater is great. I’ve decided that the reason most of my hand-knit sweaters come out large is that I have a weird body. Most patterns have you choose a size according to bust measurements. My entire middle is large, but my shoulders and arms are not. Even though I get gauge, many of my sweaters come out too big. I’ll have to begin adjusting for that.