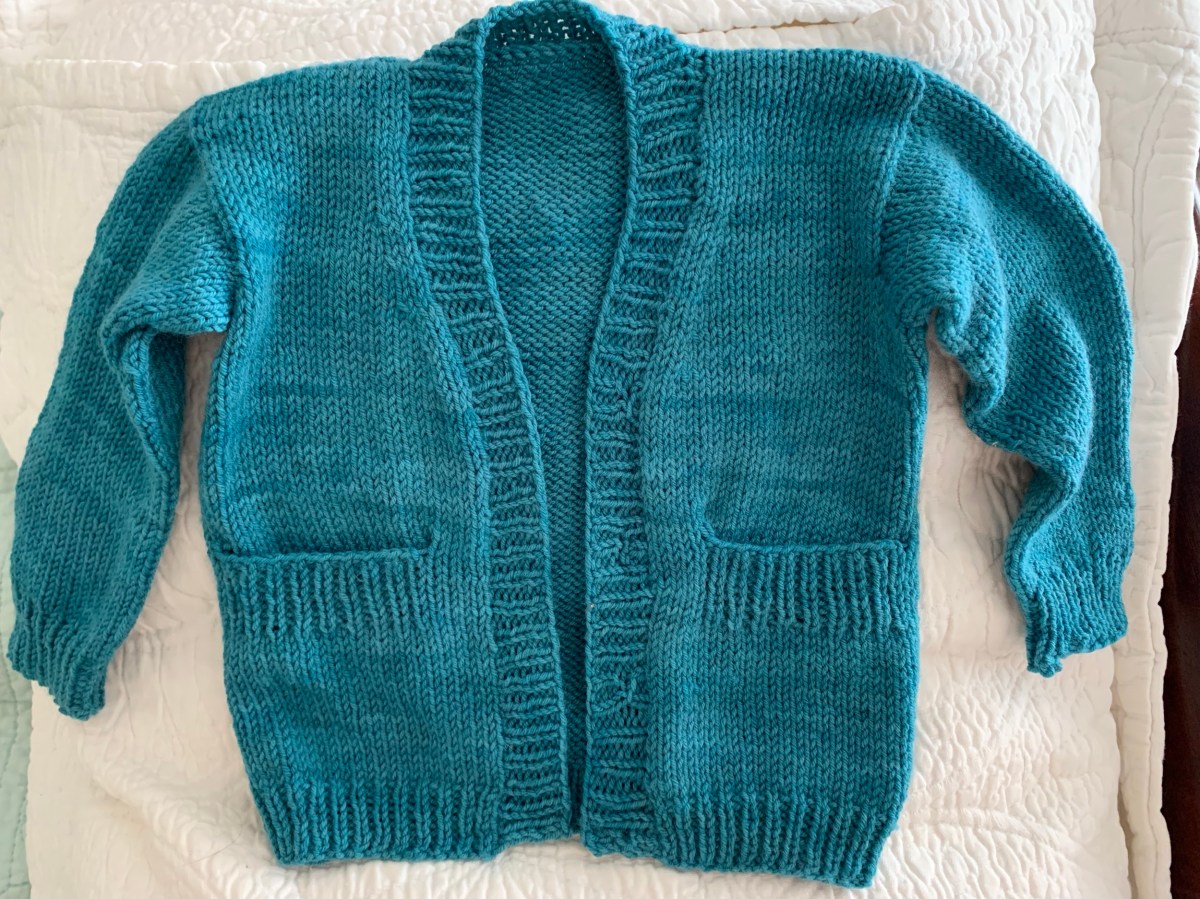
Knitting a little Playdate cardigan for a new baby boy. Blue “Putnam” yarn from Miss Babs is perfect for this little gift knit.
I’m so happy to have a reason to knit the Playdate Cardigan again! This is such an awesome pattern, with very good instructions from Tin Can Knits. The first Playdate I knit taught me about pockets and button bands. I think it was also one of the first times I did the Kitchener stitch.
Now, I am knitting this cute pattern again for a baby boy. The first Playdate (pattern linked down the page) was not for any particular child and I still have the little sweater. This time a good friend’s little boy grand-baby is arriving in December and he will be the recipeint.
The Yarn
I chose blue Putnam yarn, in color “Coos Bay”, from Miss Babs. The yarn is made up of 75% merino wool and 25% nylon, and is machine washable. Skein yardage is 400 and this size (3-6 months) sweater uses 350. (If you want to knit with some nice yarn, check out Miss Babs.)
October 21st, I began the project using the Old Norwegian cast-on. First, I had to knit the two pocket liners and then I began the body.
Pockets are knit first
When I knit this sweater before, I used some merino wool with silk in it and the yarn was very slippery. This yarn is more suitable for a sweater. Playdate #1 page.
The more I knit with this yarn, the more I really like it! The shoulders of the Playdate sweater have been grafted using the Kitchener stitch. One sleeve is nearly complete.
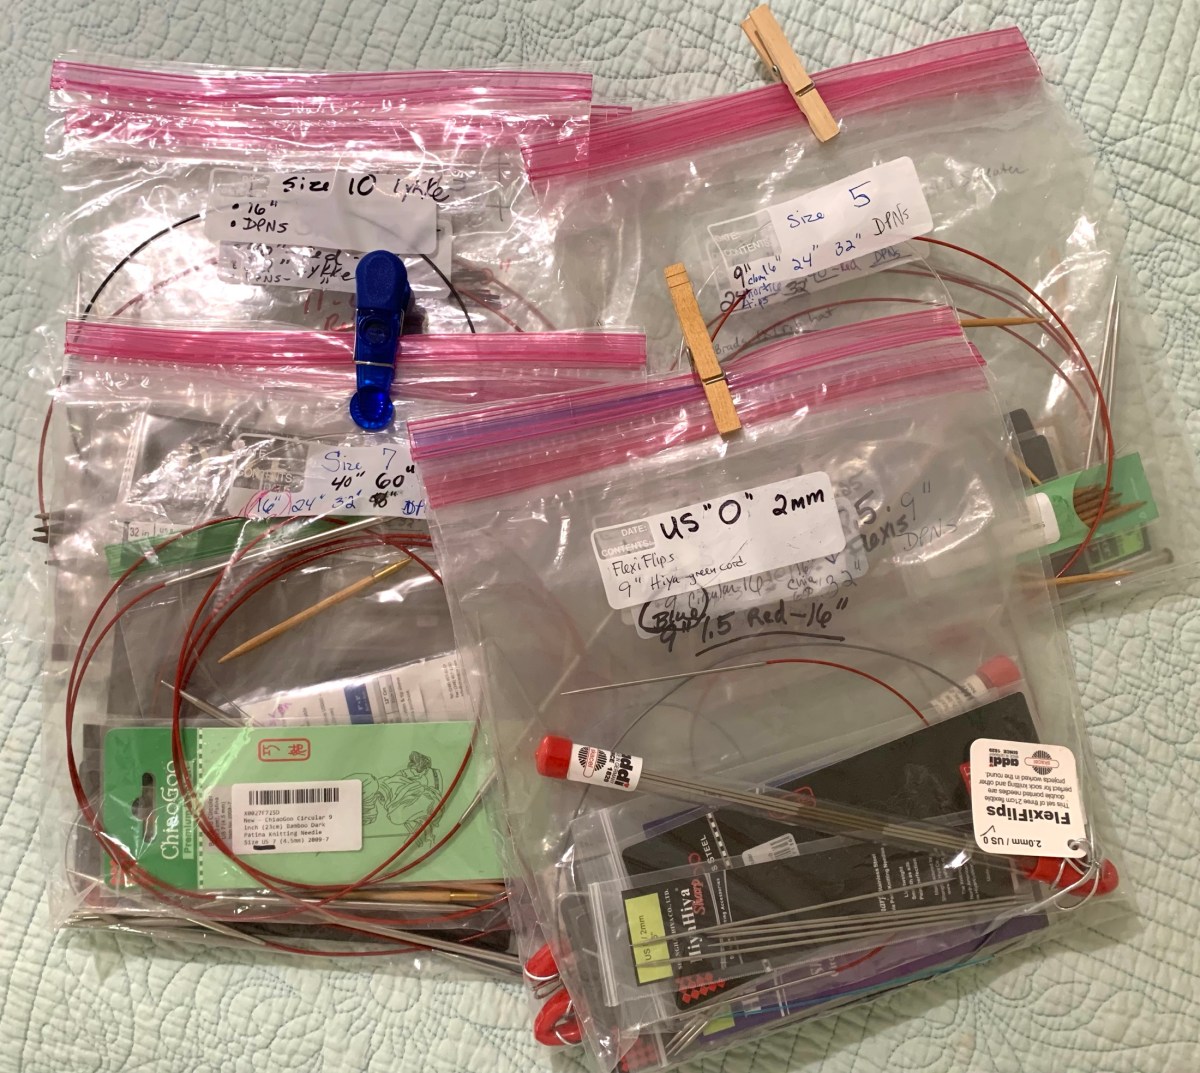
I dislike using DPNs and began the sleeve with a 9-inch circular. Eventually I had to switch to wood DPNs but it is not a problem as there is plenty of room on each needle for the stitches.
Sleeve #1
Back and shoulders being worked
Cute little pockets
The inside of pocket which will be stitched down later.
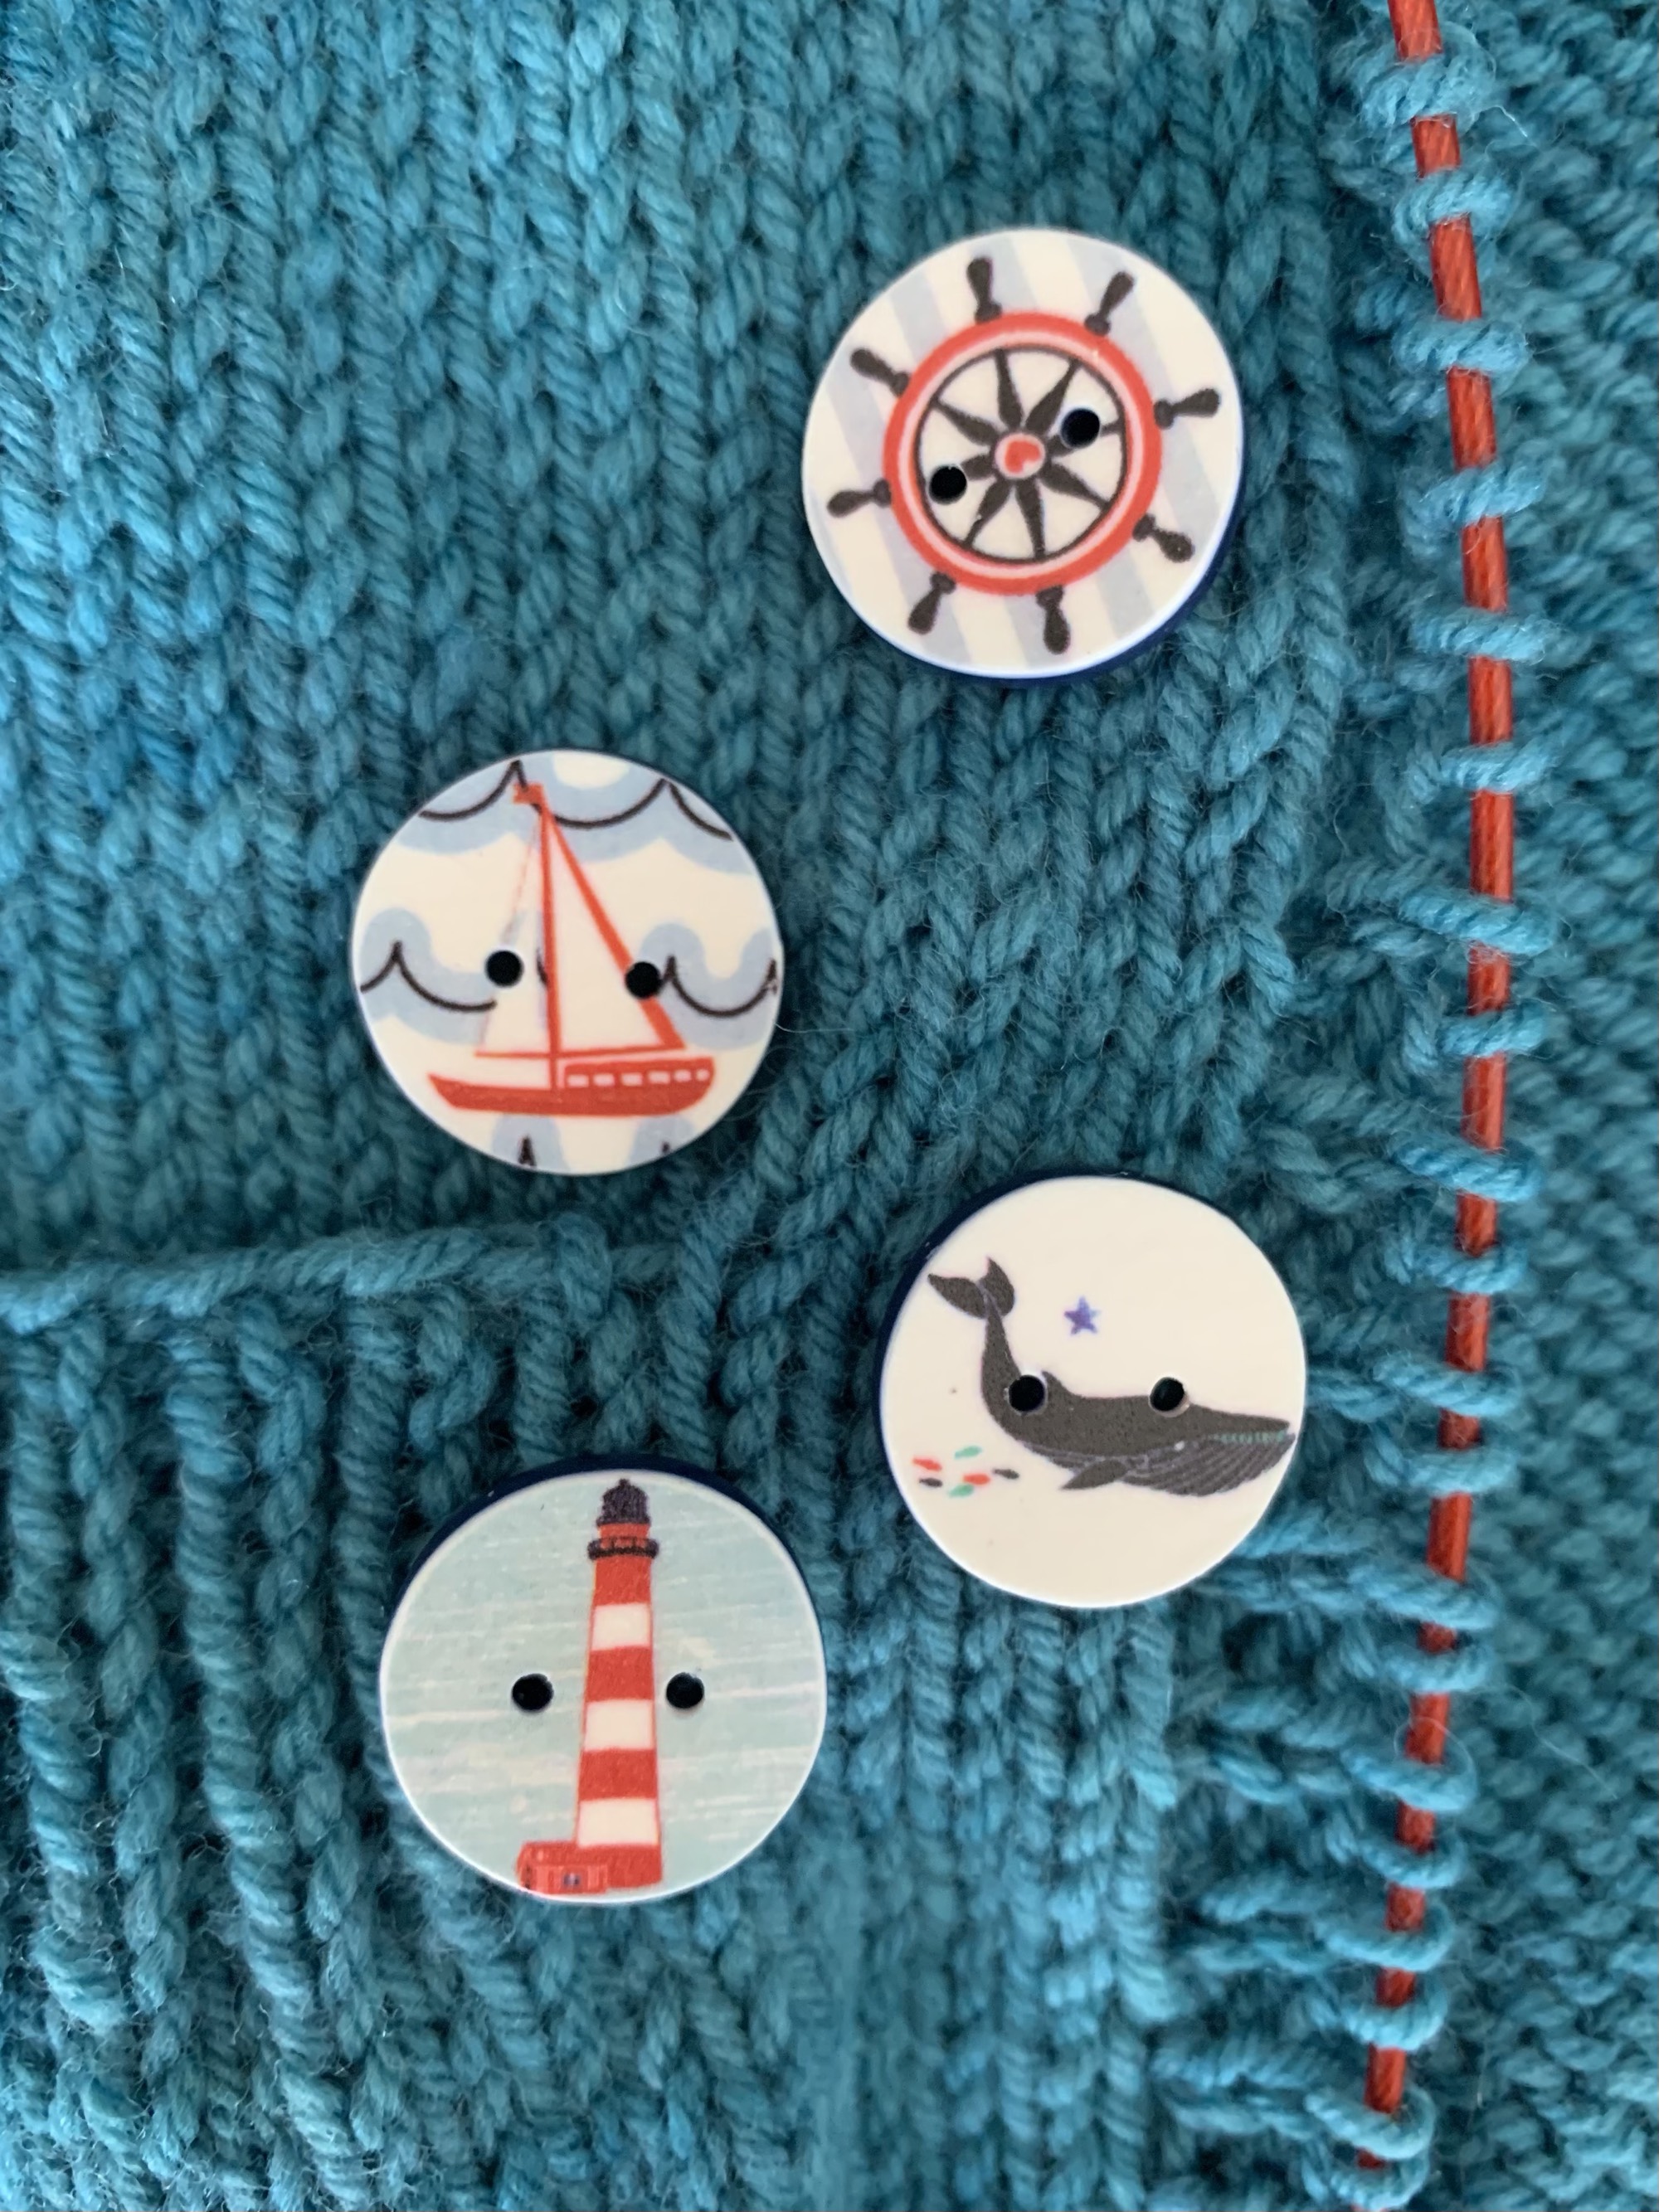
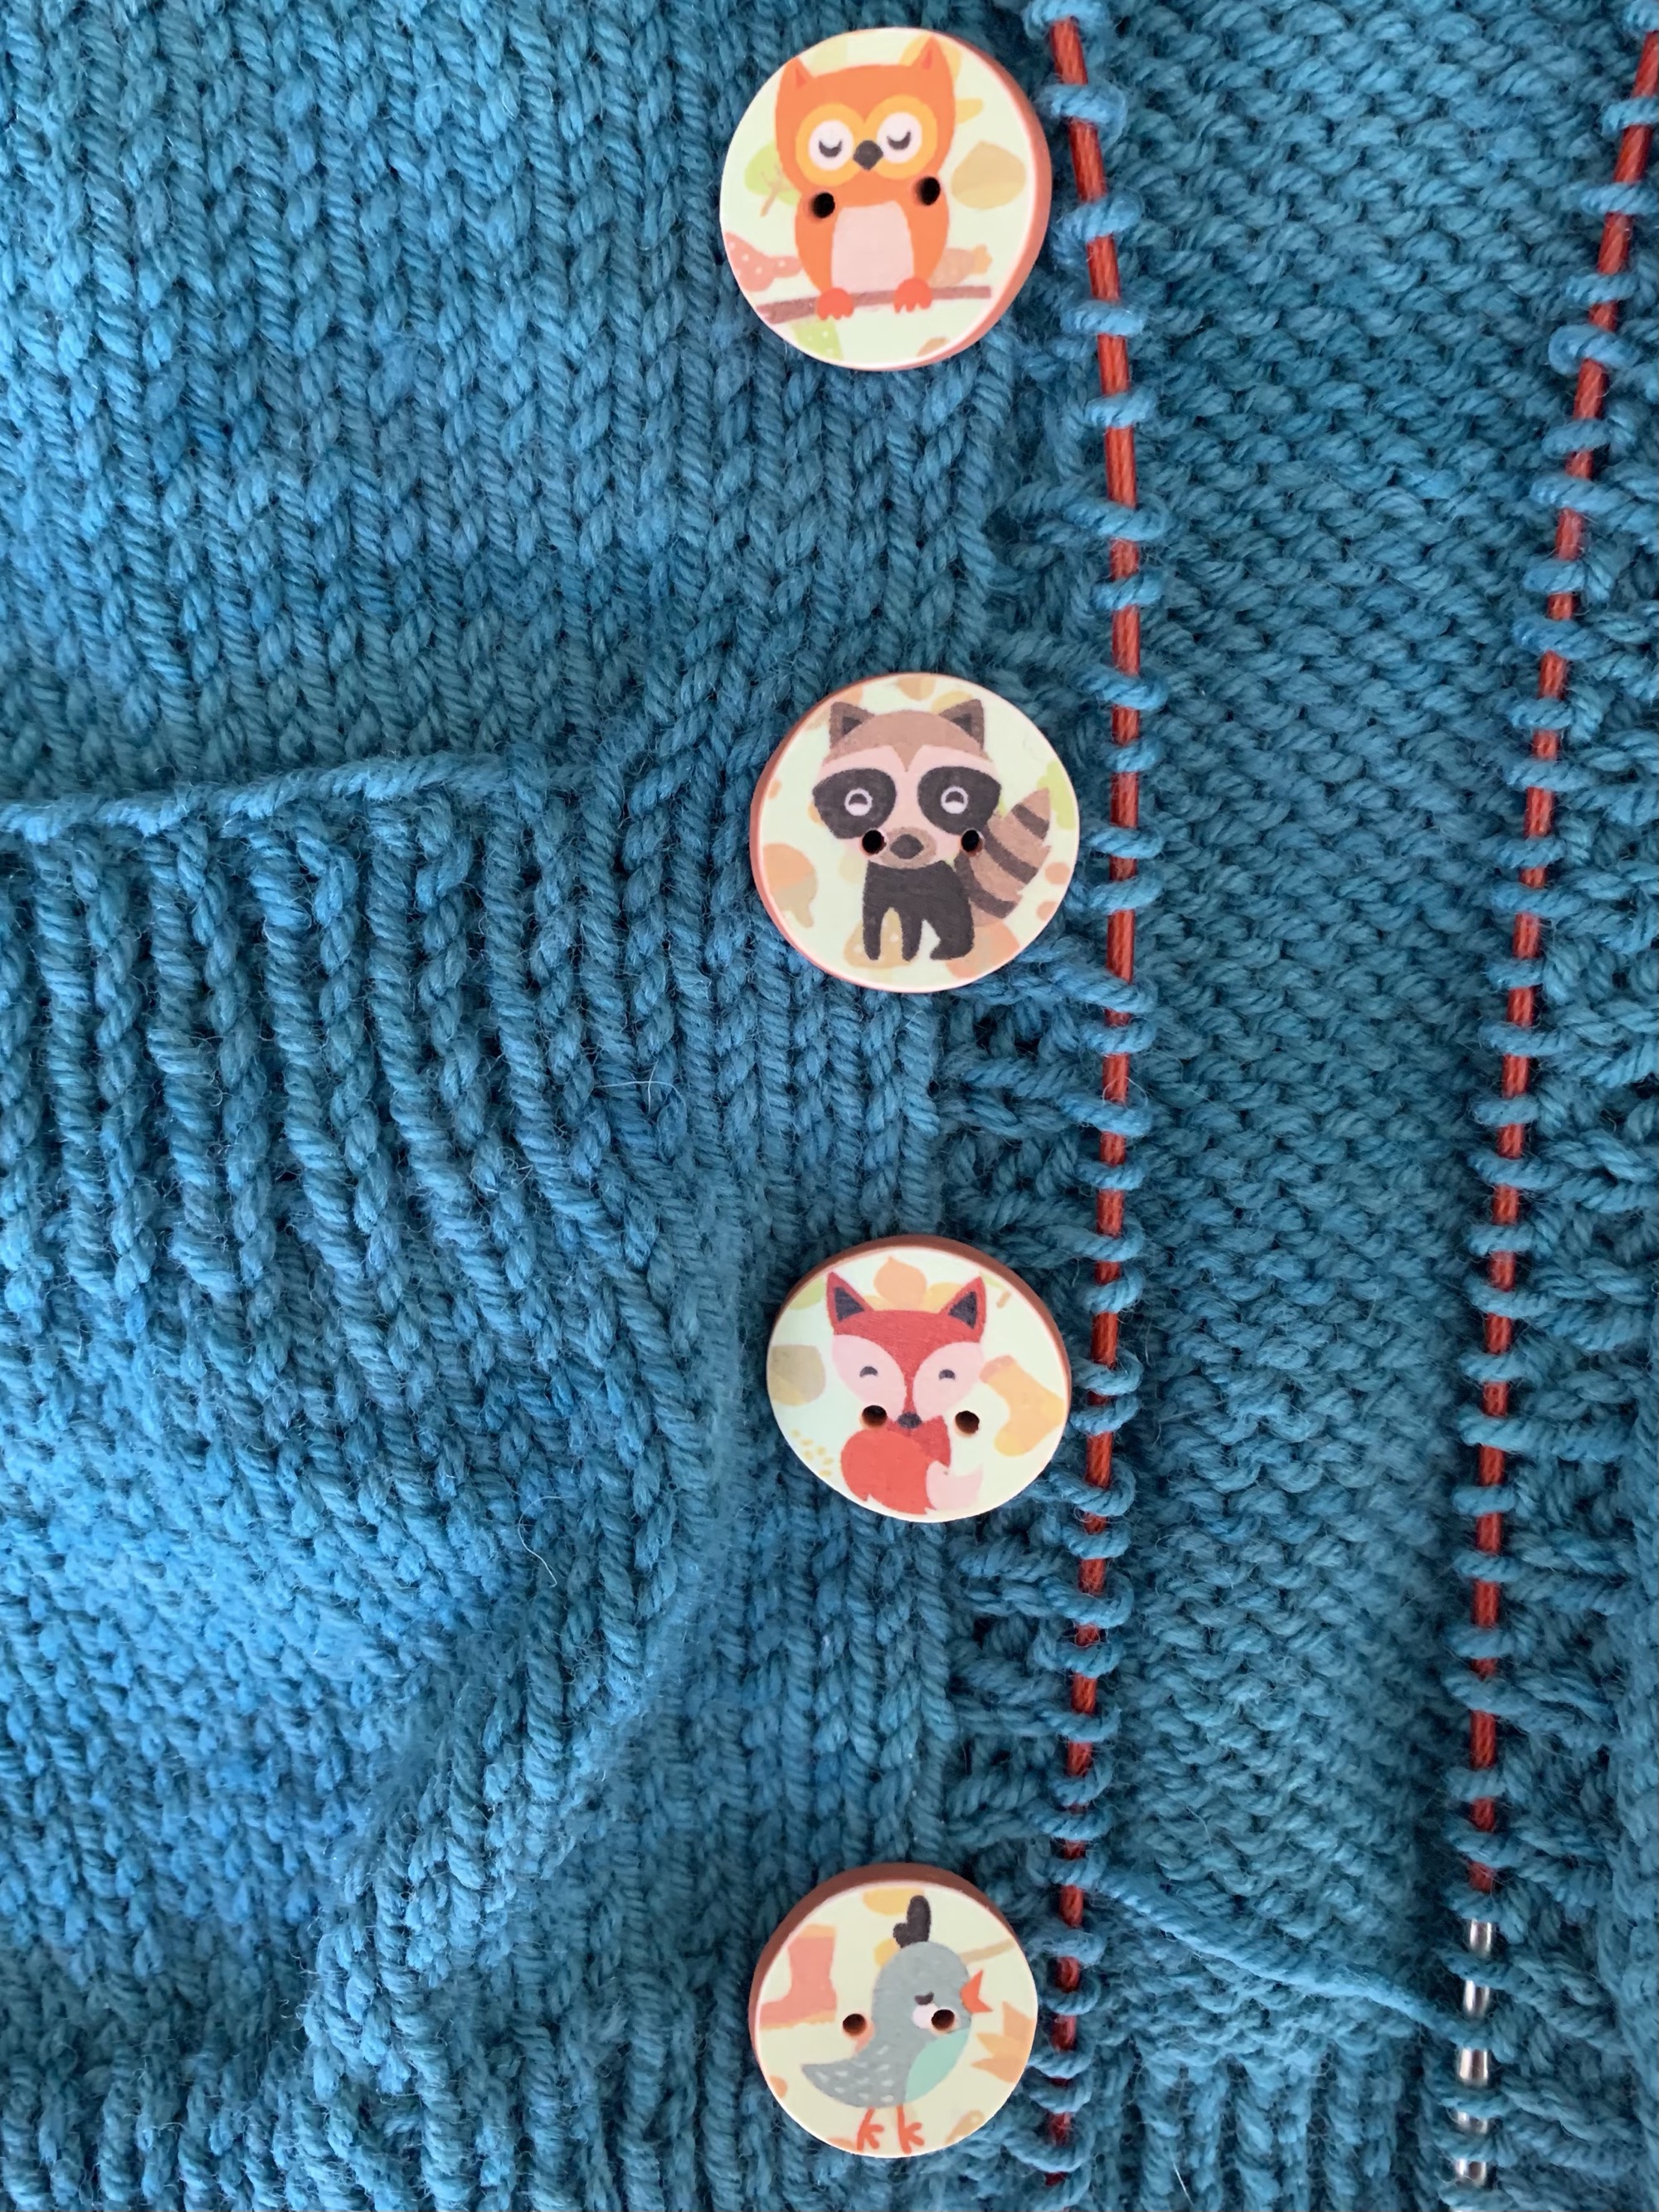
Button Selection
Because of the small sweater size, I plan to do only four buttons. My choices are nautical designs, little tractors, or cute animals. I’m leaning toward the animals.
Once the pockets are sewn up and the buttons are added this little sweater will be ready to go. I have already washed and blocked it. Quite a bit of yarn is left which means a little hat or baby socks could be knit to match.
Writing a blog, sharing photos, and doing research and making links takes time. Lately I don’t think the time spent doing all that is worth enough to continue. I have stopped writing…
End of year knitting projects with self-imposed deadlines.
I’m trying not to get stressed out, but here it is October and I have some projects to get finished for December!
A New Baby
One in particular is a little sweater for a new baby boy. He will be born in December and his family lives in Florida. There will not be too many cool sweater days, so he must get the item ASAP after arriving on the earth.
I’ve chosen Tin Can Knits “Playdate” cardigan pattern. I have knit Playdate before and found it really interesting and fun. I still have the little sweater because it was made for no one. I have no grandchildren, but it is such a cute item. I highly recommend the pattern.
Fox buttons on the Playdate cardigan #1
The new Playdate version will be made in the small 3-6 month size in hopes that the baby can wear it throughout Spring. Even if the weather gets hot, stores tend to have icy cold AC blowing and his mom can take it for such outings.
Waiting on the Yarn
I’m currently waiting on the yarn to knit Playdate in a pretty blue color. The yarn order is coming from Miss Babs and will contain more yarn to knit a poncho for my daughter. That yarn is burgundy red.
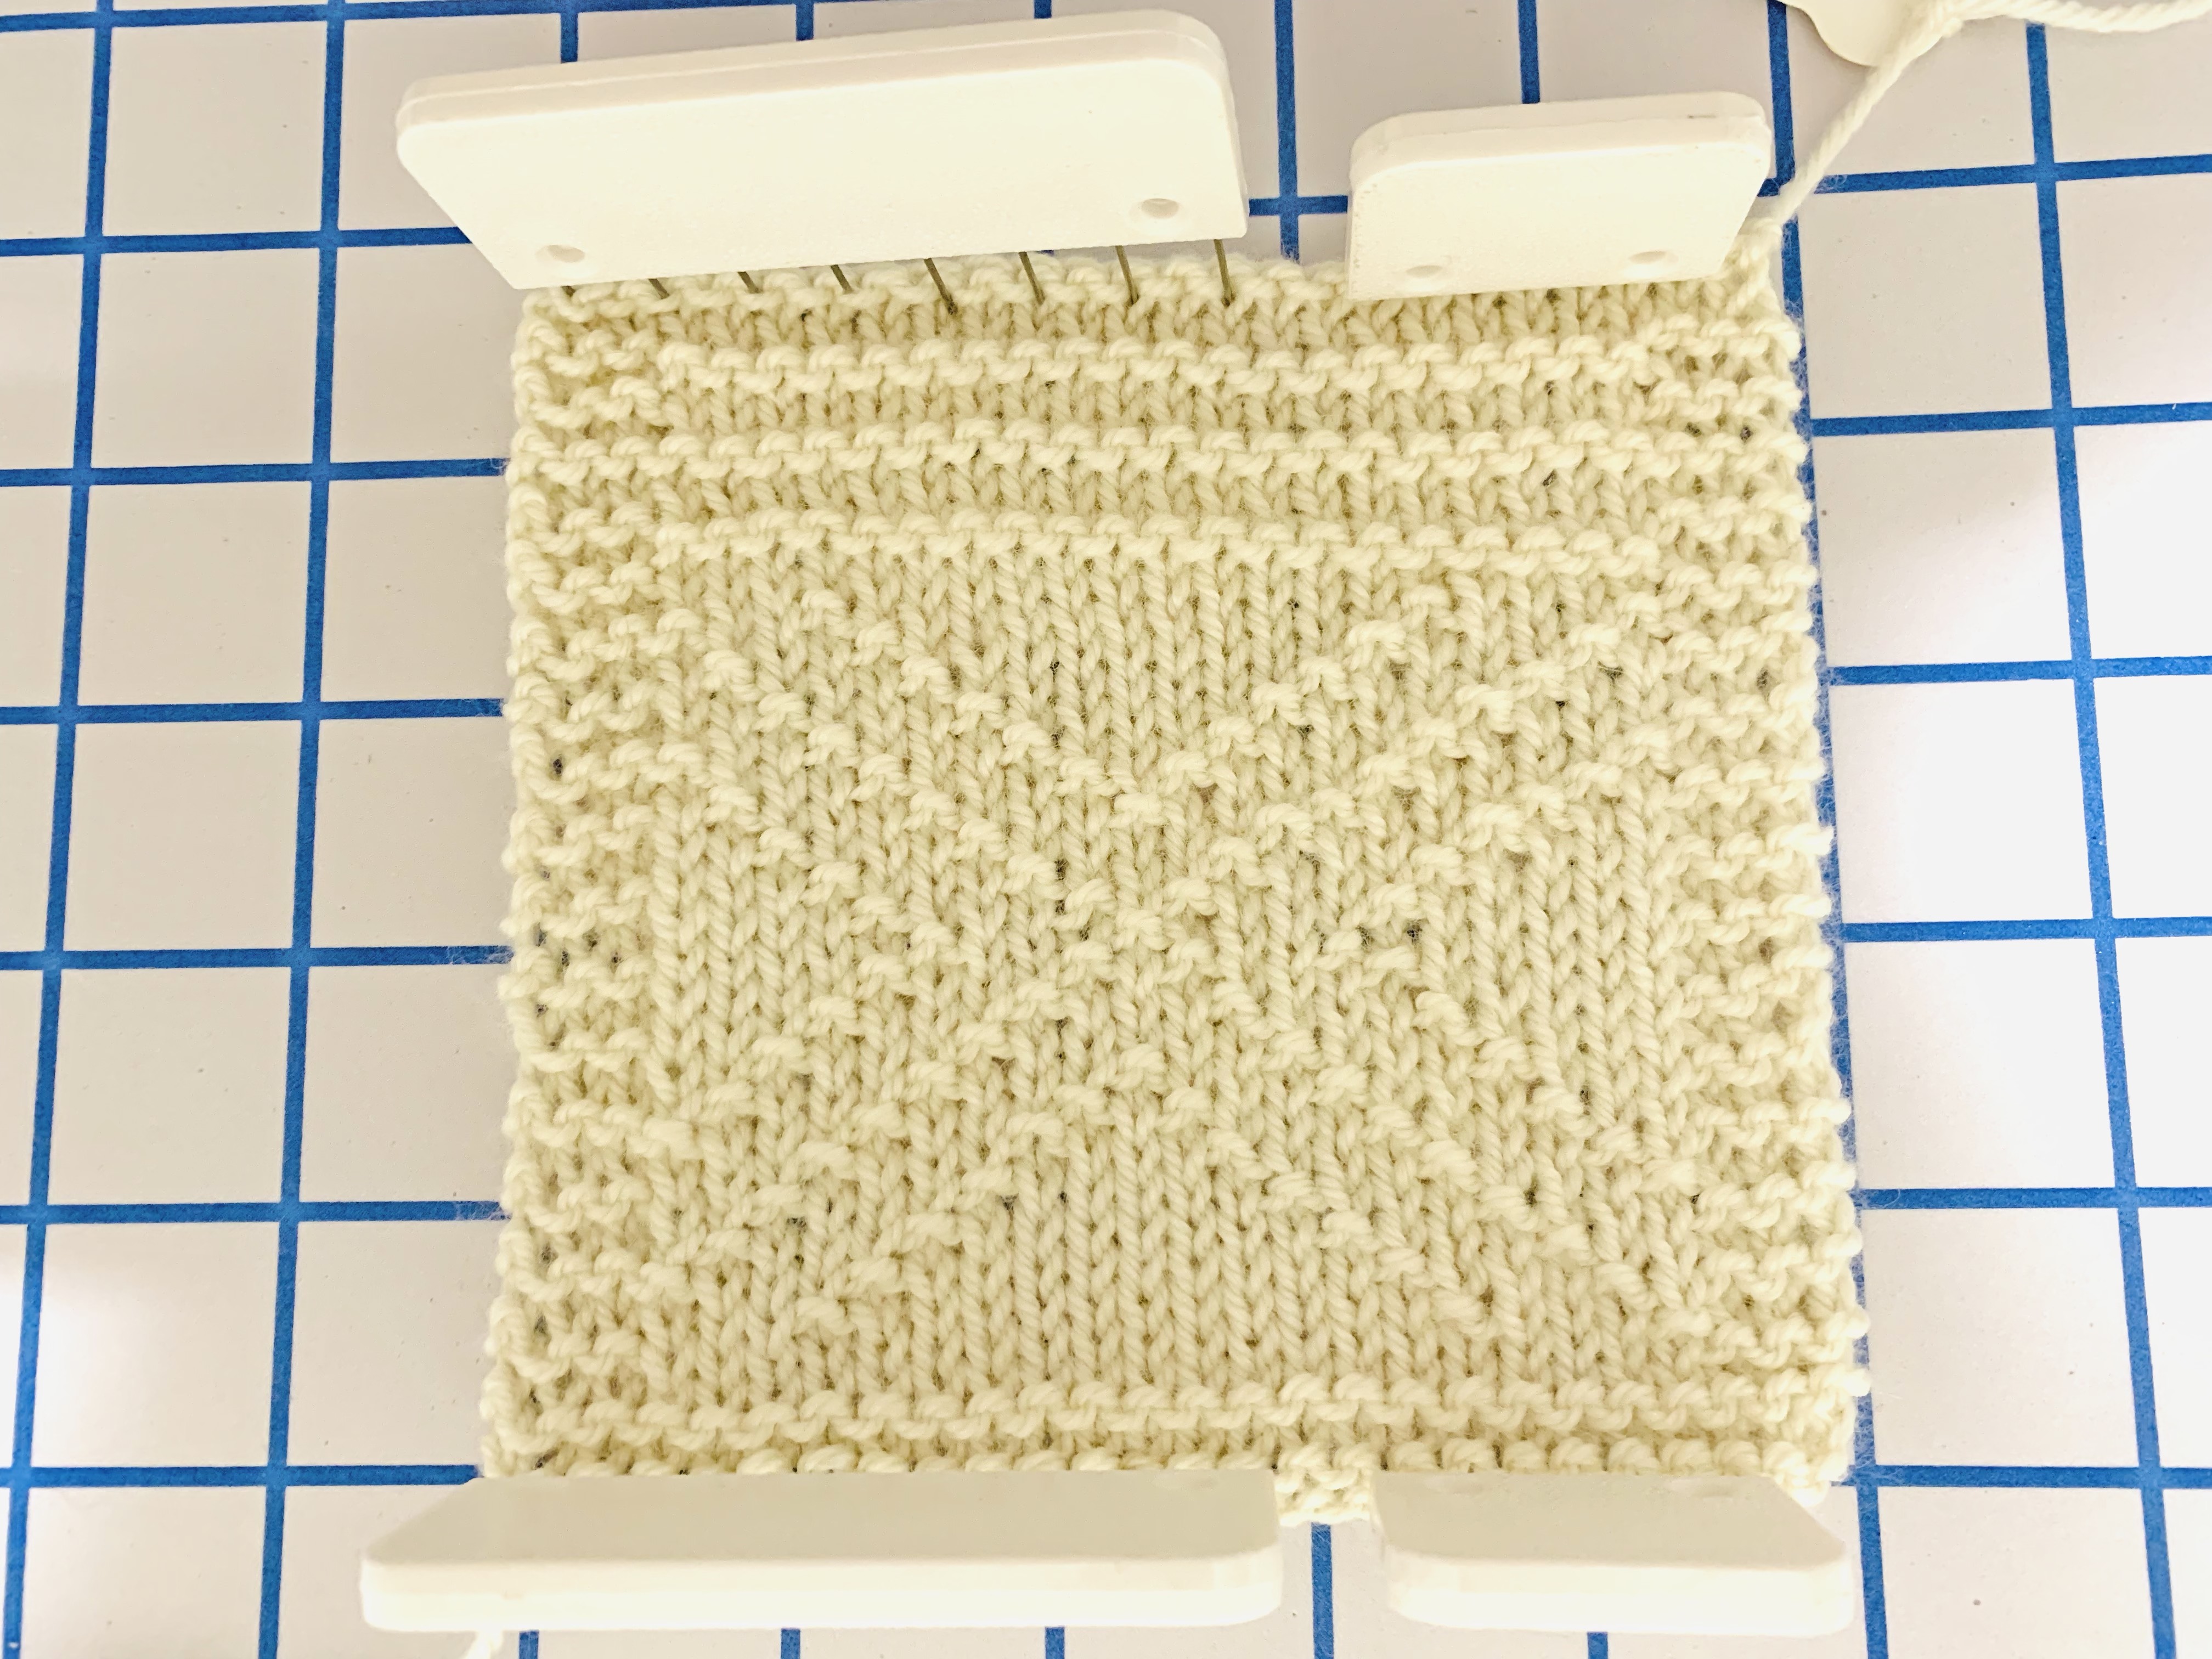
The swatch has been knit using some Kunlin stash, which is a DK weight. I wanted to see the textured pattern and check my gauge, which is good.
Brodgar poncho gauge swatch
Another Poncho Knit in a Rarely Used Colorway
Do you get in a rut where you want to knit the same types of projects continuously? I just made the Kate’s Poncho for my daughter, who loves it, and now I’ve found another poncho to knit.
I rarely knit anything using red yarn, but I believe this poncho – Brodgar – will look very nice in this beautiful Miss Babs Yowza yarn in “Cordovan”. It is Superwash merino wool, which will make it easy to wash in the washing machine, using a bag, when my daughter needs to clean it. The skeins contain 560 yards, which is quite huge! I opted to pay for winding because the poncho needs 2 skeins. The yarn is dark burgundy and will look very nice with jeans and dark colored pants.
A finished poncho would be a nice Christmas gift, but realistically, I won’t get it done in time. Hopefully I’ll get it into the mail before the cold weather goes away completely in the New Hampshire Spring.
I look forward to beginning both of these projects, with the baby sweater coming first in the queue. Waiting for the new yarn delivery has given me time to prepare for the new projects by finishing up some knits that are currently on the needles. I’m nearly done with the orange watchcap and have completed the Venlig sweater.
Orange WatchcapVenligRecent knitting projects
Do you suddenly realize that Christmas is coming fast? Do you hurriedly fishing the hat and mitten gifts? What knitting projects are you hoping to finish before the new year?
I have fallen in love with the washable Lorna’s Laces Sportmate yarn. I decided to knit the Polliwog Popover with the gray (Dobson) and blue (Cermak) colors I recently bought on sale. It’s a little sweater with a unique neckline for babies or young children. It is a great pattern for a little boy. The pattern is by Mary Lou Egan and I found it in my copy of “Drop Dead Easy Knits” (link to the book below).
The title mentions easy, so none of the patterns should be difficult – you would think. However, as I have been knitting this baby top, I’ve run into some difficulty.
Polliwog Troubles, Mistakes and My Personal Fixes
First of all let me suggest that whenever you choose to knit a pattern search for possible errata – or changes to a pattern due to direction corrections. A mistake here and there is understandable. No one is perfect. I’ve noticed that patterns often have an errata listed.
Most knitwear designers have test knitters, who will all knit up a pattern and give feedback, including catching pattern mistakes. So the fact that the Polliwog was included in a book, but contains numerous mistakes, is disappointing … and annoying.
IMPORTANT: If you plan to knit this PATTERN, go to the Ravelry Polliwog Popover pattern page where the designer lists the mistakes on the page. Take note of them and make fixes on the pages in the book before you begin knitting. The first mistake was the number of stripes to knit for the body.
But I had more troubles than just the ones listed, so I wanted to share my woes here. In the end, I really like the top. It is soft and cute and works well for a boy or girl. It would be a breeze to knit again now that I have made my changes to the pattern and provided notes to myself.
I may actually sew down those flaps on the front, but I’ll see how it looks after washing.
Polliwog Popover – done!
Check Your Gauge!
First, I strongly suggest you knit a swatch to find your gauge. Usually I have to go up a needle size to make my gauge correct. This time I did not knit a swatch and used the suggested size 4US needle, but I should have used a 3 or maybe even a 2.
The sweater is WAY bigger than even the measurements for the largest size (12-24 months), and now I fear I may run out of blue yarn (I didn’t – see my yarn photo below). I’m following the smallest size (6-9 months) directions. So my gauge is way off. I’m thinking it would fit a one-year old. This is my own fault, and not a fault with the pattern. I should have found the correct gauge before I began.
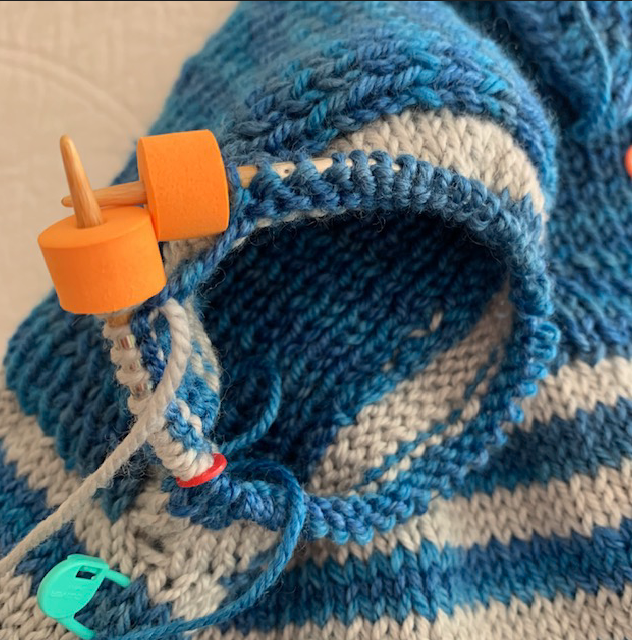
Knitting Stripes That Align
I was no expert at knitting stripes, but after making all the stripes on the body and sleeves of this sweater, I consider myself an accomplished stripe-knitter. And for the most part, my stripes align pretty well. This is how I did it.
Row 1 (of 3 knit in same color) – when adding / changing colors, bring the new color up behind the old to tug the little area closed.
Row 2 – when you reach the BOR (beginning of round) marker, and are ready to begin knitting row 2, lift the right side of the knit stitch below the row onto the LEFT needle and knit through both strands. This will make the first worked stitch of the row look like only 2 stitches when the rest of the row will have 3. This makes the rows of color line up nicely. You can see this in my photo below on the BOR seam of a sleeve.
Row 3 – knit around… begin again at row 1 when you change to the new color.
Aligning the rows of stripes
The Shaping
Once I had the front section shaping on the left shoulder completed, I felt pretty good. I had managed to do the short rows and then knit them up fine.
Shaping the front
My troubles began when I had to do a similar thing on the Right Shoulder. The stitches are opposite and the directions to “slip the stitch and pull the yarn over the needle to create a double stitch” did not work because you end with a purl stitch. Or maybe you just pull the lumpy thing over and call it two stitches ???, but it looked bad. I tried searching YouTube for help and found nothing that made sense.
After wasting lots of time trying to figure out what to do – after all this was going to be the neckline of the sweater – I used my notes from a little scarf I began a while ago. On the Ruffle scarf you create a number of short rows, or wrap and turns. I could do that simple thing when knitting the scarf, so I simply did the same thing for the Popover. I did the same when working the back sections as well.
Short Rows on Right Side Shoulder
Here is how I did my turns on that right side – front and back sections of the sweater.
When I got to the end of the row the yarn was forward because I ended with a purl stitch. I kept the yarn forward, in front, and slipped a stitch from the Left needle to the Right needle. Then I turned the work and brought the yarn forward again. Slipped a stitch once more from left to right and began knitting in pattern back to the end of the row.
Super easy, looked fine, and easy to pick up each knit and purl on the finishing row. No stitches needed to be knit together.
The Neckline Bind-Off
Here is where my blood pressure rose once again. First of all the patterns says, “work a sewn bind-off … as described in the Techniques section”. So I flipped to the back and found the page for Techniques. None of the technique titles were for a “sewn bind-off”. I finally decided it must be the “K1, P1 Bind Off” because it called for using a tapestry needle. I didn’t like the sounds of that.
Reading through the long directions for this type of bind-off I began to have serious doubts about my ability to not mess it up! So I knit up a little swatch in the knit 1, purl 1 ribbing to try it out. I couldn’t figure it out. It was a disaster. So I looked on YouTube. Even watching videos describing this sewn bind-off, and following along on my swatch, I gave up after making a complete mess of it. This was not easy, even after watching a video.
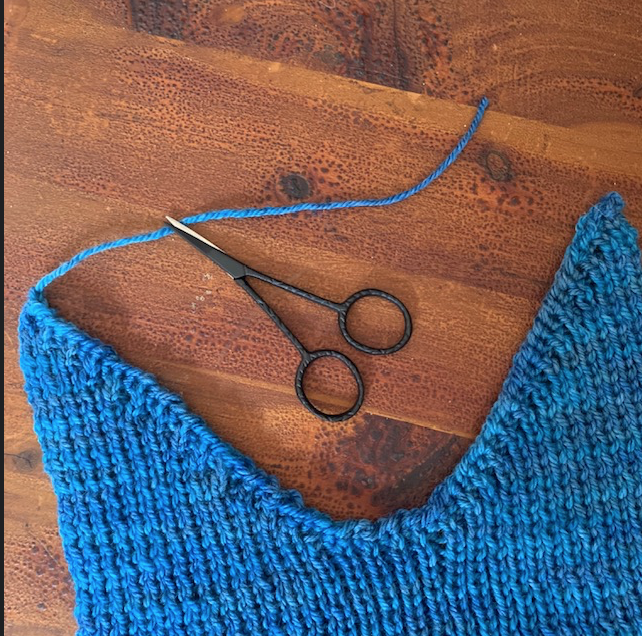
Jeny’s Surprisingly Stretchy Bind-off
I really didn’t want to have to use a tapestry needle, but I knew I would need a stretchy bind off for the neckline. I’d heard of Jeny’s Surprisingly Stretchy bind off, but never bothered to look into what it entailed. Now I decided to see if I could handle it. I’m so glad I did. And yes, it is VERY stretchy, and EASY!
This is a very easy bind-off to use for anyone. Once it was done, I believe it looks just fine. See my photo below.
As is usually the case, I had to watch a couple of videos to find one I liked. Here is a link to the YouTube video for Jeny’s bind off that helped me – she goes super slow considering it’s super simple to knit.
As I’ve read some notes by knitters of this garment, a few have said that the neckline is too loose and flaps open. Now I am wondering if a normal bind-off would work because of the way the neckline overlaps to make an extra large opening anyway. I don’t have a baby to try it out on.
Finished look of Jeny’s bind off
Jeny’s Bind-Off Written Directions
You don’t need to watch the video because it is easy to explain how to do Jeny’s bind-off. And at least now I know how to do it.
Do This: You are ready to bind off – on the right side – and are holding an empty RH needle. Begin by first wrapping the yarn around the RH needle clockwise. This is opposite of how you would make a Yarn Over. Then, knit the first stitch and pass that wrapped stitch over the knit – like a regular bind-off.
Now, wrap yarn clockwise again, which will give you 2 stitches on the RH needle. Knit the next stitch – giving you 3 stitches (my image below). Bind off by passing the first two stitches over the one recently knit. (I did not deal with alternating knits and purls. Honestly I don’t know if I should have. I was so fed up at this point I just wanted to be done!)
With three stiches on the RH needle, slip the first 2 over the last – as in a regular bind-off
Continue to wrap clockwise before knitting, passing two stitches over one, and so forth. Super EASY! And yes, it is also super stretchy. I guess lots of people use this bind off for toe-up socks so the cuff is not tight. Believe me, it works. I think I could get my big head through this neckline!
The Polliwog Sleeves
To begin the sleeve, first the two sections of the shoulder have to be overlapped. Then stitches have to be picked up, sometimes going through two layers of knitting. I used a crochet hook to pick up stitches through two layers.
Also, pick up through nearly every stitch, or the count will be short. I had to re-do my pick ups for this reason. I used DPN’s but quickly became fed up with them and ordered a 9-inch circular needle to finish the sleeve.
First sleeve transferred to new 9 inch circular needle.
I have a few small circular needles for knitting small round things like mittens, so this new size five, nine-inch circular has been added to my collection. They are totally worth it if you hate using DPNs. I was able to knit all the way to the sleeve cuff and bind-off using the small circular needle. (I did a regular bind-off here, not the “sewn bind off”.)
Knitting the sleeve
I will say that I love Lorna’s Laces yarn. The blue color is slightly variegated and looks really nice. I will be washing it in my machine and throwing it into the dryer for a little bit to see how it ends up. (Directions for washing this yarn are: Machine wash cold with like colors. Machine dry until just damp. Lay flat to finish.)
I did not have a lot of blue yarn left, but as I said, the garment turned out large. After washing (and drying) it seems that either the sleeves should be longer or the body should be shorter. It’s hard to tell.
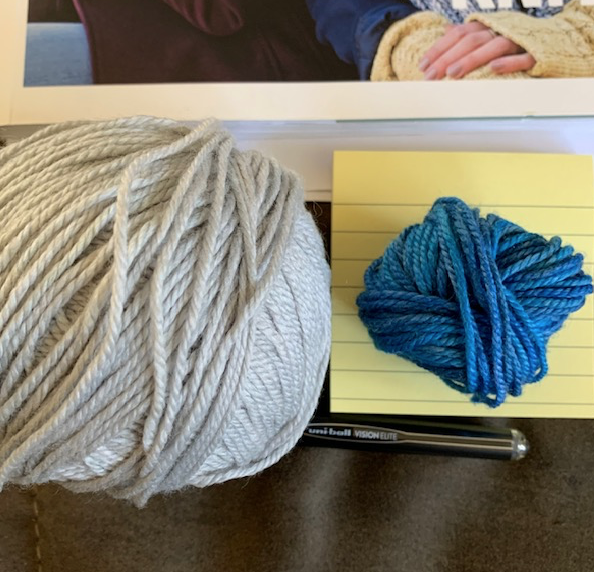
How Much Yarn is Needed?
Once I finished knitting, below you can see how much yarn was left of the 2 skeins I used. Each skein has 270 yards and I had leftover yarn. The pattern sample uses Swan’s Island washable wool which contains even more yarn per skein (360 yards) and the pattern calls for 2 skeins of the Main Color – which in my case was the blue. So I used less than 270 yards altogether (blue) – less than one skein. And remember that my sweater came out extra large.
Used up nearly all my blue yarn.
Drop Dead Easy? Not This One
The Drop Dead Easy Knits book contains a wide variety of projects. As others have also noted, in comments on Amazon, they are not all that easy! “Easy” is relative. To a fairly experienced knitter, yes, they would probably be easy. To a beginner, not so much. And maybe the writers meant this when putting the book together.
I don’t consider myself a beginner, as I have knit lots of various items in the last couple of years including two sweaters for myself, but the problems I had knitting this one made it unenjoyable. This Polliwog Popover should be simple, but with the mistakes and issues I’ve had with it, I would not label it as so. It was a headache. However, if decided to knit it again, it will be easier, thanks to all my notes!
More From the Drop Dead Easy Book
If you don’t expect all patterns to be easy, the book is still a good one. When I first searched through I was disappointed to find sweater and sock patterns. I don’t consider sweaters to be easy, and I dislike knitting socks. But then again some knitters may consider these items to be “easy”. And lots of people knit socks. The book offers a very wide variety of items to try, from blankets and shawls, to mitts, hats, bags, and even a dog jacket!
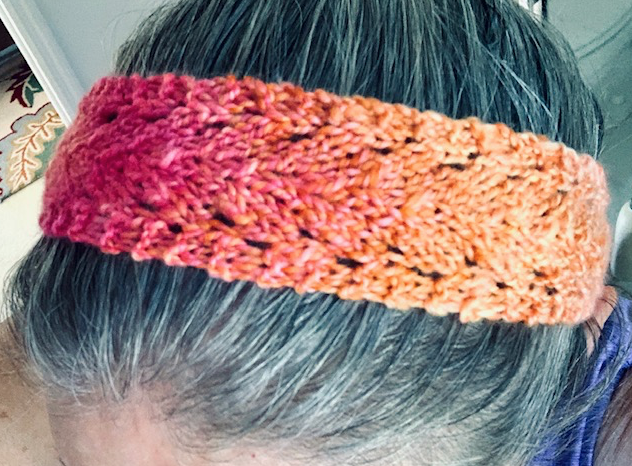
I’ve already knit the very easy Shandy Headband (my photo below). Along with the baby sweater I just wrote all about, these two items are my only experience with the patterns in the book. I will be trying more. It’s a very nice book.