How to Begin Knitting an Easy First Scarf

Beginners can get started with these simple, free, and fun projects to knit. Advice is given for choosing yarn and needles, with links to simple patterns.

For beginner knitters, I’ve written this page to help you begin a first project – a scarf. If you are very new to knitting, I’ve listed a free washcloth / dishcloth pattern for practice. Once you are used to knitting and purling, move onto the bigger scarf project.

If you already feel comfortable with knits and purls, skip the washcloth and go directly to the Wheat Scarf notes (scroll down the page), where you will find the pattern link. A scarf is an excellent beginner knitter project.

Small Project Practice – Begin with a Dishcloth

There is no reason not to make something useful when you first pick up a pair of knitting needles. A little dishcloth is the perfect item. All you need is cotton yarn and knitting needles.

This pattern link goes to Ravelry and is offered for free by Tia Stockton. Follow her link to a blog page where she shares the easy pattern.

Here are some dishcloths I have knit while trying out various stitches. They are excellent for experimentation because they can look bad, be full of mistakes, and still work well!

Cotton dishcloths hand-knit
Hand-knit cloths hold up well.

You will have to cast-on (see my cast-on videos page) and cast-off or bind off– video below. There is no getting around those two things. They are needed for almost everything you will ever knit. (Exceptions: hats and mittens don’t have a normal bind-off.) As a knitter, you will do these two things so often that they will become easy. And they are important parts of the project, so take your time.

Dishcloth Knitting: Choosing Needles and Yarn

Buy needles: Size 7 or 8 US (4.5mm or 5mm) circular knitting needle – length 32 inches. The scarf pattern below takes an 8. My preferred brand is Lykke (paid link) or ChiaoGoo (affiliate link to Amazon). OR buy straight needles (paid link). Either will work for these projects, but the circular will probably get more use down the road if you plan to continue knitting.

Better yet, borrow some needles! Use a needle size that is close to the recommended needle size. Find that on your skein of yarn.

Wood or bamboo needles are better for a beginner because metal needles will be slippery. The size 7 or 8 circular needle will also work when I want to knit a shawl (another good beginner project) or sweater because it is nice and long. Circulars work for any type of flat knitting project also – the projects on this page are knit flat.

Buy yarn: Only one skein is needed for this small project, and I can probably get a few dishcloths made with one skein. Look for a cotton yarn that can be washed in the machine. Generally cotton yarn is cheap. A dishcloth / washcloth gets lots of use and needs to be water absorbent. For this reason do not use wool or acrylic. Walmart carries cotton yarn, and if you have a LYS (local yarn store) they will carry cotton yarn. Amazon carries lots of Lily Sugar ‘n Cream (paid link) cotton in many colors.

Get practicing and have fun! If you make a little mistake keep going. Un-knitting is more difficult, so don’t worry about it. If you make a big mistake you can take it off the needles, wind it up and begin again. It’s all practice anyway.

At the end of every project – after the bind off – all the loose yarn ends need to be woven in. For this, you will need to have a tapestry needle, or a small crochet hook.

yarn ball divider

Knit the Wheat Scarf, A Beginner Pattern

When you are feeling confident, after knitting a few dishcloths, tackle the Wheat Scarf. It is an easy pattern, with knits and purls. This gives the knitter something to wear in the end!

wood knitting needles
Lykke wooden needles and two stitch markers – beginning the scarf

The Wheat Scarf pattern is from Tin Can Knits. It is a PDF download with excellent directions. They offer a huge collection of FREE patterns for beginners (and not-so-much beginners). I wish I had found TCK when I first began my knitting journey.

Need to know: Cast-on, knit, purl, working between markers, adding a new skein when one runs out, and binding off.

NEEDLES: If I made the washcloth already, I have the needles. Whether I bought a size 7 or 8 doesn’t really matter because this project is a scarf. If you need needles, this pattern calls for a size 8 US (straight or long circular). You need some stitch markers (only 2) for this pattern as well. Something like rings from ChiaoGoo (affiliate link to Amazon) work fine. In a pinch, use anything that will fit around your needle and stay put. Earrings, colorful loop of yarn, safety pins, and twist ties come to mind.

BUY YARN: 400 yards is needed for the Wheat Scarf. The pricing in my list below reflects the number of skeins needed. Yarn is sold in various lengths so purchase the number of skeins needed according to yardage in each.

For a scarf you want yarn that is comfortable around the neck. It should also be warm, unless your scarf is for looks only! Personally I avoid man-made acrylic yarn and would go with pure wool, a wool combo, or merino wool for scarves. But the choice is yours as long as it is worsted weight. Because a scarf will not be washed often, a non-superwash is also a good choice. You will wash it once after knitting and rarely after that. Be aware that Superwash wool tends to stretch and “grow” when it is washed.

Do I Need to Wind the Yarn? Winding vs. No Winding

Some skeins of yarn will need to be wound before using the yarn to knit. Some can be used right away. If the skein you buy looks twisted, like the images below, it will need winding. These are “hanks”. Yarn stores will usually do it for you, if you ask, but they sometimes charge a small fee. You can also wind the yarn yourself.

Scarf Yarns to Consider

Here are some yarn suggestions. Of course you can go to a local yarn store, if you have one, and pick something out. The shop owner, or workers, should be happy to help you.

I am in the US and like to order from Wool and Company because they have a large selection of yarn, and they will wind skeins and ship for FREE!

(Links and prices – at the time of this writing – go to Wool and Company)

  • Cascade 220 Superwash – Solid colors, good value. No winding. Can wash in the machine. Not a favorite of mine because it is scratchy. Total Cost: 2 skeins = $26
  • Berroco Ultra Wool – Superwash, good value. I’ve never knit with it, so can’t say how soft it is. Total Cost: 2 skeins = $24 approx.
  • Manos del Uruguay Alegria Grande – This yarn has a bit of nylon with the wool. Must wind this yarn. Buying this yarn supports Uruguayan women and the yarn is beautiful in color and texture. It is not cheap but the color selection is so fun! I love Manos yarn. You will need 2 skeins for this project. Total Cost: 2 skeins = $52 approx.
  • Madeleine Tosh Vintage – Comes in many colors. It is expensive. Must wind this yarn. I would choose the Manos over this but many people love MT yarn. Total Cost: 2 skeins = $58
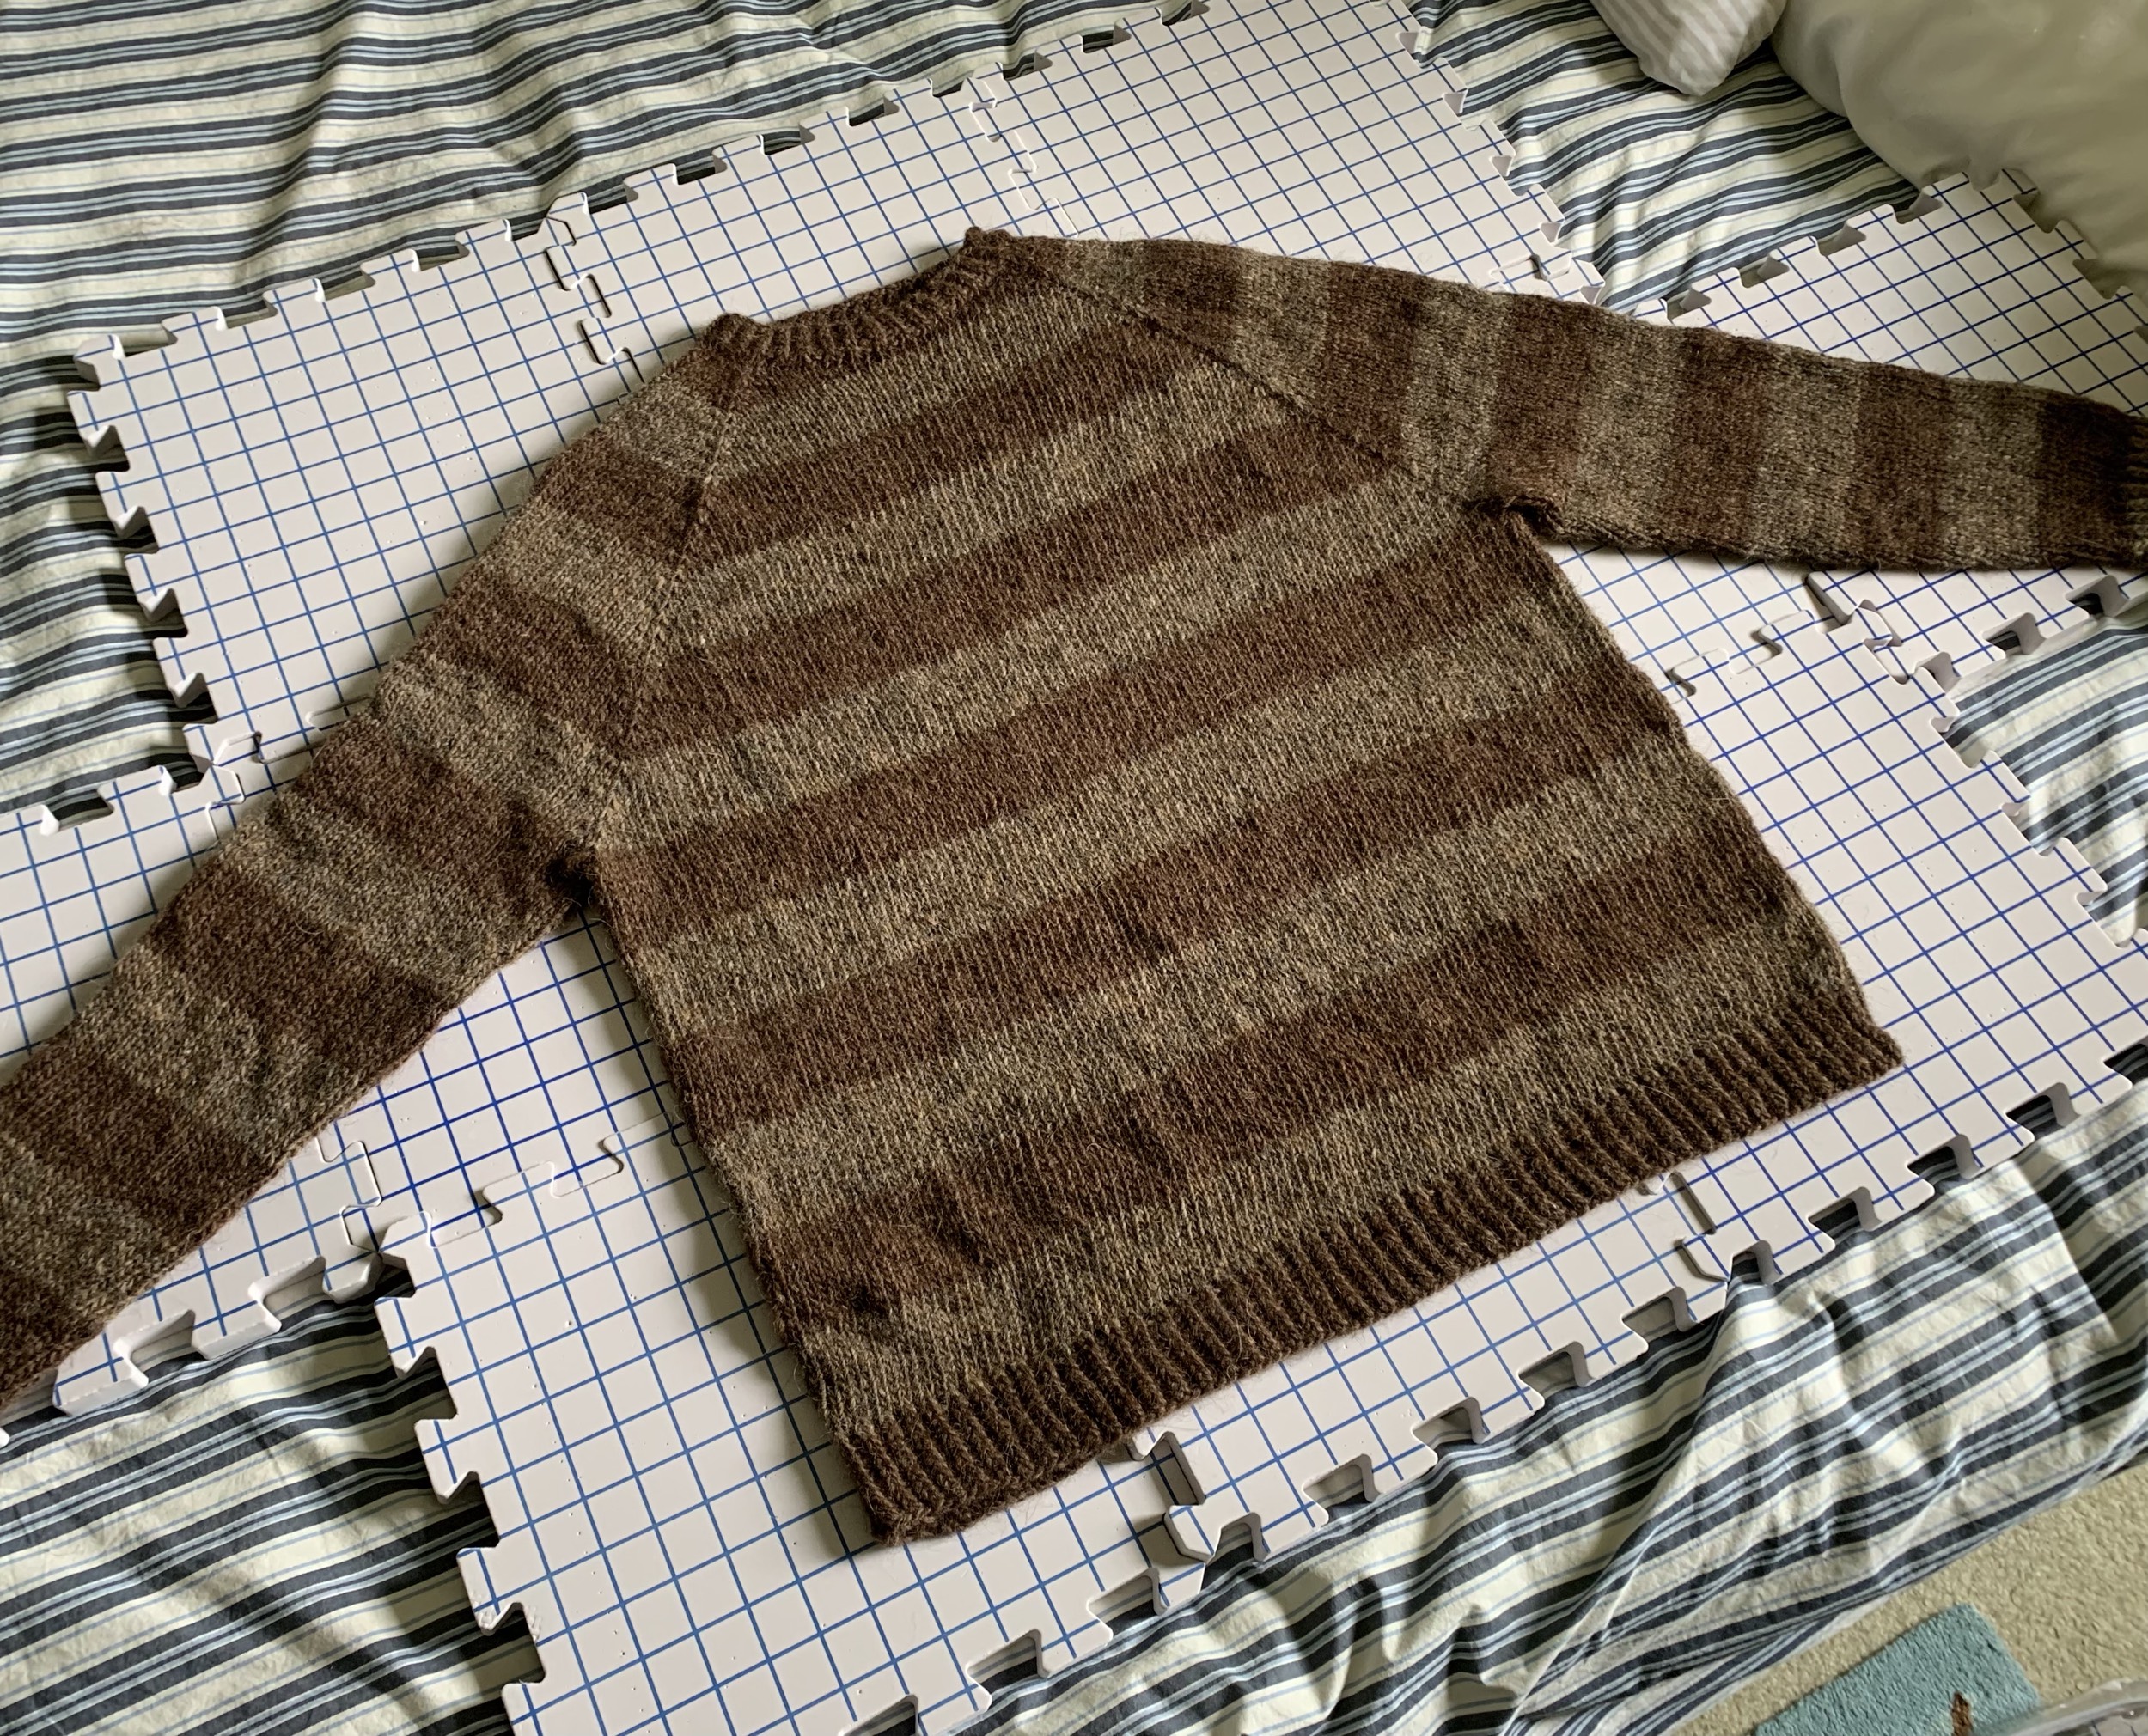
  • Lettlopi worsted wool – comes from the sheep living in Iceland! There is no winding required for this yarn. This will make very warm scarf but it will be hand-wash only. This yarn is strong and after washing the fabric changes for the better. See my Migrating Birds sweater. The yarn is inexpensive. Total Cost: 4 skeins = $21 approx. (My white yarn photos on this page are Lettlopi yarn.)

You may think that a first knitting project should be created with the cheapest possible yarn, but have faith in yourself! Knitting with a nice, pretty yarn is fun! Cheapers yarns are from man-made fibers, or a combination of natural fibers and “fake”.

You should plan to keep that first project forever, as a reminder of your knitting journey. No matter what, choose a pretty color that you will actually wear … and get started!

Wheat Scarf Knitting Help

Basics of the knitting project.

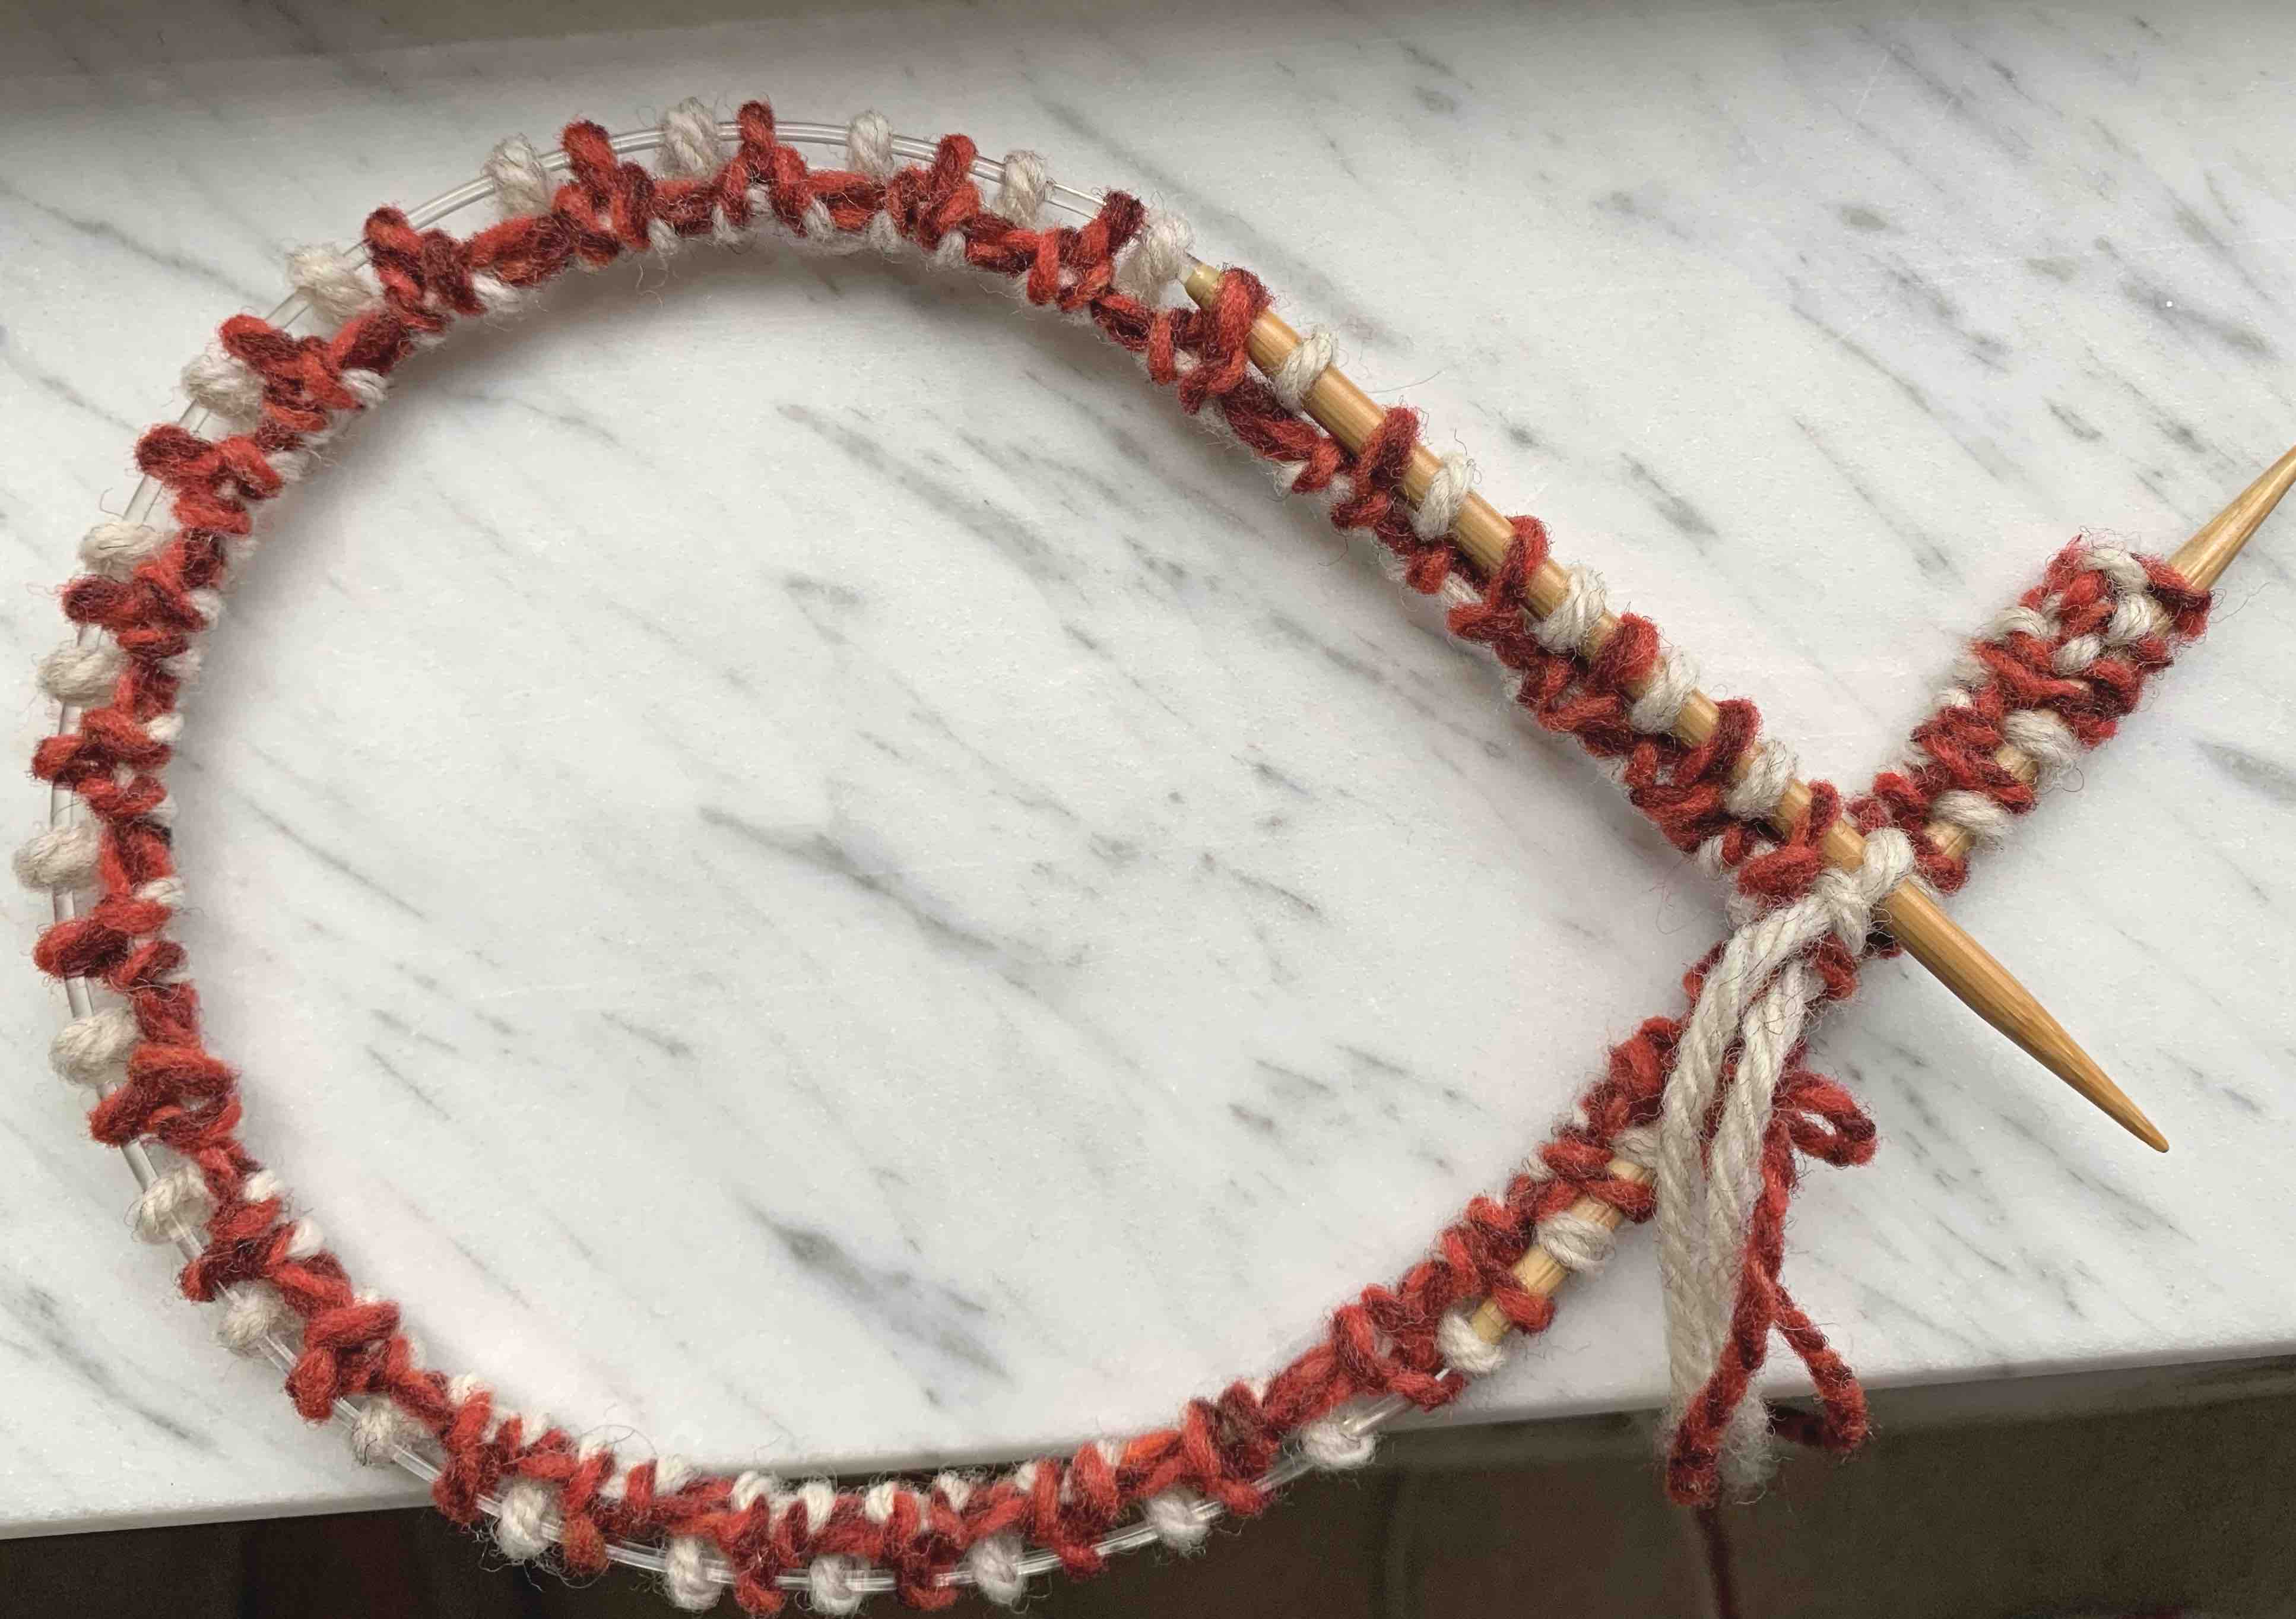
For the Wheat scarf you will cast-on and then knit back and forth (creates Garter Stitch) until you have three inches of knitting. (Please note that in my scarf sample I did not knit for three inches because I only wanted to show the patterning.)

Next is the set up row. The set up row changes things up a bit and sets you up for the remainder of the pattern knitting. Continue on until just before the desired length. The last bit will mimic the patterning at the beginning of the scarf to make the ends match. Bind off.

Pattern Reading Help

Some things to note when knitting a pattern: When you see something inside parentheses, such as (k1,P1) and the pattern says to repeat, only repeat what is in the parentheses. Sometimes a * is used. Often a row will begin and end a certain way with the pattern repeating in the middle.

I like to read through a pattern first to visualize the project. Use a highlighter for important information. Then, go back and begin the knit. Don’t worry about gauge at this point. Gauge makes sure your scarf comes out to the measurements suggested, but since this is a scarf, it’s not necessary.

Read the pattern line by line – do as it says – and move on to the next line, or section, of directions. Keep track with sticky notes if needed.
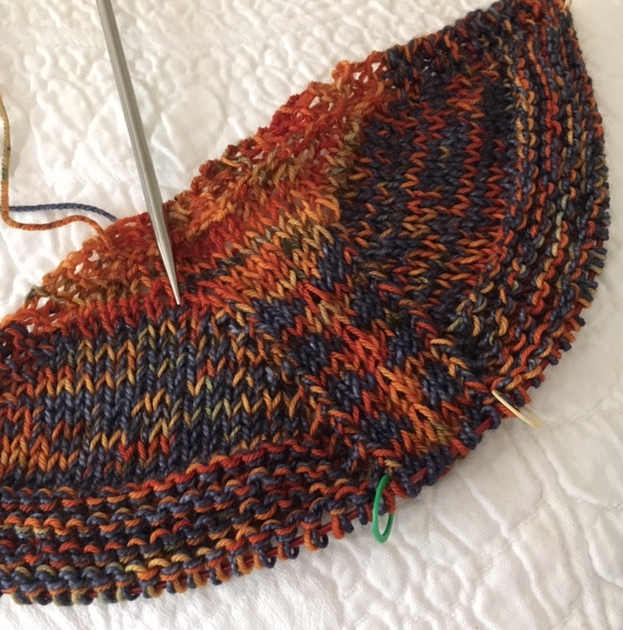
MARKERS

Knitting patterns are written using abbreviations and a key to the abbreviations is listed. For instance PM means “place marker” and SM means “slip marker”. Markers are used to remind the knitter that something happens / begins / ends at this spot.

In the Wheat pattern, the markers remain on the needles to tell us when to knit the ribbing (the alternating knits and purls) – they divide one part from another. Put a marker onto the needle to PM (place marker) and slip it while knitting when it says SM. Remove all markers while knitting the last row that needs to use them!

patterning for Wheat scarf
The pattern emerges

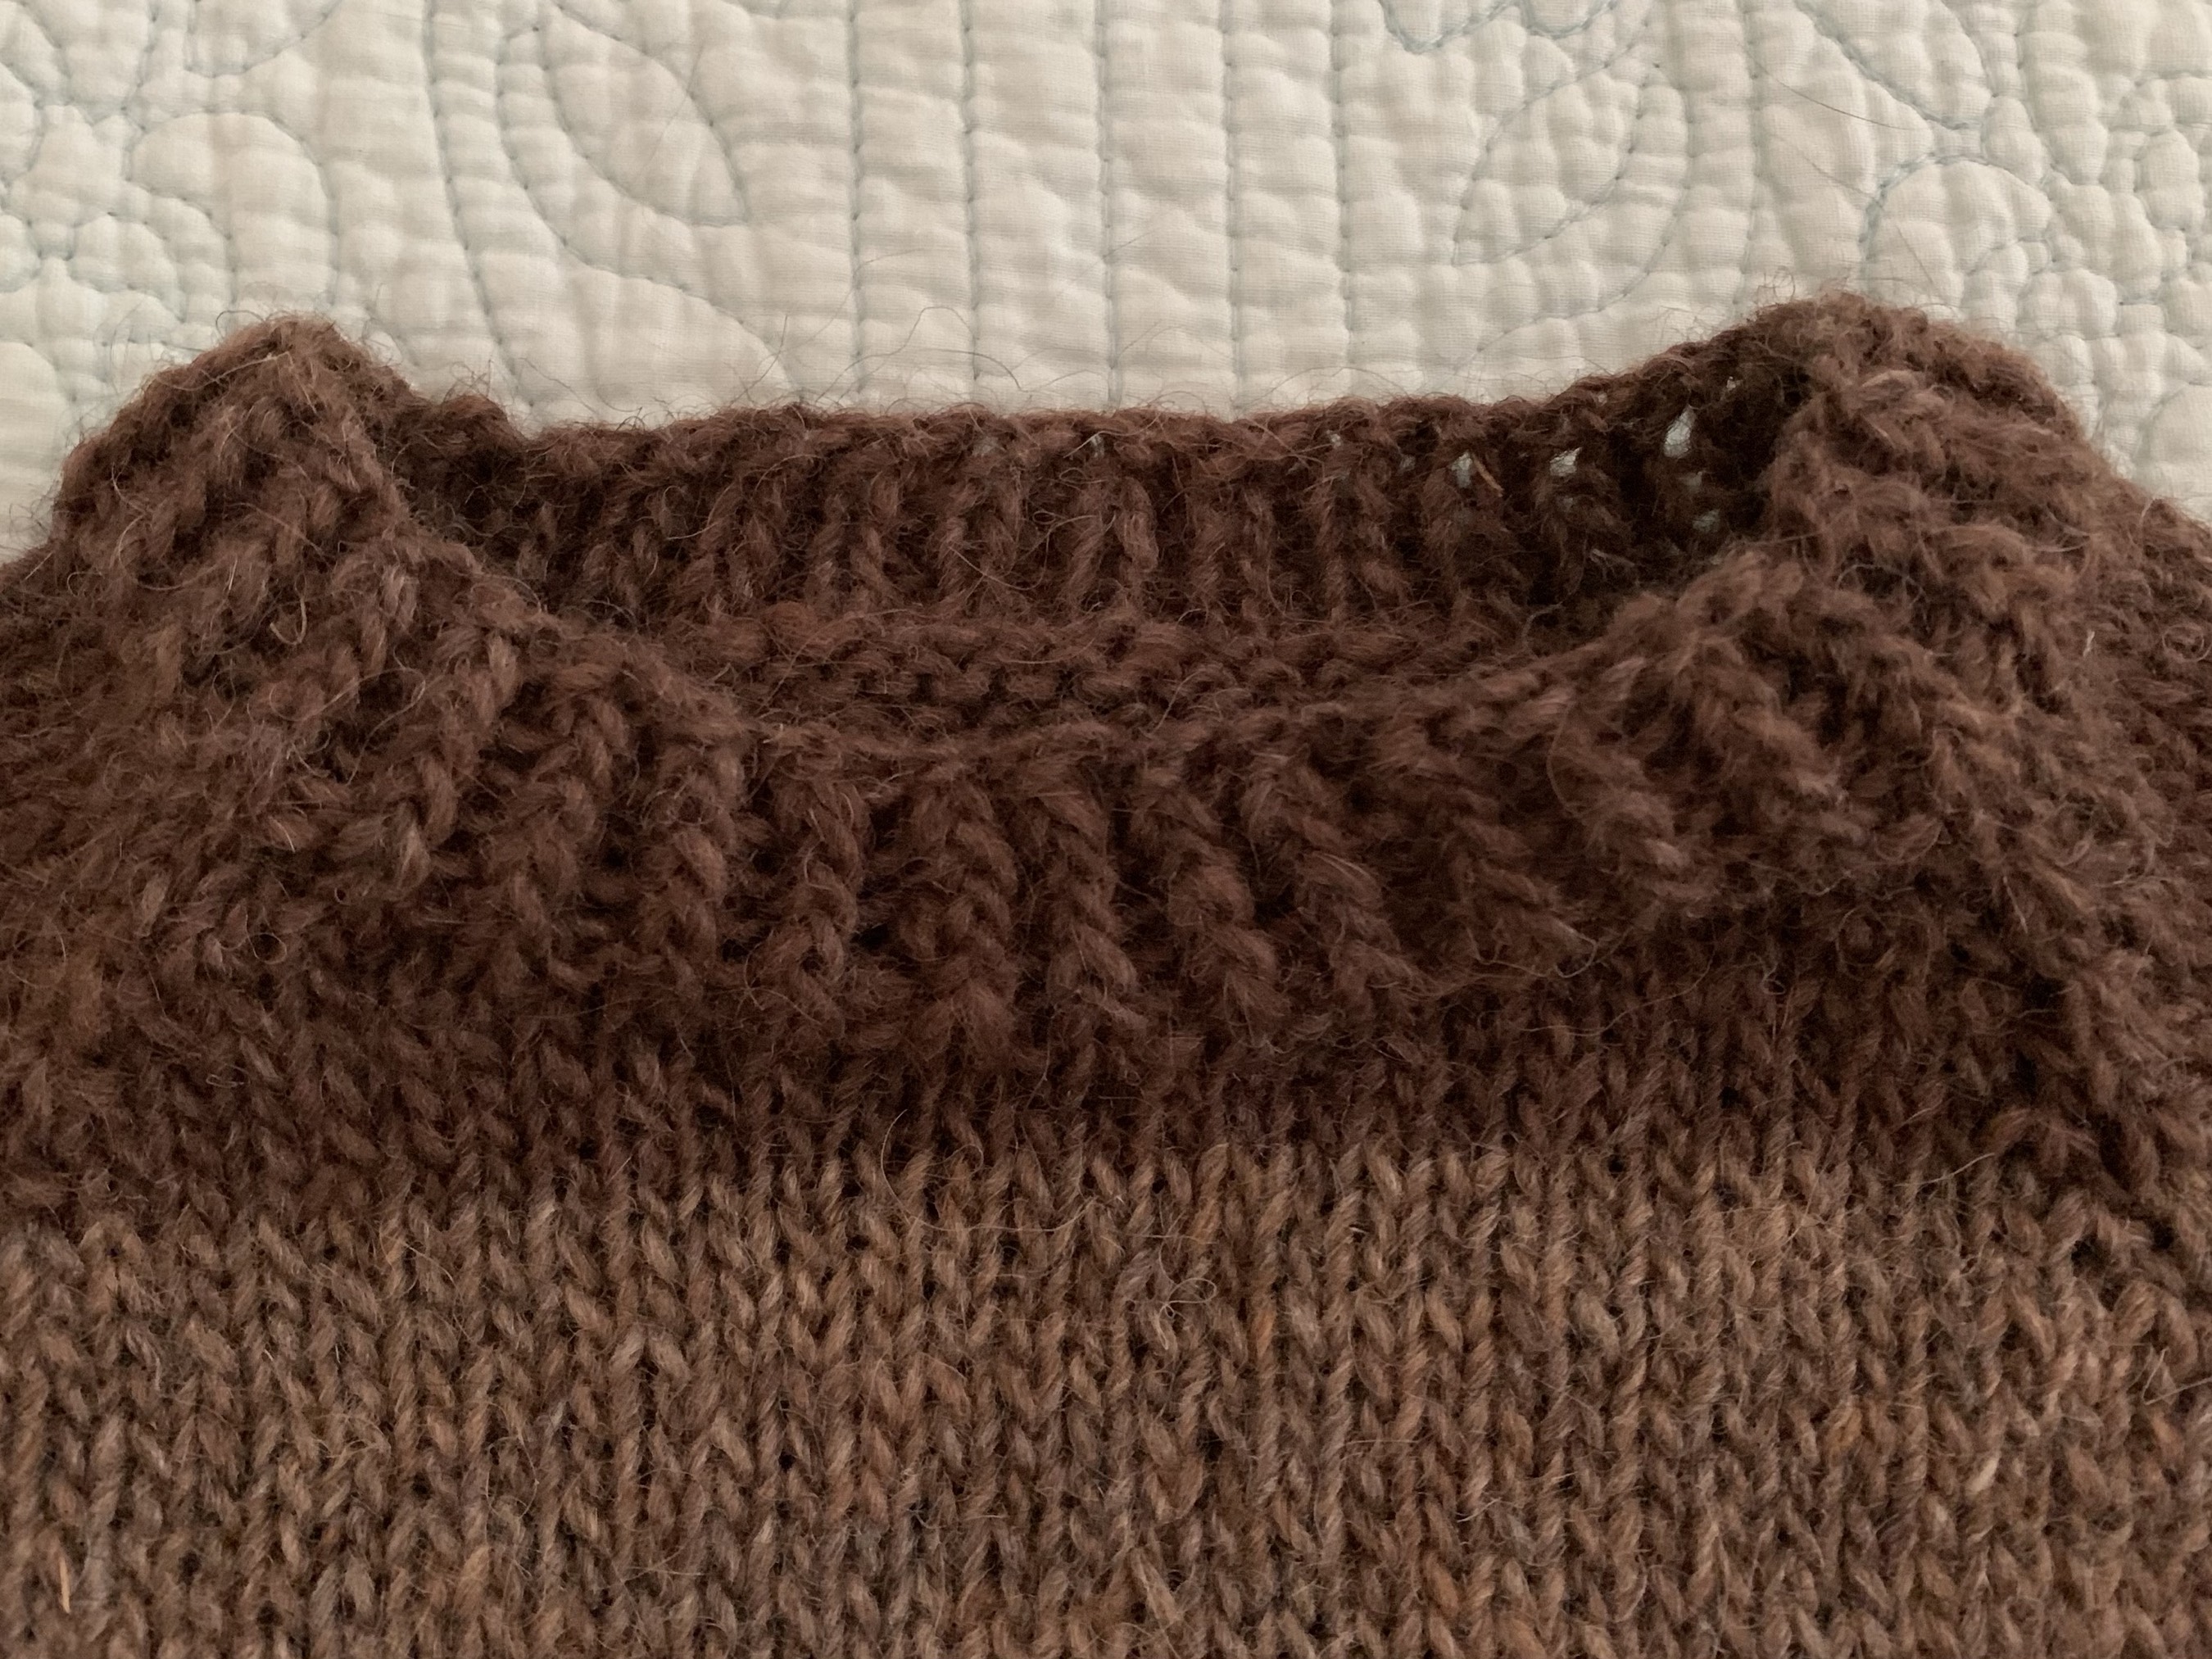
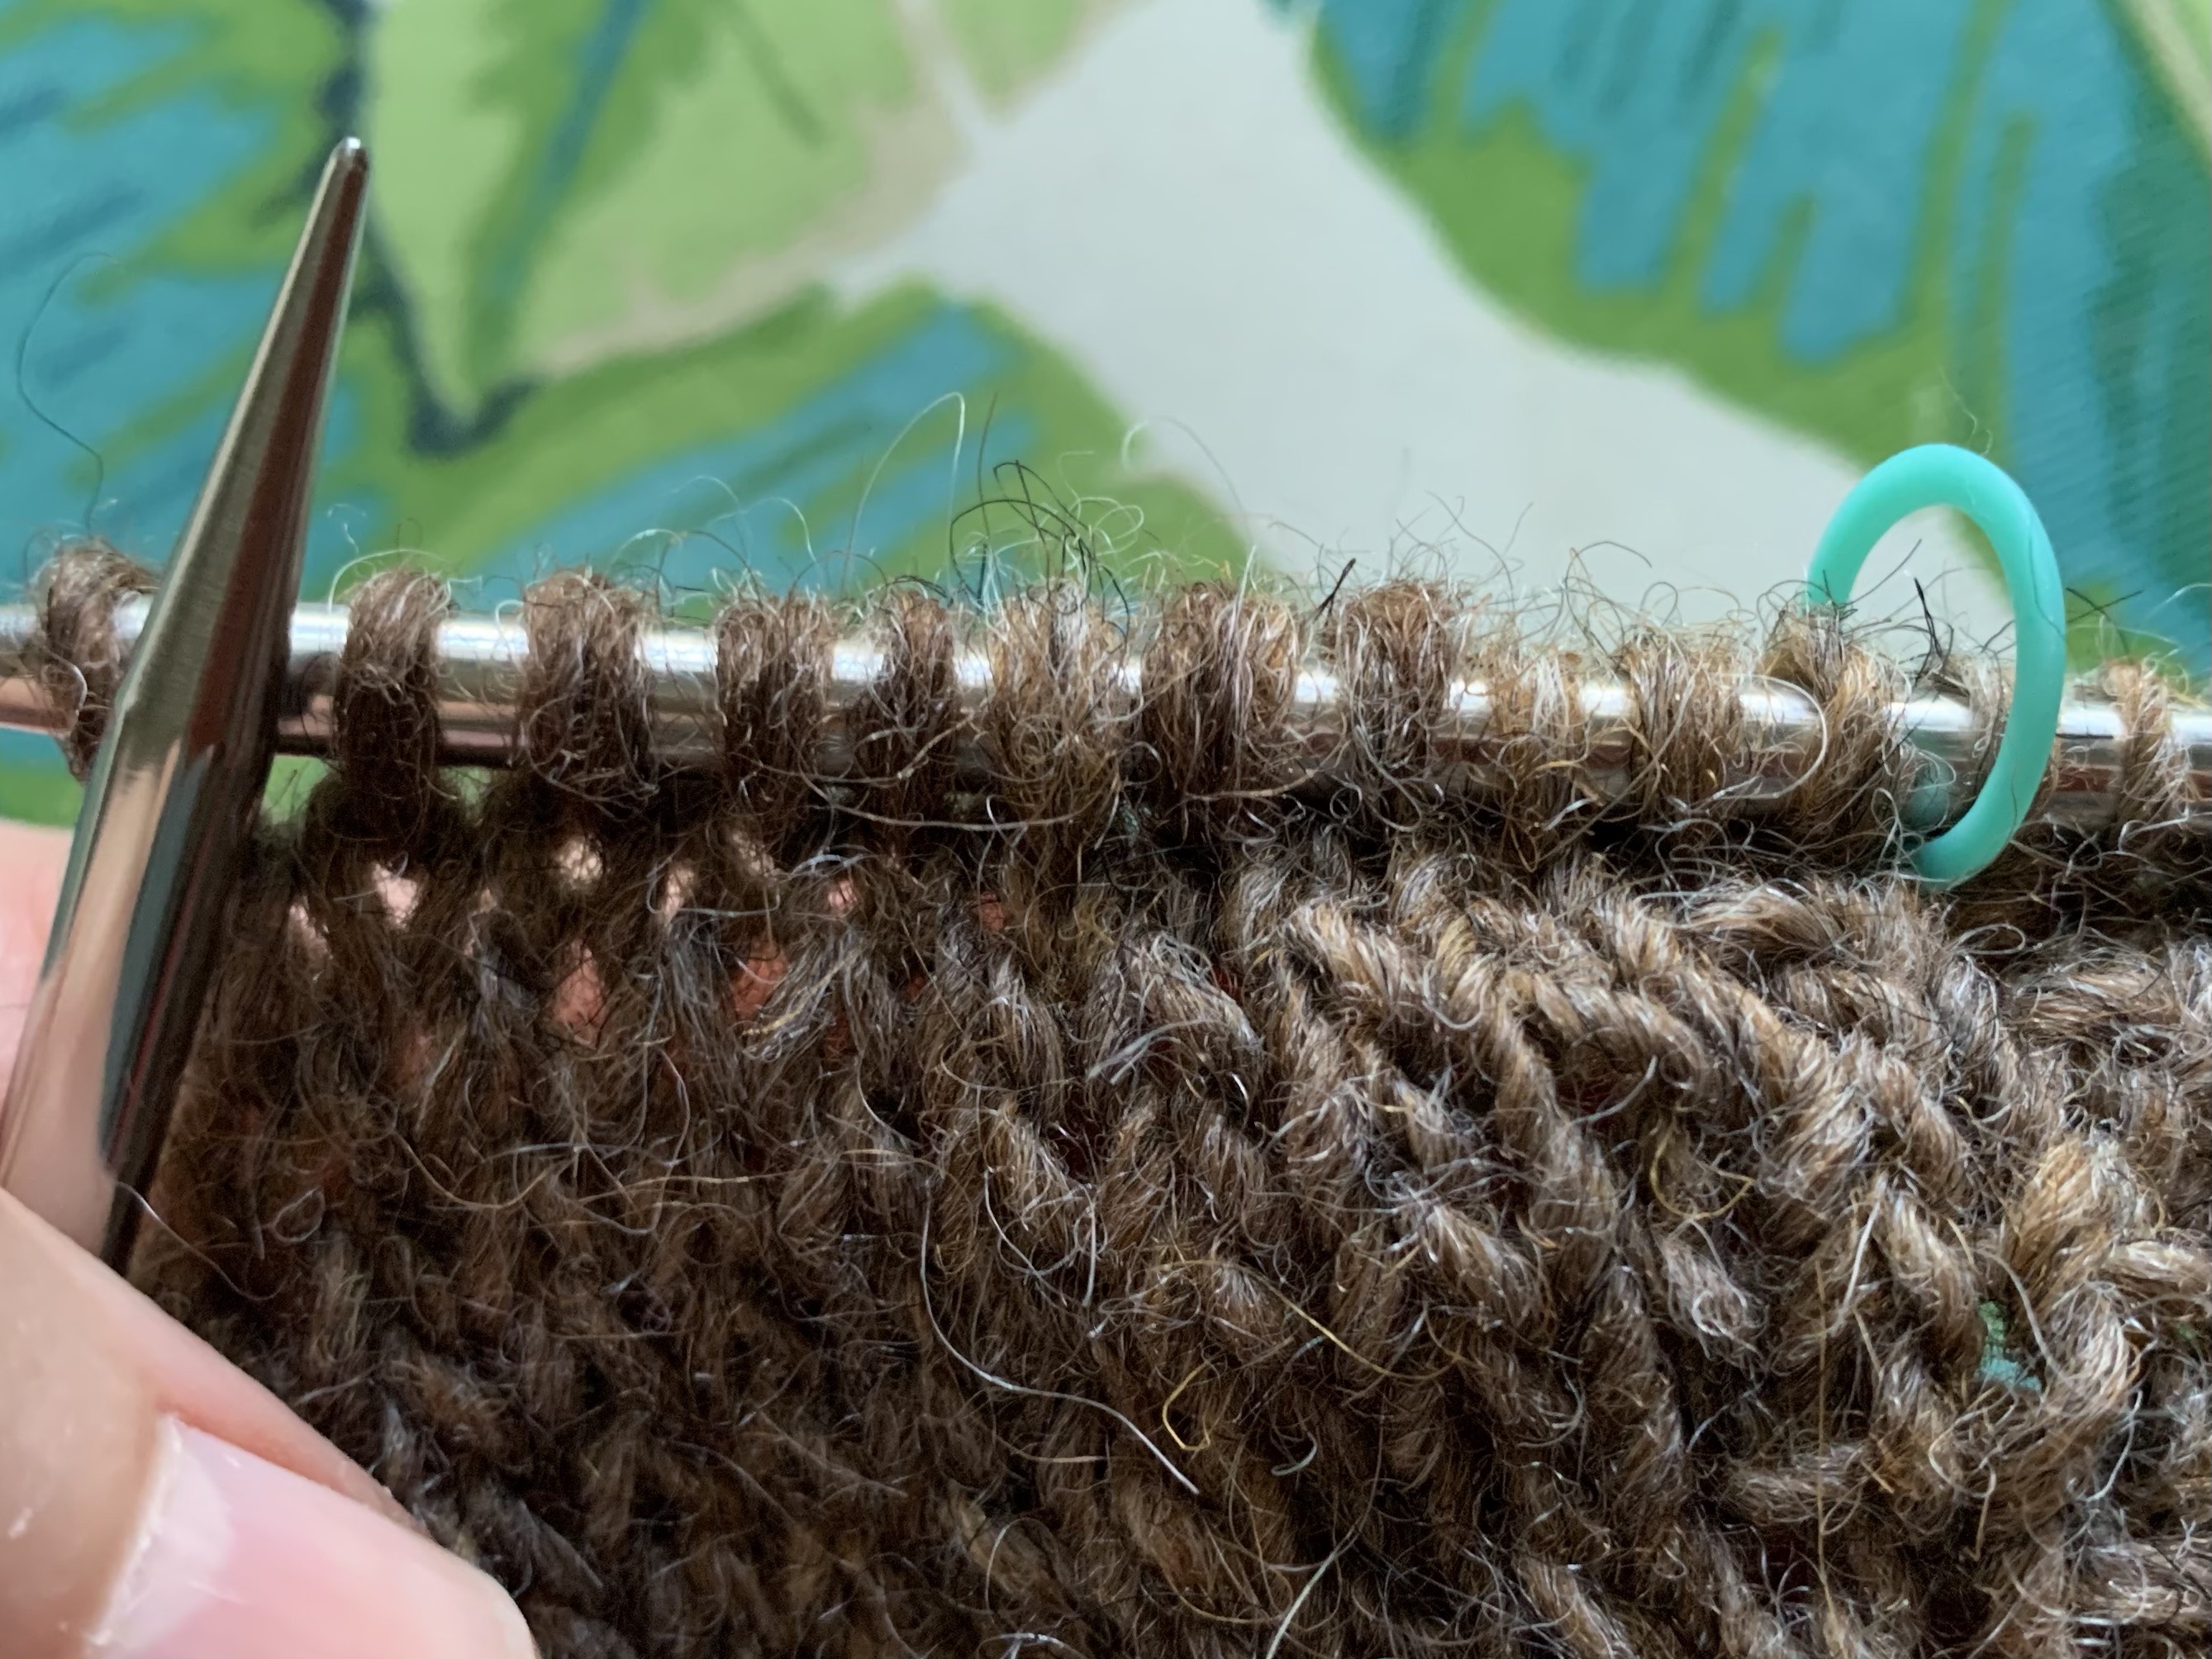
IDENTIFY KNITS AND PURLS

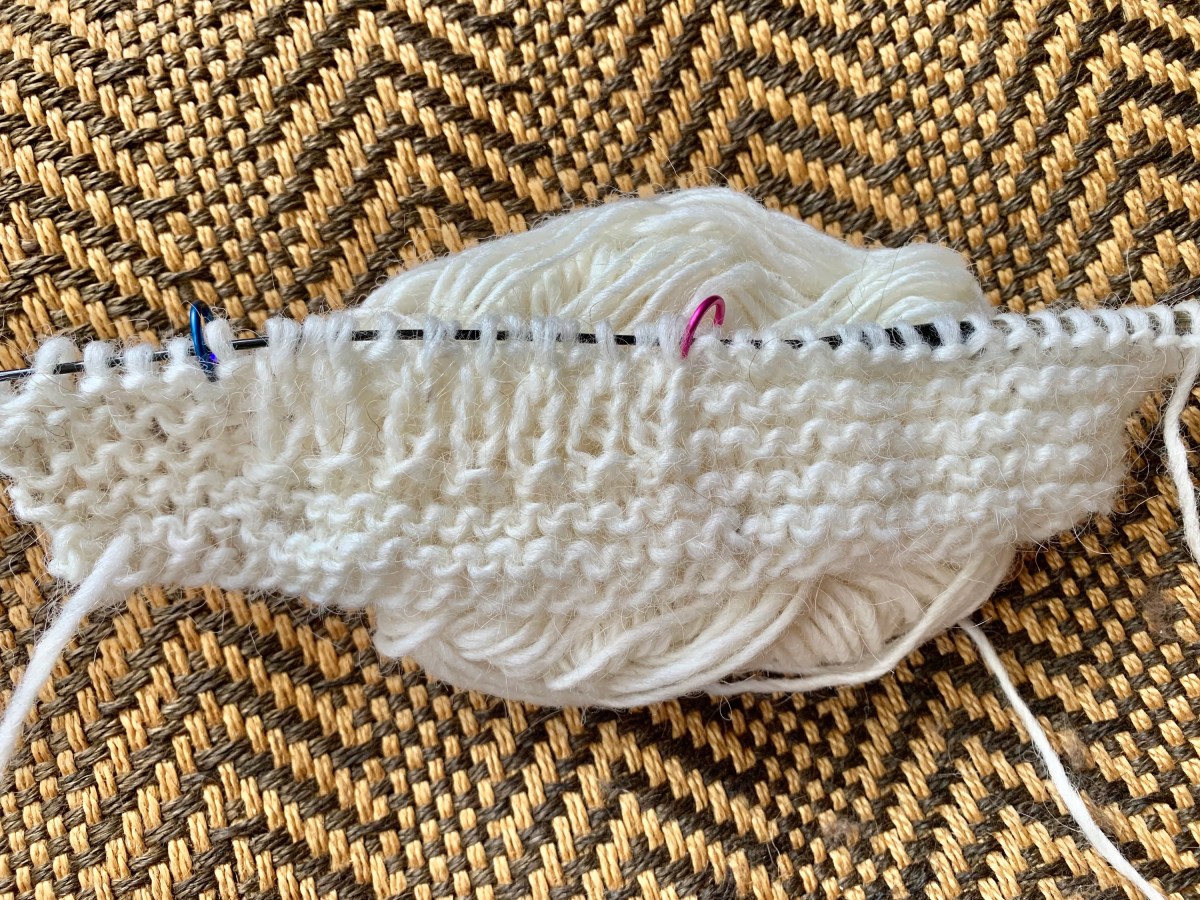
The knit and purl section of the scarf will make a “ribbing”. In case you lose track of where you are, it helps to be able to identify knit stitches and purl stitches. Purls have bumps and knits look like “V’s”. Each stitch appears different. The knits stand out, while the purls recede. Pull down on the section to view the stitches best. The purl bumps should be very visible.

The stitches alternate for the middle section of the scarf, but they are the same on every row. Knits and purls should line up. This creates a rib.

knits and purls
Identifying knits and purls

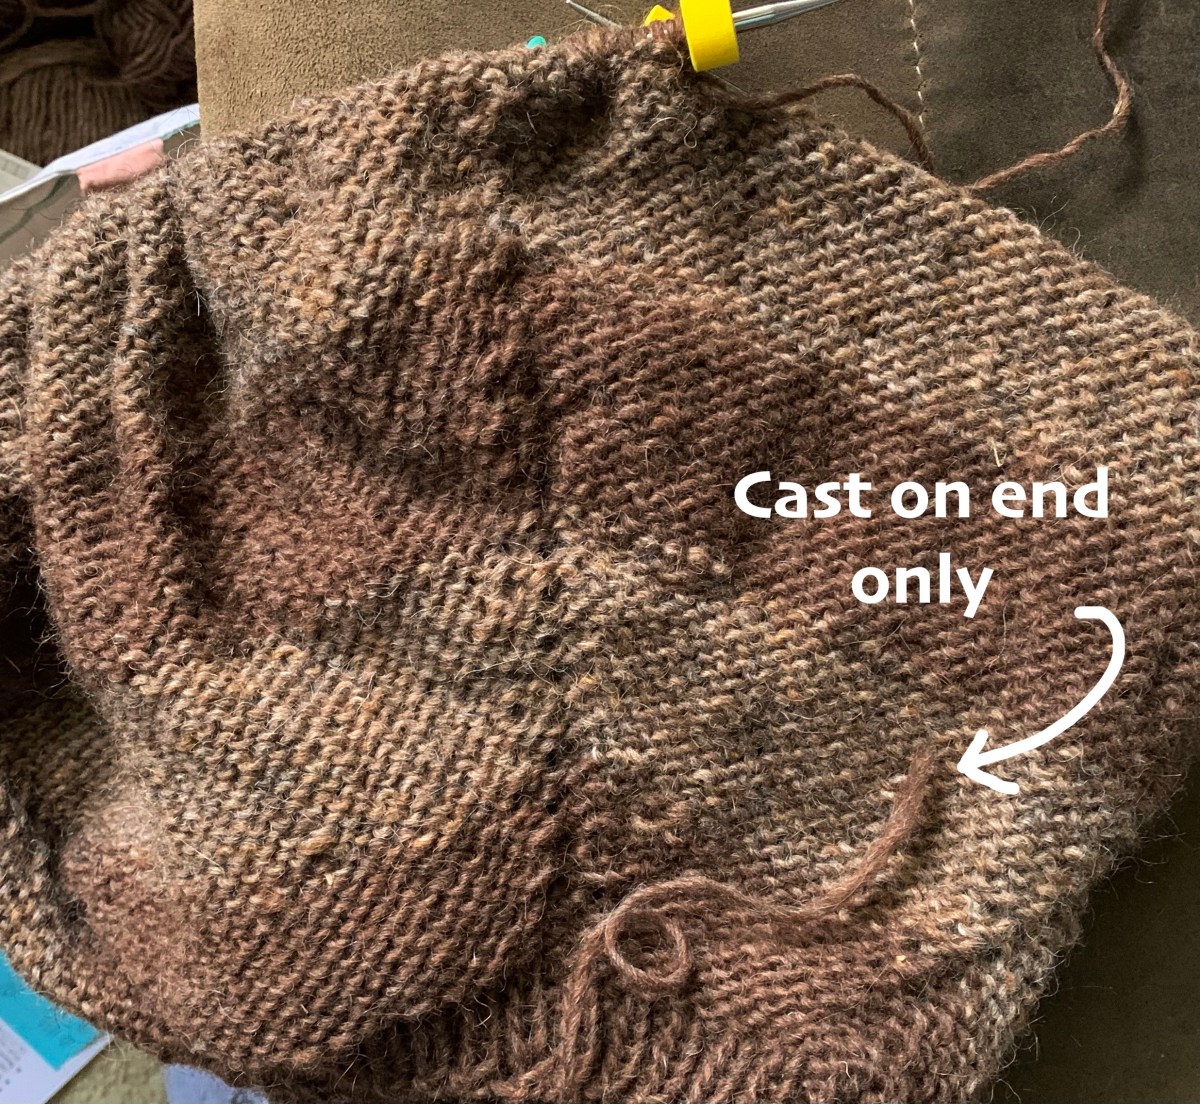
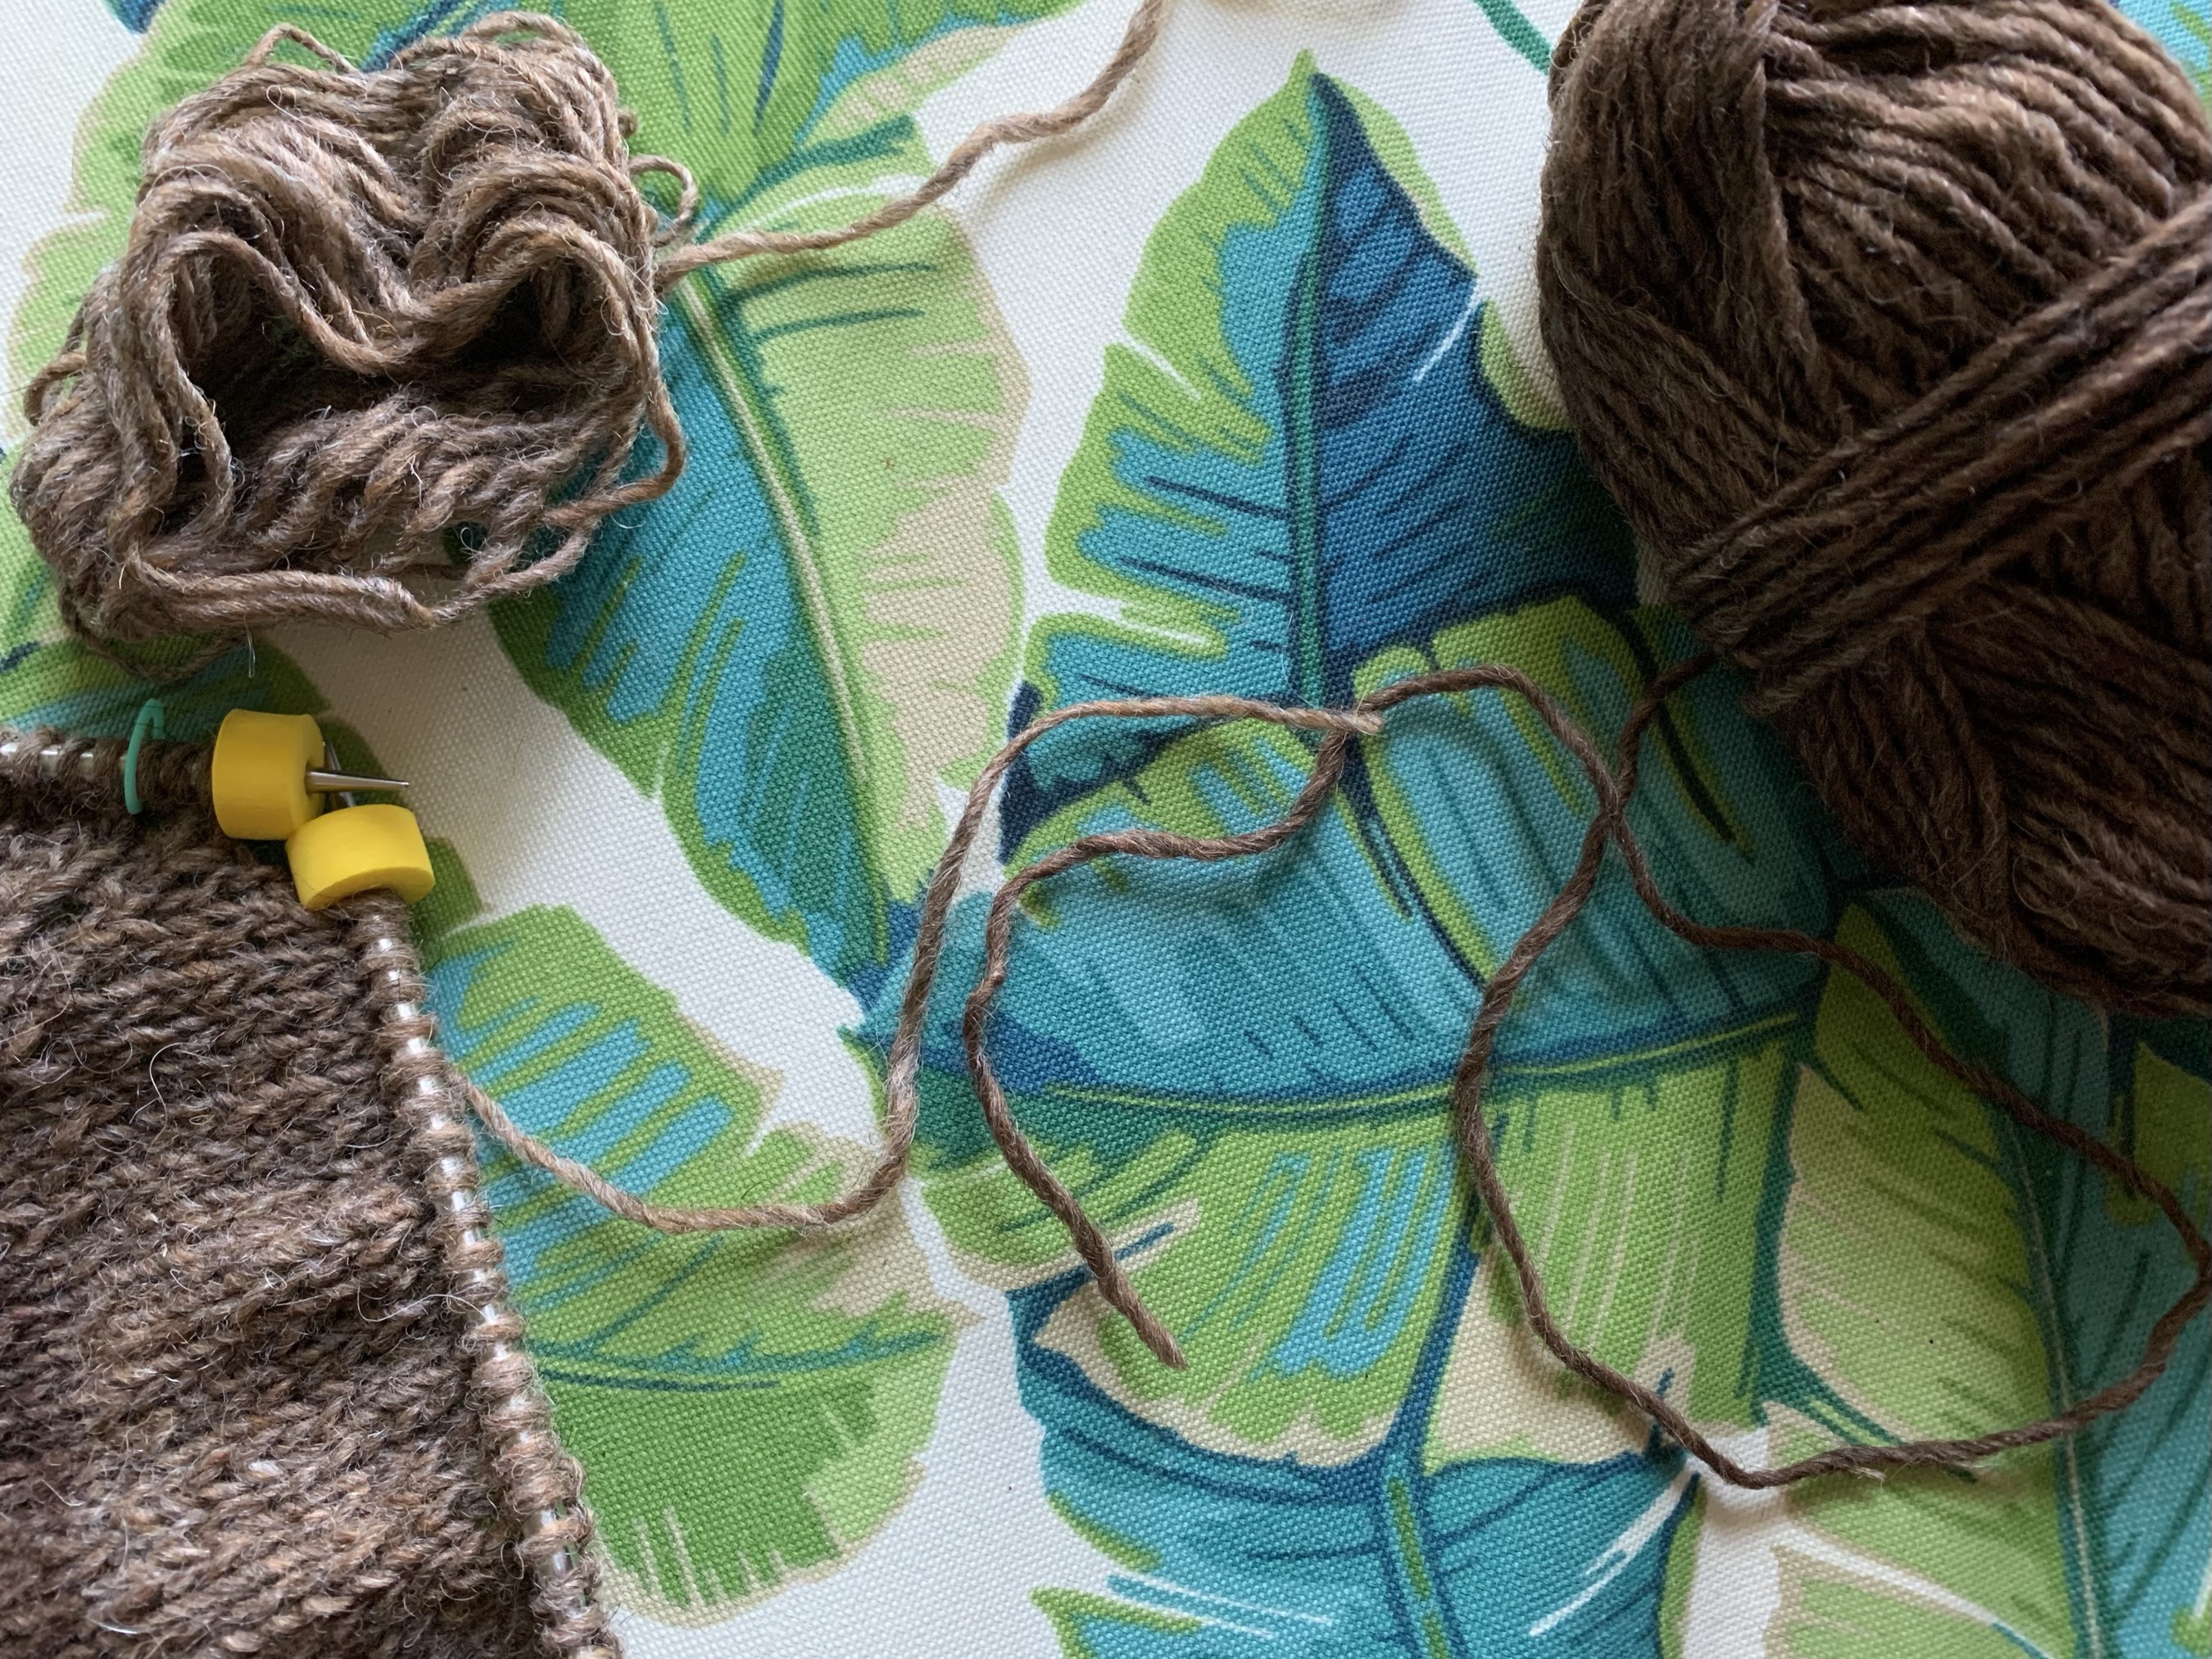
HOW TO ADD A NEW SKEIN

Well, I can’t find a decent video about how to do this simple thing. All I do is when I get near the end of the old skein – leave enough length so the end can be woven in (6 inches at least) – insert the needle as if to knit – wrap the strand from the new skein around the needle, pull it through and knit it – leaving a tail. This attaches the new skein. The two pieces of yarn hanging (from the old & new skeins) will be woven in when the project is finished. You may search on YouTube for “how to add a new yarn” “how to add a new skein” etc.

Once you bind-off, all that is left is the weaving in of ends. For that you need a tapestry needle (paid link) which has a large eye for yarn.

Knit in the Right Direction!

We all need to set down our knitting at some point. If you ended up finishing a row, starting again will be easy – start at the end where the yarn is. But in the middle of a row, things can be tricky.

TIP: When you pick up your project to knit, and are in the middle of knitting a row, be sure the yarn is coming off the right hand needle. Turn the project around to the correct position. This is a beginner mistake and I have done it! If you are not careful you will be knitting in the wrong direction.


For more patterns by Tin Can Knits, visit their pattern page. Many patterns are free and they are good for anyone from beginner to advanced. Choose wisely if you are just starting out, and go back and choose something more challenging later.

All knitters (and wannabe knitters) are invited to keep reading!
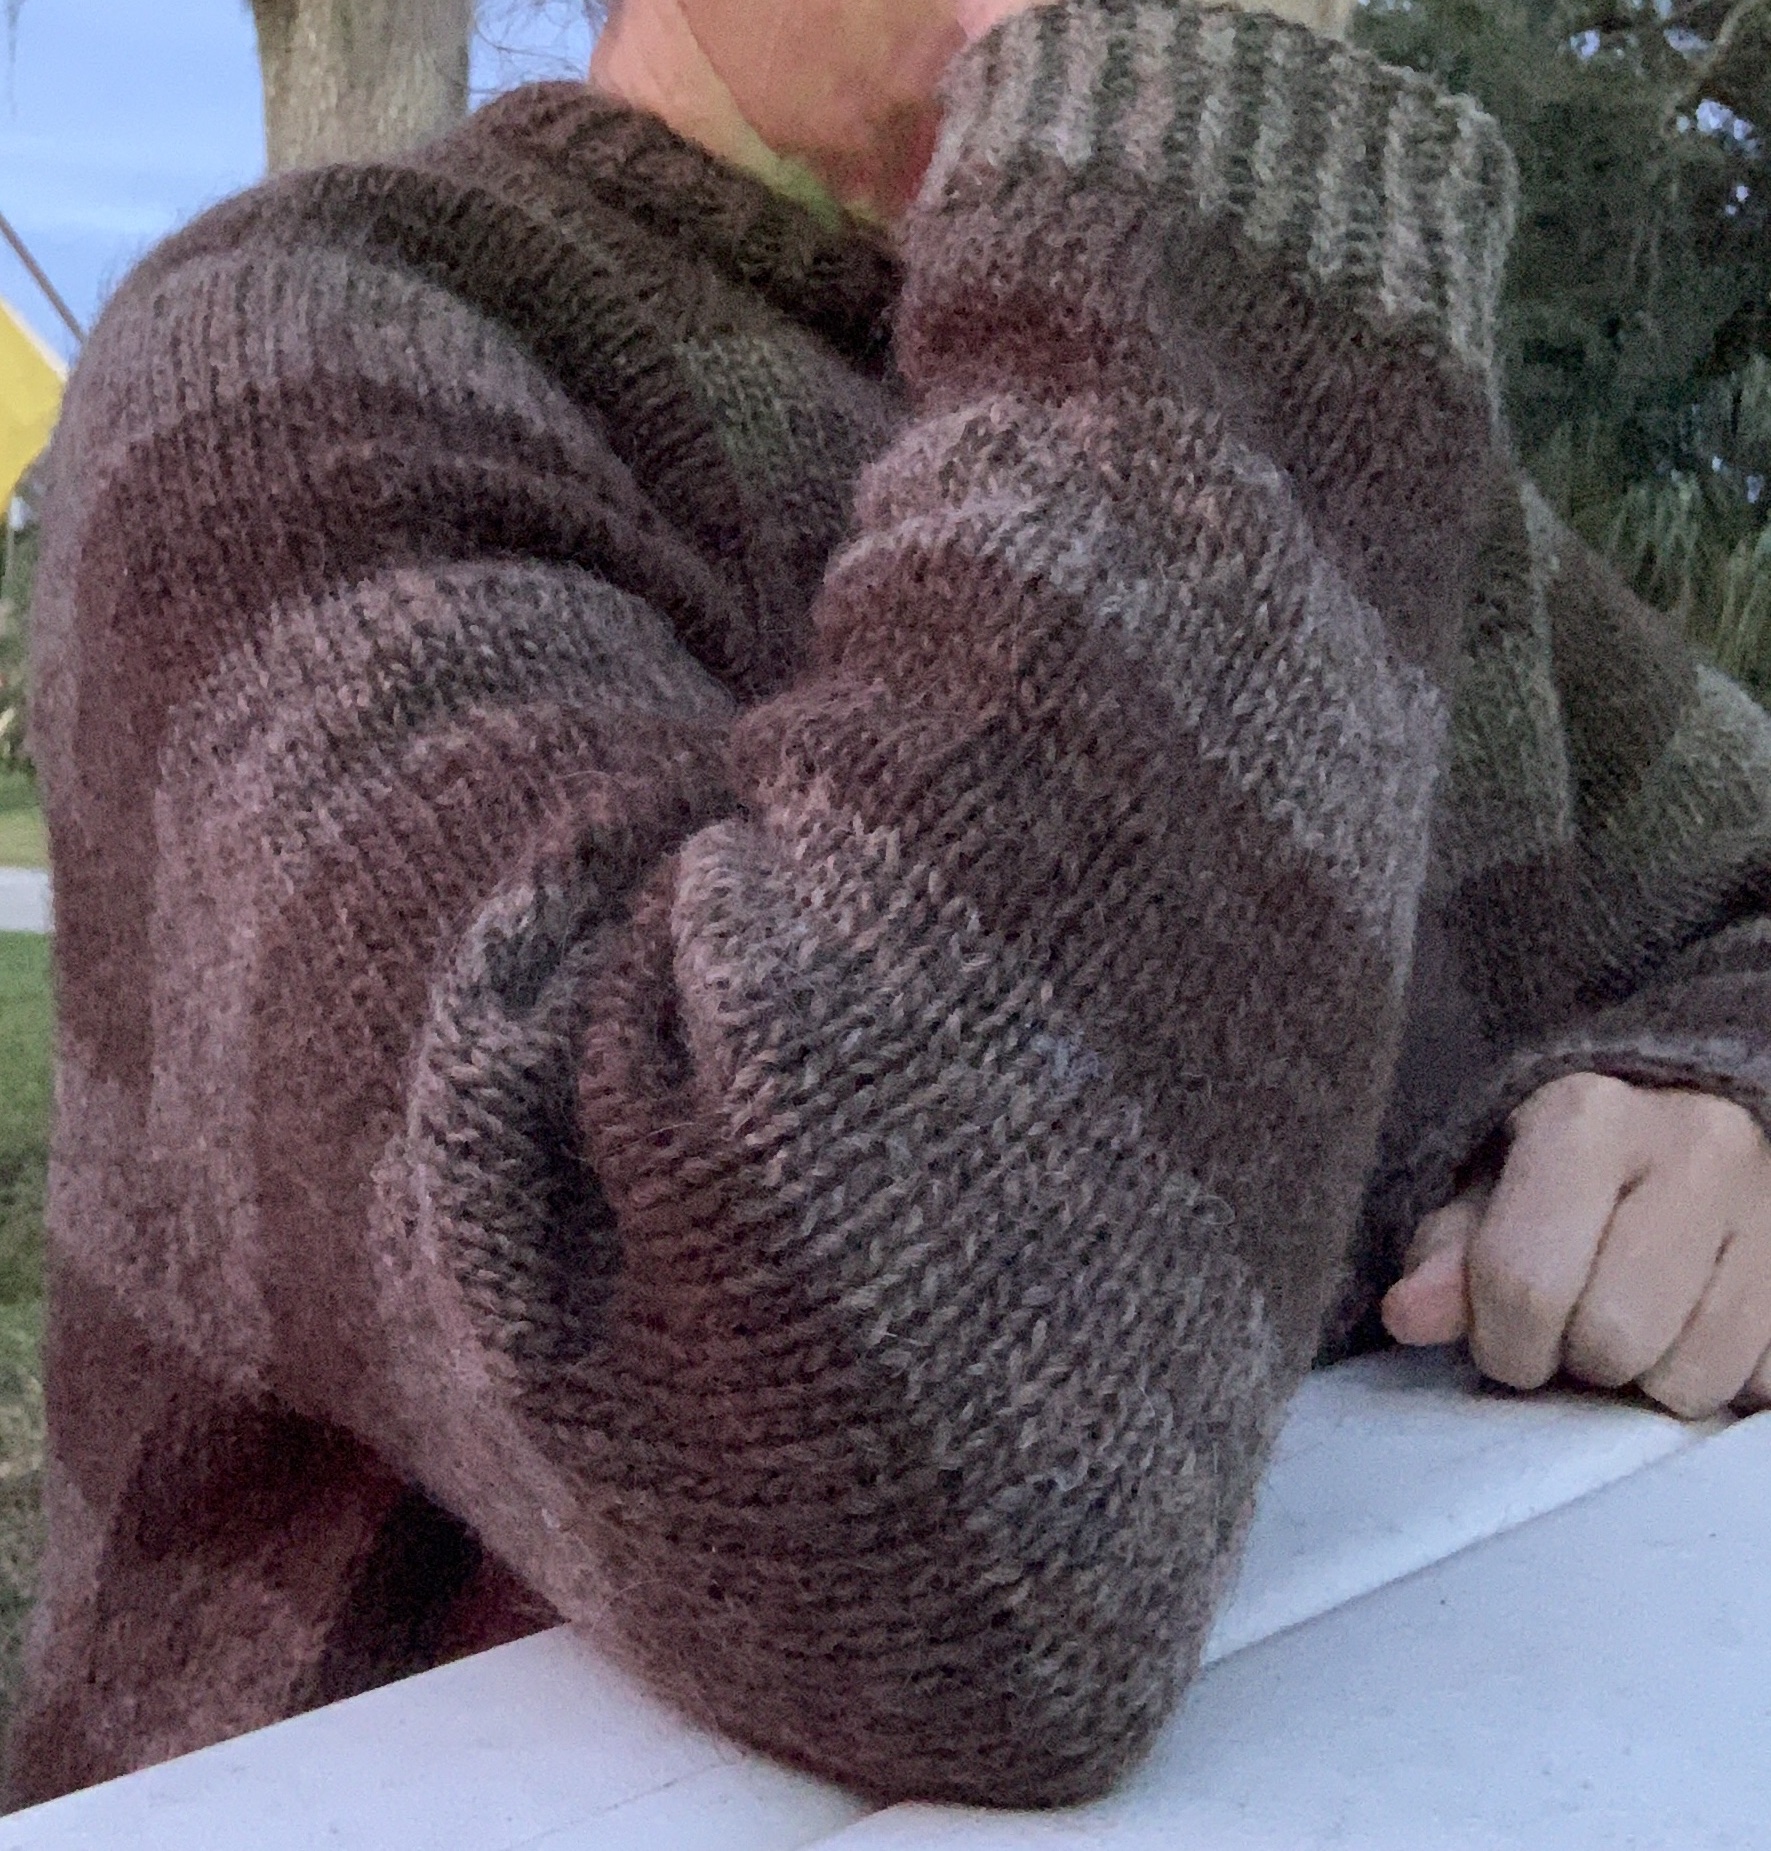
Something went wrong. Please refresh the page and/or try again.

Knit the Warm-Up Sweater Pattern

The Warm Up Sweater may be a perfect free pattern for a first time sweater knitter.

For those of us who have not knit a lot of sweaters – or knit them successfully – the raglan top-down style may be the easiest.

I’ve begun knitting the Warm-Up Sweater which is NO LONGER a free pattern, UNLESS you buy yarn from Espace Tricot – for this sweater and mention it when buying.

See the Espace Tricot designer page at Ravelry. I believe this company has changed hands, and now many of their patterns are no longer free.

The Warm-up sweater knitting pattern with collar and yoke complete

Anatomy of a Raglan Sweater

A raglan sweater is known for the increases done along the sleeve and shoulder area that dips down toward the underarm. You can see these stitches, that make a “line” on either side of the front. They are also on the back. The raglan style looks like four sections put together, but it is knit round and round. The knitting expands outward around the yoke and creates room for the sleeves.

This sweater pattern has a simple “knit through the back loop” increase but some sweaters do a pretty little cable or decorative area at these increases which looks very nice (Blueberry Vodka Lemonade Sweater).

A raglan is usually knit from the top down which makes it nice because it can be tried on as it is being knit – or at least pulled over the head. Raglans are usually pullovers but can also be cardigans.

What You Need to Know to Knit This Pattern

The Warm-up pattern – get it at Ravelry – begins with a cast-on at the neck. A few rows of a twisted rib is done and then some short rows. I love that this free pattern includes short rows. See my photo to see how the short rows raised the back of the neck. Sweaters need this shaping to fit comfortably. It is surprising to me that some designers, who sell sweater patterns, do not include short rows in their sweaters!

If you need more info about knitting the Short Rows for the Warm Up sweater, I have written a whole page about making the short rows.

Short rows raise the back

After that we get into the raglan increases which take place on either side of the sleeve / shoulder areas.

When the correct length and stitch number is reached, the sleeves are put on hold while the body is knit down to the correct length. A bottom ribbing is done and bound off.

Then each sleeve will be knit. Stitches at the sleeve area will be picked up from the waste yarn and the sleeve will be knit down to the correct length. Decreases are spaced to taper the sleeve shape. Do the ribbing and bind-off. Weave in ends, wash and block, and you have a new, hand-made sweater!

Is The Warm-Up Sweater Good For Beginners?

If you are a beginner sweater knitter, you may enjoy knitting this pattern. If you are a total beginner knitter, you should try something easier – a shawl, scarf, or hat – first. In other words, this is not a pattern for an absolute beginner. I say this because there is a lot to learn if all you can do is knit a little. I have mentioned in the section above what this pattern entails.

For those who want to step up their knitting game from the simple stuff, and are thinking about knitting a sweater, this one is perfect. The directions are very clear with stitch counts along the way to make sure you are on track.

Read through all pages and highlight numbers for your size before beginning – or go row by row on a knitting app. Also, if you’ve never done them, learn about doing German Short Rows – marked as “work GSR” in the pattern. Purl Soho has a good video. Follow the directions, row by row, and you will be fine.

You may even learn new and useful techniques along the way!

A Little Sweater Knitting Advice

If you are new to sweater knitting, first be sure to check your gauge. Yes, you must. Keep the little swatch as a reference. It is not a waste of time. The gauge required is listed on the first page of the pattern and also on the Ravelry Warm-Up pattern page. For more on gauge see my post here.

A few knitters had trouble with the cast-on number of stitches being too small, or too tight around the neck. I had no trouble, but would prefer a wider neck. I am knitting size 4 – or finished circumference bust size 49 inches. I used the Old Norwegian, aka German Twisted, cast on method, which is somewhat stretchy and had 68 stitches on my 16 inch circular needle. I suggest using this type of cast-on. See my page about different ways to cast on when knitting if you don’t know it.

My sweater is being knit in Icelandic Lettlopi wool. The Warm-Up is shown in worsted weight yarn, in solid colors with an option to do thin stripes. Of course you can use whatever yarn you want as long as you get gauge. I happened to have a lot of brown yarn and instead of doing a solid brown sweater, I opted to do wide stripes alternating the two browns.

Because my yarn is wool, I am doing a spit-splice every time I change colors or add a new skein of yarn. This is saving me from having to weave in many ends when the garment is finished.

spit splice knitting no ends to weave in
Wrong side – with no tails!

I am having fun knitting this simple sweater. Now that I am beyond the raglan increases, it is mindless round and round knitting that can be done in the car or in front of the television. All I need to remember is to change colors when it’s time (I am knitting 12 rounds of each color), and measure for length.

The needles I have used are size 7 and 8, 16-inch circular. Size 8, 32-inch circular (for the body). Then I switched to a 9-inch circular down the sleeve and for the ribbing at the cuff. DPNs can also be used, but I really don’t like using those.

On the sleeves, I picked up and began knitting with the 16-inch circular and changed to the 9-inch circular toward the end of the sleeve. I knit the ribbing in size 7.

Because I did spit-splicing throughout when changing colors, I only had 6 ends to weave in – one under each arm, at the neck, body rib and sleeve ribs…. pretty awesome!

Future Plans

If this sweater turns out to fit me well, I plan to make more like it with possible modifications. I almost made a rolled collar on this one, so maybe I will do so next time. It definitely needs to be wider for comfort.

For another time, some color-work could be added at the bottom near the cuffs on the body and sleeves. I’d go up a needle size to do that.

Finished Knitting

Now my striped sweater is drying. All I had leftover for yarn was two small skeins each of the dark and light brown. In all I used about 9 1/2 skeins, or approximately 1,031 yards.

I’ll try it on and get photos once it’s dry. Total knitting time was about a month and a half. See notes on my Warm-Up Sweater Ravelry page.


December at the Fire

The few cool days we have here in my area of Florida are much appreciated by me! I dig out my wool sweaters and make sure I wear them. It was also an opportunity to get a few selfies.

Warm Up sweater
Warm up sweater
Warm up sweater sleeve
12/2023

Please Keep Reading

How to Spit Splice Yarn and Make Knitting Simpler

When knitting with wool and changing colors or adding a new skein, use the spit splice join to make things simpler and have fewer ends to weave in.

Only recently have I begun to spit splice yarn. When I discovered how easy it is to do, I became hooked.

Wool is a great fiber to use for knitting. In my opinion, sweaters need to be made of wool. A sweater is made to be worn for warmth and wool is the perfect choice.

To the best of my knowledge, spit-splicing only works when knitting with wool. If the yarn is a wool combination, I am not sure. Wool is a sticky fiber and water (spit) will help hold the strands together. Also the brisk rubbing of the wet wool connects the fibers.

Lopi yarn with Lettlopi, Alafosslopi, and Plotulopi

Wool Yarn Only


This is exactly why wool garments need to be hand-washed. The combination of water and friction changes the fiber. It will totally ruin a wool garment if it goes into the washing machine and / or dryer. It is also why felting wool works, which shrinks an item on purpose.

Warm Up sweater knit in Lettlopi
Warm-Up Sweater pattern

I am knitting a pattern called the Warm-Up Sweater by Espace Tricot (see pattern link at bottom of page). It is a simple raglan, top-down knit. I chose it to use up some of my Lettlopi wool. For some reason I have a lot of brown yarn. Then, I decided to combine the browns to make wide stripes for a less boring knit. (Lettlopi colors used are Murky and Acorn Heather.)

Spit-splicing is perfect for this type of patterning of colors.

How to Do the Spit Splice Join – With Photos

To do the spit splice, I change the colors by cutting the end of the yarn I have been using, as normally would be done. In this case it’s the lighter brown.

Instead of adding that new, darker brown color to my needle, I will combine the two colors of yarn together to form one strand. This will gradually bring in the new color and leave no ends to weave in – which is the best part!

With the Lettlopi yarn, I can easily separate each end into two strands. They pull apart and unravel nicely.

Lay the ends together to overlap a bit and twist together.

Spit on that entire entwined section of wool to make it nice and wet. (Someone somewhere said spit works better than water – and quicker too.)

Once the yarn is wet, rub the section briskly between the palms of your hand. I usually have to rub a few times to fill in any loose holes. Do a little tug to be sure the yarns have stuck and do not pull apart.

Once the two strands are stuck together, I have a section of yarn that is made up of both colors. Part of that section is a bit thick, but the yarn is thick and thin on its own, so this works.

Here is my spliced bit of yarn. As I continue knitting, the yarn goes from light to dark and blends in nicely for my next section of darker brown.

I’m doing the splicing close to the beginning of round marker but it is not exact. It won’t matter. My two yarns are close in color and they just blend nicely. Also, this pattern has the BOR at the back, right shoulder where it wouldn’t been seen anyway.

Why Spit Splicing Makes Knitting Simpler

In the end, the reason for doing the spit splice join is to save myself the hassle of having to weave in ends. In this striped sweater project I would have had two ends hanging at every row of color if I had added yarn the traditional way. That would be a lot of ends when the sweater is complete!

Joining the yarn and not leaving ends means I will only have the cast-on strand, underarm strands, and cast-off strands on body and sleeves to weave when I am done. That is a win in my book!

spit splice knitting no ends to weave in
Rows of color with no ends showing except the cast-on

Other Uses For the Spit Splice Joining of Yarn

Also use this joining method when changing to a new skein, or if the yarn breaks, or if you come across a knot, and so on. I recently knit a colorwork sweater with Plotulopi wool which would come apart very easily on the slightest tug. I used the spit splice join a lot on that one!

Get the Warm-Up Sweater pattern at Ravelry

YouTube Video on Spit Splicing

If you’d like to watch this process on a video, here is one by iKnits that is short and to the point: https://youtu.be/h5UwY8NDtP0

My Collection of Good Cast-on Videos For Knitting

In knitting the cast-on is the first part of a project and it needs to be done well. Here I have gathered some useful videos that I have used, and still sometimes use, myself to get the cast on row right.

From simple to more difficult, this collection of good cast-on videos may help the newbie like myself. Never did I realize there were so many ways to get the yarn onto the needles to begin a project! I’ve been knitting for a few years now, and I am still finding new cast-on advice.

Doing a cast-on that stretches a little works for nearly every garment from socks to hats. There are specific types of cast-on stitches for ribbing and brioche to make the edge look rounded. It sets up the knitting of the garment, and seems like a small thing, but it can make a big difference in the end product.

I used to believe that a cast on was something to get out of the way so I could just knit. This is not true! The cast on is very important to get right. Don’t rush through, and practice at being as perfect as possible with those first stitches. They ARE important!

1. Basic Beginner Cable Cast-on

The cable cast-on is probably the most simple to do and is recommended for beginner knitters. It is the one I always used in the beginning of my knitting journey. For flat knitting (back and forth) a straight set of needles can be used. If the project is circular, then cast onto a circular needle.

For practice only, use whatever you happen to have on hand. Wooden needles and larger yarn is easiest.

Wooden straight knitting needles

2. The Long Tail Cast-on

The long-tail cast-on is the first different cast-on that I tried. For that reason it is second in my list of casting on options for knitting.

I do not use a slip knot when beginning the cast on process. I simply hold the yarn across my finger and thumb and put the needle down through and twist. It leaves a neater little first stitch. I tried to make a little video, but I am technology challenged.

Cast on and placing markers for the beginning of the Cobblestone Cardigan
Beginning the sweater

3. German Twisted / Old Norwegian Cast-on

This is my favorite cast-on and the one I use regularly. It works for hats, socks, sweaters and mittens, and really everything! This one makes the edging stretchy but not stretched out. Occasionally I do try a new suggested cast-on for a project, but the German twisted, also called Old Norwegian, is rhythmic and easy to do once it’s learned.

Space stitches casting on
Let stitches have some space

Neither of these videos mentions that when you cast on each stitch leave a bit of a space between the stitch as in my photo above. You don’t want the stitches close together. This is what helps to give the row some stretch.

One thing about this cast-on is that usually you will need to figure out the length of the tail before beginning. In general, make the tail at least 4 times the circumference of the end project. For instance, if your hat will be the size of your head (obviously), make that tail end 4 times that length. Some people say 3 times, but I cast on loosely and have found that I need four.

If you run out of yarn – and I have done that after casting on hundreds of stitches (sweaters) – you can turn the needle and do a few regular cable cast on stitches to finish up.

One more tip – Two different balls of yarn can be used where one replaces the need for a “tail”. This way you will have unlimited yarn and won’t run out during the casting on.

Here is an example, although the knitter is not doing the German Twisted, but is doing the long tail cast on. This method works whenever a long tail is needed. The beginning knot will not be counted, and will be dropped off when the cast-on is complete. This can be done using two different colors too!


4. The Garter Tab Cast-on For Knitting Shawls

Many crescent and triangular shawls begin with the garter tab cast-on. Shawls are usually knit with long, circular needles. This cast-on begins the knitting from the top center where new rows will increasingly grow out at the edges. It had me baffled until I saw a good video tutorial.

Here are some of my favorite YouTube videos showing this cast-on.


5. Provisional Cast-on

The provisional cast-on is made as a temporary edge holder for a project. Once the knitting is finished the last row worked will be attached to the provisional cast on row. Think about making an infinity scarf that is one complete circle. The two ends need to be grafted together.

I’ve done provisional cast-ons a few times, like when I knit the Keramos Cowl. This project was a colorwork cowl with a liner inside. Once everything was knit, the inside liner had to be attached to the bottom of the outer layer.

Keramos cowl Fair Isle pattern
The white yarn is the provisional cast on edge

Unique and Less Used Cast-ons

As a knitter you are likely to come across many other ways to begin a knitting project. If you knit brioche, there is a special way to cast on for that. If you knit hats, there are tubular cast ons that make the ribbing look nicer. For me, some of these cast-on ideas are quite involved and difficult.

6. Chinese Waitress Cast-on

I am not sure why we need to use this cast-on, but I’ve seen it mentioned so thought I’d include it here.


7. Two Color Tubular Cast-on

The tubular cast on is often used for hats to make the edge nice looking. If the hat will be knit in two colors, Andrea Mowry has a very good video about how to do the two-color tubular cast on. It is also called the Italian tubular cast-on.

I tried it when I made an attempt to knit a brioche hat in two colors. I did the pretty cast-on and then couldn’t figure out how to make the join in the round after the set up rows so I couldn’t continue. Brioche is still on my to-figure-out list! The cast on is pretty though so I took some photos.

Brooklyn Tweed also has a two color cast on for brioche (worked flat )which you’ll find here.


The Video Makers

I have curated the videos on this page because I’ve used them myself. Often I find that knitting videos are too wordy, too long, blurry, or just down right horrible. I’ve collected a little list of my favorite knitting video makers.

  • Very Pink Knits – also offers slow motion videos
  • Purl Soho – short and to the point, but they don’t cover everything
  • Designers – Jared Flood, Stephen West, Andrea Mowry and others have some good videos.

There are probably many more ways to cast on and begin knitting, but this is what I have for now. Search on YouTube and I’m sure you will find anything you need, but you may have to wade through the muck to find the good stuff.

More Knitting Stories