I began writing this post in the hope of being able to easily explain how to knit brioche. It turns out that I simply can’t do it. This project was ripped out, but I do have some good notes, and videos, to reference for anyone trying to knit brioche in the round.
Where’s the Brioche Hate Club, I need to Join
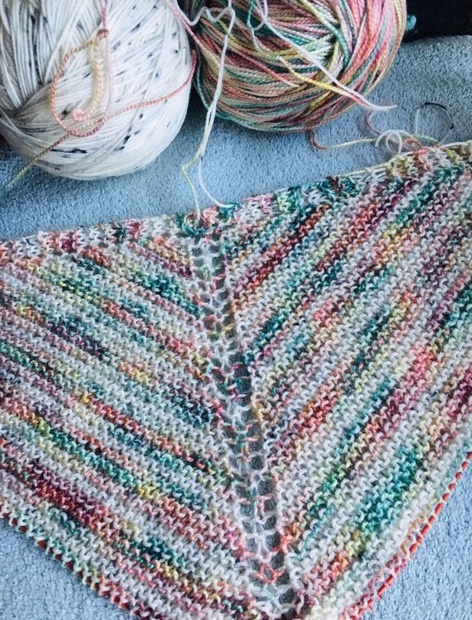
After much difficulty with casting on, (I did learn some new cast-ons) I am on my way to successfully knitting brioche in the round – or so I thought. Well, honestly, I am making lots (and lots) of mistakes – ya, it looks horrible!, but that’s okay, I am practicing. But, at each BOR (beginning of round) the yarn color changes and I’m either going to knit or purl. This can be daunting for us beginners. And sometimes downright impossible.
After my many efforts to complete a nice cast on for brioche in the round, I gave up and simply used some sort of long tail cast on which is what I usually use. My cast on edge looks bad, but I needed to begin practice on brioche stitch.
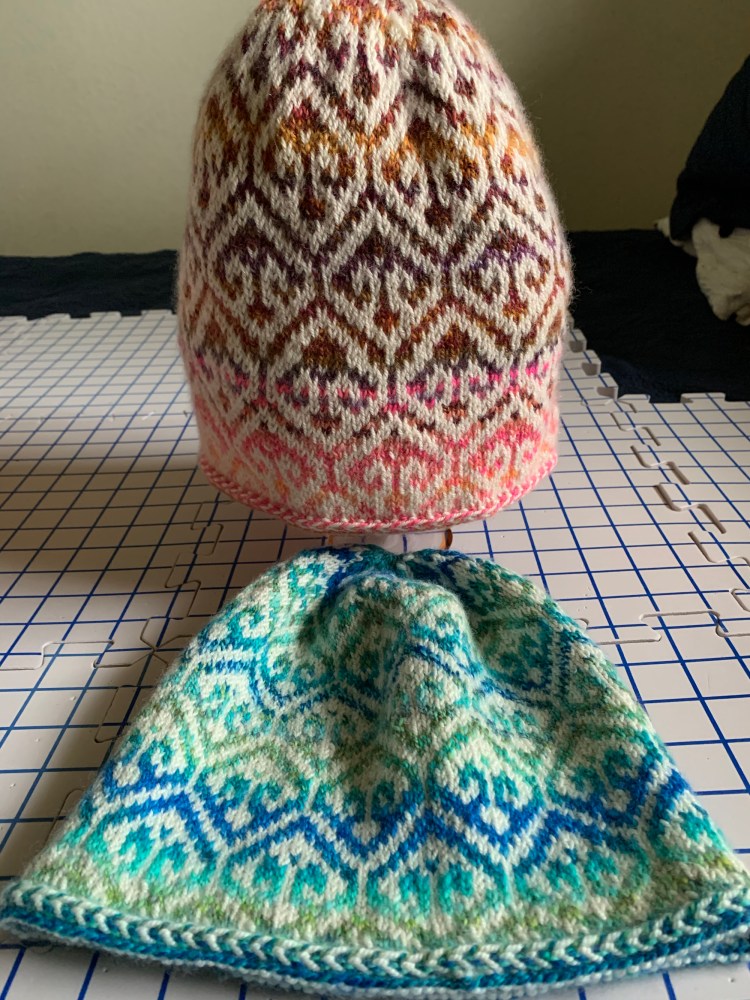
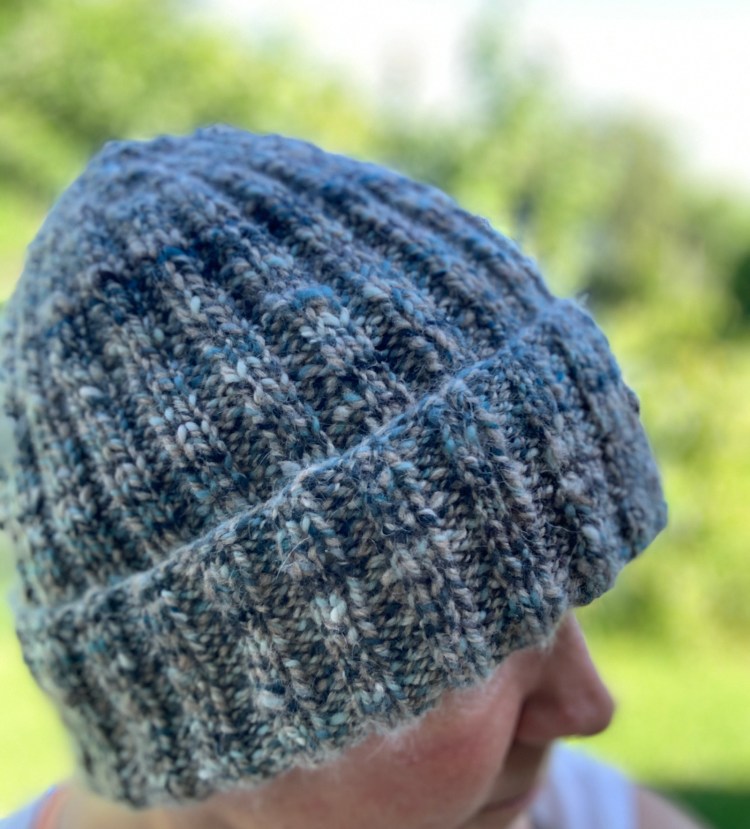
My Practice Hat in Brioche Stitch – which I ripped out
I cast on 80 stitches using worsted wool and this was a good number. The Skipp hat pattern called for fingering yarn, so I tried to estimate with worsted, just to try out the pattern. Before I ripped out the hat, I tried it on and the fit was good. If I ever learn to knit brioche in the round correctly, 80 stitches are a good amount to cast on.
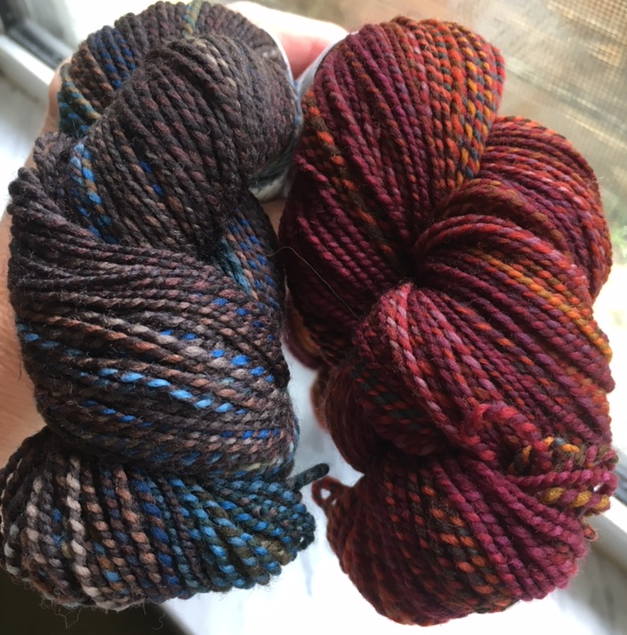
The light gray is unknown yarn and the red is Brooklyn Tweed’s Shelter. I’m using up stash with only a small ball of red yarn left, then I switched to dark blue.
My Brioche Knitting Advice For Beginners
To practice brioche knitting, I’ve found that doing the following makes things easier
- Use worsted weight yarn
- Choose two very opposite colors and NOT variegated
- If you can’t get a good cast on done, do whatever you can so you can just knit! Consider this practice.
Figuring Out Beginning of Round Knits and Purls
Brioche knitting is not really all that difficult, but at the beginning of each round I get very confused. This mainly happens when I don’t see the yarn stitches I’m supposed to see for the next round! I guess I have some kind of mental block because so many people CAN DO THIS! What’s wrong with me?
With only two yarn colors and two types of rows (knits and purls), this shouldn’t be all that difficult. But as a beginner, who makes lots of knitting mistakes, I dreaded that BOR stitch – because it screwed me up….!!!
So here’s how it goes for two yarn colors, and two row changes. This much I understand.
Know your yarn and what it means. My knit row yarn is my MC (main color) which for me is light gray. That makes red yarn my CC (contrast color) and it is my purl row yarn.
- MC Gray yarn = Knit Row
- CC Red yarn = Purl Row
But in brioche, knit and purl rows are not all that obvious unless you know what to look for. This information is for “brioche in the round” because flat brioche is probably different – I don’t know. (Oh yes, I tried that too and still couldn’t accomplish it! – see the free pattern links below for brioche scarves.)
BOR Stitches – The Knit Row
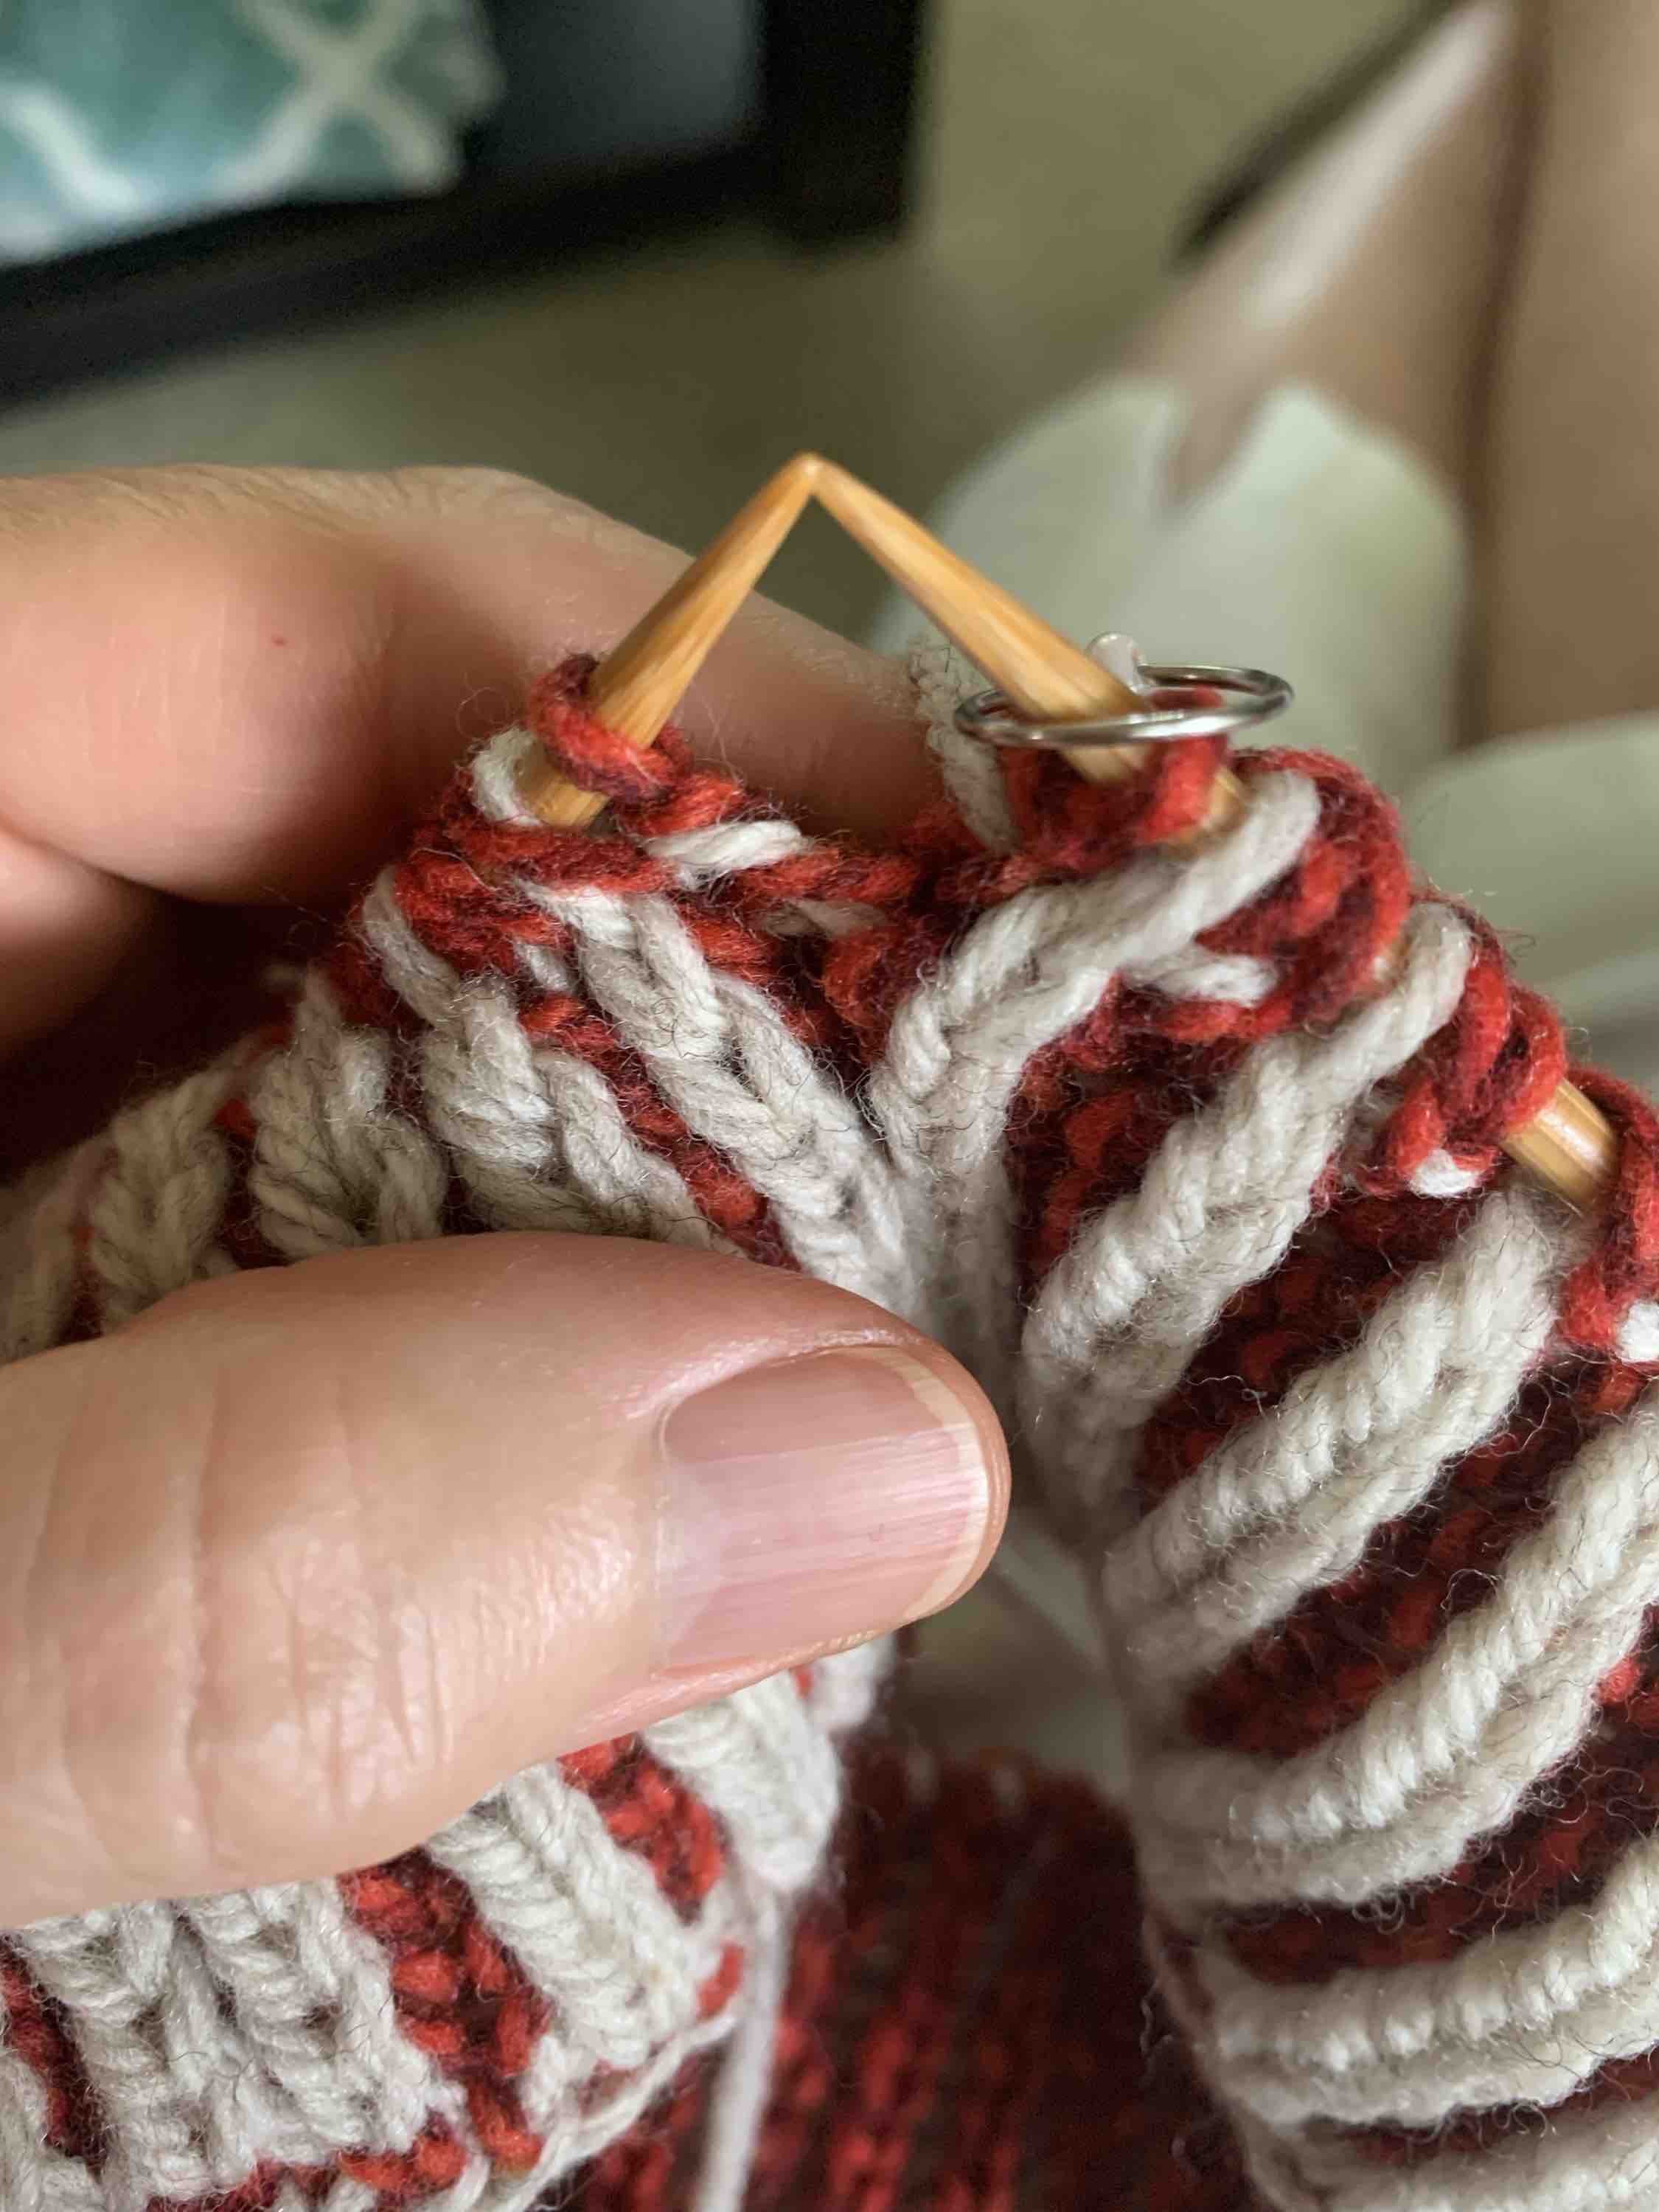
At the BOR, when I see a purl stitch as the first stitch to work (photo below), and it’s in my CC (red) yarn, it means I will be using the MC (gray) yarn for this row. That means it’s a KNIT row.
The knit row is worked as follows: *Gray yarn forward, slip that purl stitch (purl wise). Leave the yarn in front as I pick up the next TWO stitches (a gray and a red stitch – you can see them crossed in the image below) and bring the working yarn up and over the needle to knit those two stitches together. This creates a yarn over (YO) for the next round of knitting. *Do it again until I finishing knitting this round. It helps to repeat this in your head when you get going on the round…yarn front, slip, yarn over purl (2 – counted as one).
It’s not that difficult. It’s basically a slip and k2tog – but those two together are counted as one stitch. The yarn just needs to be in the correct position to create that yarn over with the knit.
BOR Stitches – The Purl Row
My purl row begins incorrectly. This goes back to my difficulties in casting on. If I can’t make the right kind of cast on and join, I won’t have the correct stitch set up!
My photo below is in the middle of the round, but the beginning of the round would start with a knit stitch like this – at least I think it would. A gray knit stitch means I will slip it – using the other yarn color. Dark blue yarn has replaced my red so I am working with the CC color and purling this row.
Work the Purl Round / Row like this: *Yarn forward and slip the knit stitch. Yarn up and over the needle to purl the next two stitches together. *Continue around. Once the purl has been done, the yarn is in the front so just slip the next stitch. Yarn up and over and purl the next two. Pretty simple. Hahahahaha… do I sound insane?

Adding a New Yarn Color
Eventually I ran out of red yarn so I have added a dark blue. The yarn was added at the beginning of a round and it now takes the place of the red yarn. Blue is now my CC.
I’ve made a ton of mistakes on this practice hat, which may not ever end up being a hat (No, it won’t) because I have no idea how to decrease at the top while knitting brioche – Oh Lord, I’m far from being able to do that!

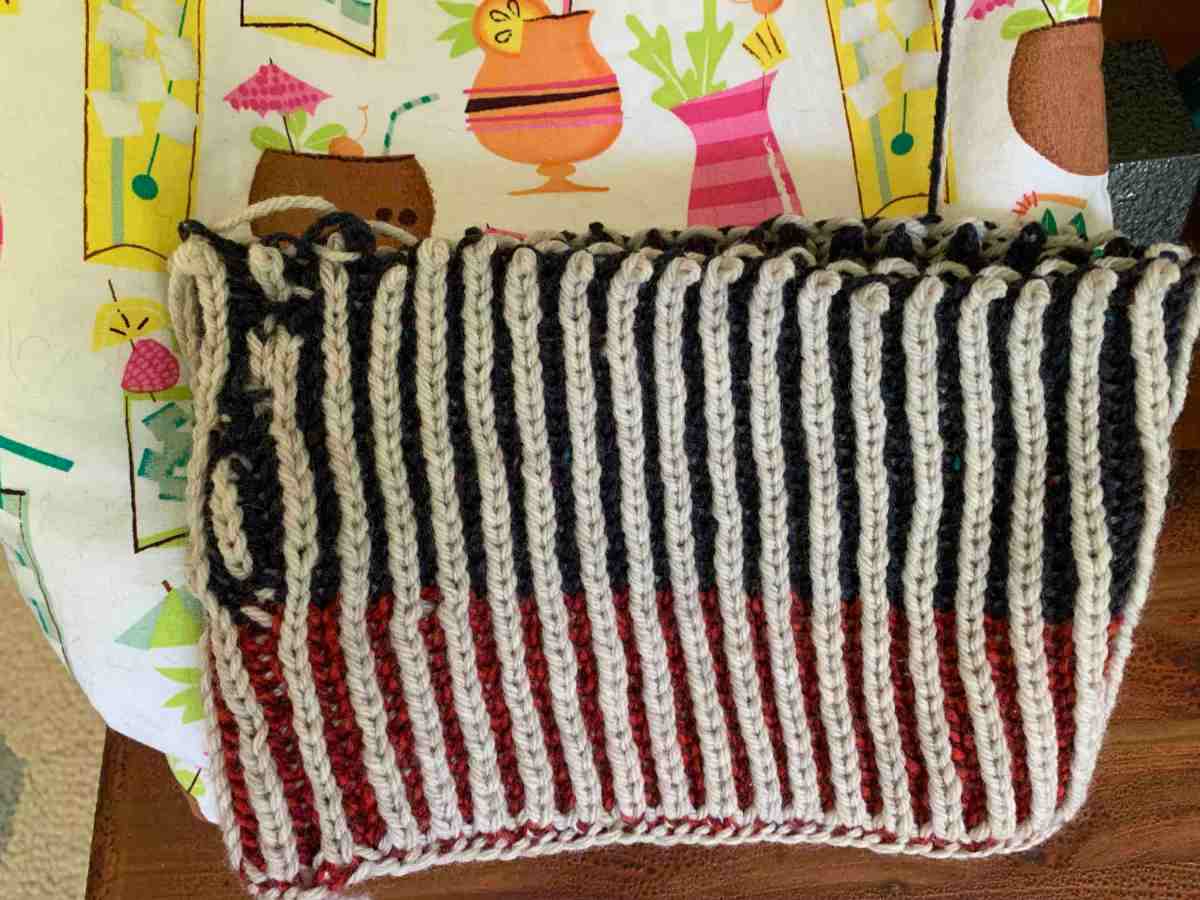
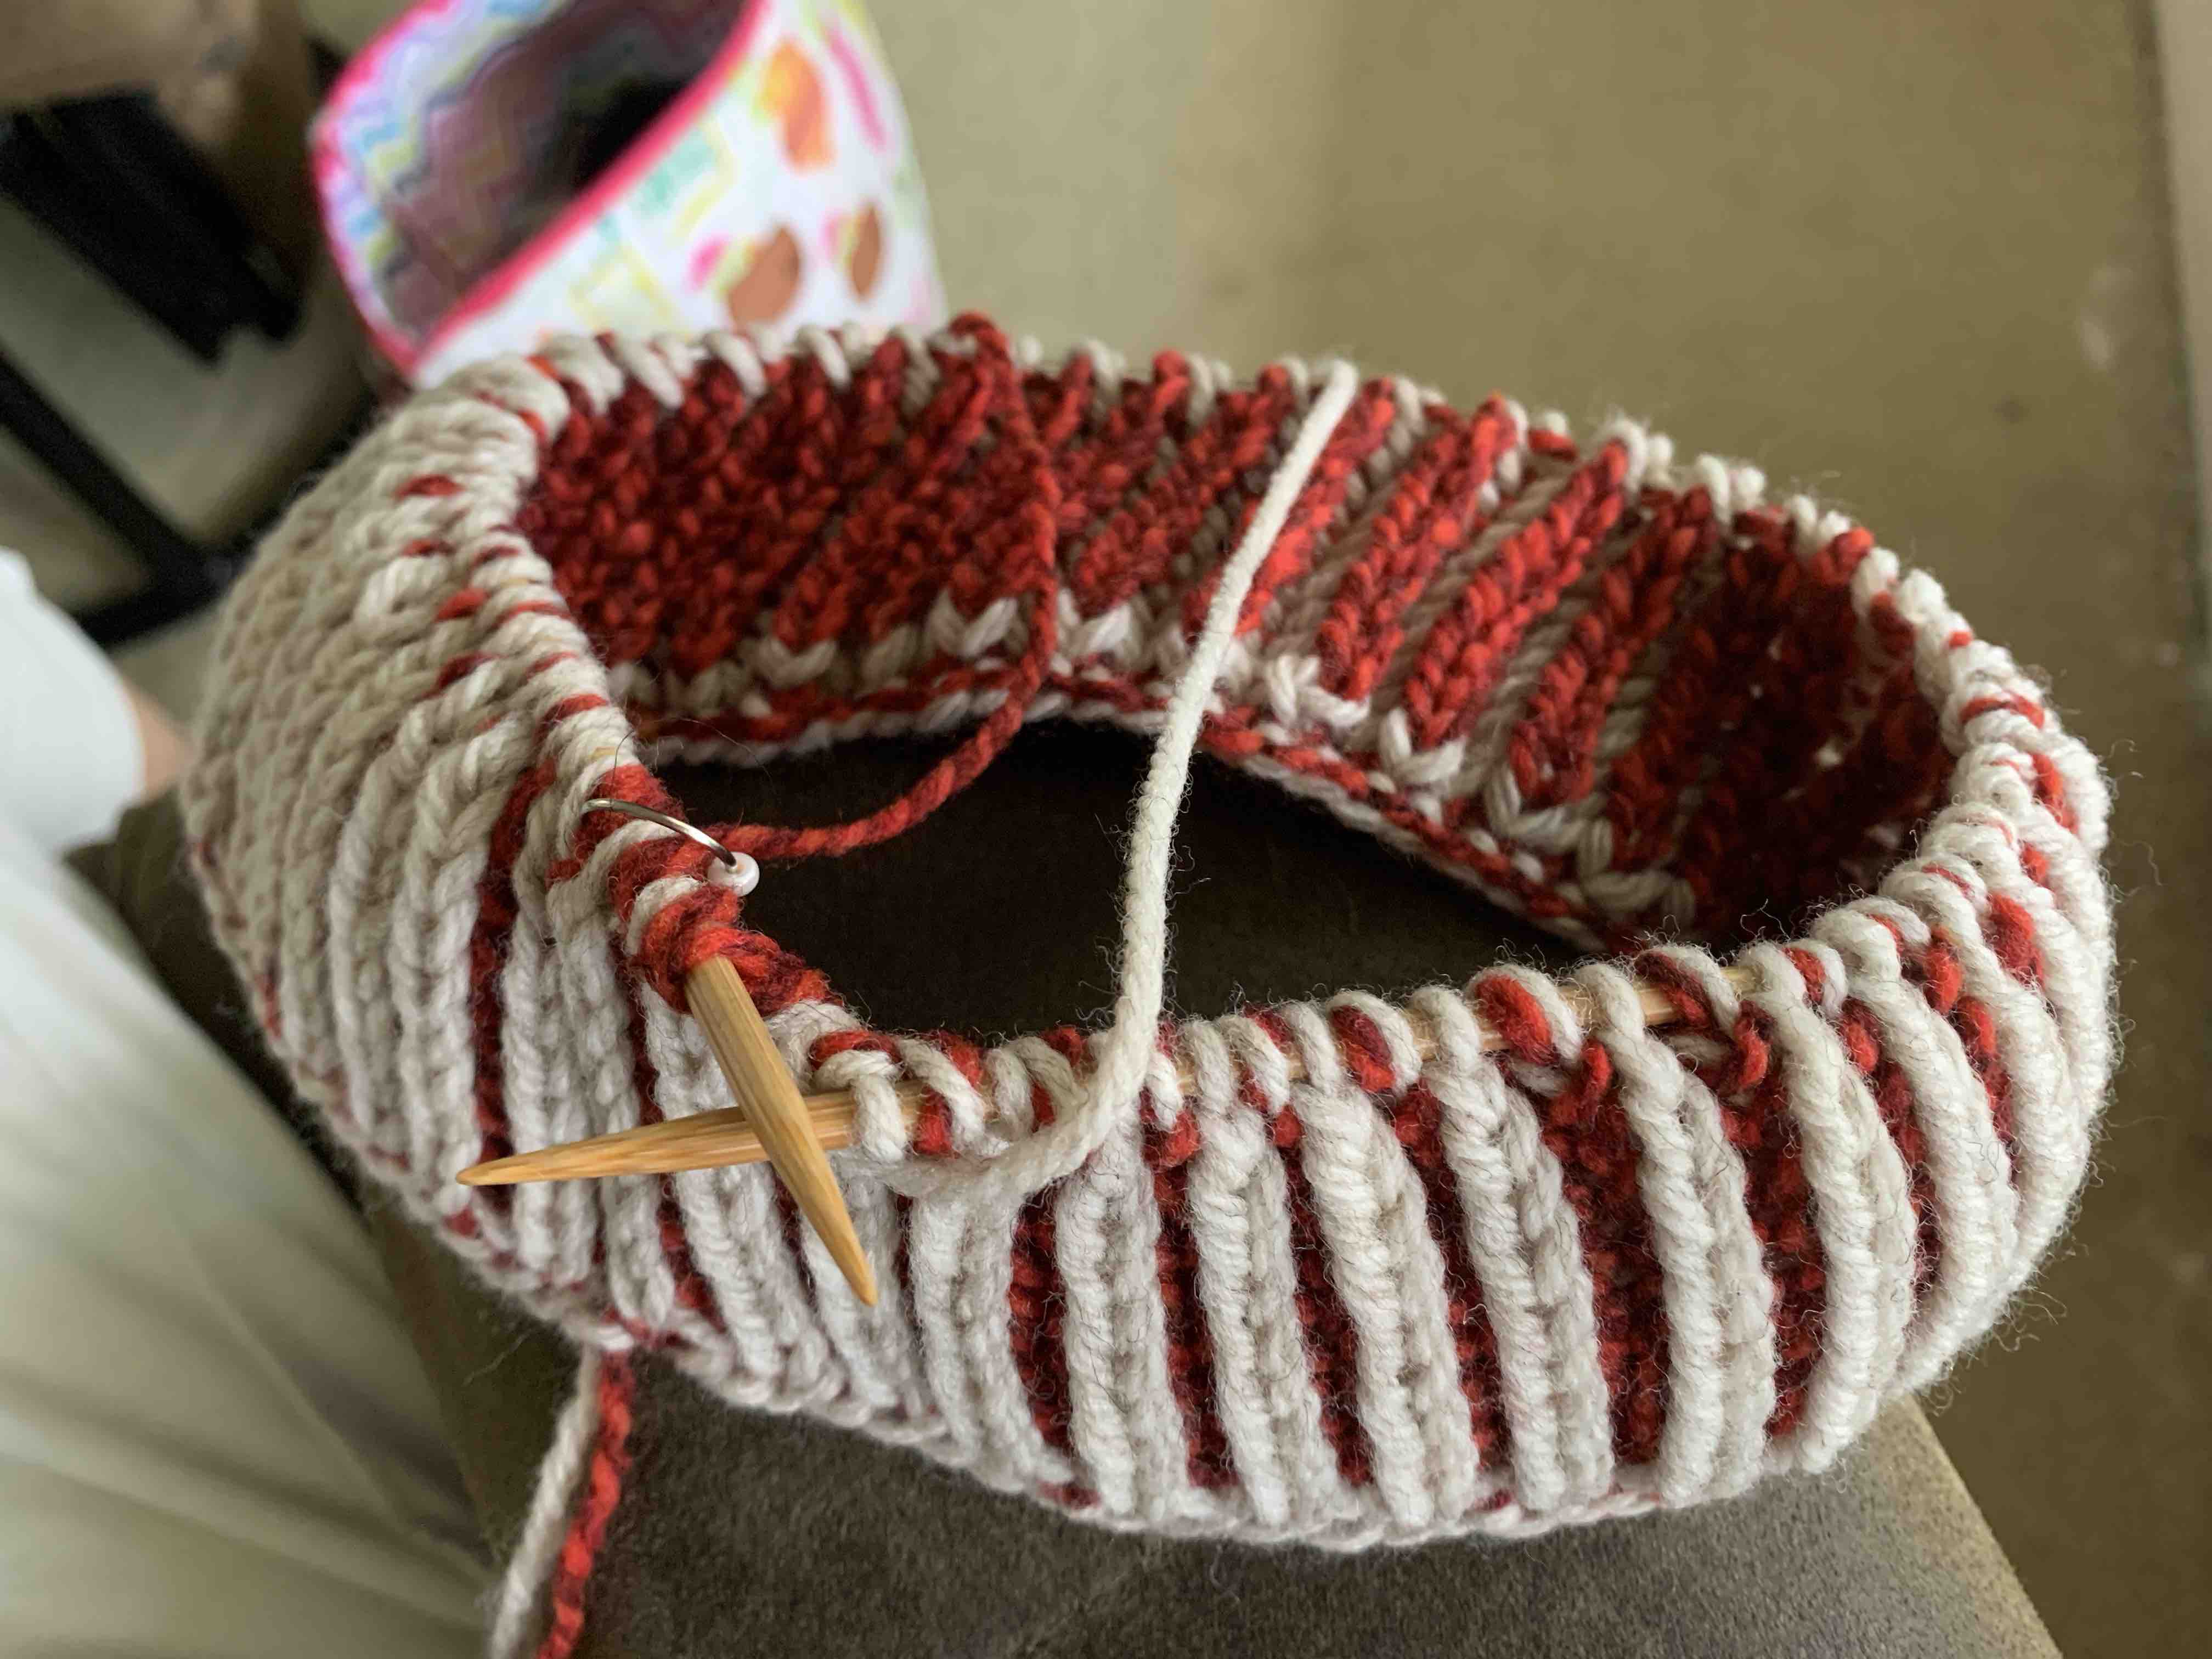
My Brioche Hat Photos, Before I Ripped it All Out
The actual stitches were fun to do, but every now and then I would make a mistake on the round. The Beginning of round stitches, and end of round stitches, did not line up and I would lose it (glass of wine anyone?). Also, it’s easy to not carry the yarn correctly – front or back – which will make unwanted lines of yarn where they shouldn’t be.
This is nearly impossible to fix. Jared Flood suggests adding life lines to brioche and it’s definitely some great advice. See the link to his video below where he shows you how to do that.

This part is okay 
The Reverse 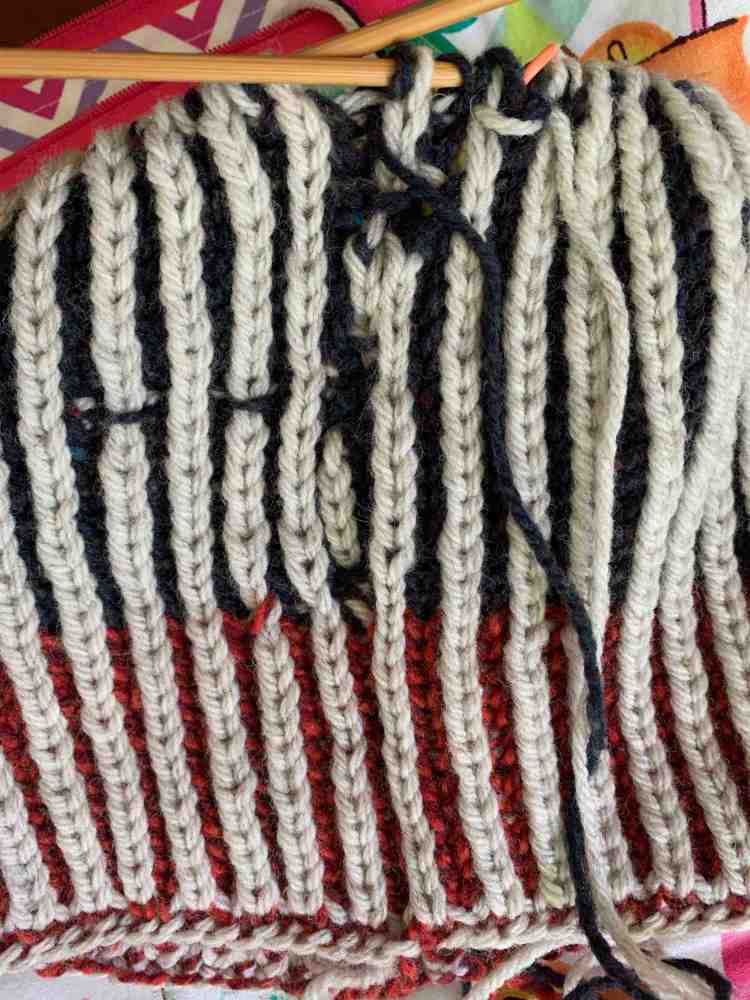
Yikes, that BOR is a Horror Show 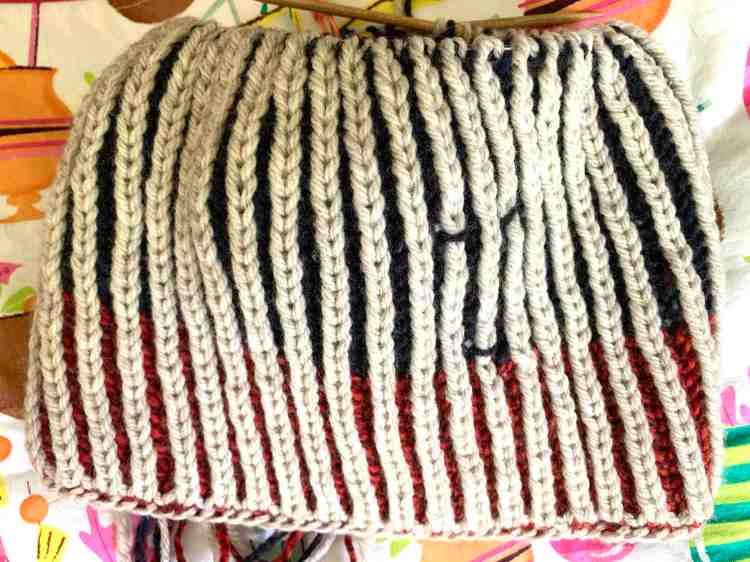
Mistakes in the round 
Two color tubular cast-on 
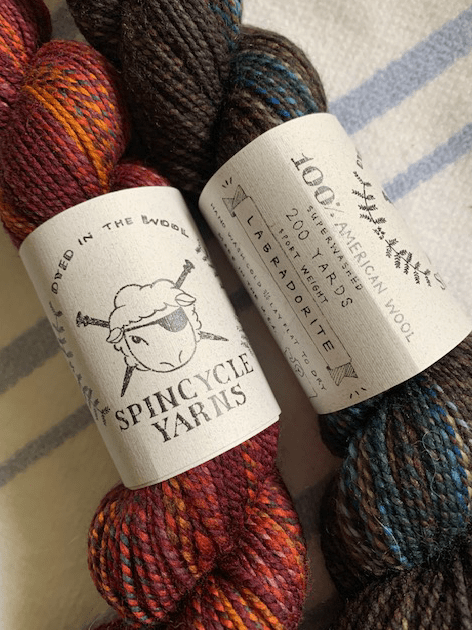
The cast-on’s in my photos above were done following Andrea Mowry’s “Two Color Tubular Cast-On” which is really nice and a great cast-on to master. A couple of rows are knit back and forth before the join and the video is a very good one. BUT… and this is another big BUT… like so many other videos, it stops after the cast on – how do I join? How do I continue to knit from this? There is no explanation. The video ends. So the cast on is as far as I went, and then ripped it out.
Patterns For Practicing Brioche
Some patterns listed here are free, and some are not. I did buy the Jared Flood hat which I couldn’t complete. Then I found some free patterns for knitting brioche flat (should be simple right?), which I also couldn’t complete. It’s so sad that I am incapable. If you can’t do brioche, join my club. I may try again in a couple of years, but at this point I am OVER IT.
I’ve spent nearly two weeks trying to figure this out. I have all these patterns and saved videos to reference for later. I’m not one to give up easily and in general I believe that if others can do it, I can. Not so with knitting brioche.
- FREE – Purl Soho – Brioche Gradient Scarf (this is a flat knitting pattern)
- FREE – Westknits – Bundled in Brioche scarf
- Skipp – Jared Flood – the pattern I bought and began my journey (brioche nightmare)
- Hester’s Hat
- Harlow – Andrea Mowry
Brioche Knitting Tutorials at YouTube
Lots of people have made tutorials for YouTube showing us how to brioche knit. Here is a list of some of my favorites. No videos I came across shows me how to create a good join and knit from there.
- Stephen West
- Brooklyn Tweed – Jared Flood – Brioche in the round – This video is awesome for everything except casting on and joining in the round. Jared explains what to do at the end of the round – with that other color yarn which is just hanging there waiting to be used. He also shows how to add a life line – which is a great idea for knitting something where mistakes could easily be made and be difficult to fix.