Knitting The Neck Ribbing of the “Arco Iris” Sweater

Knitting the ribbing around the v-neck for the Arco Iris sweater pattern.

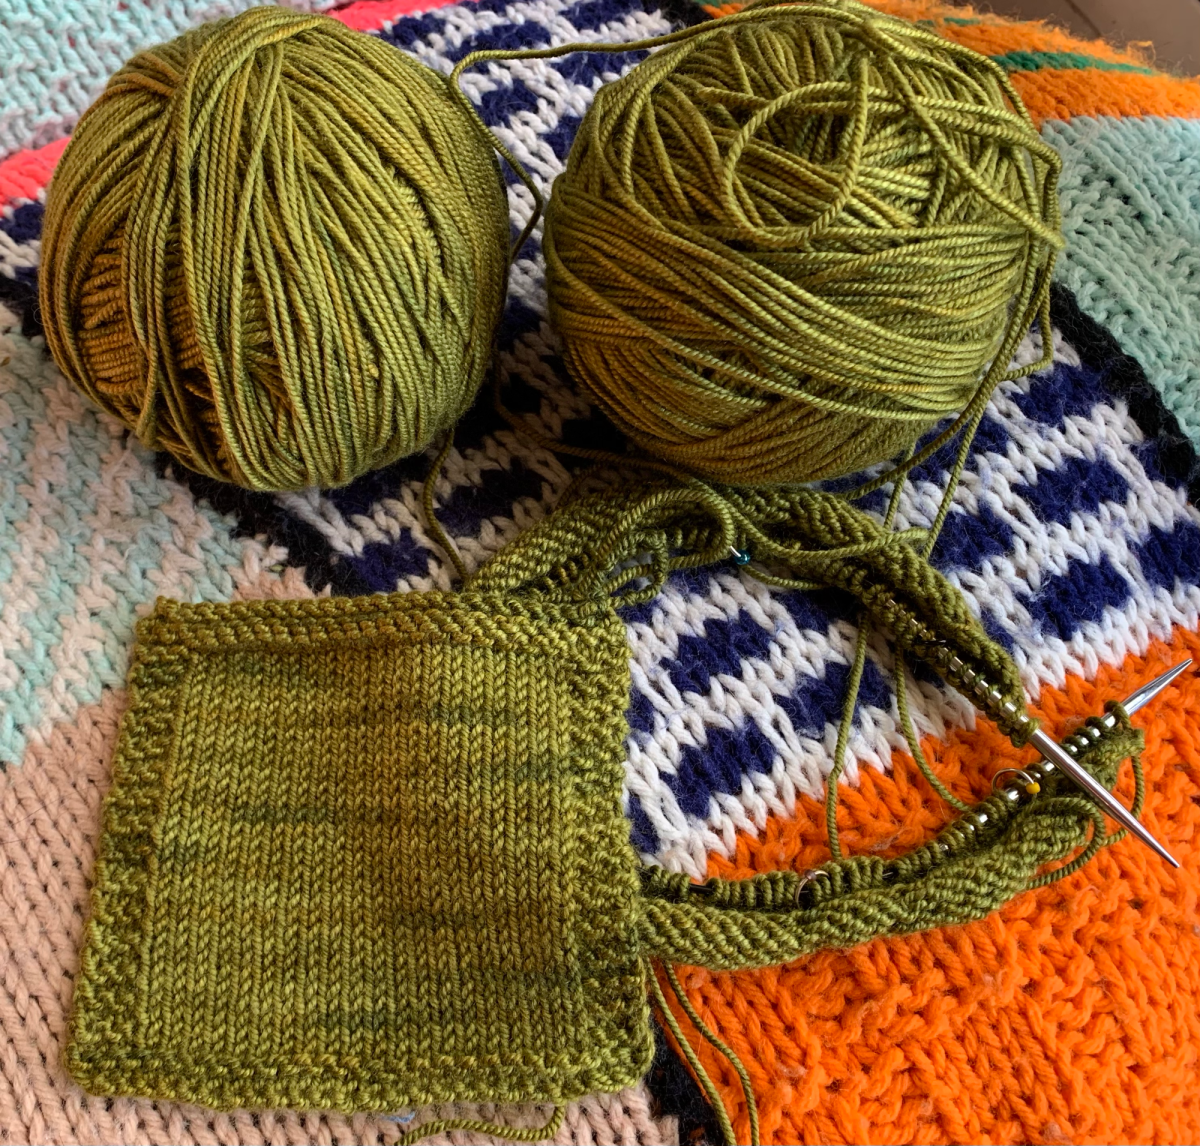
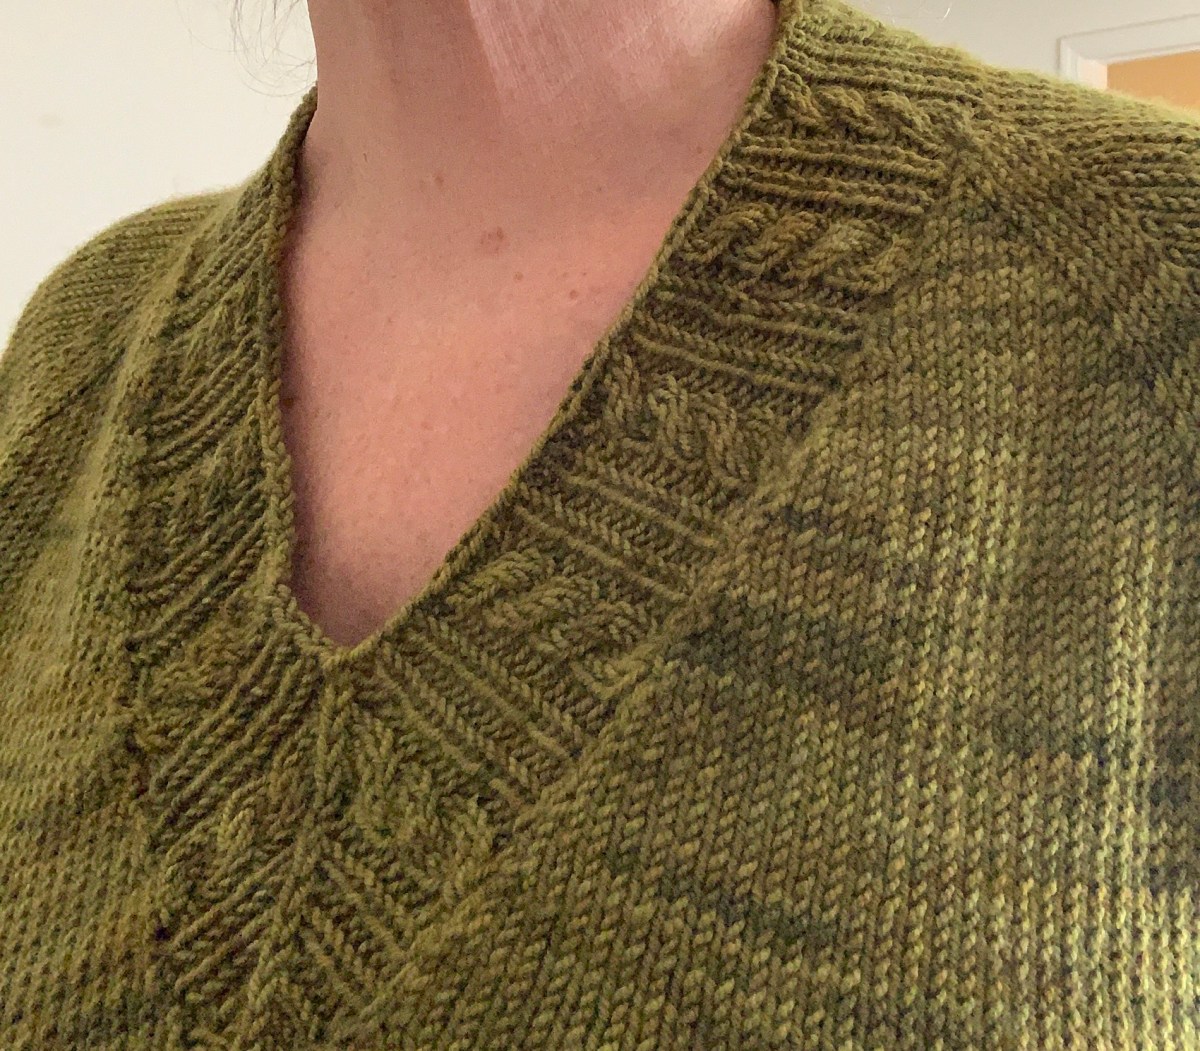
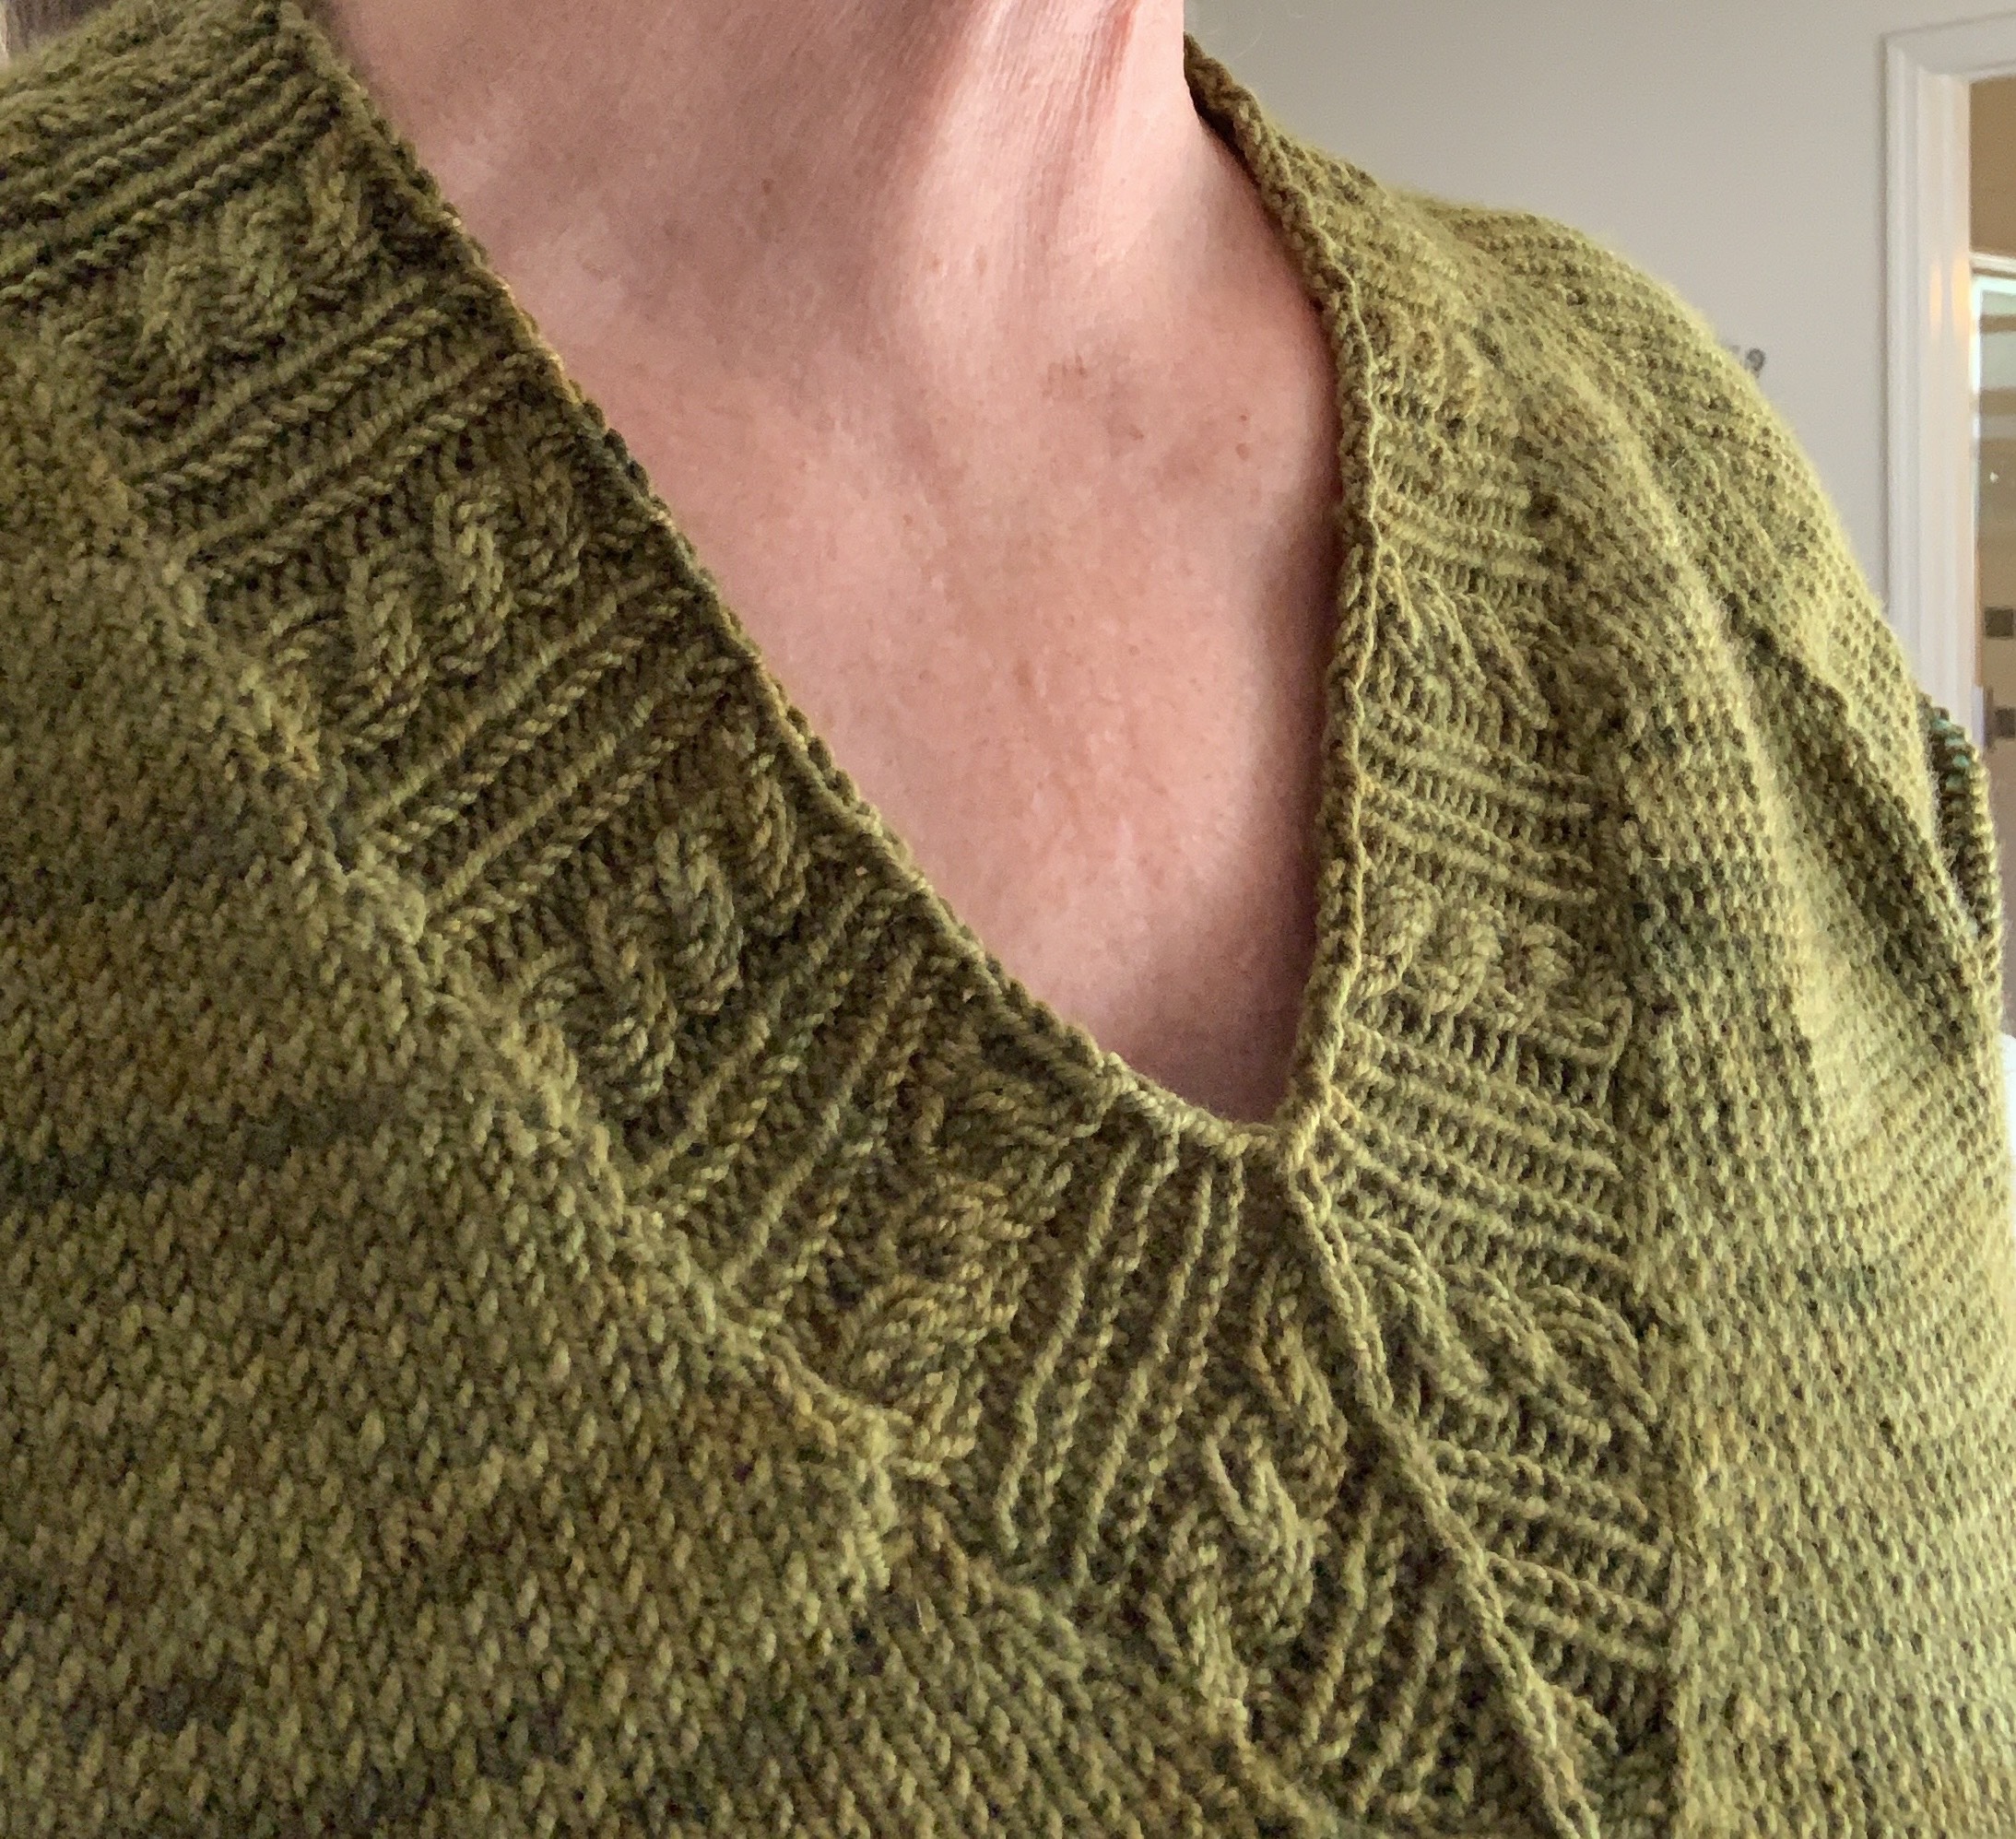
This v-neck sweater, the “Arco Iris”, has a pretty ribbed and cable border around the neck to match the sleeve cuffs and body ribbing.

Once I got the sleeves put on hold, and began knitting the body, I decided to take on that v-neck ribbing. I had a quiet day to myself, and decided not to knit round and round, but take on the challenge of the neckline.

Picking up Neckline Stitches

This pattern tells you exactly how many stitches to pick up for each section of the neckline. I had no trouble picking up stitches for the back of the neck. Each loop was easy to see. But going down, and then up, the V got tricky.

I have decided that I absolutely hate doing this. I came close to throwing the knitting across the room.

For this sweater the stitch count must be exact. The cables and ribbing are done in multiples of 9 / 18. I ripped out my pick ups more than I will admit, and finally gave up and did the best I could.

I ended up 5 stitches short and added those stitches back in (using backwards loop cast ons) when I did the first row around. So my advice to you is to maybe keep this in mind so you don’t go insane.

cats and knitting

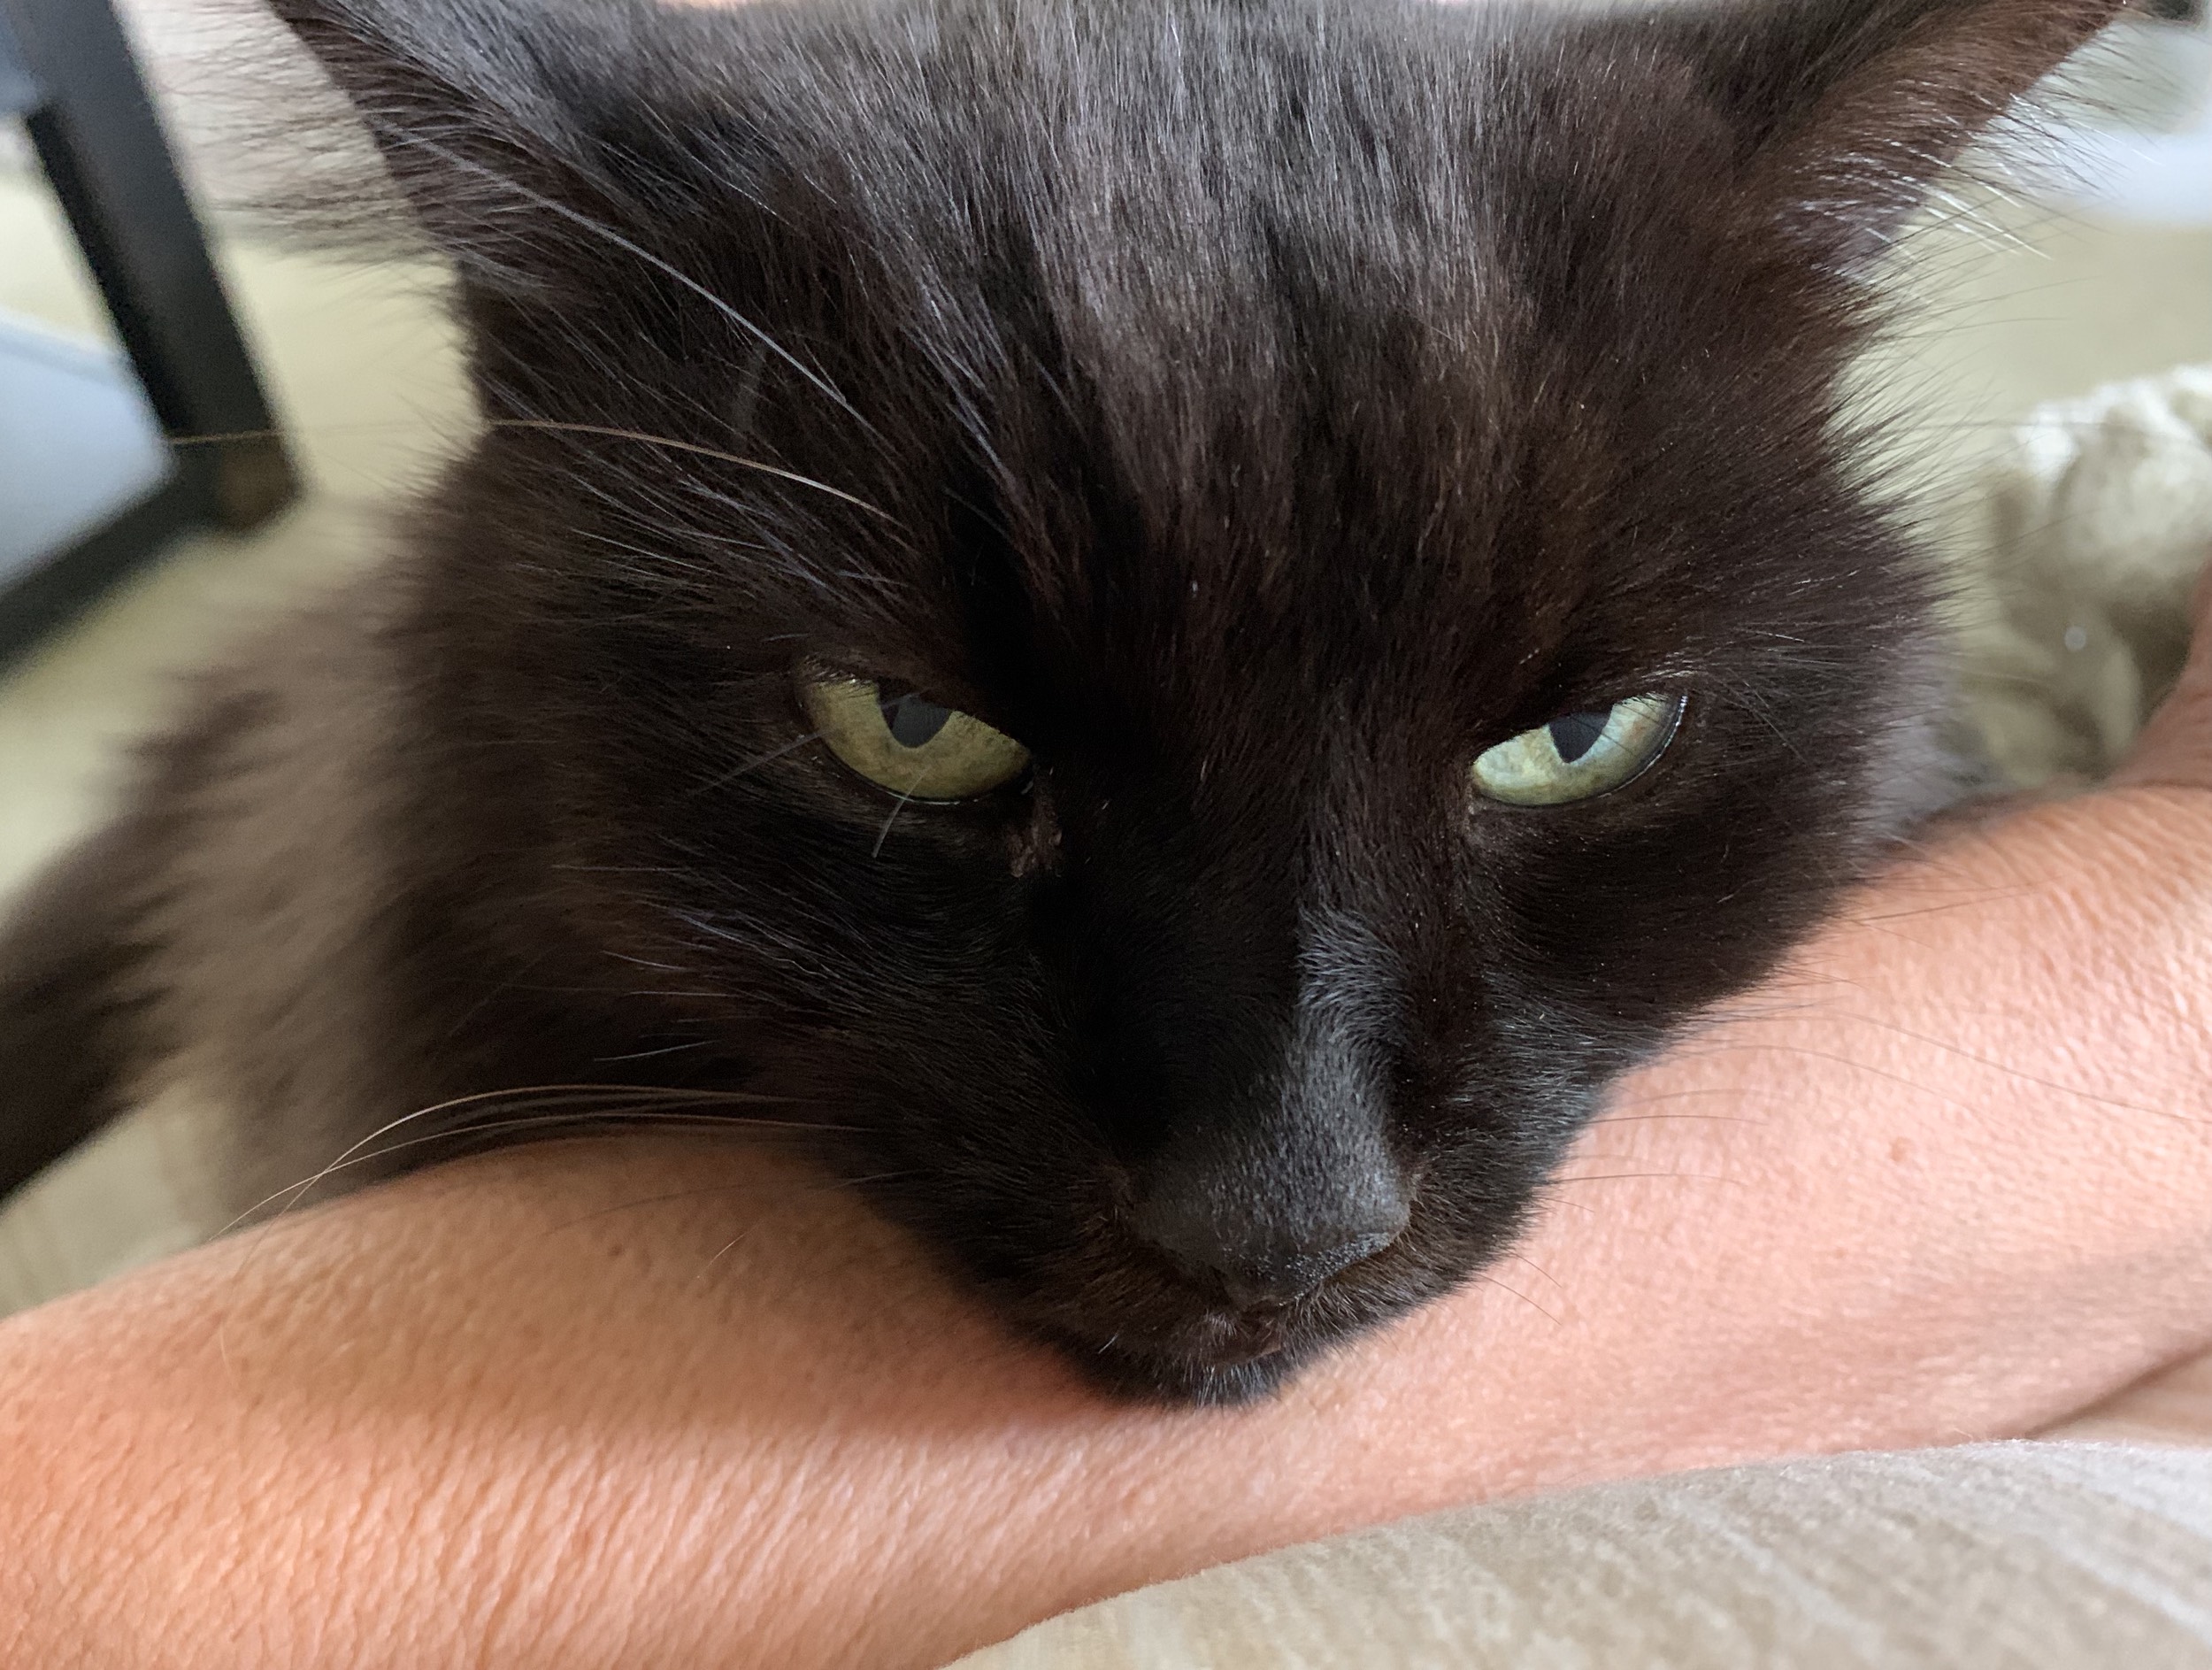
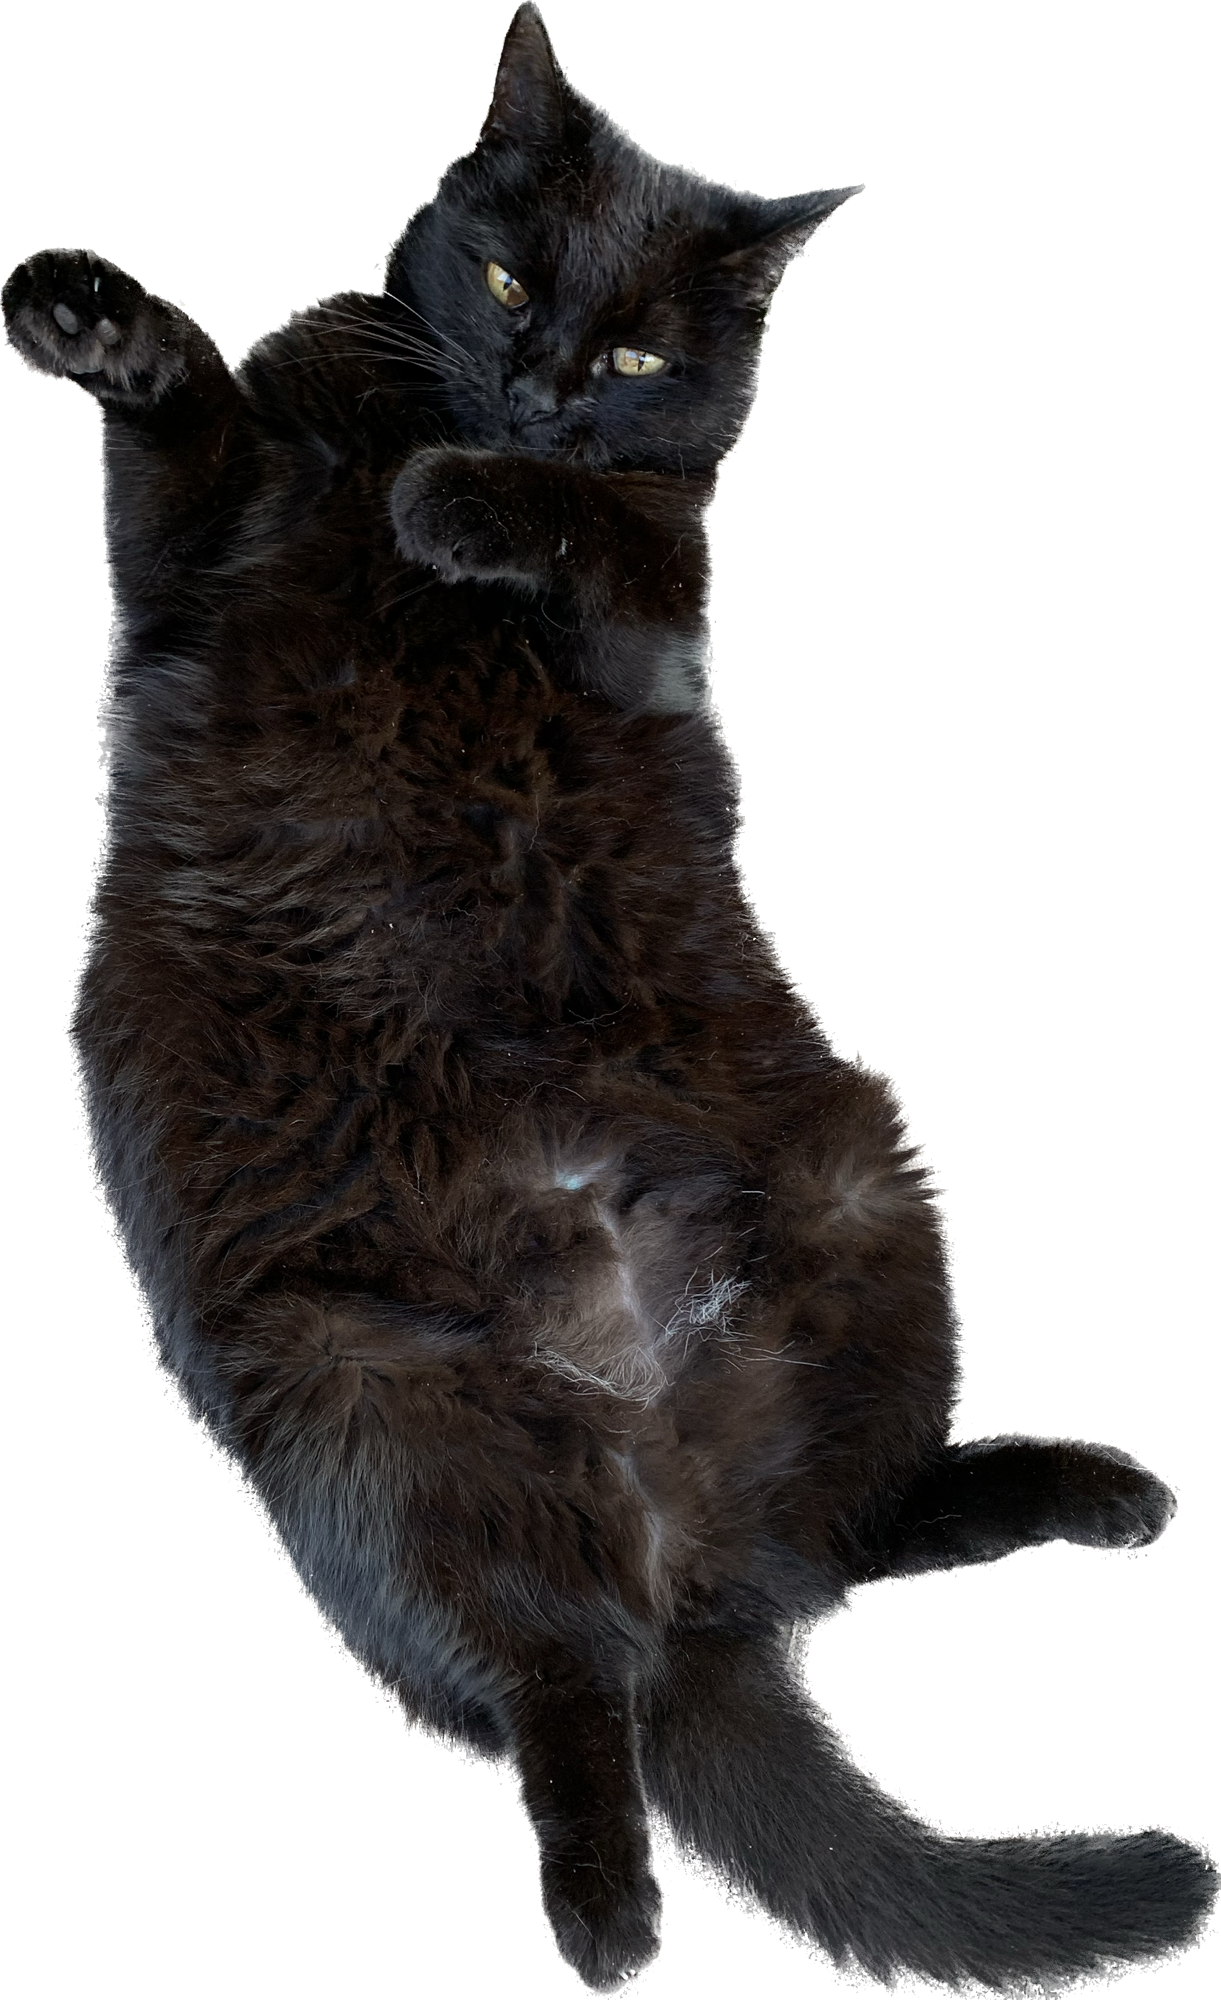
Skittle the Cat had to jump up into my lap at exactly the WRONG TIME. I had dropped a stitch and was trying to fix my problem while the cat insisted that I pet her. All I could do was laugh at the unlikelihood of that. Finally she settled in on my lap and was happy for me to continue knitting.

The first couple of rows of directions on the neck are the set up pattern for the cables and rib. Once that is done, the pattern gets very easy.

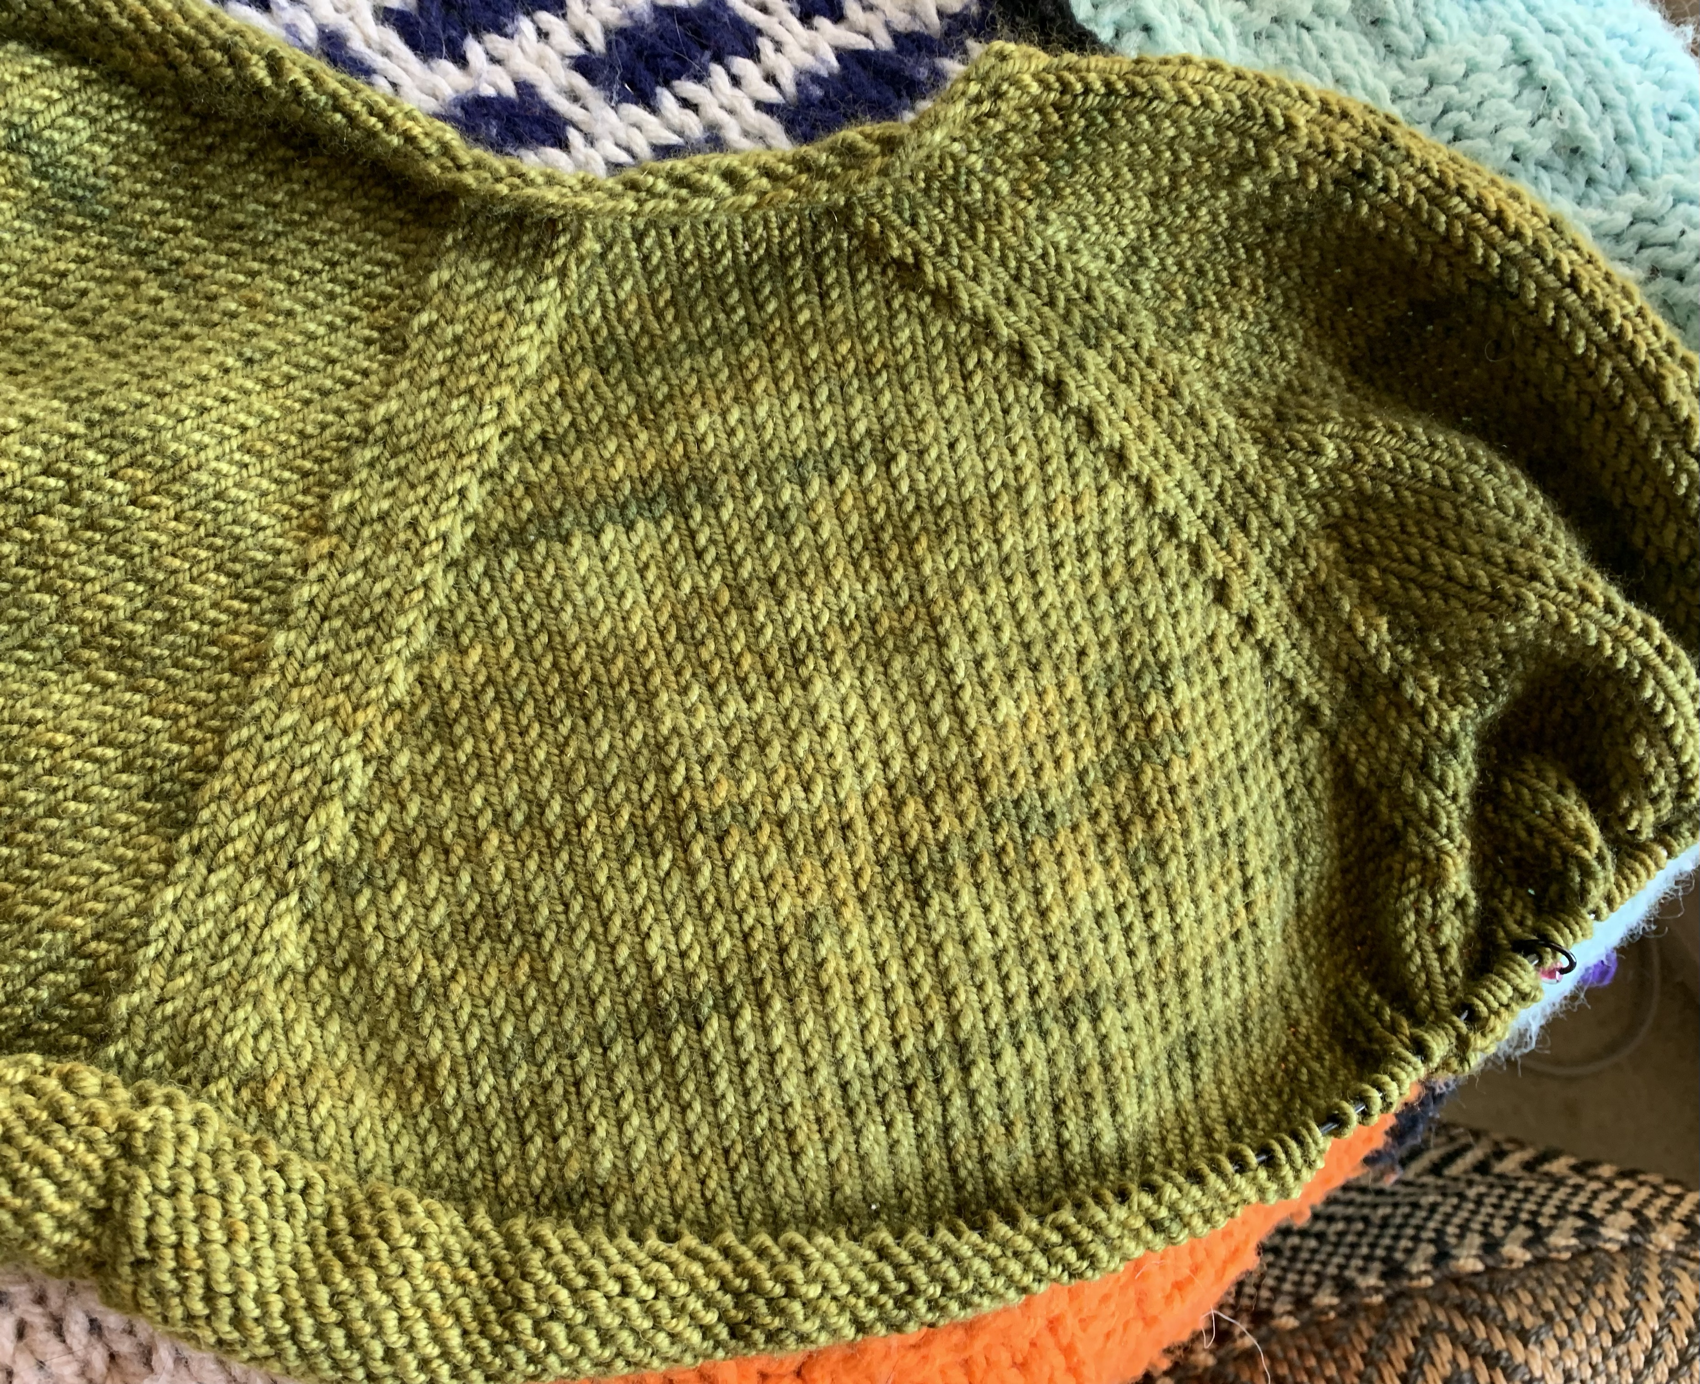
Once I finished the neckline, I put my body stitches onto waste yarn so I could try the sweater on and see how it looks. I actually like it a lot. My cables are off, but once I did one wrong, I had to continue to do it the same (left leaning / right leaning) way. Most people will never notice my mistake.

When you are told to do a “cable crossing every 4th round”, do the cable as you did in the beginning. The “lefts” will always be left. Each cable will be done the same way – with yarn held either to the back or front. If you are not familiar with cables, this could be confusing.

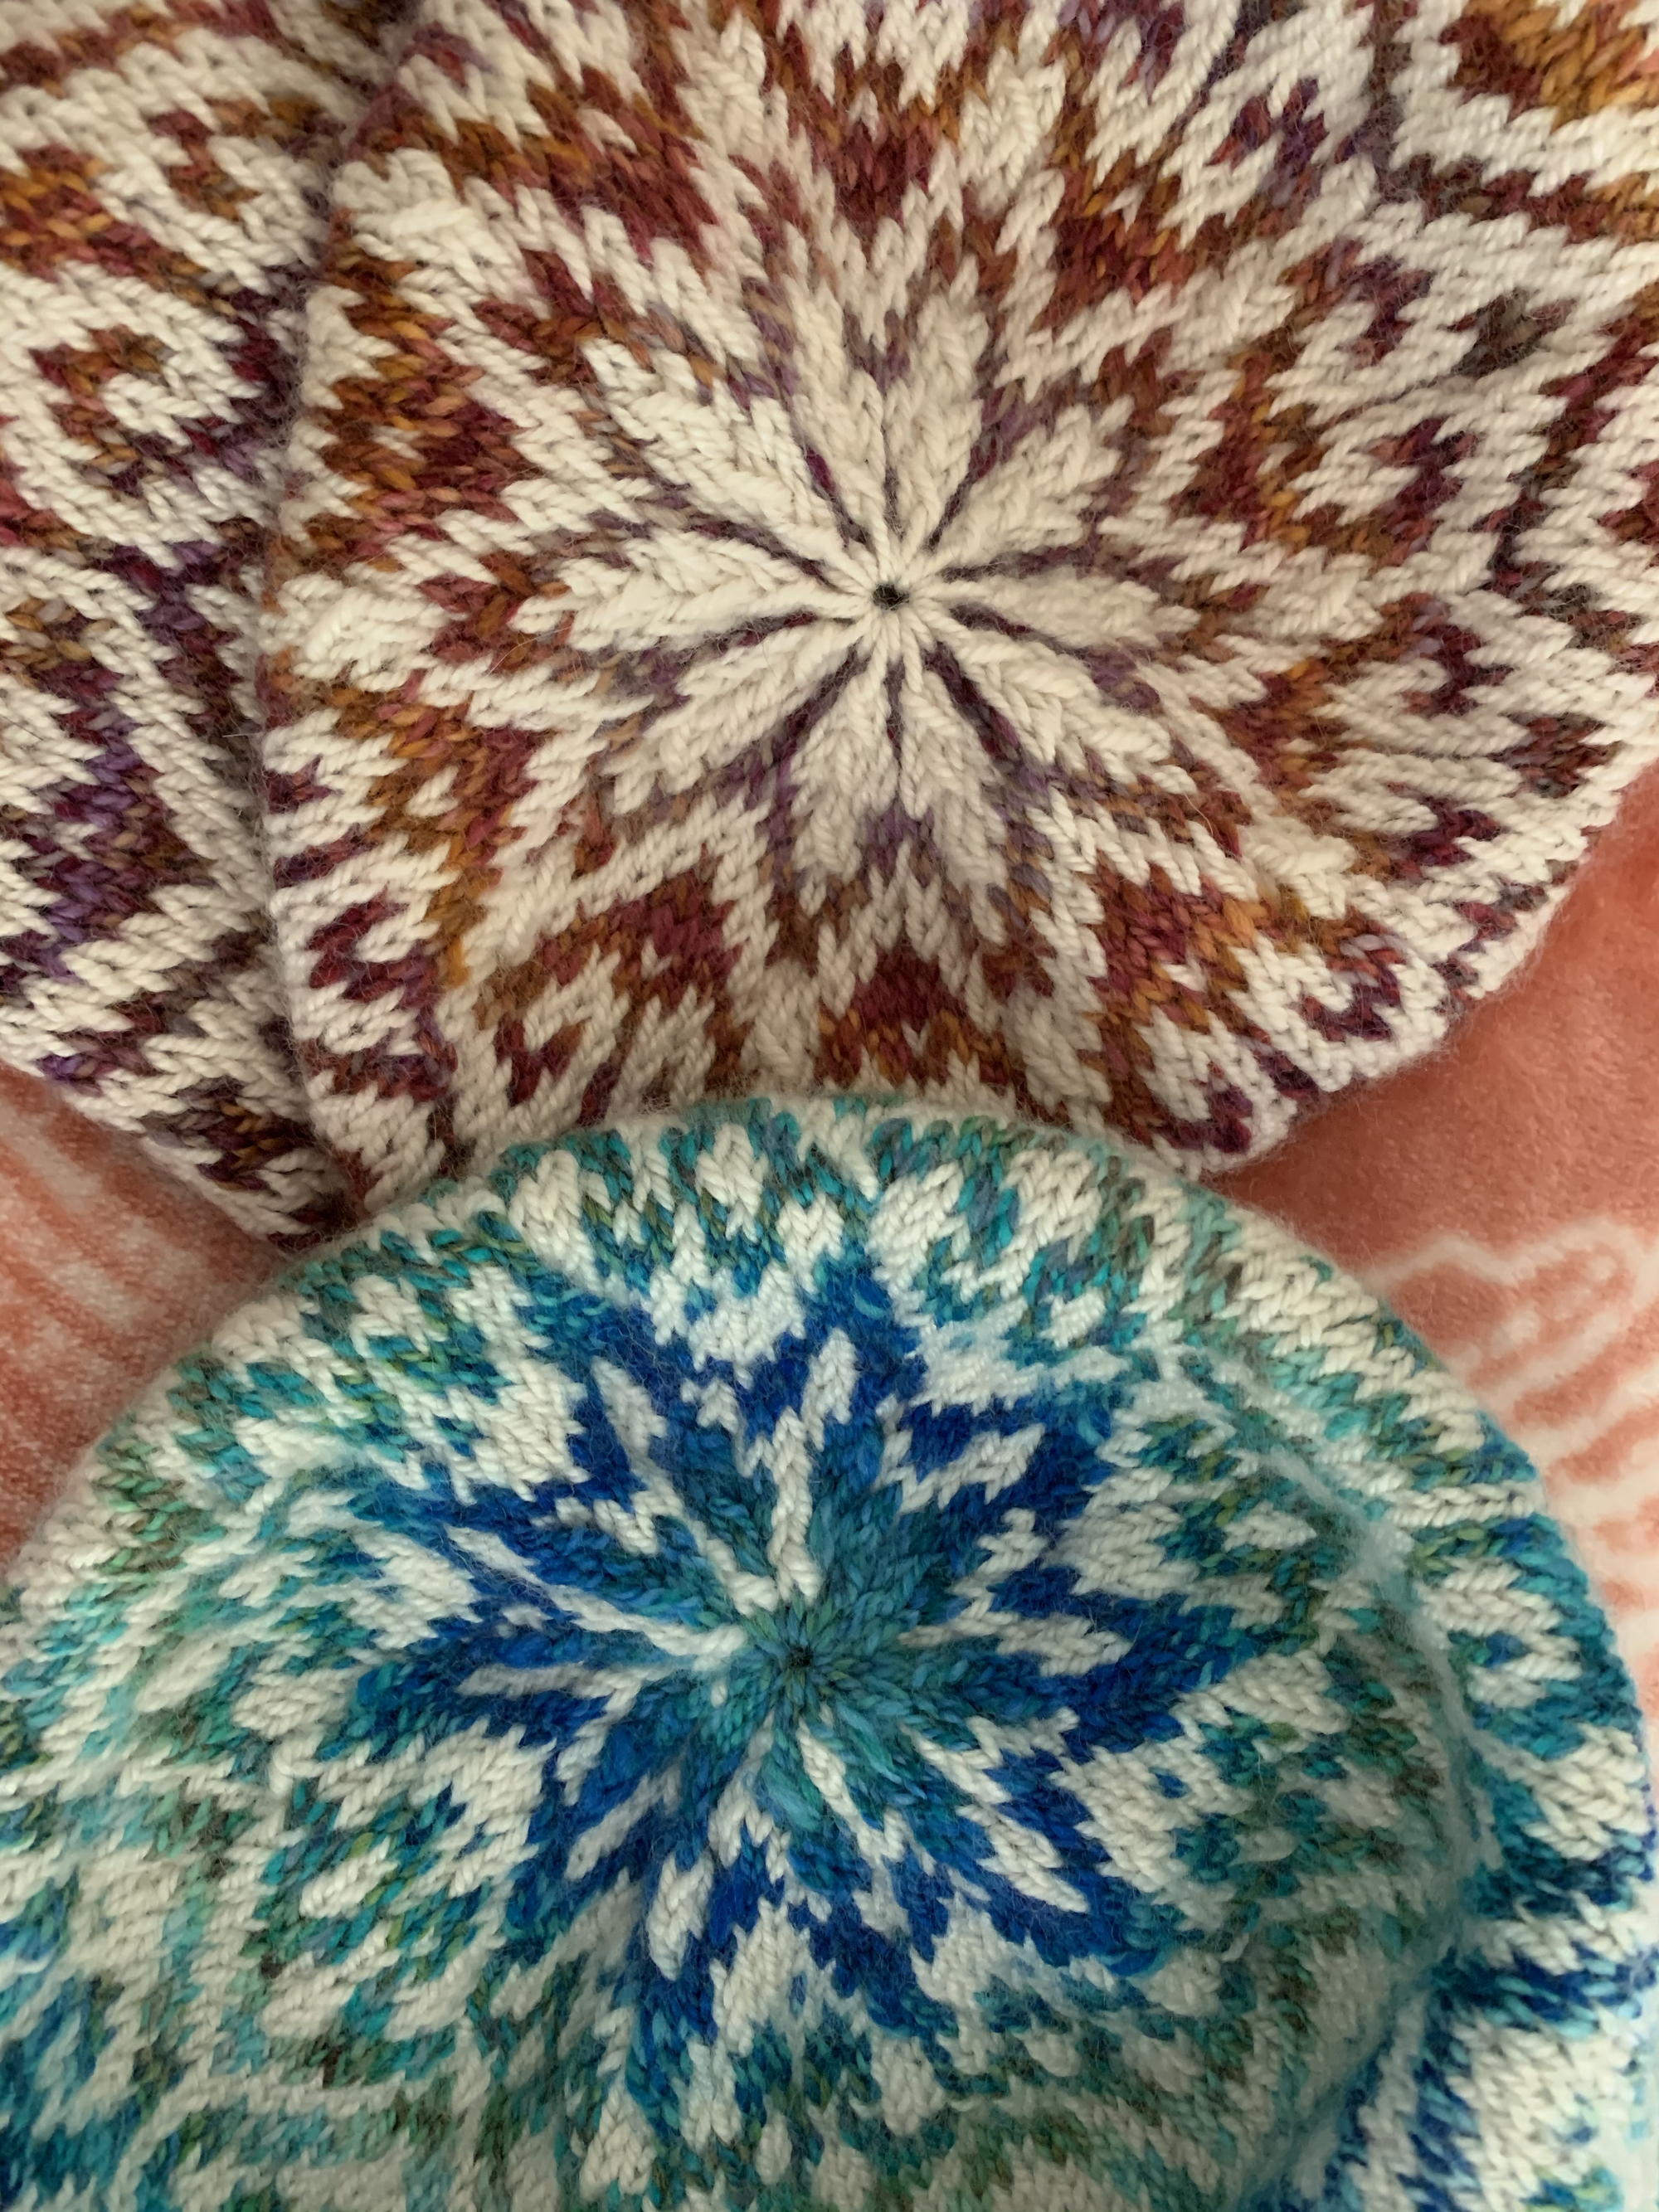
As I knit, the circle for the neck opening kept getting smaller, and I was getting worried, but it ended up perfect. That front part of the V is a decrease, so the circumference gets smaller on every round. I ended up using a 16” circular needle but began with a 24 inch.

Don’t make the bind-off too loose. You won’t want the neckline gaping open. Also, don’t make it too tight!

This pattern is not one of the easiest to follow. I’ve knit quite a few sweaters over the past couple of years. Some were lacking in directions, one in particular I simply hated, and many have been fun and easy to knit. Occasionally there will be a small mistake in a pattern, which is understandable. Common sense may be all that is needed to keep knitting.

I respect the time and effort that knitwear designers have put into creating their patterns. I suppose a designer may assume the knitter will figure it out. But I like to be told specifically what to do when knitting. Usually all it takes it one more sentence to explain.

What About the Test Knitters?

What is a test knitter? Someone who knits the project just as it is written. They look for problems and make sure the pattern is ready for everyone to knit. Usually designers will search for knitters who will make the pattern in a variety of sizes to be sure the pattern works for everyone. The testers are in touch with the designer and communicate any and all problems with the pattern to make it read to sell.

One test knitter included no notes at all. I guess they don’t have to. (I recently finished a Jenn Steingass sweater and she had a ton of test knitters, who did include helpful notes, and that pattern was very easy to follow.)

Test knitter Toriyu had helpful information which I am actually following, but she is the only one with useful notes.

The other test knitters had skimpy notes such as “made the sleeves longer”. Not a single one of them found problems with the purl increases… apparently. Or if they did, they may have told the designer, who knows? All I can say is that I found a few parts of the directions difficult to understand. And I probably would have gone ahead and done the purl increases incorrectly without realizing.

I’m going to leave notes on my Ravelry page incase anyone has my same problems.

There have been 76 projects knit (according to Ravelry numbers as of the date of this writing), or begun, by knitters such as myself, on this sweater. The pattern came out in December 2022, which means it is a new pattern (this is January) and lots of knitters plan to knit it. In the end this should be a beautiful new addition to the wardrobe.

Onward I knit. I’m thinking the most complicated part is behind me.

v-neck sweater Arco Iris
Finished the v-neck before the body and sleeves.

Casting On and Beginning The “Arco Iris” Sweater Pattern

Knitting the Arco Iris sweater pattern by Joji Locatelli using Miss Babs Kunlun yarn in color Moss green.

I couldn’t pass up the Miss Babs yarn sale and grabbed some of my favorite “Kunlun” yarn. My intention was to knit the new Joji Locatelli pattern called “Arco Iris”.

The sweater is a v-neck with 3/4 sleeves and pretty, textured ribbing (pattern link below). It calls for a DK yarn so this merino, cashmere and silk blend should work nicely.

I purchased four skeins of color “Moss”. This was not my first color choice but the Miss Babs sale is popular, so I took what I could find that offered enough skeins (4) for my project. Green is good. It is one of my favorite colors to wear.

My swatch has been knit, washed, blocked and dried. My row count is off slightly as I have about 31 rows in 4 inches and it should be 29. But stitch count is exact, so I’m sticking with the size 6 needle. I will just watch the length. Some articles about swatching say that row problems can sometimes be fixed by changing needle types. I’m waiting for some new wooden Lykke needles to arrive.

Casting on January 12th with two skeins wound and ready to alternate. This is my first Joji pattern.

knitting raglan sweater

Once the 24 inch Lykke needles arrived I switched from the 16 inch metal, which was getting very crowded. The following day the 32 inch arrived and I’m now using that. View Lykke needles on Amazon – this is an affiliate link to the needles I purchased.

I need to say how beautiful this yarn is to work with. Look at those wonderful stitches, all lined up and perfect looking. I don’t know if I’ve ever knit with yarn that is so defined. I’m knitting two rows at a time from alternating skeins to keep the shading good.

So far the pattern is very easy to follow, with lots of stitch counts noted to keep me on track. The increases are easy to remember. There is a lot of purling – every other row – which I personally don’t mind.

Pattern Problem at End of Increases

Now that I have reached Section 3 the body and sleeves are divided and that all went well – until I decided to Tink back to add stitches – see Mods section below. This was not a pattern problem, just my choice.

The first confusion arose in Section 3 in the Note. We are told to continue neck increases “every 4th following row”. Apparently that “following” means the rows to come – from here on out. I would word that differently to be clearer. That means we knit the divider row as Row 1, Purl row is 2 and so on. That has us increasing on a purl row which is not what we have been doing.

The designer lists how to make those purl row increases, but it seems the directions for them are wrong. A fellow knitter left a comment on the pattern page that the the m1pl and m1pr definitions in the “abbreviations” section were incorrect. I checked that out by watching this Purl Soho video about how to do both increases. I have to agree that the designers directions for these increases are incorrect.

It also took me a bit to figure this all out. A couple of simple sentences could have made all this much clearer for me. Then again, maybe I am the only one who didn’t get it. It’s possible.

Mods

One test knitter (Toriyu) mentioned casting on extra stitches for the body when dividing the sleeves – even though her size did not include this. My size 4 directions also say to cast on Zero. So I tinked back to the separation row and cast on six stitches under each arm for a total of 12 extra stitches. I did this because I don’t want the body to be tight. The test knitter then decreased those extra stitches as she knit down the body.

To Be Continued

My next Arco Iris post is about knitting the v-neck ribbing with the cables. I decided to knit the neckline before I finished up the body. You can read that here.

Happy knitting!

Fontana’s face

More From the Blog

Lots of Changes This Year

Writing a blog, sharing photos, and doing research and making links takes time. Lately I don’t think the time spent doing all that is worth enough to continue. I…

Keep reading

A Crazy Tech Discovery

How to easily isolate an image from iPhone photos.

So, I’m knitting the Brodgar poncho and took some photos of my progress.

As I was scrolling through the photos on my iPhone something happened.

My photo began to light up with an outline moving around the subject (my knitting) in the photo.

Original photo

I chose the “Share” option from the pop up, and sure enough the isolated image came up in my Air Drop. That moving line took out the background and gave me only the knitting part of the photo – isolating the subject.

Photo with original background replaced!

Lightly touch the photo and the glowing, moving line will appear. Choose a photo with an obvious subject. It’s magic!

I don’t know if this was part of a recent Apple update or if I’ve had this ability all along, but it’s pretty cool and I’ve never seen it before.

Just for fun, I took the poncho knitting image and added a new background using Pixelmator.

This opens up some great possibilities for my graphic design work.

I’m a tech imbecile, so this might be old news for many. For me, it was a crazy way to begin my day. I wanted to play with it some more, but had to get to work.

Top of post: Starfish on the beach phone case is available to Buy Here.

One more time….isolating Skittle the Cat

Keep reading…

Getting My Kunlun at End of Year Yarn Sale

Specialty yarn is on sale at the end of the year in Miss Babs shop and I took advantage of that sale.

End of year yarn sales can become overwhelming without a buying plan. Lack of money is usually my plan! Haha… but seriously, the one sale I’ve come to look forward to the most is at Miss Babs.

Without knowing much about the knitting world, I jumped in and joined a KAL (knit along) and Miss Babs yarn was suggested. We knit a shawl using lace stitches and amazingly enough I was able to do it. See my Vine Pops shawl here. It is when I discovered how lovely Miss Babs’ yarn is.

Customer Care

Not only was the yarn super soft and easy to work with, but some of the knitters were running out of yarn for the project. Miss Babs jumped in and offered some help in some form, which I can’t recall now. It was certainly not something they needed to do, and it was above and beyond. All the knitters were all impressed, and thankful for the offer. (I know this from reading the KAL forum). This was when I realized that this company was run by involved people.

Sometime after that I knit the Fine Sand sweater and once again used Miss Babs yarn (Tarte). Someone from the company actually left a comment on my sweater on Ravelry. I have never had another yarn company do that.

I’ve written about this before, but yarn orders come wrapped in tissue with little stitch marker gift. Also included is a small braid of yarn to use to create a little swatch. Who doesn’t like to feel like an appreciated customer?

The Yarn

At some point I ordered some un-dyed Kunlun yarn. It was probably part of a sale, because I had no plans for it. Eventually, I used it when I made two hats for my daughter and my son’s girlfriend. The white in these hats is the Kunlun yarn (it is combined with some variegated handspun I had purchased). They are the softest hats I’ve ever made. My daughter wears hers all the time.

This is how I fell in love with Kunlun yarn. The yarn contains 70% merino wool, 15% cashmere and 15% cultivated silk. No wonder it is so soft and lovely… and expensive. Each skein is $42 at the time of this writing, so I wait for a sale.

This year I had a project planned. I needed four skeins of Kunlun for this project. I looked online at the colors and had chosen a few favorites, then waited. I wasn’t sure when the sale would begin, but I get the Miss Babs newsletter in my e-mail and figured it would be coming soon.

One night, as I was scrolling through Instagram, I saw a mention of someone ordering their Miss Babs sale yarn… ! Yikes, I was late to the sale. That is all it took for my favorite yarn colors to be sold out! I was one day (possibly only hours) late…!!

I did not give up. I got up, in the middle of the night (this is when I can’t sleep and scroll instagram) and went online to find some Kunlun. I ended up with some Moss green yarn and it is very pretty. I’ll be using it soon to knit Joji Locatelli’s “Arco Iris” sweater.

Kunlun yarn in Moss green

So, did any of my fellow knitters grab some Miss Babs sale yarn? I’m sure I won’t be waiting another whole year before I buy from Miss Babs. I see they have new worsted weight wool (non-superwash) yarn now called Intrepid. I also love Tarte, which I used for a sweater and is able to be machine washed. This yarn is great for knitting gifts for people who will never hand wash anything! I’ve also used the Yummy 2-ply when I knit the Bay’s Edge shawl. There is a lot to like in this shop.


Recent posts from the blog