Knitting the Warm Up Sweater Number Three

Knitting the Warm Up sweater number three. Peace Fleece wool yarn in color Siberian Midnight. Here’s how I made the modifications.

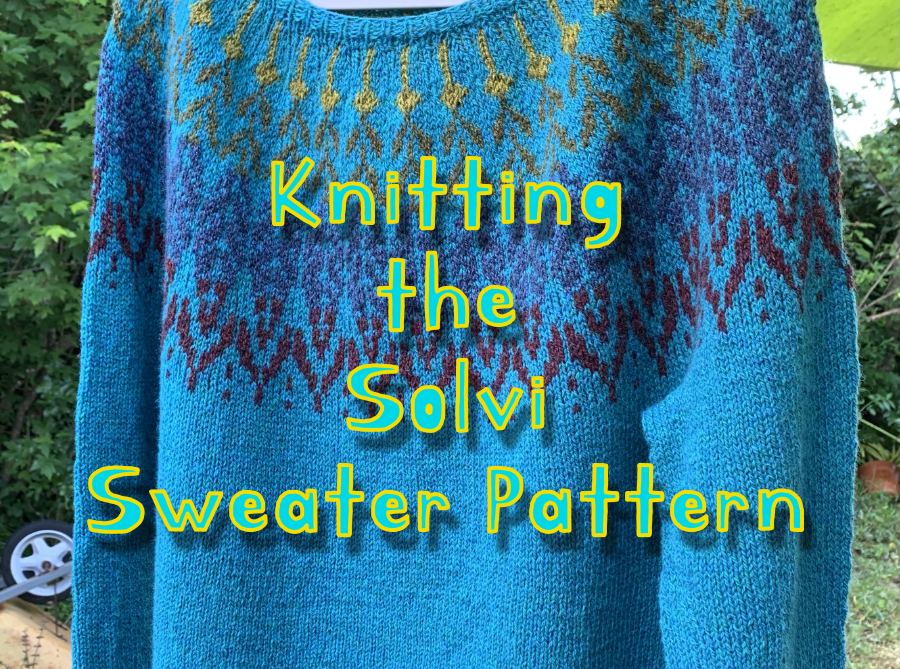
For a few months now I’ve had some beautiful Peace Fleece yarn sitting in my yarn stash. Finally, I could wait no longer and cast on for the Warm Up sweater. This is Warm Up number three for me.

Warm Up Pullovers One and Two

The first pullover was knit using Lettlopi Icelandic wool, in wide brown stripes. The second pullover was made using Peace Fleece, and I also knit it in wide stripes.

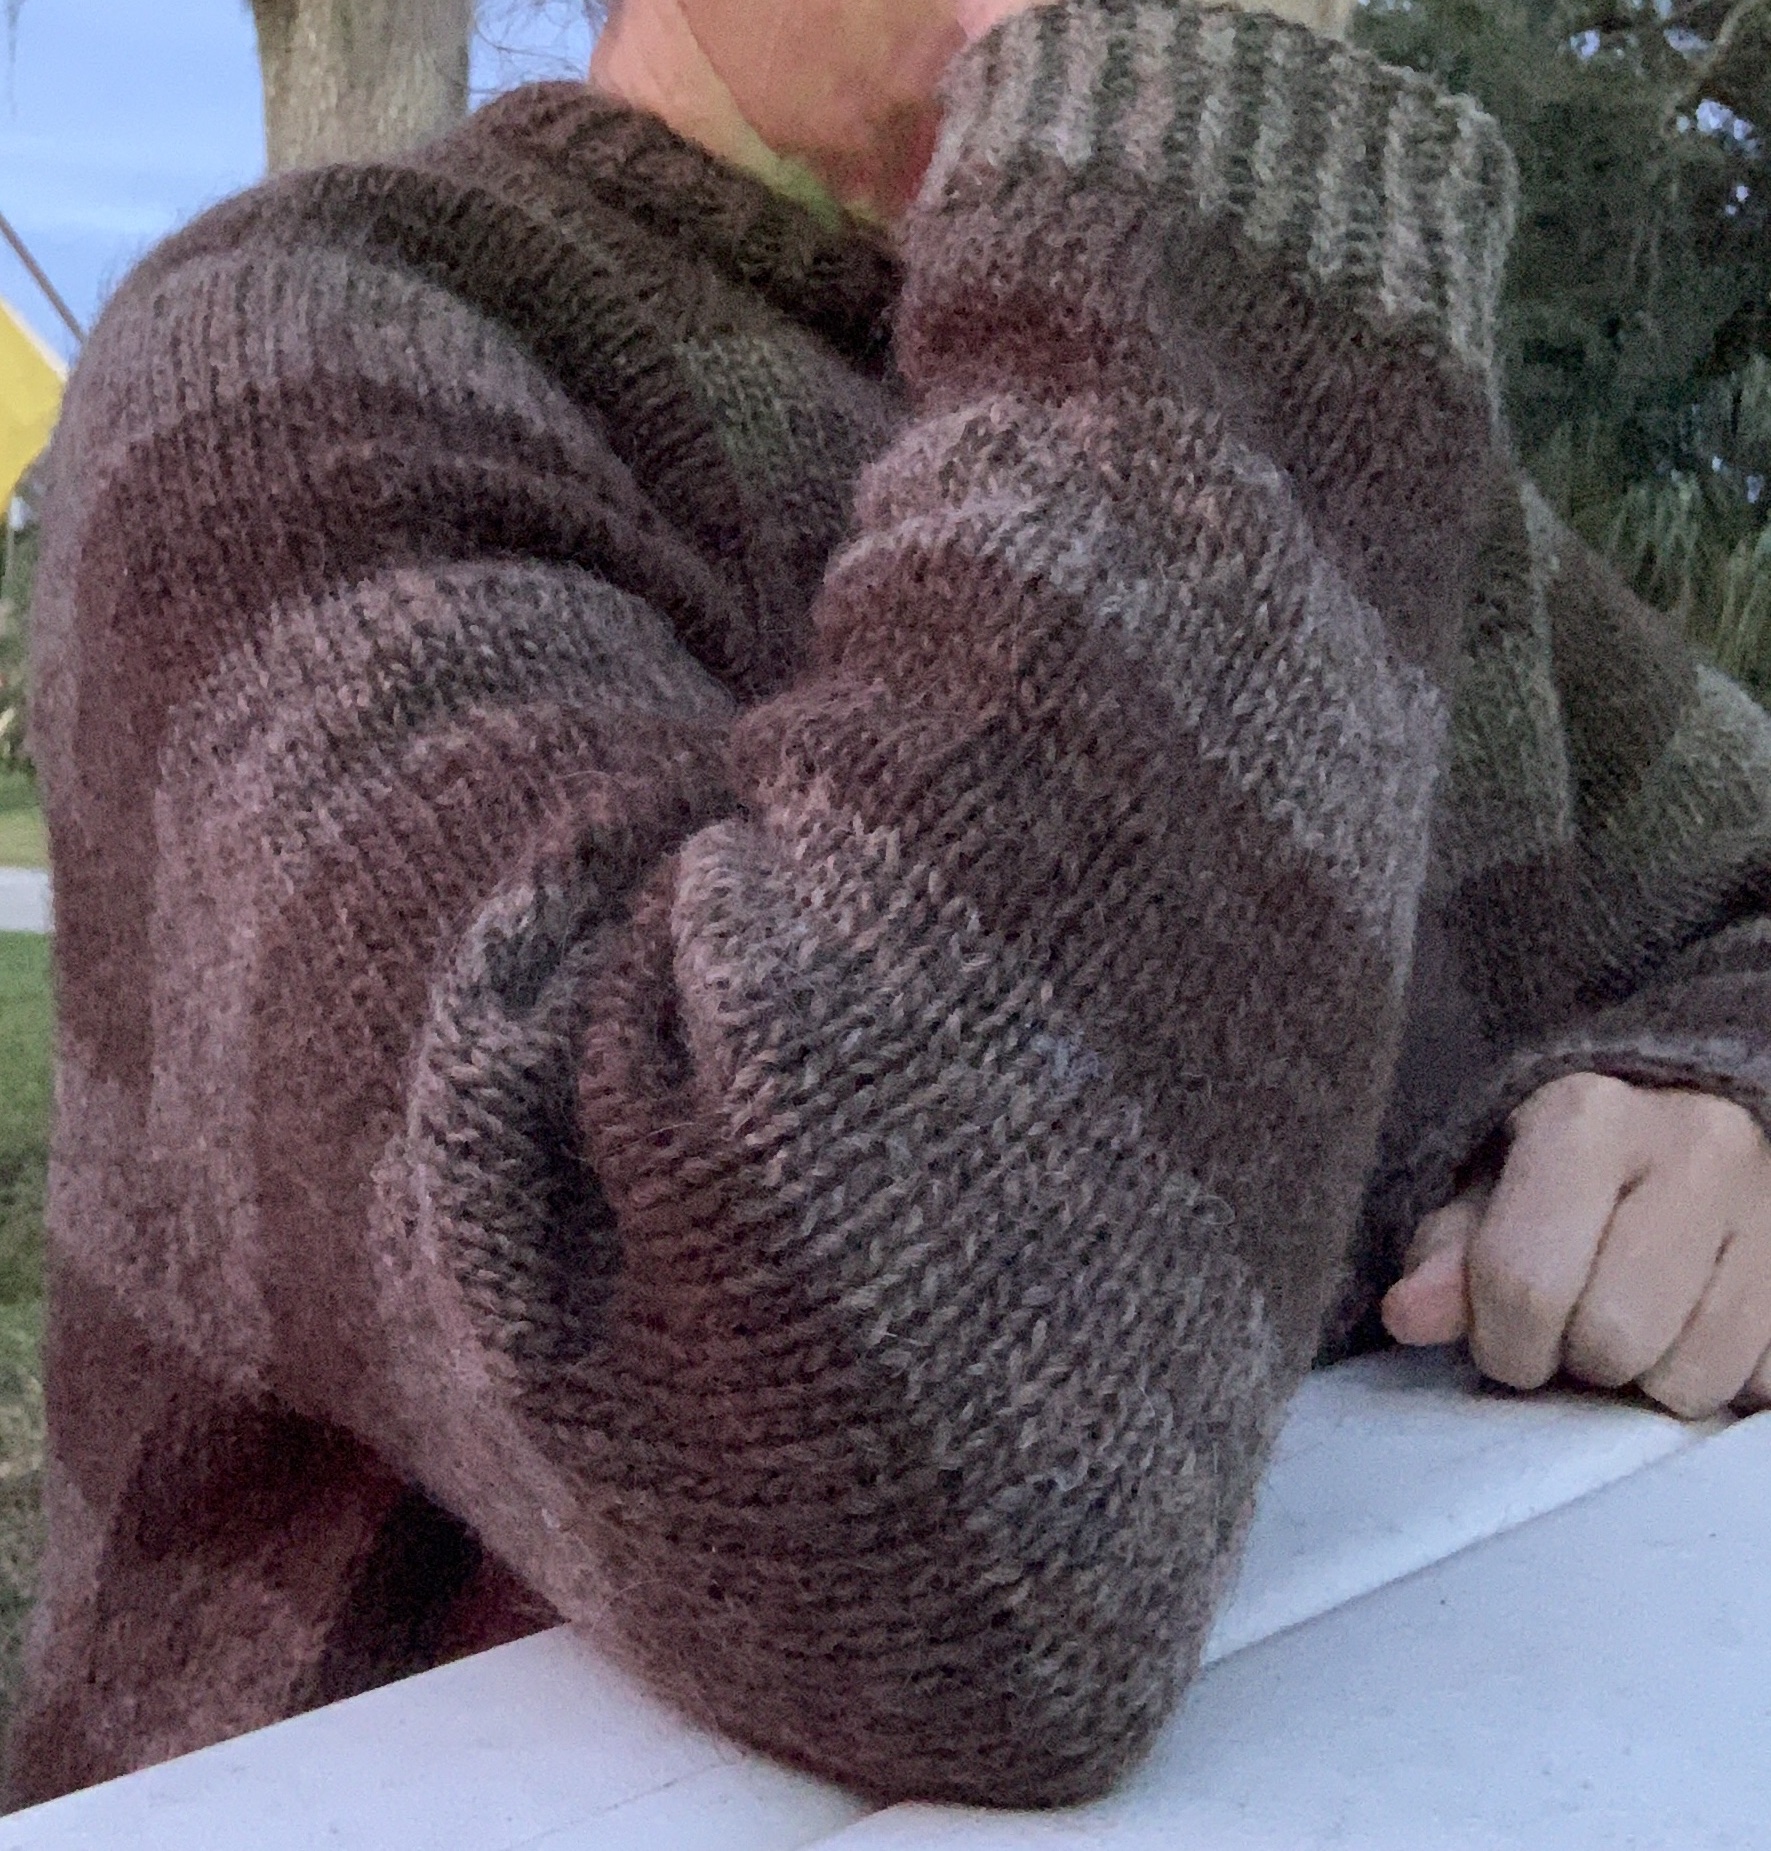
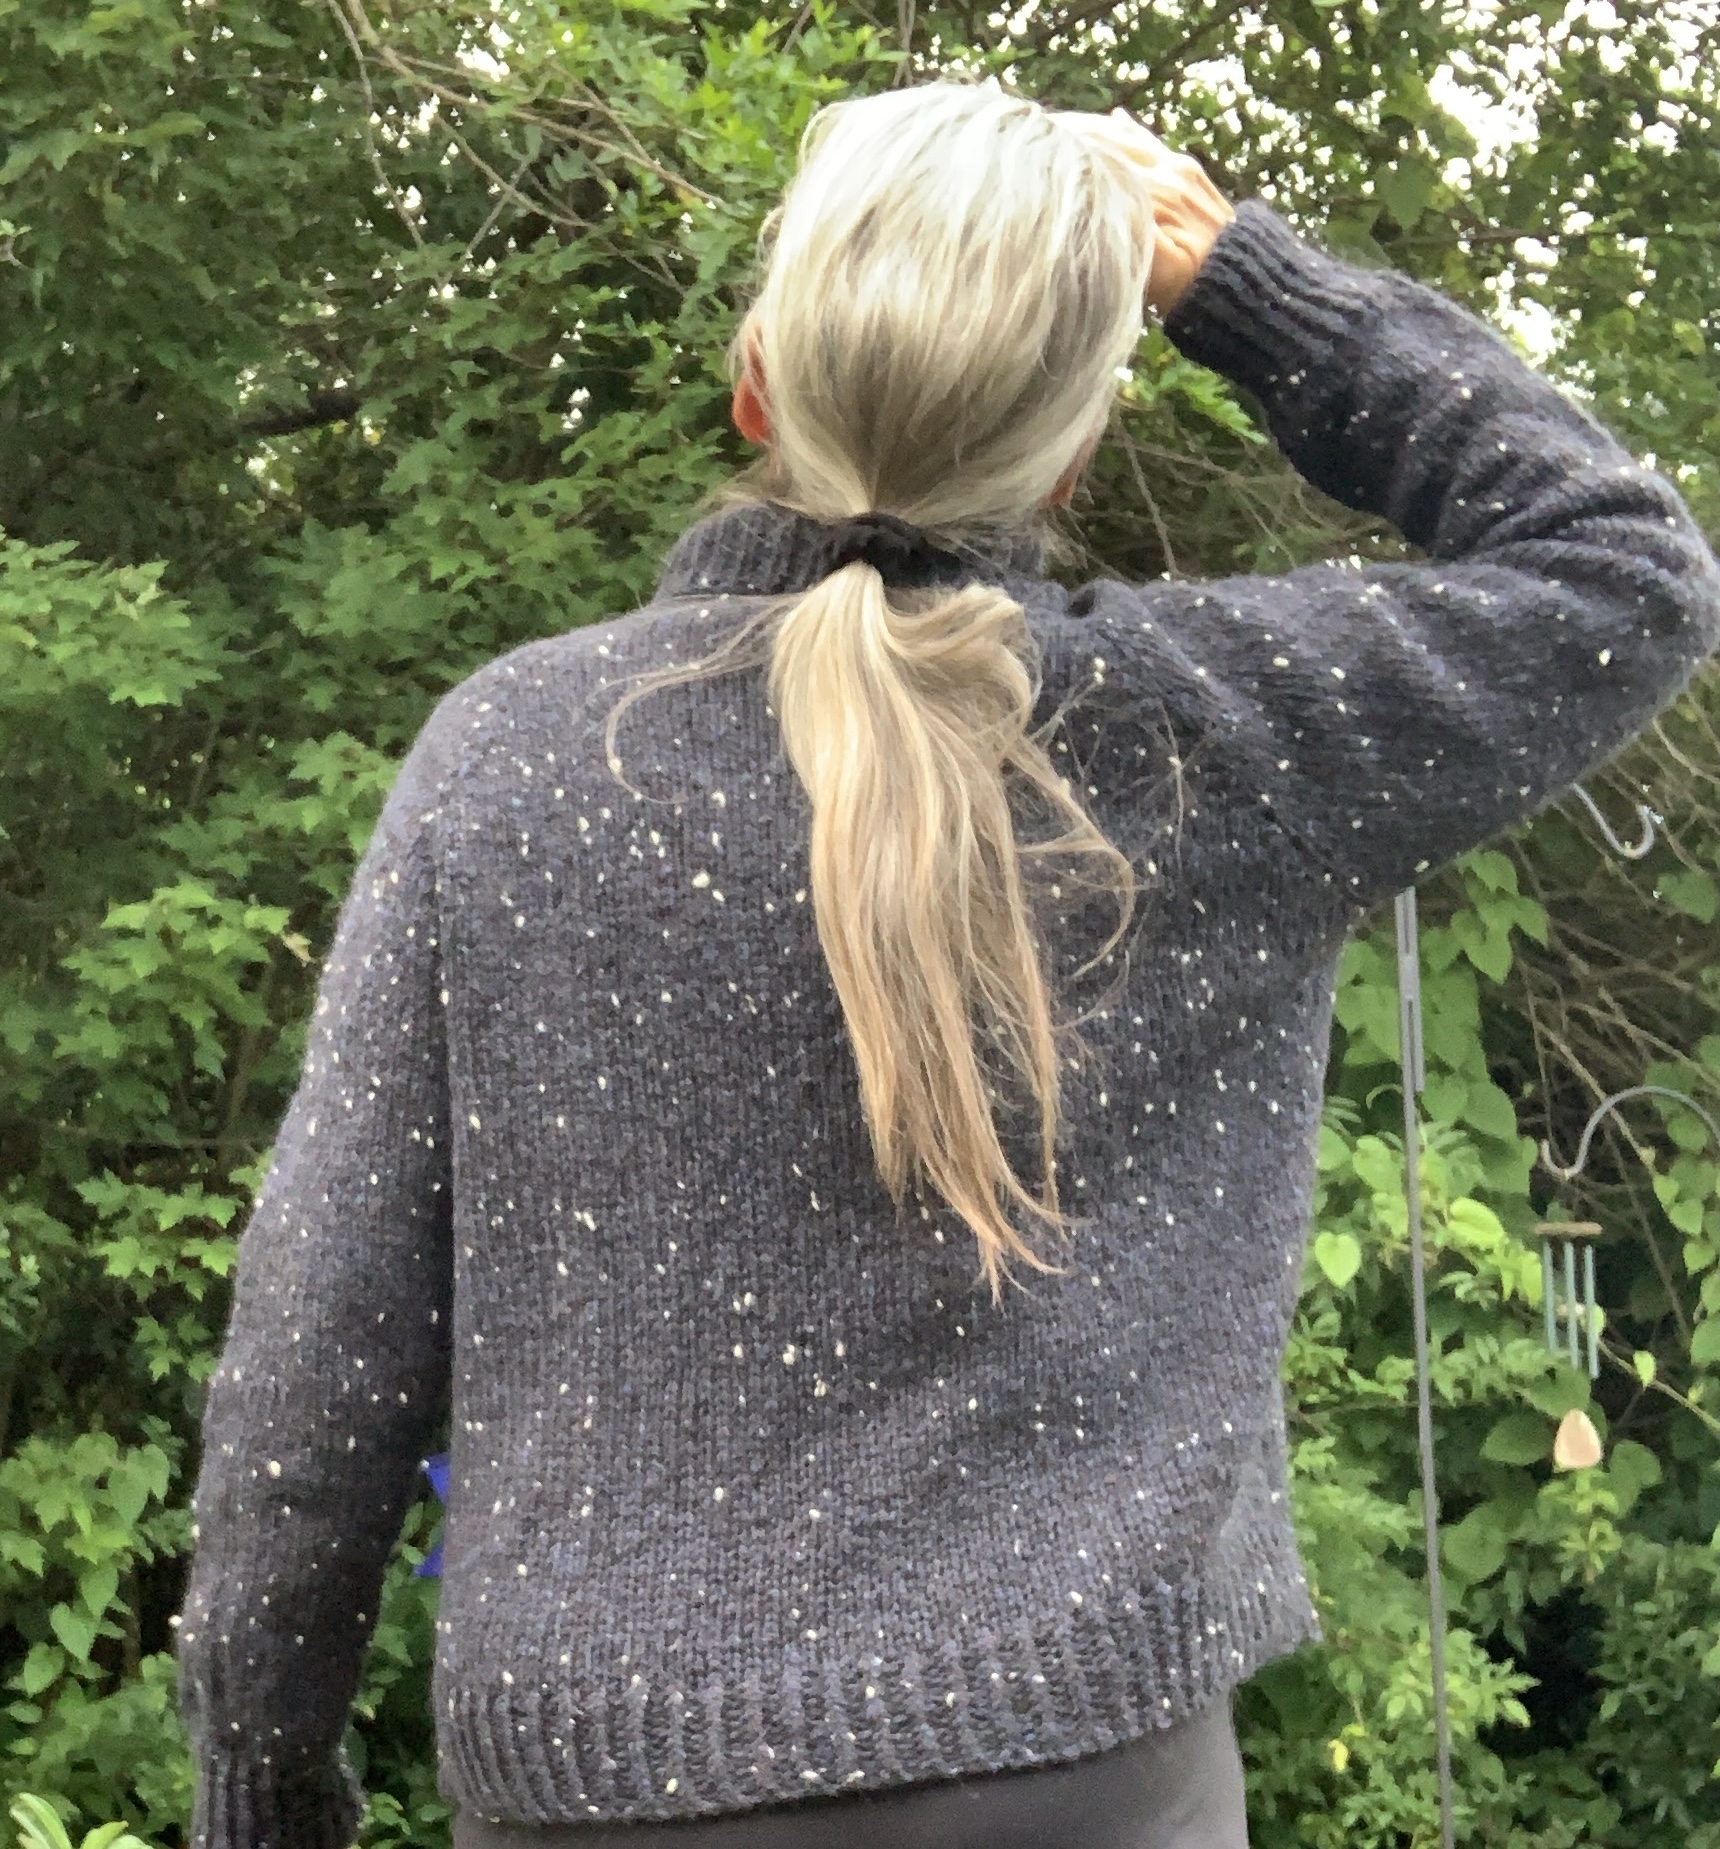
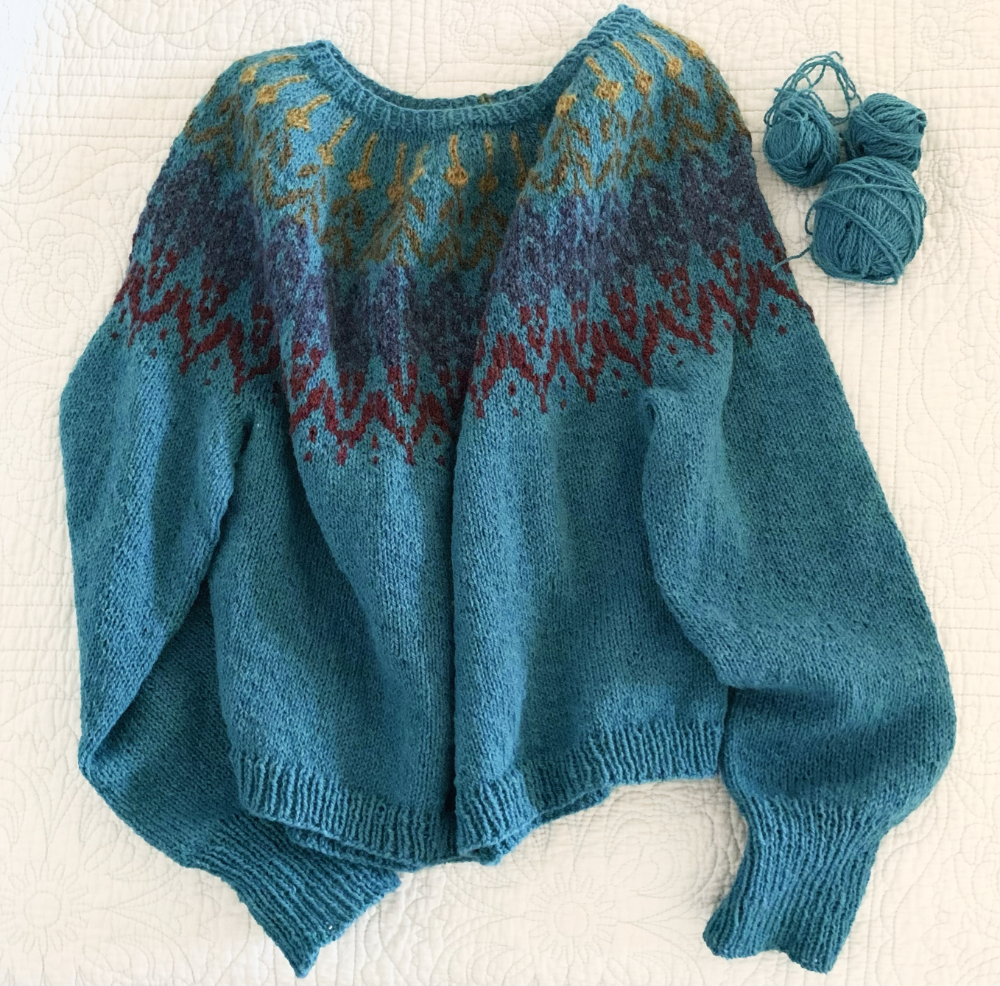
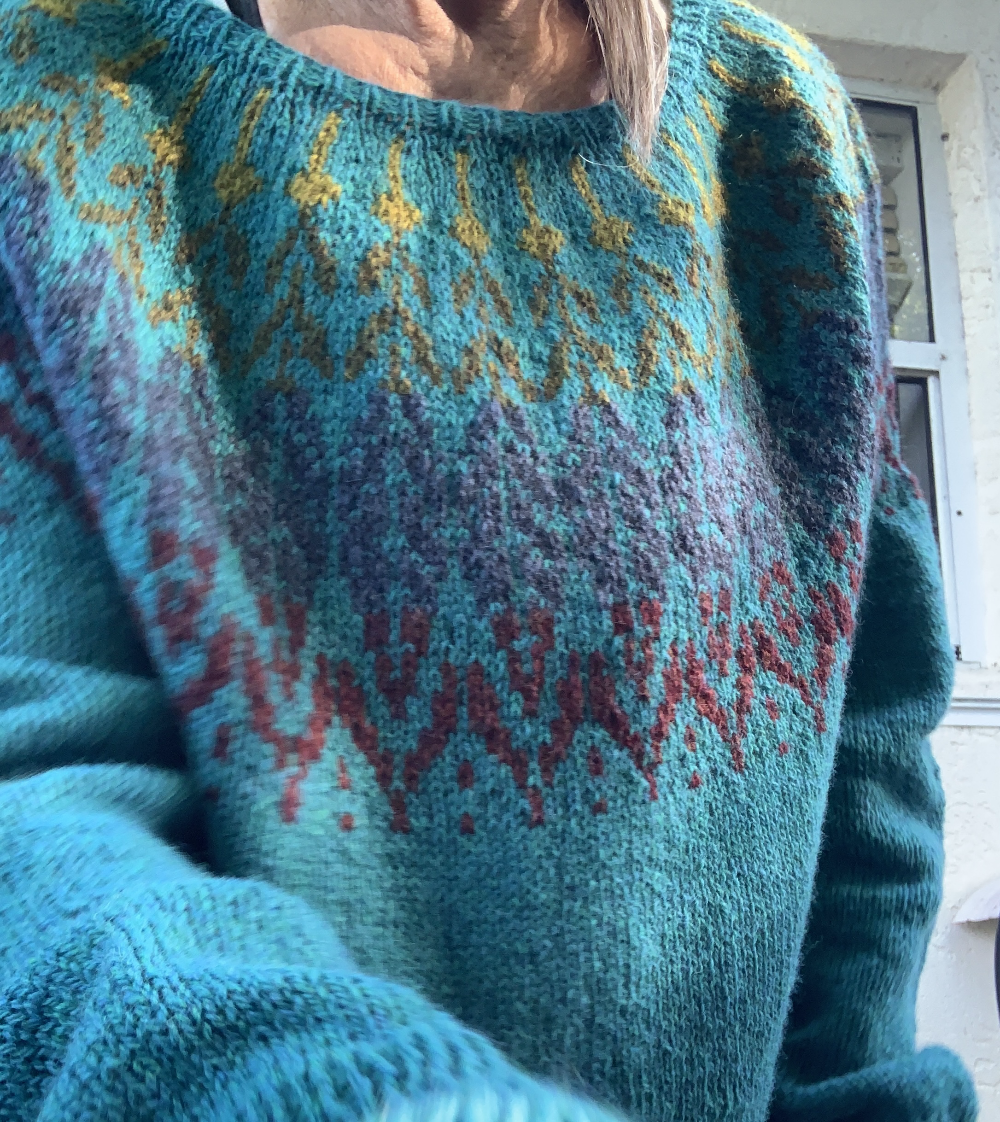
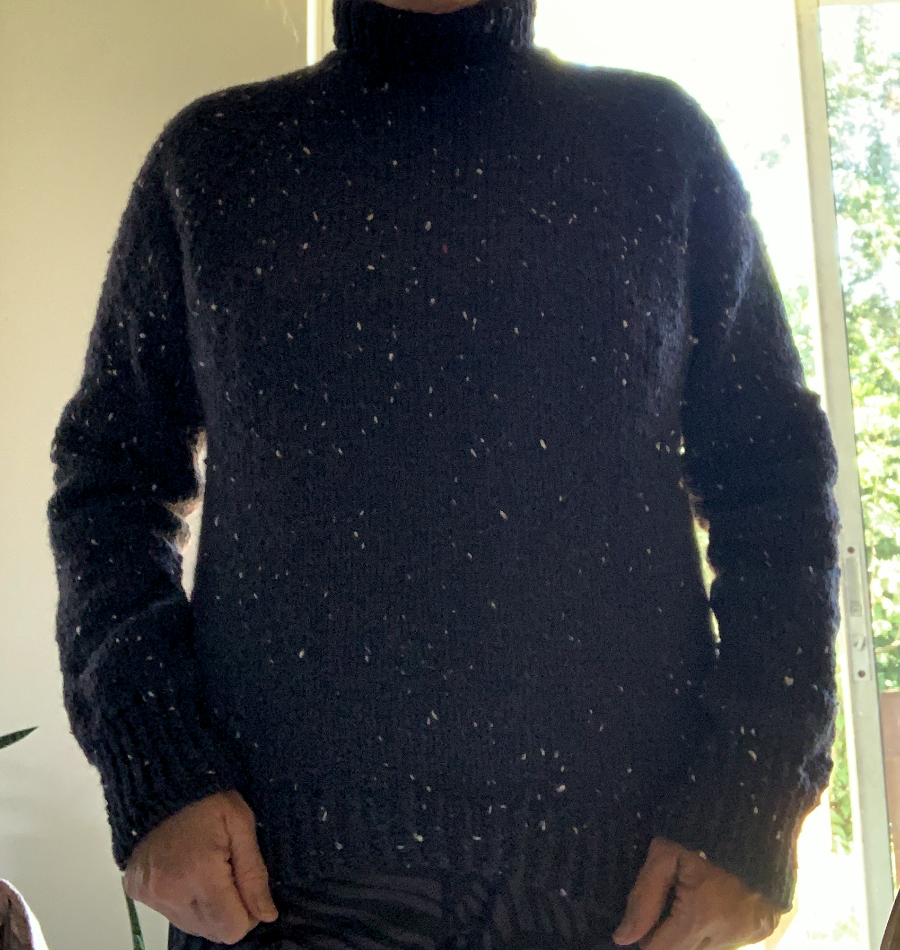
Sweater number three was knit using Peace Fleece in color “Siberian midnight”. It is a heavy worsted wool with bits of white, and sometimes red, throughout. After washing I find this sweater to be not quite as soft as the non-tweed Peace Fleece. I did a quick, early morning photo shoot.

Changes, or Mods Made to Sweater #3

I changed up the collar for my second knit. The original collar was the only part of the pattern I wasn’t happy with. I gave sweater number two (red stripes) collar a bit of a curl, then did the ribbing.

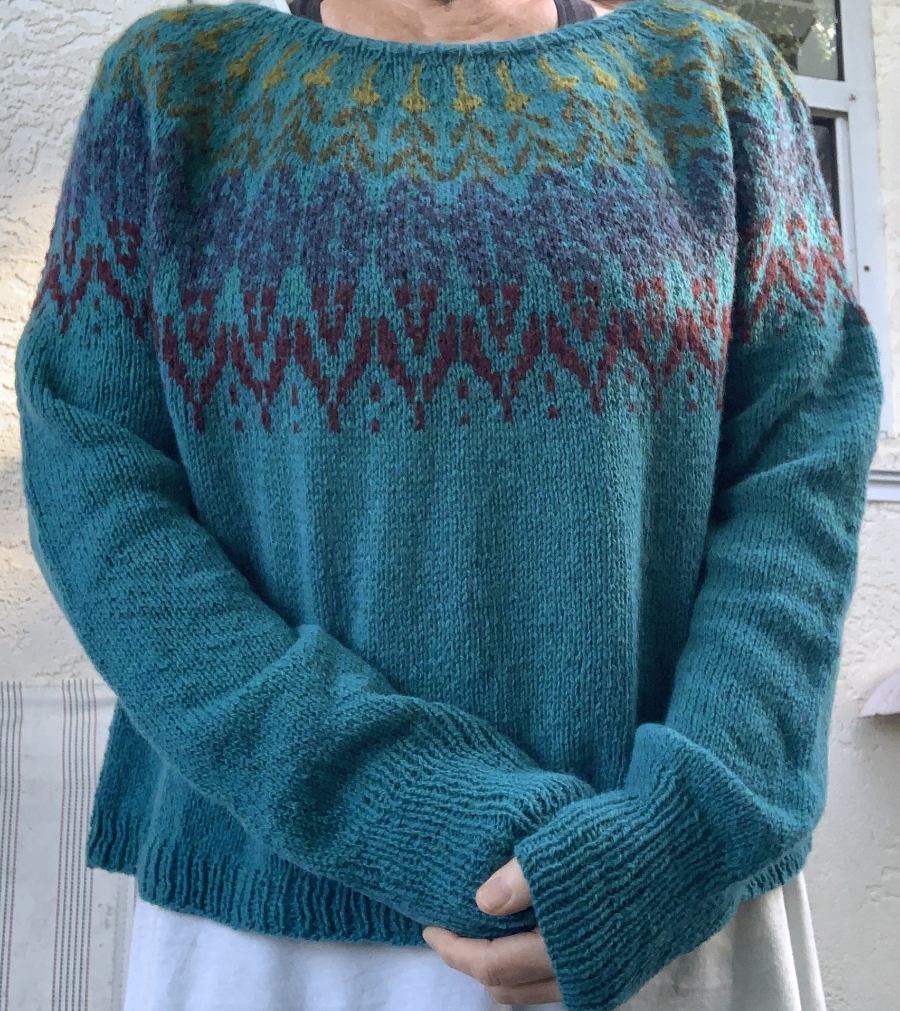
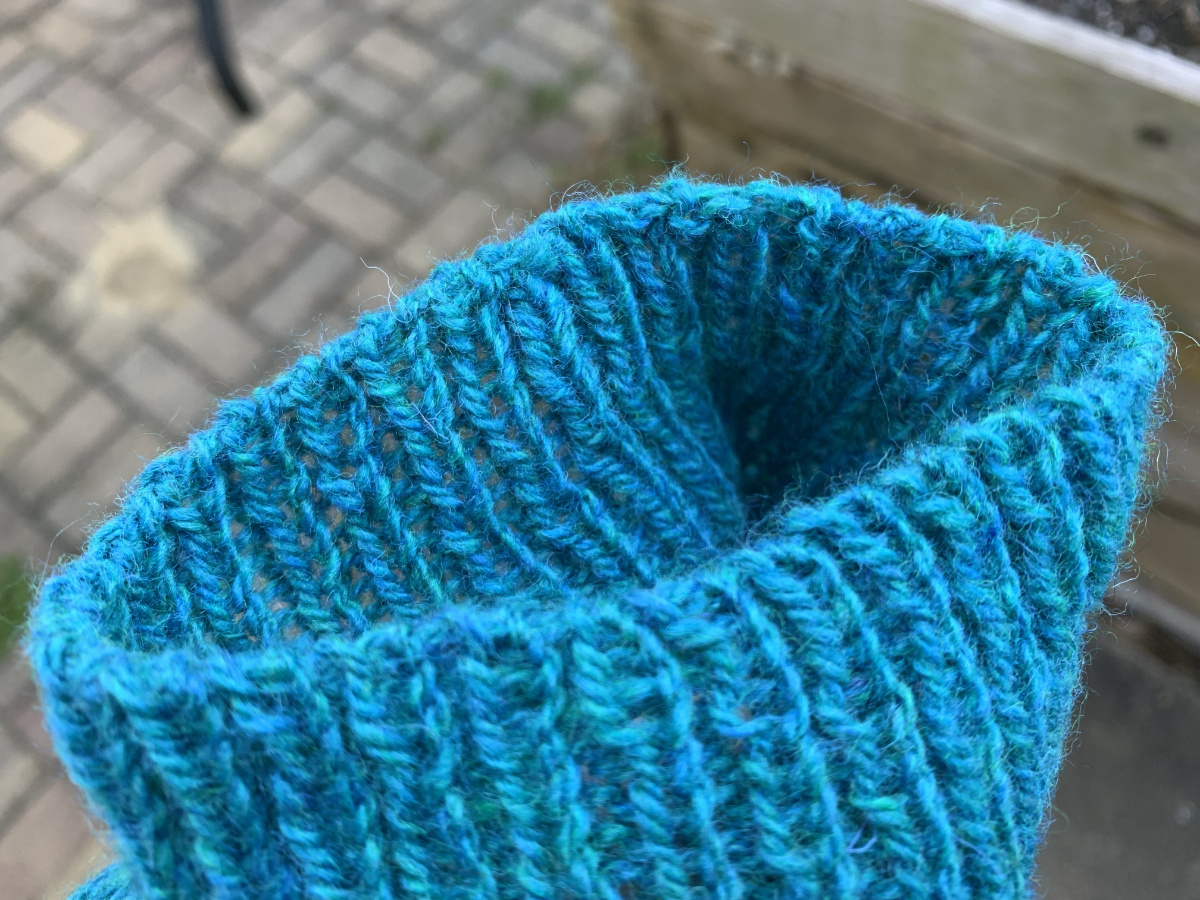
This time, I decided to go with a tall, funnel neck. I’ll probably end up folding it down. I went up a needle size, and knit a smaller pattern size. Sweater number two, also came out very wide, with long armpits. I’m trying to avoid that this time.

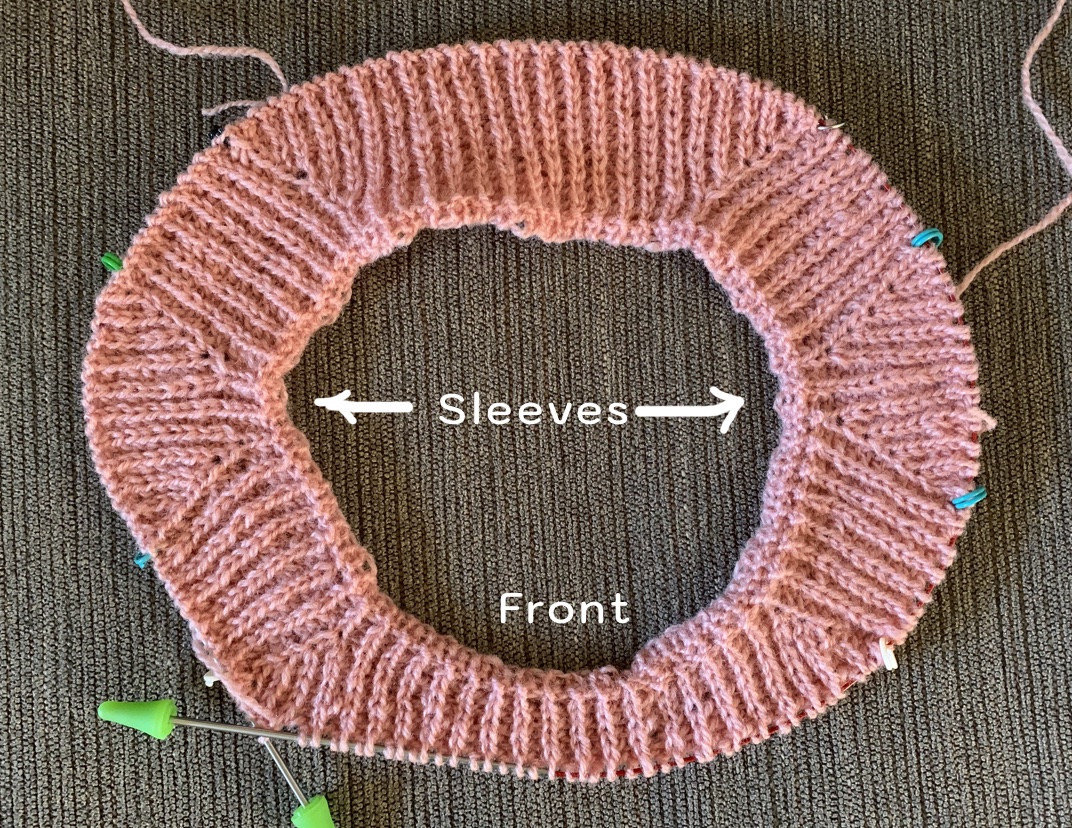
Photos of Warm Up #3

Now that I am finishing up the body ribbing, I can measure the width. This sweater measures 21 inches across the body. This is of course before a wash. It shouldn’t change too much. My red striped sweater is 24 inches across, so I’ve made this one a bit smaller, which was my intention.

I also want to mention that the warm up pattern calls for worsted weight yarn. I am using a bulky worsted, so my yarn is heavier. Even the Lettlopi yarn is not as thick as Peace Fleece. This is why I went up to bigger needles, and knit the size 2 sweater.

Warm Up #3 Notes

This is how I knit this sweater. I had to change things to accommodate my bulky yarn choice.

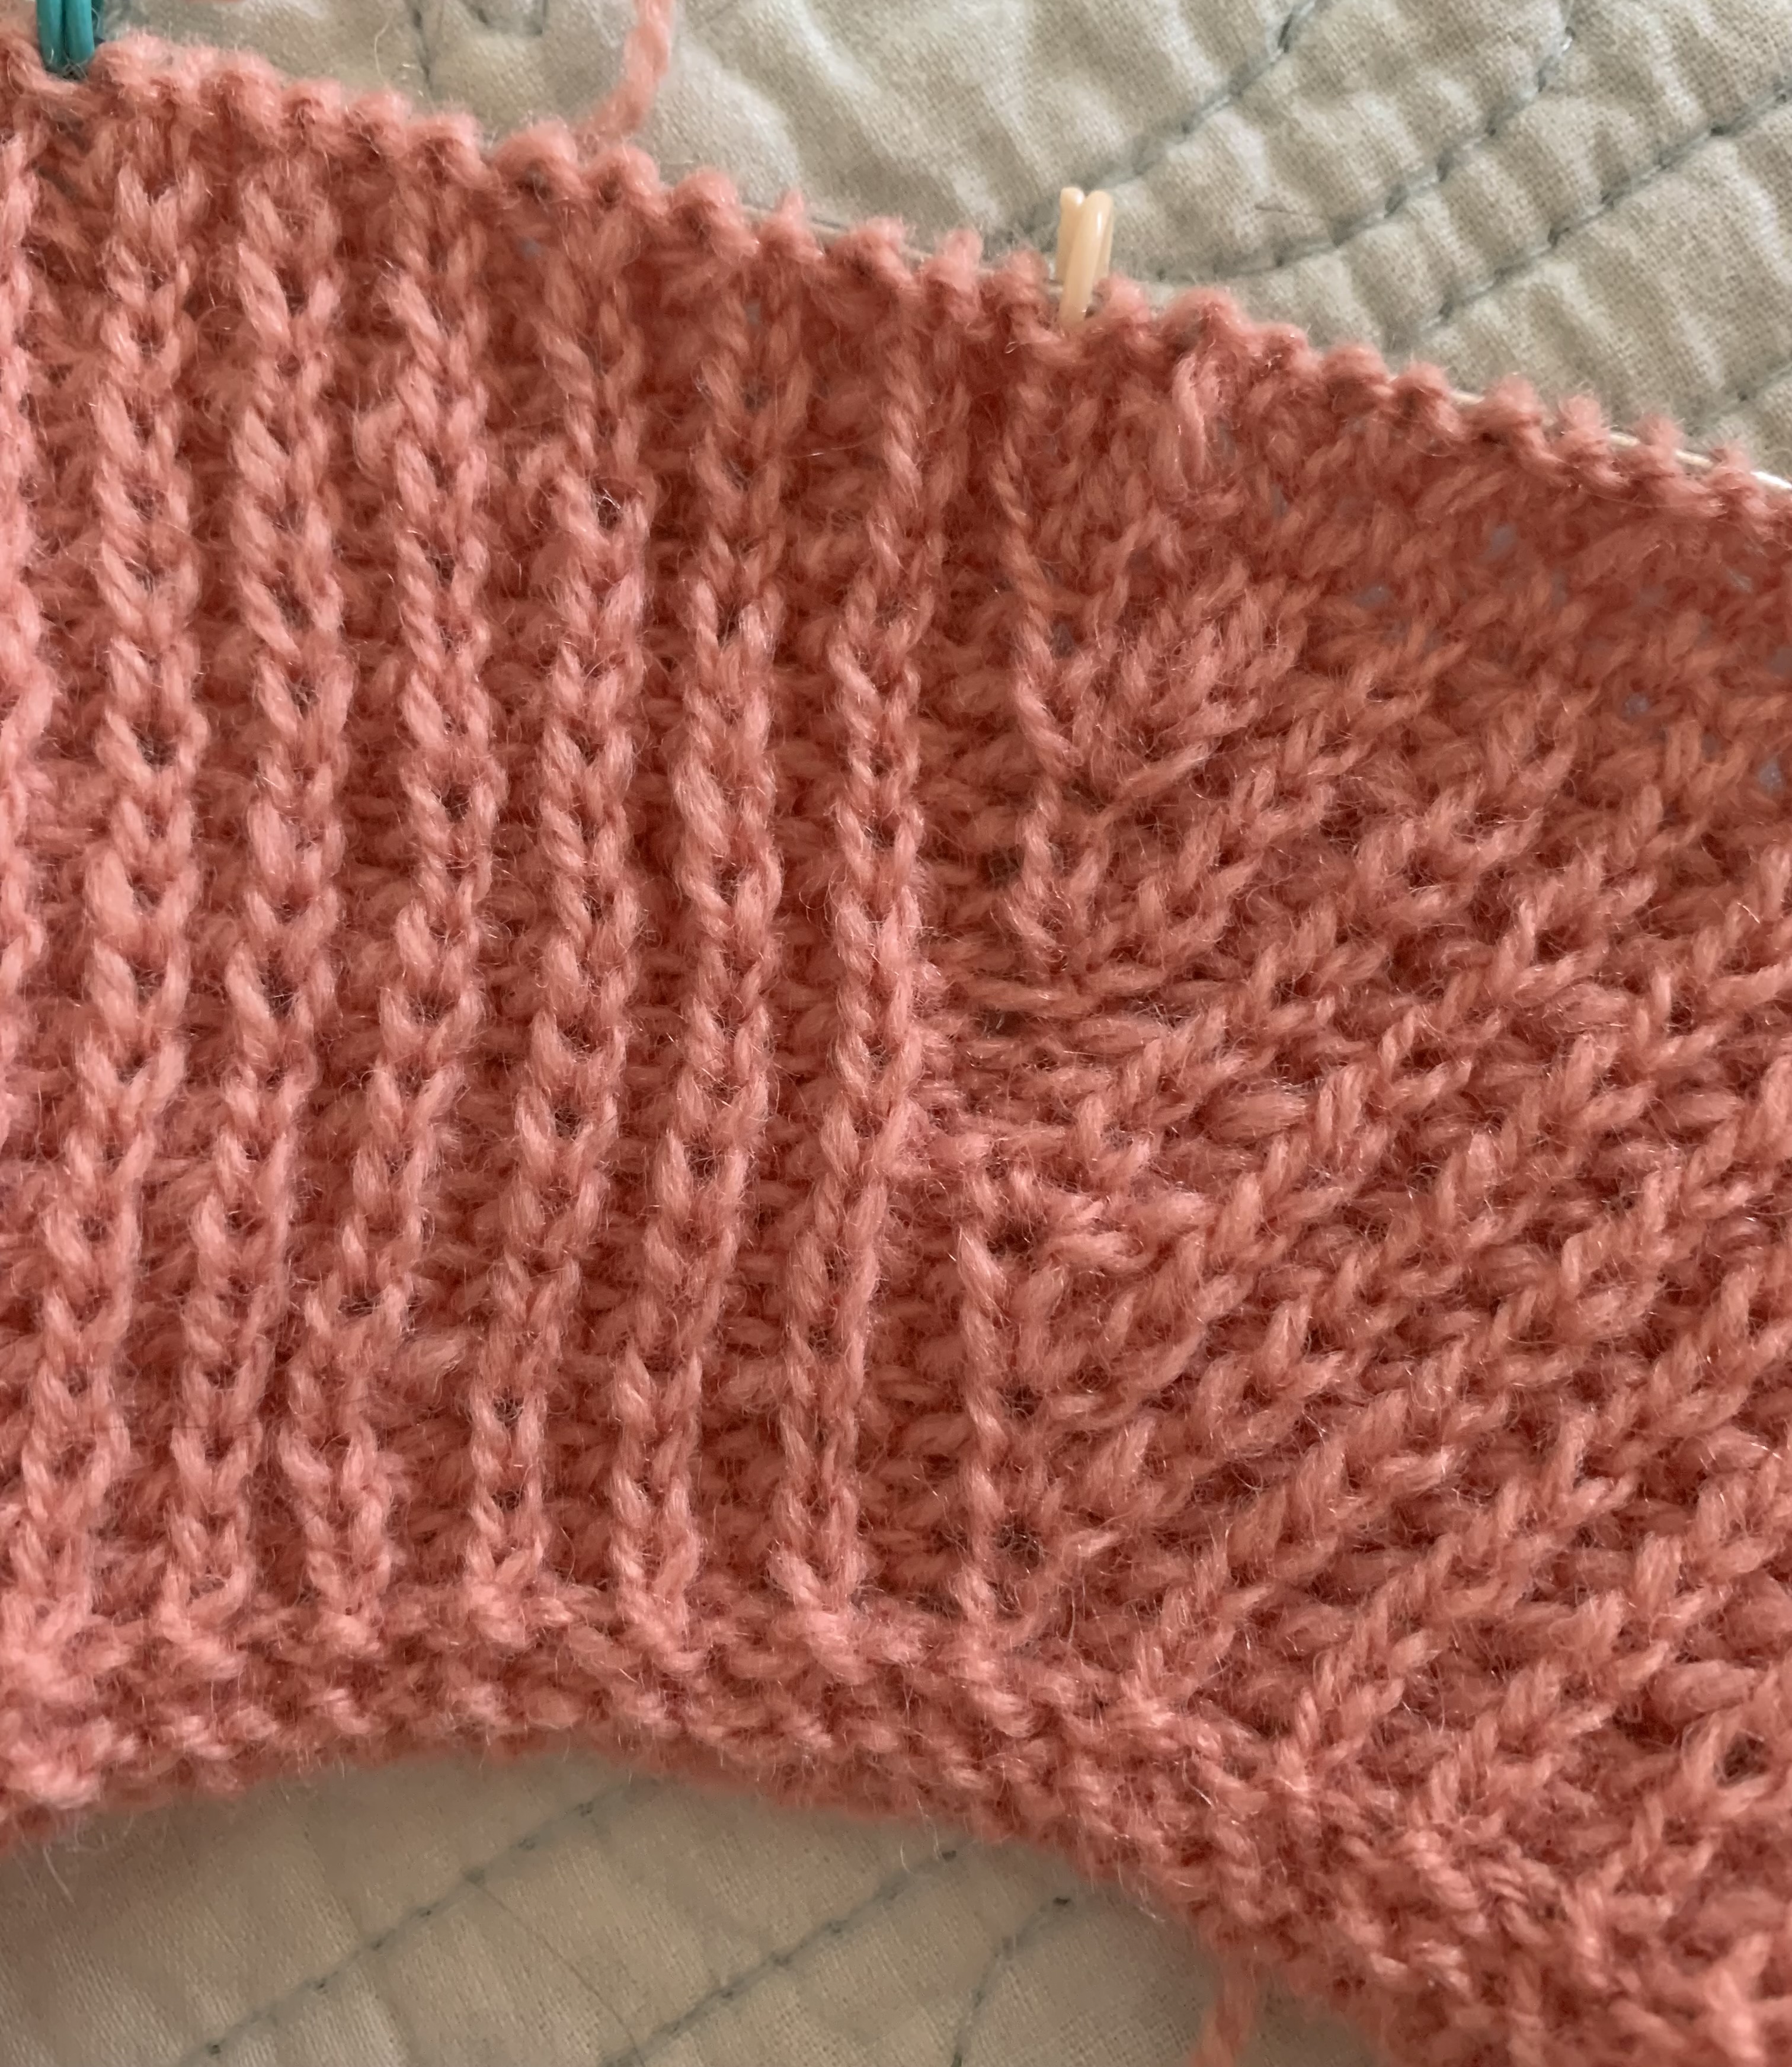
Cast on 56 stitches, using a size 10, 16 inch, circular needle. I knit a twisted rib for 5 inches. (I would use 60 stitches next time for a bit looser fit.)

To increase to the 60 stitches needed for the size 2 sweater, I made increases by doing a “Make 1, knit 14” – around. Still using the size 10 needle.

I continued to make the short rows using the larger size 10 needle. I mainly did this because I don’t have a size 9 circular needle that was short enough.

At the raglan increases, once I had enough stitches, I was able to switch to a 24 inch, size 9 needle. From there, I went up to the 32 inch size 9. The remainder of the sweater is knit in a size 9 needle, except for the ribbing. I dropped down to a size 8 needle to do the twisted rib at the hem.

Warm up sweater number three in black Peace Fleece
Body is finished and fit is good!

As I knit the increases, I watched the length. At about 12 inches, from neck to split, I split for body and sleeves. On my red sweater, the armpit length is 15. So, I did better with this one.

For the bind off I am using the tubular bind off for body and cuffs. HINT: I picked out the white bits to make the yarn smoother for sewing the bind off.

Knitting the Sleeves

I picked up the stitches and ended up with 50 to begin with. I followed the decreases and knit 10-11 rows before making the decreases. At 40 stitches I continued knitting until the sleeve measured 16 inches. I used the magic loop method, which I am beginning to like best for small circumference knitting.

Switched to size 8 needles and did magic loop. Twisted rib for 3.5 -4 inches, knit a normal knit and purl row as the last row. I did a tubular bind off.

Sleeve number one is finished knitting the Warm Up sweater

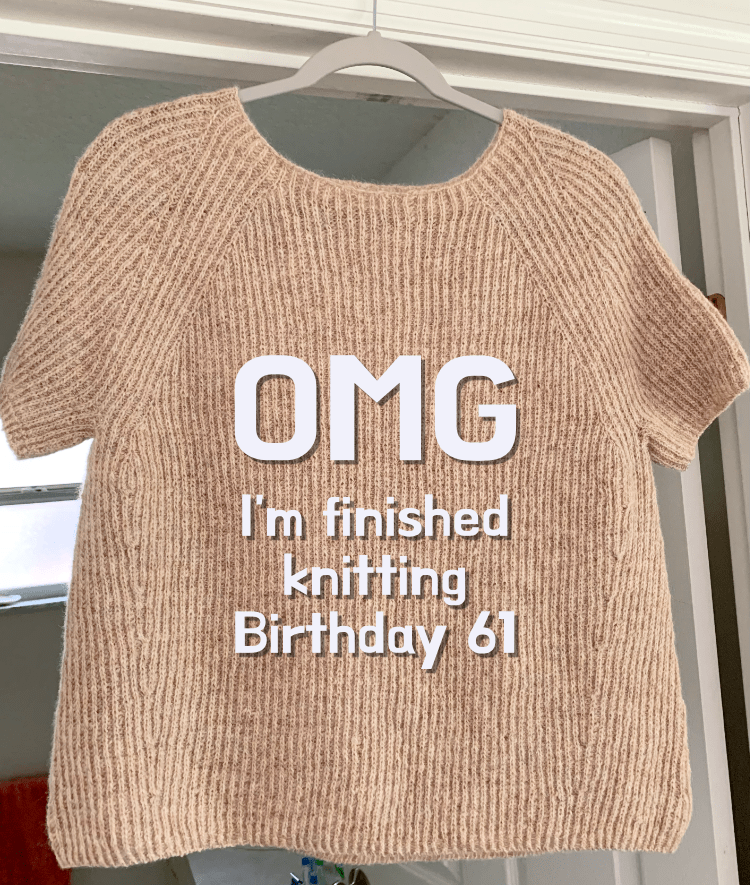
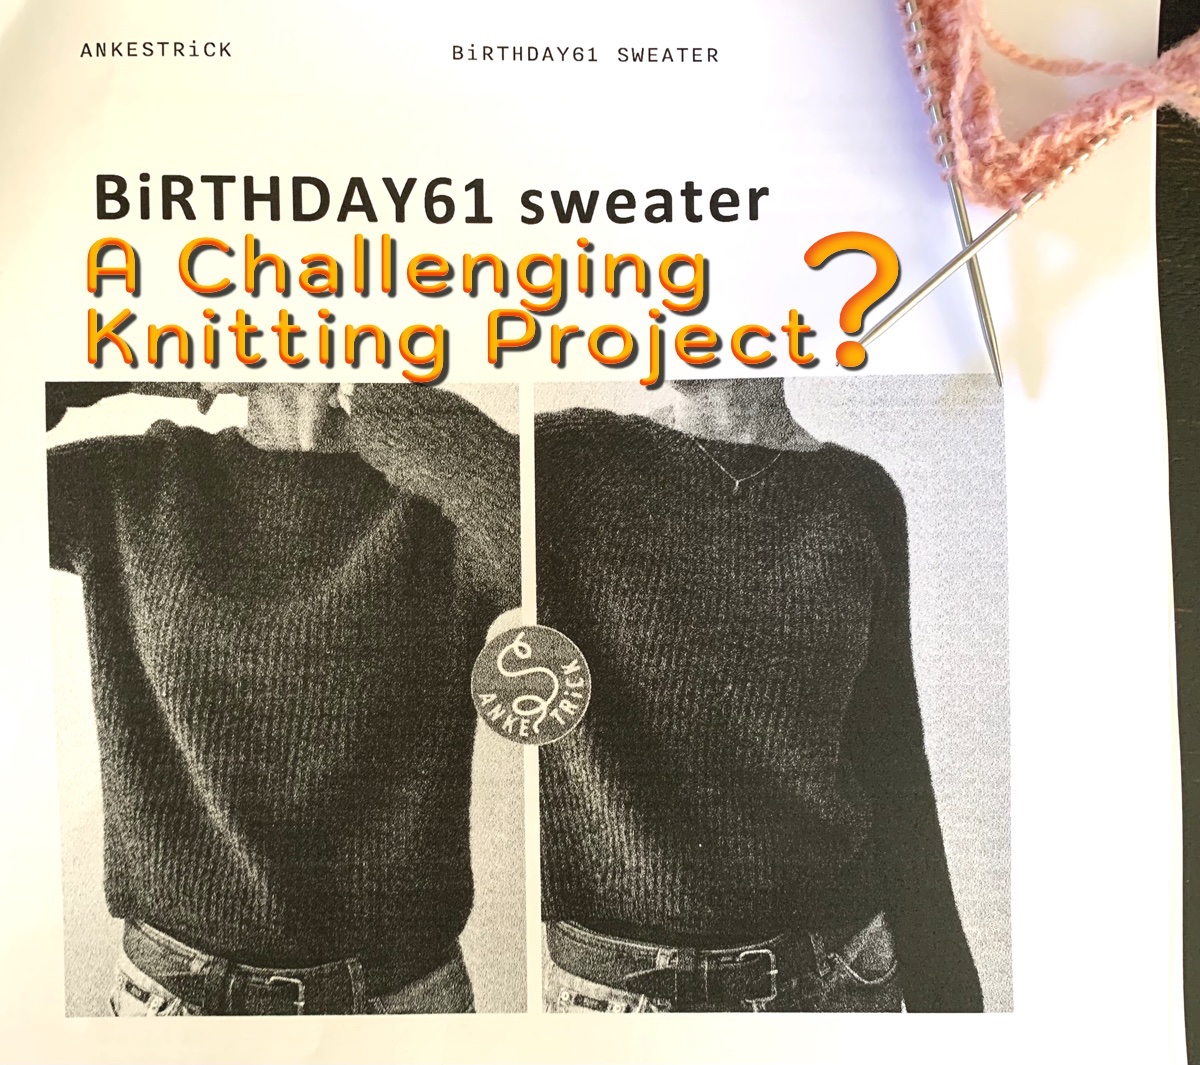
Knitting this sweater was very relaxing. After my last, super long project (Birthday61), the Warm Up was a joy to knit.

Each time I have knit this pattern I think it would be a very good pattern for a beginner sweater knitter. Be aware that if you use this thicker yarn, the sweater will come out larger.

divider sweaters on lion, koala, and tiger

Something went wrong. Please refresh the page and/or try again.

Hey Ya’ll I’m Finally Done Knitting Birthday61

My sweater knitting journey is over. At least it’s over for Birthday61. This project was so very slow at coming to the end. I’m glad to be done.

Cheers to me, I have finished knitting Birthday61!

This was a pattern that haunted my days. I’d come too far to rip it out or leave it to mold. I had to trudge on. As I began the sleeves, I couldn’t find a good way to do that small circumference.

On the first sleeve, I tried Magic loop, DPNs, and 9 inch circular. I ended up sticking with Magic loop.

As I knit the first sleeve, and of course noticed I was getting nowhere fast, I said the hell with this!

I did the short sleeve version and I’m not sorry. I almost couldn’t believe I was done. I kept wondering if it was really true!

My sweater ended up being a bit tighter than I would have liked, although it’s a bit better after washing. The fabric is very nice, and I was so happy with the yarn. I’d definitely buy Biches n Bûches again. I do have nearly 3 full skeins of yarn left because I had planned to do long sleeves.

I don’t want to dis this pattern. (See the pattern page at Ravelry.) If you are an experienced, and fast knitter, this may be a great pattern for you. It is well-written. Many knitters have successfully made the long-sleeve version.

In a nutshell: One row is knit (in the stitch below) and purl, and one row is all purls. So lots of purling. I don’t mind purling. What I do mind (I’ve discovered) is knitting 2 rows that equal only one in reality! This is what makes the squishy fabric – and contributes to the time invested in the project.

ALSO… No one is ever going to notice the work (time)I put into knitting this top. It is a pretty plain looking, short-sleeved, pullover. I’m the only one who will ever know the months it took to create.

I will definitely wear my Birthday61.

More knitting notes…

My Solvi Sweater is Finished and This is My Review

I have finished knitting Jennifer Steingass’s Solvi sweater pattern and here is my review.

Jennifer Steingass is the designer of the Solvi sweater which is a pullover. I began knitting this pattern on October first. Now it is mid-April and I have finished the project.

The delay in finishing was due to many things, but mostly because I doubted a good outcome. Do you ever start knitting a pattern with much excitement only to loose that excitement somewhere along the way? If you have done enough knitting, I suspect you will say “yes”.

I love the yarn. I chose “Peacock” blue in Harrisville Design’s Shetland. What a beautiful fingering weight yarn, and in a great color. For the long colorwork yoke, I dug into my stash of fingering weight wool. I tried to keep a more muted color scheme going with colors that flowed into each other. I’m happy with the colors.

Solvi sweater finished

What caused me to pause this knitting project (many times) was the large look of the yoke. It seemed very wide, and the depth was an inch over the schematic size. I considered ripping it all out, but what a pain in the neck! So I put it aside and worked on other things.

Finally, I picked it up and got to knitting. I would finish and see how it was.

I was right. It ended up large.

I like an oversized sweater, but this one is too much. I could easily have knit one size smaller and been happy with the fit! (I knit size D – or the 4th size.)

The sweater has a very wide neckline that flows into a wide, colorwork yoke. I like the pattern of feathers that comes down the front, but the whole thing is just too wide. This is my fault for choosing the larger size. There is nothing wrong with the pattern. Just be aware of the width of this sweater. My gauge was good, but I was between sizes and chose larger. It was my mistake.

I used the same size main needle for all the colorwork as well. I was considering going up a needle size because colorwork tends to be a little tighter. I’m so glad I did not do that!

Mods I Made

Because the yoke was getting too long I had to leave out a bit of the feathers pattern. This project has been put aside quite a bit, so I can’t remember exactly what I changed.

If I knit a larger size sweater, I often go down a size for the sleeves. I did that for this one. I followed size 3 (C) stitch counts so the sleeves would be more narrow. I also knit them longer. For the cuffs, I did not do the last row of tightening up, and instead did a tubular bind-off with a sewing needle.

Solvi cuff bind off

For this pattern, I finished the body first. I used a new skein of yarn for each sleeve. I had three little balls of yarn leftover, which you can see in my first photo above.

Solvi sweater in peacock blue wool

I will absolutely be wearing this sweater next winter. It will work best as a layer over a turtleneck on the coldest days.

I usually have good luck knitting Jennifer Steingass patterns. Her Ravelry pattern page is Knit.Love.Wool. and the link goes there. The previous sweaters of hers, that I have knit, have fit me pretty well. Her patterns are well-written and easy to follow. Most are colorwork patterns with stranded work done on yokes and sometimes sleeves.

Now, I am moving away from colorwork yokes. Stranded knitting is my favorite thing, but an all-over Fair Isle is a lot more fun.

I’ve moved on to knitting fun little scarves and just finished up the biggest hat I’ve ever knit!

Please keep reading…

Birthday 61 Sweater Pattern Could Be a Challenging Knit

This simple (looking) pullover by ANKESTRiCK caught my eye. I love it for its one-color simplicity and squishy ribbed texture.

Looking further at the pattern, I realized that it may be too difficult for me to accomplish. I have my doubts, but will probably try it anyway. (See my trial below.)

First of all, the whole sweater is knit in a small size needle. Suggested needle size 0 to 1.5US, depending on gauge. That is tiny! This means lots and lots of stitches, that could take me months to finish. On top of that, it is knit in a “half fisherman’s rib” . The tags for this sweater include “brioche tuck”. Scary. I’ve tried knitting brioche a number of times and failed miserably.

Pattern Help

Fortunately Ankestrick has a full page of links for help. Some links will apply to the Birthday 61 sweater pattern and go to YouTube. I love it when designers give me lots of help to achieve success. She also has a Ravelry forum page for help with this specific project.

She has her own suggested invisible cast on, seamless join, and decreases worked in the half fisherman’s rib stitch. The pattern explains how to incorporate the rib stitch while making German short rows. The pattern lists many special techniques I’m unfamiliar with. But, I should be able to find help to create them while knitting the project. Will I understand and accomplish them? Who knows. I have successfully knit her Rebel cardigan pattern, and am already a fan of this designer.

The Yarn

A sweater knitting project can be quite expensive. Lots of yarn is needed to knit a size 3 or 4 sweater (which is my usual pattern size). This pattern calls for 1800 yards. This is a lot of yarn, and must be because of the stitch used.

*Note to self: knit this using a light color to easily see the stitches!

The second issue for me is the needle size. After looking through my smallest needles, I have the required lengths in size 1US only. Otherwise, I would need to spend money on new needles.

The Swatch, Or Jump Right In?

This leads to the question of how to knit a swatch for the Birthday 61 sweater. I may jump in and try the pattern with some stash yarn just to see how far I get.

Okay, this is what I decided to do. I began the pattern using the smallest sweater size (my actual size will be 4). I dug out some Rauma yarn. I need to know if this pattern is something I can manage, so I’ll try out the special cast on and then down the yoke with increases and short rows.

A New Type of Cast On (for me)

Anke lists her cast-on as “Anke’s Invisible Cast On“. It seems very similar to the Italian Tubular cast on, except with better changes (IMO). She does her videos in Continental style, which can be confusing to those of us who knit English style. She also does not speak, but adds text to her vids.

For the cast-on, (use any length needle to begin, but switch to a 16″ for the join.) I watched the video, but then realized I could simply follow the directions in the pattern – this is easier!

This is not a super easy cast on for me, but with practice it will get better. I used my long 32″ size 1 needle. The first (set up) row is turned, and we work back across the stitches that were just cast on – without having to join in the round – yet. Get out the size 16″ for row 2 as that will be joined to knit in the round.

Yoke Markers and Short Rows

I did not knit all the first rows after cast on because this is a trial knit and not something I will wear.

Upcoming are the yoke placement markers for raglan sections and sleeve / body increases. Those are combined with working short rows – and I was thinking that this could get sketchy. BUT… every short row is explicitly described – all 14 of them!

* When looking at the image showing marker placement, remember you are knitting counter clockwise from the BOR marker. Also, we are knitting down from the top of the sweater. Flip the page upside down if that helps to visualize.

Also, I suggest using various colored markers for the different sections. It helped me keep track of where I was (green means sleeves, white means front, etc.)

To get through the increases I need to know how to kbYOk. This is a knit below, yarn over, knit stitch. It is a two-stitch increase. See her video here. It is not difficult, but remember to do it because going back to fix a forgotten kbYOk is a bit tricky. And for some reason I kept forgetting to do them.

Below is my trial sample showing how the sweater top will look after all the short rows are complete. See how the very front is the shortest. Between each section of increases (sleeves and body) is a raglan section – four of them. Those do not change width.

birthday 61 sweater
Knitting short rows and increases

This sample is full of goofs (and the beginning neck rows have been omitted). I don’t like my cast on edge. I’ll have to practice that, or maybe not use it.

At this point I will be knitting increase rows alternating with purl rows. This continues to widen the sleeves and body. I probably won’t go much further as this is only practice. From this point on, I think I am able to continue and will plan to buy yarn and knit the Birthday 61 pattern.

To keep track of knits and purls, here is what they look like. The purl stitch is “sunken” and the knits stand out.

half Fishermans rib knits and purls
Knits and purls.

So I have continued knitting on this trial piece and has you can see, I have made some obvious mistakes. I’m not happy with the cast on. I’ve messed up my knits and purls. Also, ripping back to fix something can be very tricky.

Birthday61 trial
A big goof!

More Advice From a Knitter’s Review

After viewing the test knits and other Ravelry knitters, it was brought to my attention that there is an alternate way of knitting the ribbing. On page three of the pattern, at the bottom, you’ll find the information. It replaces the purl row with a k1,p1 row. Apparently they look the same. I’m doing purls only for those rows.

Oh Gosh, More Yarn to Buy

I do not have enough of any fingering yarn to knit this project, so now I will be buying more yarn. The amount required is quite high – 1800 yards for my size 4. Once I begin this pattern for real, I’ll write another page all about it.

yarn ball divider
Knitters & non-knitters welcome – Keep Reading