Knitting a Man’s Sweater in Bulky Yarn

This bulky wool yarn sweater was knit loosely from the Joker pattern in the Lopi 41 book. It is made in a size XL for a man.

The warmest sweaters are knit with wool but caring for wool is not so simple. My son lives in a cold climate and I’ve wanted to make him something warm. I know he will never hand wash anything in a sink. So, finally I told him that he will never have to wash the sweater. If it gets a spill, rinse the spot and let it dry.

If he always wears the sweater over other clothing, it should be fine.

I’ve been looking for some simple sweater patterns that men would wear.

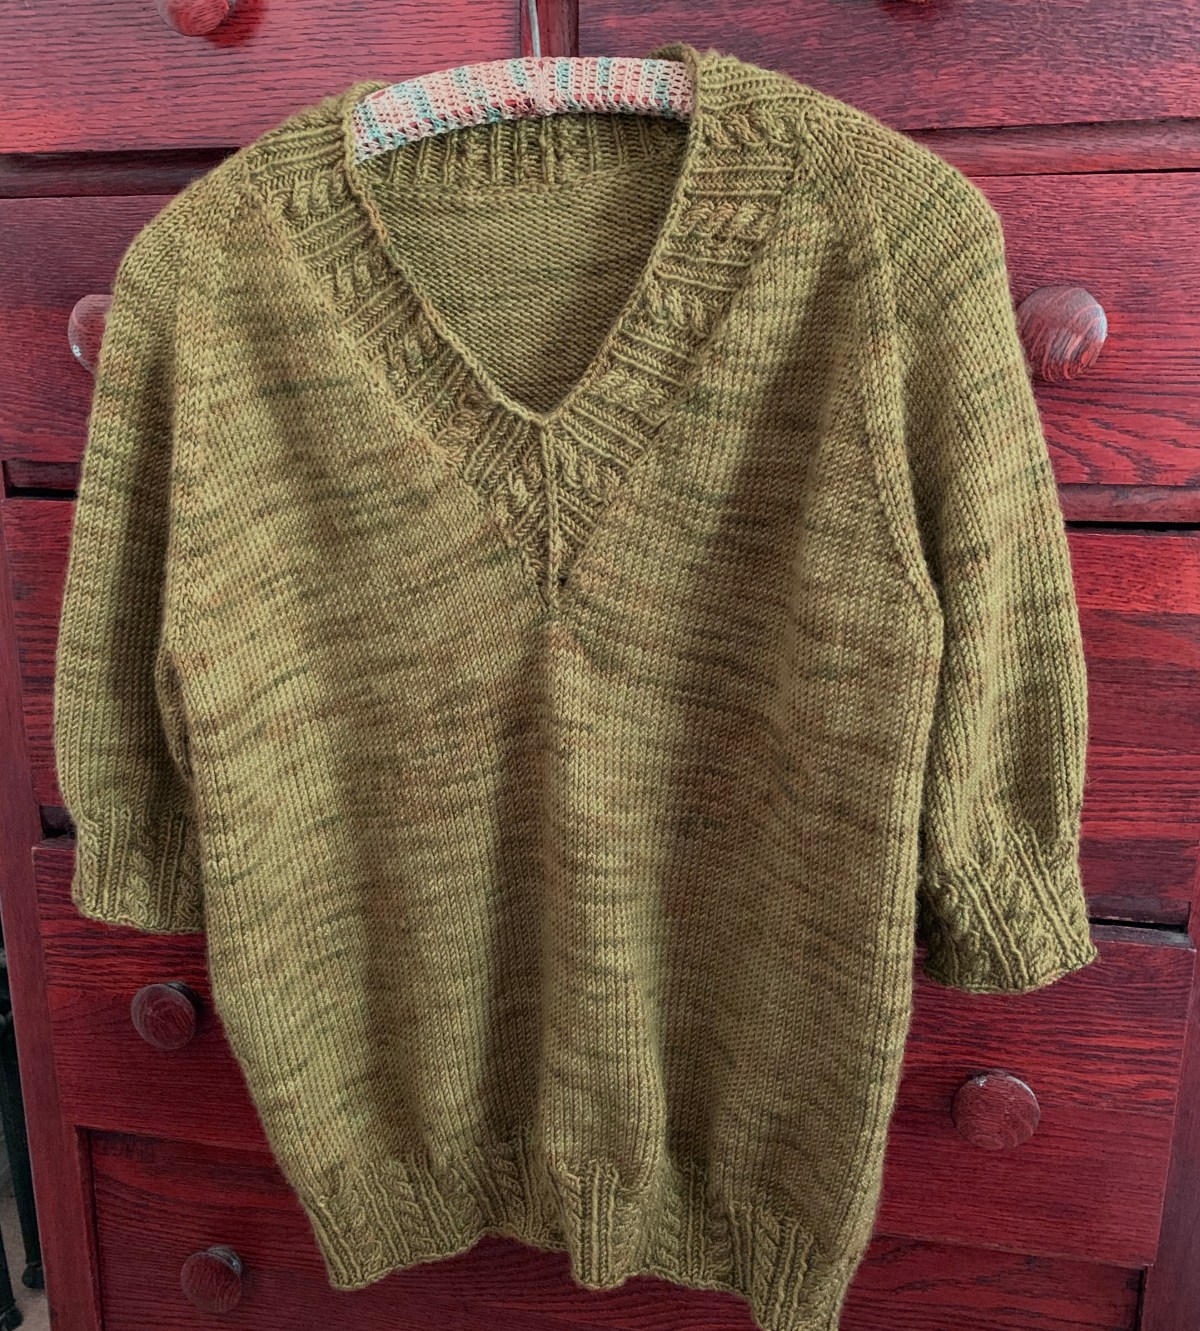
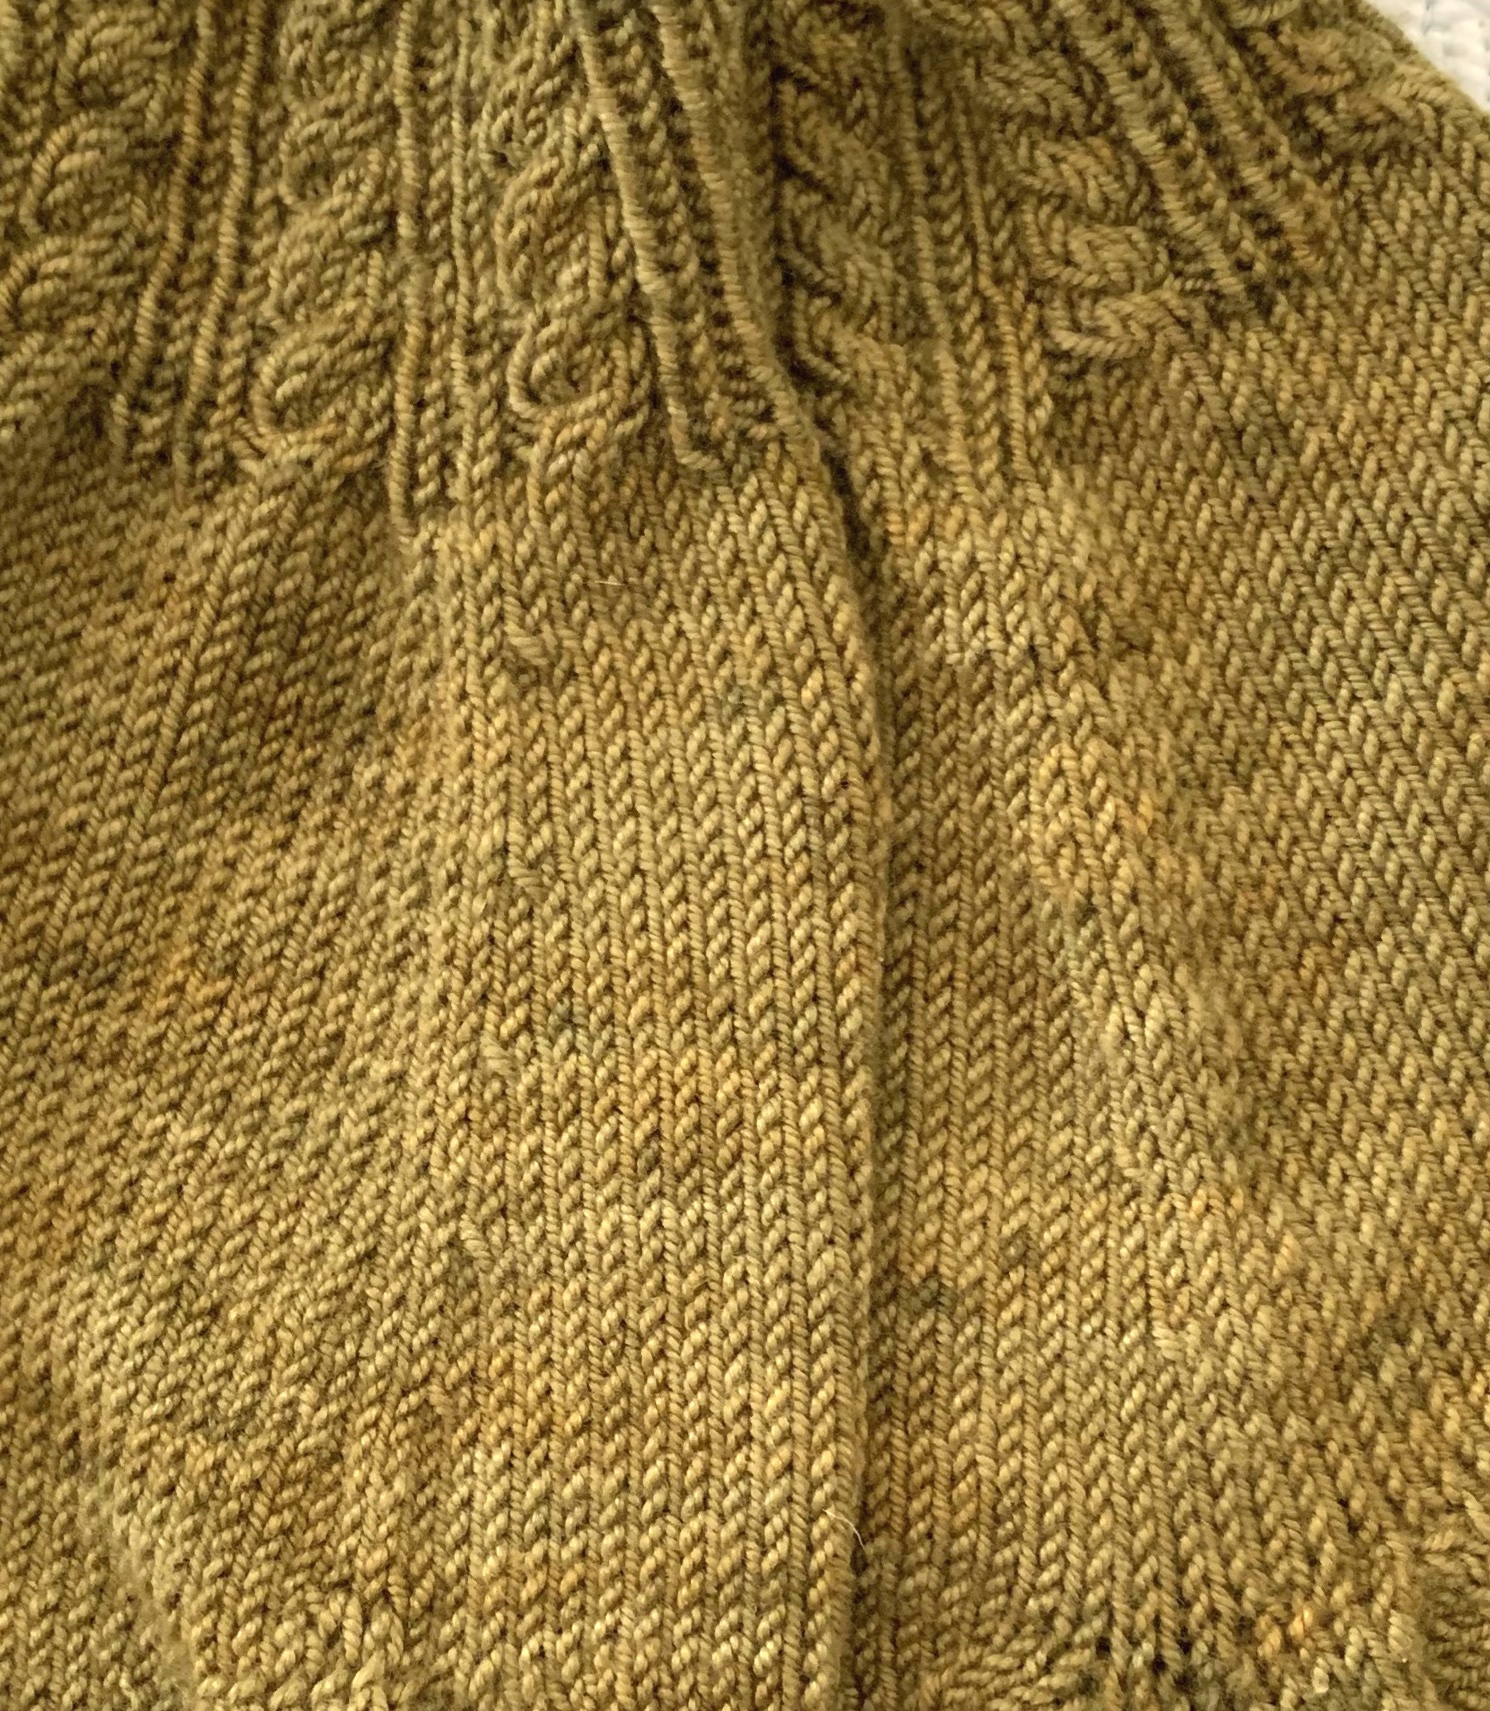
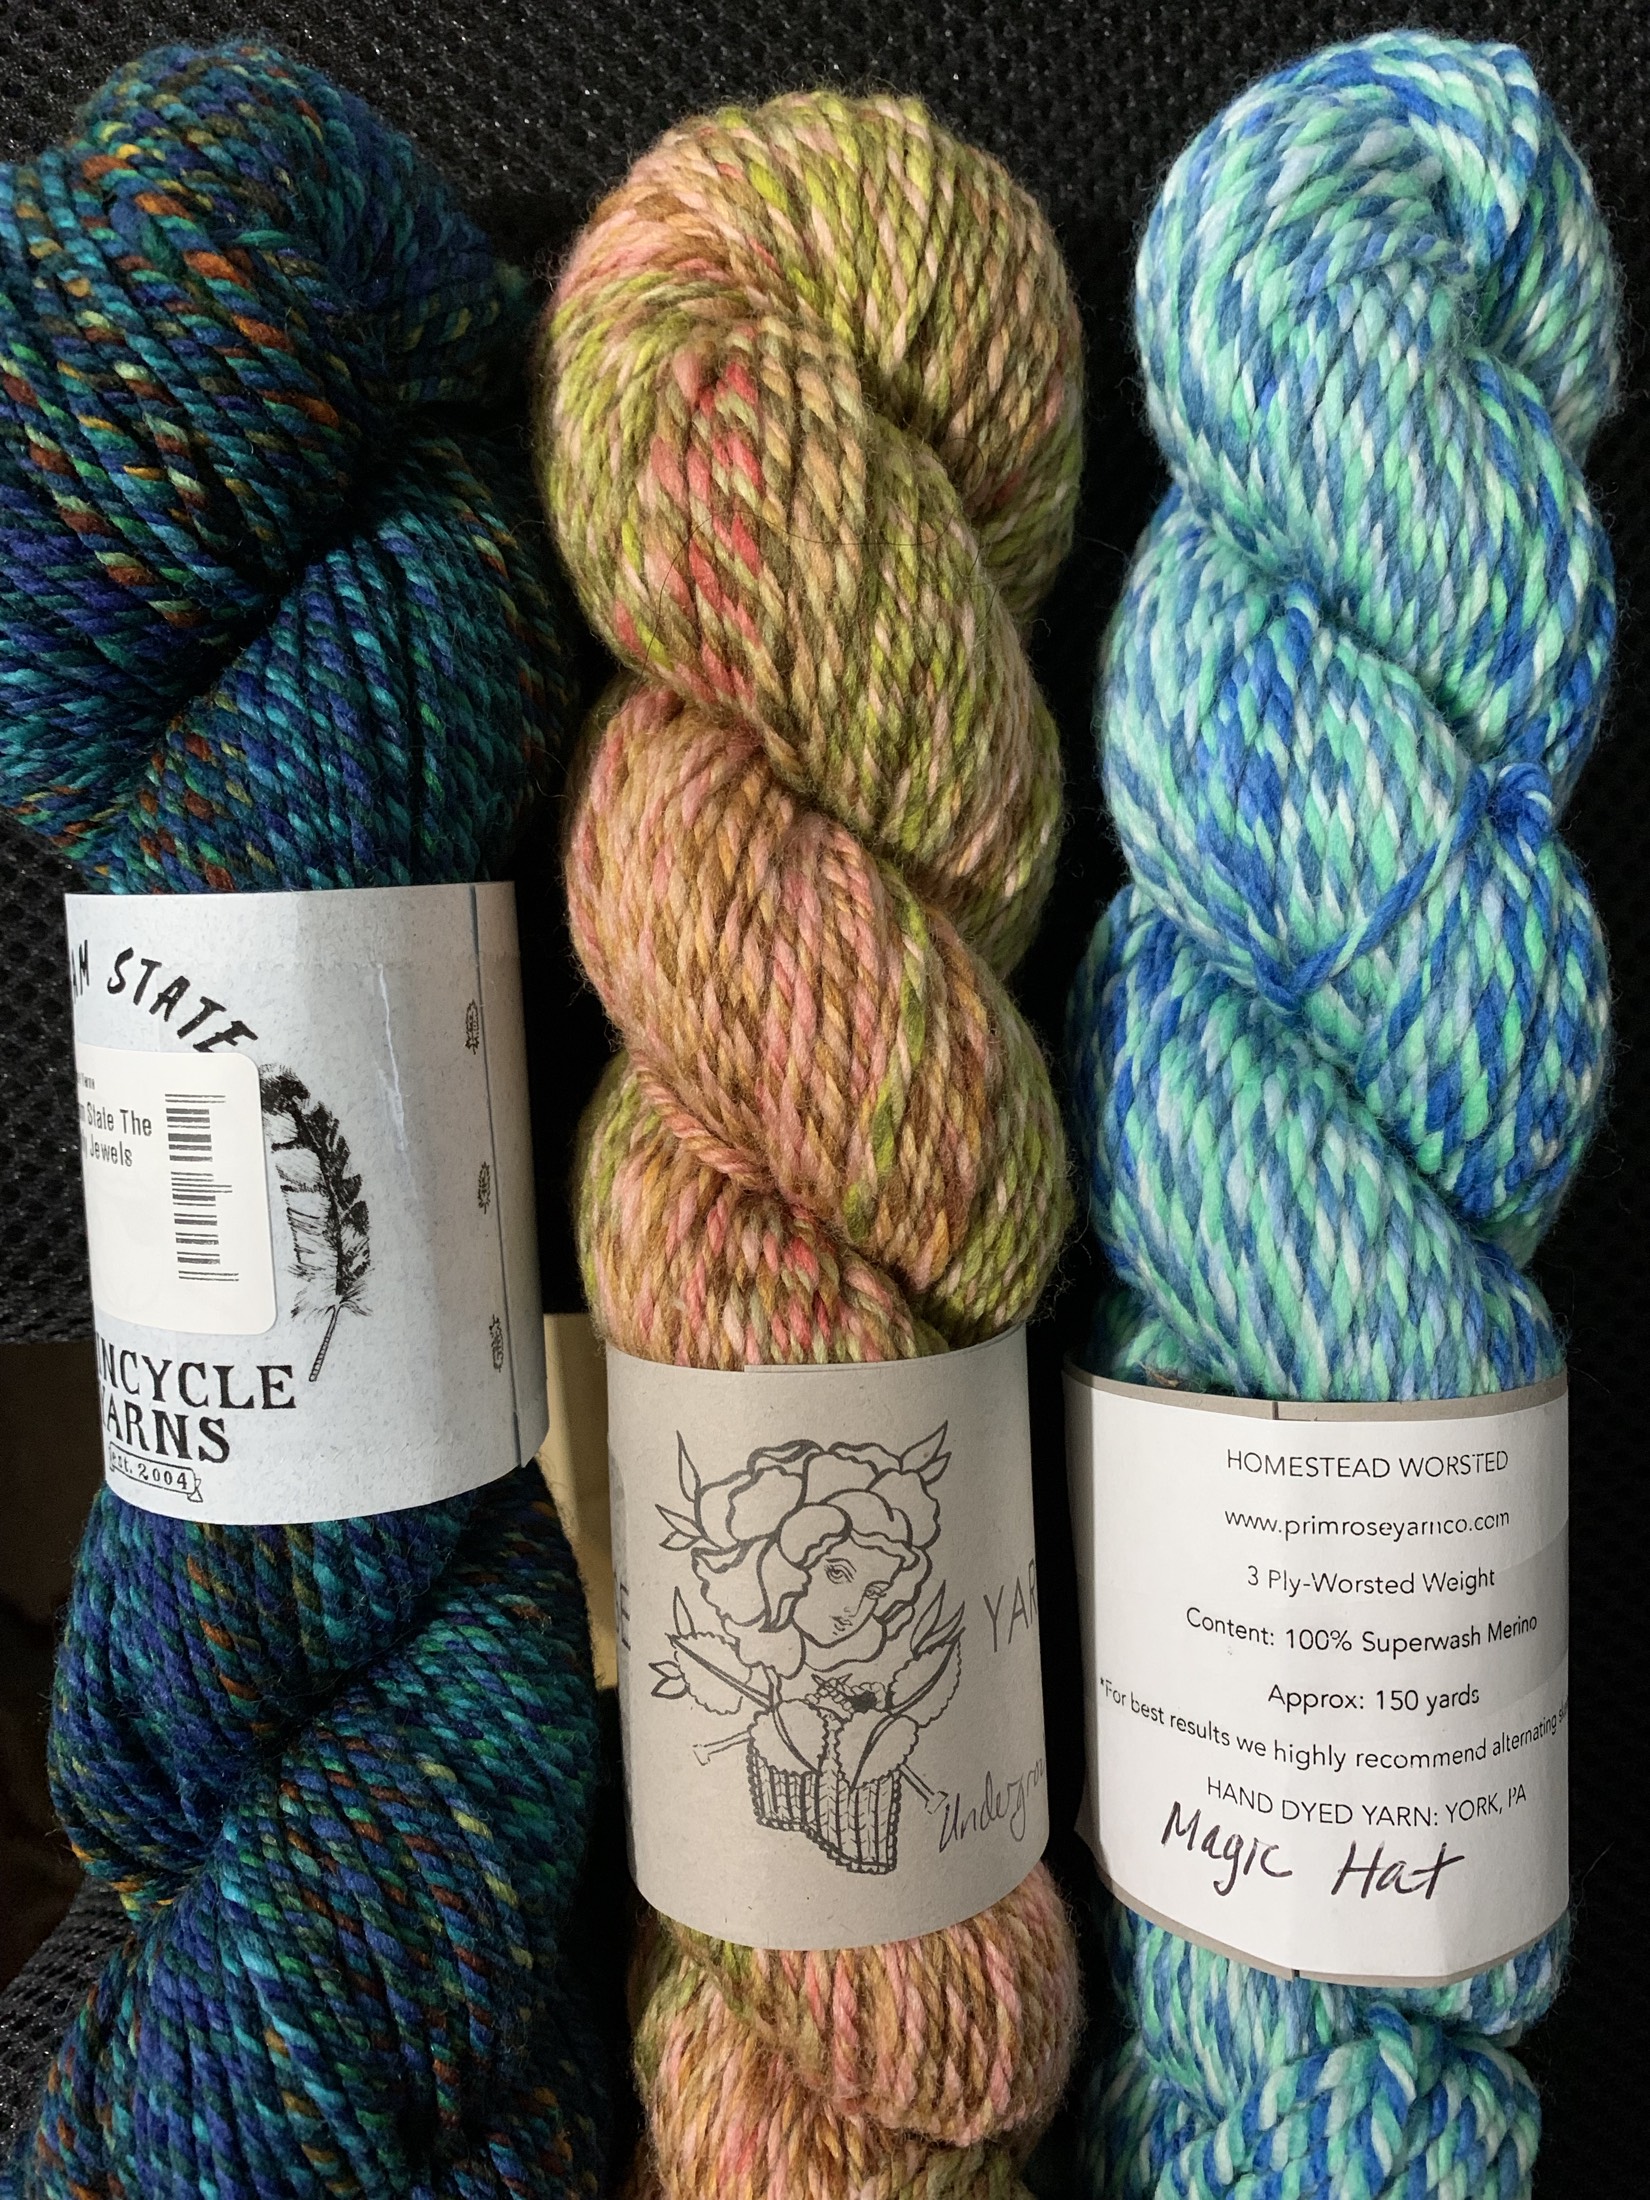
I’ve settled on the Joker pattern in the Lopi 40 pattern book – Ravelry page here. The pattern uses bulky Alafosslopi yarn which creates a nice thick sweater that will knit up quickly. I don’t plant to do all that colorwork on the yoke because my kids like subtle, dark colors. I’ve used Alafosslopi to knit the Carbeth Cardigan, which had no colorwork. And honestly I found that knitting stranded with two hands was a bit tough to do with this yarn.

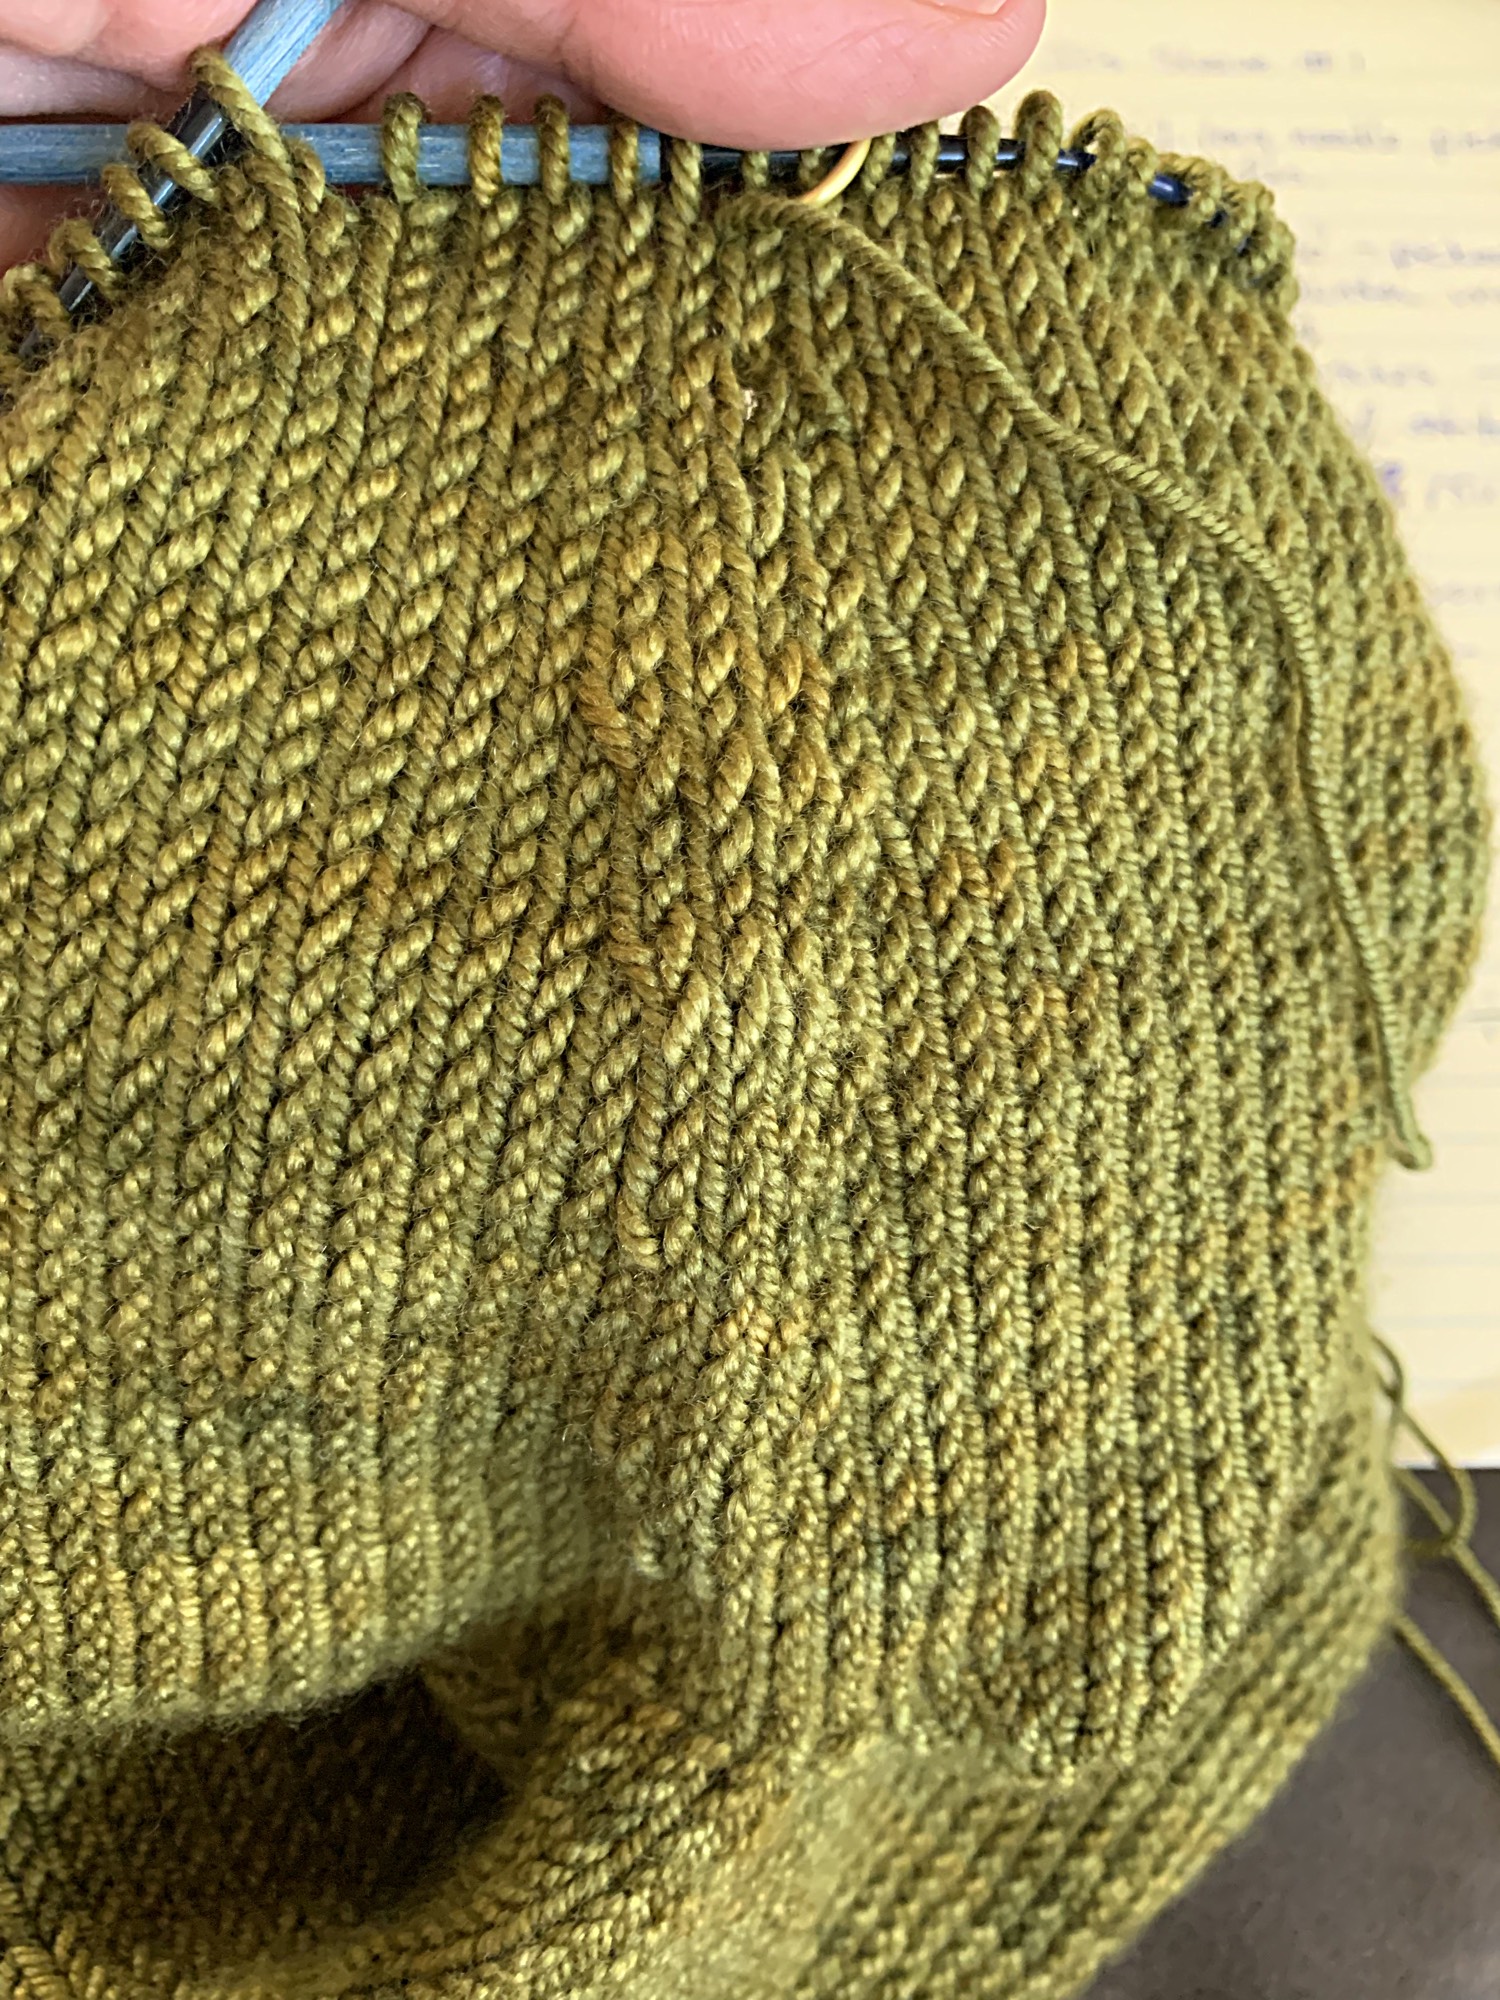
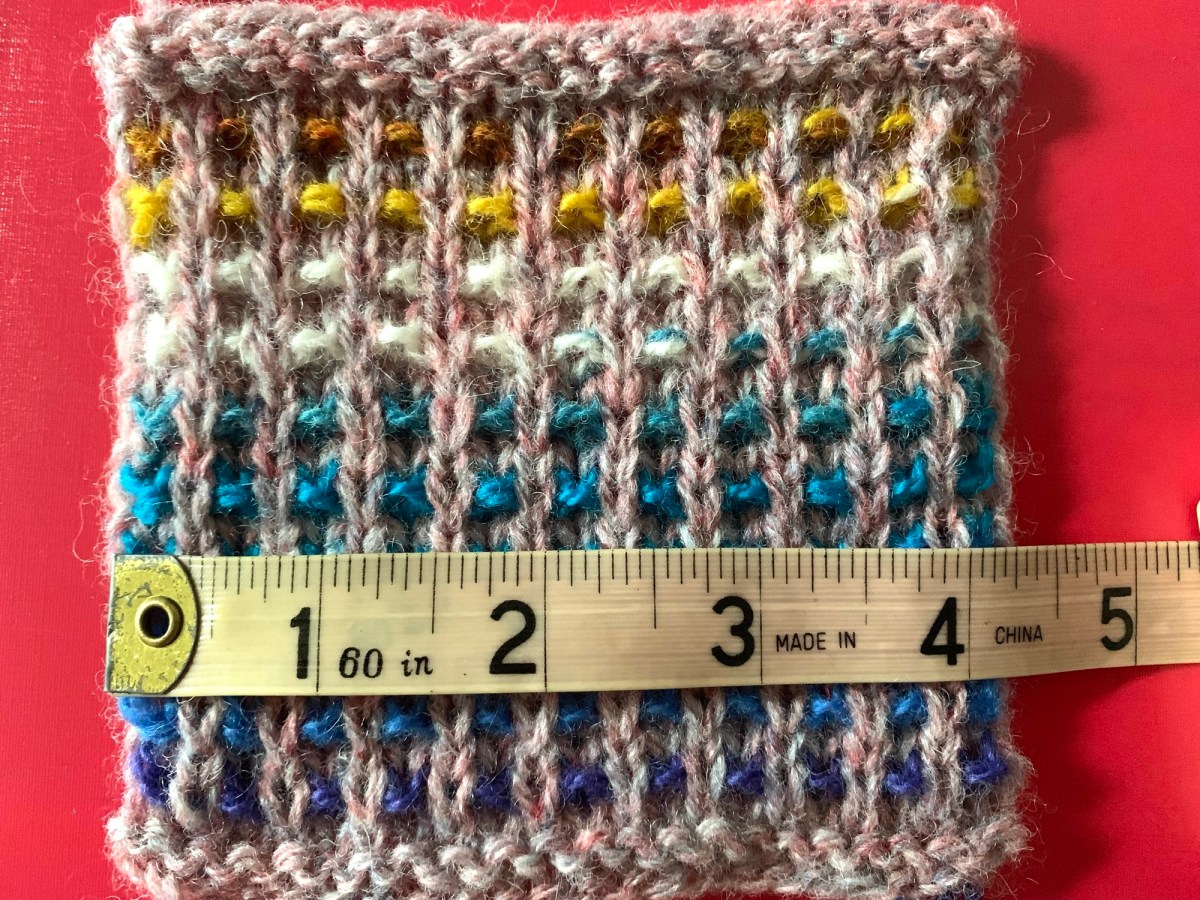
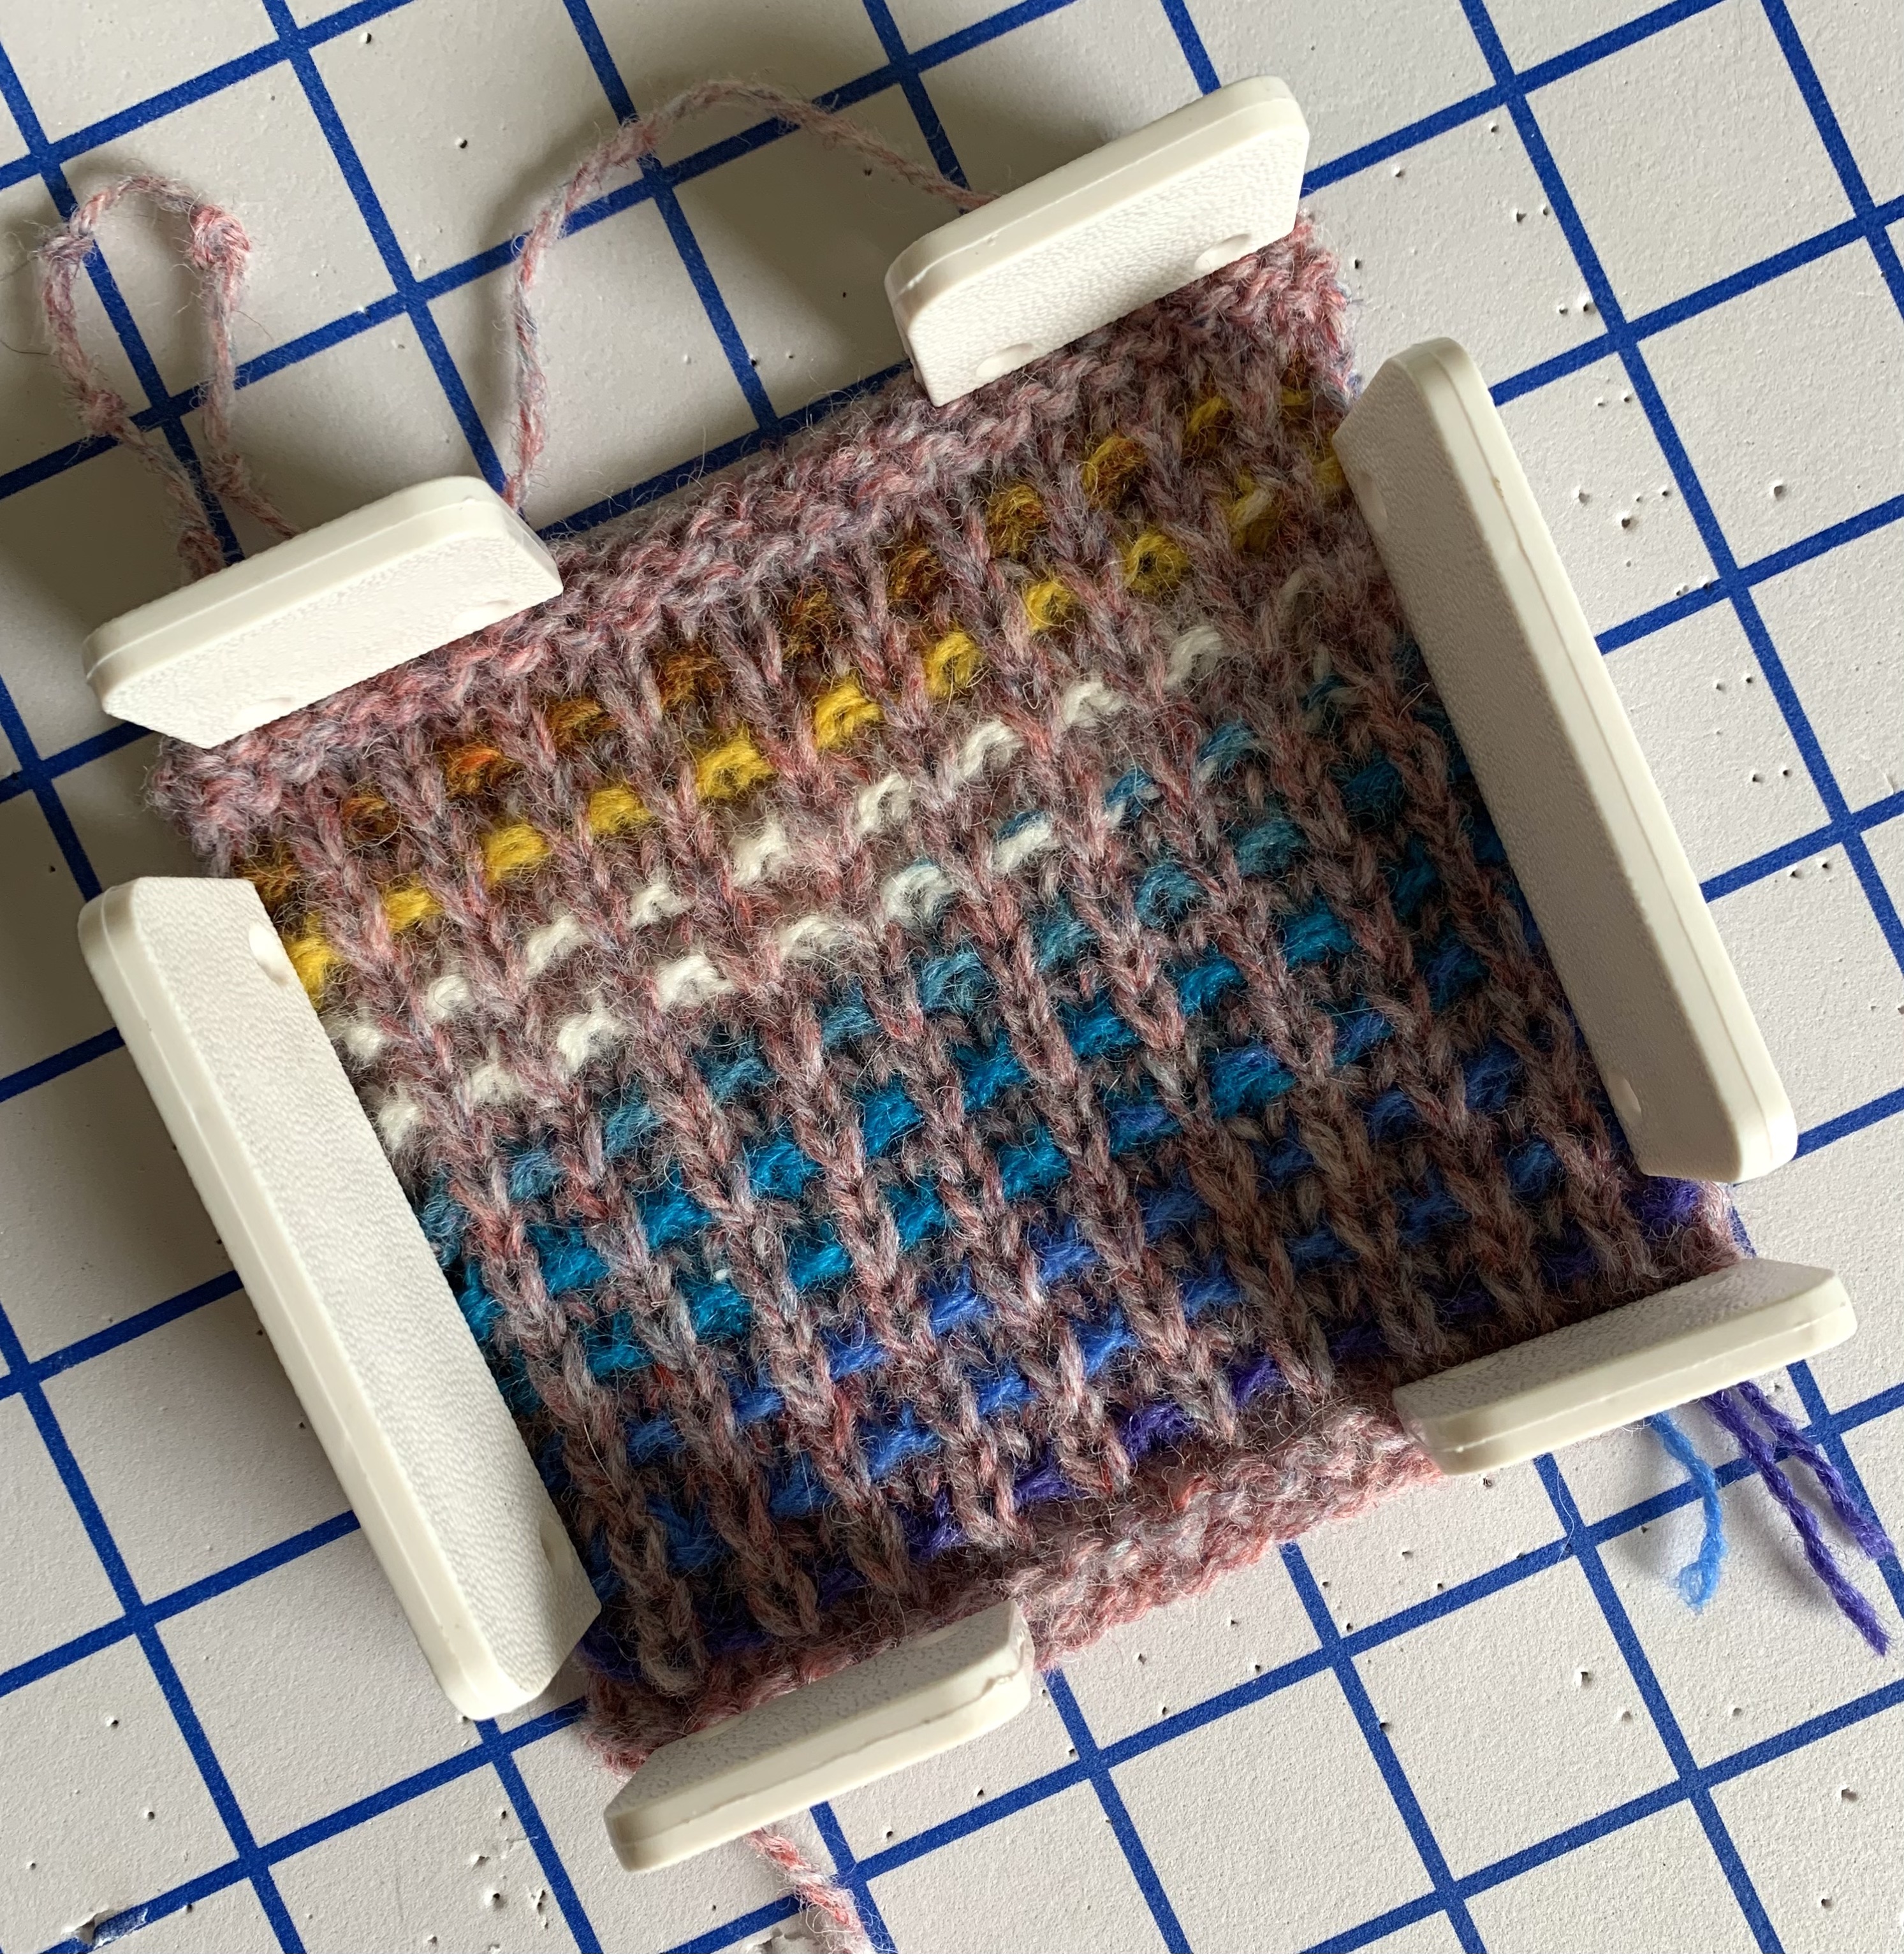
Gauge Swatch and Casting On

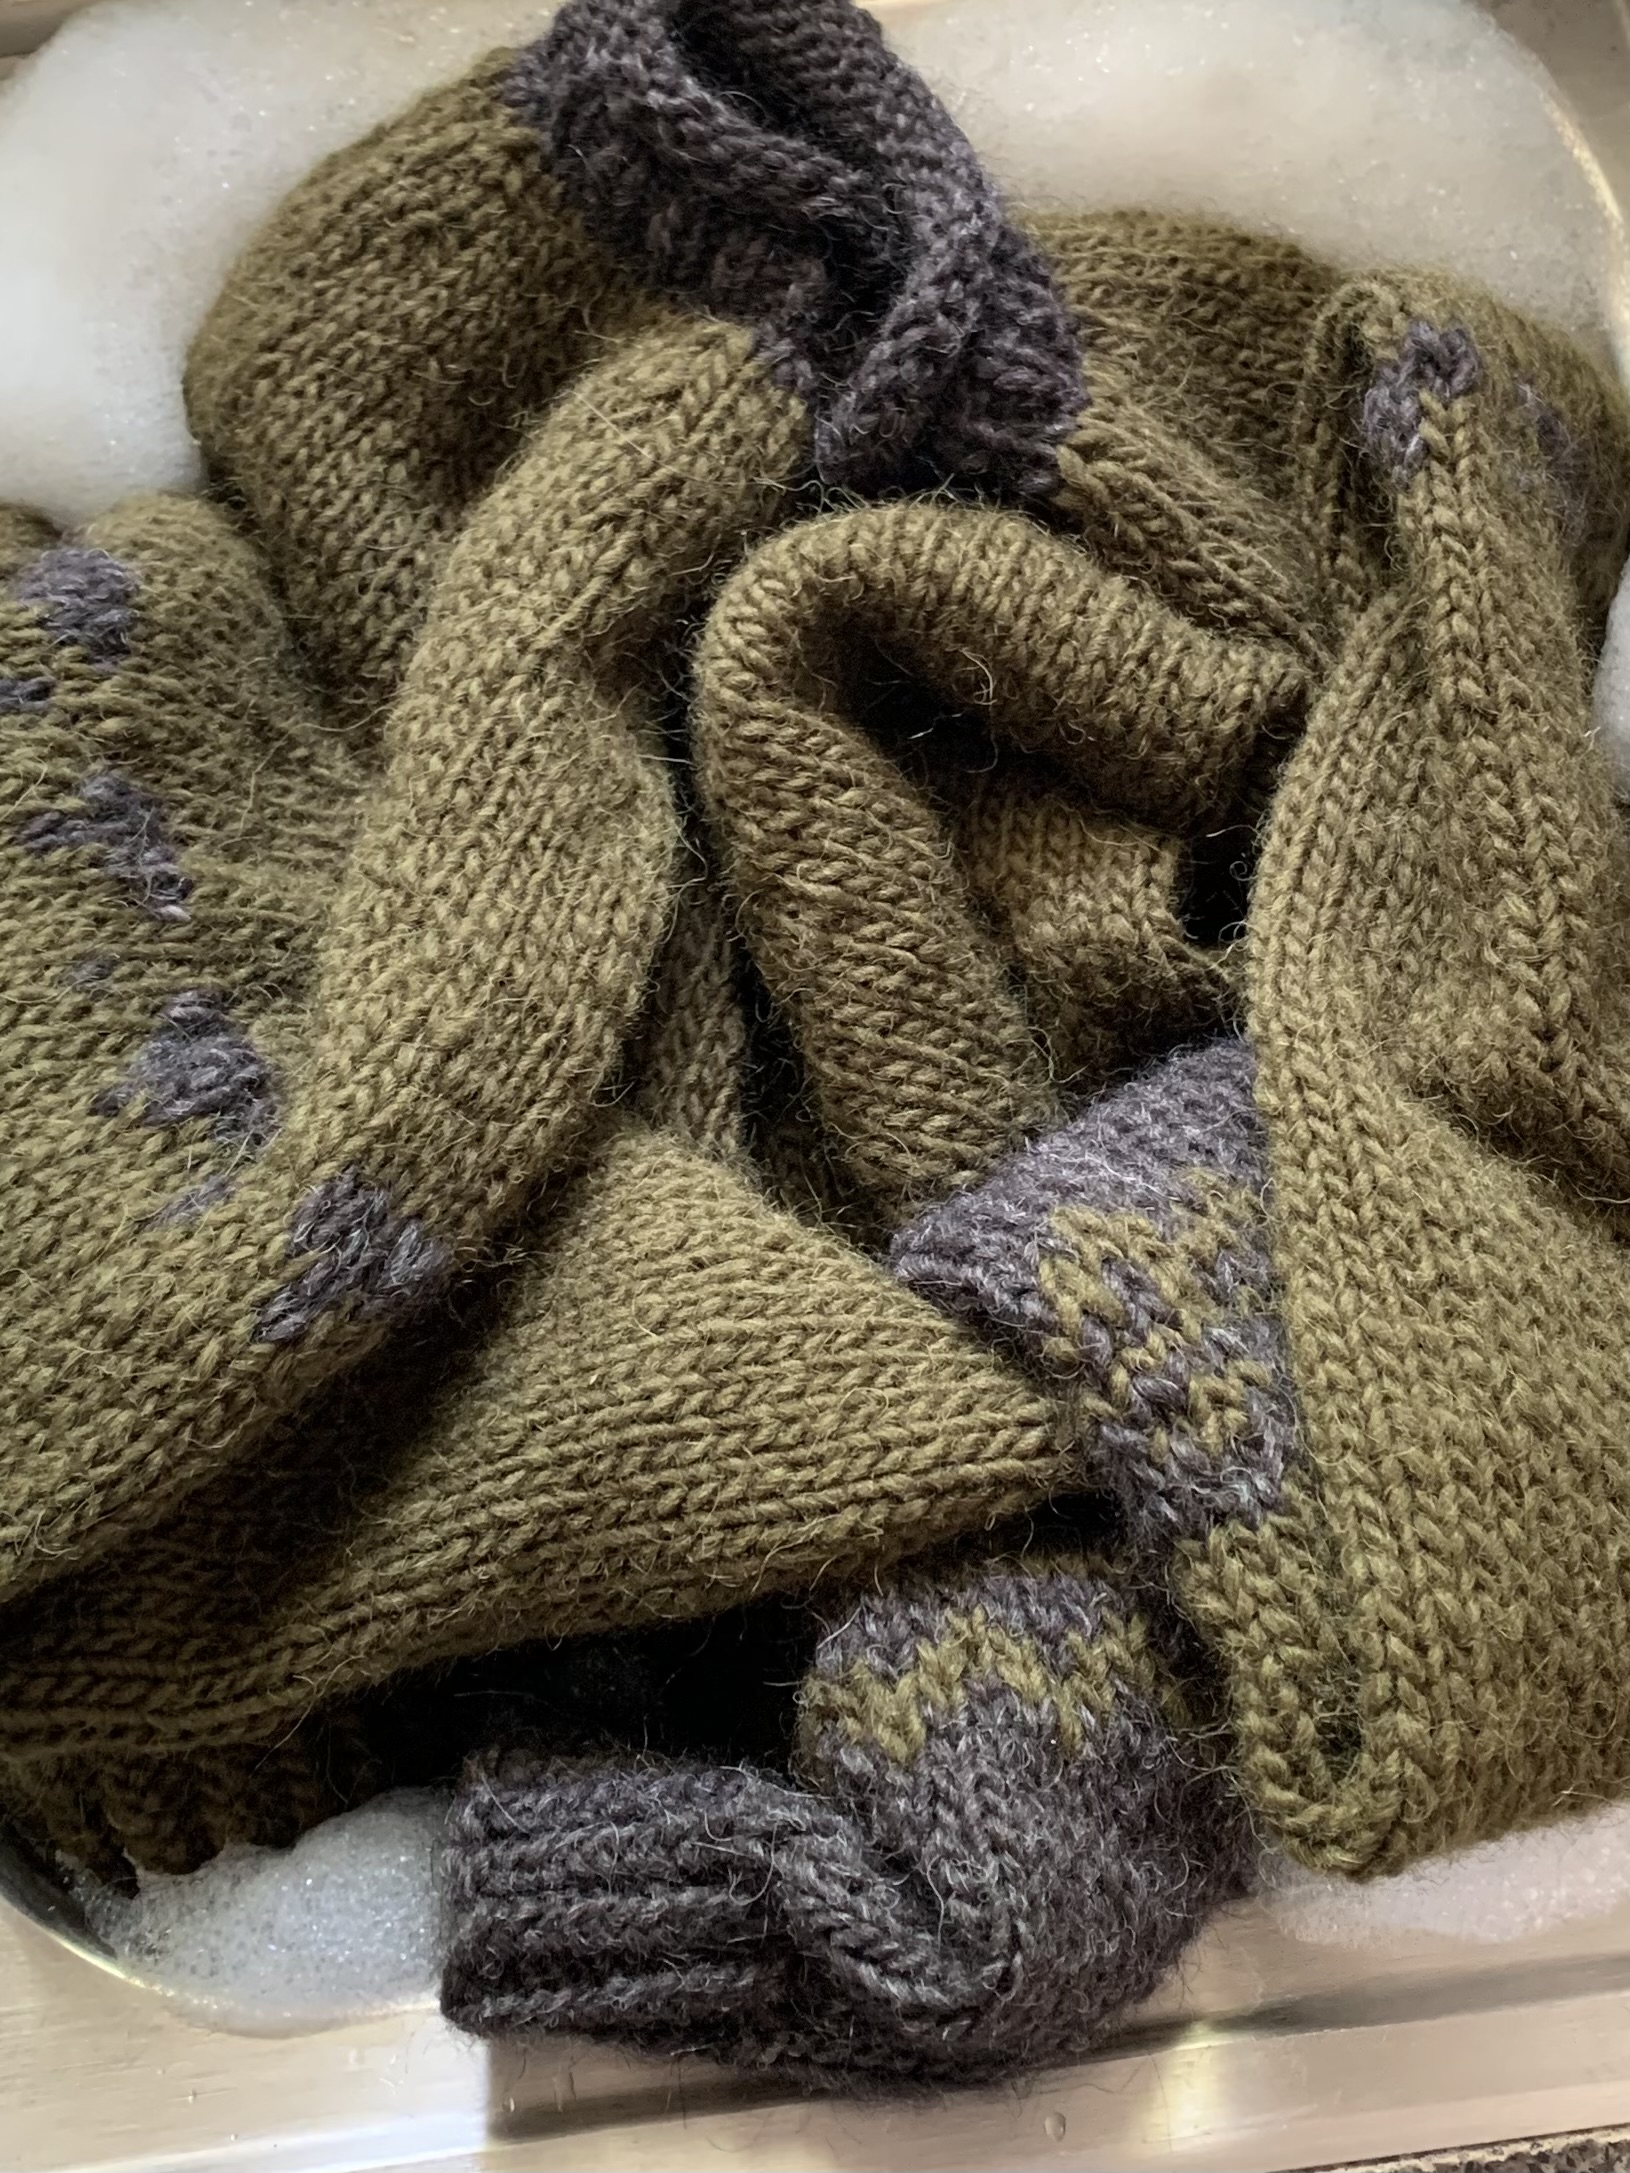
My gauge is goo with needle recommended. I knit with a couple of black stripes with the main color green to see how well that worked. When there is a long cast-on like the beginning of the body, I do a two-stranded cast on using yarn from two skeins. That way I won’t have to worry about running our of yarn for the Old Norwegian cast on.
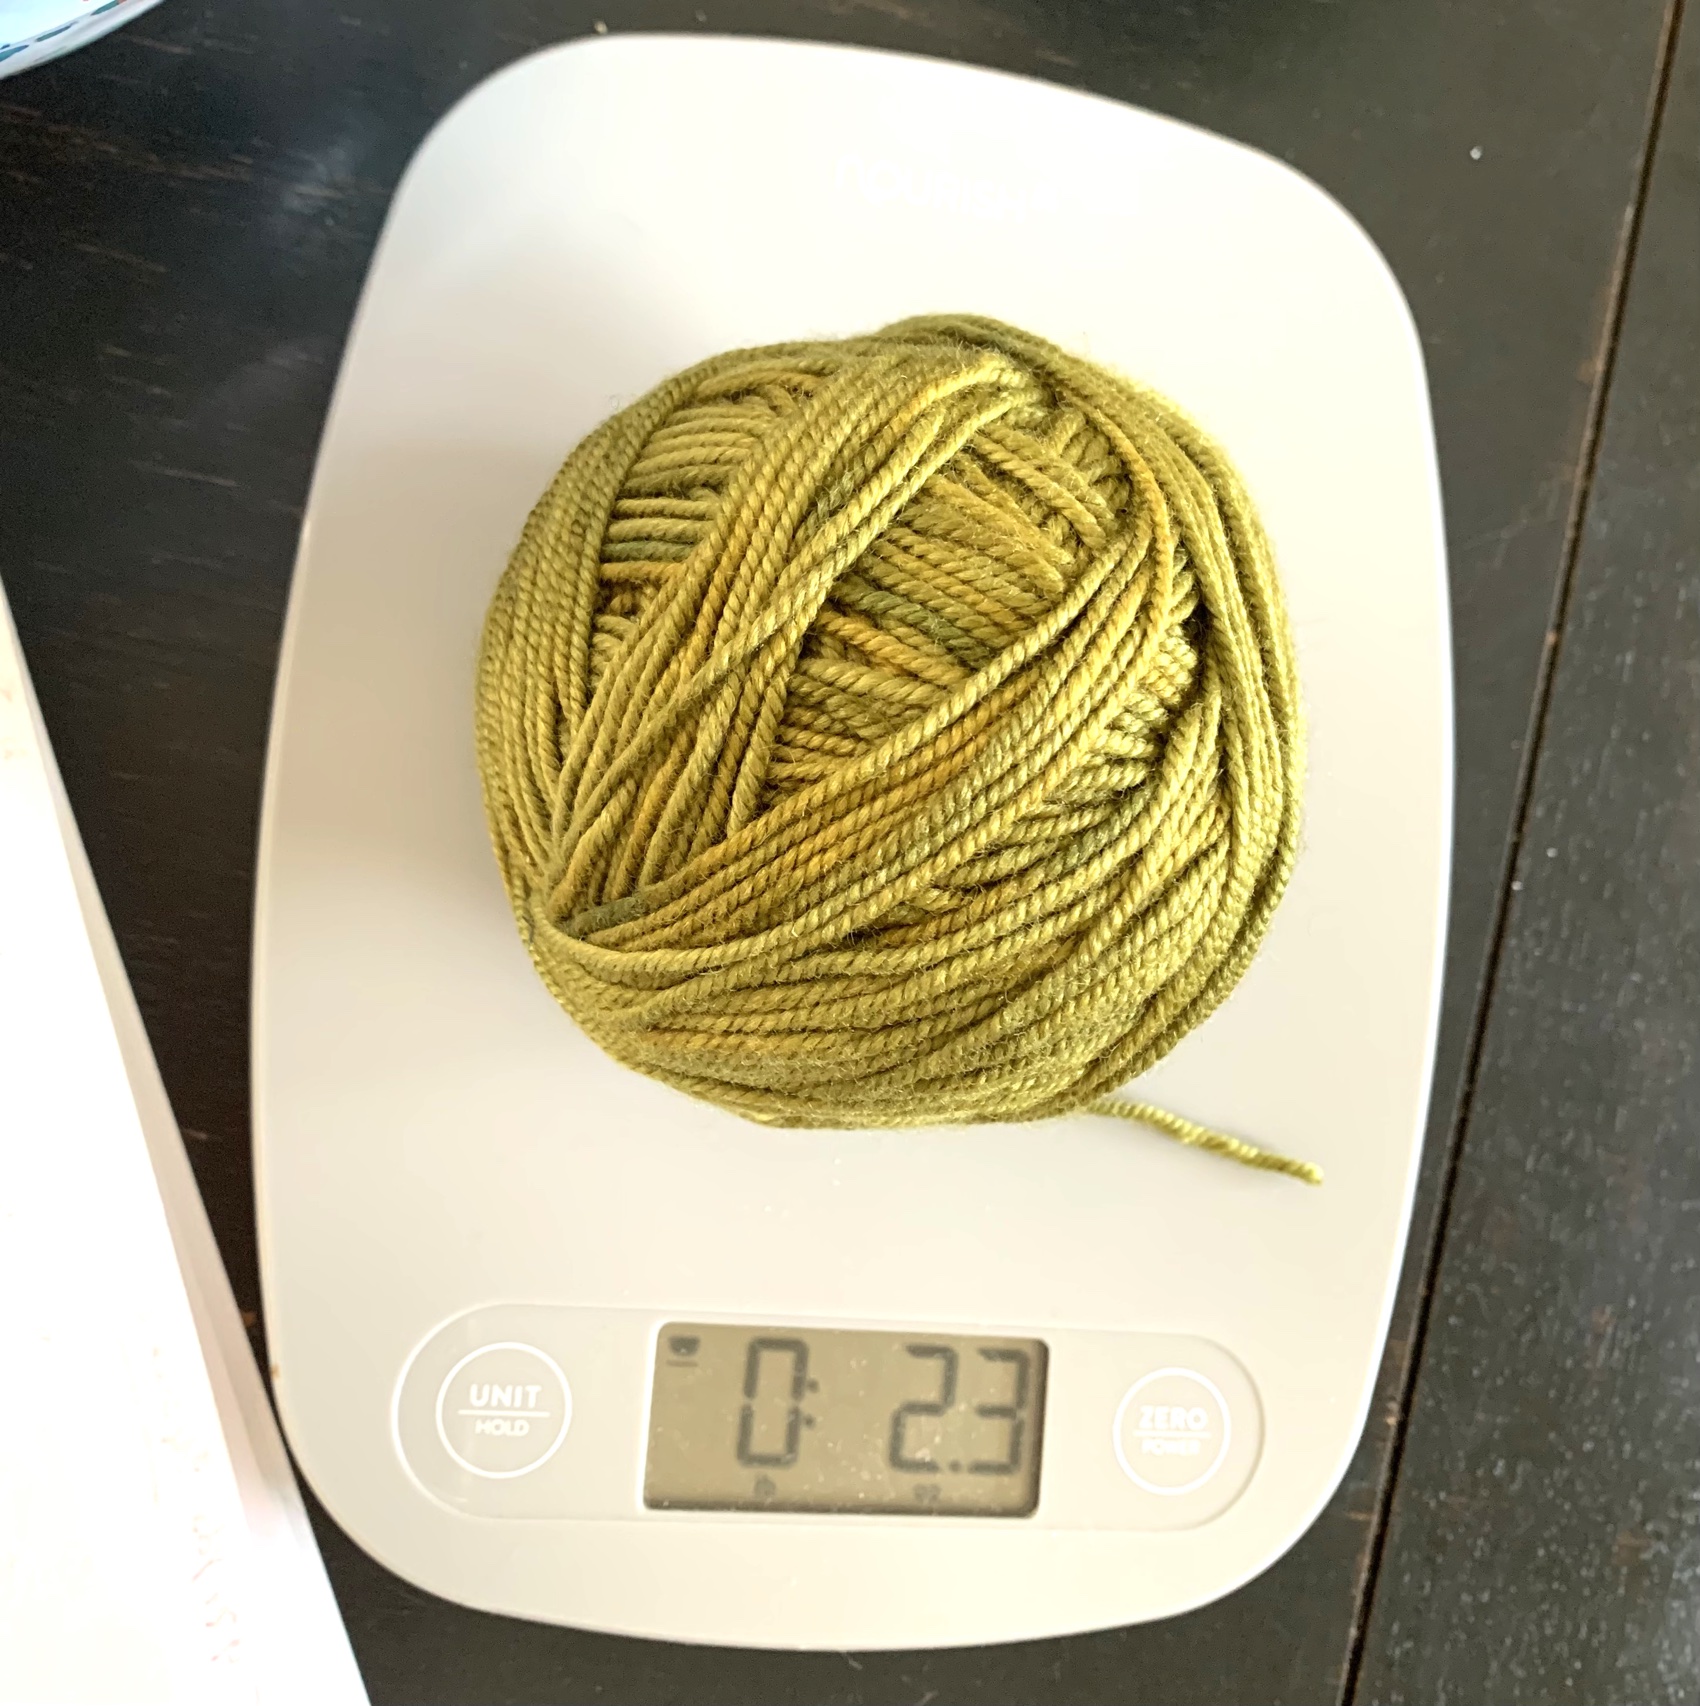
Yarn Amounts Used

In the end, this is approximately how much yarn was used. Eight skeins total needed to knit size XL if done in one color.

  • Alafosslopi Green – 6 + a little
  • Alafosslopi Black – 1 + a little

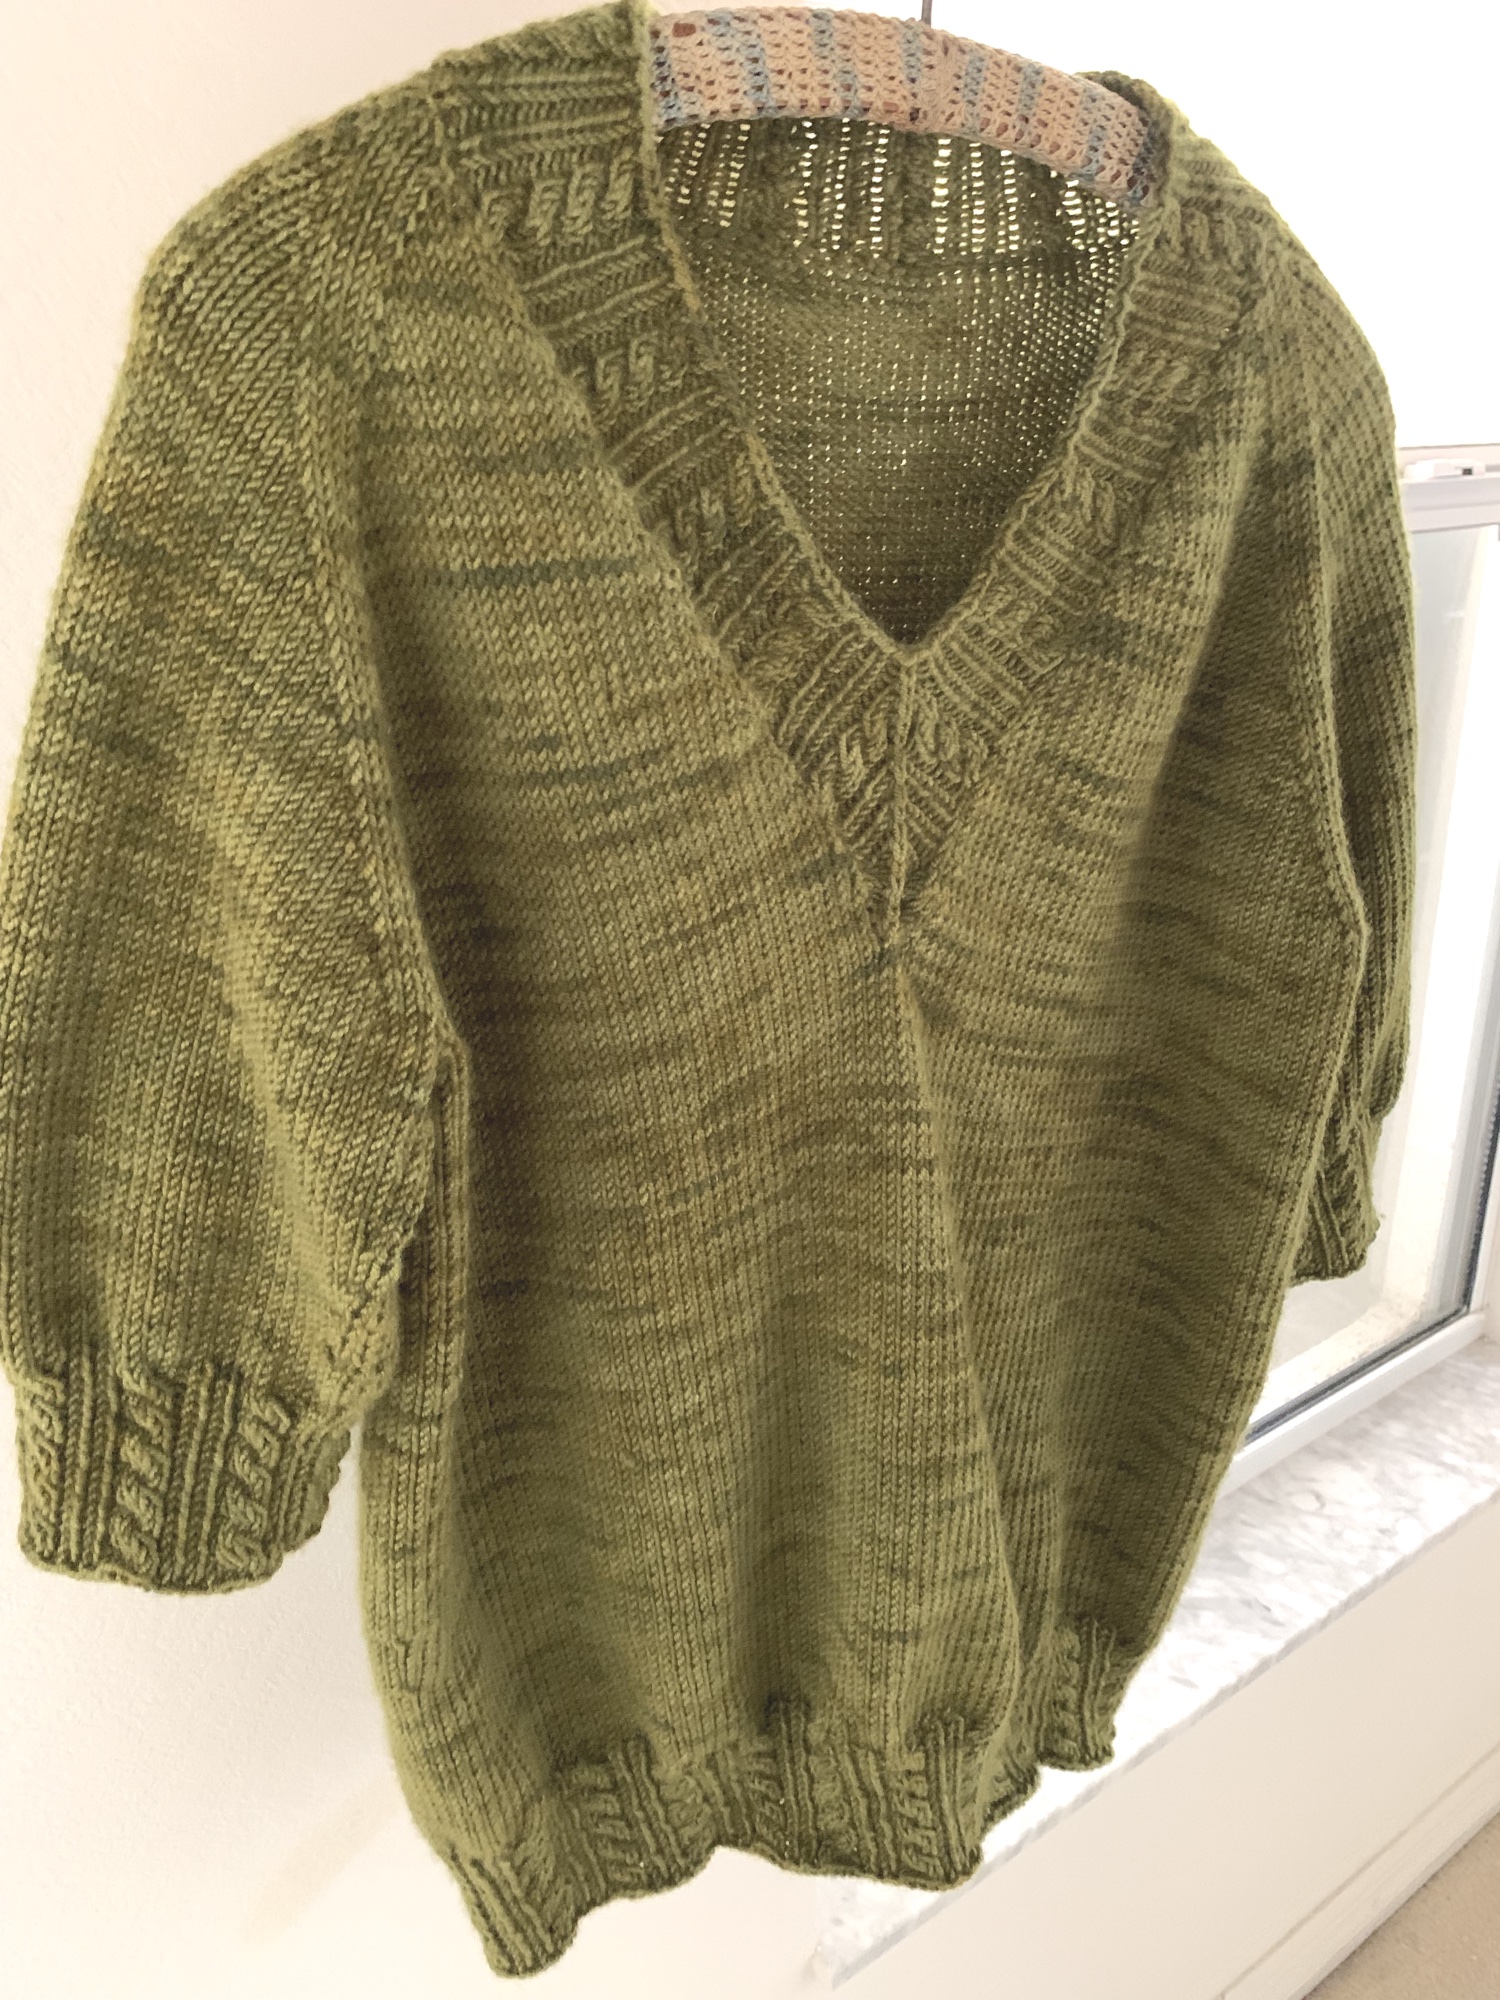
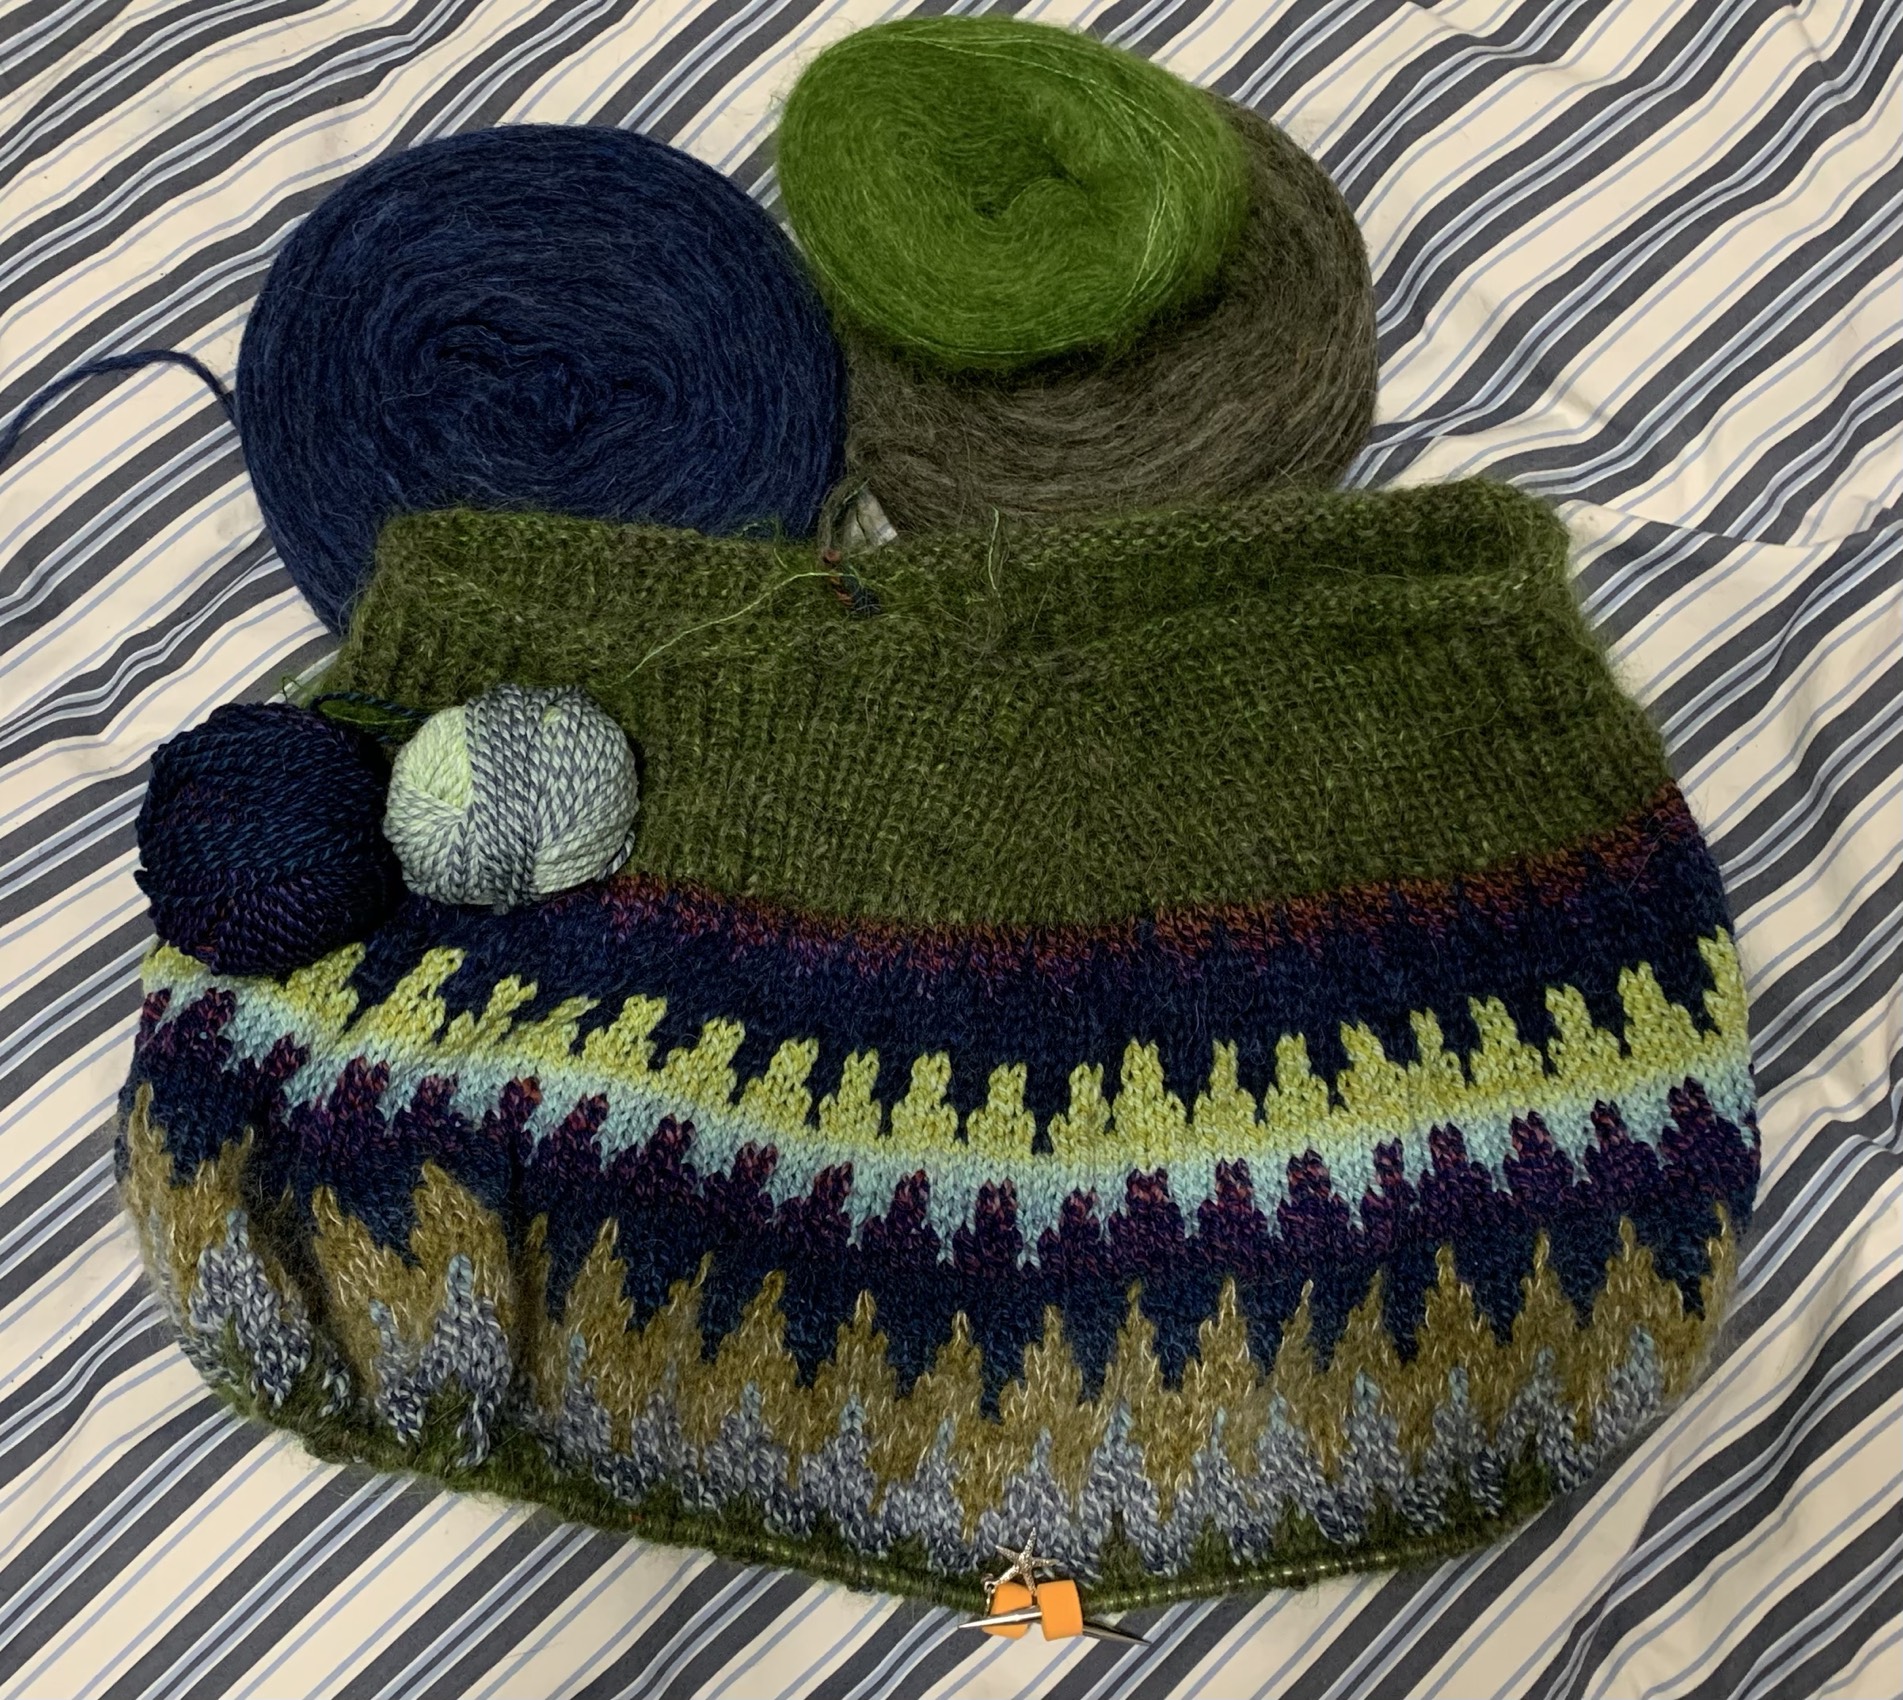
The Joker pullover is knit from the bottom up. Then the sleeves and body are attached and a colorwork yoke is knit. I was not looking for a colorwork pattern, and ended up not doing much of it.

The Joker pattern is pretty straightforward for anyone who is used to knitting a sweater, but does not go into detail. Directions are in cm which I had to convert. Under the sleeves, the armpits have Kitchener stitch to close up the hole.

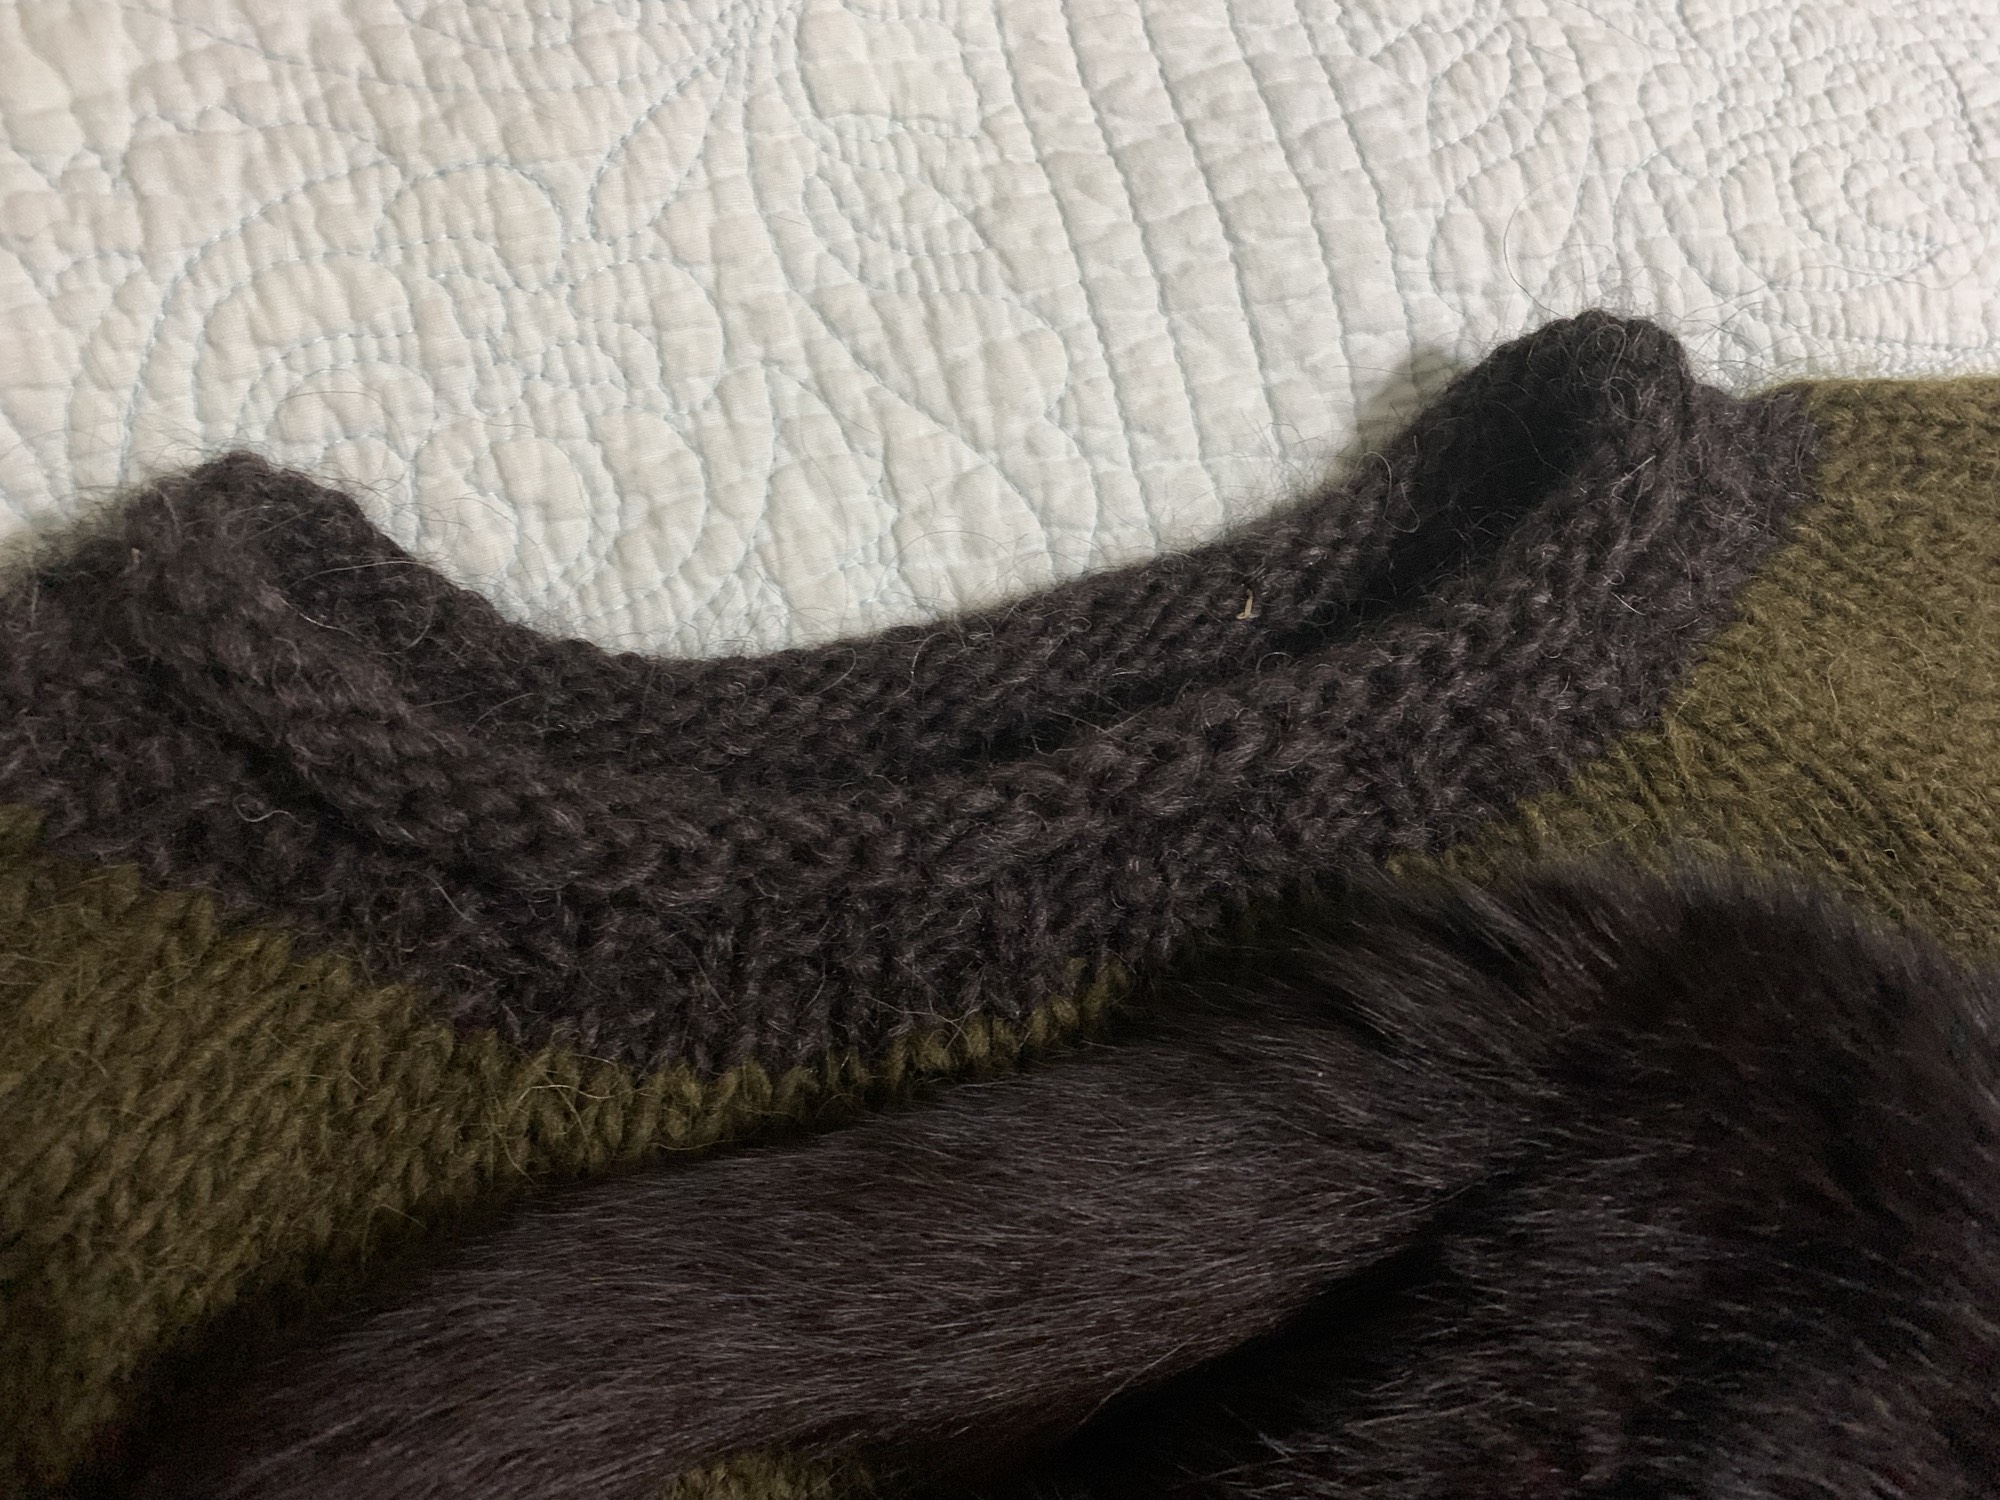
One note that I hope will be helpful to others, and to myself for next time, is to do a very stretchy bind-off around the neck. I had to rip back and re-do the neck. Binding off loosely is not enough. The neckline curls under so the bind-off is hidden.

How I did the stretchy bind-off: Like this video by Andrea Mowry, EXCEPT I only did 2 stretchy style, then did 2 regular style. I’ve found that doing the stretchy bind-off all the way around will often make that last row way too loose. So I alternated and it turned out great.

Stretchy bind off alternating: Knit one, bring yarn over needle to add another stitch. Knit one – 3 stitches on the right needle. Pass the first two over the last stitch to leave one on the right needle. Do this twice, then do a regular knit one, pass the first stitch over (twice).

Joker sweater rolled collar

We went camping for a couple of days at Long Point Campground, and the sweater was still damp when we returned home! It had been drying for 4 days! So I put the dehumidifier on which helped.

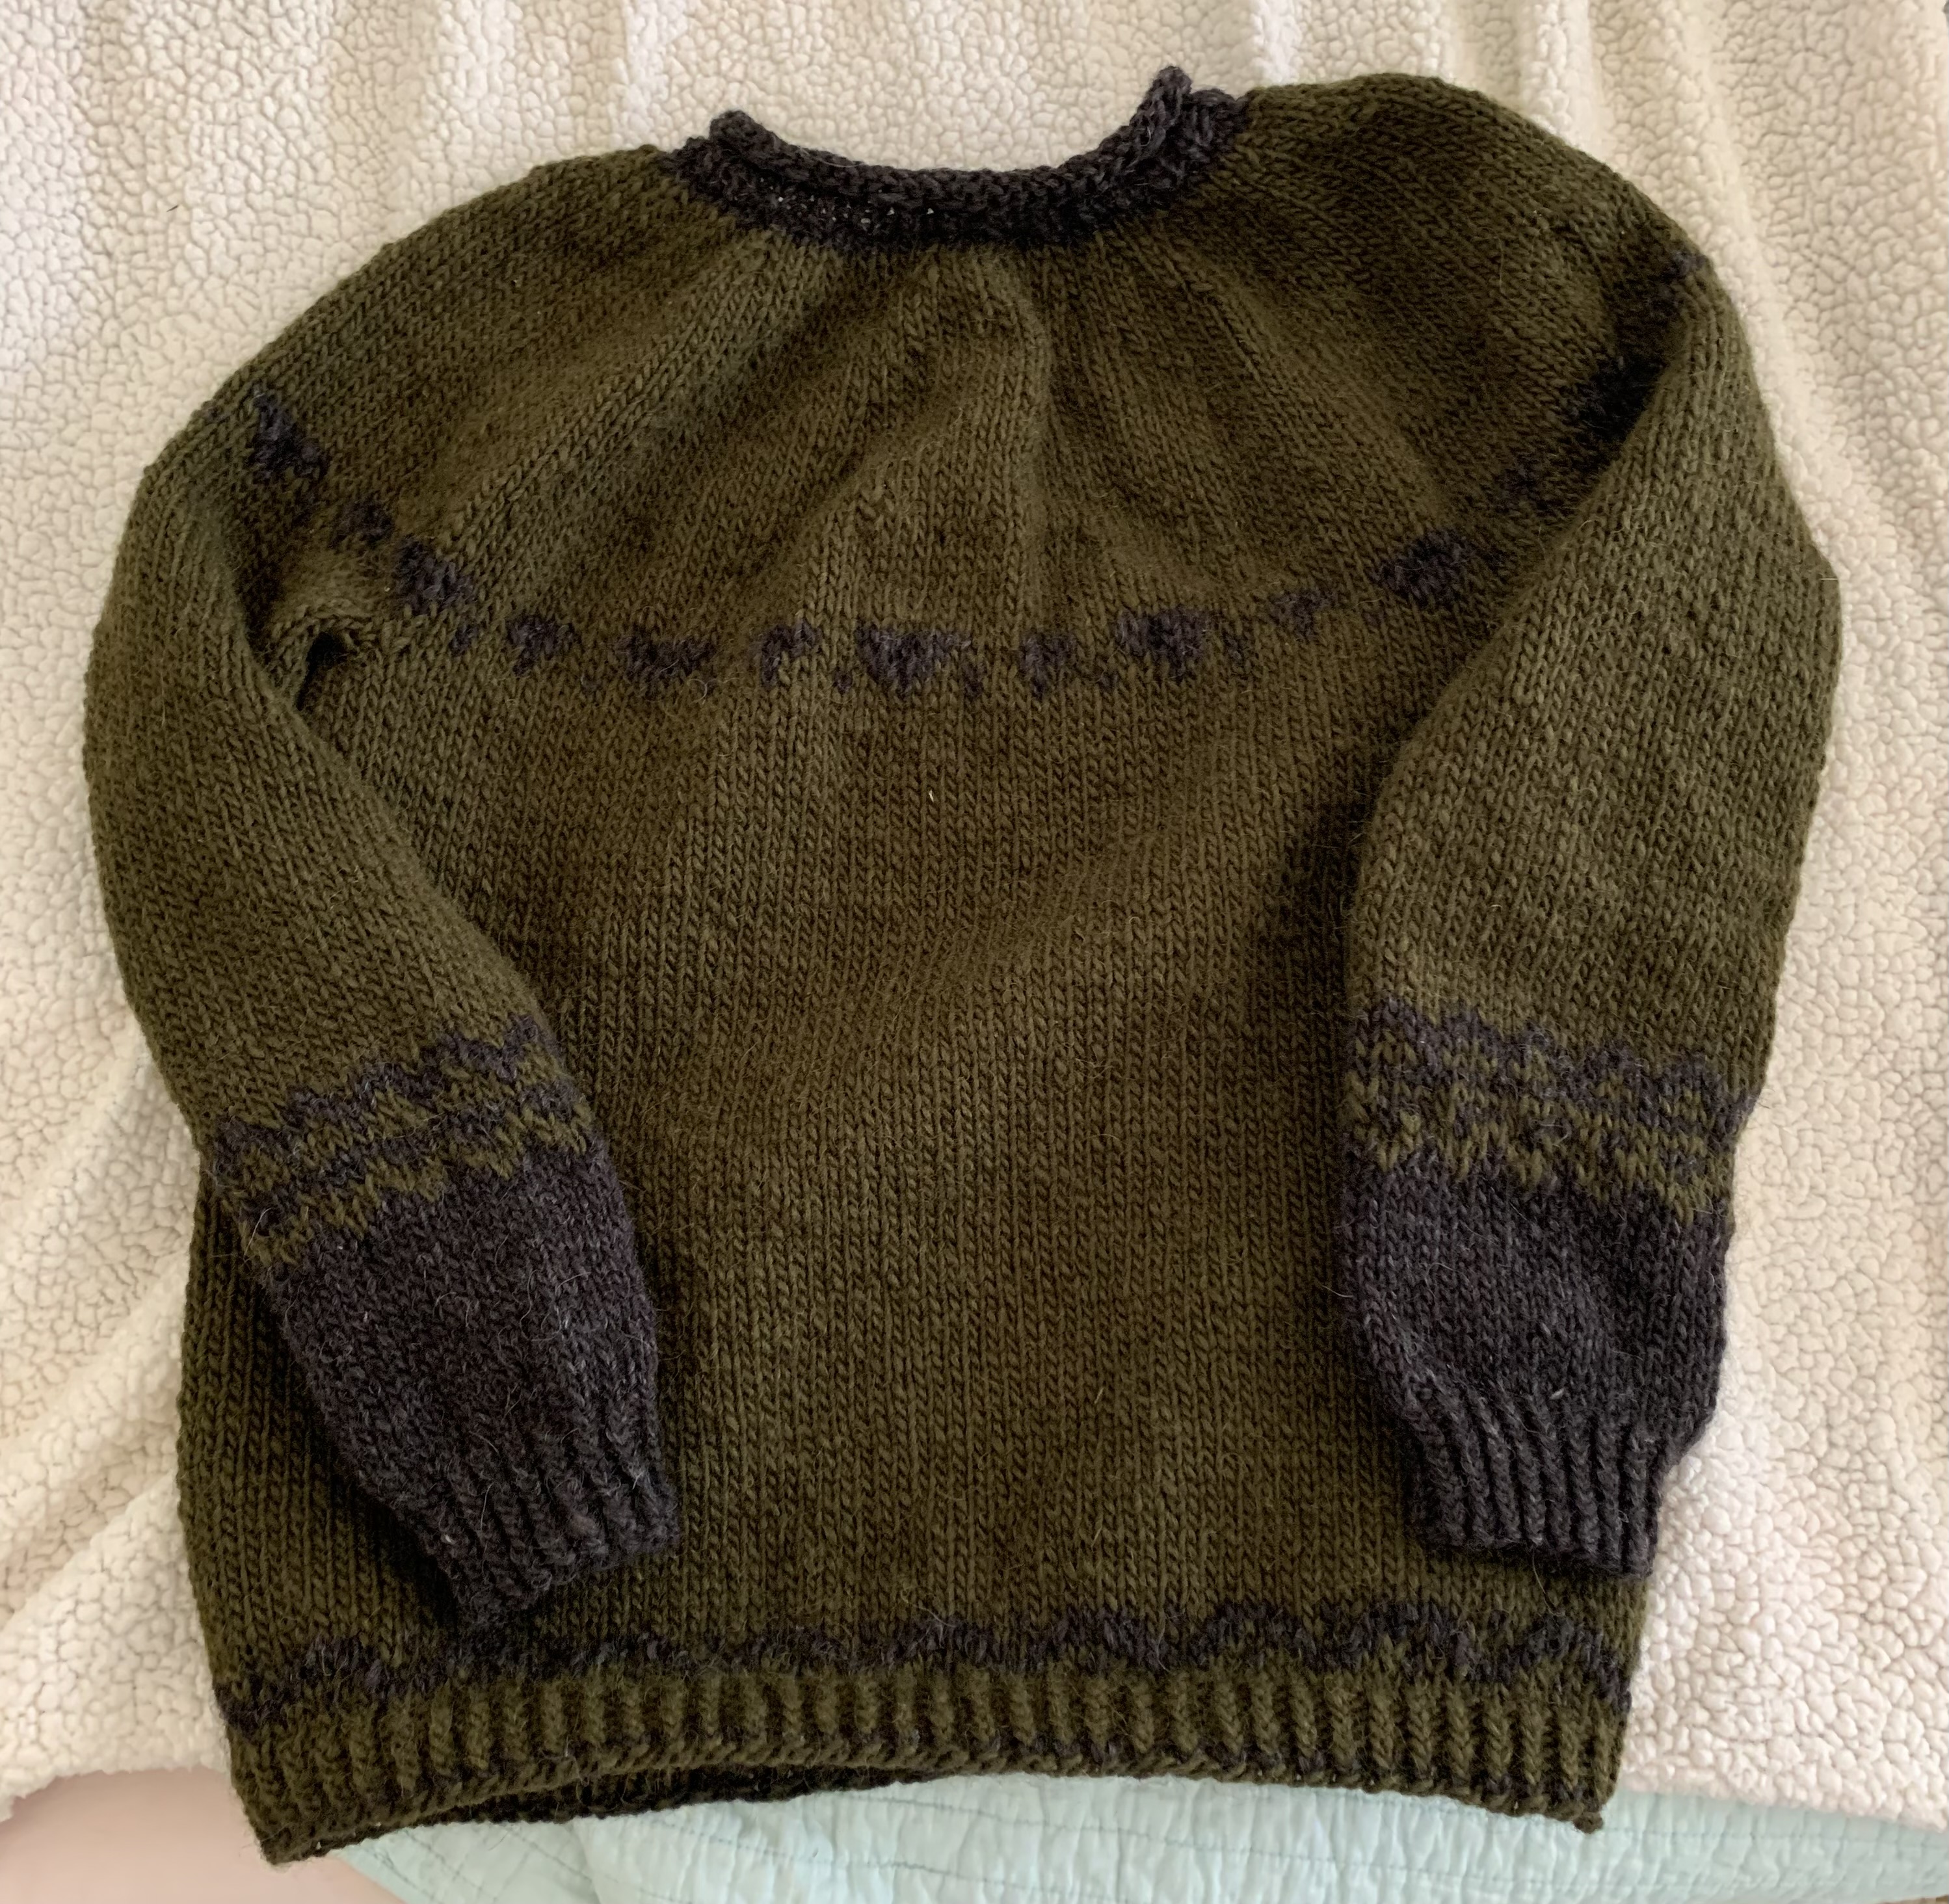
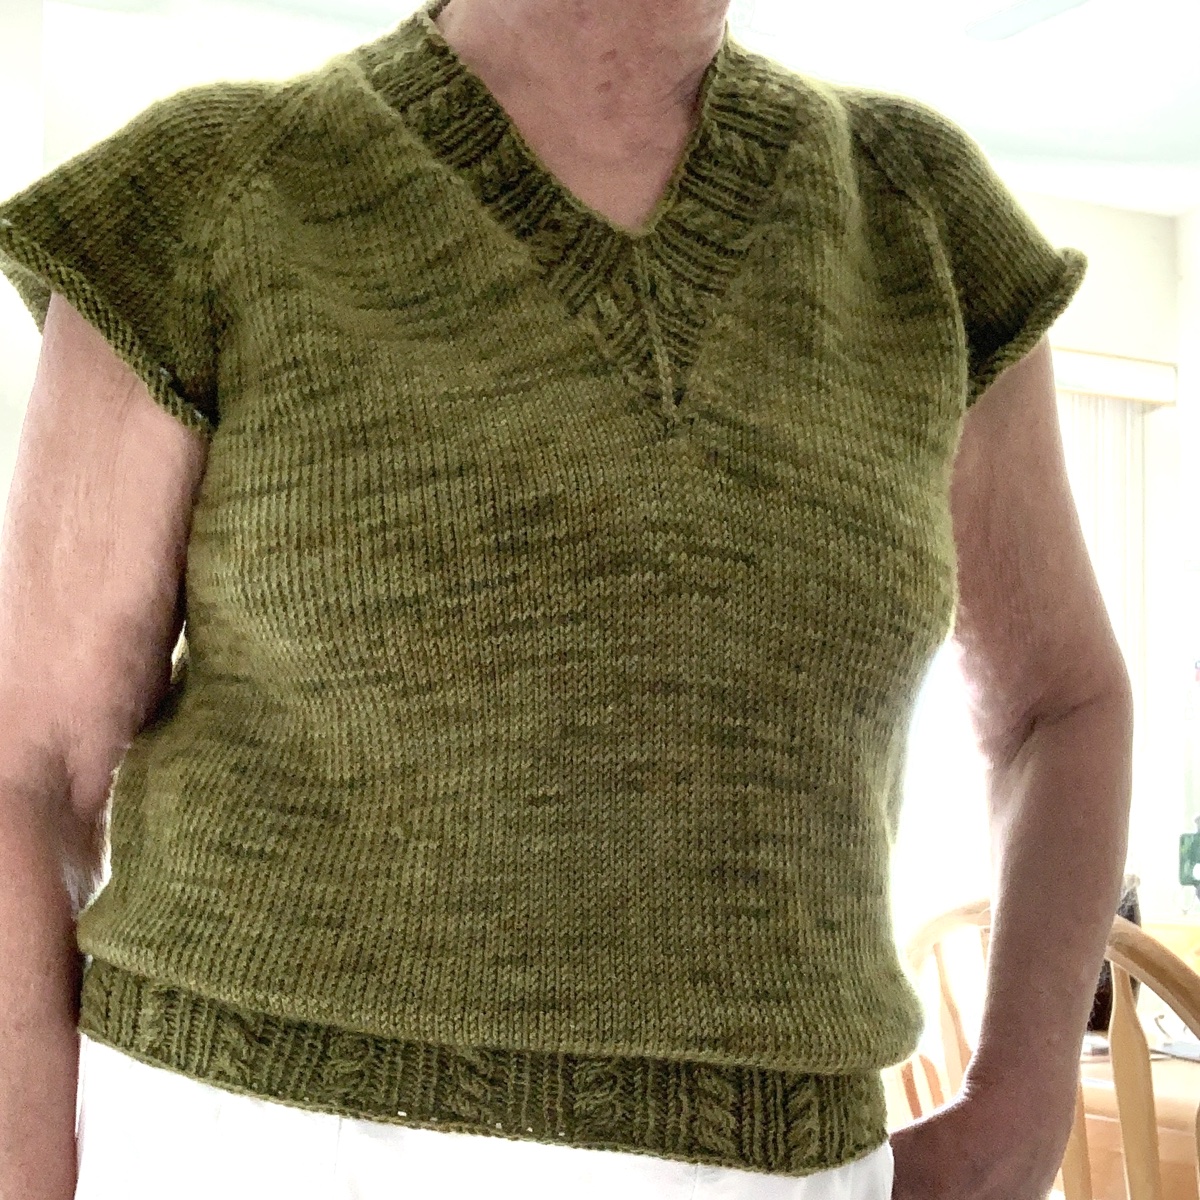
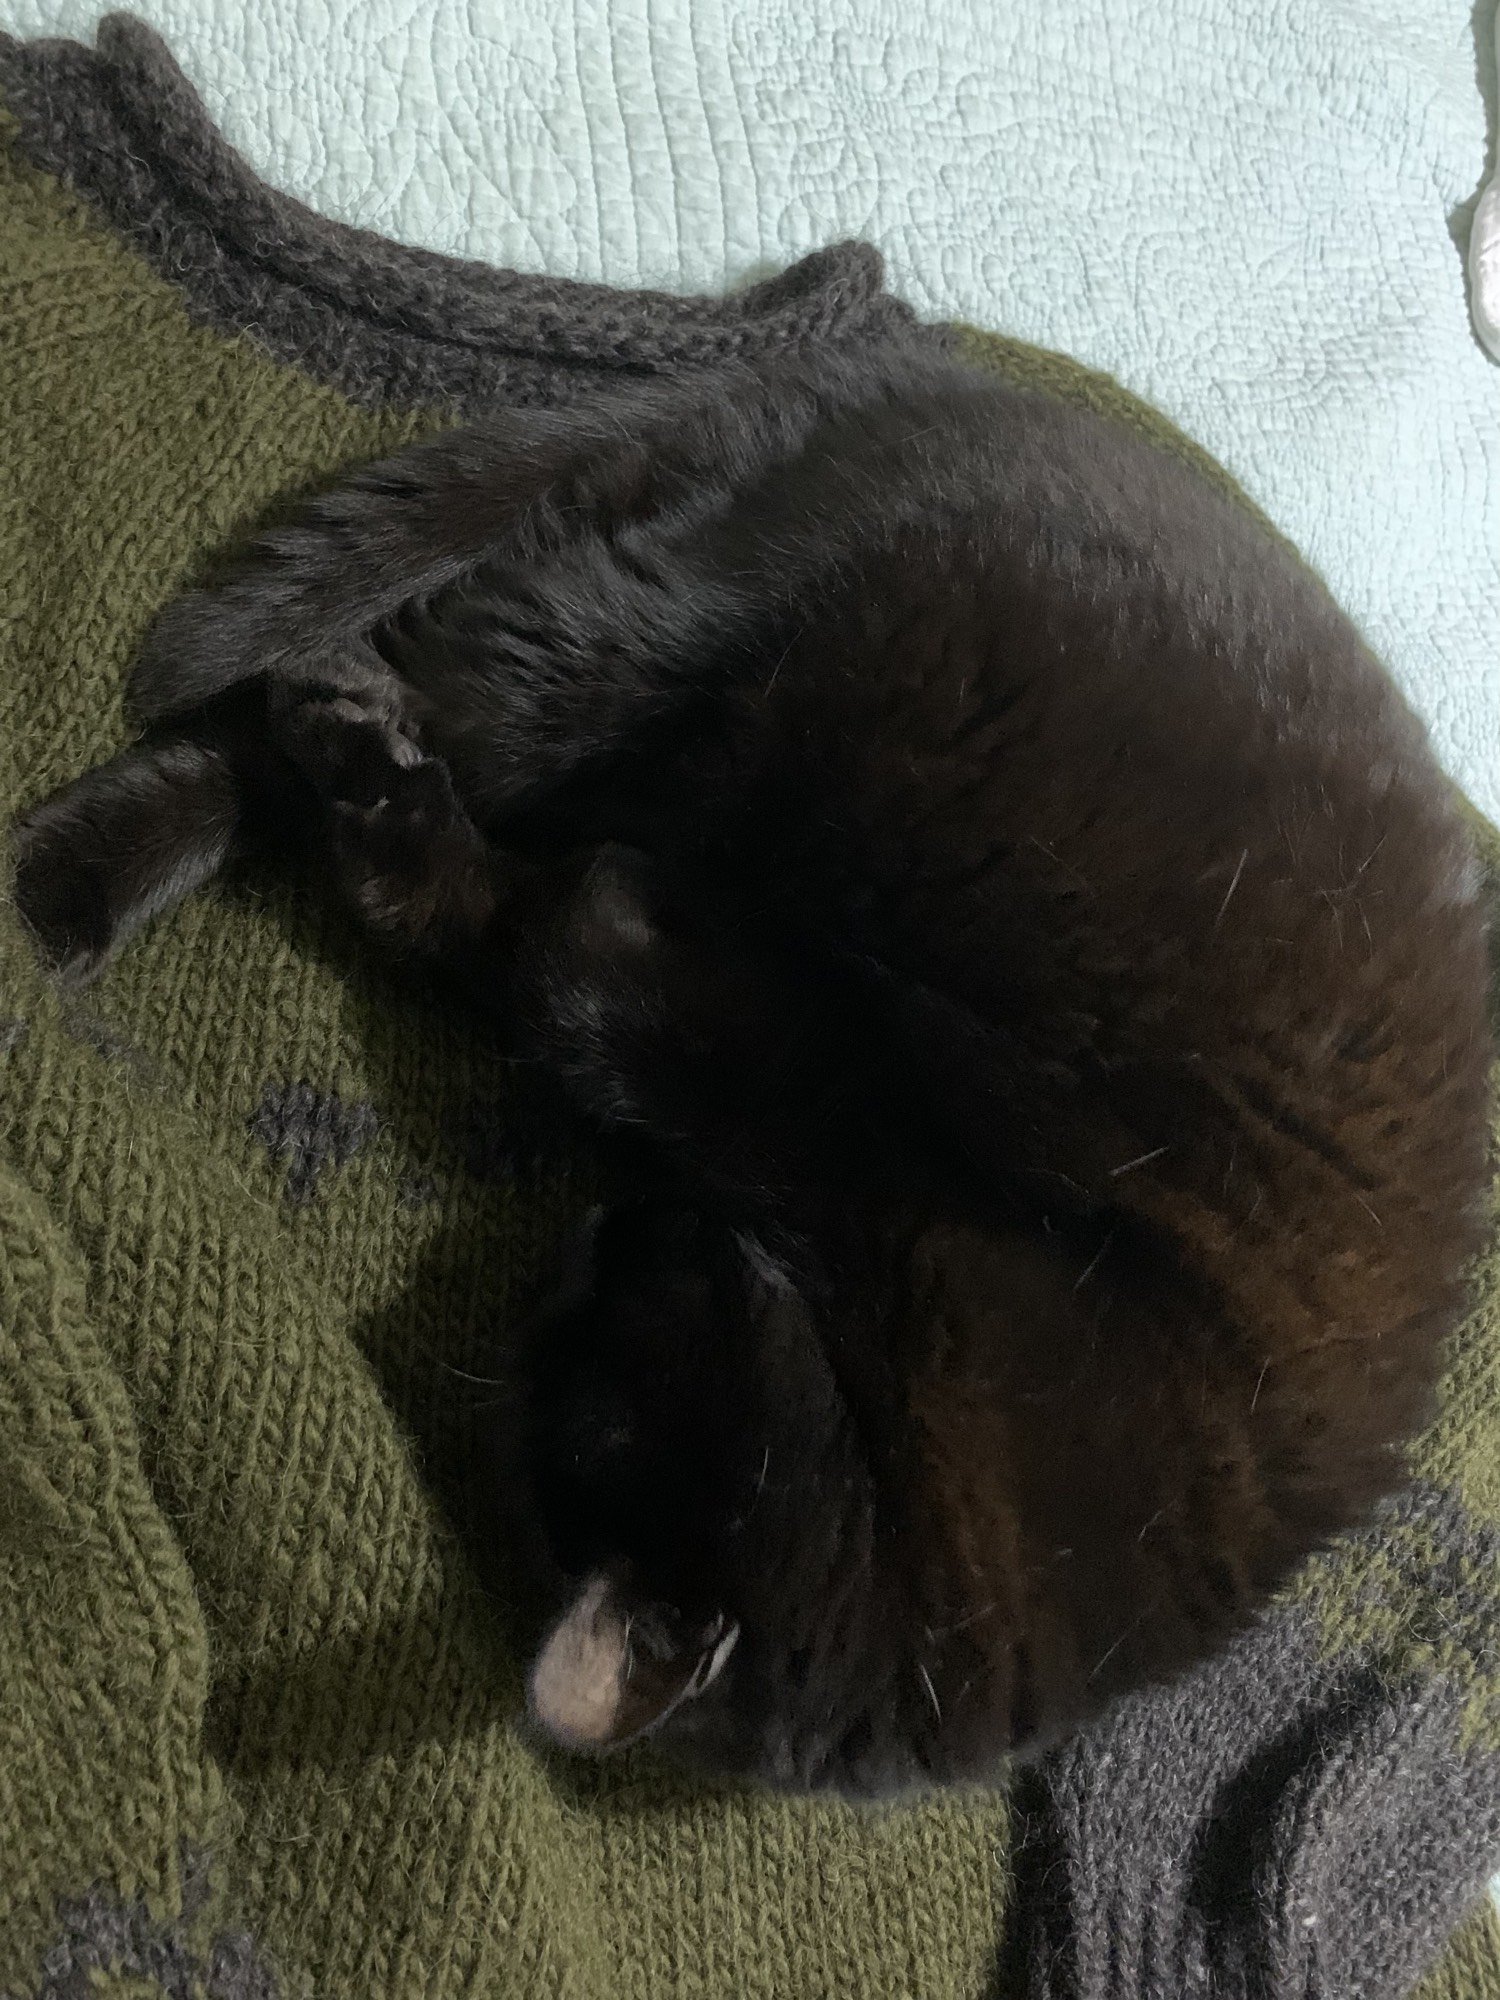
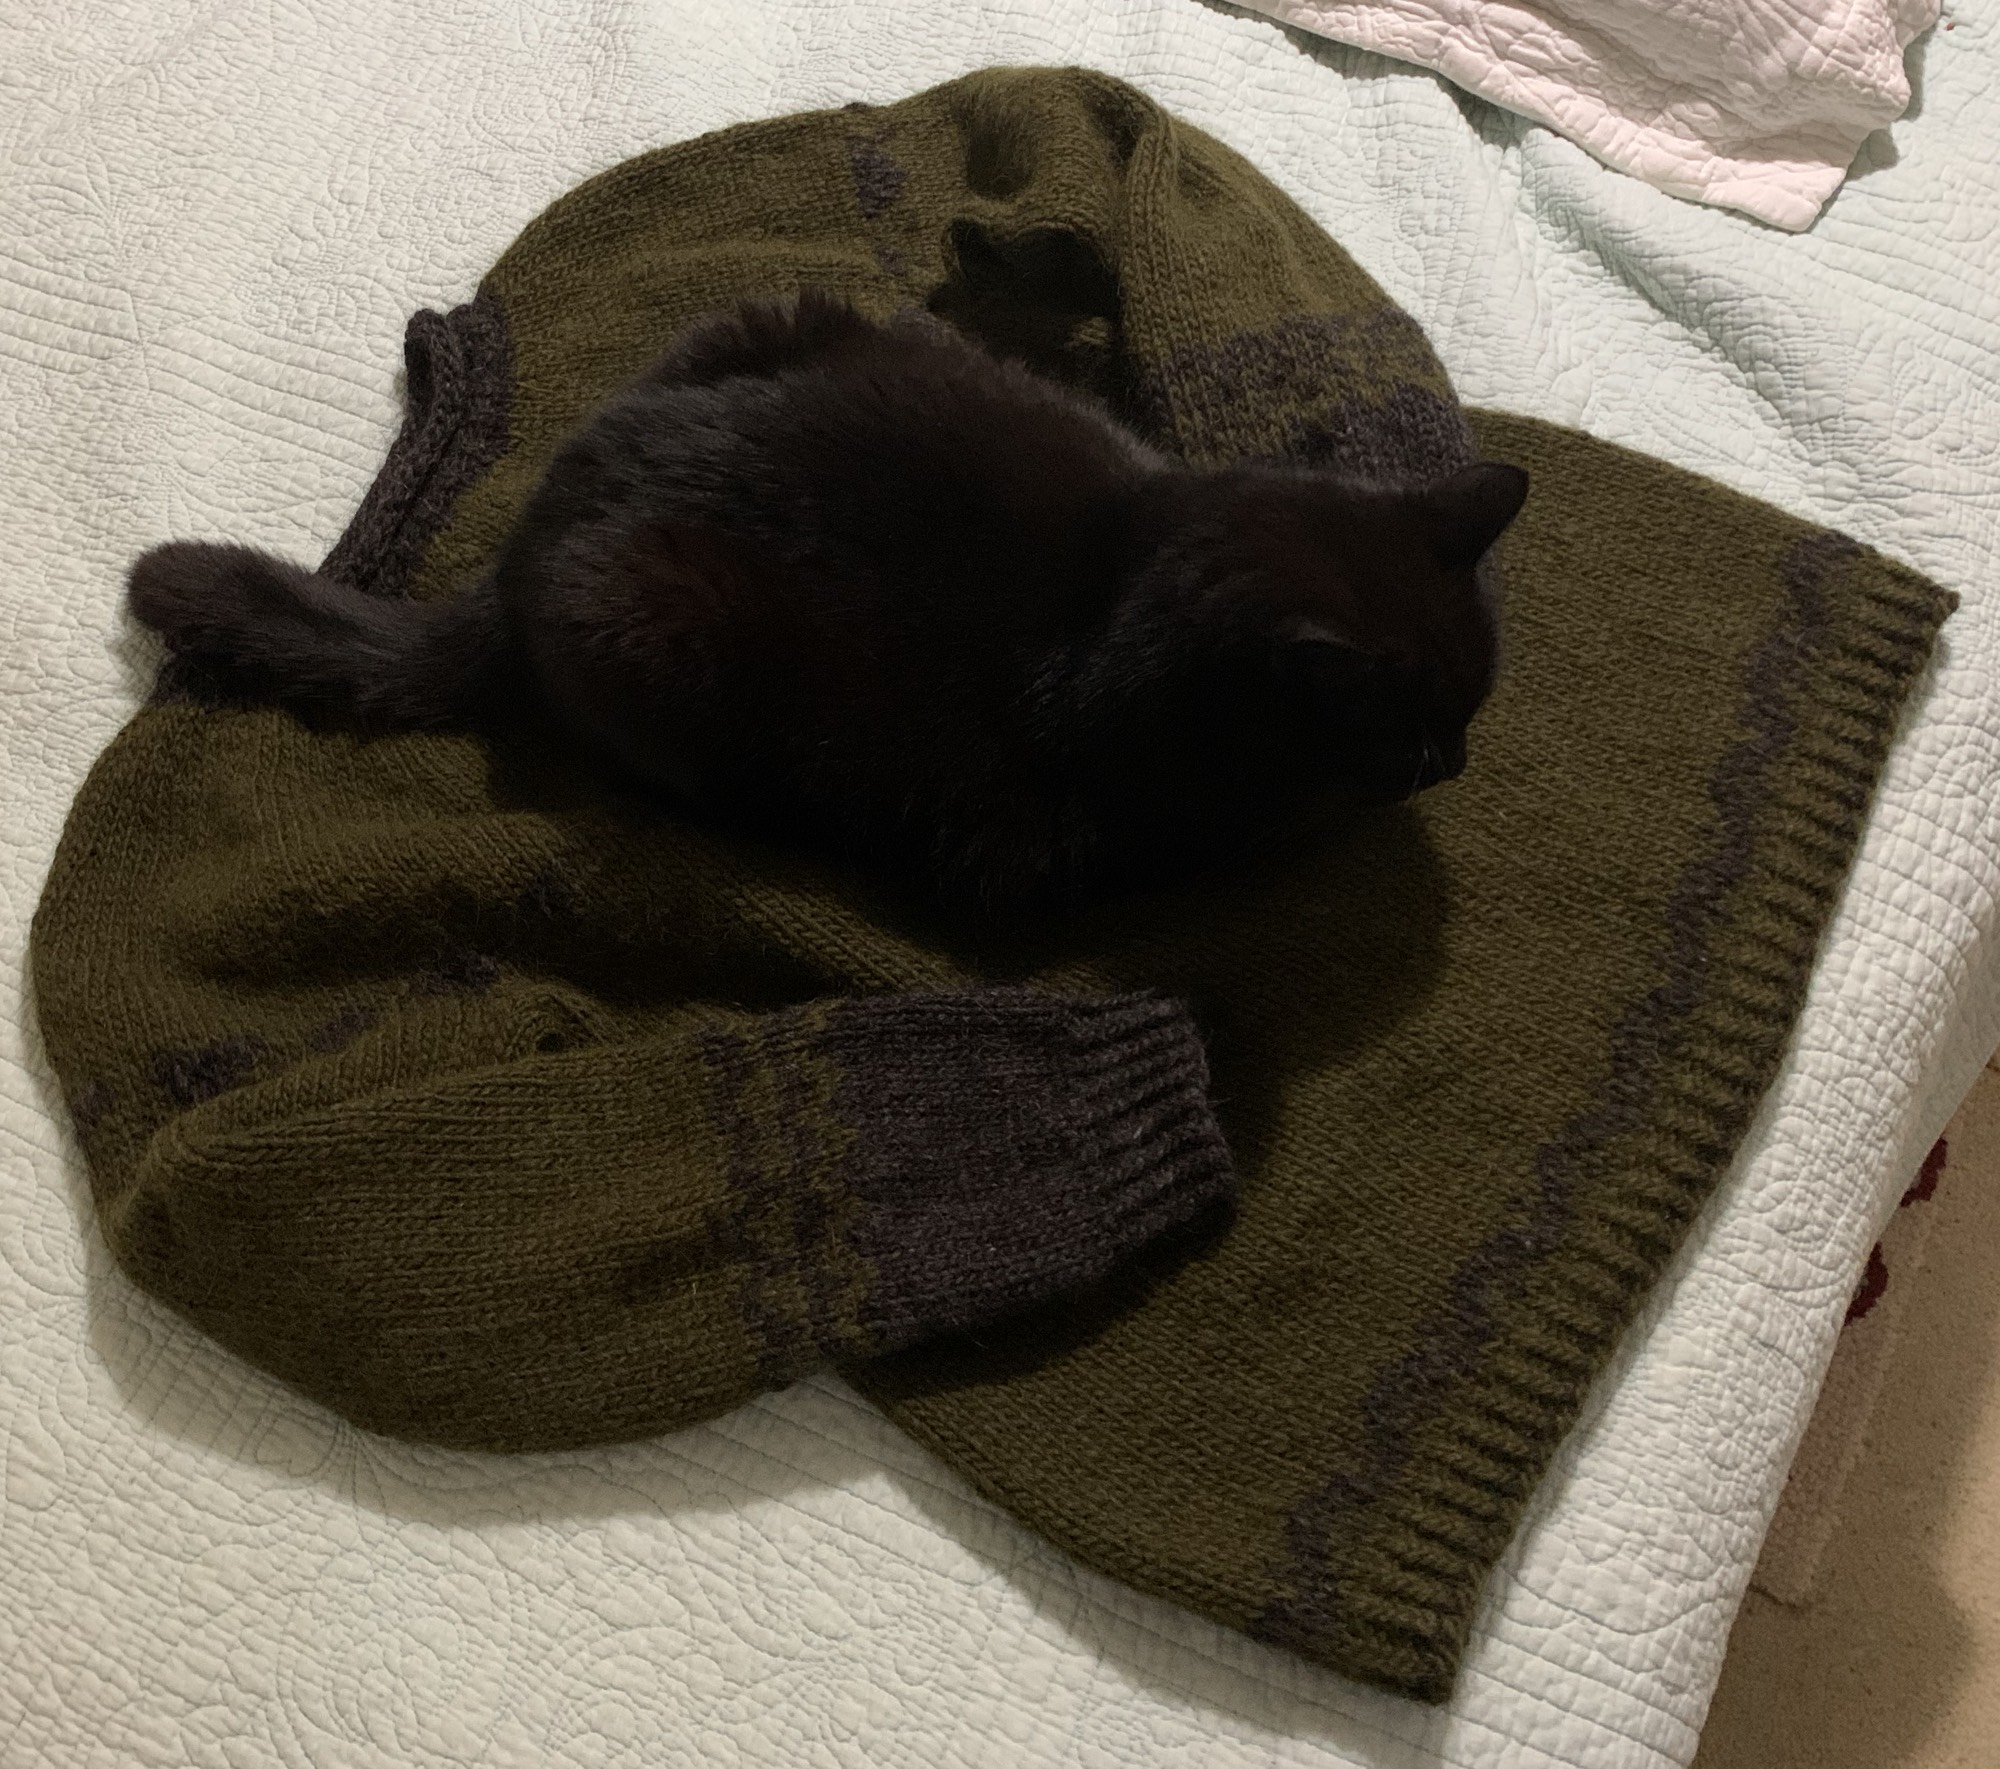
Sweater is finished – March 27, 2023, just in time for my son’s visit. He can take it back home with him! But first, Skittle needed to make sure it was good and comfy.


Please keep reading more knitting stories

Knitters and Our Many Projects

How many projects do you have on your needles? It is not uncommon to find that fellow knitters have many things going at once.

Finishing Up the Arco Iris Sweater Pattern

All notes on knitting the Arco Iris sweater have been completed. The sweater is very nice, love the yarn, and end product, but had a few struggles along the way with this pattern.

Over the past couple of days I’ve been knitting like mad to finish up the body of the Arco Iris sweater pattern by Joji Locatelli.

Instead of dreading that k1, p1round and round hem, this hem has an interesting cable and rib alternating pattern. It’s a nice way to finish up after long rows of plain old knitting. And it looks pretty cute too!

I was already familiar with this ribbing because I jumped ahead and knit the v-neck before finishing the body.

I knit sweater size 4 (with mods), using main needle size 6, hem needle size 4.

My selfies are not great, but I’d say that photo #3 is the way to wear this top. It’s sort of a blouson effect.

Notes about the body and ribbing

I followed the advice of one test knitter who added 12 extra stitches under the arms. This widened the bust and body area (I did not reduce those stitches until near the bottom) which seemed to be a good idea once I tried it on.

I would not have reduced at all except that I needed an exact number of stitches (a 18 stitch repeat) for that hem. *Hint: Place markers between the 18 stitch repeat just in case you lose your place.

Knitting The Sleeves

I have two balls of yarn left to knit the 3/4 sleeves of this sweater. This is when a scale can come in handy. I don’t know yet if I will alternate skeins, but knowing the amount of yarn (by weighing) will be helpful if it seems I might run short.

Notes on Knitting the Sleeves

While knitting the first sleeve of the Arco Iris sweater, I made some mods and will share them here.

I felt that I had to be mindful of yarn use so I only knit to six inches before beginning the ribbing. I would have liked to go about another inch and have the cuff fall just below my elbow, but didn’t dare. It turns out I probably could have done that and had enough yarn.

I also began with more stitches at the arm pick up. I picked up 8 extra stitches and that gave me 74 total stitches when I began knitting down the sleeve (as opposed to 66 per directions). I reduced stitches on every 5th row, until I got to 63 total. I did alternate balls of yarn.

sleeve underarm

Also, I did not reduce as many stitches as called for while knitting down the sleeve. AND the decrease directions seemed wrong to me. The pattern says to do the SSK first and the K2TOG at the end of the round.

If you follow the designer’s suggestion, this is what it will look like (photo below). I think every sweater I’ve knit has the decreases listed the opposite way. By following the directions, my knitting left a weird bump because on each side the decreases faced outward. On the last decrease I did it the right way with the k2tog first, and the SSK last – and it looks much better!

*Note: Check those decrease directions, you may want to change them.

The ribbing is done much like the body hem and neck, except the repeat is only 9 stitches and not 18. The reason is that the cables will all face the same way on each sleeve cuff. So you must begin the cuff with a stitch count that is a multiple of nine. For the sweater size 4, which I was knitting, the cuff should have 54 stitches. I had 63. I’m glad I did not reduce to 54 because my cuff is perfect.

*FYI: My actual elbow measurement- where the cuff ended up – measures 10 inches around. This cuff feels perfect at 63 stitches, and I’m glad it is not any tighter.

Buy the Arco Iris Pattern Here

Pictures of the top once I finished knitting. Washing and blocking to come. The style is not really made for my body type, but I do like the finished sweater. The fabric is quite heavy, so it won’t get worn at all until maybe next December.


More stories from the blog…

Knitting a Swatch For Trove

Knitting a gauge swatch for the Trove slip stitch sweater pattern.

I’m always on the lookout for interesting sweater pattern to knit. I’m not an expert so I’m always looking at difficulty too.

The Trove pullover pattern is made up of slip stitch rows with alternating colors. The pattern interests me because I can use up some of my J&S wool.

I bought the pattern and knitted up a swatch. The pattern says to use Sport weight yarn, but I want to use fingering and DK. I went up a needle size to do the swatch, hoping this will work out.

measuring a swatch

After knitting a few rows, I wanted to see if the knitting was close to 4 inches across, and it is. The real measurement will be done after washing and blocking, but if this was really off, I would not continue with this needle size.

The colors I grabbed may not be the ones I use to knit the sweater. This is a trial piece, and a good time to try out colors.

How I Knit My Swatch

It took me a bit to figure out how to knit the swatch, so I will share how I did it here.

I cast on 23 stitches. The gauge swatch should be 22 stitches across, but the swatch needed to be an odd number to work out knitting flat (or so it seemed to me).

Knitting swatch for Trove
Swatch for Trove, after washing

Each section is four rows of knitting, and rows can be easily counted when you remember that. 40 rows long should be 4 inches, so do 10 repeats of the 4 row count to equal 40 rows. In my swatch you may be able to see the 10 colored rows (those colors are actually 2 rows of knitting).

After casting on, I knit back and forth, then did a purl row so the “Dotted Stripes Stitch” begins on the right side (RS) – as it will when knitting the sweater. Usually I have 3 extra stitches on each side of my swatch, but I did not do that this time.

Measuring My Gauge

This is my Trove sweater swatch after washing and blocking to dry. Gauge in the pattern is 22 stitches by 40 rows in four inches of knitting. My stitches are pretty much exact. I have one extra (23 total) stitches in my swatch.

The row gauge is short, so I will have to watch the length of things when I knit. It is better to have stitches correct, as the length can be dealt with more easily.

The Advantage of Knitting With Wool

When, and if, I do get around to knitting the sweater, I will alternate skeins of wool – Jamieson & Smith, and Rauma – by spit splicing (no ends to weave in!) to alternate the colors. I will be using more than the 5 colors suggested.

The main color will be Jamieson’s lavender – pink color. I bought a bunch of skeins to knit something else, then decided I didn’t really like the yarn for that project. I think it will work well for Trove.

Notes and Suggestions From Knitters

I’m always grateful for knitters who bother to leave truthful comments about their experience with knitting a pattern. Some things I noticed while reading comments about Trove were that the sleeves are too wide. Also the neck tends to be too loose and wide. These are a couple of things I can be aware of when knitting my own sweater.

Can a Beginner Knit this Pattern?

If this is your first sweater, or you have not been knitting long, this one might be a challenge. I mainly say this because if you need to make changes to the pattern, a beginner might not know what to do. I have not knit it yet, but maybe a solid color pattern would work better for a beginner knitter. I’ve had a lot of luck knitting the free sweater patterns by Espace Tricot.

Link to Trove pattern page at Ravelry. Have you knit Trove? In the midst of knitting it? I’d love to hear what you think.


A Simple Sweater With Stripes

My newest knitting project is a simple sweater with stripes. A link to the pattern page on Ravelry is further down the page. This one is advertised as a good project to use…

Keep reading

Yarn Selections and Casting On For the “Easy V”

Planning to knit the Easy V pullover pattern by Caitlin Hunter.

Having grown up in the 60’s there is some bohemian / hippy blood in my veins. I love a unique boho pattern and the “Easy V” sweater caught my eye.

The designer is Caitlin Hunter of Boyland Knitworks. I’ve knit a huge shawl of hers, which was a lot of fun (see it at the end of this page). Also my very first sweater knitting project was one of hers called “Umpqua”. It was a fail for me because I used the wrong kind of yarn (superwash) and it grew huge! I didn’t know any better at the time.

The Easy V has a colorwork yoke and colorwork on the sleeves. I believe it is meant to be a loose pullover. The pattern link is down the page if you’d like to see examples of the pattern and buy it.

Time to Cast On – Twice

I hope this is not a bad omen, but I had so much trouble beginning the cast-on. First I used the wrong needle size (I’m blaming that on the wine.) Before I realized my needle size mistake, I had decided to add some green mohair with the Plotulopi to give it strength.

I cut the yarn and didn’t bother to frog it. I began again with the correct size needle (size 4). This time I ran out of yarn in the tail of my Old Norwegian cast on! I finished it with a regular cast on.

Holding the two yarns together will be fiddly, but that Lopi yarn by itself breaks very easily.

I don’t know what is up with the cakes of Plotulopi as they are all attached together in the center. I have plenty of the yarn, so loosing a bit to that weirdness is okay. Getting a good color shot of that wool will be tough it seems!

Two Necklines Begun

After I had worked a bit on the green neckline, it began to look pretty large. I decided to begin again with a size 3 needle using some white Lettlopi yarn. It’s hard to tell a size on this sweater because the neckline is very unqiue. I did not do a gauge swatch mainly because I didn’t want to use up my hand spun yarn on a swatch. BUT… once some knitting had been done I did check my gauge and it’s very close. Of course the item has not been washed and blocked either.

I kept the green collar / neck and will end up making two of these sweaters!

I began the colorwork using the size 6 needle, but ended up going up to a size 7. This yoke gets large around with over 300 stitches on the needle. I’m knitting sweater size 3.

Working with this type of colorful hand-spun yarn can be tricky. I love the colors, but they can end up looking very different once knit into a project.

The yarn I chose for this colorwork yoke are: Primrose Yarn Company’s “Undergrowth” shown in the middle of the three skeins below. Also used the blue “Magic Hat” (below in skein and ball) and the speckled “Starling” (ball).

Looking at the skeins, I thought that “Undergrowth” would be more pink, but actually it is more tan / brown. Unfortunately you don’t really know until the item is knit. This yarn is too expensive to waste on a swatch, IMO.

The colors are good together, but not really what I had expected. The white color area used up nearly one skein of my leftover Lettlopi, so the main color for the body and sleeves will be brown Lettlopi.

Easy V in Green

My second Easy V is knit with Plotulopi and mohair held together. The colorwork yoke contains some variegated lime green-blue, dark blue plotulopi and other yarns I am using up.

Buy this pattern: Easy V Pattern Page at Ravelry

I will be writing another page about the completed knit of this pattern, but at least it seems I have finally decided on size and colors.

It turns out that this yoke had a line on the colorwork chart that used three yarn colors at once. I changed it to two for my yoke, but the designer has updated the pattern so they are all two colors.


More by this Designer – Moon Sisters – Shawl by Caitlin Hunter

The Moon Sisters shawl is a great way to use up yarn. It is done in mostly knits and purls with a fun bit of colorwork in the center.

Moon sisters shawl finished knitting with tassels attached.

Here’s what else I’ve been doing