For the Arco Iris pullover I am knitting with yarn that needs to be alternated. This means knitting with a strand from one skein for one or two rows, then switching to a strand from another skein. (The pattern link is at the bottom of this post.)
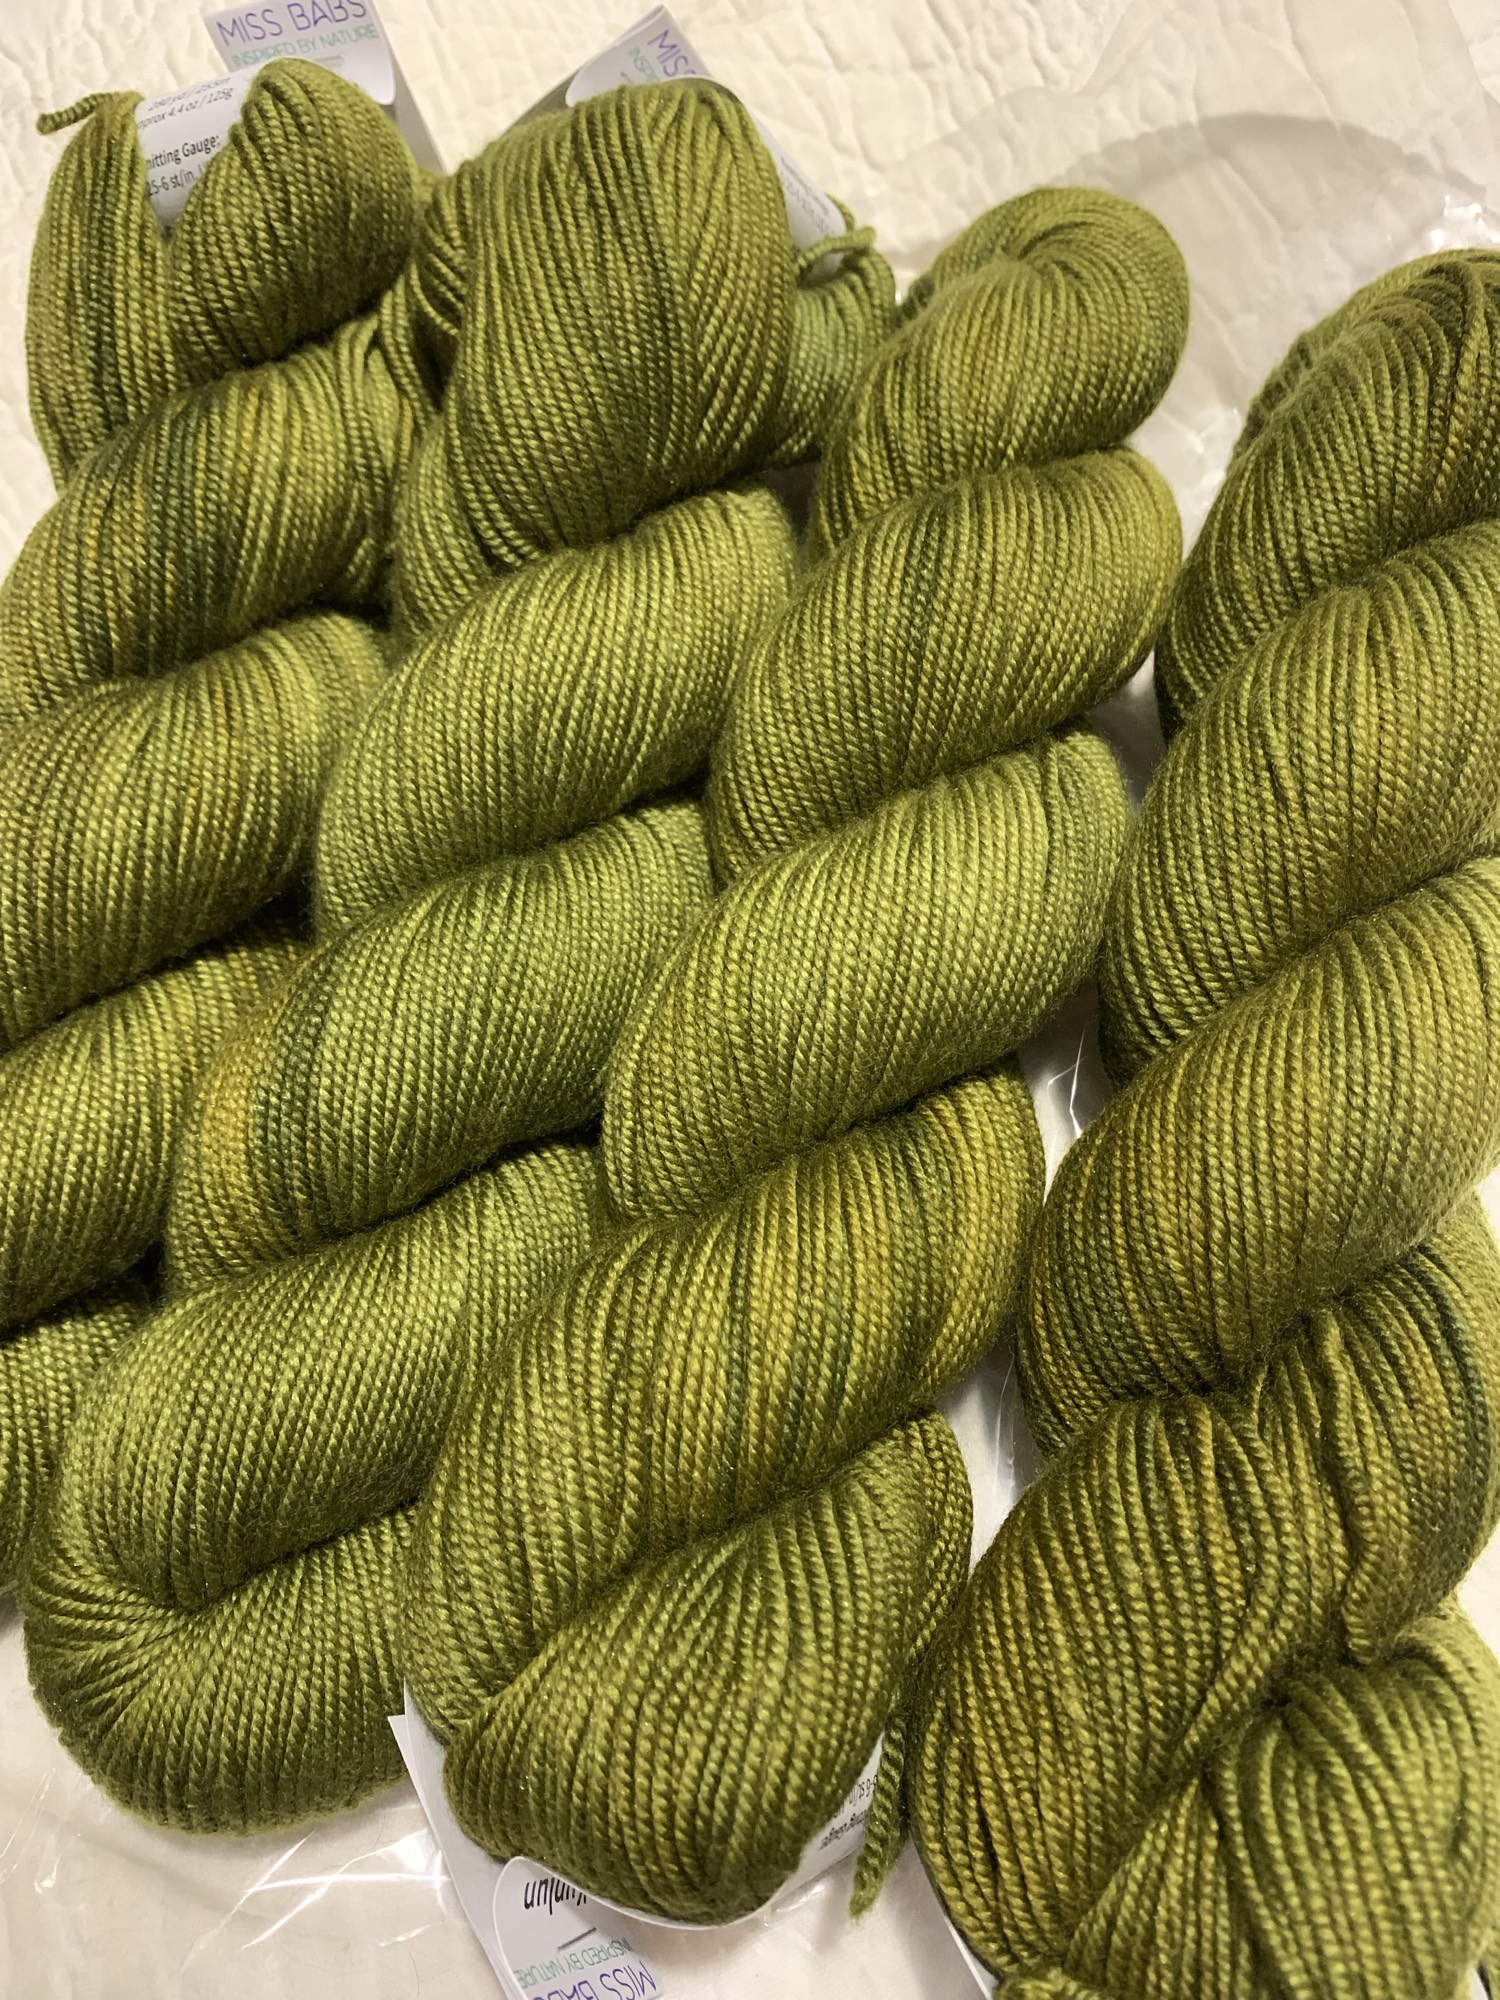
You really should do this whenever you have yarn that is not evenly colored, such as hand-dyed yarns. The yarn in the photo below is from Miss Babs and it is very pretty, but not uniformly colored. This type of dying process creates pretty skeins. It is very popular with knitters because you get a solid color garment that has interesting shades.
However, if the skeins are not alternated, there could be an obvious color difference between them, and / or a pooling of colors.
Color Pooling of Yarn
Yarn color pooling happens when the project being knit has just the right number of stitches to line the same yarn colors up over and over. My green yarn has subtle shading, but this could still happen. In fact Miss Babs made a note on my yarn receipt to alternate skeins. Thanks Babs!
Below is an example of color pooling when knitting. A pretty blue and white variegated yarn was used when I knit this pair of socks. Yes, they should have looked the same, but I had trouble with that faux cable design too and omitted it for one sock. If I had knit this pair correctly I should have divided my skein and alternated strands as I knit. These are socks. I didn’t really care. Now they are a good example of how pooling can effect a project.

Alternating Skeins While Knitting – Sounds Easy, Right?
A new lesson learned. Alternating skeins is not that easy. Well, it’s easy, but not easy to make it look right when you totally do it wrong!
I began alternating skeins from the beginning of this sweater project, BUT the knitting was done flat for the top part of this sweater. I simply carried the yarn up the side and switched strands as I went. Simple.
Then I knit the “V” neckline and I did not alternate skeins. There is some ribbing and cables there, so I didn’t need to.
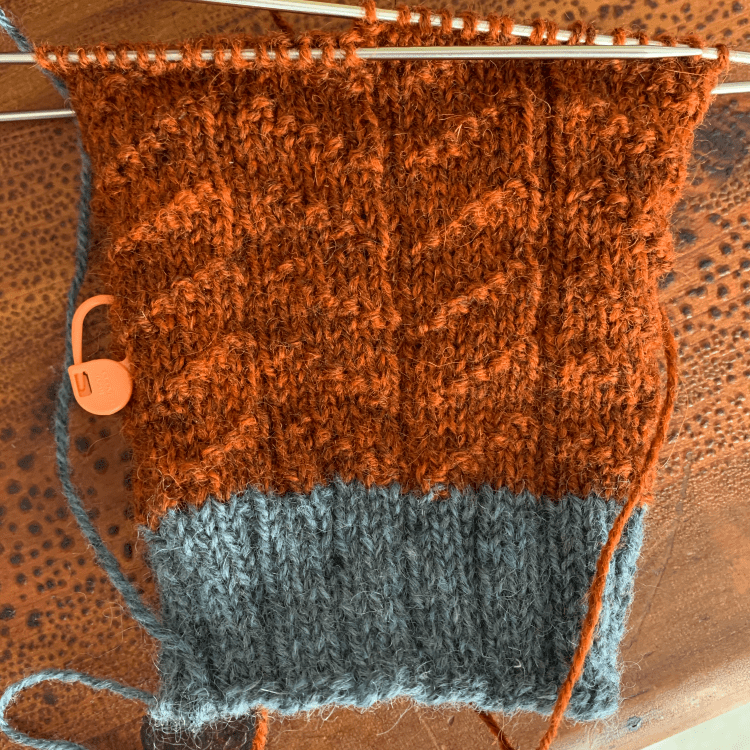
After that, I had to begin knitting in the round. So I added a new skein, knit two rows (NO – don’t do this), swapped out the yarn and knit two more… and so on. This is how it looked.


Hideous!
After I did some knitting and alternating skeins, I saw that my carrying of yarn looked pretty awful. The carry line was uneven and also was puckering! I knew I would have to re-knit this area.
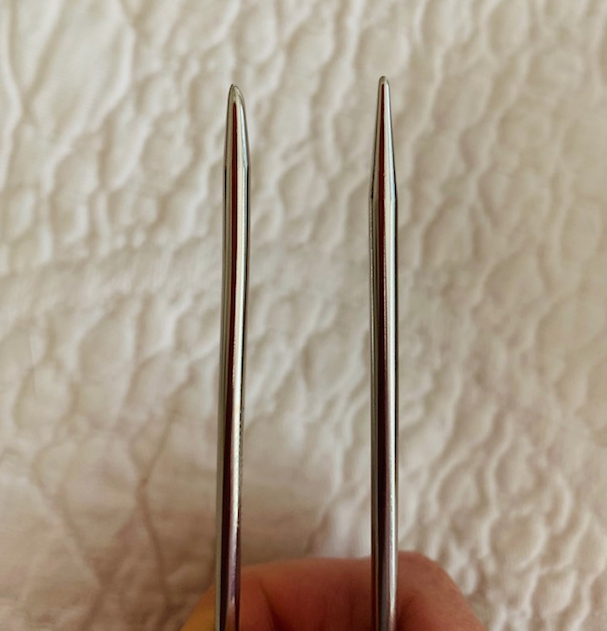
Now I needed to learn the correct way to do this. YouTube had some videos, and the one I found to be most helpful was where the yarn strands are brought forward when changing. (Video link below in “How To” section.)
Ripping Back and Starting Over
This yarn gives very clear stitch definition so finding the stitches in a row above the mistake was fairly easy. Here’s a pretty good video about picking up stitches to frog back a large chunk of knitting by Knitty Natty – which is what I did.
My knitting was done in the round and as I got close to the end, my needle pick up got tough. I got the last group of stitches with some yarn. By the way, you can use a much smaller size needle to pick up those stitches, as long as you being knitting again with the correct size.
I messed up a bit when adding my new skein (don’t ask me why), and therefore I have a little wonky place, but once I began the “yarn forward” technique, the rows looked much, much better.

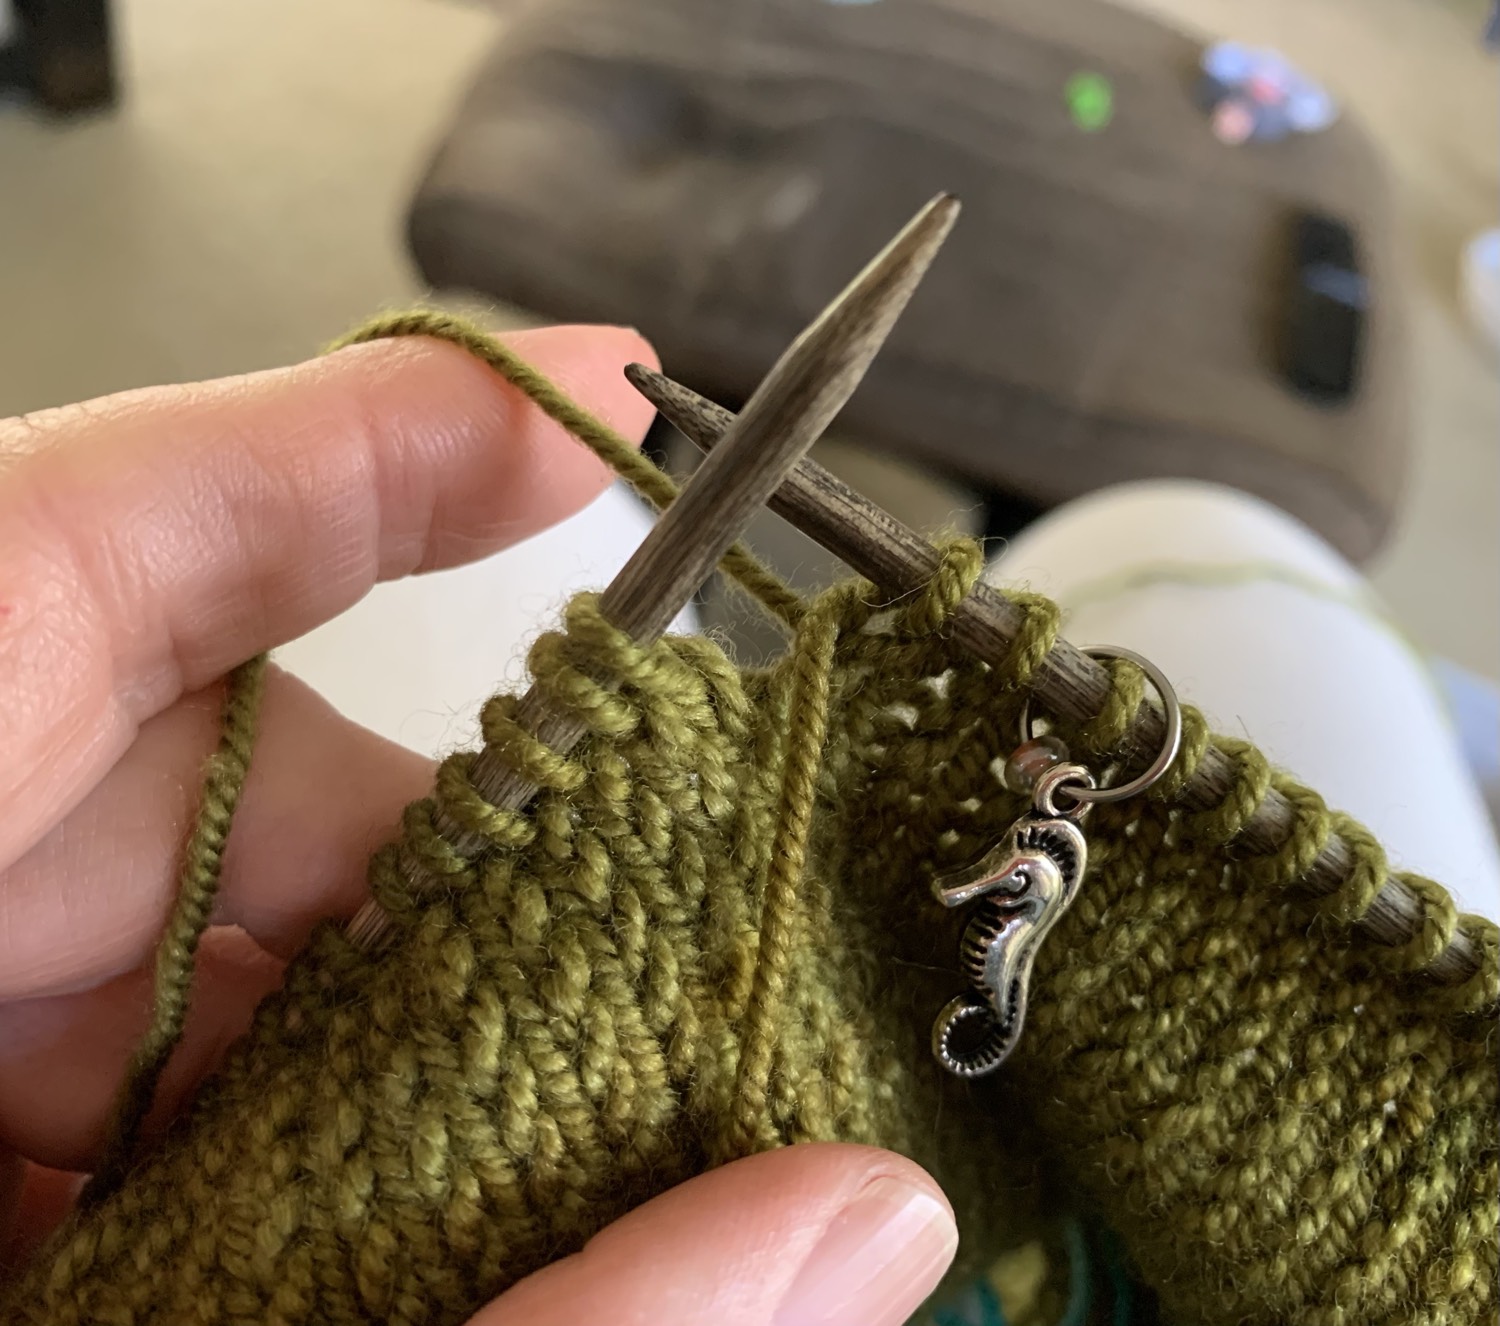
How to Do the Yarn Forward Alternating Skeins Method
I have chosen to do the yarn forward swapping yarn on each round. Here’s how to do this method:
Pull the yarn you have been using to the front of the knitting and let it hang there.
Add the new yarn (for the first new skein round) by wrapping it around the needle as you would to begin knitting with any new skein.
Knit around using the new strand.
Once you arrive back to the place where the yarn is in front, swap it out. Yarn in front goes to the back and will now be used to knit the next round. Previous yarn used goes to the front and hangs.
Here is the best video I found that shows how to to do this.


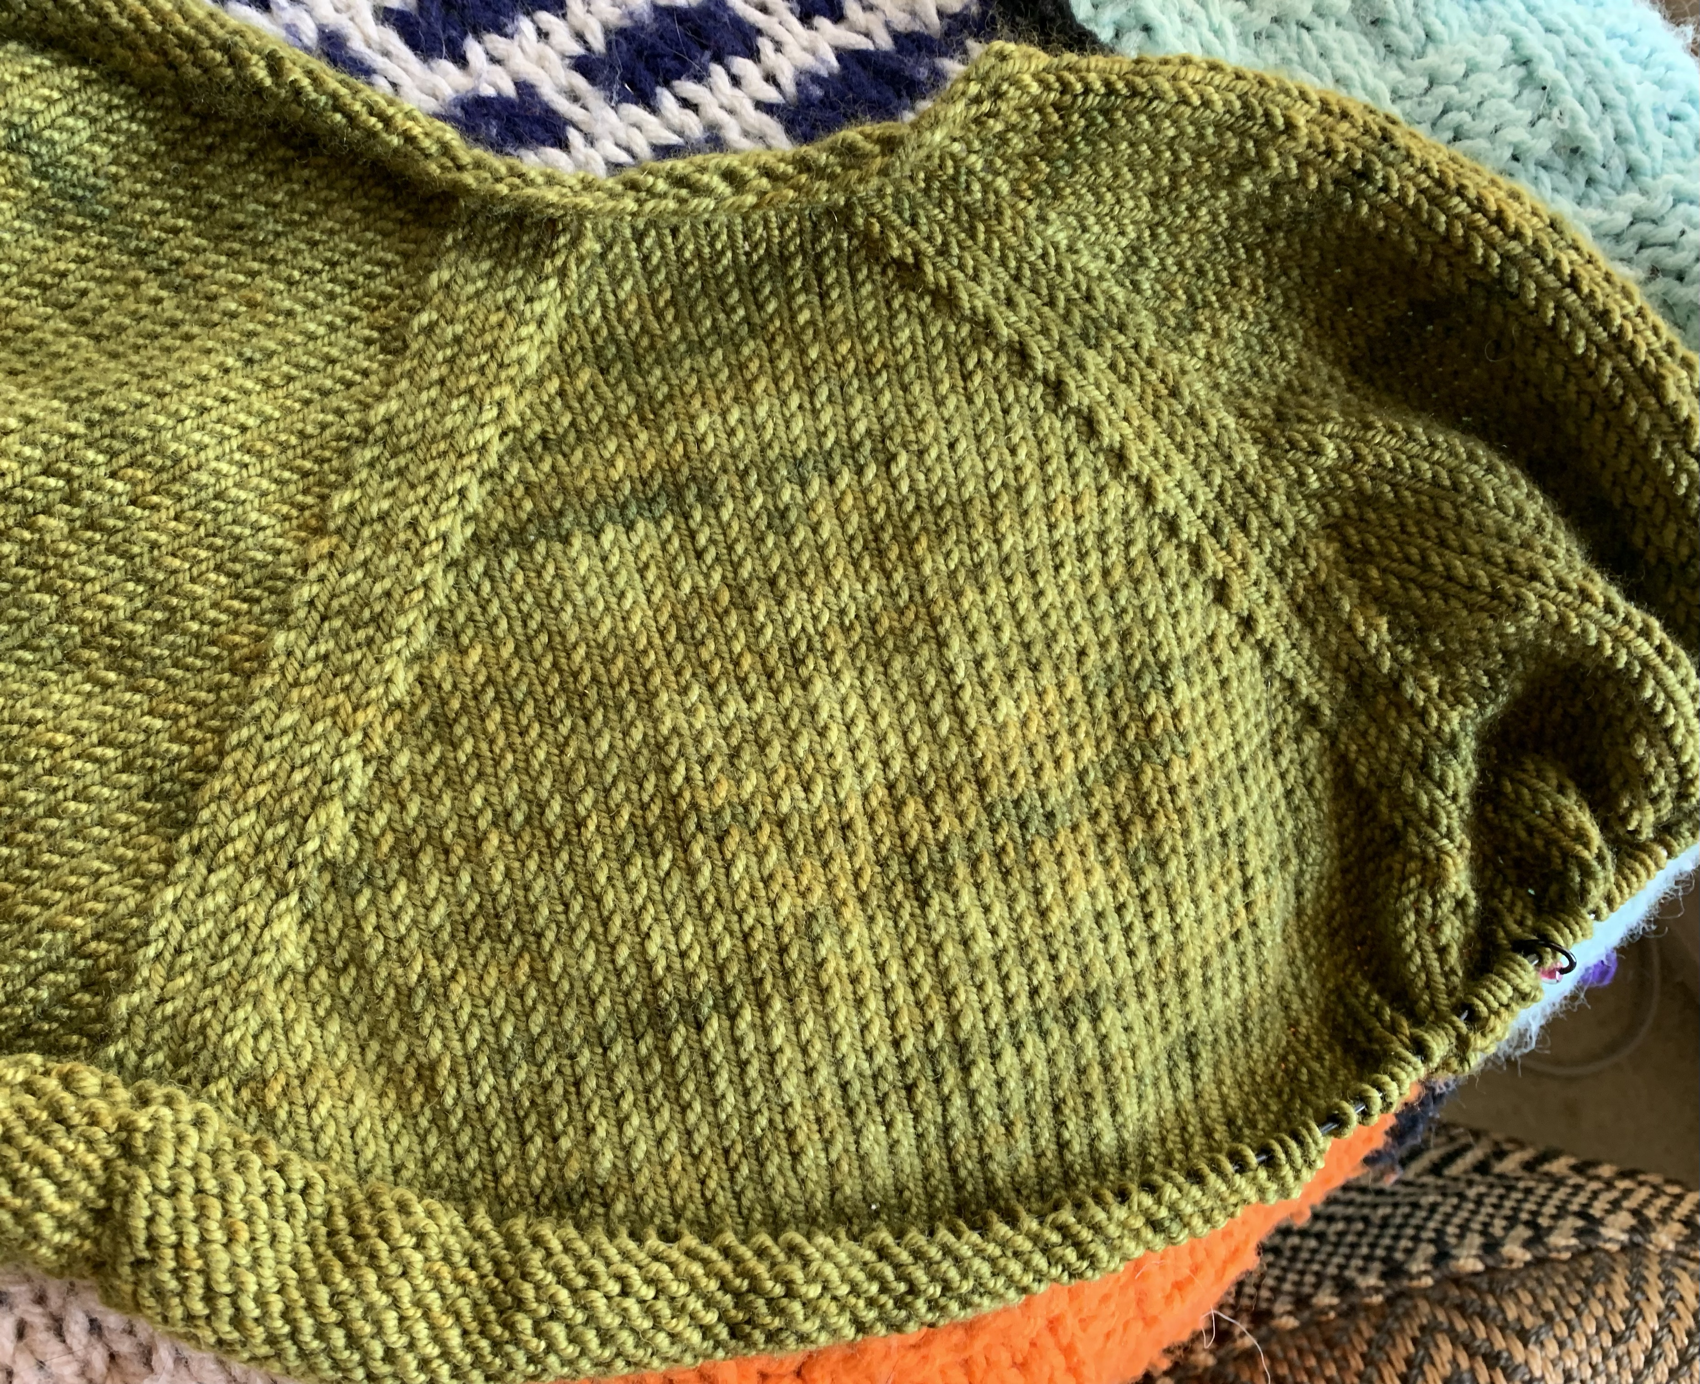
For me, this line of alternating yarns will run down the side of my project – beneath the arm of the sweater. It will not be noticeable and hopefully even less so once the sweater is washed and blocked. I forgot to do this (alternate skeins) for the first couple of inches. The arrows show where I added the new skein.
The other method of swapping out strands every row creates a line up the inside of the project, which is fine too. The Miss Babs video about Alternating Skeins for flat and round knitting, shows that method. (Watch the woman knit while she looks into the camera! Impressive.)
You must swap the yarn EVERY ROW for both methods (in the round).
I mistakenly began by knitting two rows before I swapped, and that should only be done for knitting flat (back and forth) where you must knit a second row to get back to the place where the yarn is waiting.
New Technique For Me
Although I have knit many sweaters, this is the first time I have used this technique. My attempt is not perfect because I watched too many videos and did not follow the good video directions, but I am not ripping back again.
Usually I knit with wool and I don’t have to swap out and alternate yarns. I prefer simple wool for knitting, but I wanted a pretty, variegated yarn for this sweater pattern.
The Pattern
This sweater pattern is called Arco Iris and is by designer Joji Locatelli. You can buy the pattern on her Ravelry page here. You can read my notes about knitting this sweater here.
Read more about my knitting adventures

Lots of Changes This Year
Writing a blog, sharing photos, and doing research and making links takes time. Lately I don’t think the time spent doing all that is worth enough…

Knitters and Our Many Projects
How many projects do you have on your needles? It is not uncommon to find that fellow knitters have many things going at once.

Happy New Year 2026 and Time to Cast On
A new year means a brand new knitting project to begin. What will you be making?

Christmas Day Project off the Needles
I finished knitting the Simple Stripes pullover on Christmas Day. Here is my review and photos.

Saying Good-bye to 2025 and Another Year of Knitting in the Books
A look back at all the knitting projects I’ve completed over the year. Also, what is already in the plans for 2026.

Year-Round Camping in Florida; Enjoying Nature While I Knit
The peaceful days of camping in the wilderness go perfectly with knitting. What could be better than having coffee outside, with knitting on my lap? We…