Learning the Tubular Cast on For Knitting Hats and More

Found some tutorials for knitting the tubular cast on. This one looks so nice when it is accomplished, but may take some practice.

For every pattern I have knit that suggests a tubular cast-on, I skip that part and do my usual German Twisted cast on. One time I did try to do the tubular and it was a disaster. Now, it’s time to try again.

The tubular cast on gives the edge of any 1×1 (or 2×2) ribbing a “rolled” appearance, without an obvious front and back. Often it is used for hat brims, sock tops, collars on top down sweaters, ribs on bottom up sweaters, mitten cuffs or flat knitting the edge of a ribbed project. I have found that it is not an easy thing to accomplish, but worth the trouble.

On this page I have linked a variety of tutorials for doing the tubular cast on in the round and doing it flat. 

Three Ways to Do the Tubular Cast On

I’m covering three general ways to begin and knit a tubular cast on. There could be more, but these are the ones I tried – to some extent. Some tutorials are done English style (yarn held in right hand) and some are Continental (yarn held in left hand). Some use waste yarn and some don’t. I had success using Tutorial #3 using a crocheted cast on.

Tutorial #1: Backwards Loop Cast On With Waste Yarn

This tutorial shows flat knitting, or back and forth, not in the round. Half the number of total stitches needed – plus one – are added to a straight, or long, needle using the backward loop method and waste yarn. I used a size 3US straight metal needle for this. 

This is all I did. I did not continue with this cast on because I need to knit in the round for my hat. This beginning is similar to the crocheted cast on (see #3 tutorial).

tubular cast on examples
Backwards loop directly onto a straight needle

After a couple of set up rows are complete, the stitches would be connected to knit in the round (if that is needed for the project). She mentions having a video for that, which I can’t find!

Here is her flat knitting tubular cast on tutorial, done English style: Knitting Whimsy Tubular Cast on. 


Tutorial #2: Italian Tubular Cast on, or Alternating Knit and Purl Cast On

This cast on was tough for me. The Italian Tubular cast on does not use waste yarn. Stitches – all the stitches needed for the project – are added to the needle by doing alternating knits and purls. 

It takes practice if you have never done this type of cast on. Also, the stitches twist around the needle and the whole thing can look horrible and confusing (my experience). Getting them all straight for the first set up row might be challenging. 

Wool Bird has a very good video showing how to do this in the round. She knits Continental style. As an English style knitter, I found this an easy video to follow.

Jared Flood / Brooklyn Tweed has a video: How to Knit: Italian Tubular Cast On. He uses a thin yarn, which is more difficult to see, but it’s a good tutorial for flat knitting, English style. His pointers: Use a needle 2 sizes smaller than the pattern to begin this cast on, snug up the stitches so they don’t roll, and do a backward loop to hold the stitches in place when finished.

Ysolda has an excellent, and slow enough to follow, video here. She knits English style and does show how to join and knit in the round. She suggests doing two set up rows before joining. Near the end of the video she explains how to convert the tubular cast on to a knit 2, purl 2, or two by two ribbing, if that is what the project calls for.

Tutorial #3: The Crochet Cast On

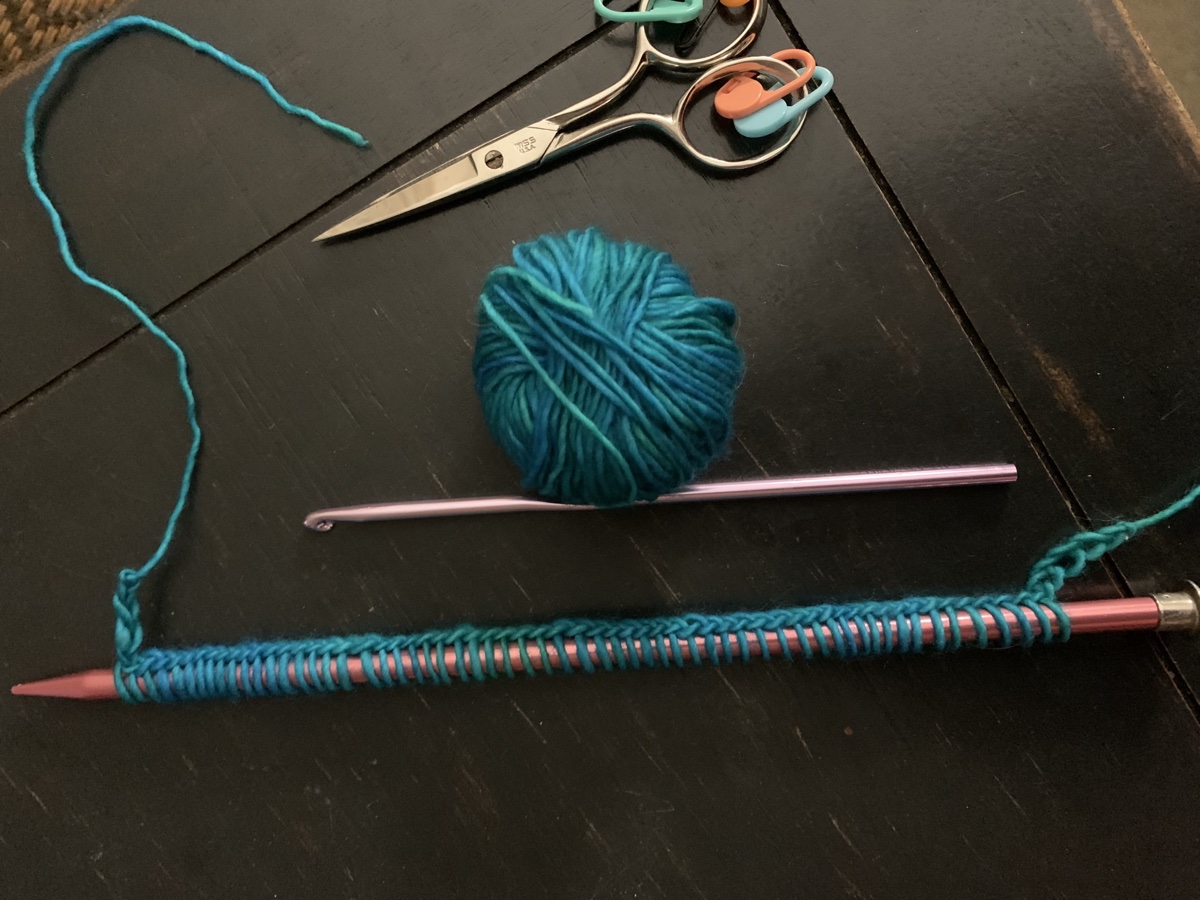
My search for info first brought me to this video: Cushion of Joy. It is the one I was able to get through. She gets right to the point, after talking a bit about why we would want to do all that work for a cast on. Her approach is to use a large straight needle and crochet waste yarn onto it.This cast on needs only half the total number of stitches to begin with.

This video is good but, she knits Continental style and I don’t.  Her waste yarn is nearly the same color as her main yarn, which can be confusing. However, she does connect the stitches to do her knitting in the round.

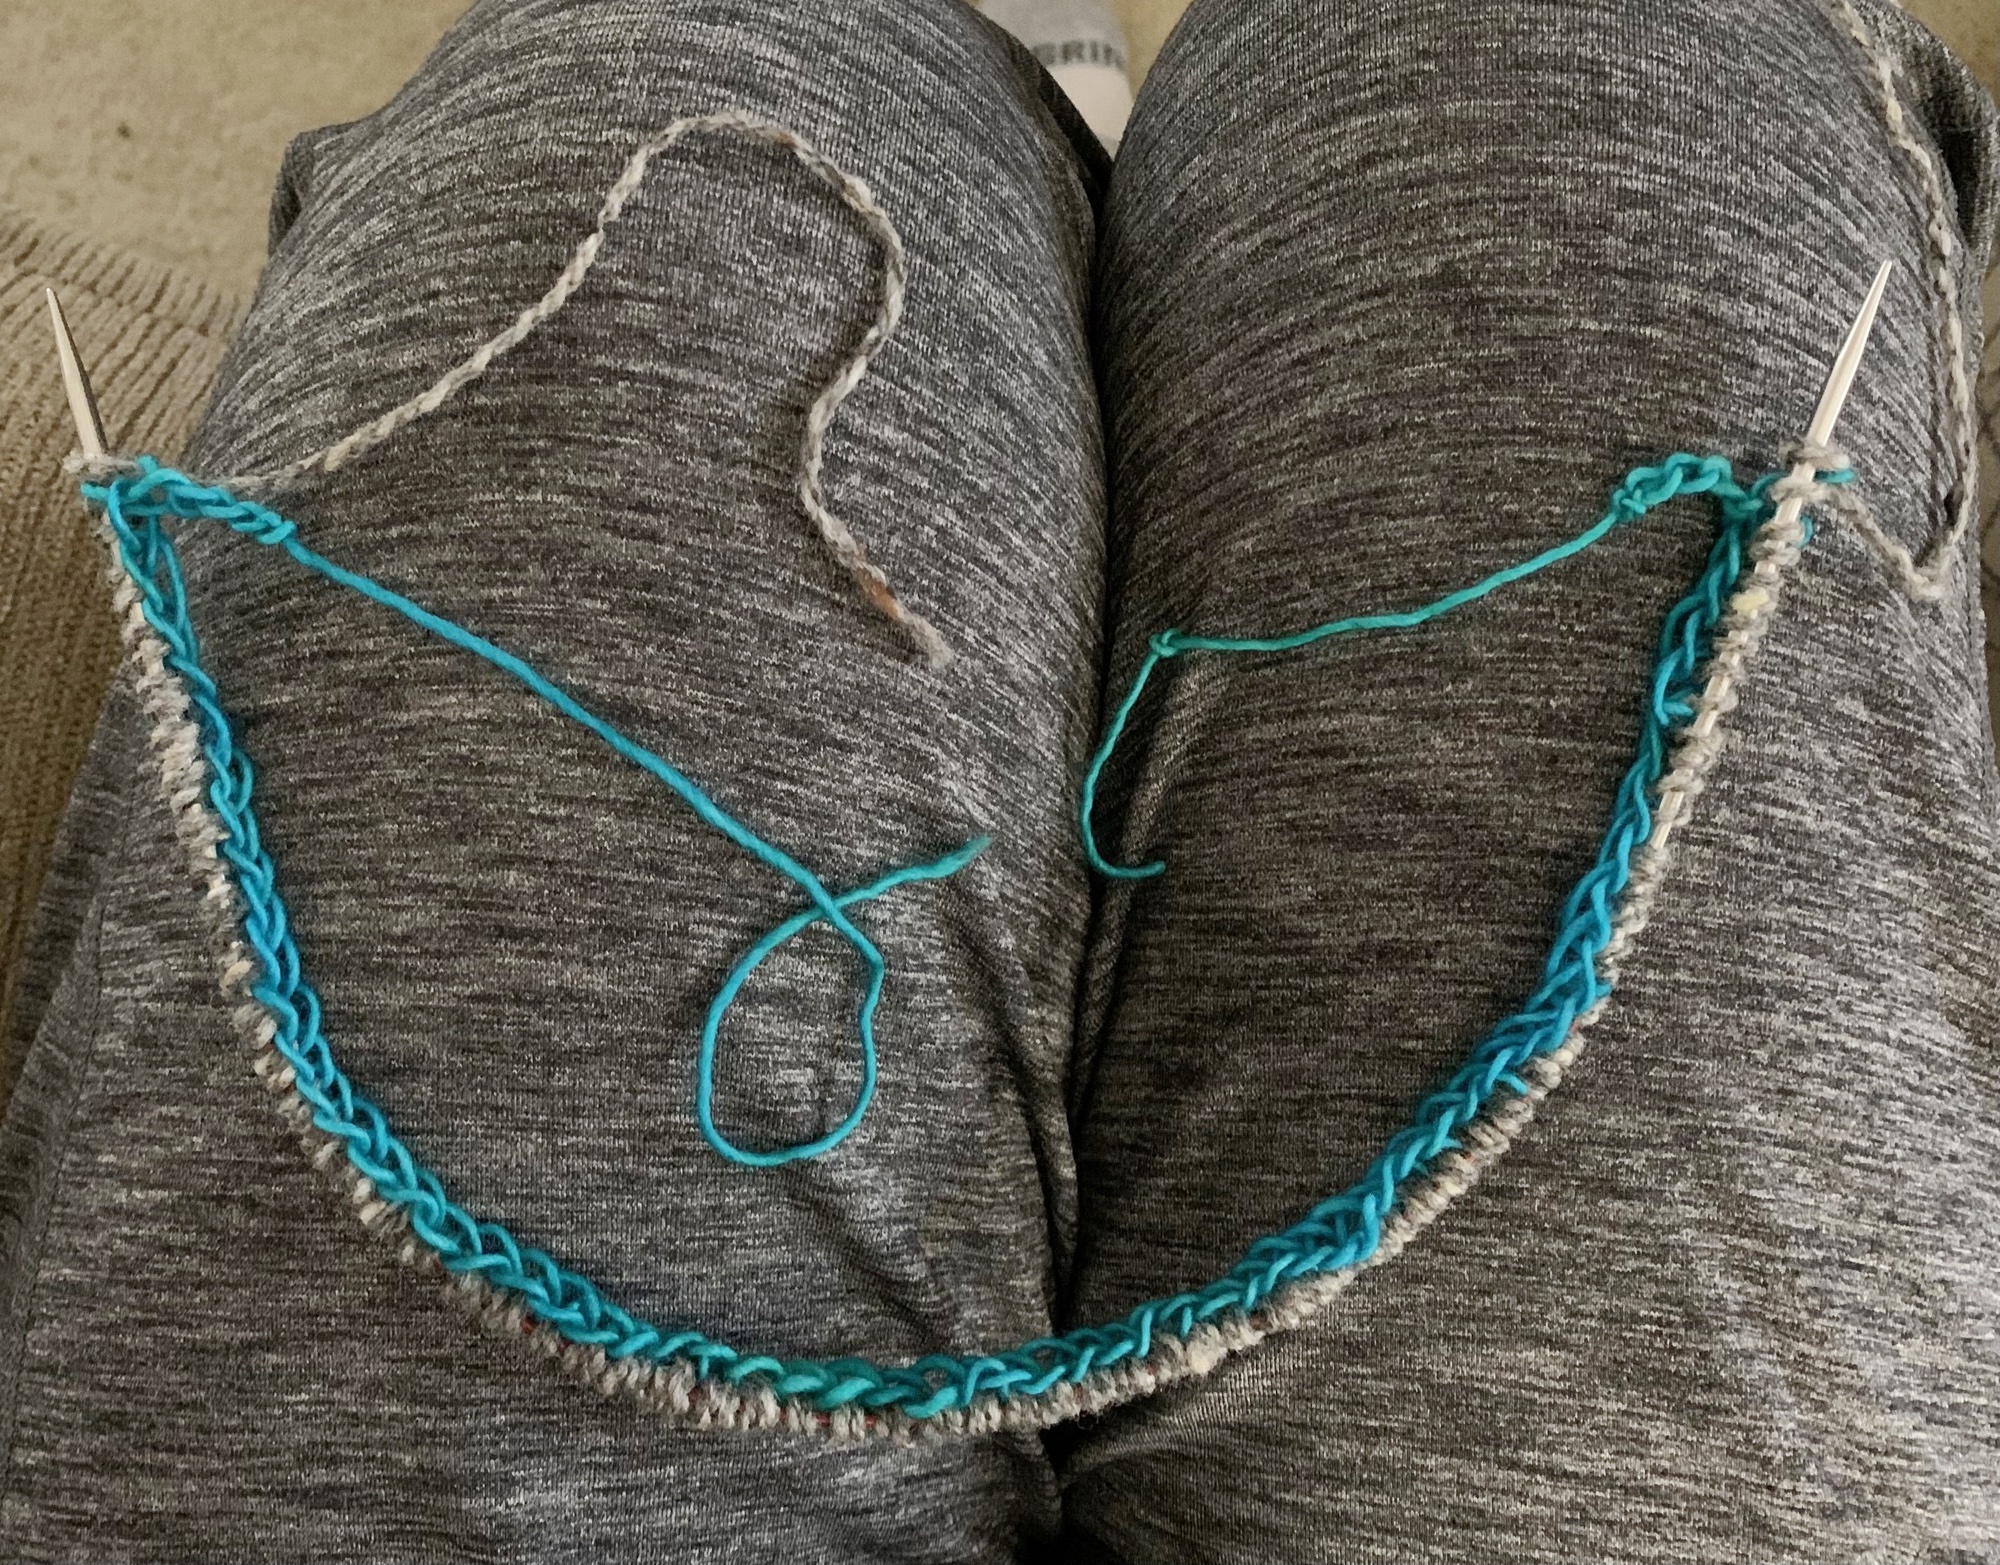
I did have some trouble. Before joining the ends to knit in the round, I made sure all my stitches were straight, as you do normally (middle photo). Once I did my first row, the stitches had become twisted! I fiddled around with it, and just kept going. I was sure the whole thing would be unusable anyway. So watch your stitches on that first row in the round.

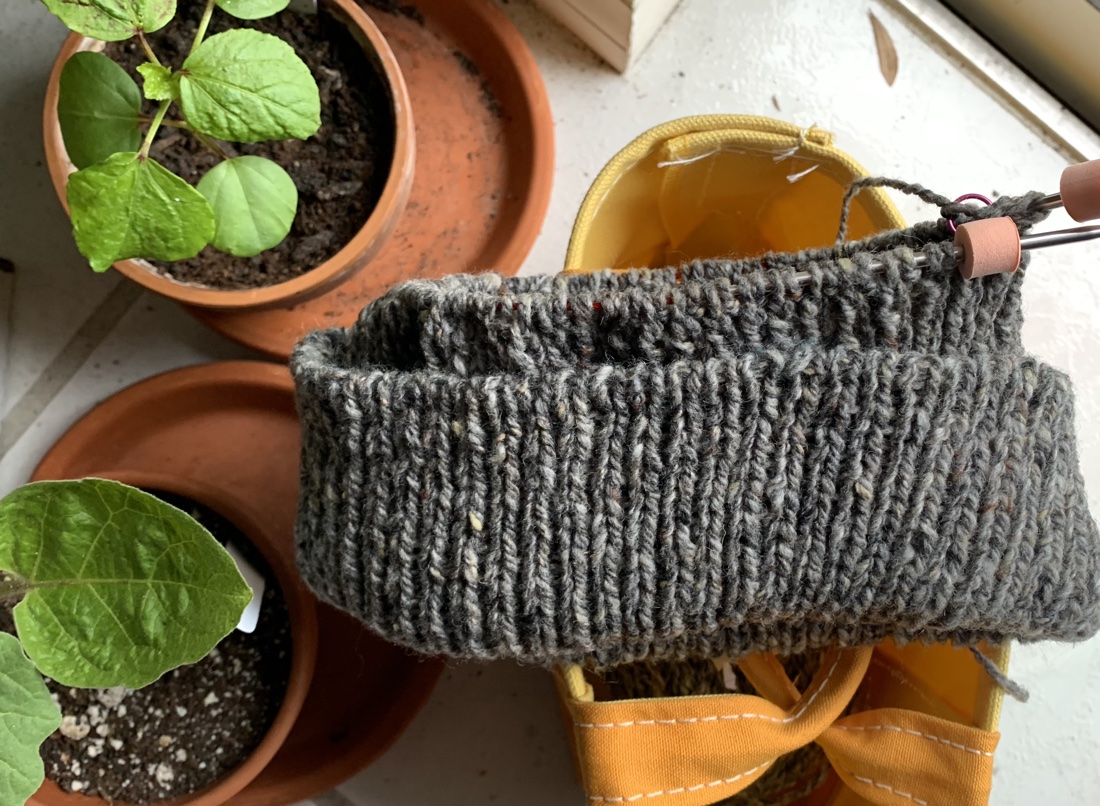
This hat pattern (Classic Ribbed Hat – see pattern link below) had 120 stitches for the size I chose. It’s a lot of knitting on something that could end up a complete mess! 

As I knit each row, it was difficult to tell if my alternating stitches were in the right place. I really didn’t know what to look for and the tutorial could have been better in this area.

At the end, my crocheted blue waste yarn did not slip right out either. I had to cut it in various places and pick it out. 

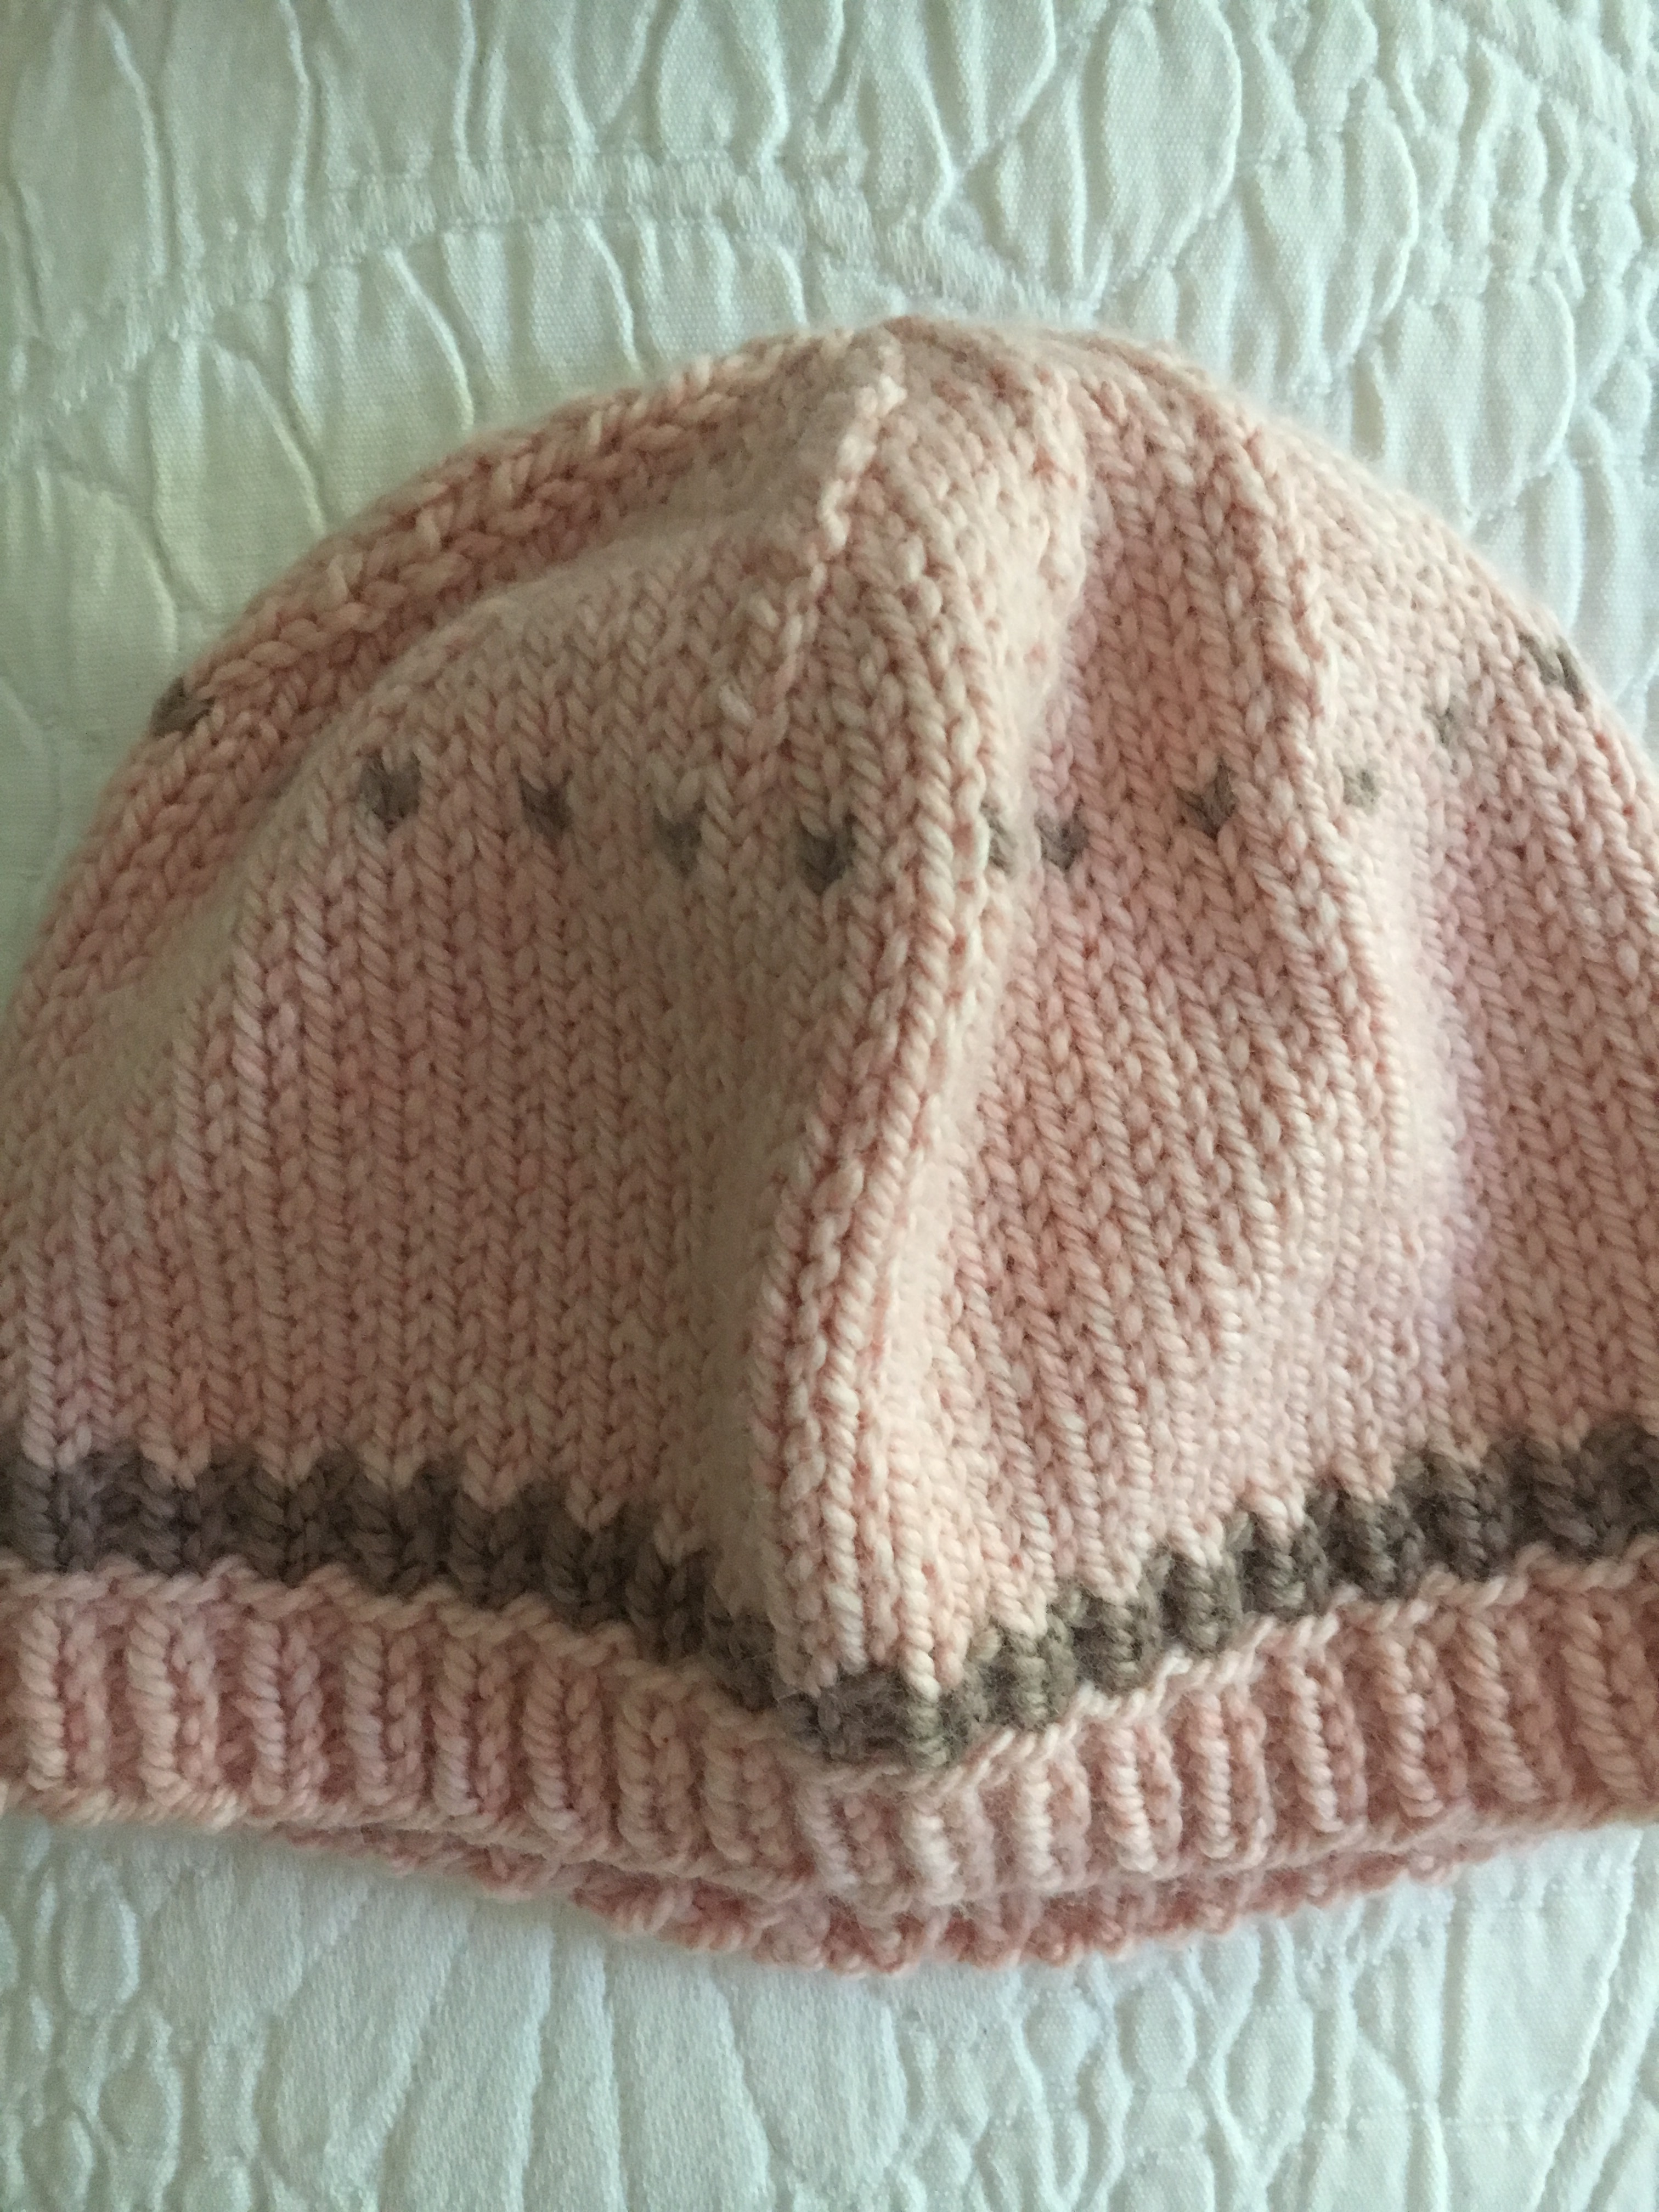
Somehow, and much to my surprise, my first tubular cast on looked pretty nice! It was a miracle…!! I was short one stitch, which I added on my first k1,p1 round. Also, my nubby, tweed yarn is probably hiding some mistakes!

I was happy and amazed that my tubular cast on was usable. When I do it again it should be perfect, right? Now I am continuing to knit on this hat with finished pictures to come.

Be Positive About Learning Something New

If you have the time, always strive to learn a knitting technique you love. This type of cast on takes time and practice, and I know a lot of people don’t have much free time. I had to rip the whole thing out and start over more than once. Sometimes that is part of knitting and I’m here to say, “You are not alone!”

I recently learned how to do magic loop – finally. And wow, it is really pretty easy. This tubular cast on is not necessarily easy, but is worth learning how to do. 


Fiber crafters read on

Something went wrong. Please refresh the page and/or try again.

Crazy About Knitting Hats and Tips For Perfect Results

Since I began knitting, I’ve discovered that the item I love most to make is hats.  Over the years I have become crazy about knitting hats of all kinds, in all sizes, for everyone I know. (The green hat shown is the Aran Watch Cap from the “Hat’s On!” book.)

Scarves were what I made most of the time when I lived in New Hampshire because my hats didn’t turn out all that well.  I loved to knit hats, but didn’t have all the info needed to begin them correctly – using a good-looking cast on, and then joining in the round.   And the beginning of a hat is one of the most important parts.  When beautiful yarn is used and intricate cables and colors mix to create a lovely handmade garment, it pays to do everything correctly, from the cast-on to the pompom on top.  

Three Ways to Join In The Round

Because I can’t always remember how to join in the round, I’m adding this YouTube video.  Once the cast on is complete, the ends must be attached so circular knitting can begin.  If the “join” is done wrong, the edge of the hat will have an obvious indent.  The YouTube video below, by Very Pink Knits, shows three easy ways to make the join correctly.


Creating a Jogless Stripe in Circular Knitting

Another knitting trick I usually can’t remember and have to look up is how to make stripes, or changing colors, in circular knitting.  The tutorial below shows how it’s done.  

Topping Off a Hand Knit Hat

Once the decreases are over and the hat is finished, it may need something a little extra at the very top.  Pompoms and tassels are often chosen for this honor.  

I’ve also come across a fun tutorial for making covered buttons to top off a hat.  This tutorial can be found at Kate Davies Designs and has pictures along with the description of how to cover a button with yarn.  The end product is quite stunning and would make a unique addition to a special hand-made hat.  I plan to try it myself one day soon.

Choosing Yarn and Figuring The Cast On Number

Most hats are knit on 16 inch long circular needles.  The needle size depends on the yarn weight and gauge.  I found a good printout which helps you guesstimate the number of stitches to cast on.  View the Earth Guild “Super Simple Circular Hat Calculator“, and if you know your gauge – how many stitches per inch – and the circumference needed to fit the head that will wear it, the cast-on number is given.

All types of yarn can be used to knit hats.  Yarns can be held together to create a speckled look, like the chunky child’s hat I made from Purl Soho’s Snow Day Hat pattern.

Often a soft merino, or some type of warm wool, is used because hats are usually meant to keep heads warm in winter.  

Pink baby hat, free knitting pattern
I added a flower to the side of this little pink baby hat, then mailed it to someone as a gift.

Some fun beginner hats to try are the Pink Baby Hat (see the one I made and find the link to the free pattern).  And my Dusty Rose Long Rib hat, which I knit with yarn to match a scarf I had made.  Or buy a Knitting Book for the Beginner.

Advanced Hat Knitting

Once I got the hang of hat knitting with basic knits and purls, I decided to try more intricate cables and patterns.  For hat knitting with advanced stitches, plan to pay for a pattern or buy a book.  It’s good to know how to read a knitting chart also because some pattern designers use charts only.

Here is a link to a YouTube video which shows how to knit a Fair Isle hat- called the Fimmel Hat – in 5 colors.  A link to the yarn kit and pattern is located beneath the video and Very Pink Knits provides the helpful “how to”.  This includes casting on using a German Twisted (or Old Norwegian) Cast-on.  It’s pretty involved, but it makes a nice edge.  I’ve never done it myself, but will definitely give it a try on my next hat.  I love the top of this hat with that star design.  She also shares how she blocks her hats.  It’s a great idea.  Watch the video!

Buy Hat Patterns and Books of Hats

Following a pattern all the way around and up a hat can be challenging, but fun.  Hats are small enough so as not to be overwhelming.  They are good practice for cables and intarsia / Fair Isle (using multiple colors to create patterns).  Or maybe start with two colors, like the Fana Cap I knit for my daughter (find in the Hat’s On book).

I just ordered the book listed below which has some very unqiue hat designs.  I only hope I am able to create them!

“Mair Heids” from Kate Davies Designs https://katedaviesdesigns.com/2018/11/26/mair-heids

Pink "snow day" hat for baby girl
Baby girl “Snow Day” hat to knit.

My version of the child’s “Snow Day” hat pattern found at Purl Soho. The chunky hat was knit using a different yarn and needle size to fit a young child.

How Much Yarn is Needed For a Hat Project?

I tend to find yarn I like and buy it before I have a project in mind. Then when it comes time to knit a hat I wonder if I have enough. Usually the answer is yes, and especially so if I use two skeins of different colors.

In my experience in knitting hats, I’ve never used an entire skein of yarn, or run out of yarn. BUT… I often use more than one color, and it depends on the type of hat you make. Will it have a roll up cuff? Will you need to add a pom pom using yarn? Does it have earflaps? If it’s not a straight forward cap and you plan to use all of one type / color way, two skeins may be needed.

Simple Hat Calculator Page

The Earth Guild site has a page with information about choosing cast on amounts, length of hat, and how to decrease at the top. Click to view their Simple Hat Calculator.

Figuring the Cast On Stitch Amount

One thing to remember about a hat is that once it’s knit the circumference should be smaller than the head. This is called negative ease. You will find this with any item that needs to hug the body – socks are another example. So when you measure a head circumference you will want the hat measurement to be smaller. At Interweave they have a page about knitting hats and negative ease.

Once you have a number of knitted hats under your belt the finished hats can be a reference for starting a new project. Keep notes as you go and file them away for the future. Make note of the type, weight and leftovers of yarn used. If you have a scale, you can weigh yarn for exact amounts.

I’ve knit many hats from the “Hats On” book and have made notes about looseness, length and yarns right in the book.

For example, the hat below is called the Fana Cap and I cast on 108 stitches, size 6 circular needles, using Manos del Uruguay’s “Pescador” blue yarn (worsted). I made the hat for my daughter and she has a small head. The cast on amount was good, but the hat should have been a bit taller. I only used one skein of each color with some left over.

Fana Cap hat pattern
Fana Cap

This tends to be the “live and learn” way of knitting, but practice makes perfect. Hats are fun to make because they come in many styles. Also, stranded knitting using two-colors (or more) looks wonderful on a hat. Circular knitting is easy and when it comes to decreasing at the top and using double-pointed needles (DPNs) it’s only for a short few rows.

Knitting a Hat With Painted Yarn

It’s always difficult to visualize the outcome when buying painted or dyed yarn in varying colors and shades. I loved the colors in this wool yarn and wanted to knit another hat using one of my favorite hat patterns.

So here is the result. It took me a little over a skein and this yarn doesn’t come in matching dye lots so the colors in the second skein (shown) were a little different than the one I used for the main portion of the hat. But no one would notice.

I’ll use the rest of the skein for part of a scarf or mittens.

yarn
Knitting a Hat