Doublemassa is The Hat of My Dreams

Beginning the lined, Doublemassa hat pattern. It is a stocking cap done using two different yarn colors.

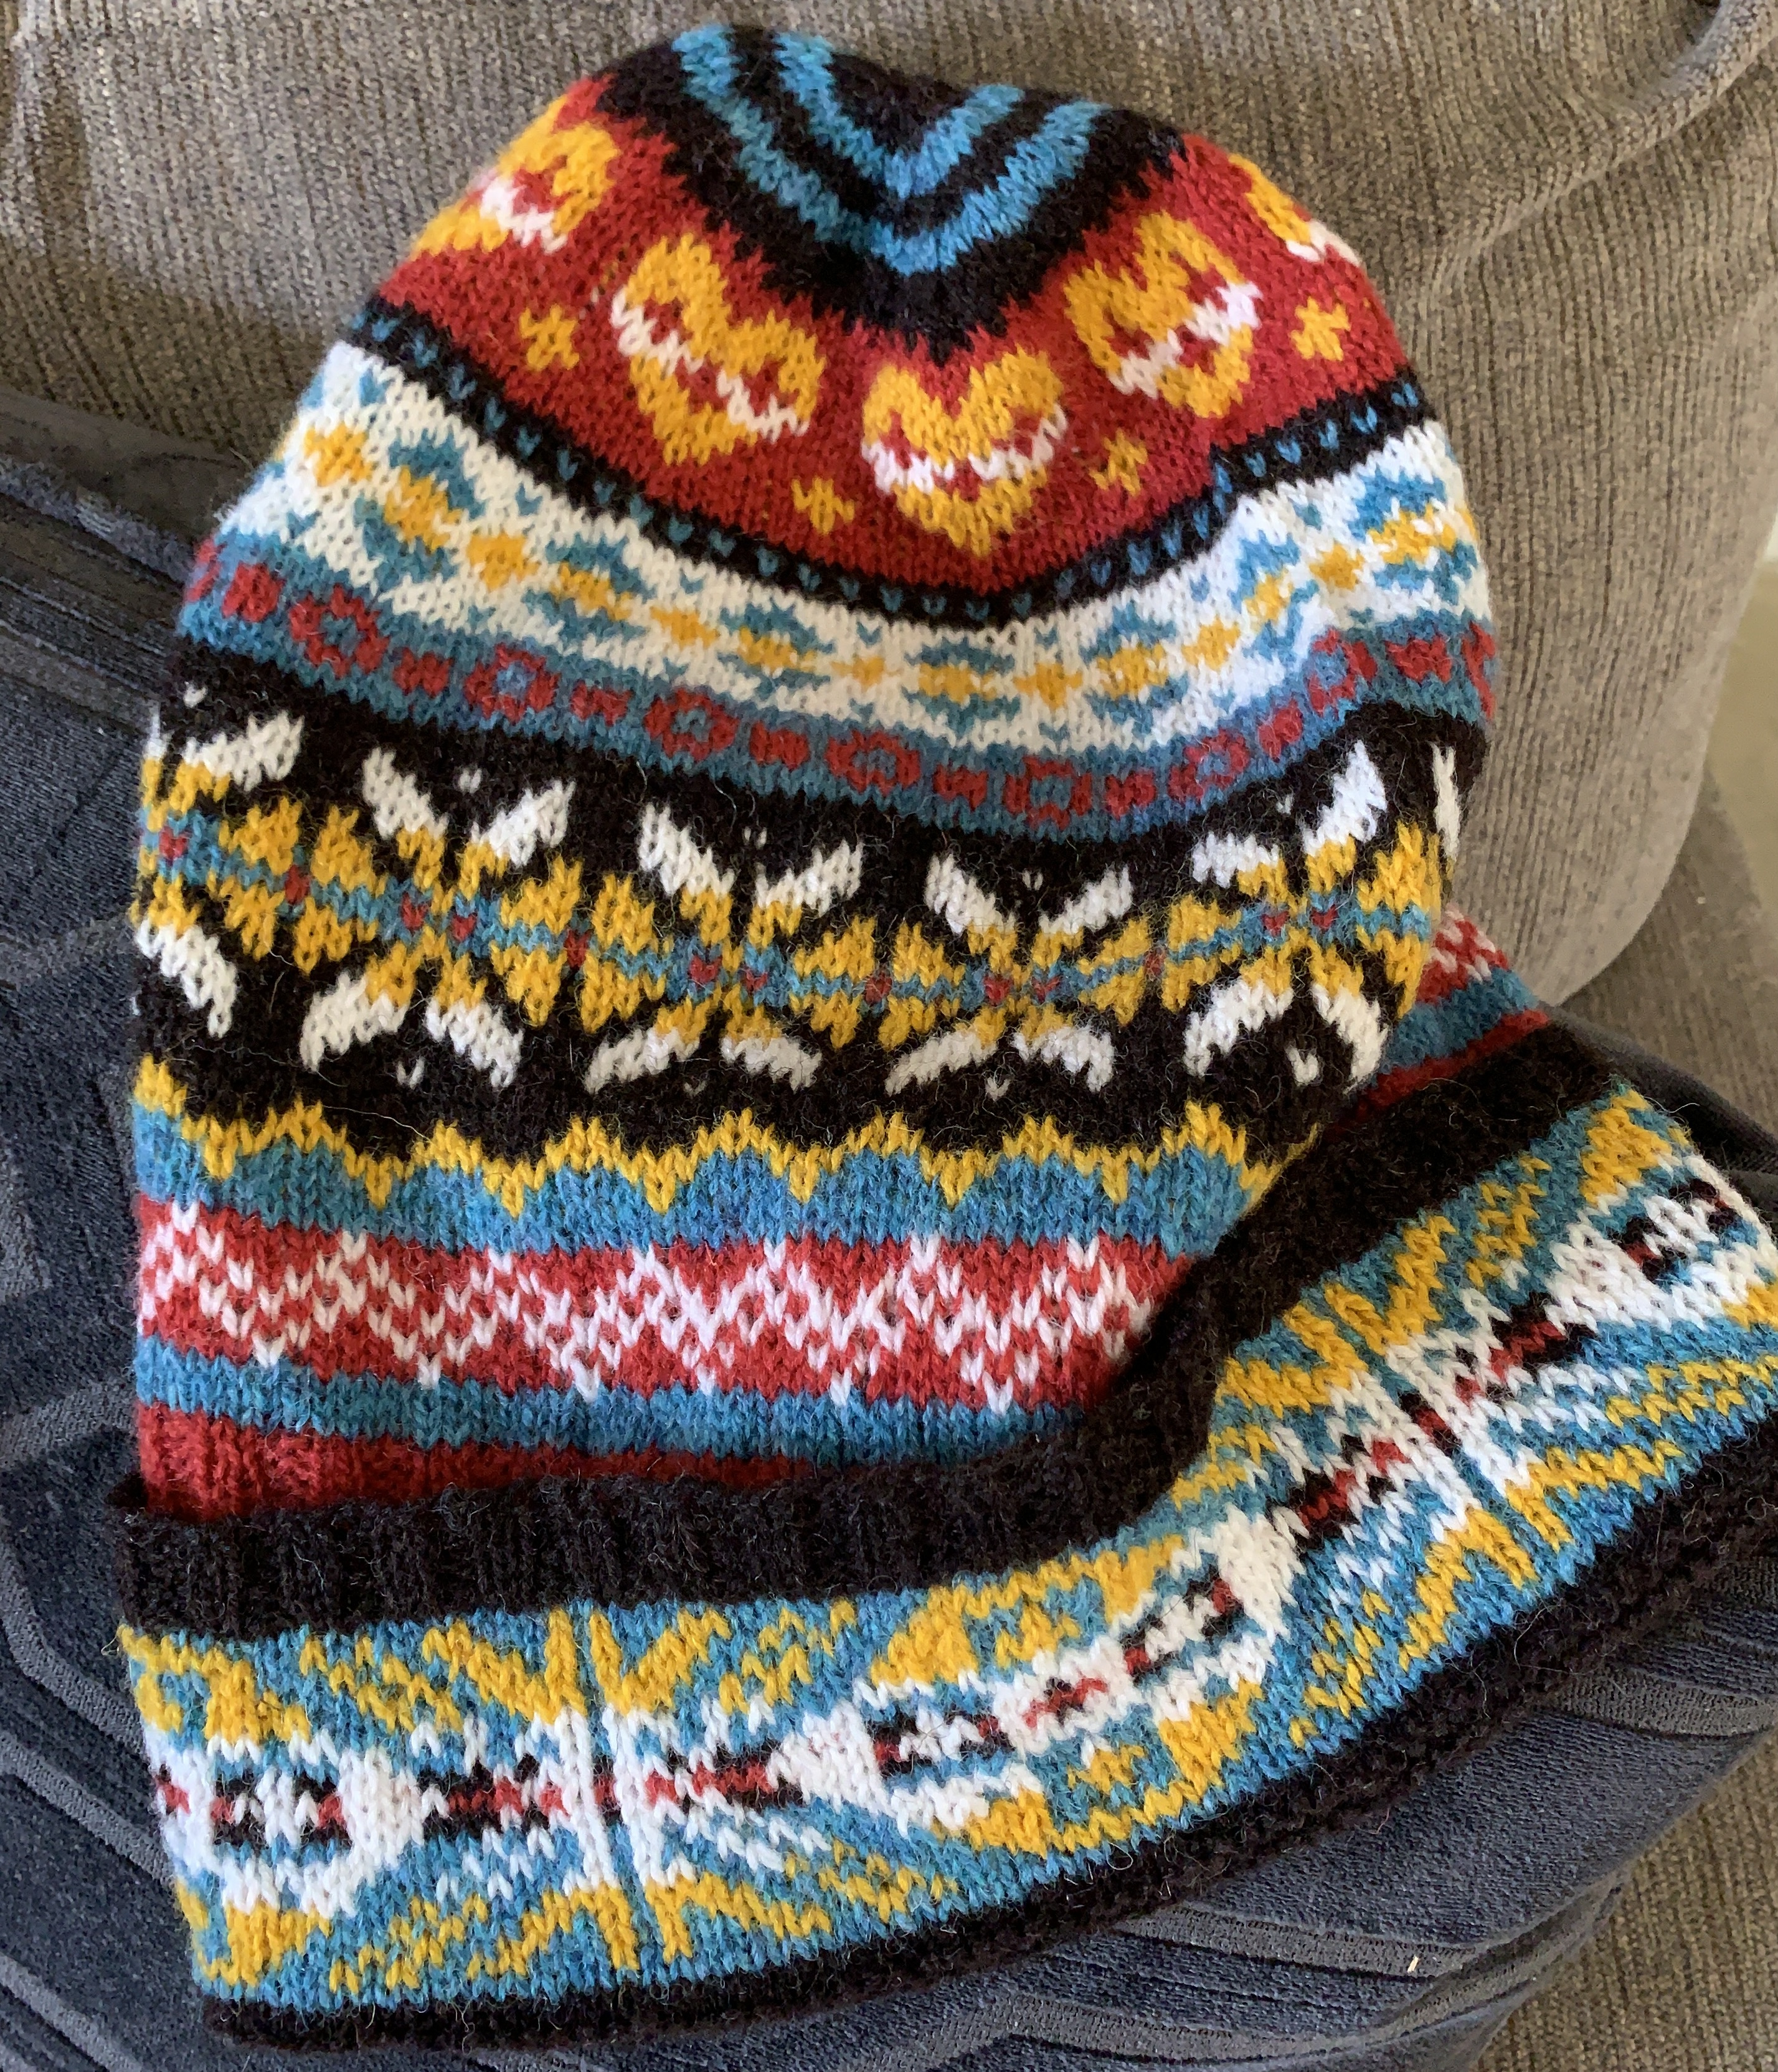
The hat pattern book “Hats On!” has provided loads of fun hats to knit. I have already knit quite a few, and a few more than once. My favorite of all the hats has always been the pink one featured on the front of this book. It is named the Doublemassa.

Hats on book with Rauma yarn

Way back when I purchased Hats On! I was a beginner knitter. Many of the patterns in the book seemed too difficult and involved reading a chart. I hadn’t mastered that yet, so I stuck to knitting the simpler beanies. It has taken many years to work my way up to attempting the Doublemassa.

Doublemassa Difficulty Rating

There is a lot to this hat pattern. I don’t recommend it for beginners.

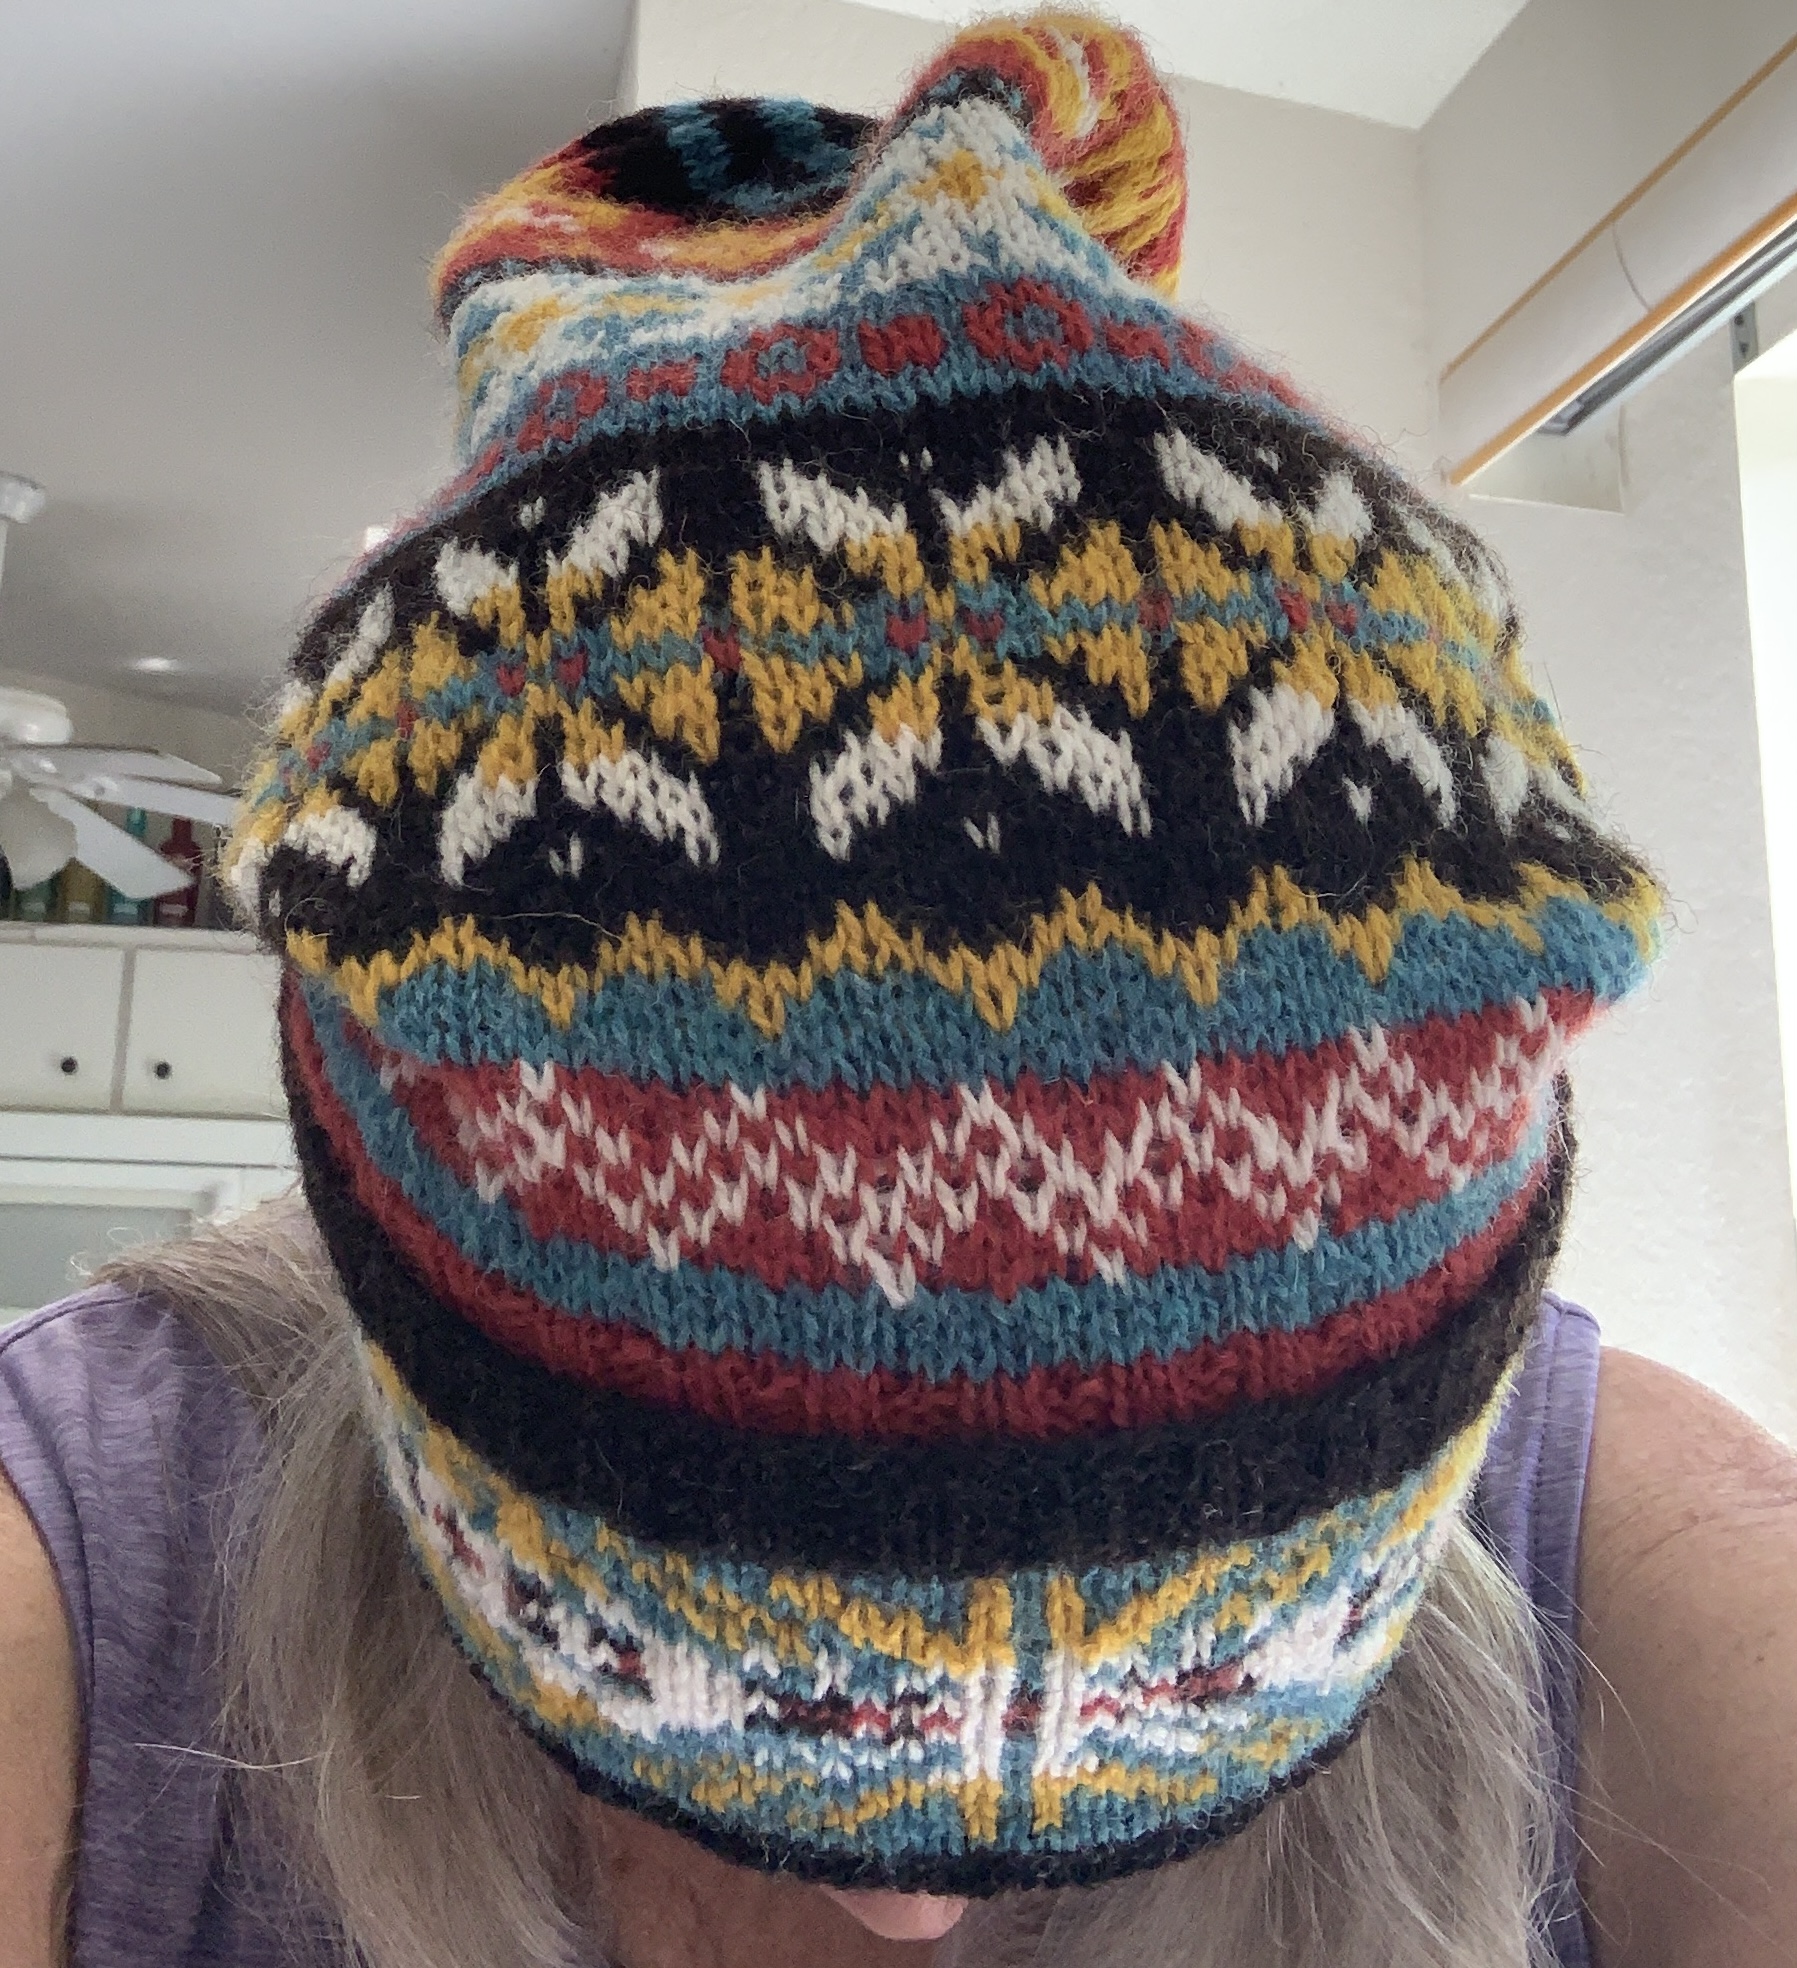
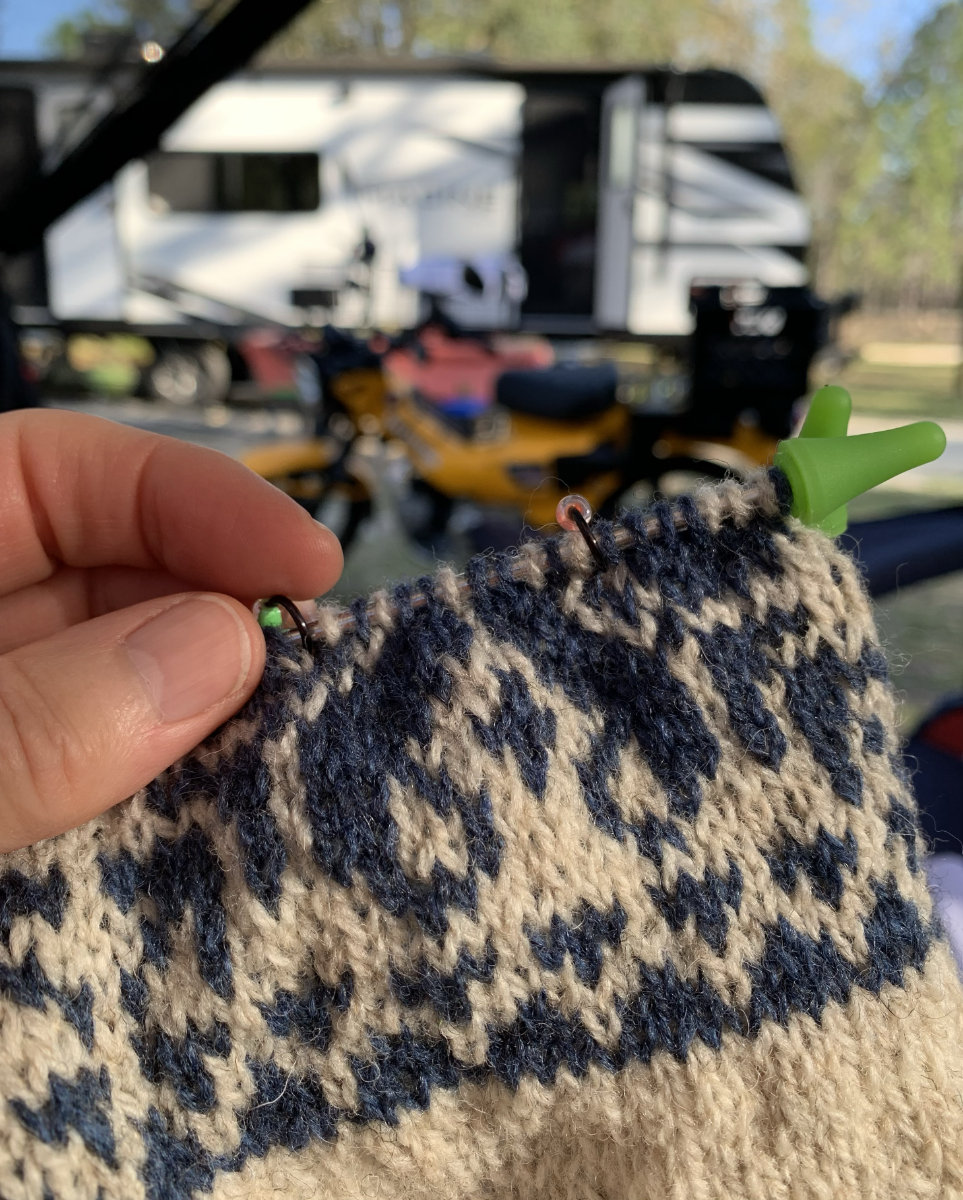
This colorwork hat is knit using a chart. A long chart. The anatomy of the Doublemassa is this. It is a short-ish stocking cap. It has a fold up wide brim that is 4 layers thick. Two yarn colors are used for the colorwork and there is a lining. The pattern begins with the lining being knit from the top-down. Once the lining is complete, the colorwork begins. A tassel is added at the end.

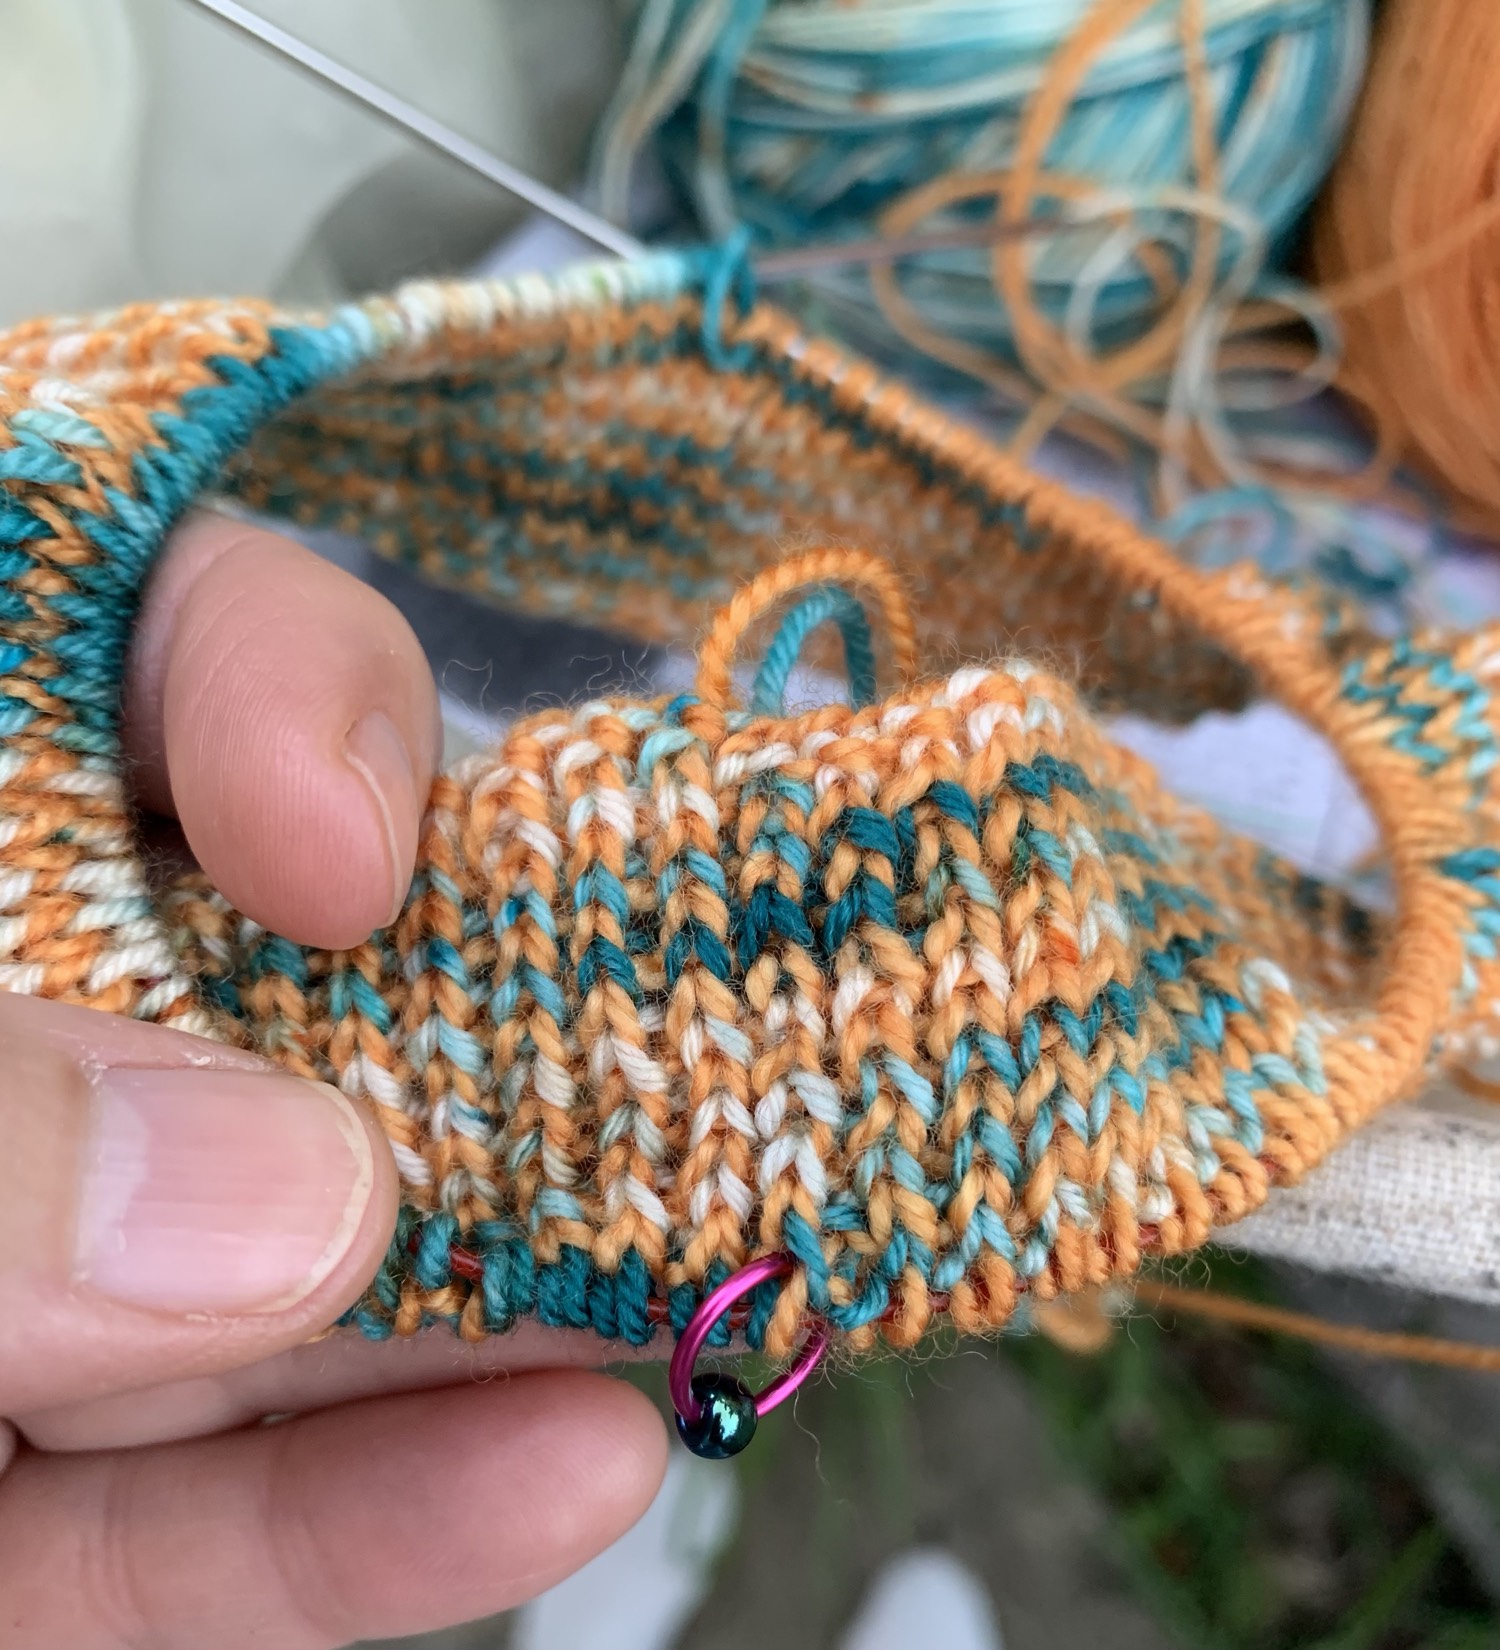
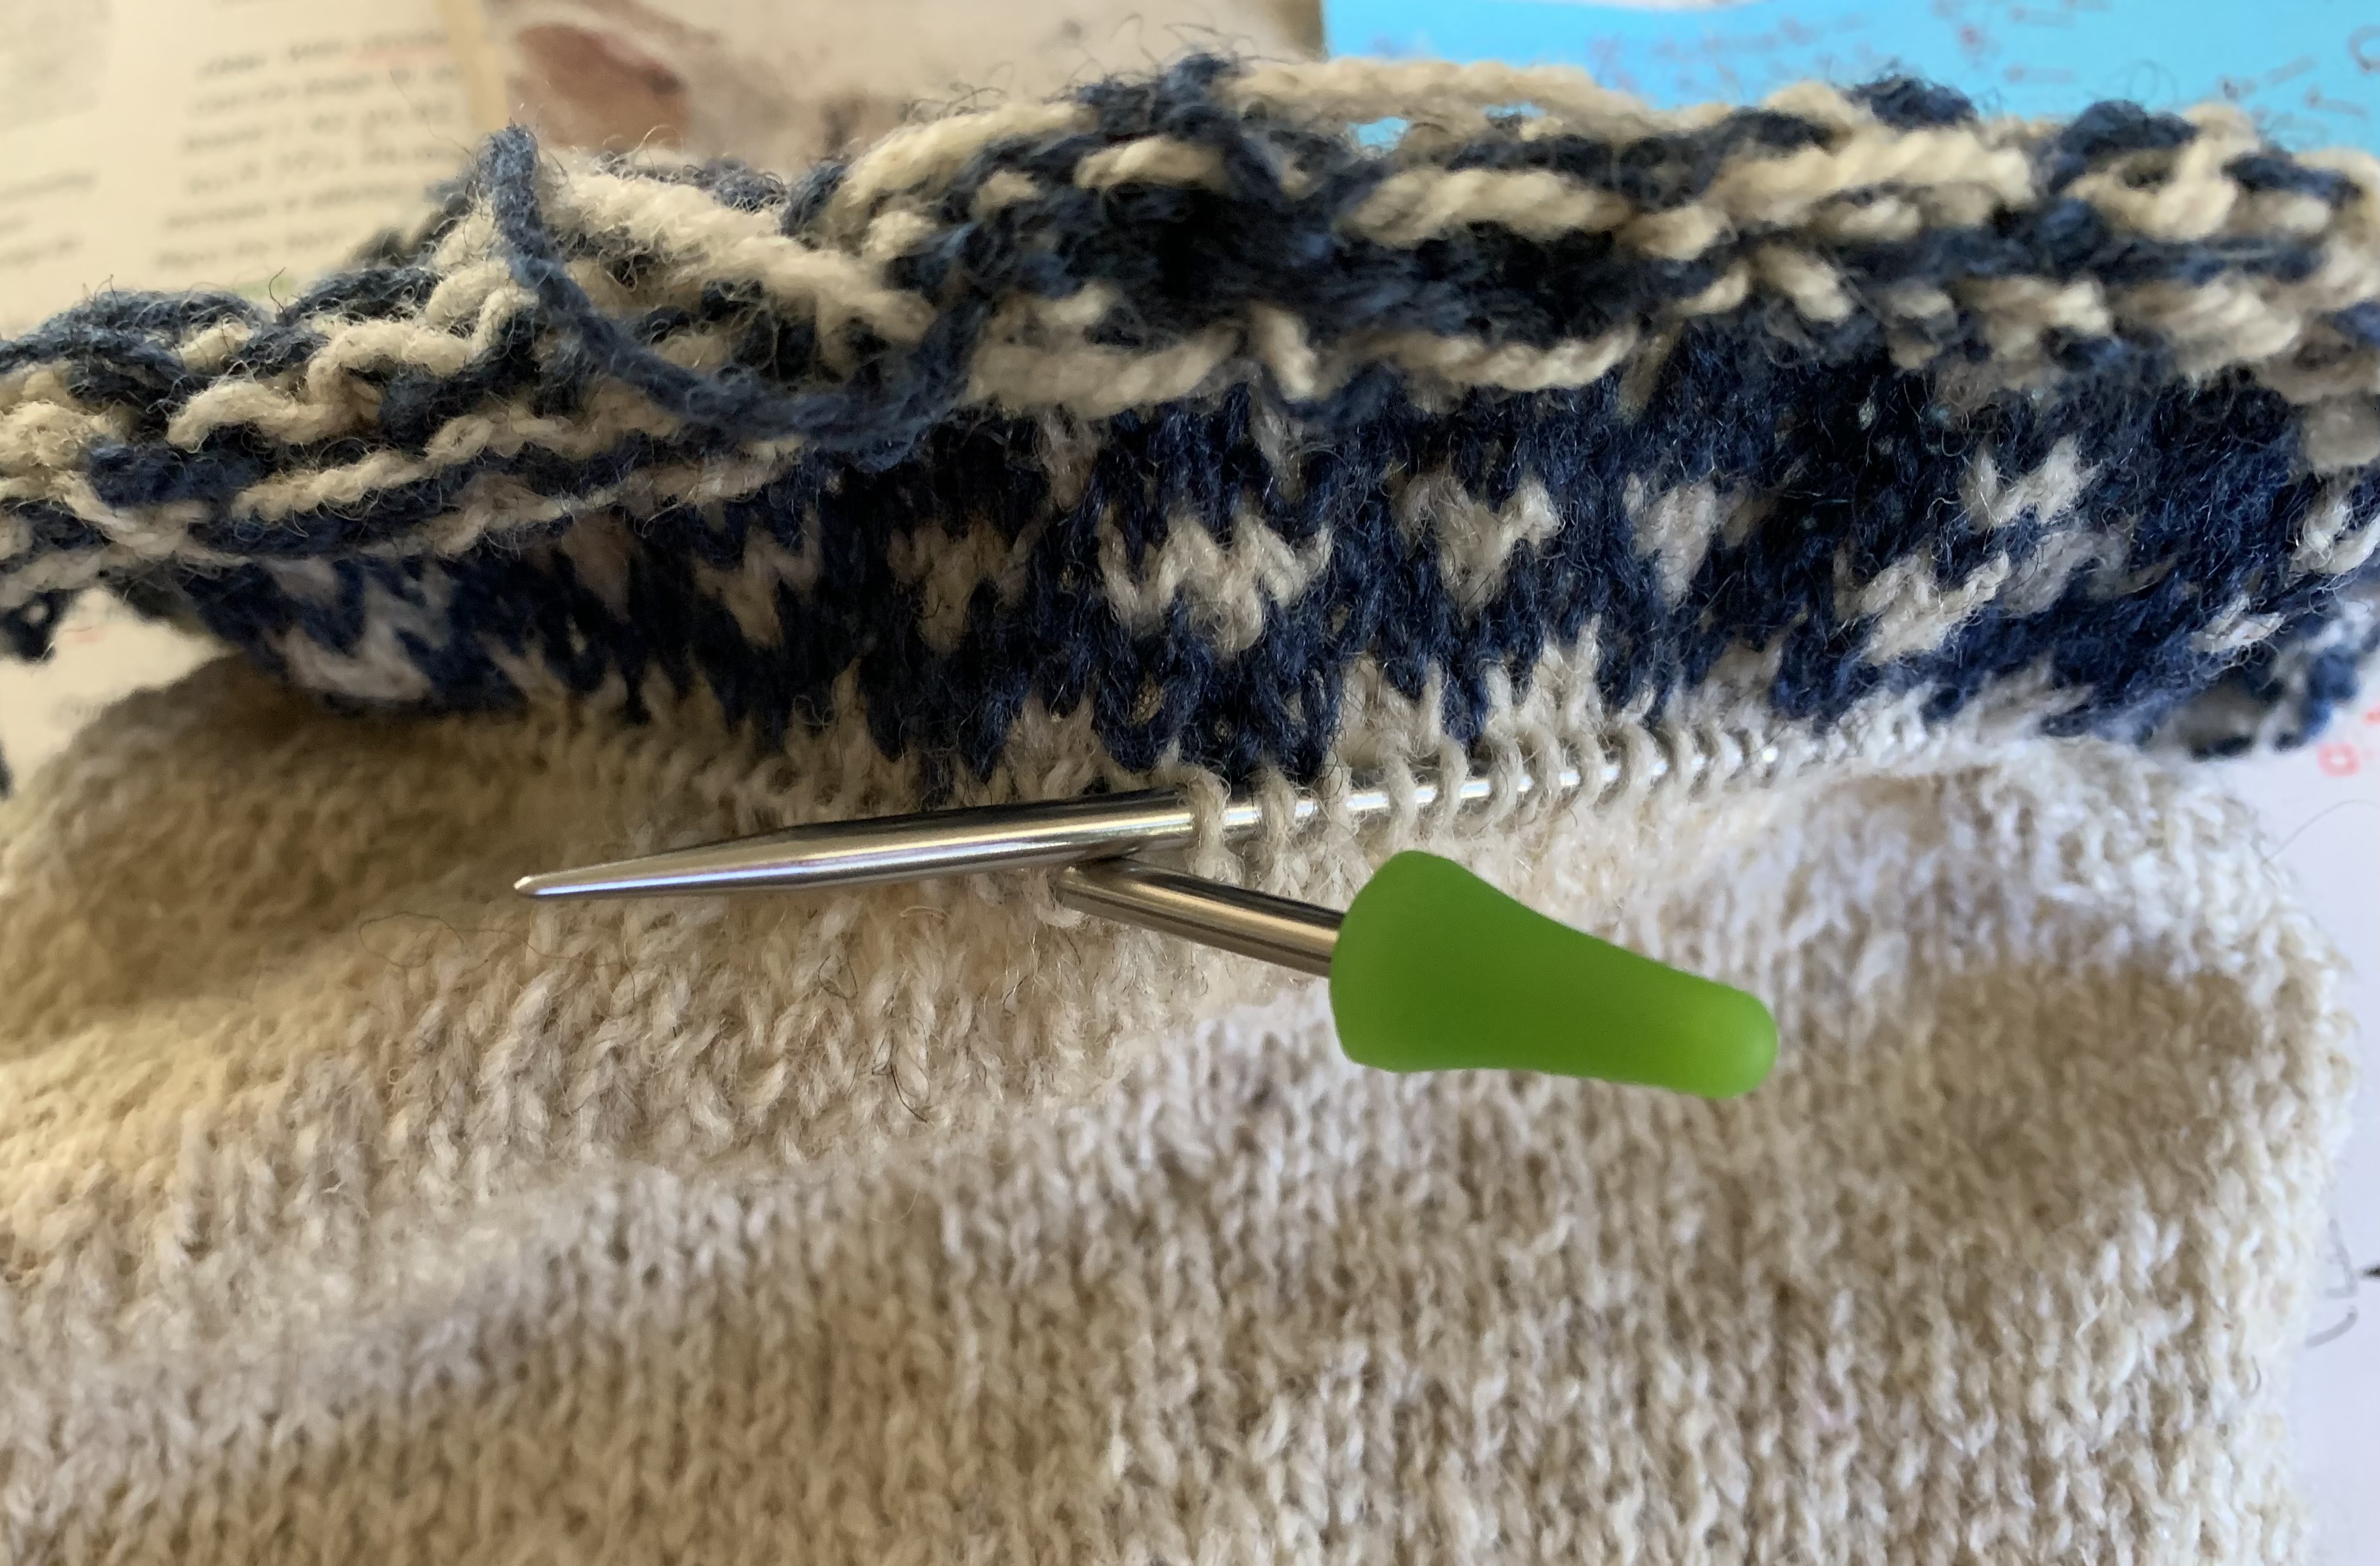
This hat book is full of various types of hats, but honestly, the directions are not in depth. For example, in the case of the Doublemassa pattern, we begin by knitting the lining as a top-down hat. We cast on only 12 stitches and knit in the round while expanding (4 each round) with yarn-overs.

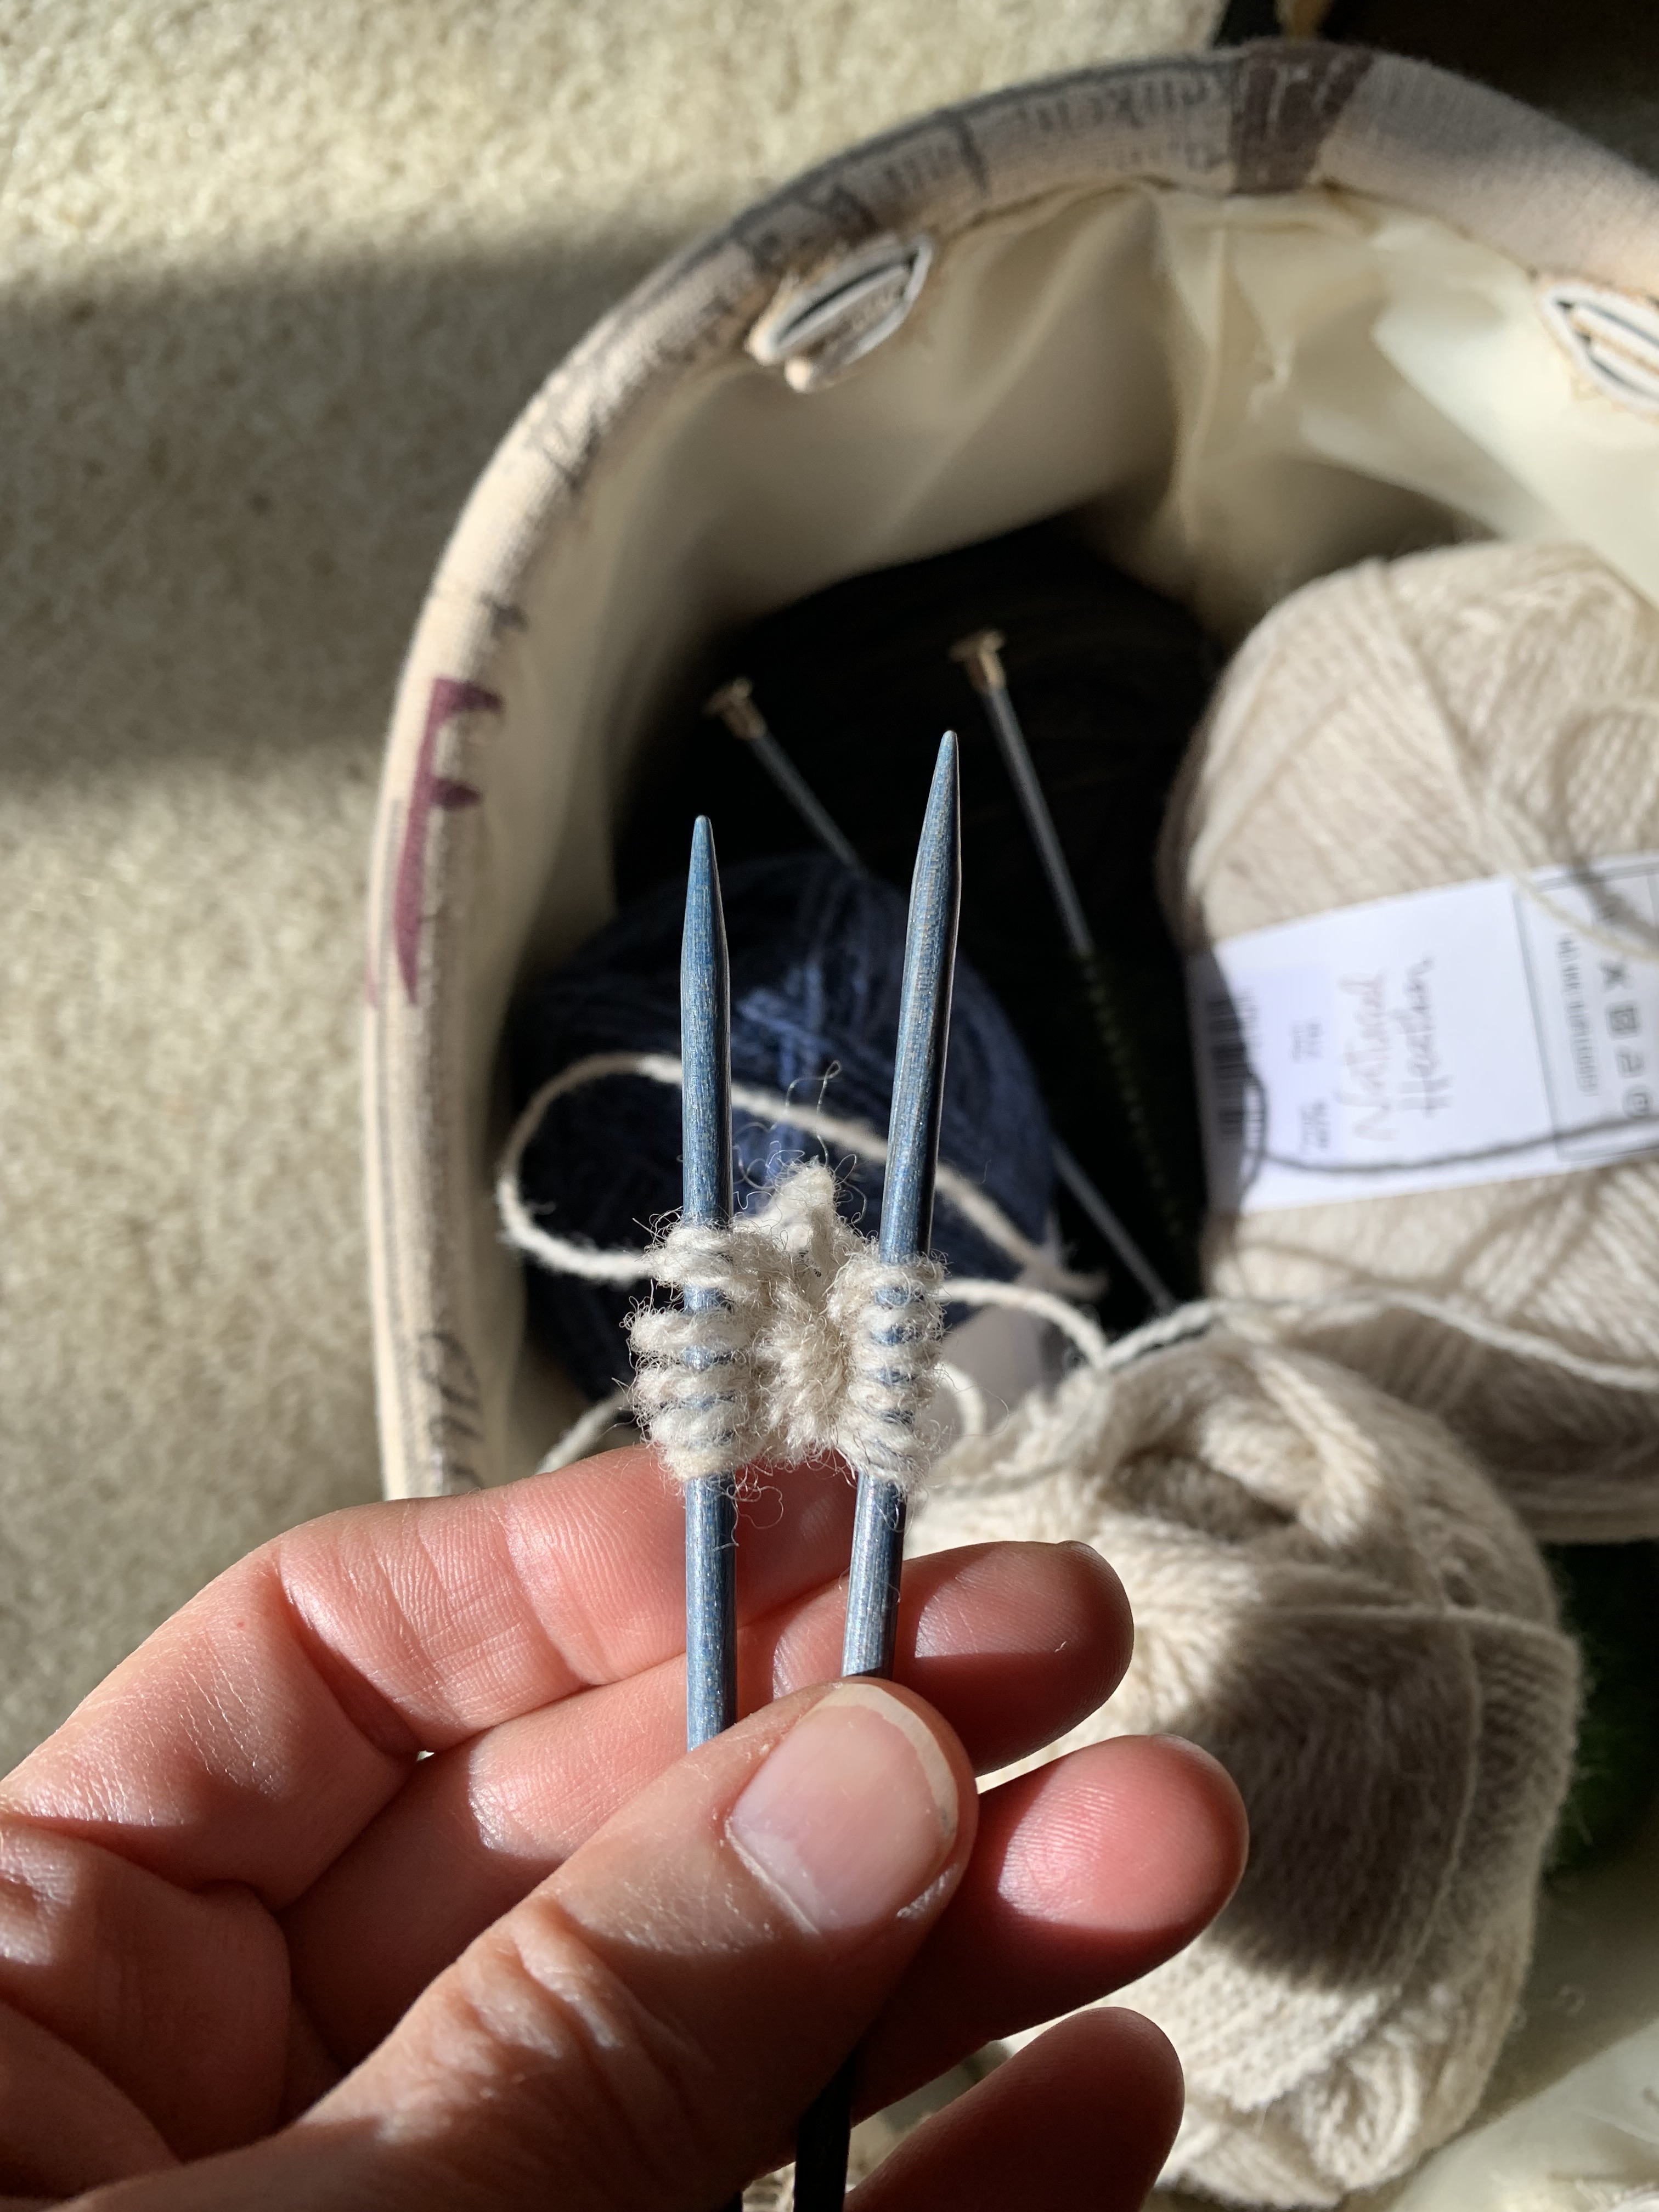
I used the Disappearing Loop cast on, by rewatching this video by Always Knitting. This is the same cast on I used for the Musselburgh Hat. It allows for knitting in the round from a very small circumference outward. It also involves Magic Loop. This type of cast on is fiddly no matter how you do it! I used a tiny crochet hook to help.

The pattern simply says to expand by 4 stitches using yarn overs. Since it’s a lining, and won’t be seen, I was not very careful about spacing my beginning increases evenly. Those yarn-overs need to be knit through the back loop, or else a hole is created. This is something the writer assumes we know.

As I read on, the colorwork part has various rows where decreases are made. All the row says is “decrease – with the number”. So let’s say there are 130 stitches and I need to evenly decrease by 6 stitches. I’m going to use the Knitulator to space my decreases. (Or, divide by 6 to estimate.) Most decreases are 2 or 4 which are easy to figure.

Yarn

I’m using three skeins of Rauma Finull, which is a fingering weight, rustic wool. I dug into my stash and had enough of the natural beige heather to be the main color and lining. I’m using a dark blue as the contrast color.

Needle size is 4, but I’m not sure if I will go up a size when it comes to the colorwork. (I did not change the needle size.) My daughter’s head is small, so I may stick with the size 4. She has been asking for another hat with a brim for ear warmth. Doublemassa should work nicely.

The folding of the hat is hard to figure out, by looking at the photos. I guess it will be obvious when it’s done. I have quite a few patterns in the works now, so it may be a while before this one is finished.


Knitting journey continued…

Knitting the Cozy Dual Loop Beanie

Beginning to knit the deal loop beanie pattern in heavy wool.

After knitting sweaters for a while, I decided to try a smaller project. The Dual Loop Beanie, by Other Loops, looked like a nice hat. (Pattern link below.) I purchased the pattern and began the project. Yup, one more knitting project on the needles!

Here it is all finished, but still needing a soak. Read on and make one of your own.

dual loop beanie
Dual Loop Beanie knit using Plotulopi wool

The Pattern

The pattern is easy to follow. One thing to be aware of is you will always be following the 2×2 rib for the top part. One line in the directions says, “knit to two stitches before the next marker” but it should be knit and purl.

Also, a thumbs down for this pattern is the fact that the needle size is listed ONLY in mm and size / length is ONLY in cm. For those of us in the US we have to convert. It’s not a big deal, but most patterns do list both.

The beginning directions are for a tubular cast on. If you don’t know how to do it, then you must look it up (I have a video link below). There are no directions or links in the pattern. There are no other cast on options listed either. But, if you feel more comfortable using a long tail, or other cast on, go for it!

Stitches / Techniques to Know

  • Tubular cast on & join (see below)
  • K2tog – knit 2 together
  • P2tog – purl 2 together
  • P2togtbl – purl 2 together through the back loop
  • SSK – slip, slip, knit (or left leaning decrease)

The Cast On and Set Up Rows

I am not a fan of doing the tubular cast on. Many ribbed hats use it to make the edge rounded. And, it does look nice. The cast on is not difficult, BUT keeping the stitches straight gives me a headache. To solve this problem, I used a straight needle this time. A wooden straight needle would be perfect, but I only had my grandmother’s old steel needles. They worked fine.

straight needles and Alafosslopi yarn
tubular cast on onto straight needle

If you are wondering why I would cast on for a hat using a straight needle, here’s the answer. The tubular cast on is worked in back and forth rows called the “set up” rows. Once those are done, then the round is joined.

The pattern begins with, “cast on using a tubular cast on in rib stitch”. My help for this came from Stephen West’s video. I followed his cast on directions. Also his first set up row directions (he knits through the back loop on the first row). At his suggestion, I used one needle size smaller (size 3US) for this part of the project.

After finishing the cast on and set up rows, I slipped all of the stitches onto a size 4 circular needle (the main size). Then, I made the join by simply continuing in pattern. I will have to close up that gap when I weave in the ends. *I had no trouble closing the gap and it looks perfect.

Ready to join the cast on to knit round and round.
Stitches transferred to circular needle size 4.

Now I am working using the main yarn, which is Plotulopi unspun held double. I’m pulling a strand from each of two cakes. But to cast on and begin with set up rows, I used dark green-brown Alafosslopi. It is sturdier and I needed something to make that cast on as easy as possible. Both yarns came from my stash.

Because I couldn’t fit more stitches on the straight needle, I cast on for the small size hat. This yarn is thick and the hat size is perfect.

Dual loop beanie

The Dual Loop Beanie is pretty much a basic hat pattern. Once I was beyond the cast on, it’s round and round knits and purls. The decreases for the top are well written out and I’m looking forward to the end result.

Dual loop beanie hat knitting project using Icelandic wool.
Just beginning the decrease rounds on my Dual Loop beanie. Isn’t that yarn pretty!

The beanie is nearly ready to wear. Just needs a soak and then drying out. I had a lot of trouble with this yarn at the top. Unspun yarn like this Plotulopi can’t stand any stress or it comes apart like cotton candy. Fortunately it can be spit-spliced easily. If you prefer a very tall point at the top – add more rows. I followed the directions and mine is not all that tall.

dual loop beanie
dual loop beanie
dual loop beanie in plotulopi wool

Here in central Florida we are certainly not suffering with horrid freezing temperatures like most of the county. We have had a cold, gloomy January. For the past week or so temps have been in the 40’s and 50’s for highs, with wind chills lower. I can hear you… “Oh poor baby” “Those Florida wussies” I know, I know… I’m not whining, just saying it is unusual. And it has given me lots of opportunities to wear my hand knits, so I’m happy. It snowed in the Panhandle, and I hope next time the snow comes here. I love snow.

More posts about hats.

Fisherman’s Kep Fair Isle Project Finally (Nearly) Complete

While cleaning out my yarn storage room, I came across the Fisherman’s Kep. I had finished knitting and had lots of ends left to weave in. I put it aside. It had been a while, so I decided to weave in the ends and give it a washing. I hadn’t been too happy with the fit but decided to I blocked it and see.

The hat construction begins with the brim, which will be folded up over a ribbed area. I think the ribbing was part of the pattern. After that, we begin rows of colorwork (fair isle) in our chosen colors.

Fisherman's Kep blocking boards
Fisherman’s Kep blocked

This pattern was part of a fund-raising event. After taking some photos, I looked up my Ravelry page to add them.

I was thinking it had been maybe a year since I began this project. Lo and behold it had been THREE years!

I found my original post on this blog about the Kep and decided to give readers an update here. I also visited the Facebook page to see recently completed hats and noticed I had forgotten to add a tassel! Maybe I can dig out the pattern and see the suggestions. I’d love to add a fun little tassel to the top.

The hat is long and the knitter can create whatever patterns they like. Five colors total – of wool yarn – are used, which is traditional.

For more information please see my first blog post (link above).

One day, when I am in the mood, I will create and add a cute tassel.


More to Read

Ribbed Watch Cap Alternating Two Colors Invisibly

Starting a new little hat knitting project which is great for long car rides.

We were going camping. I needed a simple and small, knitting project for the two hour ride. I decided to use up some stash yarn and knit one more watch cap.

This pattern I used, for the third time, is the Ribbed Watch Cap and Beanie by Churchmouse Yarn & Teas. See the link to the pattern at the end of this page.

Because a small, size one needle is used, and there are many rows of 1×1 rib (knit one, purl one) this project can be a bit tedious, but it is just the thing for keeping hands busy. The completed hat is wonderfully wearable too.

two color ribbed watch cap knitting project
“Saffron” Yummy 2-ply by Miss Babs & “Turtle Haven” from Four Purls are the colors

All I needed was some fingering yarn – found easily in my stash. I chose orange and a variegated blue, both are fingering weight and Superwash merino. I’ve had these balls for a while.

Once again I did the Old Norwegian cast-on and not the involved tubular cast-on suggested in the pattern. I needed to get this project started because it was the day before my camping trip. I kept the cast on easy.

Making the Yarn Change Invisible

This time I am using two different yarn colors and changing color on each row. I am using the “yarn forward” (YouTube video), by Elizabeth Smith Knits. I learned this skein / color change hack when alternating skeins for the Arco Iris sweater. It is very simple to do and leaves no weird little squiggles when changing yarn – which is very important on this hat because it is knit on the wrong side and turned inside out when finished! This yarn change is invisible on both sides.

Photos below show both sides of the hat where I am changing yarns at the BOR marker.

Camping Knit

Our campsite was on an island, and our site was directly on the saltwater river. Here I am doing some early morning knitting at the waters edge. Coffee, water view and knitting. What could be better?

Knitting the watch cap
Knitting at the edge of the river.

I know this will be an ongoing project that may take a while to finish, which is fine. Using two colors makes the knitting a bit more fun. I’m thinking that two very similar colors would work well. Maybe next time!

My hat will end up looking like this one.

Slouchy hat knitting is done
Slouchy Watchcap in blue

Get the pattern: The Ribbed Watch Cap and Beanie


Please keep reading