Binding Off Troubles On The Simple Stripes Pullover

I had a little trouble while doing the tubular bind off on my newest sweater project.

The Simple Stripes sweater pattern is done is rows of color. A pattern like this is fun to knit, and a great way to use up leftover yarn. In my case, I decided to use some wool yarn that I wasn’t thrilled with.

All was going well while knitting this pattern. As I reached the bottom part of the body, I added a strip of colorwork. Then, for the hem I decided to do corrugated ribbing. The pattern calls for a folded hem that is sewn and I didn’t want to do that.

After the corrugated ribbing was finished, using Uradale’s dark blue and dark brown, I was not sure of the best way to bind off. I searched for suggestions and found nothing too helpful. I ended up doing a knit one, purl one row in blue only and then did an Italian style, sewn bind off, using the blue.

When sewing a tubular bind off, a long tail of yarn is needed. With wool, I don’t mind using a shorter piece of yarn because all wool I have worked with spit splices nicely!

As I got close to the end of the yarn, I did a spit splice to attach more blue yarn. It seemed okay, but as I knit along and got to the splice, it pulled right apart. This left me with a short piece of yarn that would not splice to itself.

Broken yarn while trying to bind off using Uradale yarn

I’ll tell you, I was a bit ticked off about this. I tried again to splice the yarn, with no luck. I looked up some other ways to attach yarn together, but most of them needed two longer ends. I only had about an inch. I have never un-done a bind off, so that was not an option.

I was so completely OVER this yarn. I went to my wool stash and found some Rauma in dark blue that nearly matches. I KNOW that Rauma will splice. I took the end apart, separating the plies and wrapped them around the Uradale piece. I did the split splice hoping it would hold. It seemed to stay attached. I marked the area with a stitch marker to keep an eye on it.

From there, I continued my tubular bind off without any further problems.

Sewn hem bind off on Simple Stripes sweater

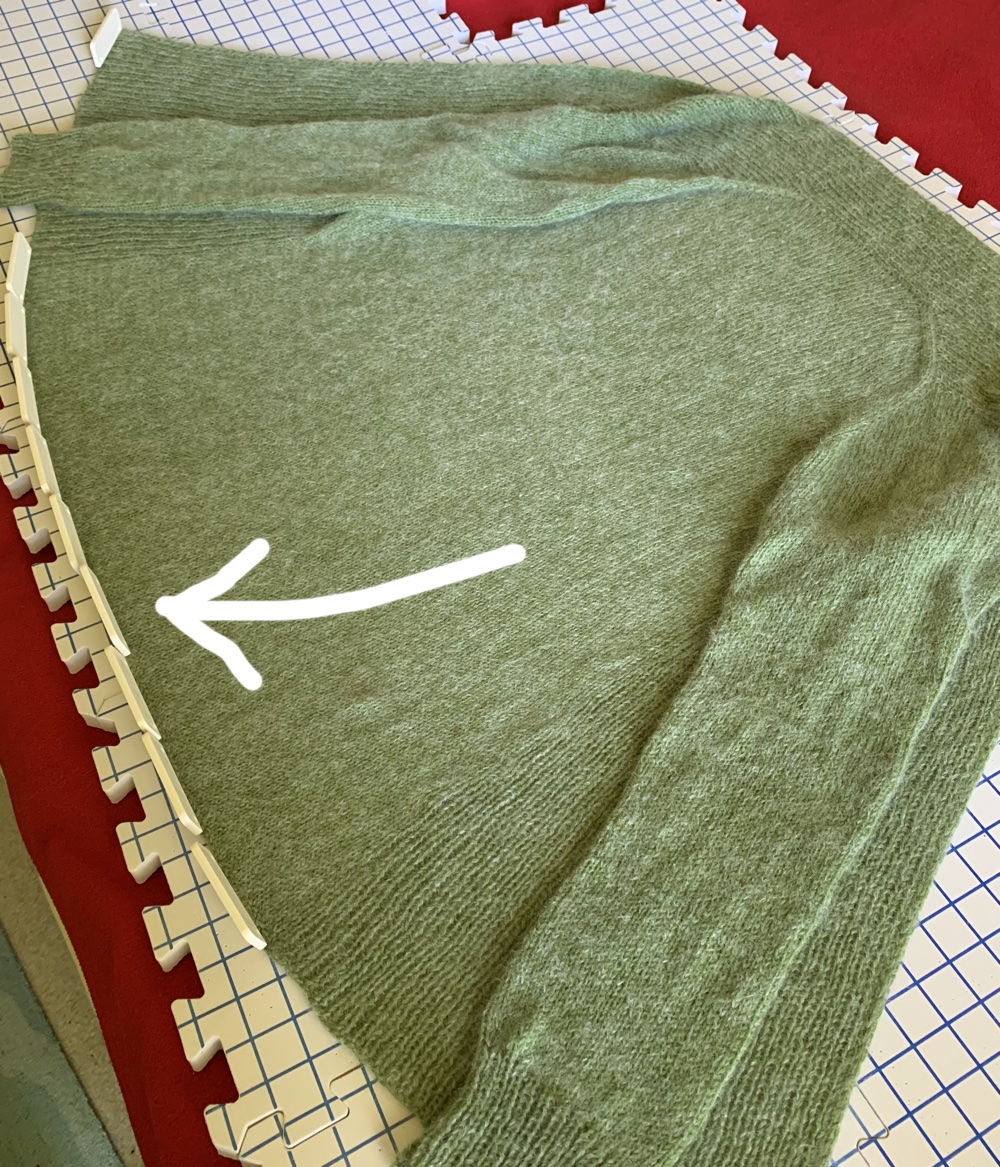
The body is finished, and I plan to use Magic Loop for the sleeves. I may add some colorwork to them as well. I will definitely not be using Uradale yarn for the cuffs and bind off.

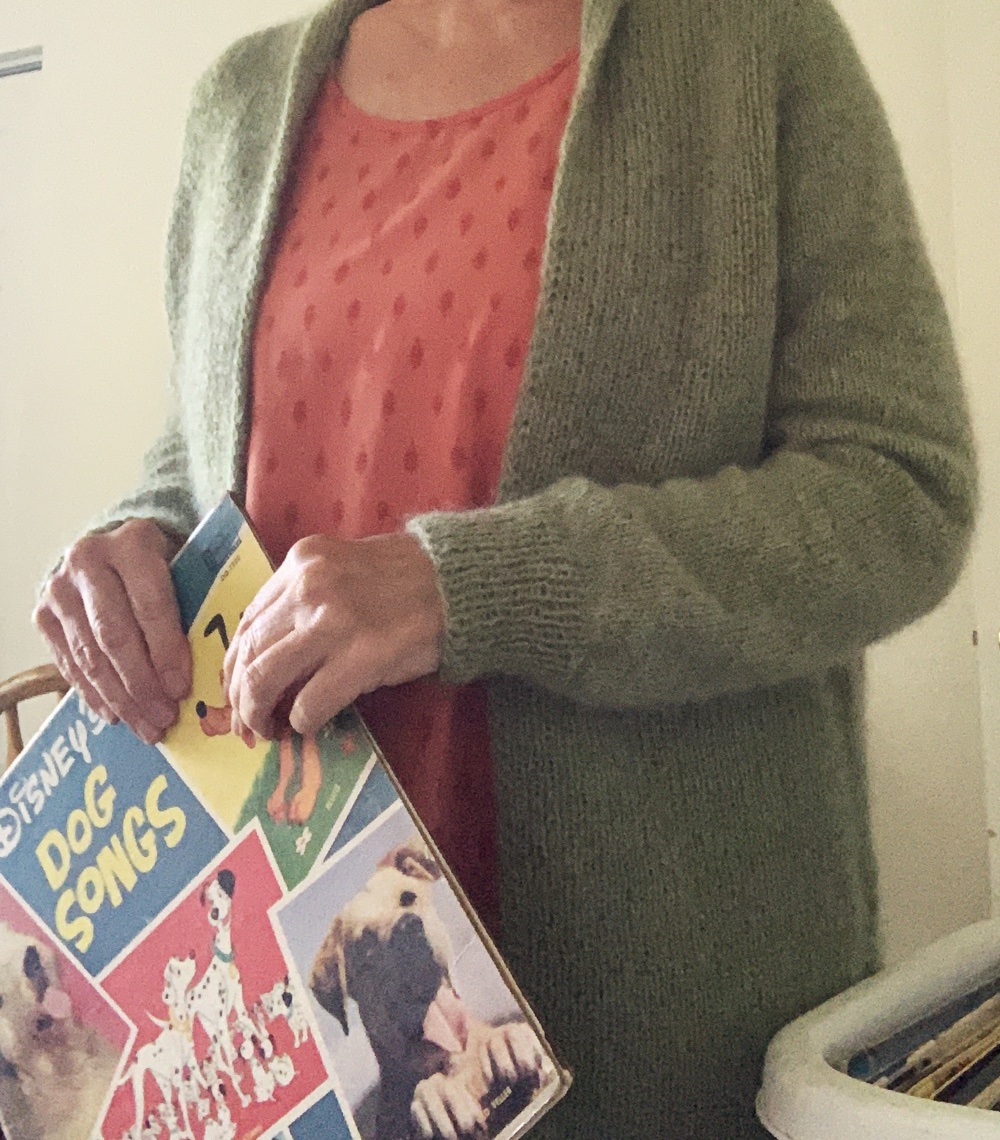
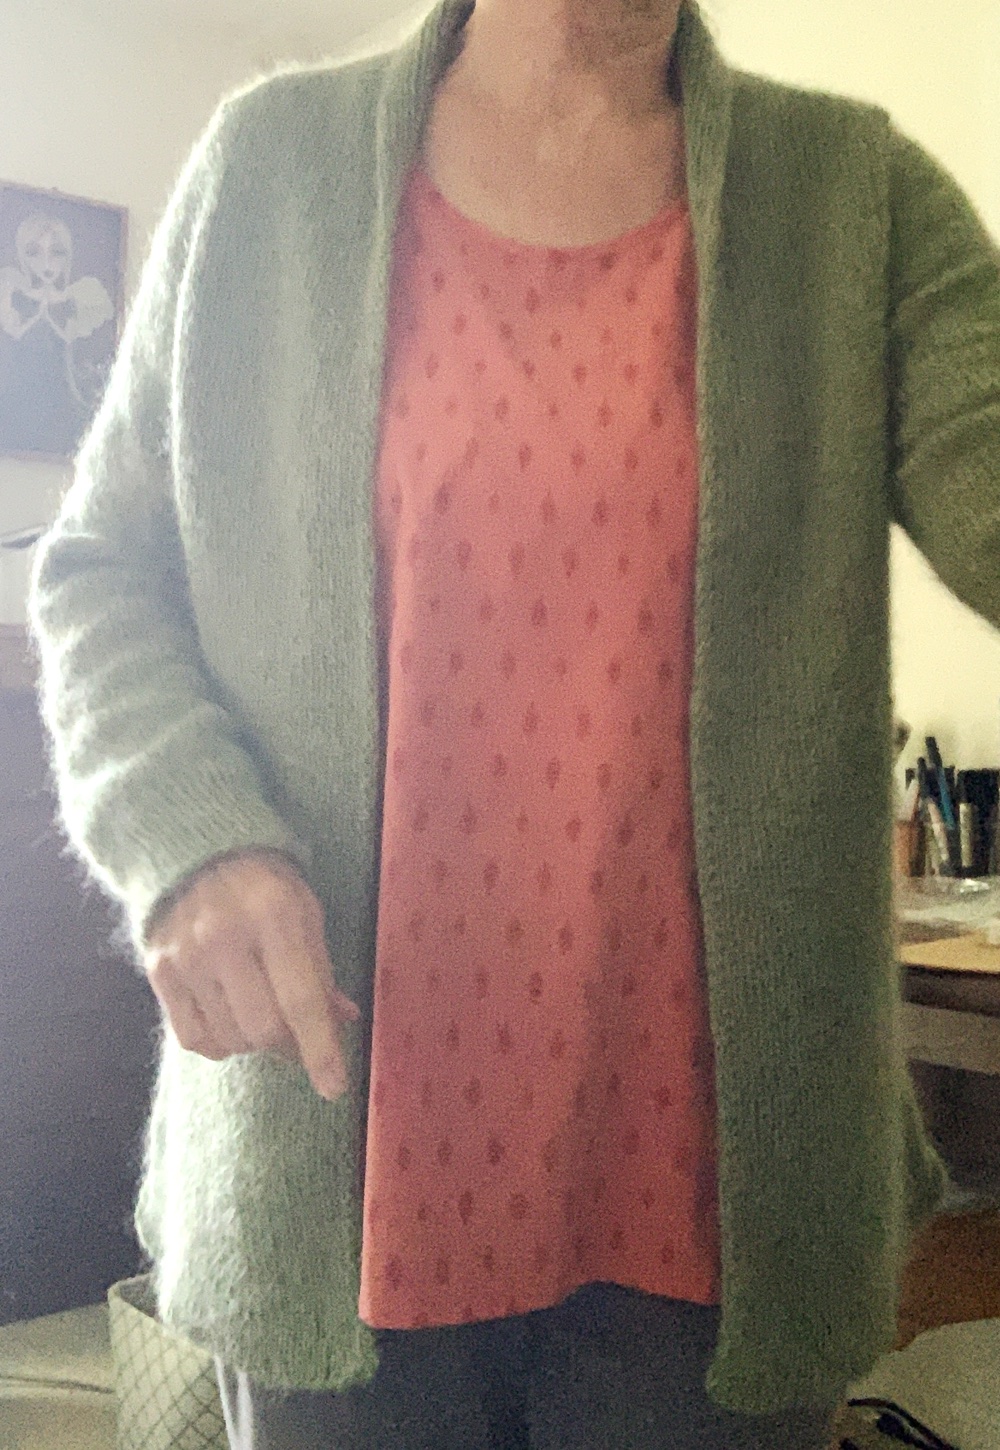
I did try on the sweater once everything was complete, and the fit is very good. As always, everything will look better when it’s washed and blocked.

I played yarn chicken with the green for the colorwork, and just made it! That olive green color was a bit of Tukuwool that was leftover from something long ago.

animals divider fox, mice, hamsters

What are you knitting? I’d love to know.

Something went wrong. Please refresh the page and/or try again.

Rebel Cardigan Completed and Here is The Review

The Rebel Cardigan pattern is a newer design by knitwear designer Ankestrick. While knitting the Rebel Cardigan, I closely followed the pattern. The only modifications made were on the sleeves, which I left a bit looser as I knit to the cuff. I also did not do a tubular bind off.

On this page:
  • Knitting Sleeves, my mod for the cuff decrease.
  • Knitting the body
  • Hip width increases
  • Binding off, hmmm?
  • Finished Photos
My Decrease Row For Sleeve Cuff Ribbing

I stopped doing decreases when the stitch count was 58. For my size (4), decreases were to continue to 48 stitches. I like some width to the sleeve in case I wear something long-sleeve underneath.

The ribbing for the cuff is done on 48 stitches for my sweater size. I needed to decrease, in one row, to get from 58 stitches to 48 before doing the 1×1 ribbing. Here’s how I knit that decrease row to end up with 48 stitches:

On the next round I began the ribbing. I had been using DPNs for the sleeve but changed to a 9 inch circular for the rib. I really don’t know which way I like less – haha.

Once both sleeves were finished, I put the body stitches back onto my longer needle. I then kept knitting until I ran out of yarn.

Knitting the Body

The body of the rebel cardigan is back and forth knitting, while creating a very nice edging down the front. Panels of 1×1 rib on each side, while stockinette makes up the back. I usually knit my sleeves first and then finish up the body with the remaining yarn.

Making Increases for Hips

I decided to do some hip area increasing, which is mentioned in the pattern. At about 10 inches (body length measured under arm) I began to follow the increase suggestion. This means doing increases at front and back after 14 rows, then increases for the back only at the next 14 row mark. At least, that is how I figured it.

Not Doing a Tubular Bind Off, But What Are the Choices?

This sweater pattern calls for a Tubular BO (bind off) which is done with a sewing needle and not knitting needles. I don’t mind doing this bind off on a small sleeve circumference, but don’t really like it for an entire body bind off. It entails pulling yarn – long enough to do the whole hem – with a needle. I’m not super familiar with it, and didn’t want to mess up my bind off.

Also, the 1×1 rib is on two edges (front sections) with regular stockinette between, so how would I manage that? I guess there are tubular bind-offs for stockinette, but I’m not sure.

Bind Off Options to Consider

So I searched and found a “sewn bind off” shown here by Brooklyn Tweed. I suppose this is how you do it. Tubular to the stockinette, then sewn, and back to tubular for the other side.

It would have been nice to have been given other bind-off options and suggestions in the pattern. And would it be possible to do the sewn / tubular bind off in sections? I don’t think so.

As it ended up I did a normal bind off in pattern (k1,p1) until I got to the stockinette section (the back). Then, I did an Icelandic bind off for the stockinette. This has caused the back section to curl.

Rebel Cardigan bind off with curling edge at stockinette section.

I’m using my blocking pins to hold down the stockinette hem. Now that it is mostly dry, the hem is flat (yay)! You can see, in my photo above, the shaping where the increases were made further down the body.

Like most people, I am naturally a bit bigger in the hips than the waist, so I recommend doing these increases for the longer version.

Knitting For Olive Yarn

I chose to knit the Rebel using two yarns held together. I had just finished up knitting the Field Sweater pullover and used the same types of yarn (Knitting for Olive). I am very happy with the outcome, and do love this yarn. The Mohair is not as fly-away as some others I’ve used.

The Knitting For Olive company is RAF certified, and that means they create their yarn in an “ethical and responsible” way.

Finished Knitting Sweater Photos

The washing and blocking to dry has not been done yet. See that little bump on my shoulder? That happened when picking up stitches, so be careful and take your time to make the seam look smooth.

Please keep reading!

Step by Step How to Do the I-Cord Bind Off

I had never done an I-cord bind off, but I’ve used the i-cord to make rope handles and long points or tassel holders on the end of hats.

I must say, this type of bind-off is quite nice. I used it recently when the Bay’s Edge Shawl called for binding off in this manner. As I neared the end of knitting on the Scrappy Bias Shawl, I wanted to do the same thing.

Directions for I-cord Bind Off

To begin binding off, first add three stitches to the needle, with right side of project facing, also called a “cast on” of 3 extra stitches. Wrap the yarn around your thumb and place it onto the needle (at the end of the work – or Left-hand needle). Do this three times to add 3 extra stitches at the end of the work.

*Begin the bind-off: Insert the Right Hand needle and knit 2 stitches. Now, slip the next stitch knit-wise (as if you were knitting) from the left needle to the right. There should be three stitches on the right hand needle (see below).

Next…Knit one, and pass that slipped stitch back over the knit stitch. This is the bind-off stitch so it drops. (See the video below for more help). This leaves 3 stitches on the Right needle. Slide those 3 stitches back onto the left needle.

And begin again from *: K2, Slip 1, PSSO and slide 3 stitches back to L needle.

Once you get to the end, there will be 3 stitches left. Either bind them off in the regular way, or pull the yarn tail through all three.

Steps to do the i-cord bind off
i-cord bind off
How to do the i-cord bind off

Binding-off this way takes longer, but the finished edge is more rounded and substantial than a regular knit bind-off. See it below in my photo.

Finished i-cord bind off edging.
Rounded edge using the i-cord bind off

Very Pink Knits shows all these steps on the video here. She does go a bit fast, but once you learn the steps, the bind-off will progress quickly.

If you are interested in creating an i-cord edging while you knit, I have a page that explains that as well. It leaves a nice edge up the side of an item, such as a scarf, dishcloth or other flat knit project.


Keep Reading About Knitting