The Chunky Turtleneck Sweater in Alafosslopi

Knitting a bulky pullover using Alafosslopi wool and pulling directions from two different patterns.

This page is all about how I combined notes from two different patterns to create a chunky, turtleneck sweater. Jumping into a knitting project without one simple pattern to follow has expanded my knitting proficiency. I tried some new things here, some of which worked well, and others that did not. I was happy to have had this learning experience, while making a new lovely sweater.

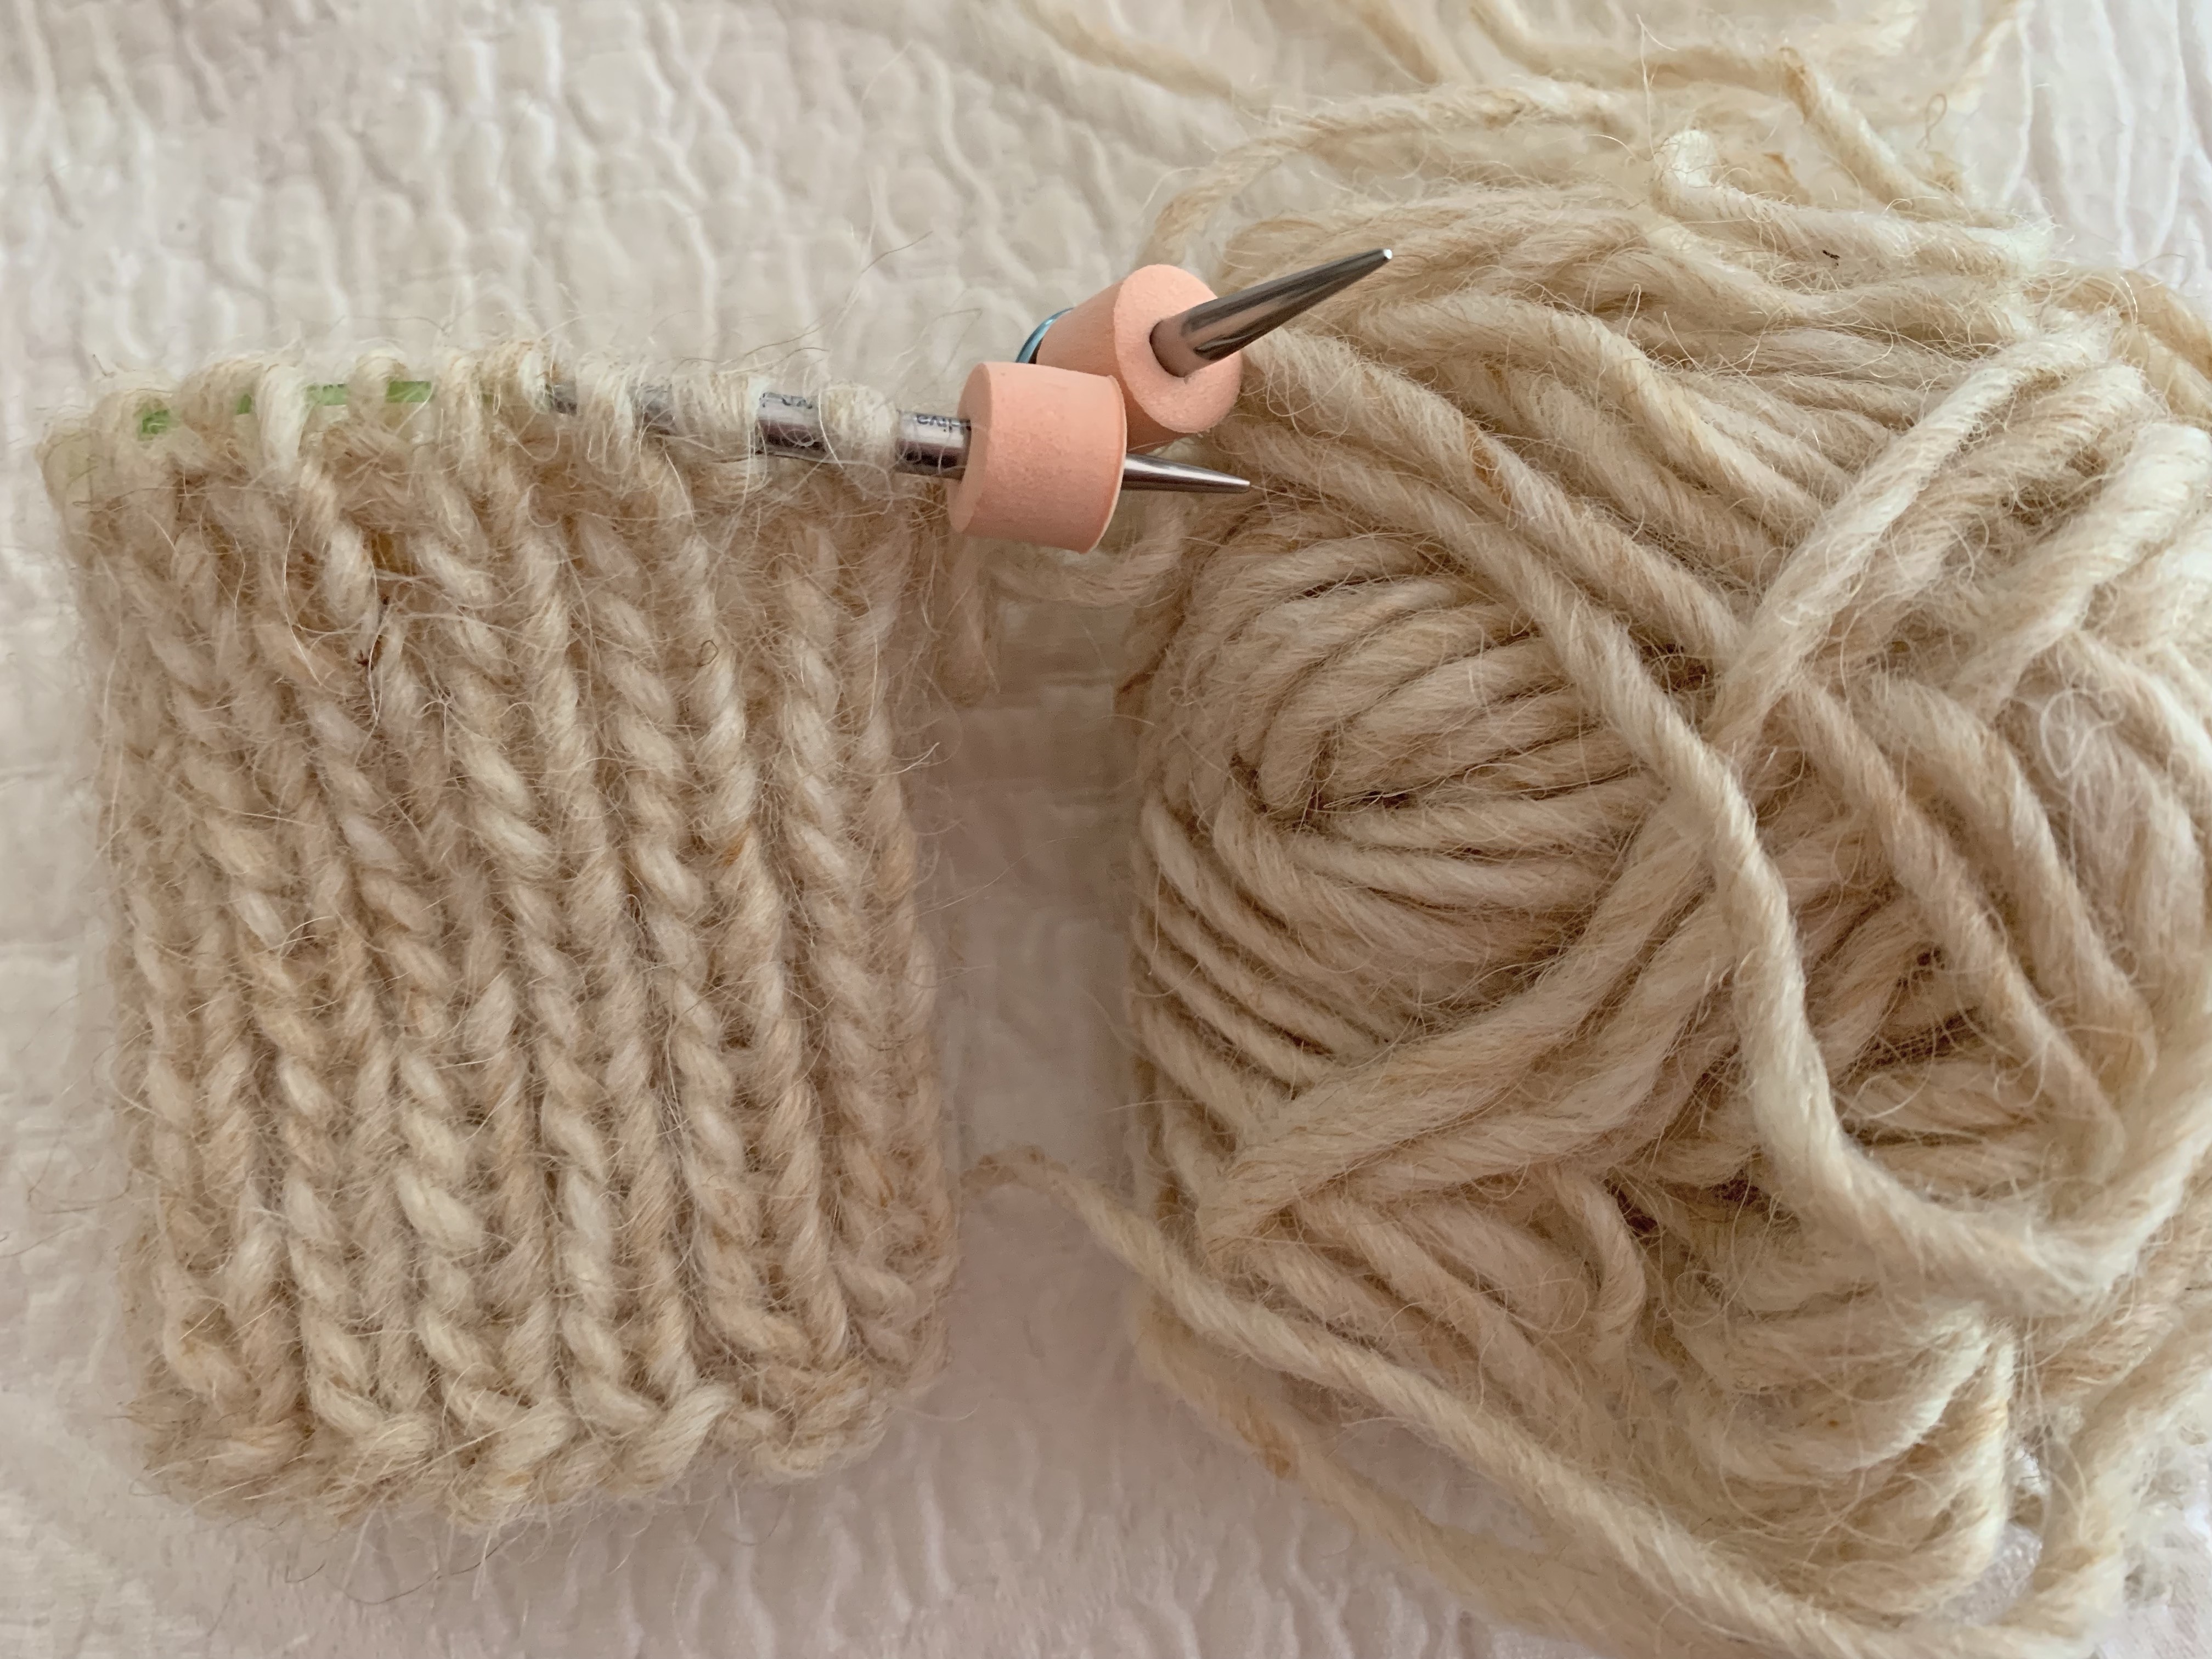
I’m continuing on in my quest to find patterns to help use up stash yarn. Although I did use quite a lot of my Alafosslopi when knitting the Carbeth Cardigan, I still have quite a bit leftover. It would be perfect to use for a chunky turtleneck.

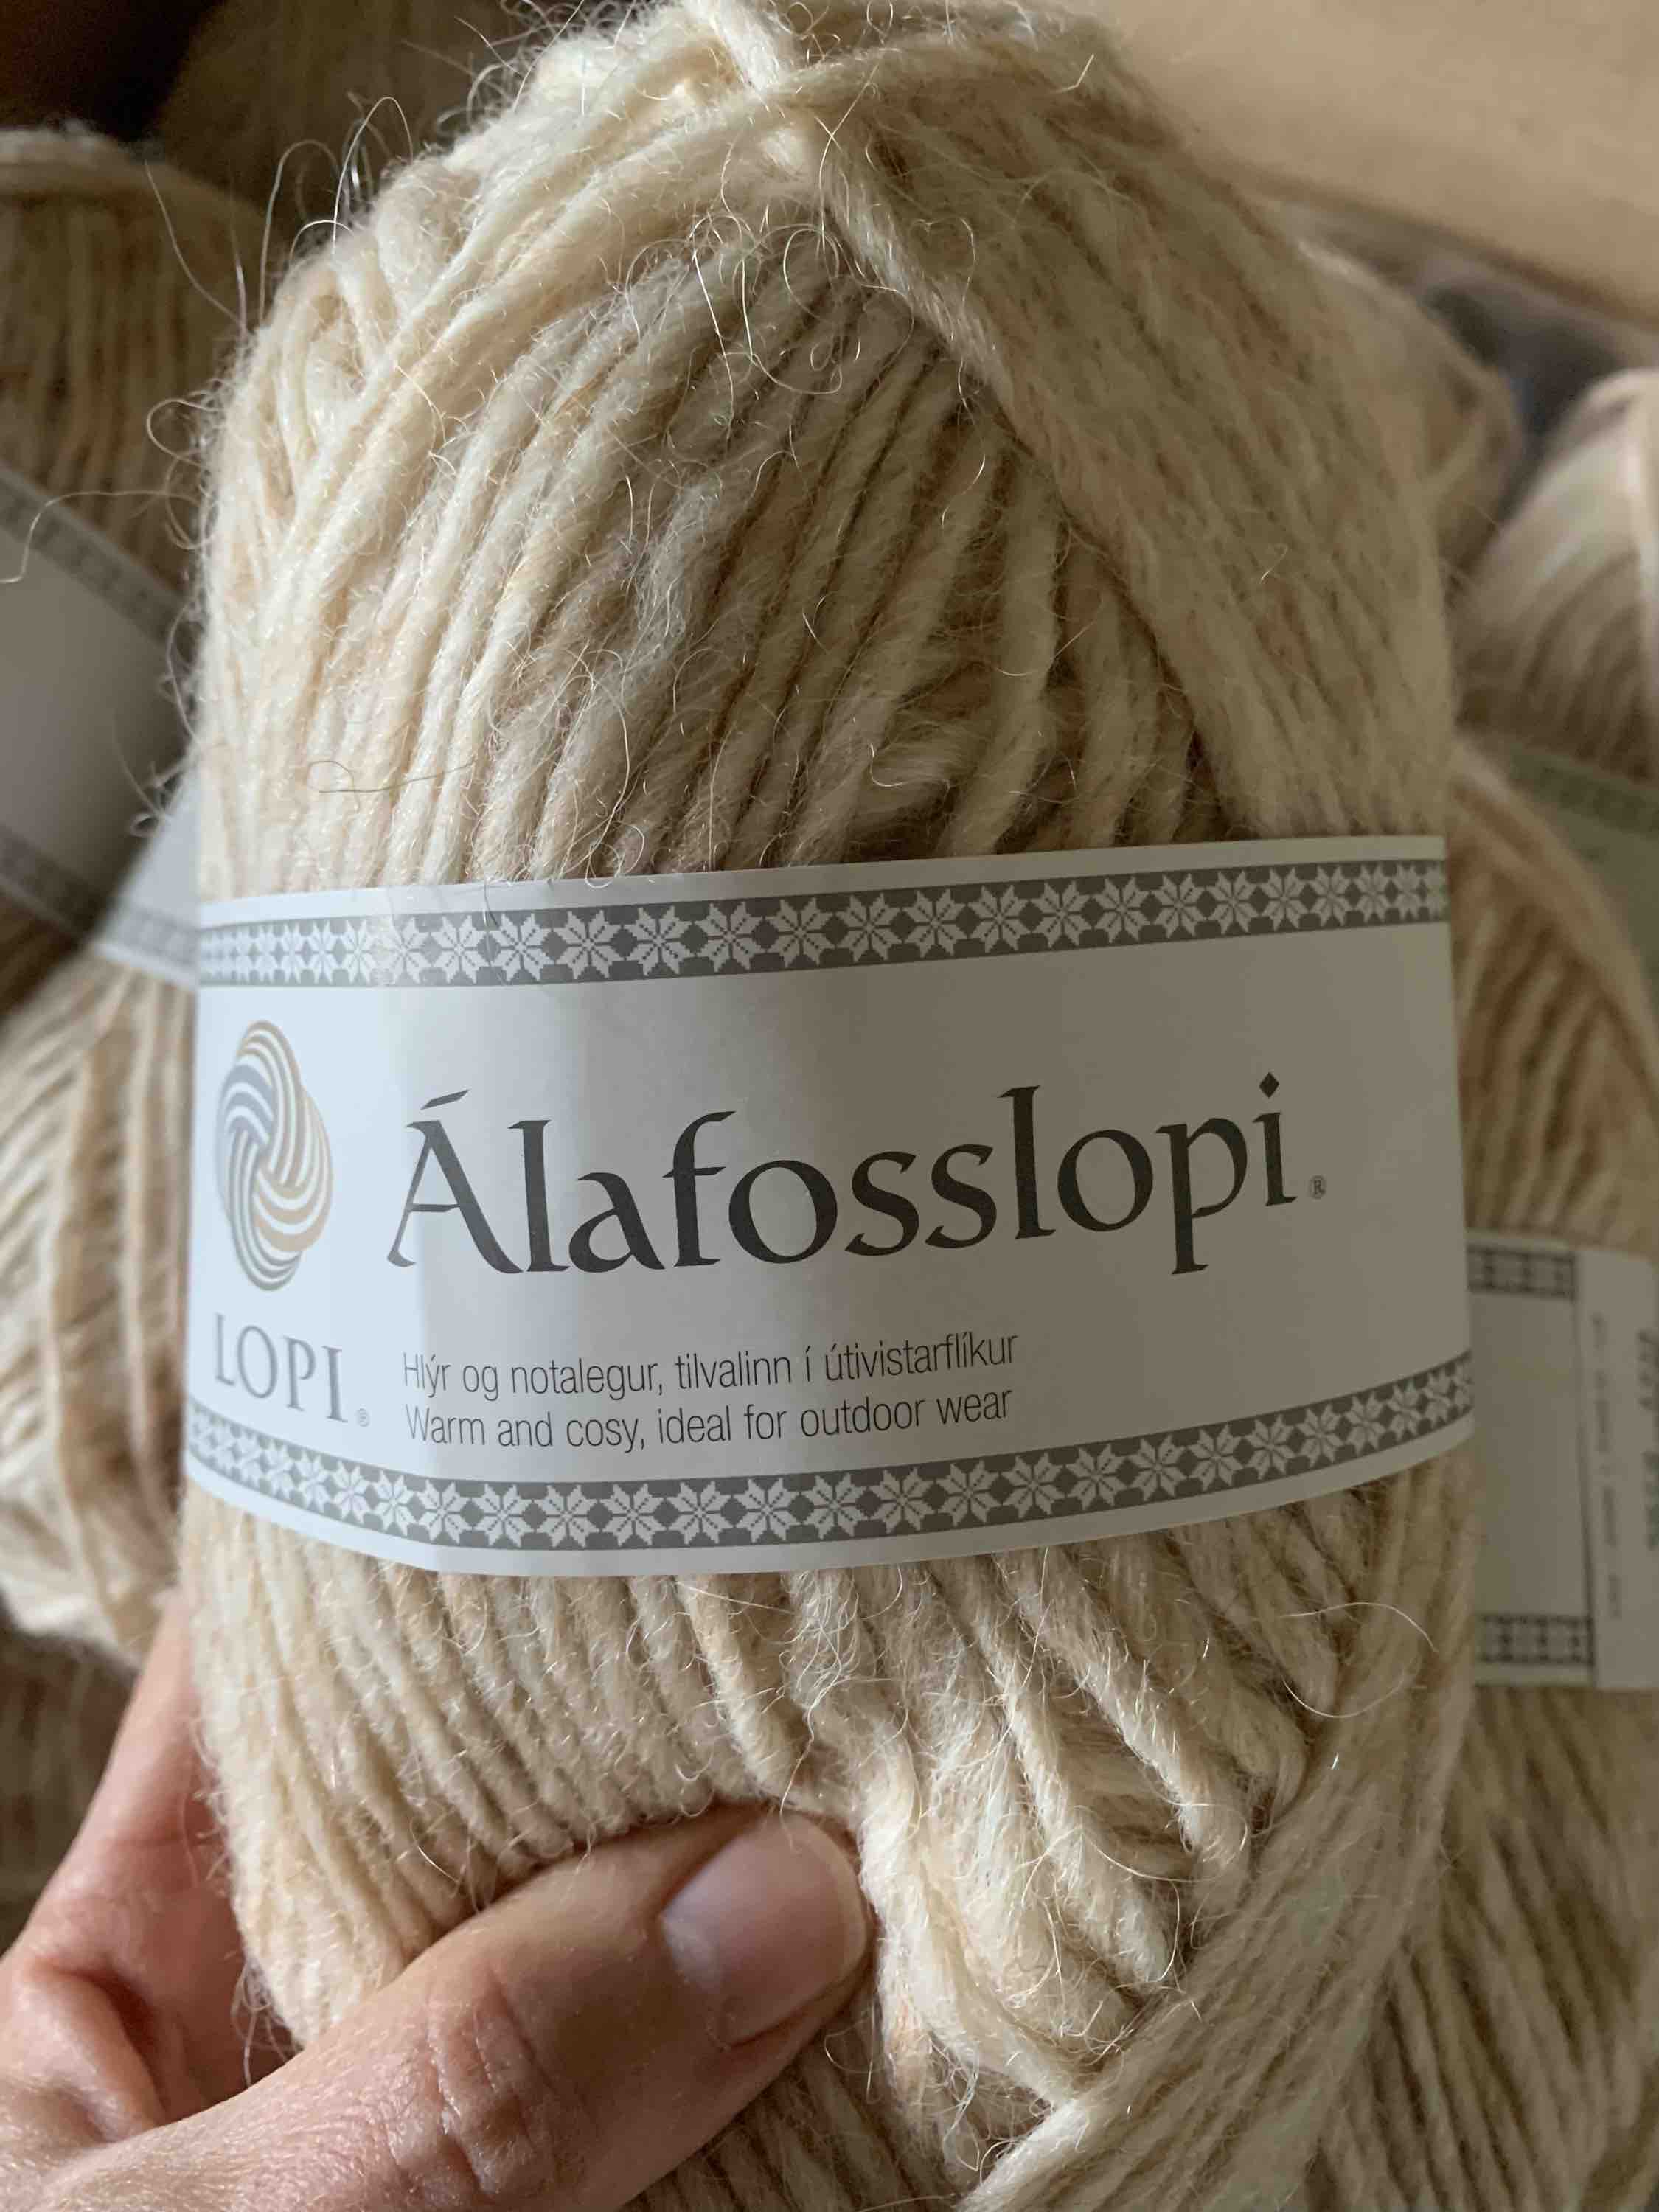
In my search for a pattern on Ravelry, I found the VENLIG pattern, which is knit with Woolfolk’s newer yarn called Flette Bulky. I love the look, but thought maybe I could also use the pattern and knit it with my Alafosslopi.

My gauge with the Lopi was off for the Venlig pattern, so I had to make adjustments (which I should have done from the very beginning) – see my notes further down. Venlig’s pattern directions for short rows and raglan increases were needlessly difficult. Because of this, I gave up, frogged, and began over with a pattern I knew was easy to follow.

Starting Over With The “Turtle Dove” Pattern

The Turtle Dove pattern is free, from Espace Tricot, and I have already knit it using bulky yarn.

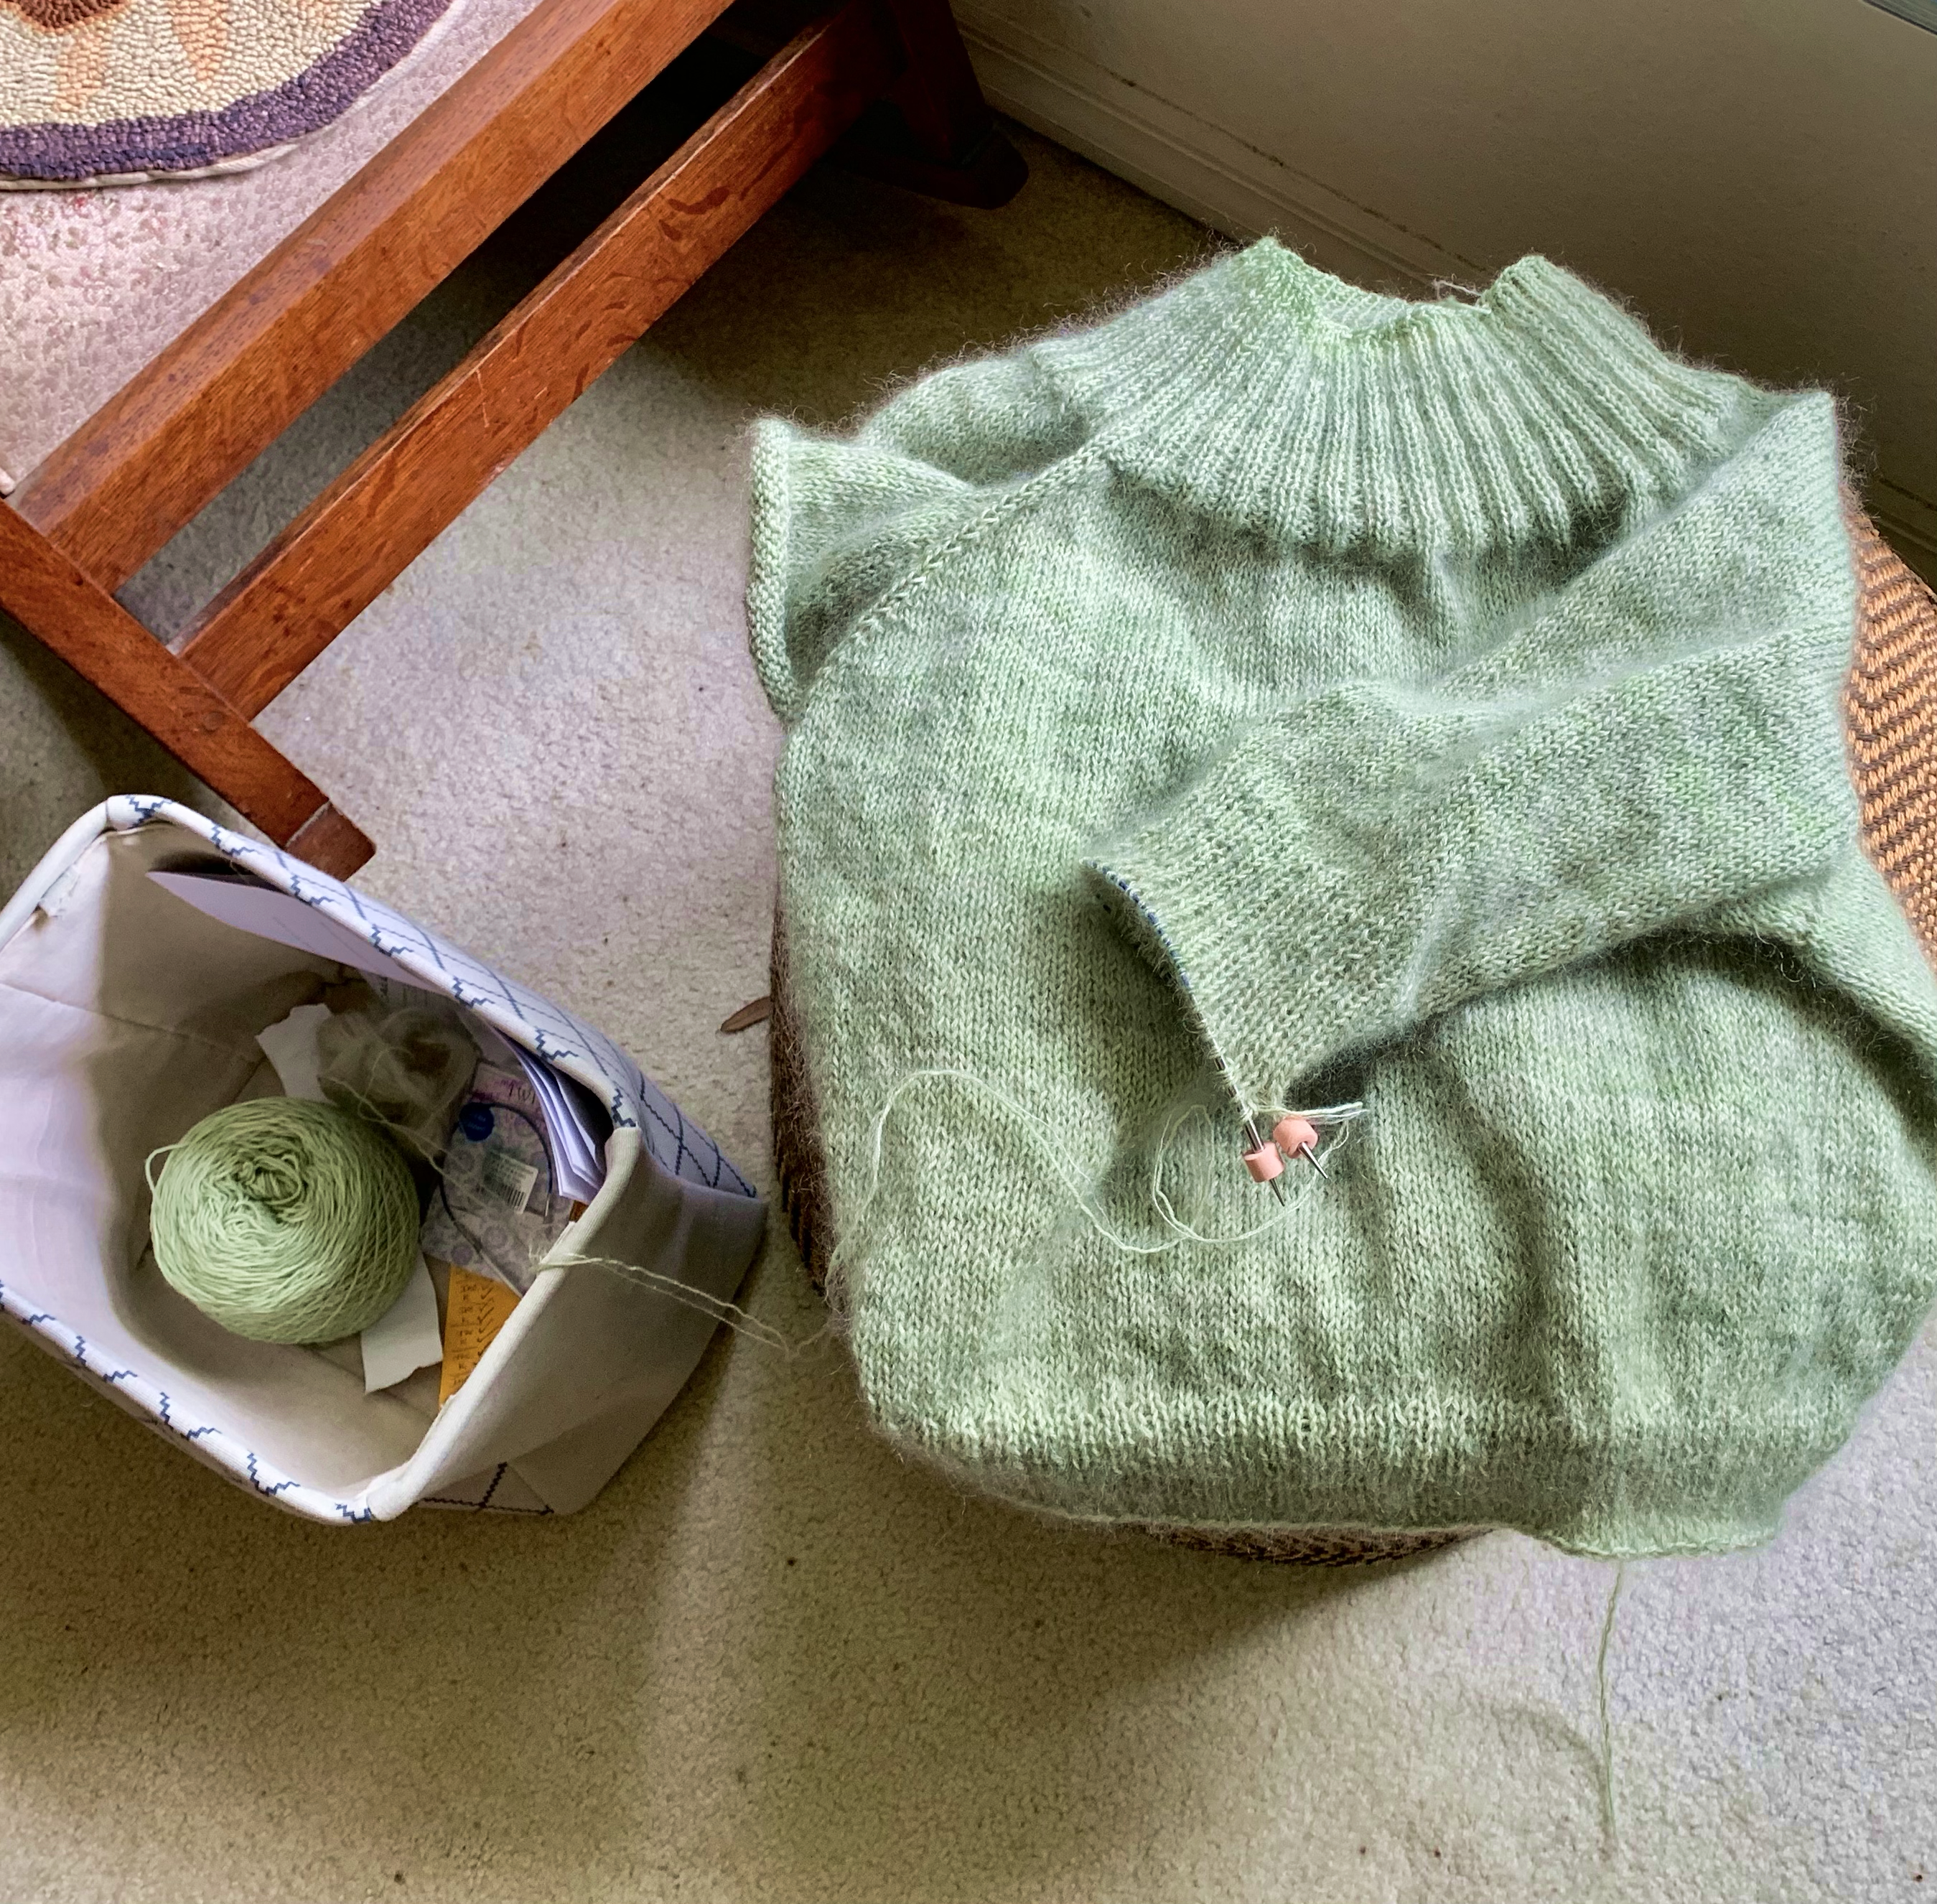
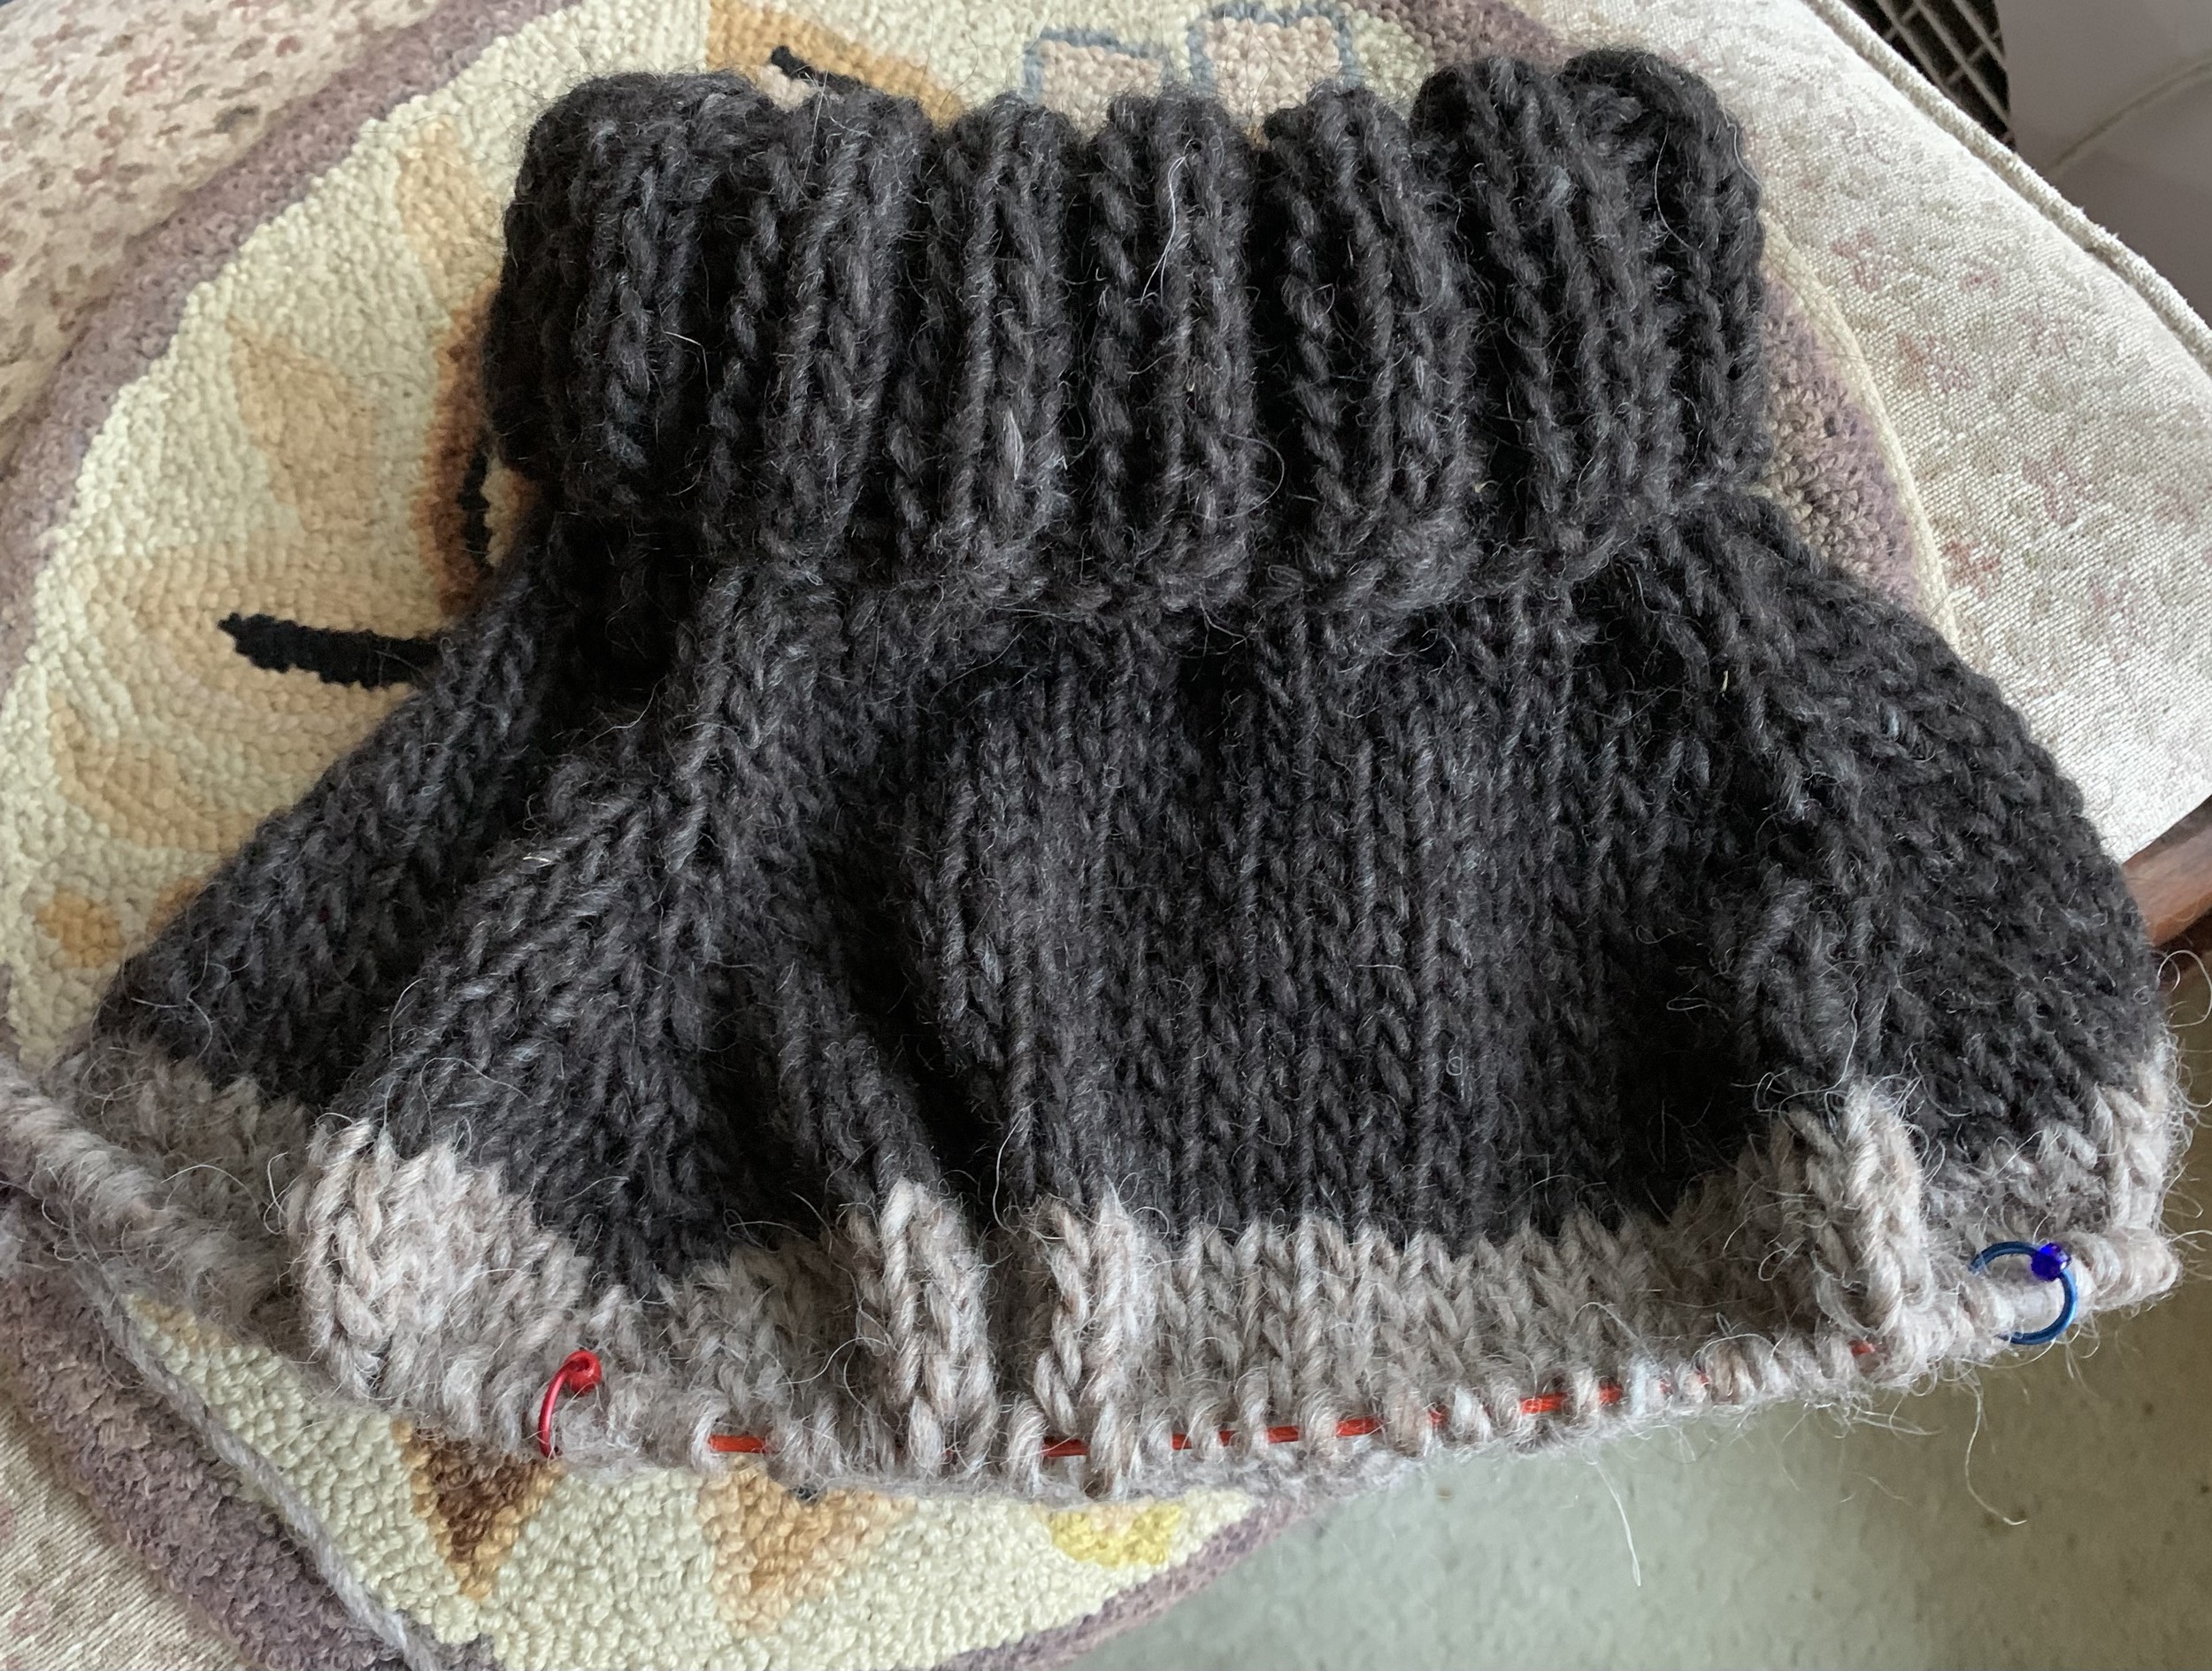
I am using a size 11 needle. My cast on number was 60 and I did six inches of 2×2 ribbing for a rolled neck. After that, I followed the short rows section on Turtle Dove, which are done before any increase stitches. This is much simpler to follow than the Venlig.

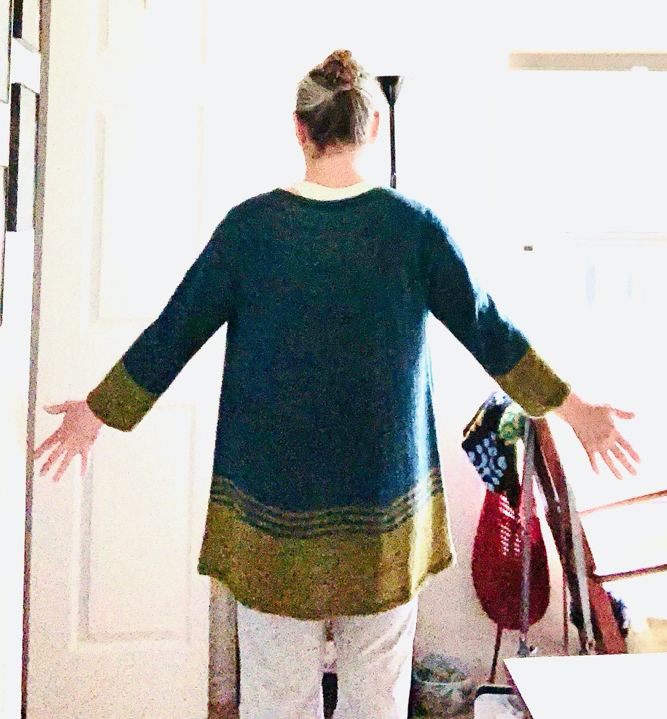
The Turtle Dove pattern knits up with big, wide, bat-wing type sleeves, which I do not want. You can see my finished original Turtle Dove sweater on this page. It came out huge – probably because I knit it long ago and didn’t check my gauge!

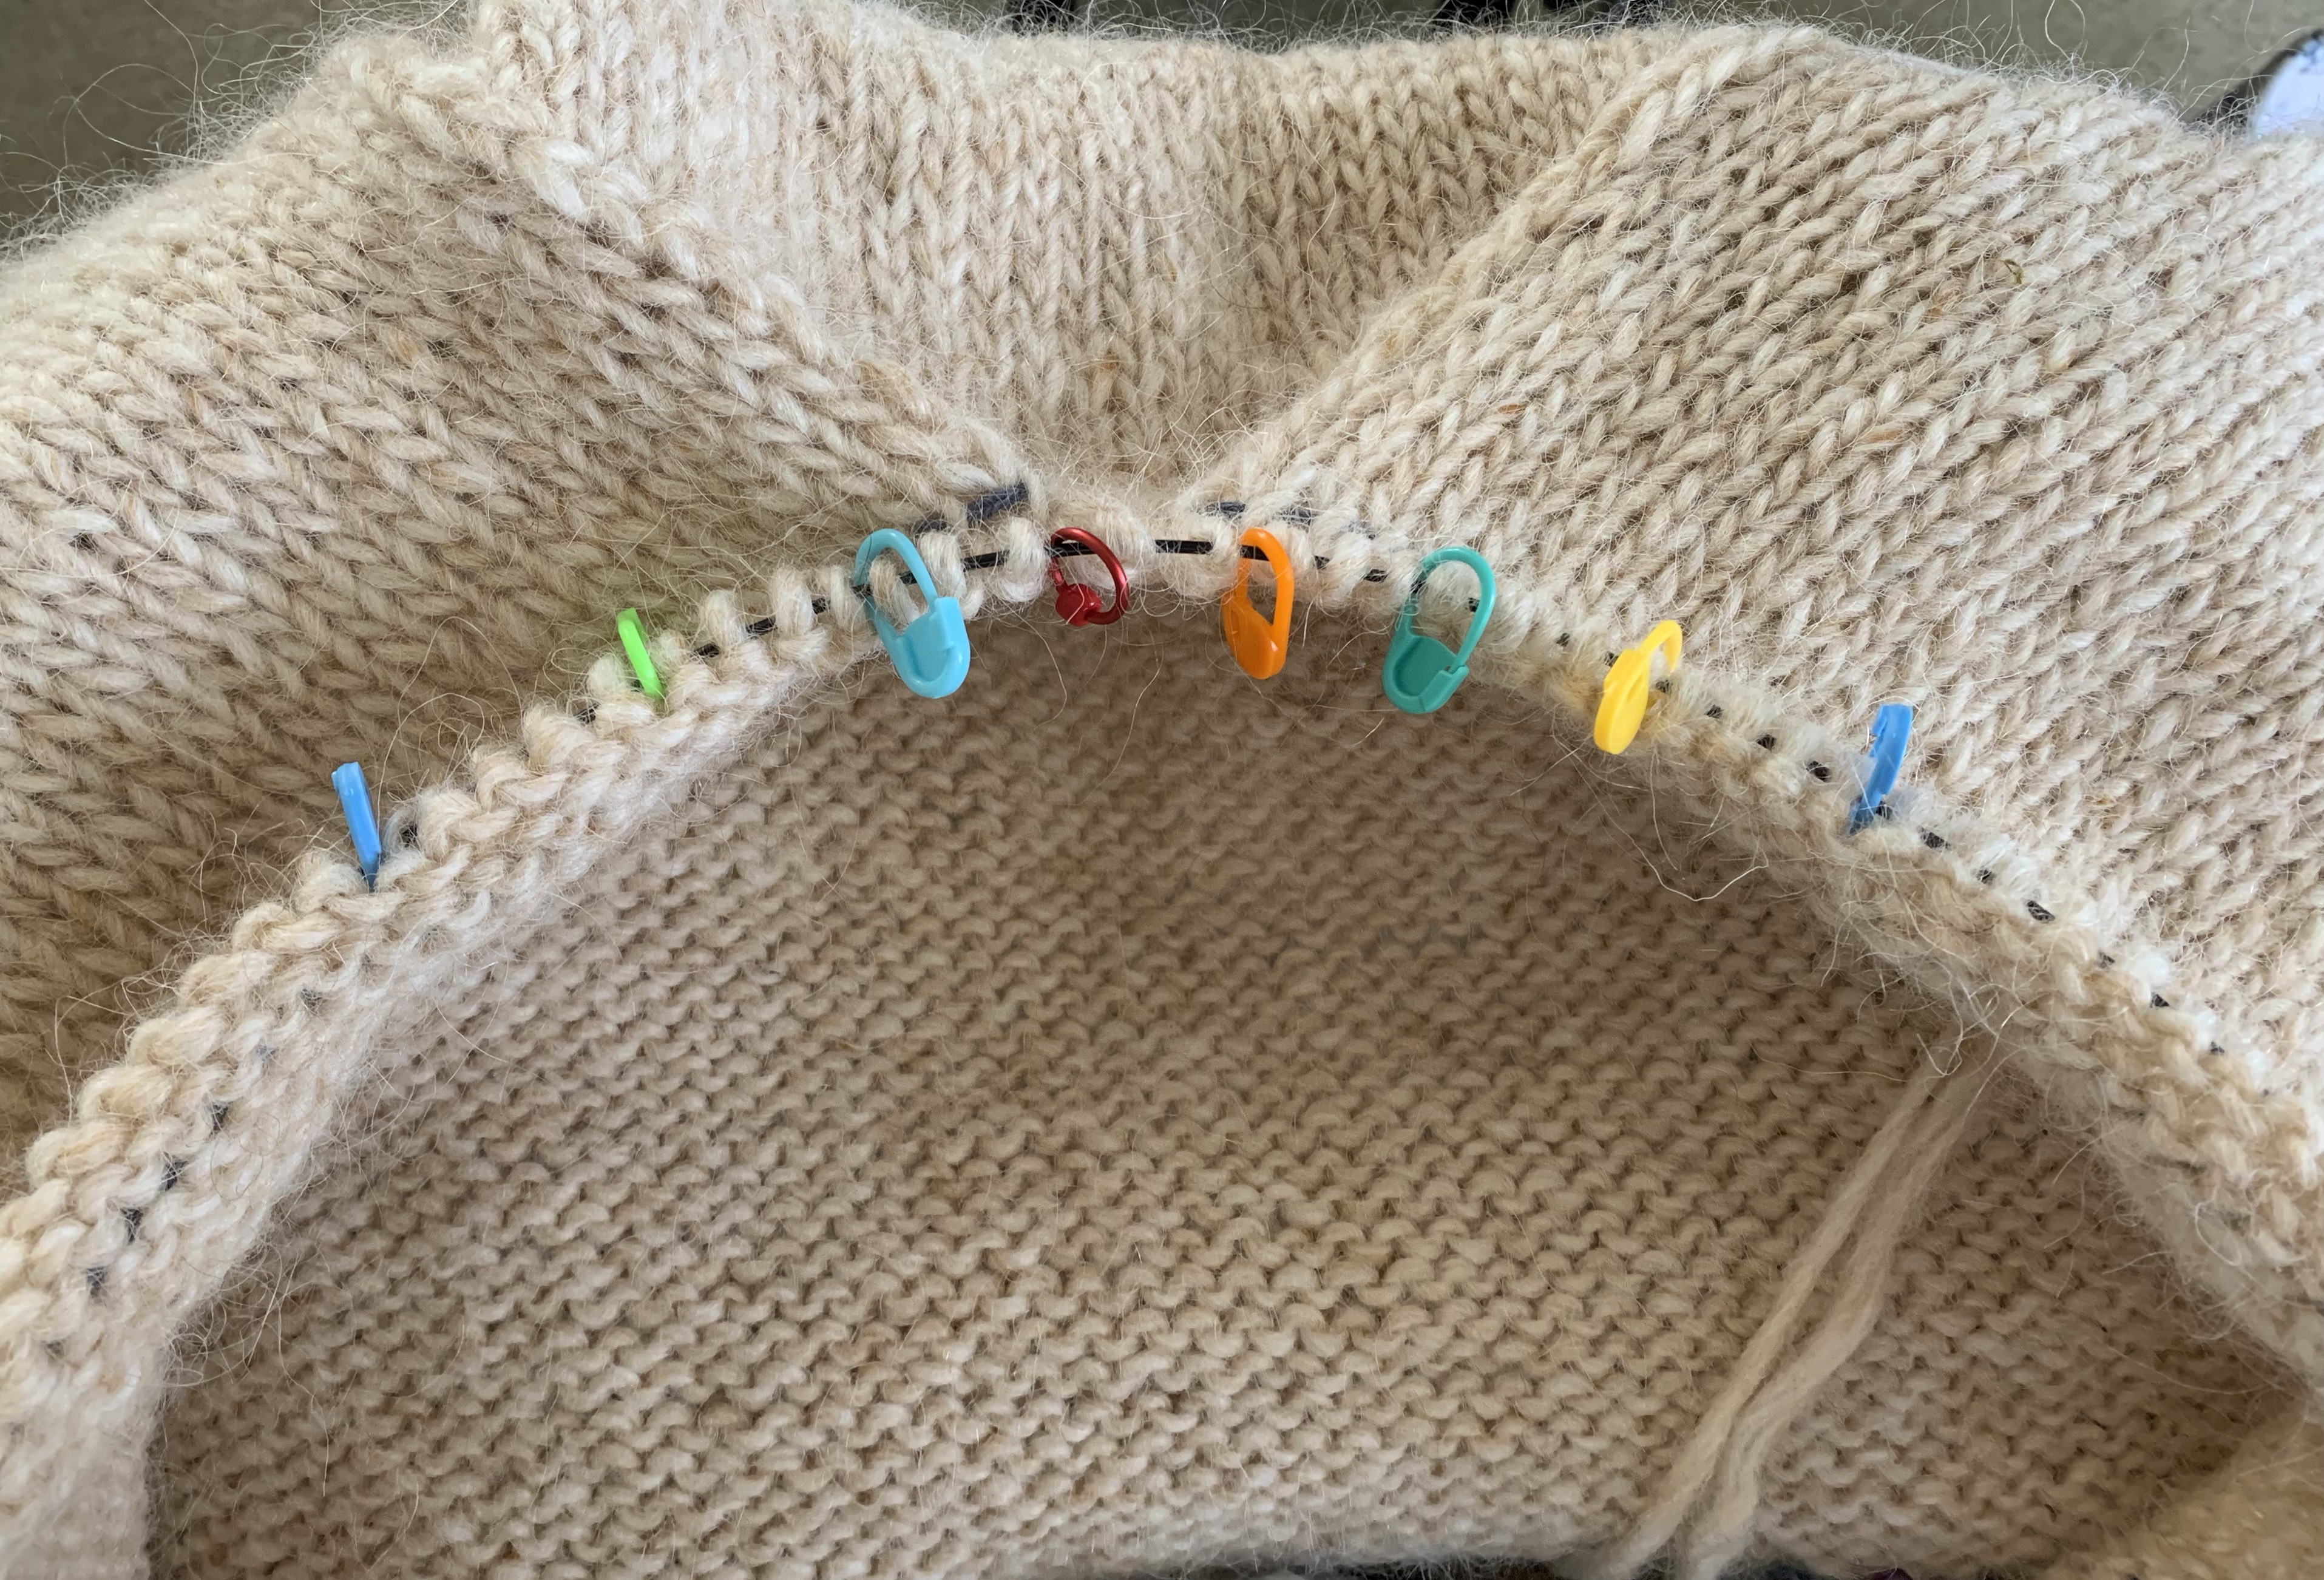
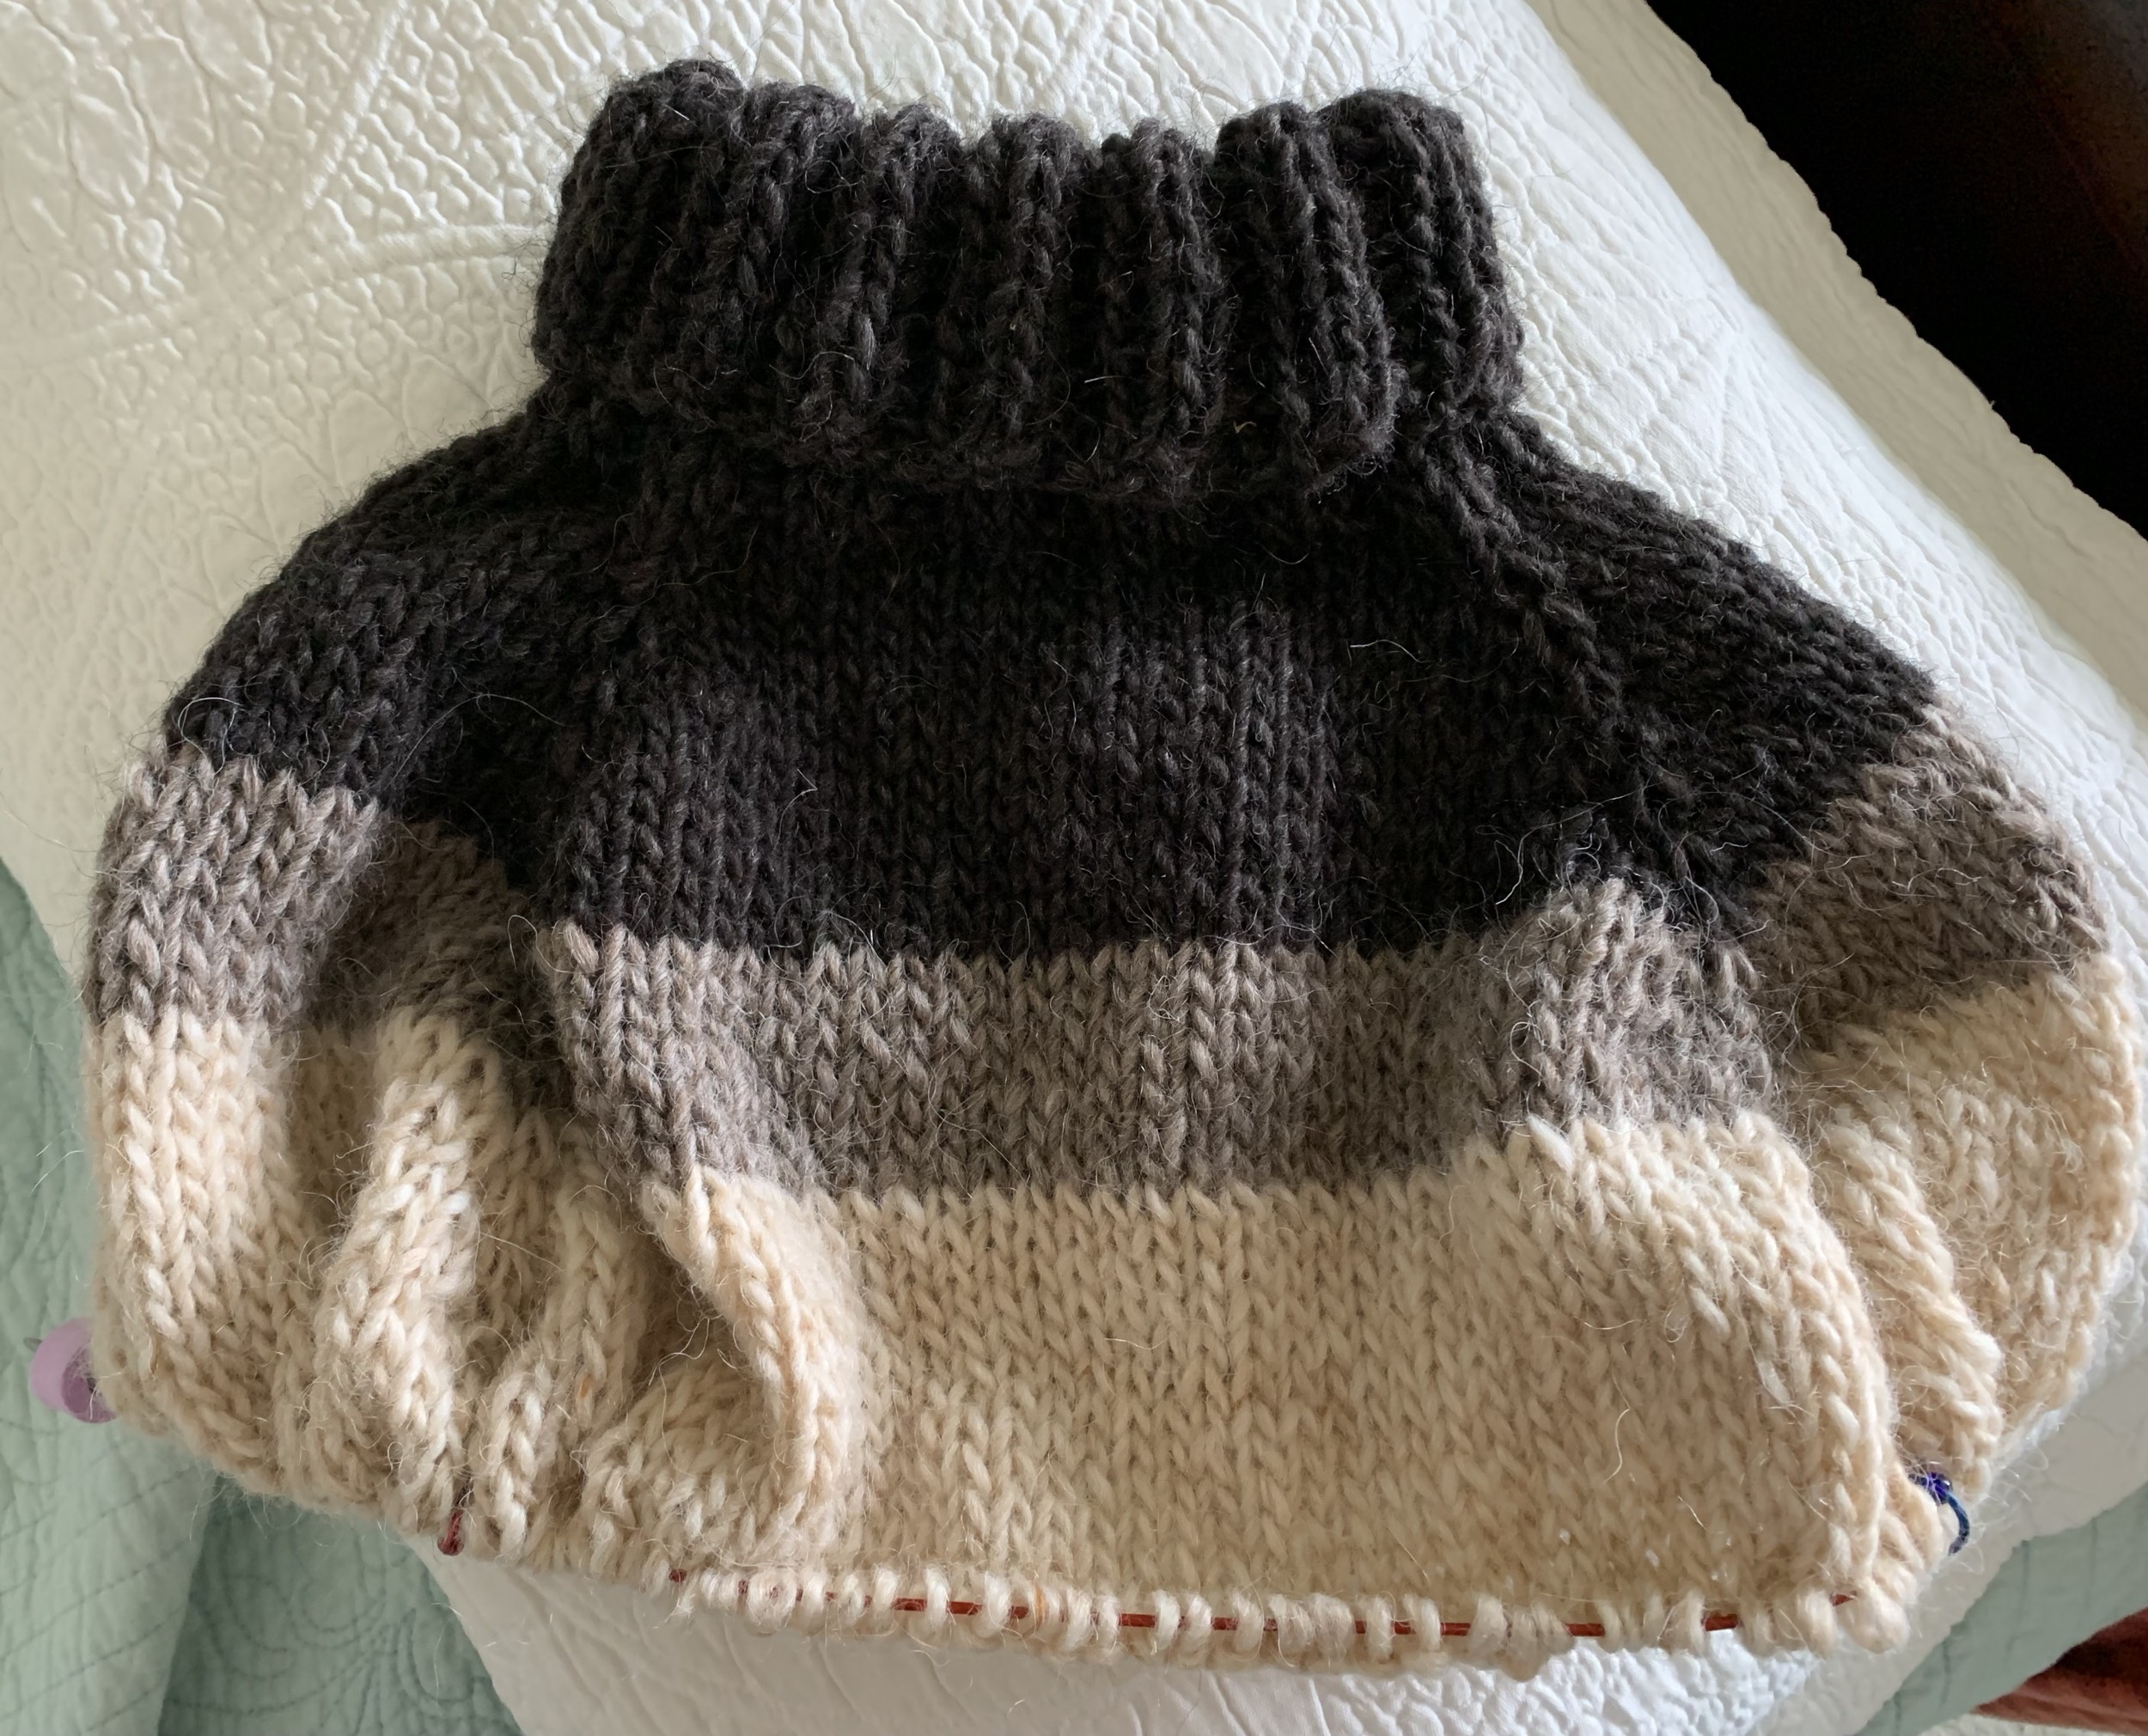
So, when it came time to knit the raglan increases, I went back to follow VENLIG.

When my body, back and sleeve stitches match up with the number in the Venlig pattern, I will continue and separate for the body and sleeves as VENLIG says.

Fixing Gauge Problems

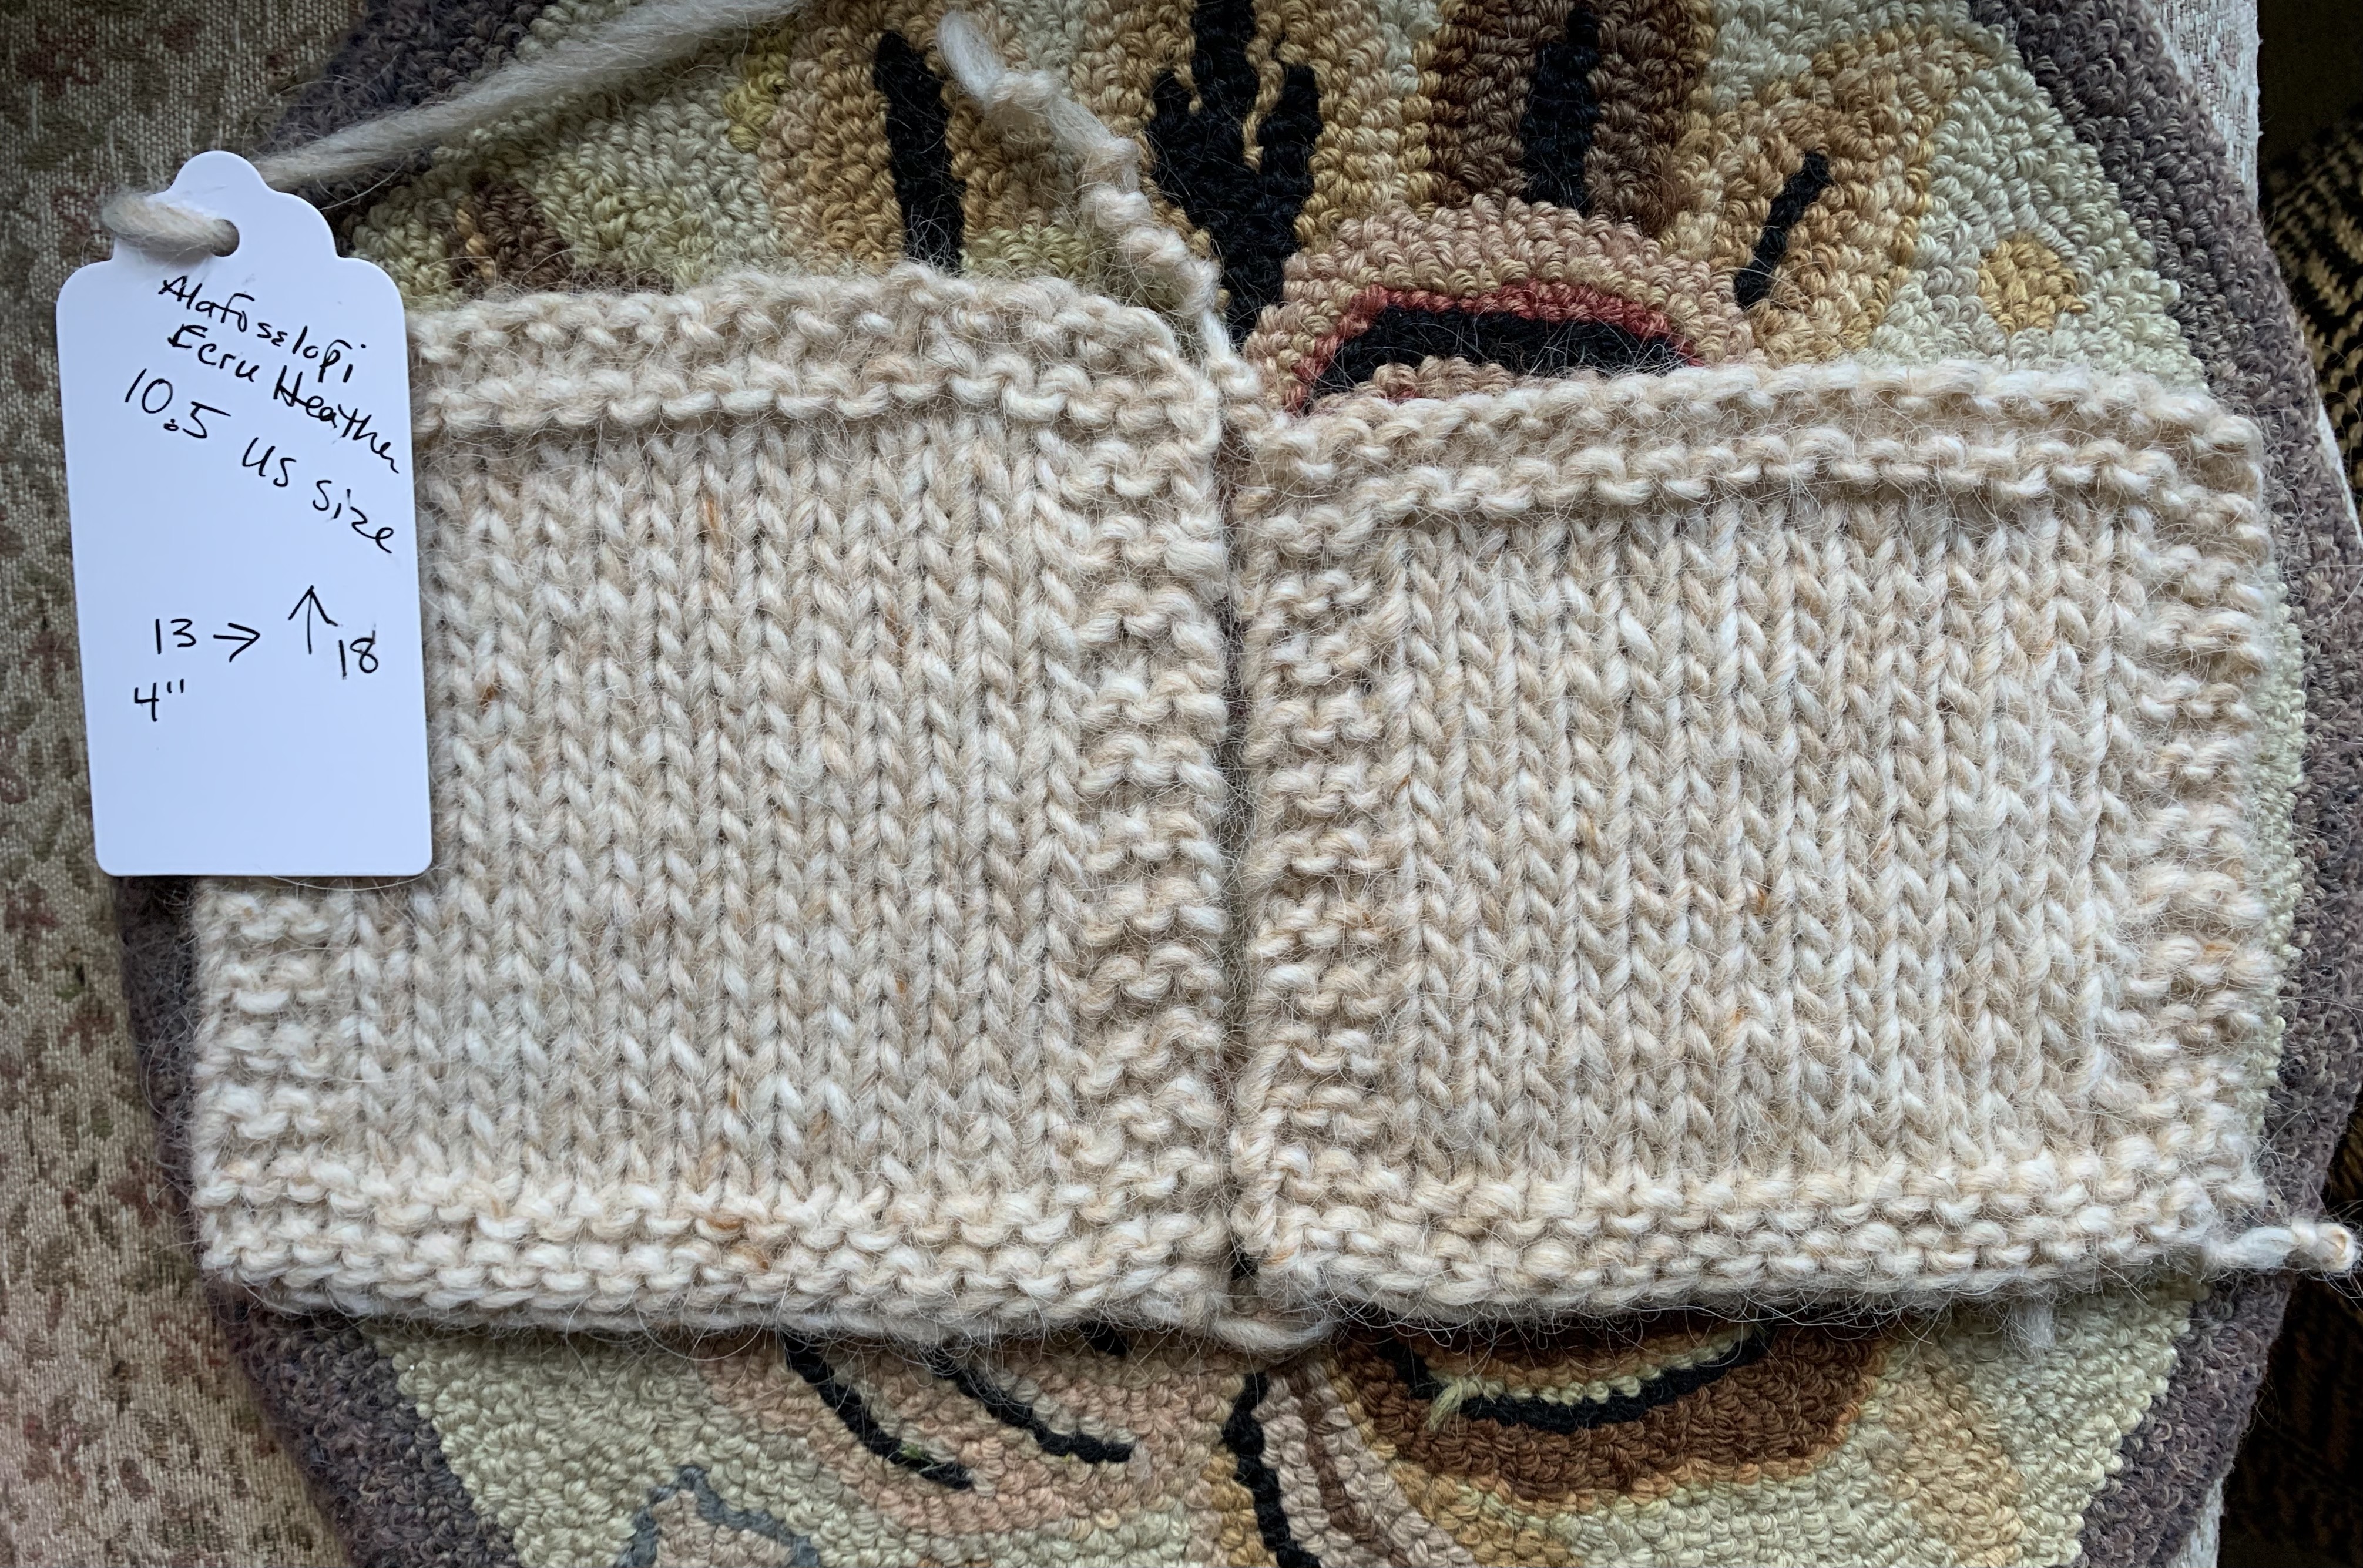
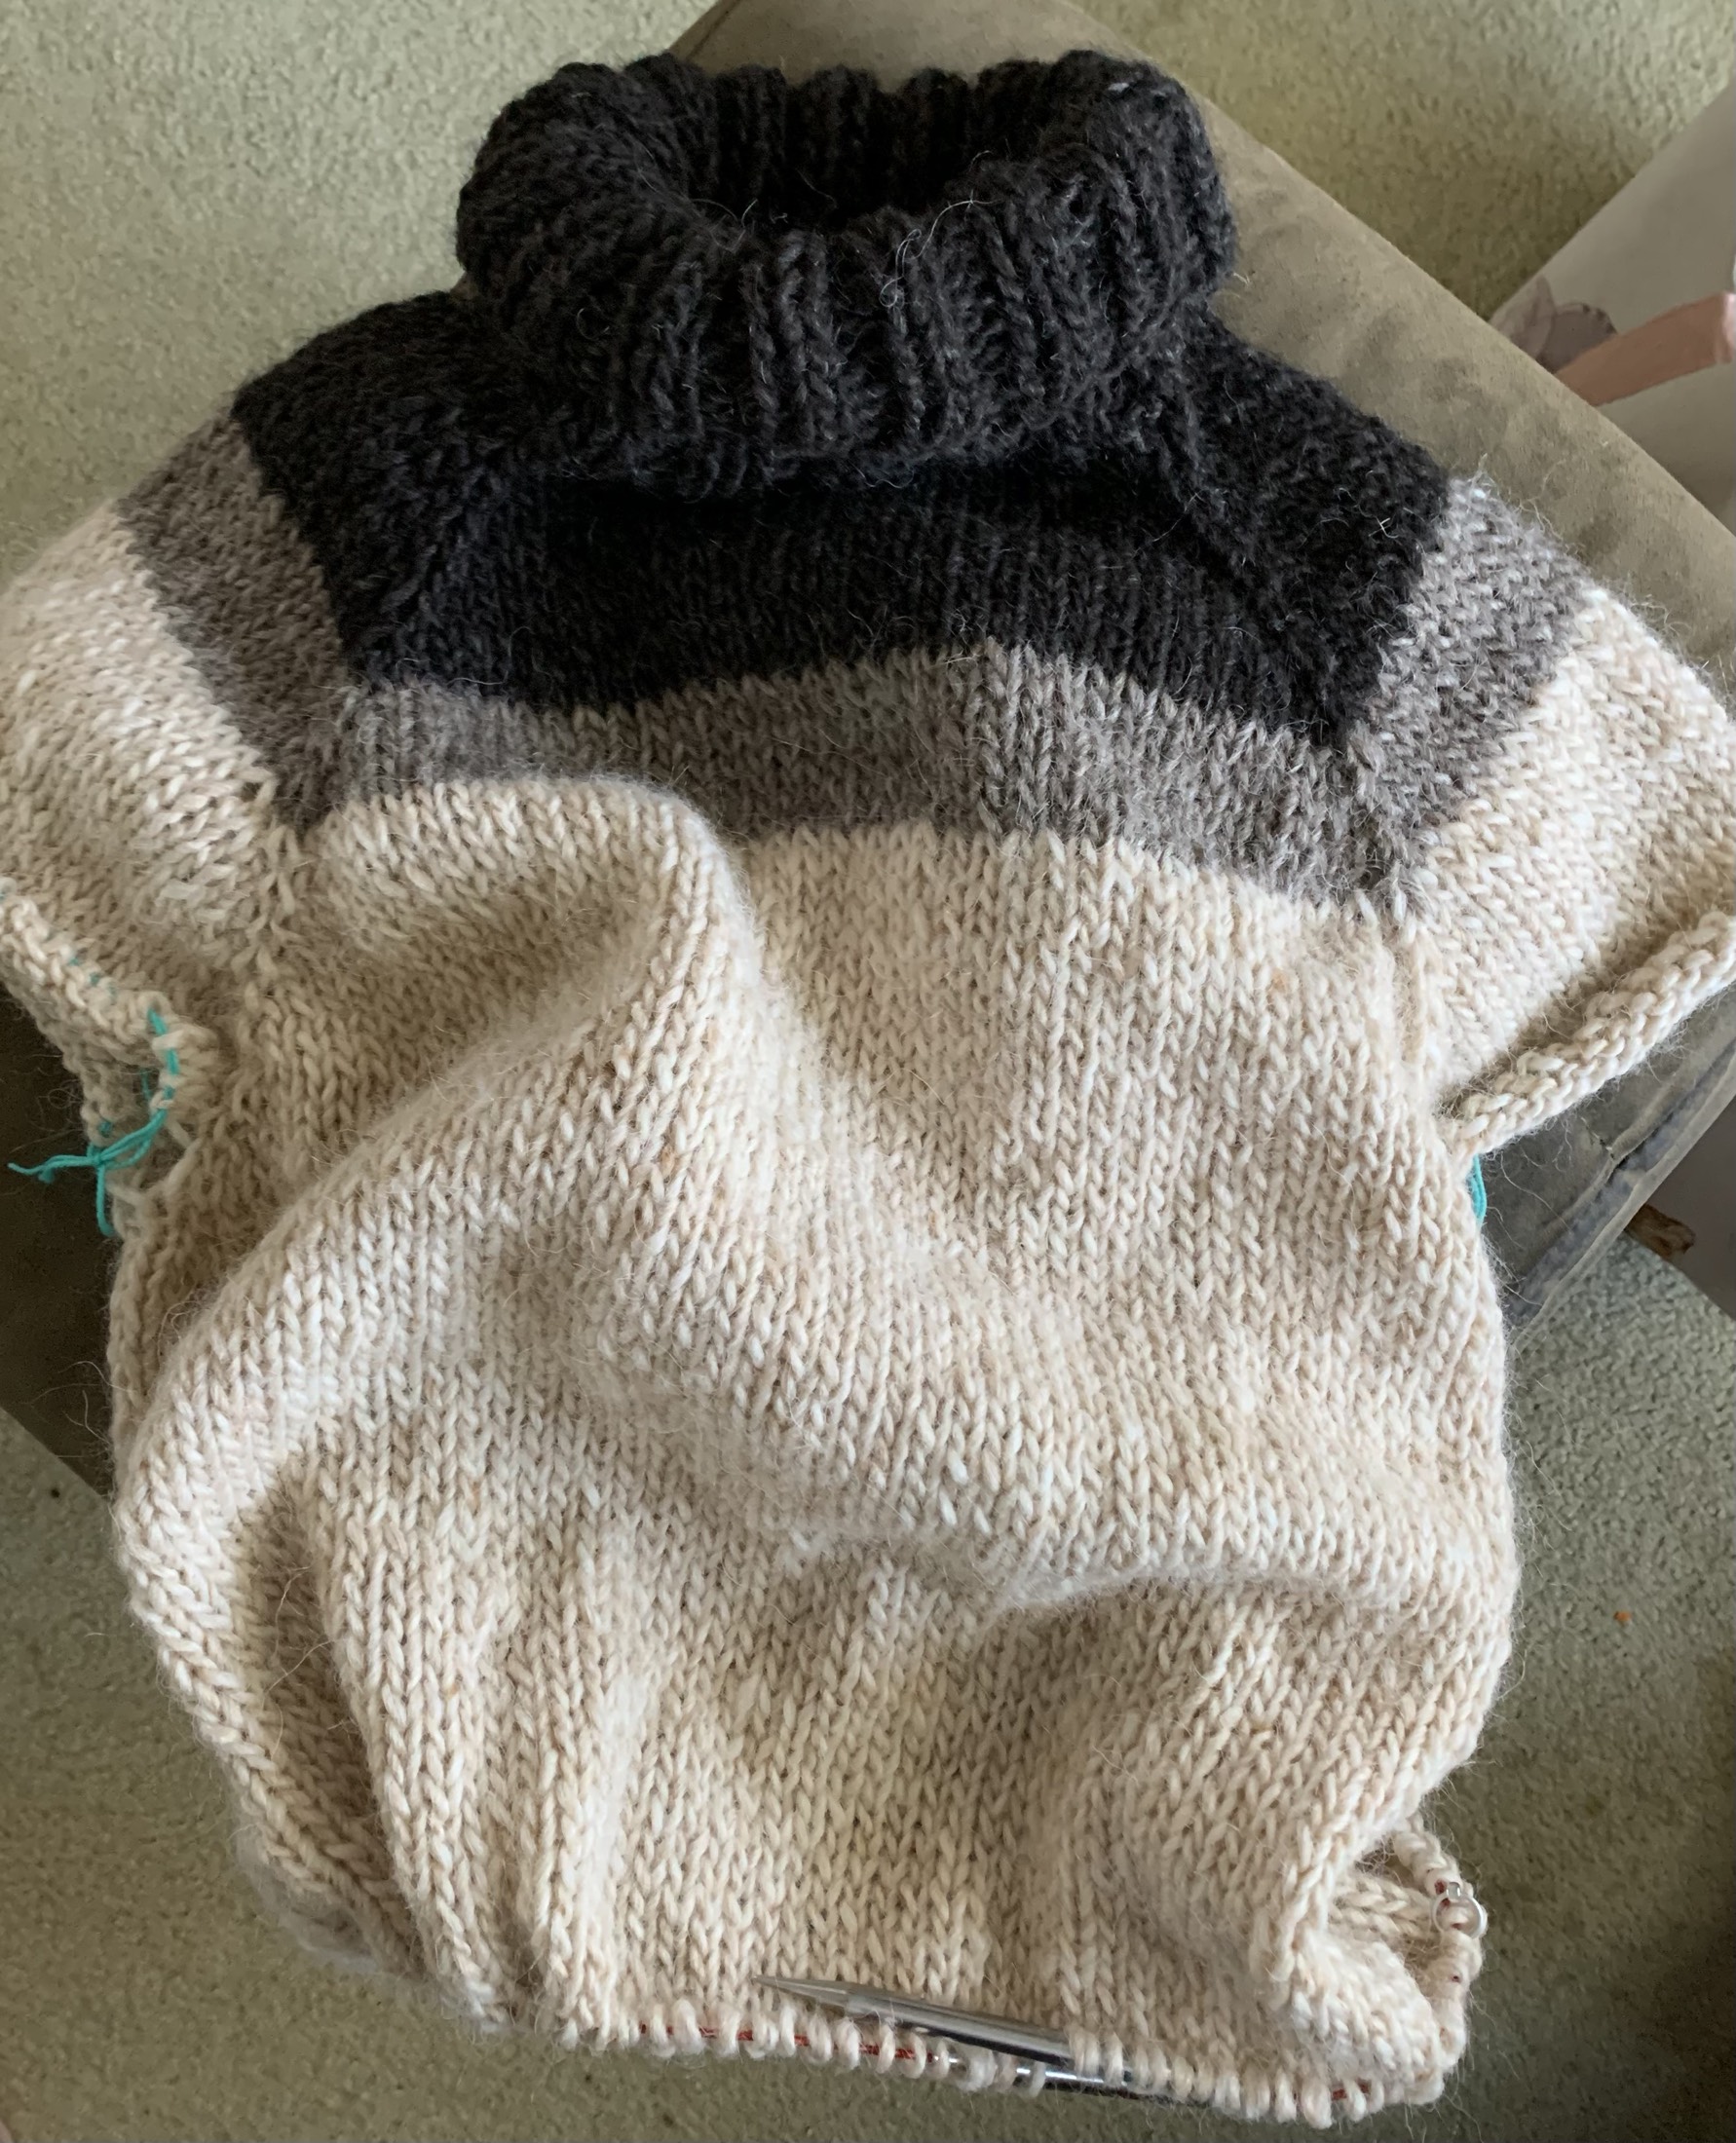
After 18 increase rows my totals for the body will be 57 front and 57 back, which is a total of 114 for the body (I should have increased more stitches here). The row count (height) is perfect, but stitches are way off.

My gauge is 12 stitches and 15 rows. VENLIG calls for a gauge of 10 stitches with 15 rows. I have 2 more stitches than I should. This changes things.

I have too many stitches within the gauge of 4 inches, which means … that my sweater will end up being smaller than it should be. I need to adjust for this by adding more stitches.

Because I have too many stitches in my gauge, the fix would be to go up a needle size. But, here is my problem – I am already using the largest needle (size 11) that I have! The next size up is needle size 13 US which I suspect would be too big. I’m not investing in size 13 needles just to see if my knitting gauge will work!

Here is a great page at Making Stories that explains gauge and how to fix it. Wish I’d read it before I began knitting this one.

What I should have done (as explained in the link above) is to take my gauge of 3 stitches per inch (12 stitches divided by 4 inches = 3 stitches per inch) and used it to measure size for my needs and adjusted my stitches accordingly.

Bust measures 40 + positive ease of 5 = 45 inches around. 45 x 3 = 135 stitches needed at largest part of body. This does not help me with the cast-on, but at least I know what my stitch count should be on the body. I had to increase to get there because as you read above, I have only 114 total stitches for the body! I created those increases under the arms on each side as I knit down the body.

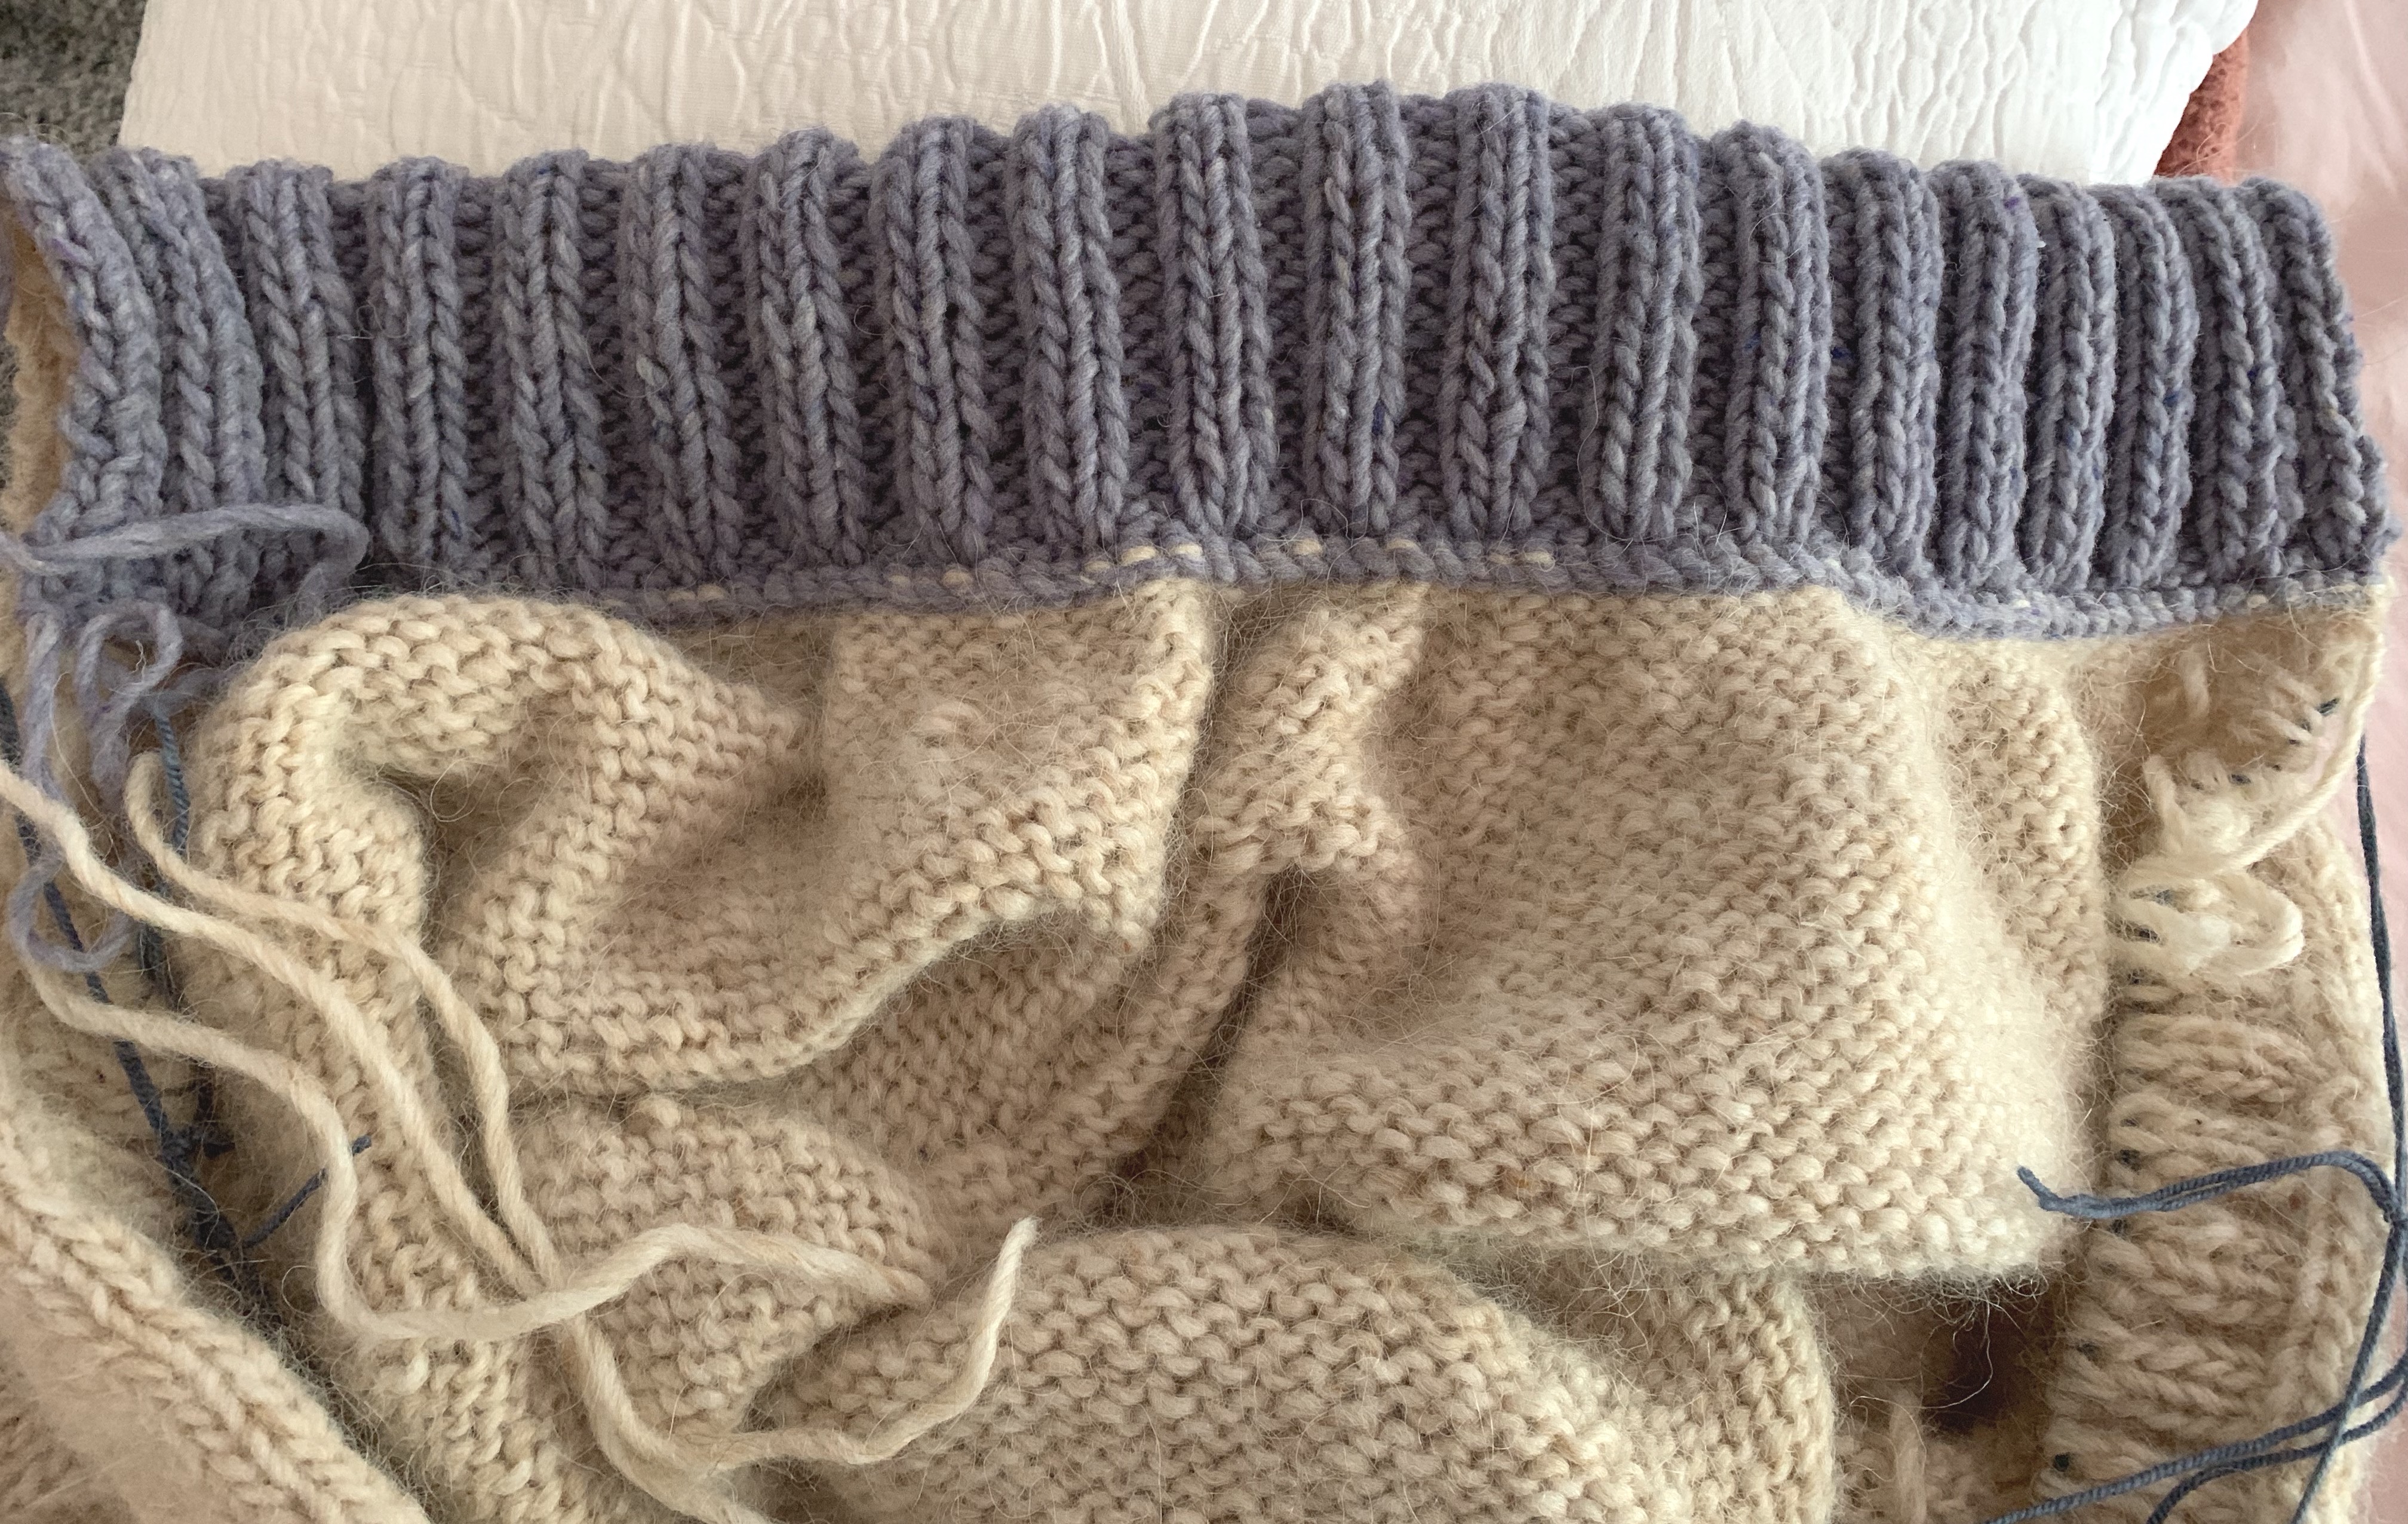
Corrugated Ribbing at Bottom of Sweater

I’ve been trying to decide what type of ribbing I should knit at the bottom of the body. I’ve decided to go with a corrugated rib using the white with the light gray and black.

To this point, all my corrugated rib knitting has been done on hat brims. Cast-on, do ribbing and continue knitting. I’ve never added it to the bottom of a top-down sweater.

After searching for helpful advice, all I read was that when using corrugated rib I would NOT go down a needle size. This type of ribbing is not stretchy like a 1×1 or 2×2 knit and purl ribbing would be. So I am continuing with my same needle, size 11.

Tried on when the body was finished, and yes that bind-off curls up. *In the end I decided to re-do that bottom.

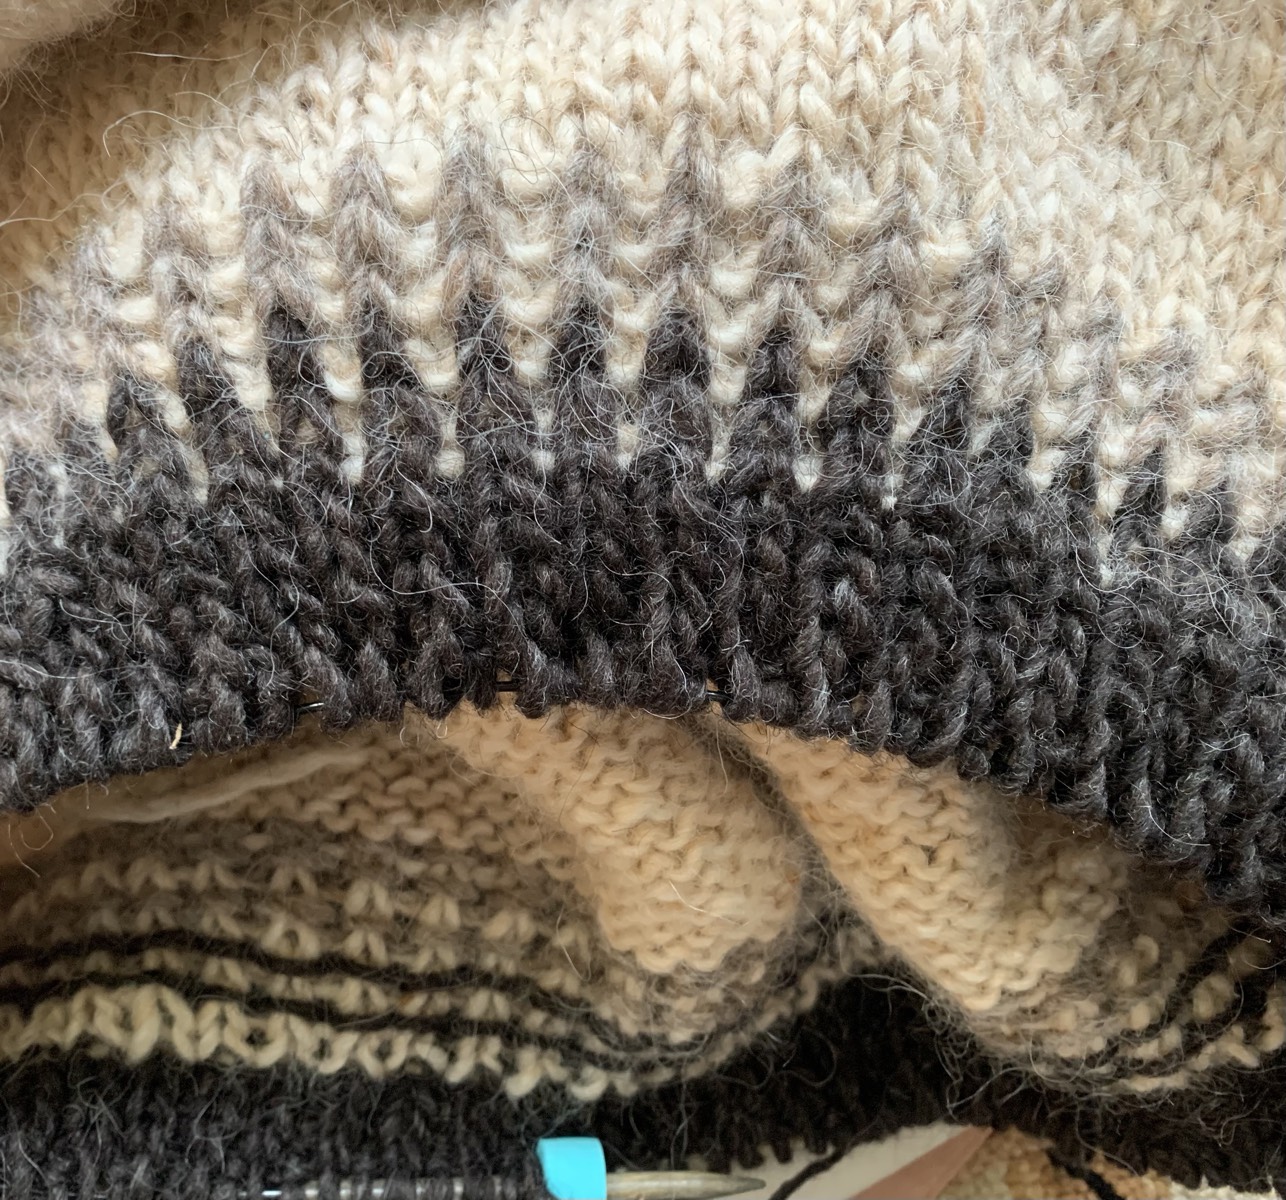
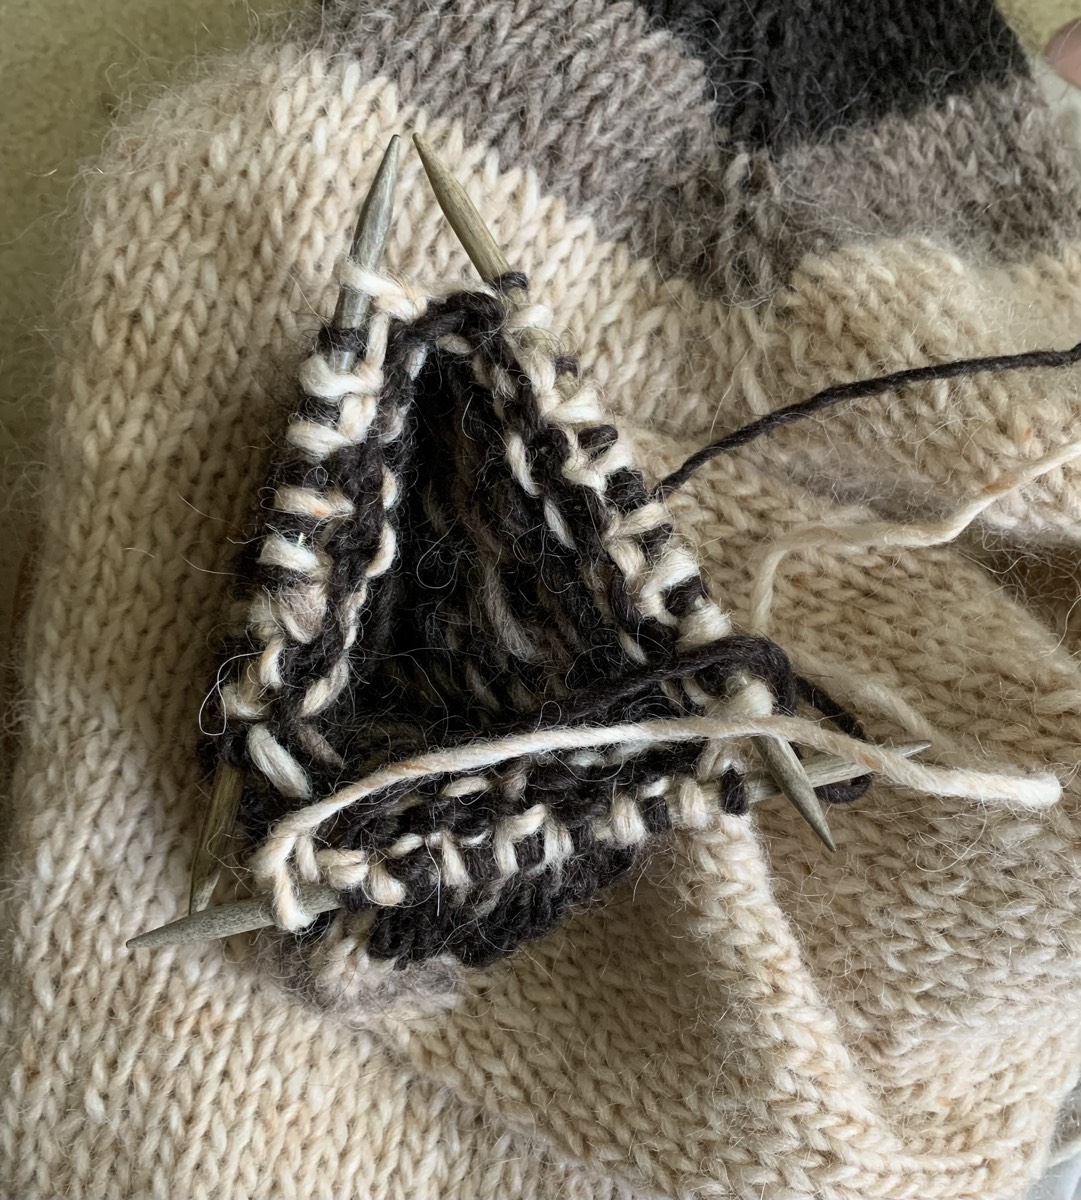
Once the sleeves were finished I went back and picked up the body rib stitches, then unraveled my corrugated rib. I had no idea how to pick up those stitches, and I ended up having to do it twice – the black stitches were on the needle, but the white were not. It all turned out okay, and then I began knitting the 1×1 ribbing in black. I used a size 10 needle for that ribbing – down one size from the 11 for the body. (I used a size 9 on the sleeve ribbing.)

Knitting The Sleeves

So I know that my gauge is off and that means my sleeves may end up being too narrow. I will do only a few of the decreases down the sleeve and then continue to the cuff without more decreases. *I ended up doing only 3 decreases and ended up with 42 stitches on the needles.

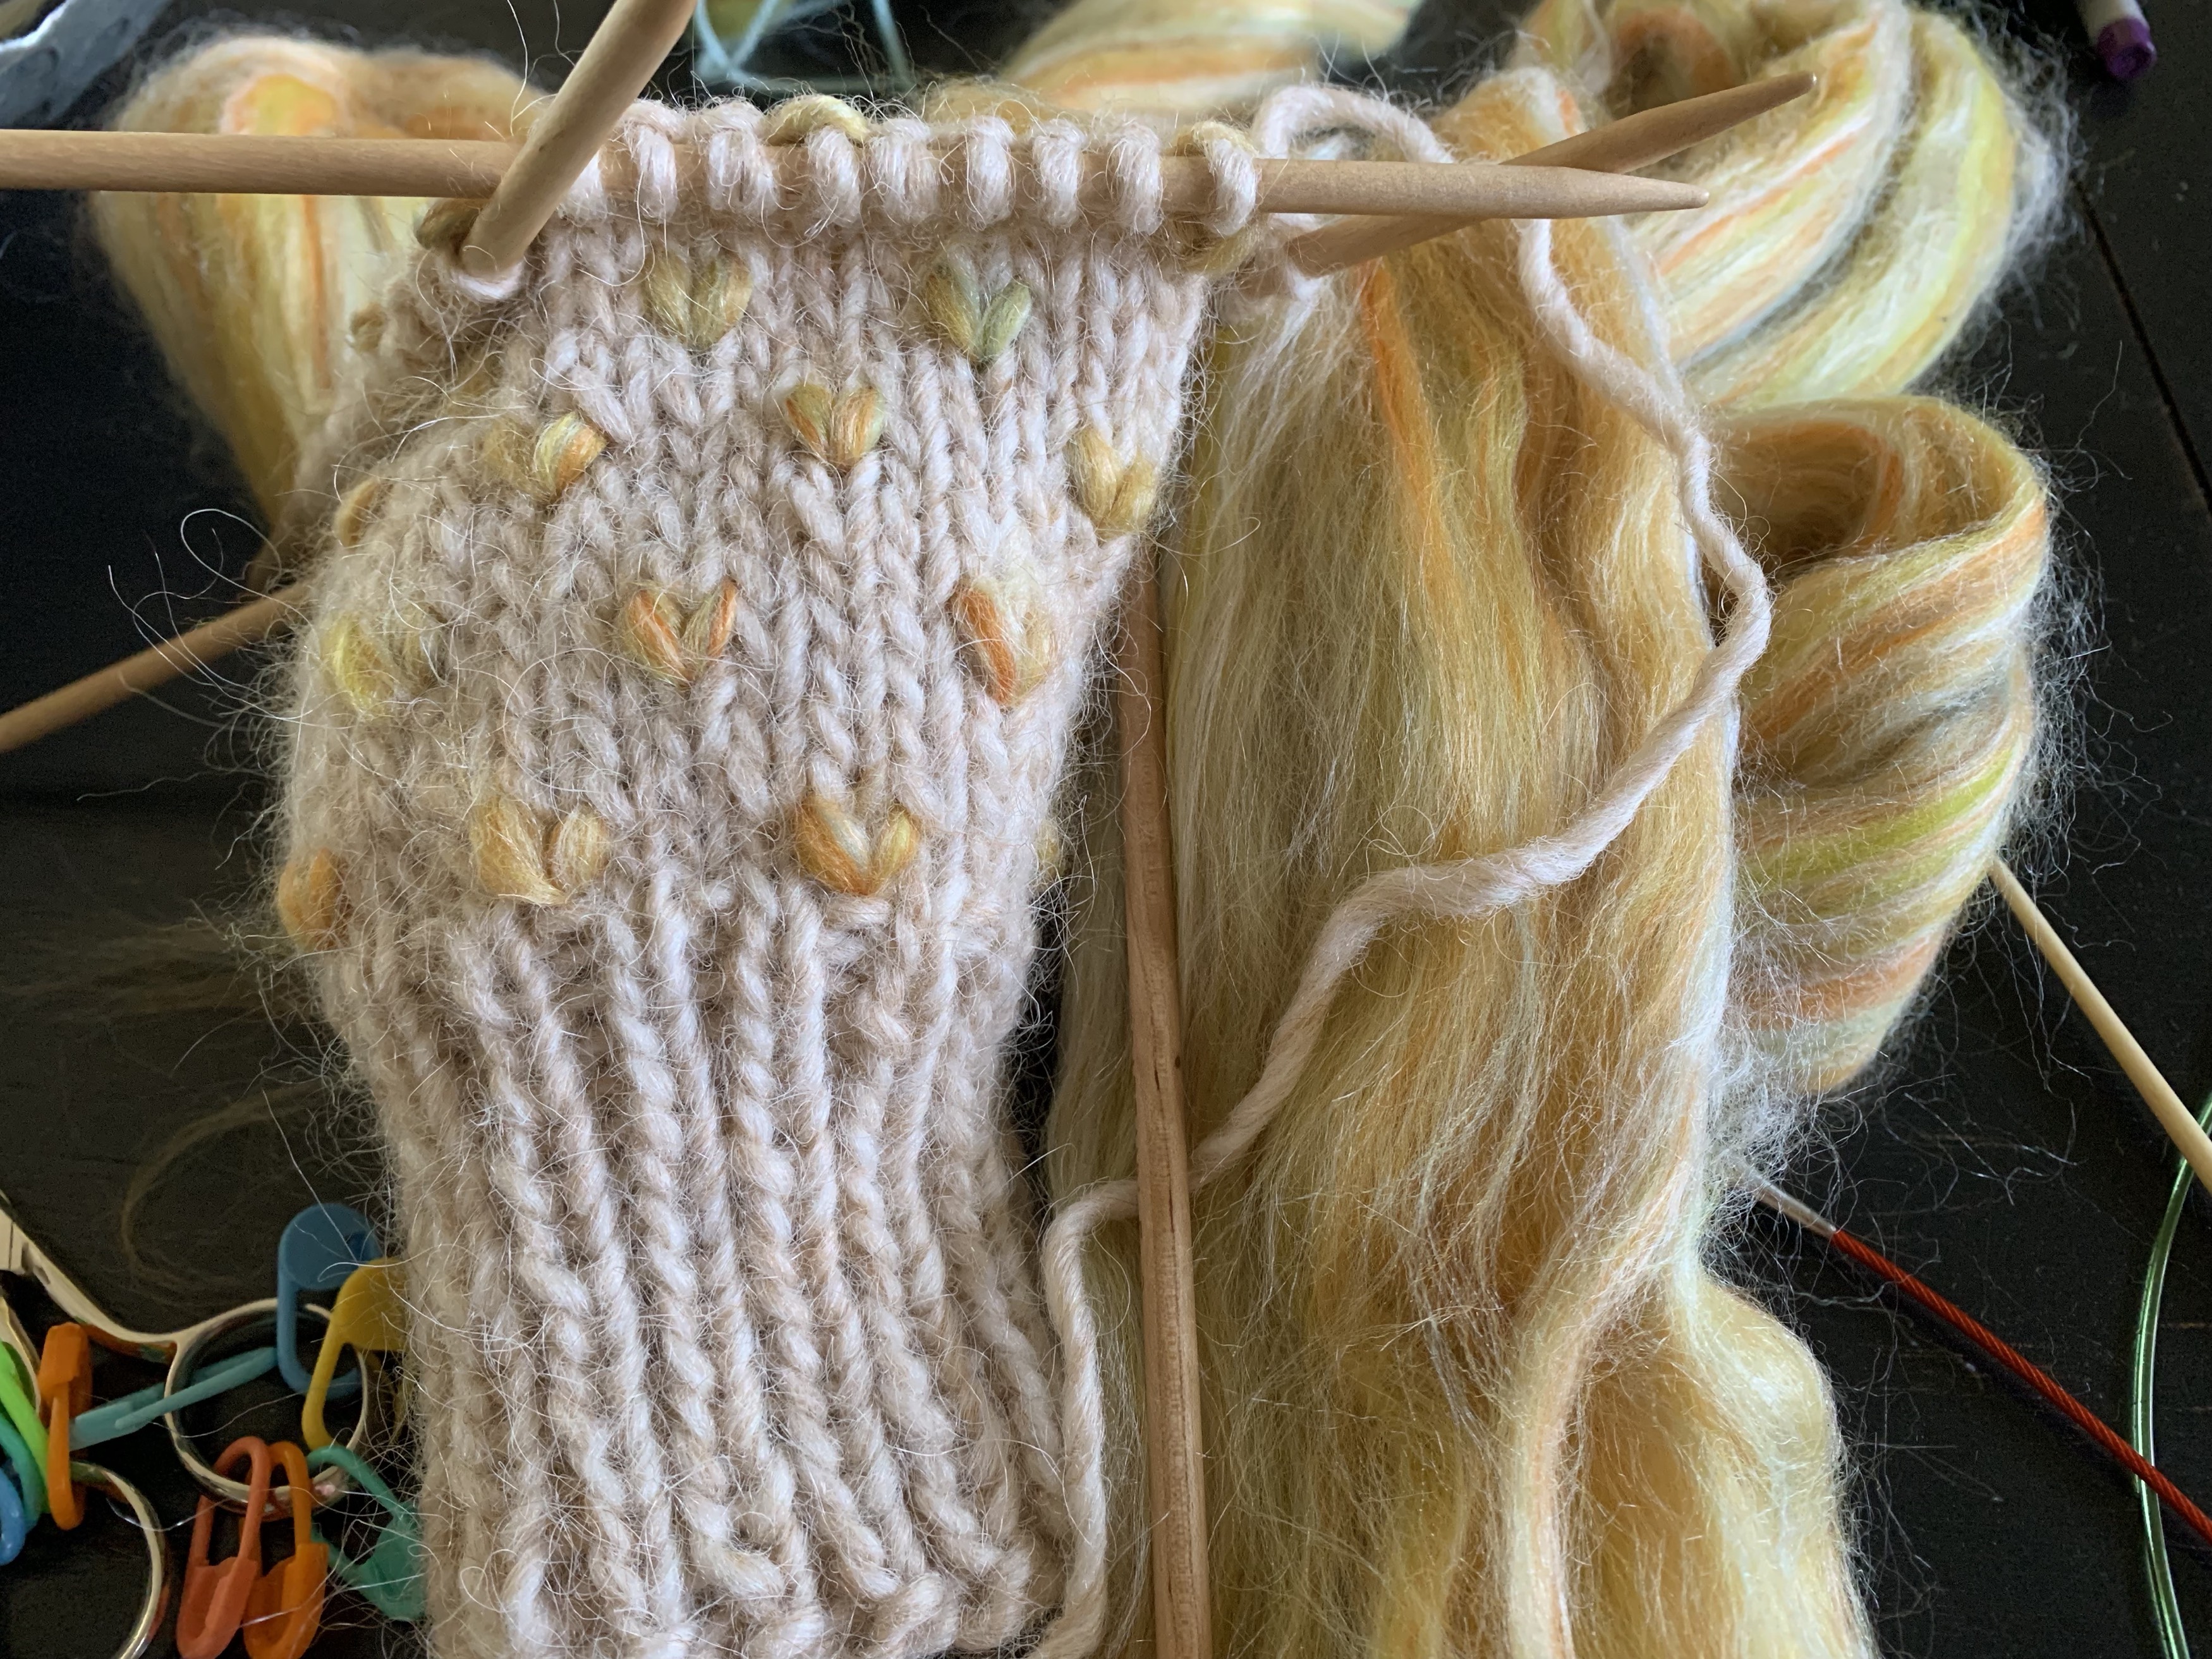
I’m considering some colorwork near the cuff. I also don’t know what type of cuff I will do. I like the colorwork on my other Lopi sweater sleeves, so maybe something like that.

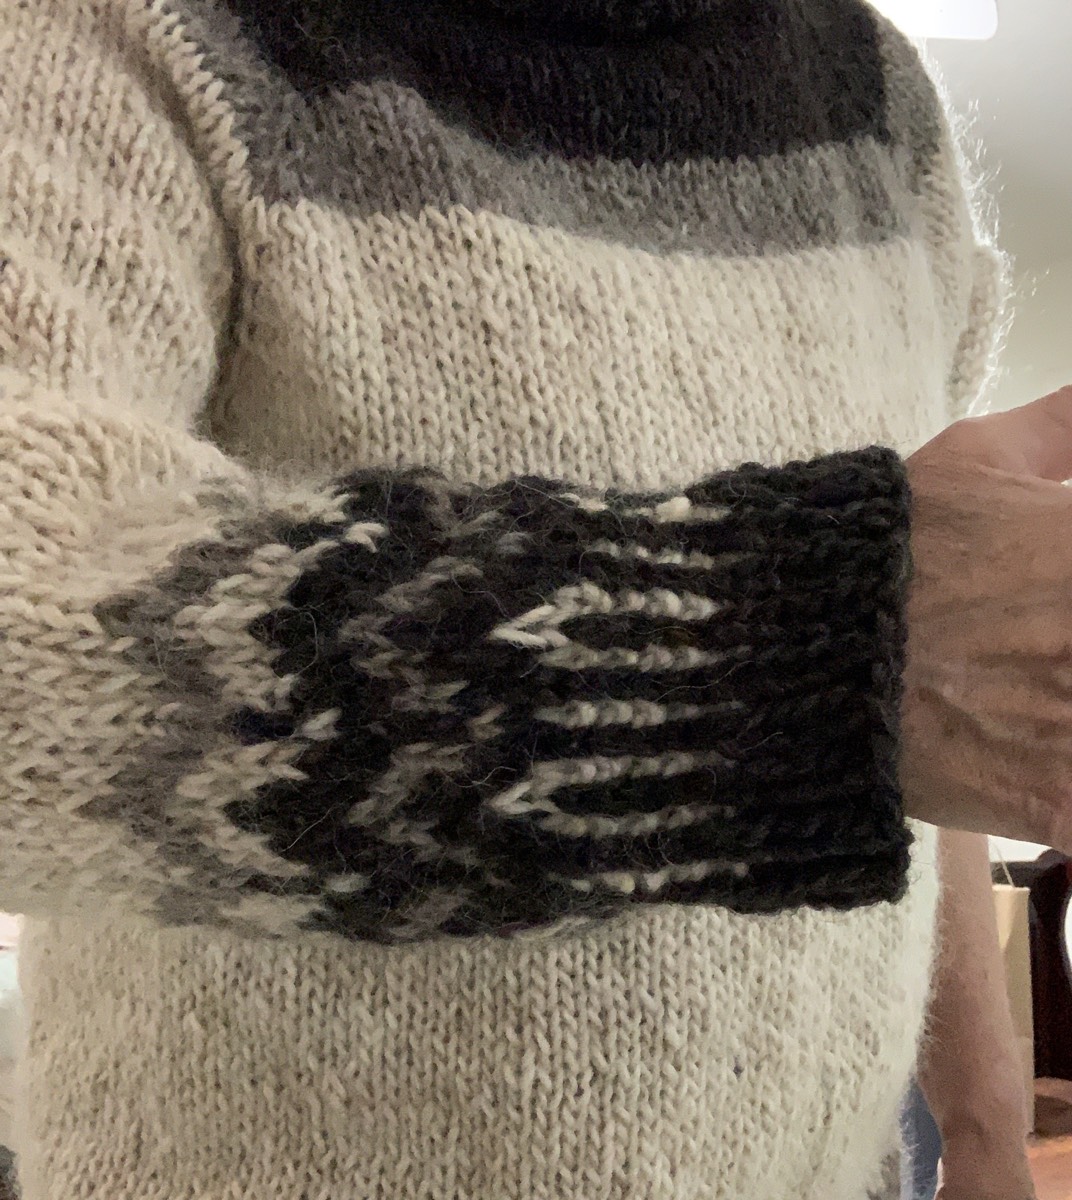
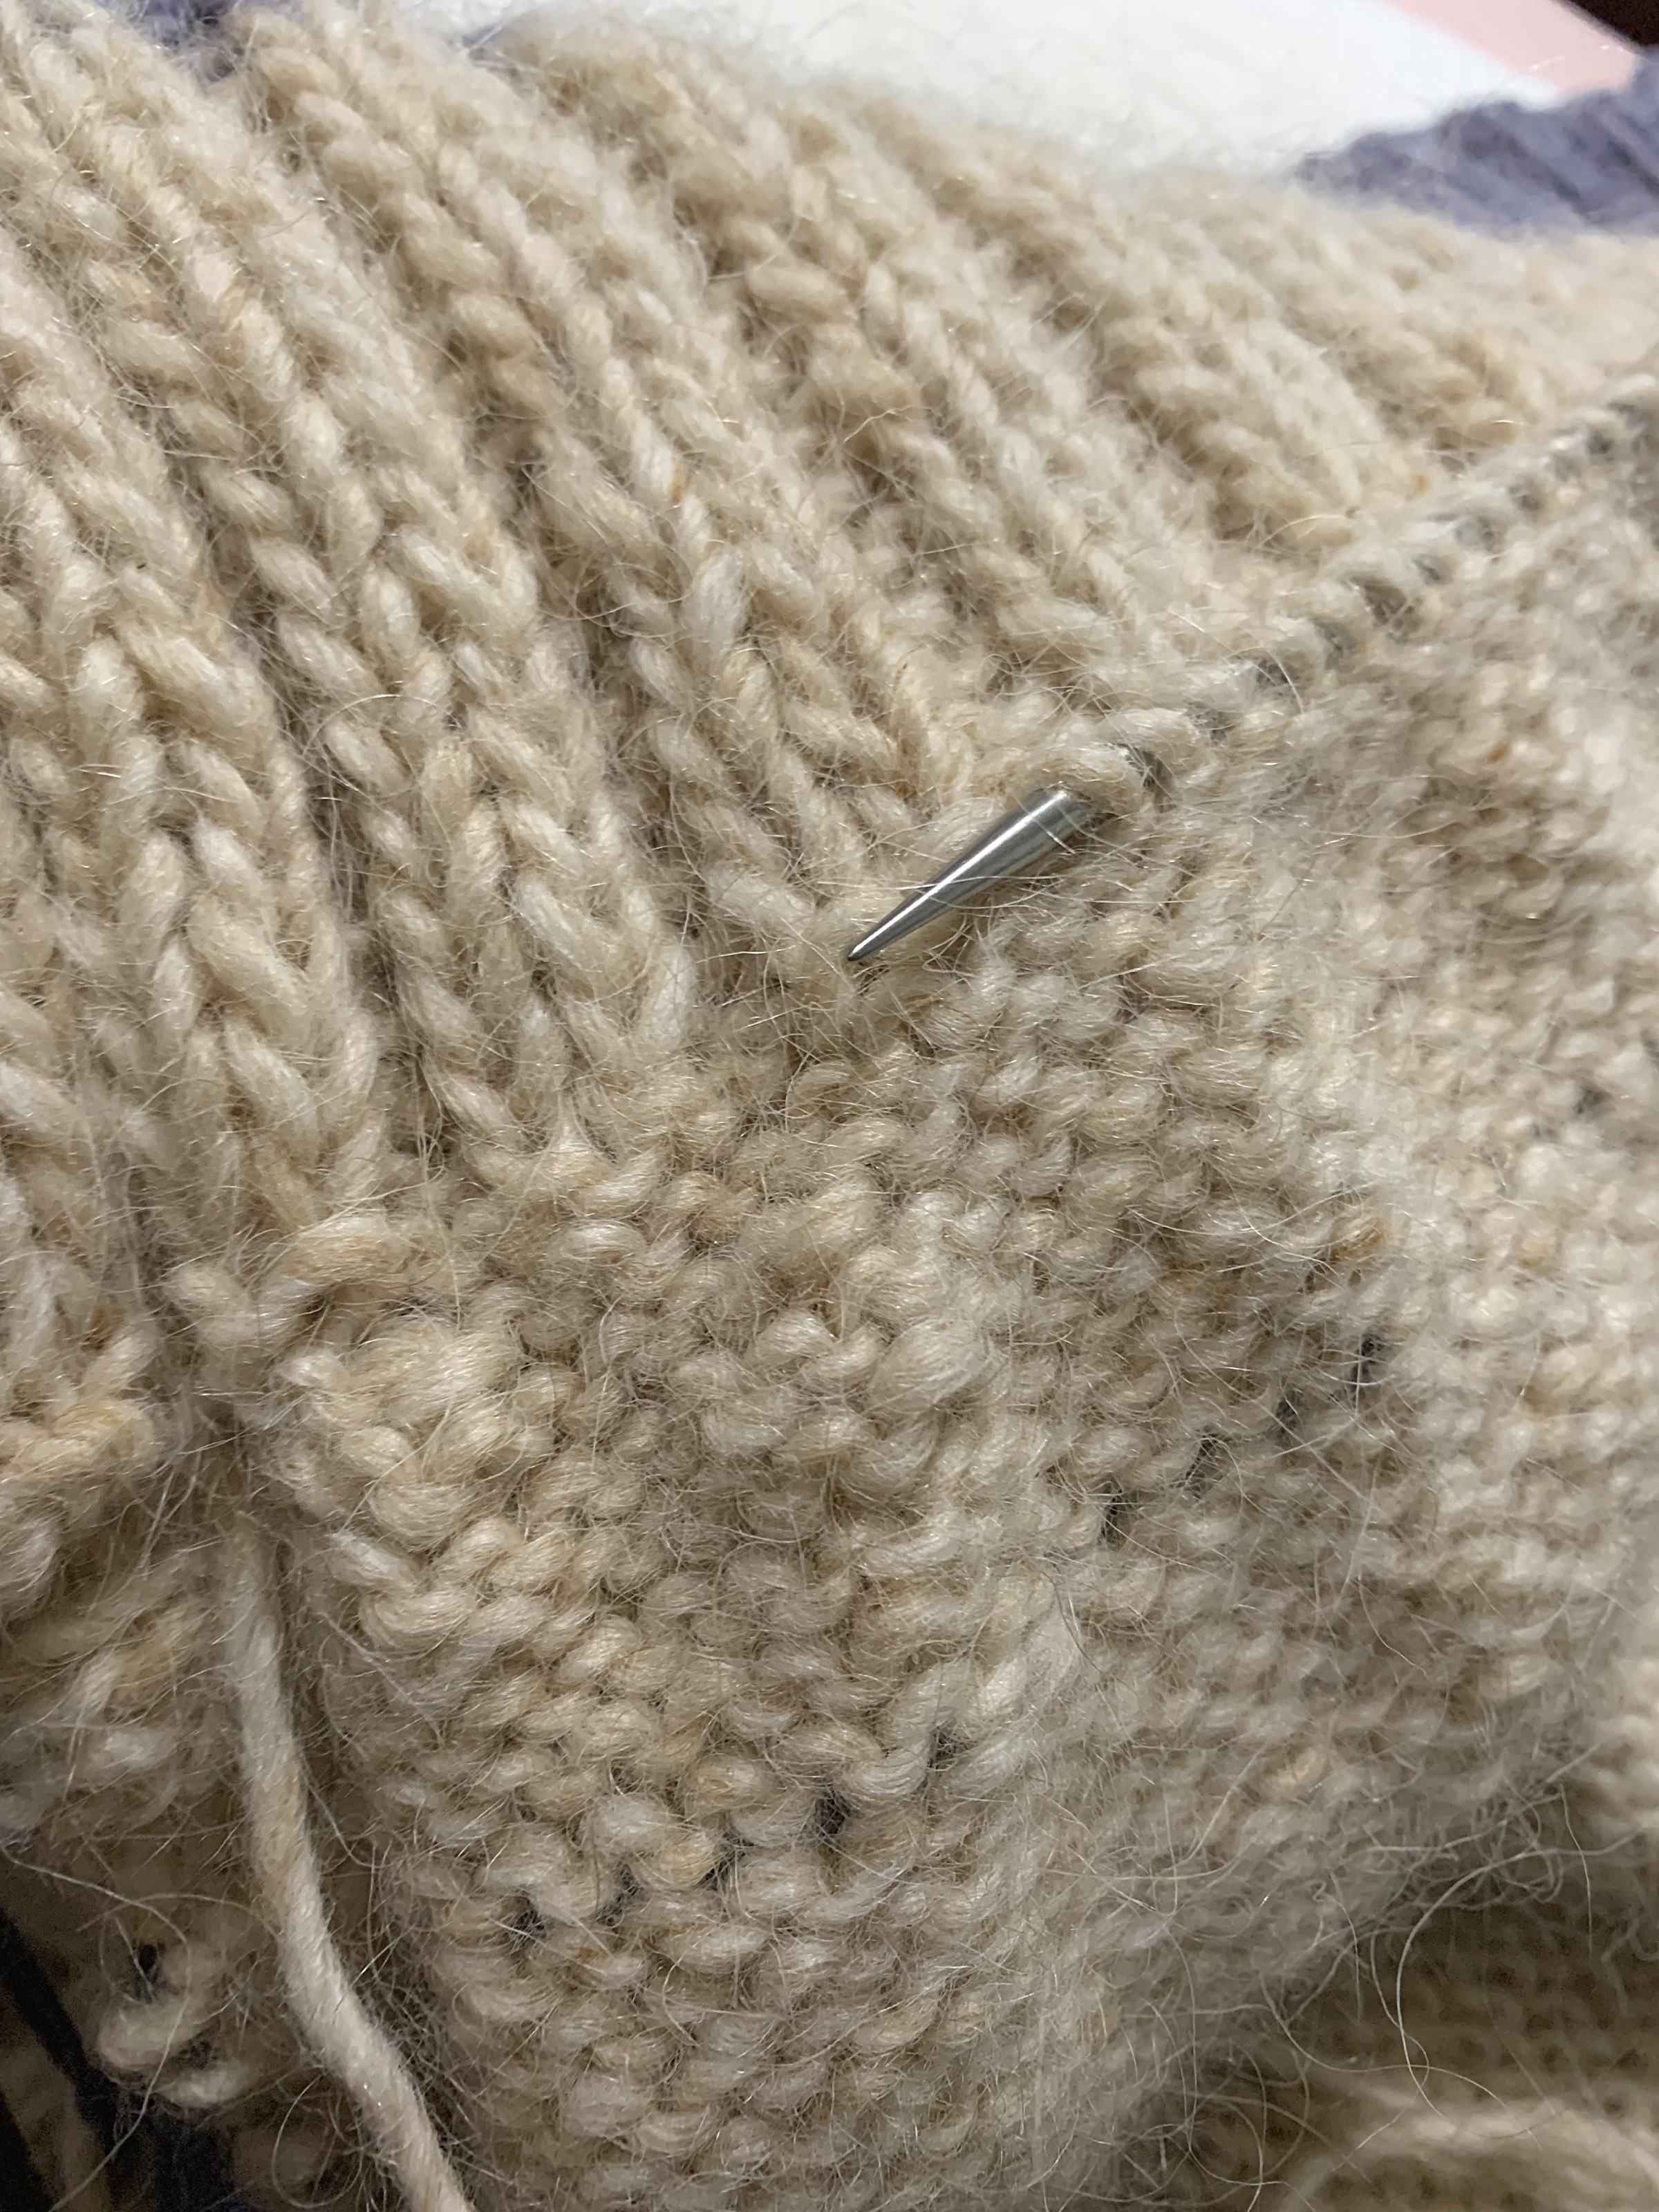
After the three decrease rounds (done as pattern directed), I knit round and round until the sleeve was 11 inched long before beginning the pattern incorporating the gray and black. For the colorwork, I chose to follow a chart on pg. 92 in Alice Starmore’s Charts for Color Knitting (Amazon link to the book) continuing to use the size 11 needles. I know colorwork will pull in a bit.

Next, I changed to size 9 dpns – right after the patterning part – and did a few rows of corrugated ribbing. To finish the sleeve, I did a few more rows, in black only, of 1×1 rib. This way the end of the sleeve won’t roll. I’m very happy with the sleeves!

Bulky turtleneck sweater is done.  Knit in three colors of Alafosslopi wool doing Fair Isle colorwork and corrugated ribbing in ecru, gray, and black yarn.
Finished knitting the sweater

In the end…

I’m happy with the end product and just need to give it a wash and block. I’ve decided to wait for cooler weather and have a photo shoot day for this, and all my other wool sweaters.

Now that I know a little more about sweater knitting than I did in the beginning of my knitting journey, this type of project expands on my list of accomplishments. The more I knit things that I’m happy with, the more I will have to draw from as I continue my knitting journey.

The collar may need to be tacked down, but otherwise this sweater is great. I’ve decided that the reason most of my hand-knit sweaters come out large is that I have a weird body. Most patterns have you choose a size according to bust measurements. My entire middle is large, but my shoulders and arms are not. Even though I get gauge, many of my sweaters come out too big. I’ll have to begin adjusting for that.

More Patterns and Reviews Here

Knitting Thrummed Mittens With Bulky Yarn

Now that I have my yarn (Alafosslopi) and my roving I will be casting on to knit my first pair of thrummed mittens.

I’ve been researching how to do this. On top of needing a thrum-making tutorial, I want to knit mittens with the side gore / gusset / and NOT an afterthought thumb. This makes mittens able to be worn on either hand. This was a surprisingly difficult task.

The Roving Has Arrived

In case you have not purchased roving before, this is 4oz. of roving… plenty to do a pair of mittens! I suspect I will have lots leftover. This gold, orange, green color is just so lovely.

Information on Thrumming

In my search, on Ravelry and elsewhere, I came across these sites for thrummed mittens. None had exactly what I was looking for, but all had some degree of information I could use.

So, I asked myself if I need to buy another new mitten pattern, or can I simply add thrums to a plain mitten pattern which is offered for free (Tin Can Knits – World’s Simplest Mittens)?

  • Expression Fiber Arts tutorial and pattern – Bulky wool, afterthought thumb. (Notes: Cast-on 16, size 11 needles.)

Ways to Add the Roving to Knitting and Make The Thrums

Here are a couple of ways to add a bit of roving to stitches while knitting.

Very Pink Knits has a video on making thrums here. She knits into the stitch below, wraps the thrum, then knits the stitch and does a bind off of the thrum.

AllAboutAmi has a video about making thrums in mittens. She knits the thrum and yarn together on the first round, and then knits them together through the back loop on the next round.

Knitting My First Pair of Thrummed Mittens

For my first pair of thrummed mittens I am using bulky Alafosslopi yarn combined with roving for the thrums. The Alafosslopi yarn is leftover from knitting the Carbeth Cardigan and is “ecru” color so I chose a more subtle roving color.

I found a favorite color roving at Paradise Fibers called Constellation Range merino and silk combed top in “Orion” colorway. I have no idea if this will work well for my mittens, but I absolutely love the color.

First I researched many mitten patterns to find the best way for me to try mitten thrumming. I also did some searching for roving to try. You can read that planning blog post here.

Beginning my thrummed mittens

I failed miserably at trying to get gauge with Tin Can Knits “World’s Simplest Mittens” in chunky weight. This means that I will basically have to figure these mittens out as I go.

I know the basics for knitting a side thumb, so I began with a size 6 needle for the ribbing and then switched to size 8. After a couple of rows I began to increase for the thumb, but soon noticed that I had a lot more rows to knit before the thumb was in the right place!

I am doing a thrum every 4th stitch around and alternating them on every 4th row. The thumb area is getting random thrums. I think the thrums look okay, and I can try the mitten on as I go to make it fit.

I have to say that I am super pleased with this roving. It’s the only roving I’ve ever had, and it is incredibly soft. The colors are exactly as pictured on the Paradise Fibers site and shipping was very fast. It makes me wish I knew how to spin my own yarn. Maybe something new to learn down the road as handspun yarn is so beautiful.

Will add photos when I get these mittens finished!

Mitten Knitting and Reviews

Please keep reading about my knitting adventures.

Something went wrong. Please refresh the page and/or try again.

Holiday Knitting a Woolly Carbeth Cardigan in Alafosslopi

My son worked Thanksgiving Day and since it’s only me and him, I spent the day getting a new knitting project on the needles (I finished it on New Years Eve). The Carbeth Cardigan (Ravelry pattern page) is a design by KDD and Co., Kate Davies Designs. The pattern suggests holding two yarns together, but I chose woolly Alafosslopi yarn for this garment.

I did a swatch in size 10.5 with Alafosslopi yarn which was too large, so knit up another in size 10. That one turned out to match gauge exactly. I’m knitting this sweater in Icelandic wool which is bulky weight. Color is Ecru Heather. I will also need below gauge needles for the ribbing, neck and front bands.

Sweater Construction

I began with a sleeve and since I did not have a “below gauge needle” I knit the rib with size 10. The cuff is long. The body is knit, bottom up, and then everything is attached. This makes sleeve length a bit tough to figure. I knit 19.5 inches and the pattern called for 18. I’m glad I went longer. This pattern seems to have been written for a mini-sized person. I am 5’5” so pretty average.

Here (below) I have reached the point where my decreases are almost done. The back of the neck seems low, so I will try to figure out my own short rows to bring it up. Other knitters have done this and I can see why.

Adding Short Rows to the Back of the Sweater

I watched this video to figure out my short row placement, but added a life line (good video at Very Pink Knits about adding a life line) before I got to this point. I’ve never tried to figure out my own short row placement and wanted to be able to rip them out if need be.

The blue yarn is my lifeline. Above that, in the center of the back, see the raised part which happened when I added short rows. I’m very glad I did this as the sweater seems to fit better.

Short Row Placement

I marked off the stitches for my short rows one row too early. Next time: Do short rows after the last row where the two center back stitches are purled together (or knit together for some sizes) and markers are removed. This is the row just before the neck decreases begin. **Another knitter made a note that she did the short rows after the decreases. This may work better as my short rows left a bit of a pucker in one spot. I didn’t notice this until AFTER the collar was worked, and I was not ripping that far back!

The Front Bands and Neck Ribbing

There is a lot of putting stitches on hold in this sweater. Once the joining of the sleeves and body and yoke knitting is done, stitches are held until time to knit the collar. The collar and front ribbing is knit on the smaller gauge needles. I have one size 9, 32-inch needle which I needed for all of this. The front ribbing has to be completed before the collar is knit.

The front bands were difficult for me as far as trying to pick up the right amount of stitches to make the top three work. Also, because I knit the body two inches longer, I needed to pick up extra stitches and not what the pattern said..! I ended up doing about 80 stitches on each band – which were way too many – but I won’t realize this until it’s way too late.

The button loops are added with an i-cord edging so no buttonholes were made.

Carbeth cardigan knitting
Front ribbing on hold with neck ribbing begun

Neck Ribbing

The neck stitches are knit in ribbing and will be folded over to the inside and attached. I followed the advice of other knitters and put a softer yarn inside the collar. I used gray Quarry yarn because I had it, and it matches the thickness of the Alafosslopi.

Knitting the neck was easy but then it had to be folded and attached inside. I used a size 5, long circular needle with pointed tip to pick up those stitches. You really need much smaller needle to make this easier. This video helped me see what exactly I should be doing as far as picking up stitches. I picked up two stitches for each knit and each purl section and then two stitches on each end. This matches the number of rib stitches to do the bind off – that number has to match the number knit for the ribbing! Purl Soho has a good 3-needle bind-off video if needed.

I used a much smaller size needle – size 5 US when picking up those stitches. Then I used a size 9 US DPN to knit the bind-off. I began binding off with a 5 DPN but the stitches seemed very tight. (A helpful note from the designer about all this would have been very nice!)

Explaining Pattern Section 8

I got to section 8 in the Carbeth pattern and was stumped. After some searching, I found a good explanation in the Ravelry forum, because it seems other knitters were also stumped.

The point in section 8 is to close up that hole in the collar, which was made by folding it over, by picking up stitches along the edge. Then, the collar and front band becomes one long set of stitches.

My band is being held by scrap yarn so I needed to pick up all those band stitches also. Now the needle is full, from top of collar to bottom of sweater. Go back to the top (on one side, the bottom on the other) and begin the i-cord bind off.

Although this video, by Andrea Mowry, is not exactly how the i-cord is done in the Carbeth pattern, it gave me an idea of what I needed to do, only with a different amount of stitches. Begin the Carbeth bind-off by adding two stitches to the LEFT HAND NEEDLE, and continue as the pattern says.

Firsts For Me While Knitting This Sweater

I did my very first spit splice using this yarn! It was pretty cool and I will definitely be using it more often when knitting with wool.

The lld decrease on the wrong side. Clear directions are given in the pattern abbreviations page.

Added my own short rows – successfully – for the most part. I’m very glad I did this because the sweater would not have been “high” enough around my shoulders and neck otherwise. I’m very surprised the pattern didn’t include short rows as many knitters added them in on their own.

It was not my first 3-needle bind-off, but the first time I’d done it to tack down a double collar.

I-cord rib and buttonholes. This was pretty easy to do, but the fact that I had picked up too many stitches (way back) for the bands, made the ribbing wavy. At this point I was frustrated.

I am trying to fix this with button placement and blocking. A simple note from the designer about how to pick up those front stitches – such as “pick up 2 stitches for every 3” – or something, would have helped. She does say how many to pick up – if you follow the pattern exactly and want a cropped sweater.

Final Review of Knitting the Carbeth Cardigan

Some previous knitters of this pattern mentioned that the sweater runs small. I would agree. I made my sleeves and body longer.

In my opinion, it is necessary to add those short rows at the back too. My gauge swatch was exact, so I chose the correct size to knit, it just would have been very small had I followed the pattern.

There is a lot of picking up of stitches and putting stitches back onto needles. Also, parts of the pattern directions were difficult to understand, and I needed to search the Ravelry forum and use YouTube videos (none were referenced in the pattern) to figure things out. I have notes written all over this pattern just in case I ever want to knit it again …. which I highly doubt.

I love that this pattern uses a bulky yarn because the project is completed quickly. Overall the construction is unique, but it’s not flattering to my shape and the button bands are wonky due to reasons mentioned above.

Because many parts of the pattern needed some figuring out, I certainly would not suggest it for a beginner sweater knitter.

Other Sweater Patterns I Have Knit and Reviewed

L-R: Top row – Playdate and Marshland (by Tin Can Knits) Calliope by Espace Tricot (a free pattern)

Row 2 – Polliwog Popover, Cobblestone (Brooklyn Tweed), Fine Sand

Row 3 – Farfuglar (Lettlopi yarn) and my first sweater Umpqua – lots of mistakes here.