Why is it that knitters usually have many projects going at once?
Well, we love yarn, first of all. Seeing a pretty yarn, or a nice sale, makes us sure that we can find a project to match it. Awesome patterns run a close second. Pattern designers know how to push our buttons. With beautiful images, and affordable pricing, how can we say no?
Biting off more than we can chew is a typical habit of crafty people. Somewhere between the high of receiving a new bundle of yarn in the mail, to the stress over finding a place to keep it all, we have been casting on much more often than binding off. We can’t keep up. Who could?
Buying yarn is a quick process. Creating a handmade item takes time. We know this, yet we can’t seem to stop getting ahead of ourselves.
The Big Reason: New Yarn and / or New Patterns
Browsing Ravelry or Instagram, or your favorite social place will often bring up something beautiful. This leads me down the path to checking on the pattern, and yarn used, reviews and comments. It can be a rabbit hole. I think that “this is the pattern I should be knitting instead of that sweater I really don’t like”. Or, “what a great way to use up that yarn in my stash”. I need to start this project right away. Everything else can wait!
Or, I get a newsletter e-mail. I’ve completely removed all but one yarn seller from my e-mail list. Pascuali is the only one I get, because I love the company and the yarn. Their newsletters are interesting, and for me, that one is enough. When I would get all kinds of notices of yarn sales, I would feel obligated to buy because of the discount. That is how I ended up with loads of yarn I would never use. I donated it.
Another way to become bombarded by yarn is the offer of free shipping. If you spend this much, shipping is free! Okay, I can find a few more skeins that I will use one day…. blah blah…bad idea.
Time of Day Knitting Projects
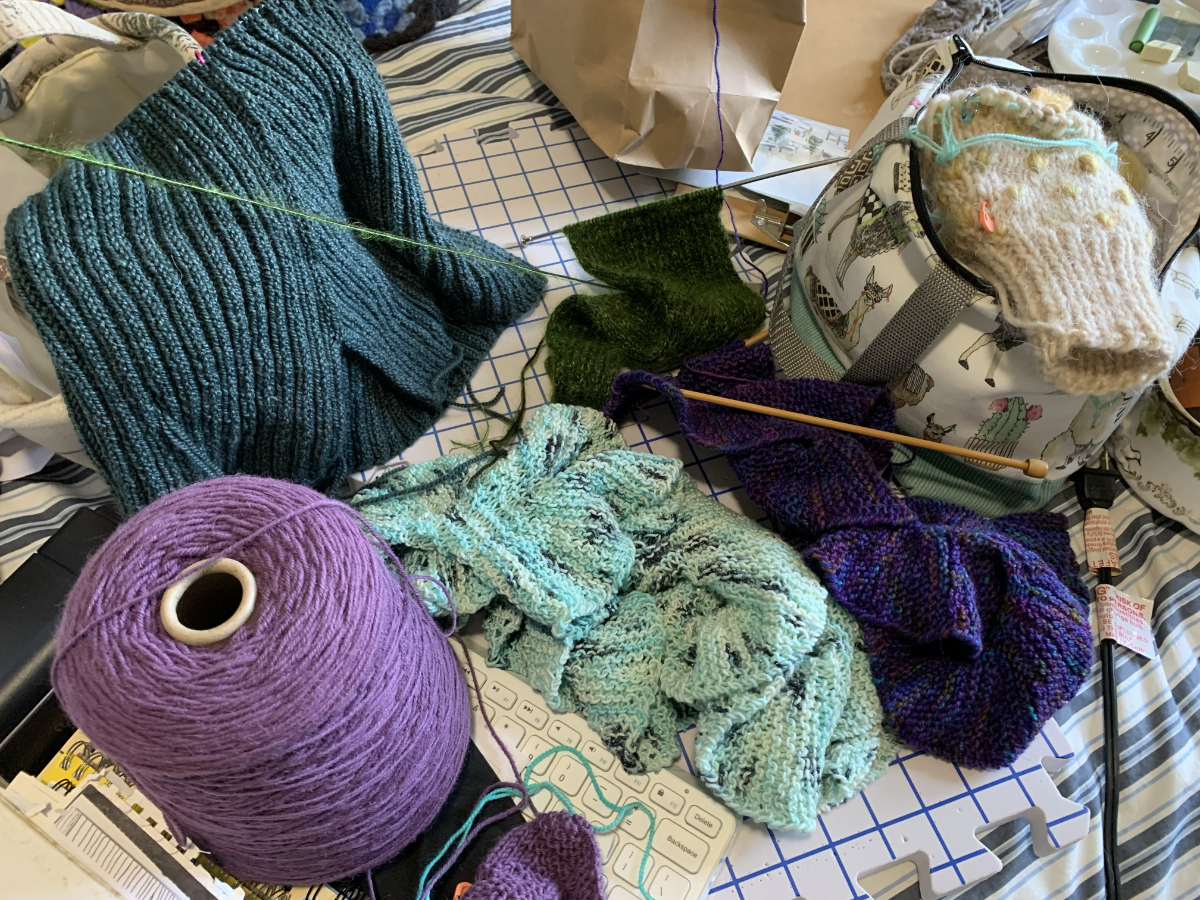
I believe it is actually a good thing to have more than one knitting project going at a time. Often the projects I knit will range in difficulty, and are appropriate for various knitting opportunities.
Being a morning person, tougher projects get attention early in the day. Whenever the yarn is hard to see, I must knit in daylight. I sit by the window and enjoy the natural light. When nighttime rolls around, and I’m watching a show or movie, I need something mindless and simple.
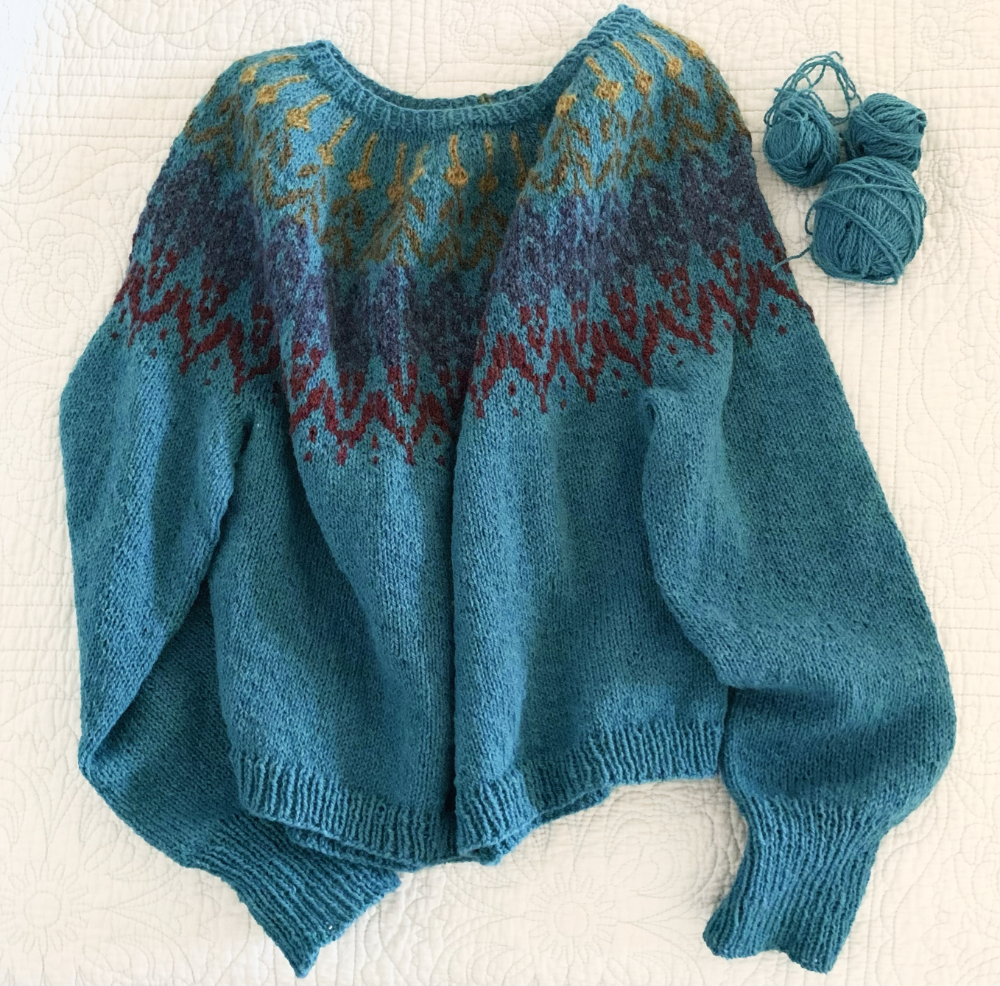
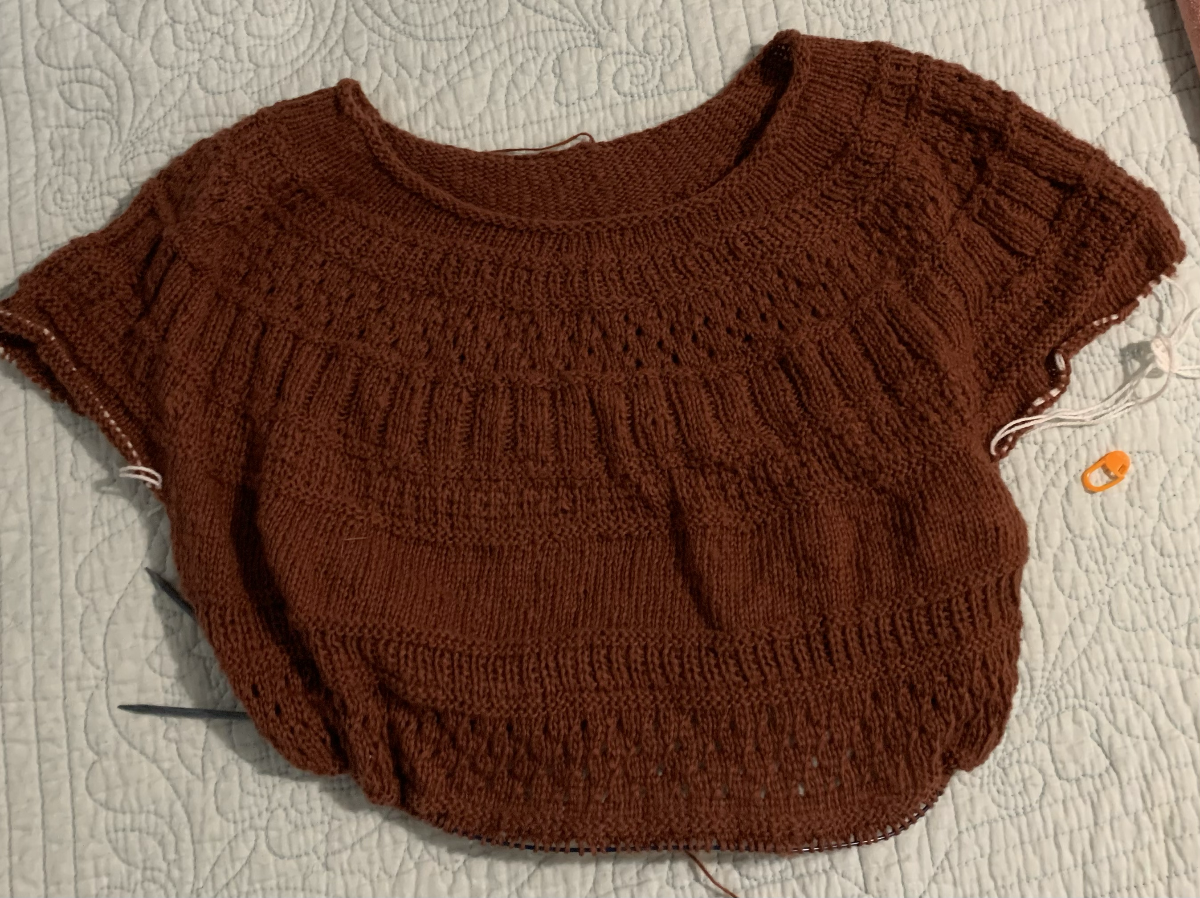
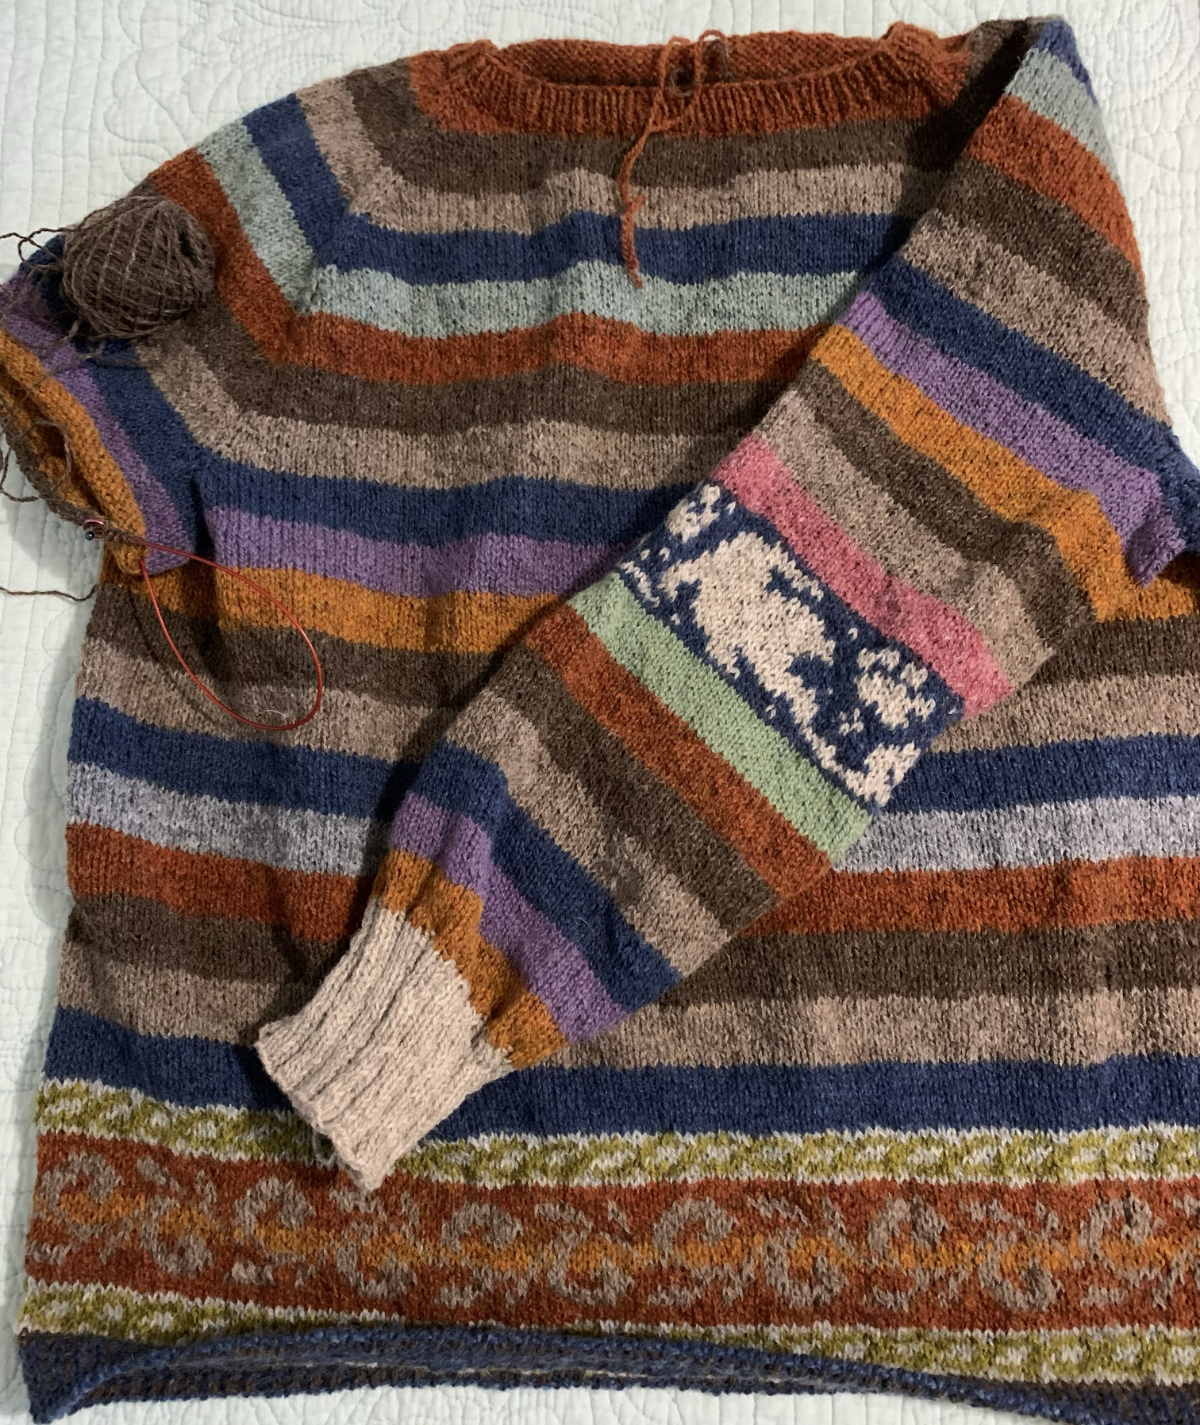
The Knus Light top is a morning project. The dark rust yarn makes the stitches a bit hard to see and the fingering weight means the stitches are small.
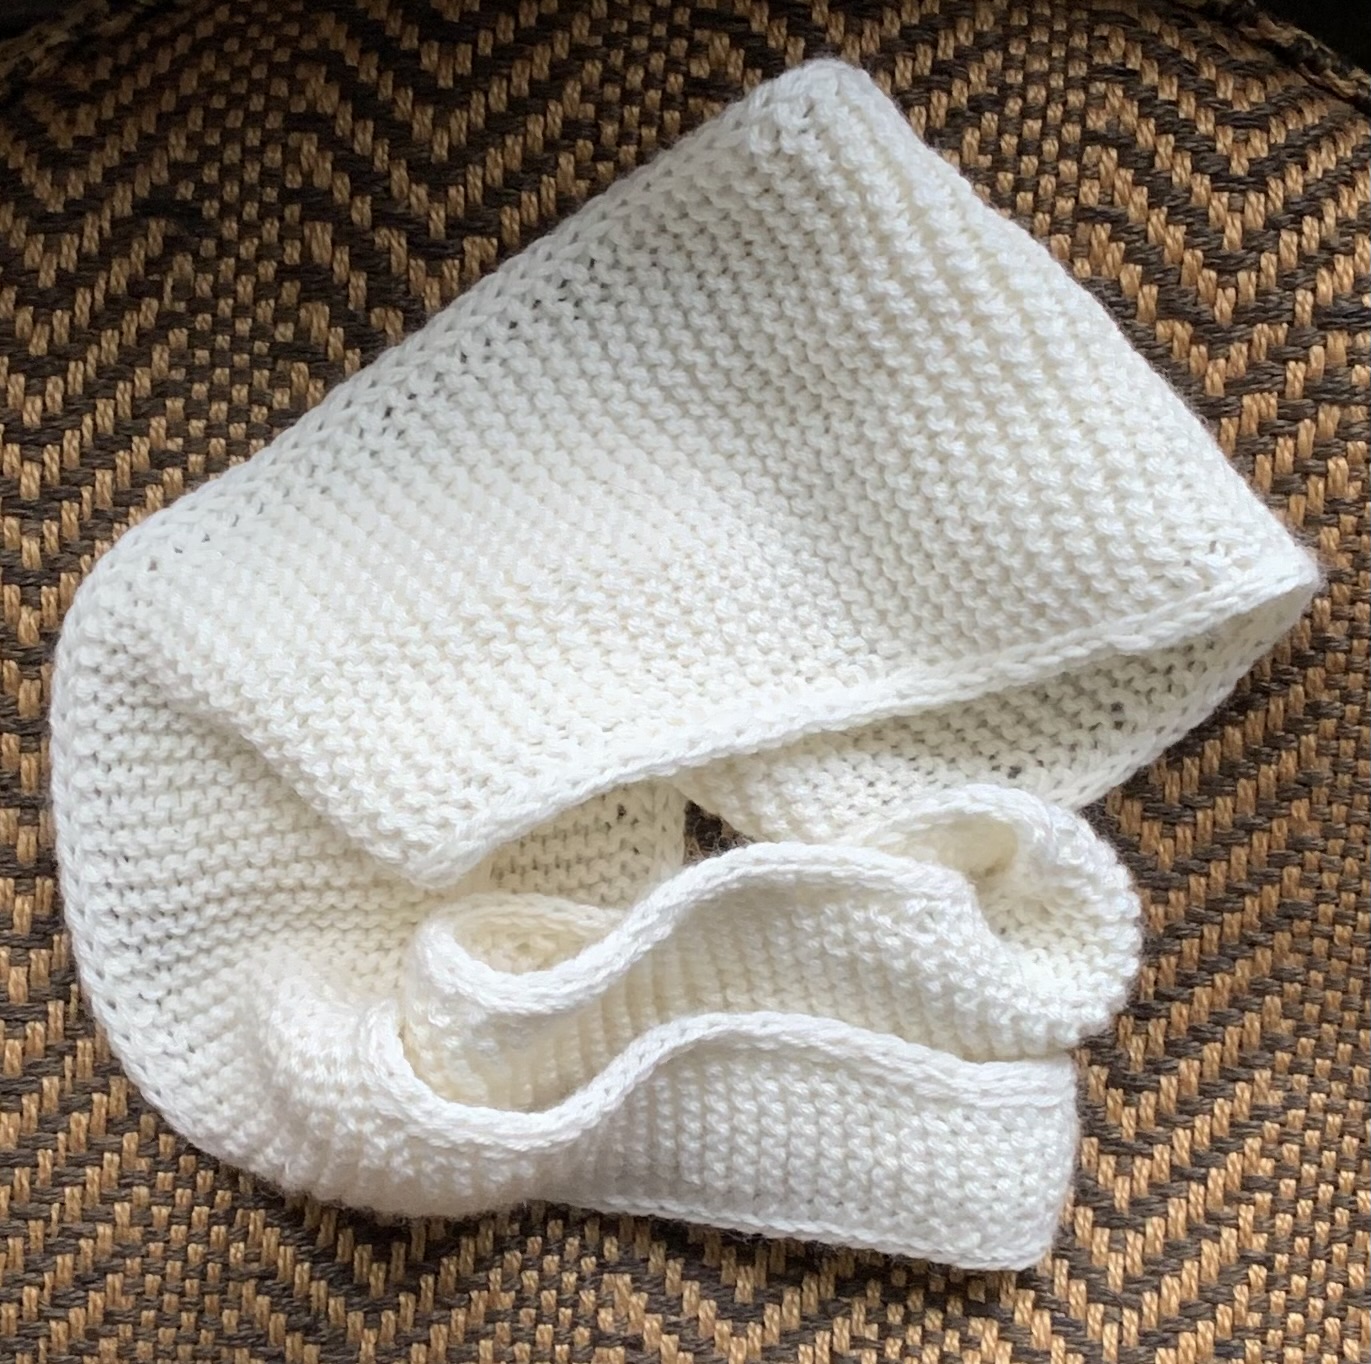
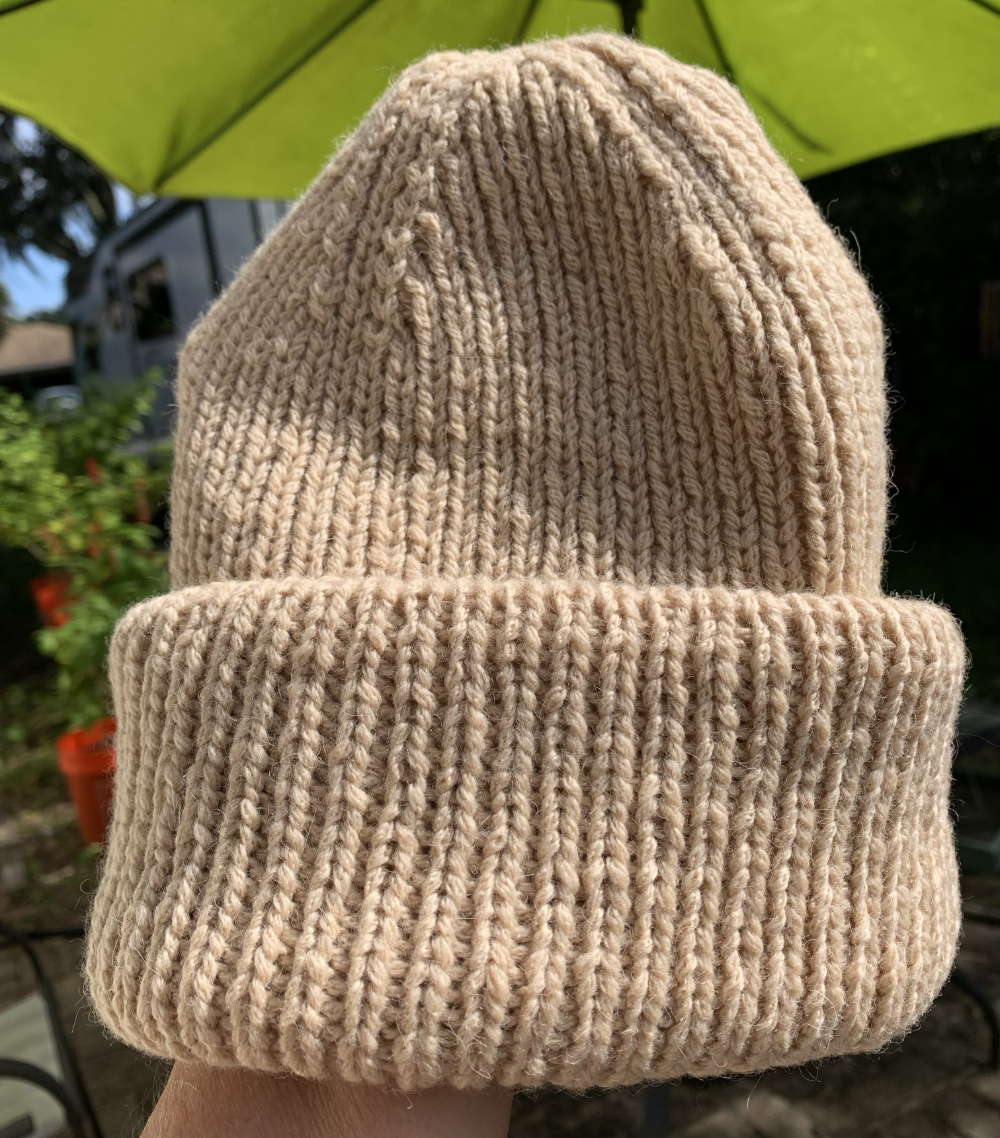
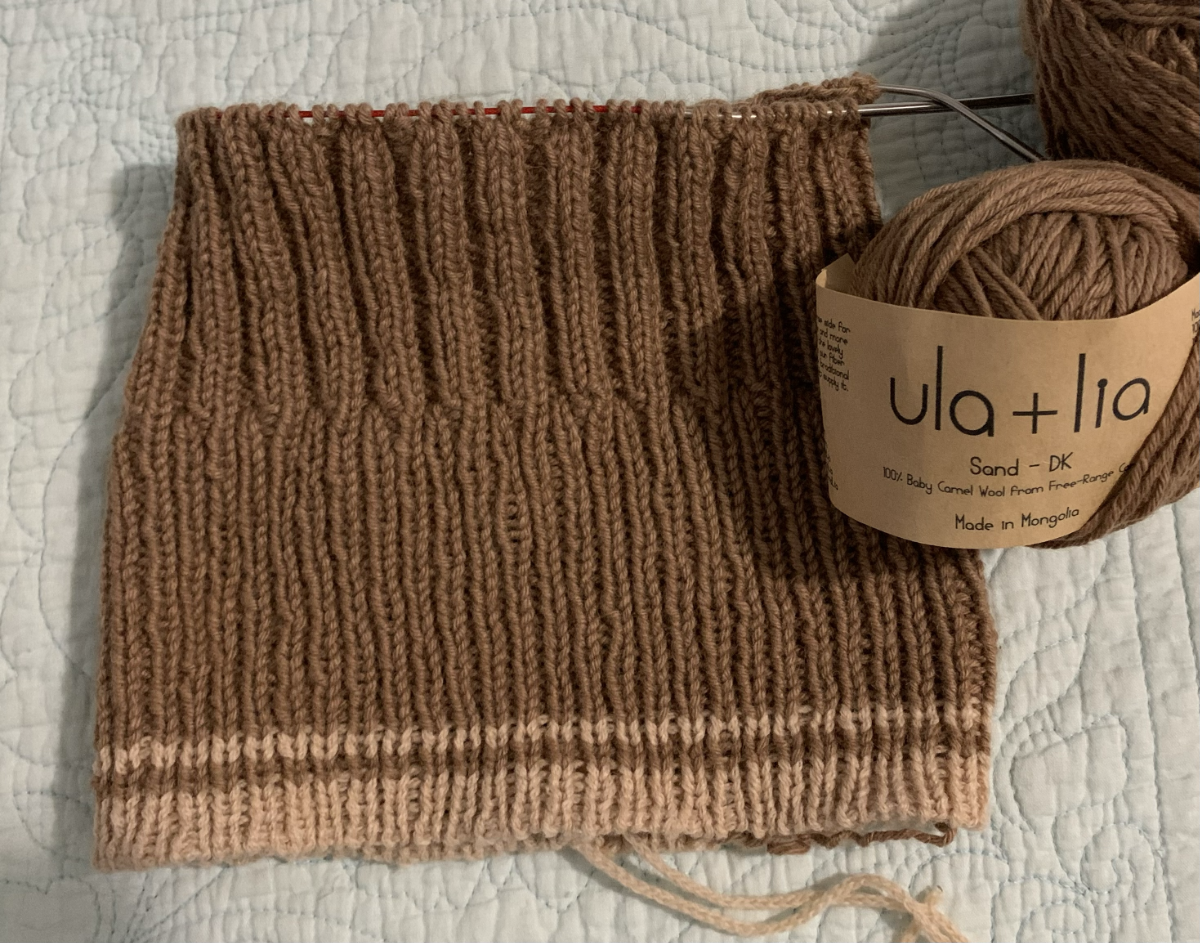
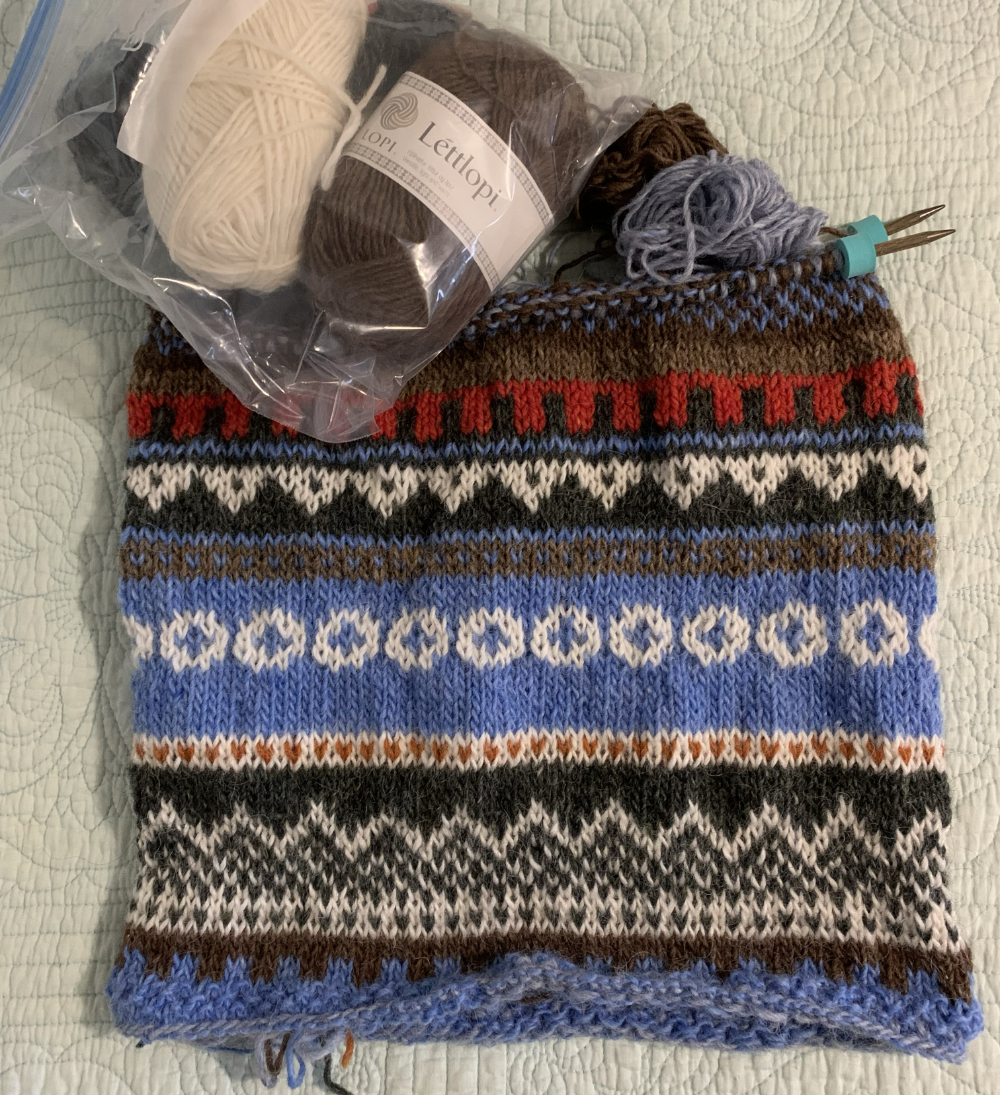
On the other hand, the Dual Loops Beanie is a simple rib – until the crown, which gets finicky. The roundness of the camel hair yarn makes the stitches easy to see even though the color is darker. That project is great for nighttime.
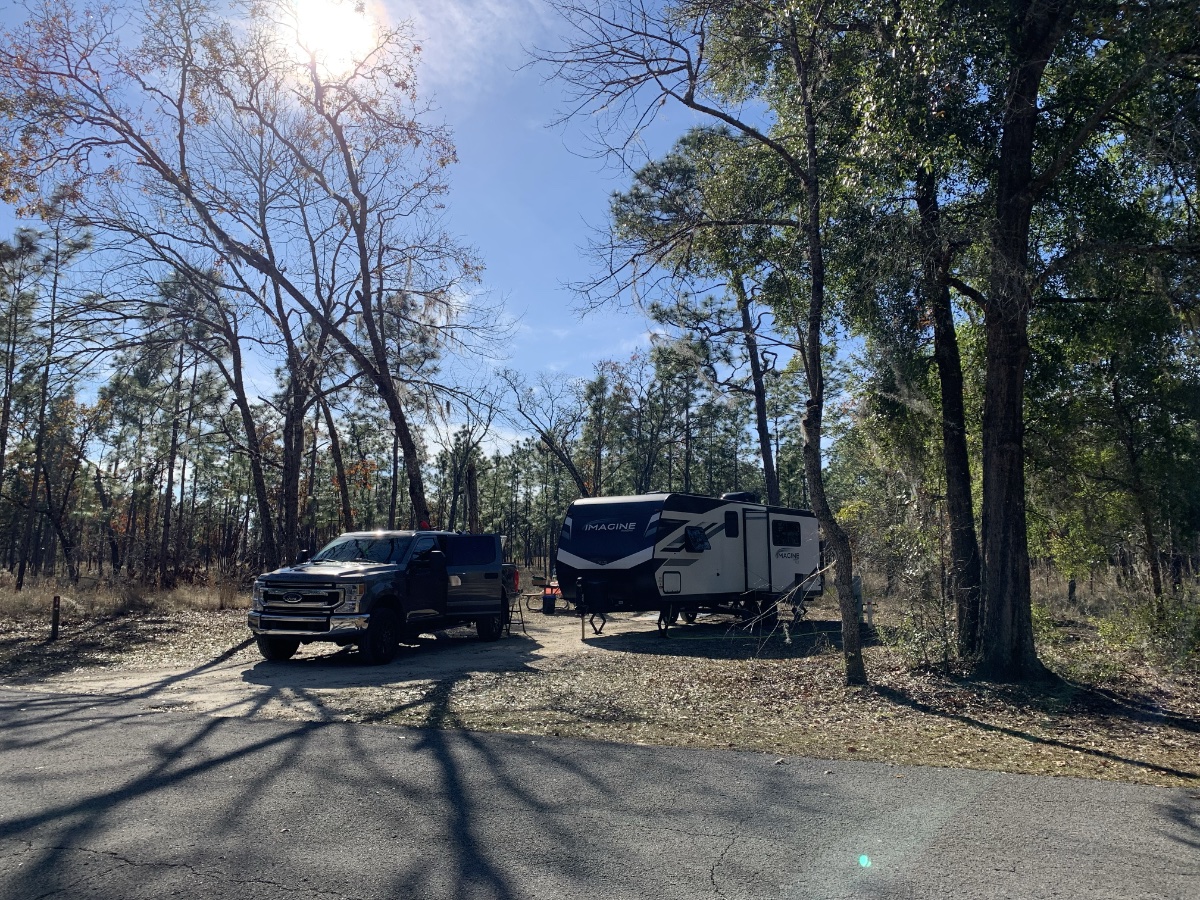
Projects for Travel
Then, we may have the projects that are easy to accomplish while traveling. I personally like stockinette or ribbing. Smaller projects that pack easily include little scarves, dishcloths, and hats. Also, sweater projects where the body is ready with lots of stockinette.
It’s no wonder we knitters have more than one project lying around the house. The availability of needles stops me from having more!
Organizing Our Knitting
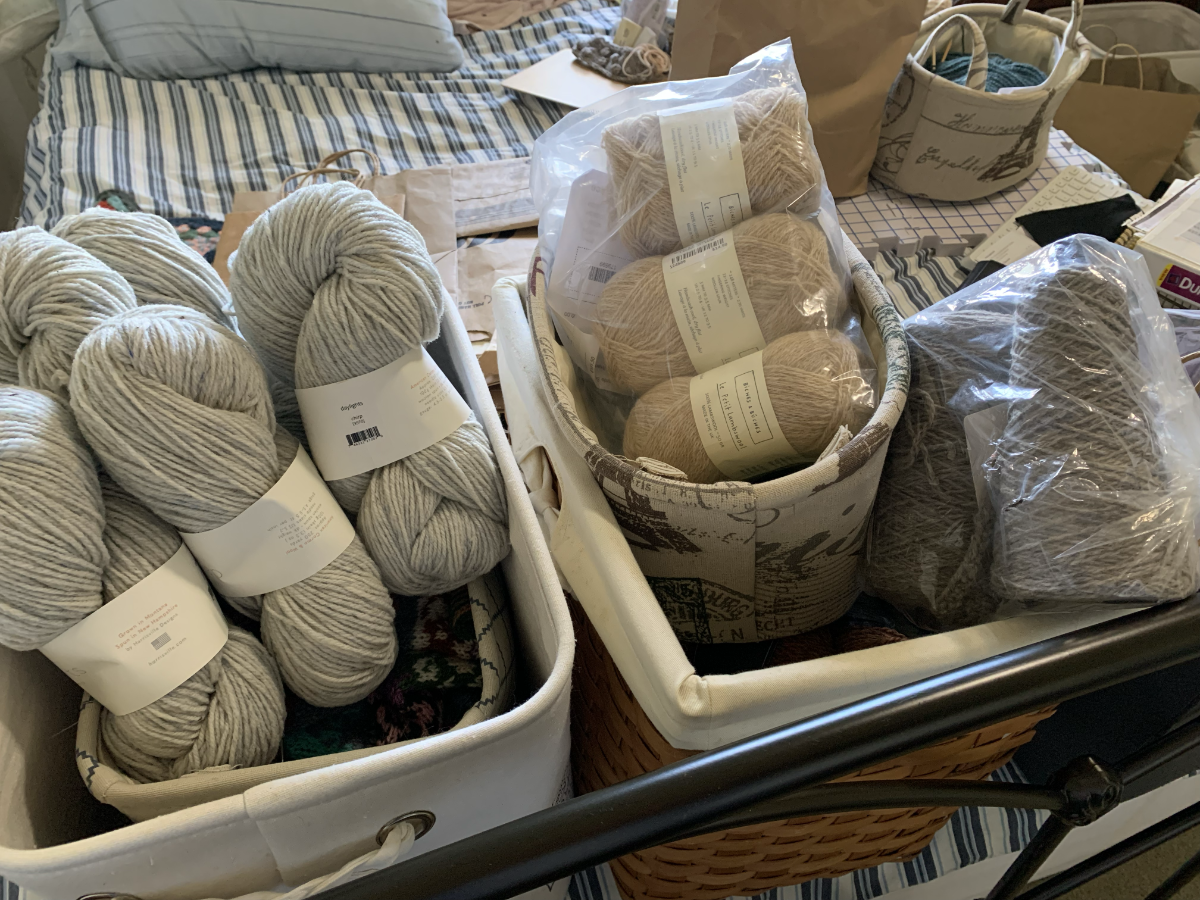
I’m in the process of organizing my knitting room. After reducing my yarn stash, and removing yarn I know I will never use, I feel much better. I want an easier way to store and find my yarn, instead of using bins and bags. My plan is to buy shelves and use baskets.
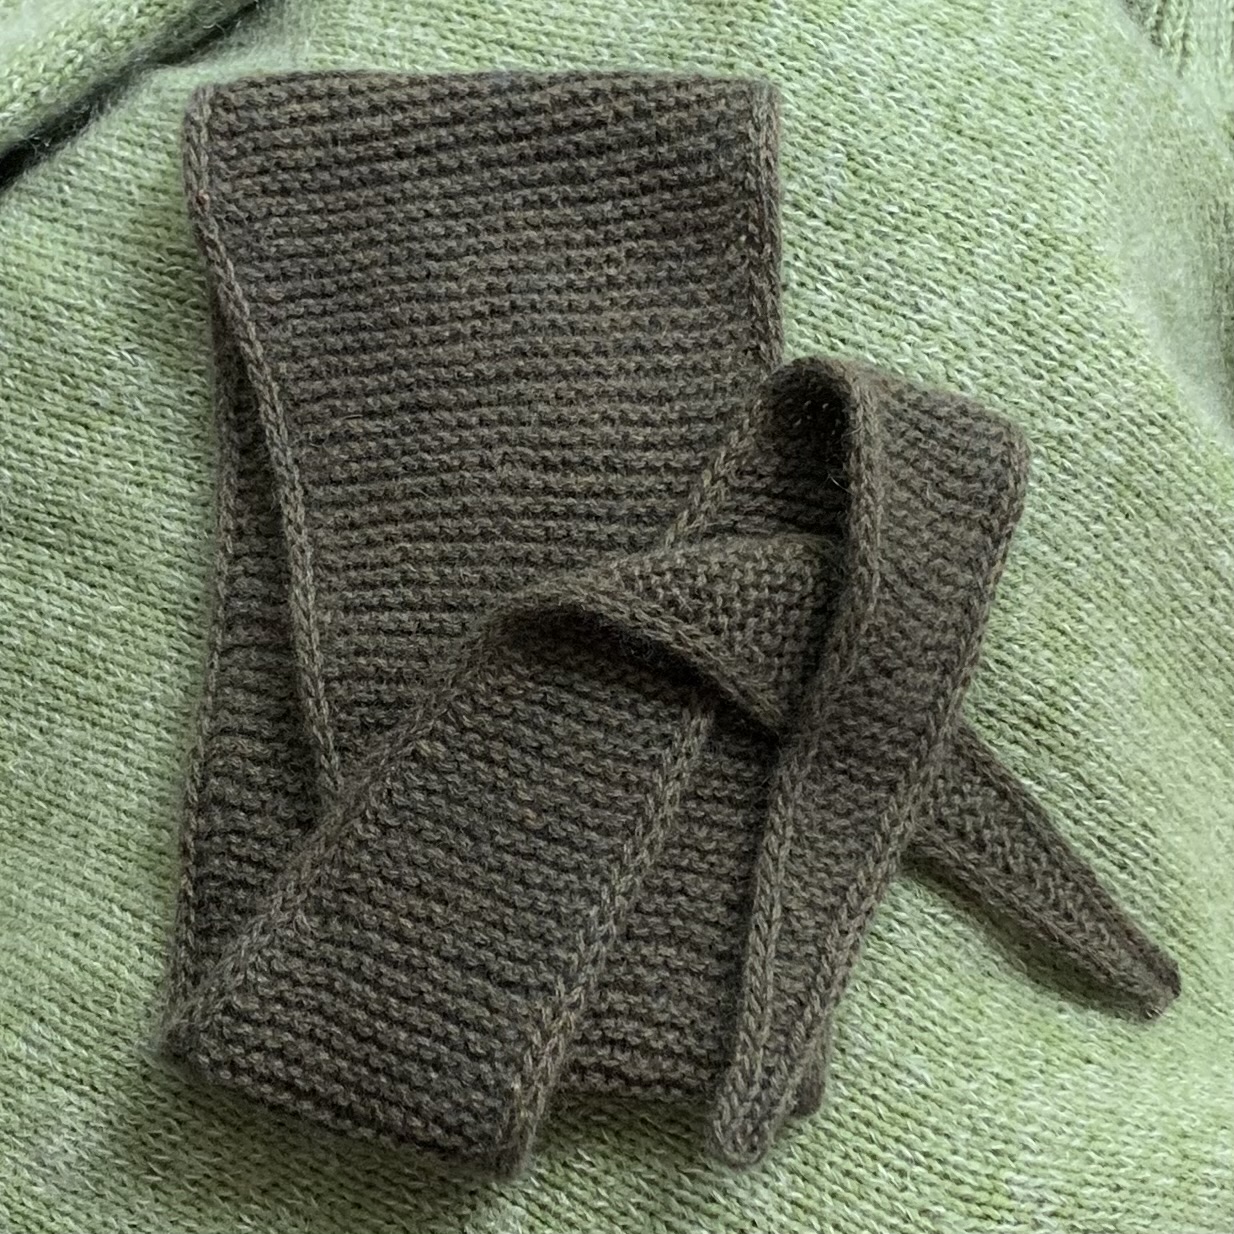
As I am cleaning and downsizing, I’ve come across more unfinished projects. These are projects begun years ago…Do you have those? They aren’t bad, just uninteresting. And because I live where it is seldom cold, the cowl and mitten projects won’t be something I’ll use anyway!
I’m not alone in having many projects going at once. But, sometimes I have to say, time to catch up.
What have you been knitting that fits into these categories? Do you have a favorite take-along item? And of course, how many projects are on your needles! Be honest, we don’t want to feel alone.
Thanks for reading. Here are more posts you might like.


Something went wrong. Please refresh the page and/or try again.