Ever since I knit a little scarf using Pascuali yarn, I have added this company to one of my favorites. The company uses sustainable practices to create the yarn they sell. I have opted in to receive their newsletter. A recent article entitled, “Sharing Isn’t Always Okay” got my attention. It is about the protection of intellectual property, such as knitting patterns, and how patterns should not be shared. Please click the link and read the page if you are wondering what it’s all about.
I was happy to read the article by Pascuali, and can absolutely sympathize with knitwear designers who’ve lost money due to “sharing” of patterns. Getting the word out will be helpful for those who never knew sharing patterns was not a good thing. Knitting patterns are relatively cheap for all the work that usually goes into them. Give the pattern writers the money they deserve, and send knitter friends to the purchase page. It’s only right.

My Own Experience With Copying
I know all about this because I also do online design work. I do not sell knitting patterns, but I sell my graphic designs. I work for a print-on-demand company called Zazzle that uses my designs to sell on products. I make a small royalty for the designs. I’ve been doing this, and mostly making a pretty good living from it, since 2008.
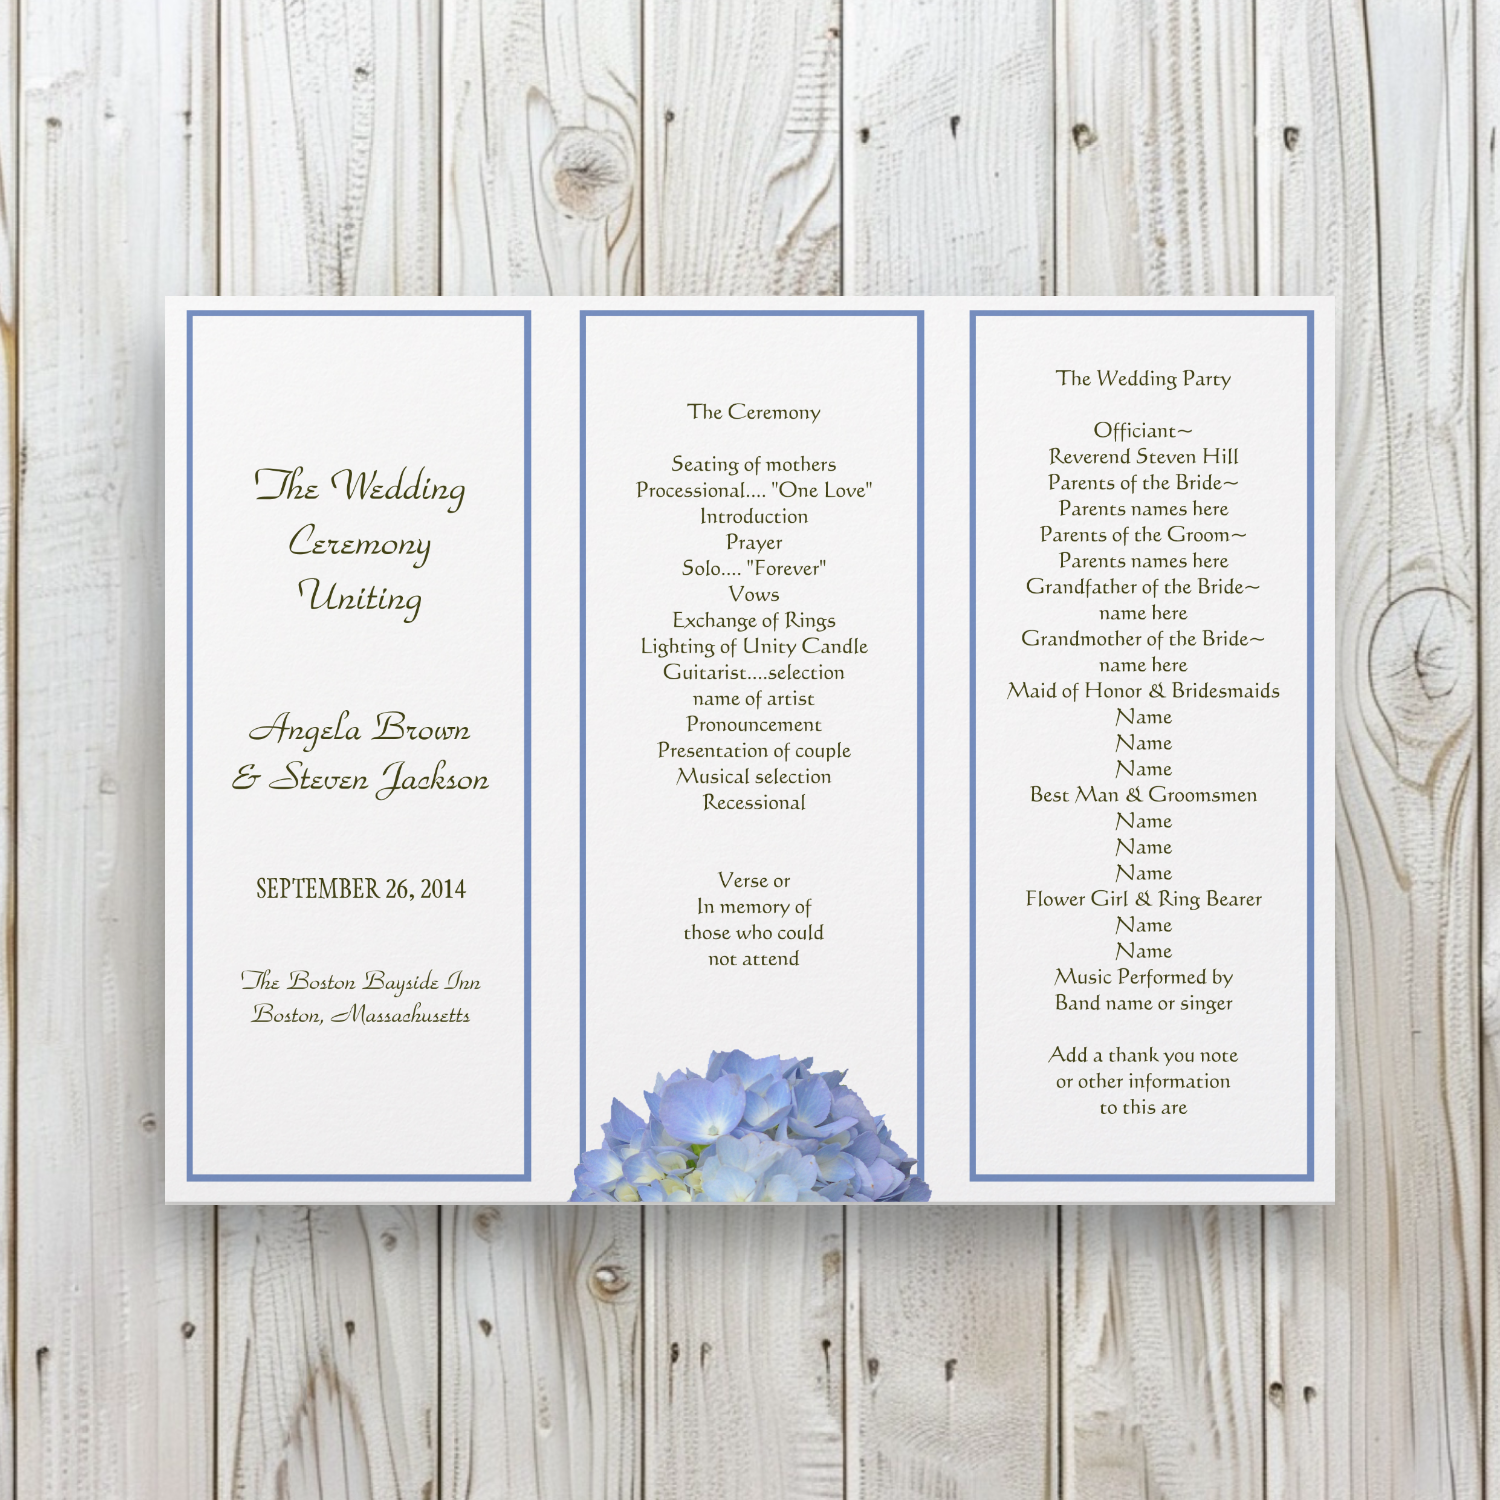
Whenever I see a sale, in my shop, of one invitation, or one wedding program (see below) I know it will be copied. Who buys one of these things? In all fairness, a bride may want to see the invitation in person before ordering more, but I seriously have not seen someone come back and buy hundreds after buying one. The buyer wants a deal. They will copy it and distribute it instead of paying for the required amount.
Even though I can now offer my designs as instant downloads, for one price, to have as many as needed, I still see single invitations being sold. Either people don’t understand that they are doing something illegal, or they don’t care.
It annoys me. Just like I’m sure it annoys knitting pattern writers. We spend lots of time and effort to create something unique and sellable. Whenever that “thing” is shared, copied, and handed out willy nilly, the designer loses money. If you do this, you are stealing. A creation (pattern / design / and much more) is protected as intellectual property.
A while ago I had pillow designs stolen from my Zazzle online store. Someone was taking screenshots and then using the images to sell their own pillows at Amazon. The designs were mine, and they had no right to do that. I used up a lot of valuable time creating take-down notices at Amazon. Sometimes I had to do that over and over before the pillows were gone.
Really, if you work online, and share things for sale, you will become familiar (unfortunately) with thievery.
Sometimes readers of this blog will ask me for a pattern. I always send them to the designer’s page if possible. I’m also skeptical of some “free patterns” and especially those that disappear. Were they actually a rip off of a pattern designer and they got caught? Maybe, and maybe not. I am never going to share a purchased pattern. Buy it for yourself. I write this blog to help knitters decide which patterns they might like to try.
When shopping online we all need to be careful. Making copies takes income away from the designer who is counting on it to keep their small business afloat. Think about this when you pay $6.00 for your next well-written, size-inclusive, and easy to follow, knitting pattern. Someone worked hard to create that for you!
Thank you for reading.
More yarn stories:


Something went wrong. Please refresh the page and/or try again.