New England native, Florida resident. Blogging about boating, beach-combing, gardening, camping, and knitting. Work for Zazzle as a designer since 2008.
After the Autumn Alpine sweater was done – washed and blocked – I was not happy with the neck. It alternates with some colorwork and ribbing and for me, it ended up floppy and IMO ugly.
I suggest you DO NOT try this. It was difficult and I’m still not happy.
I began picking up stitches to rip back, but couldn’t find a good row. I began this 5 or 6 times. Unfortunately, as the sweater is knit top down, there are few places to pick up stitches from a simple knit around row. My choice of yarn was also not helpful.
Just below the colorwork knits and purls is some 1×1 ribbing. I found this video by Very Pink Knits showing how to pick up stitches to hold them while ripping back.
I did not follow this video, but I’m keeping it here because it’s useful.
I didn’t want to do this type of pick up. A simple knitting row would be best. But, beyond the neck stitches the knitting rows include increases and then short rows. In my opinion there was no good place to pick up knit stitches easily. My dark color yarn didn’t help either. My stitches were difficult to see, even on the knit rows.
I am not exaggerating when I say I tried to find a good row – picked up stitches part way around – and gave up —-So many times!
This was a big fat pain in my butt. I probably should have left the thing alone, and simply been unhappy, but I wanted to try. It became an obsession.
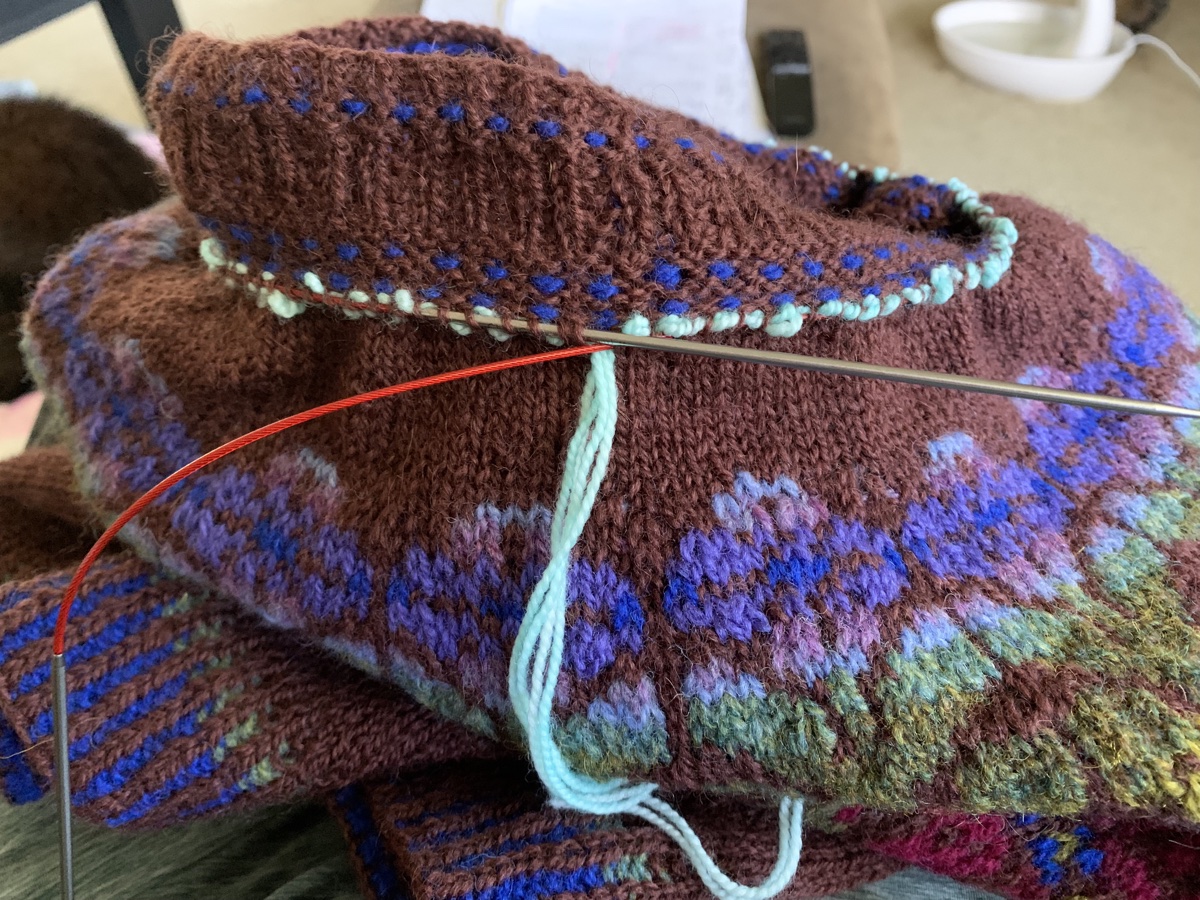
After many tries, I found my way around with yarn and completed a row of stitches. I inserted a smaller needle, and then needed to rip the collar back.
HA! That did not work at all. I couldn’t get the yarn to unravel, so I ended up having to cut the collar off —- and I tacked it down when the neck was done. This was becoming a complete disaster..!!!!!
In the photo below I had begun knitting around and around to make the rolled collar. See the old collar turned under?
I’m not going to go on and on about this because it’s too depressing. The end result is not great either and this sweater has so many bad knitting memories, I don’t know if I will ever wear it, but I do like that colorwork.
This one might make a nice topper over a long sleeve to wear one of the very few cold mornings we have here in Florida.
The nicest thing about this sweater is that it is now IN MY PAST, and it’s time to move on…. YAY.
Knitting with confidence, and making modifications to a pattern, can take courage.
Knitting modifications (mods) are changes made to a pattern. The happy outcome of knitting regularly for a few years is that I now have some confidence to make my own mods.
Often a knitwear reviewer will tell others what types of modifications they have made and why. Sometimes this information is helpful, such as if a wider sleeve is preferred, or making a different cuff ribbing, or wider neck opening. They may have a suggestion to make a particular stitch in the pattern easier to do.
In the beginning of my knitting journey, I had to follow a pattern exactly. If I made a mistake of any kind, I would try my best to get past it, hoping it wouldn’t be too noticeable.
Now, it is nice to know the basics of how a sweater (for instance) is put together. I know that I can pick up extra stitches under the arm to close up the holes, and then compensate by decreasing as needed. It’s a very simple thing, but beginner knitters have enough on their plates without having to figure something out in a pattern!
Truth be told, I am not advanced enough to make changes other than simple ones, but the more I knit, the more confident I have become to change things up.
Re-knit Some Favorite Patterns Using Mods
I’ll bet that most knitters end up having a few favorite knitting projects. I certainly do. And, I have favorite parts of patterns I’d like to use for something else.
I mostly knit sweaters, but this applies to anything. A good length sleeve with a pretty rib can be applied as an alternative in a different pattern.
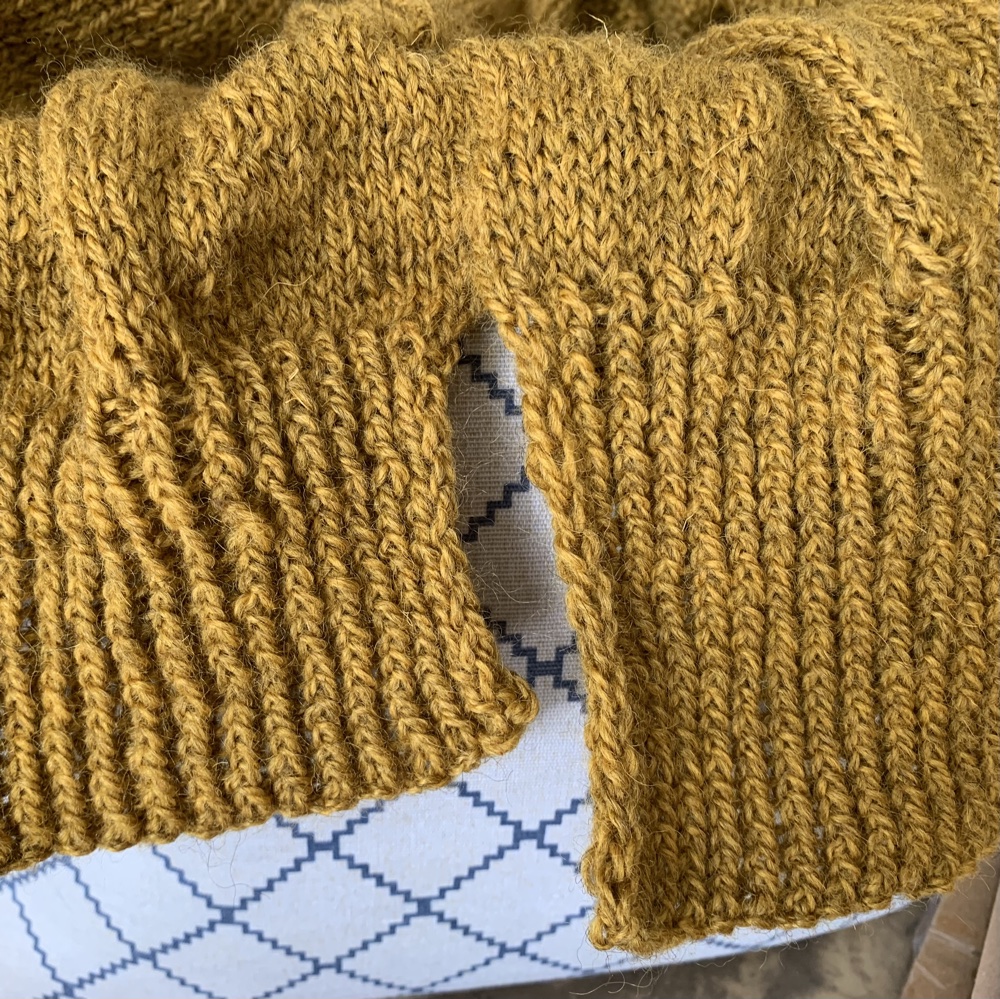
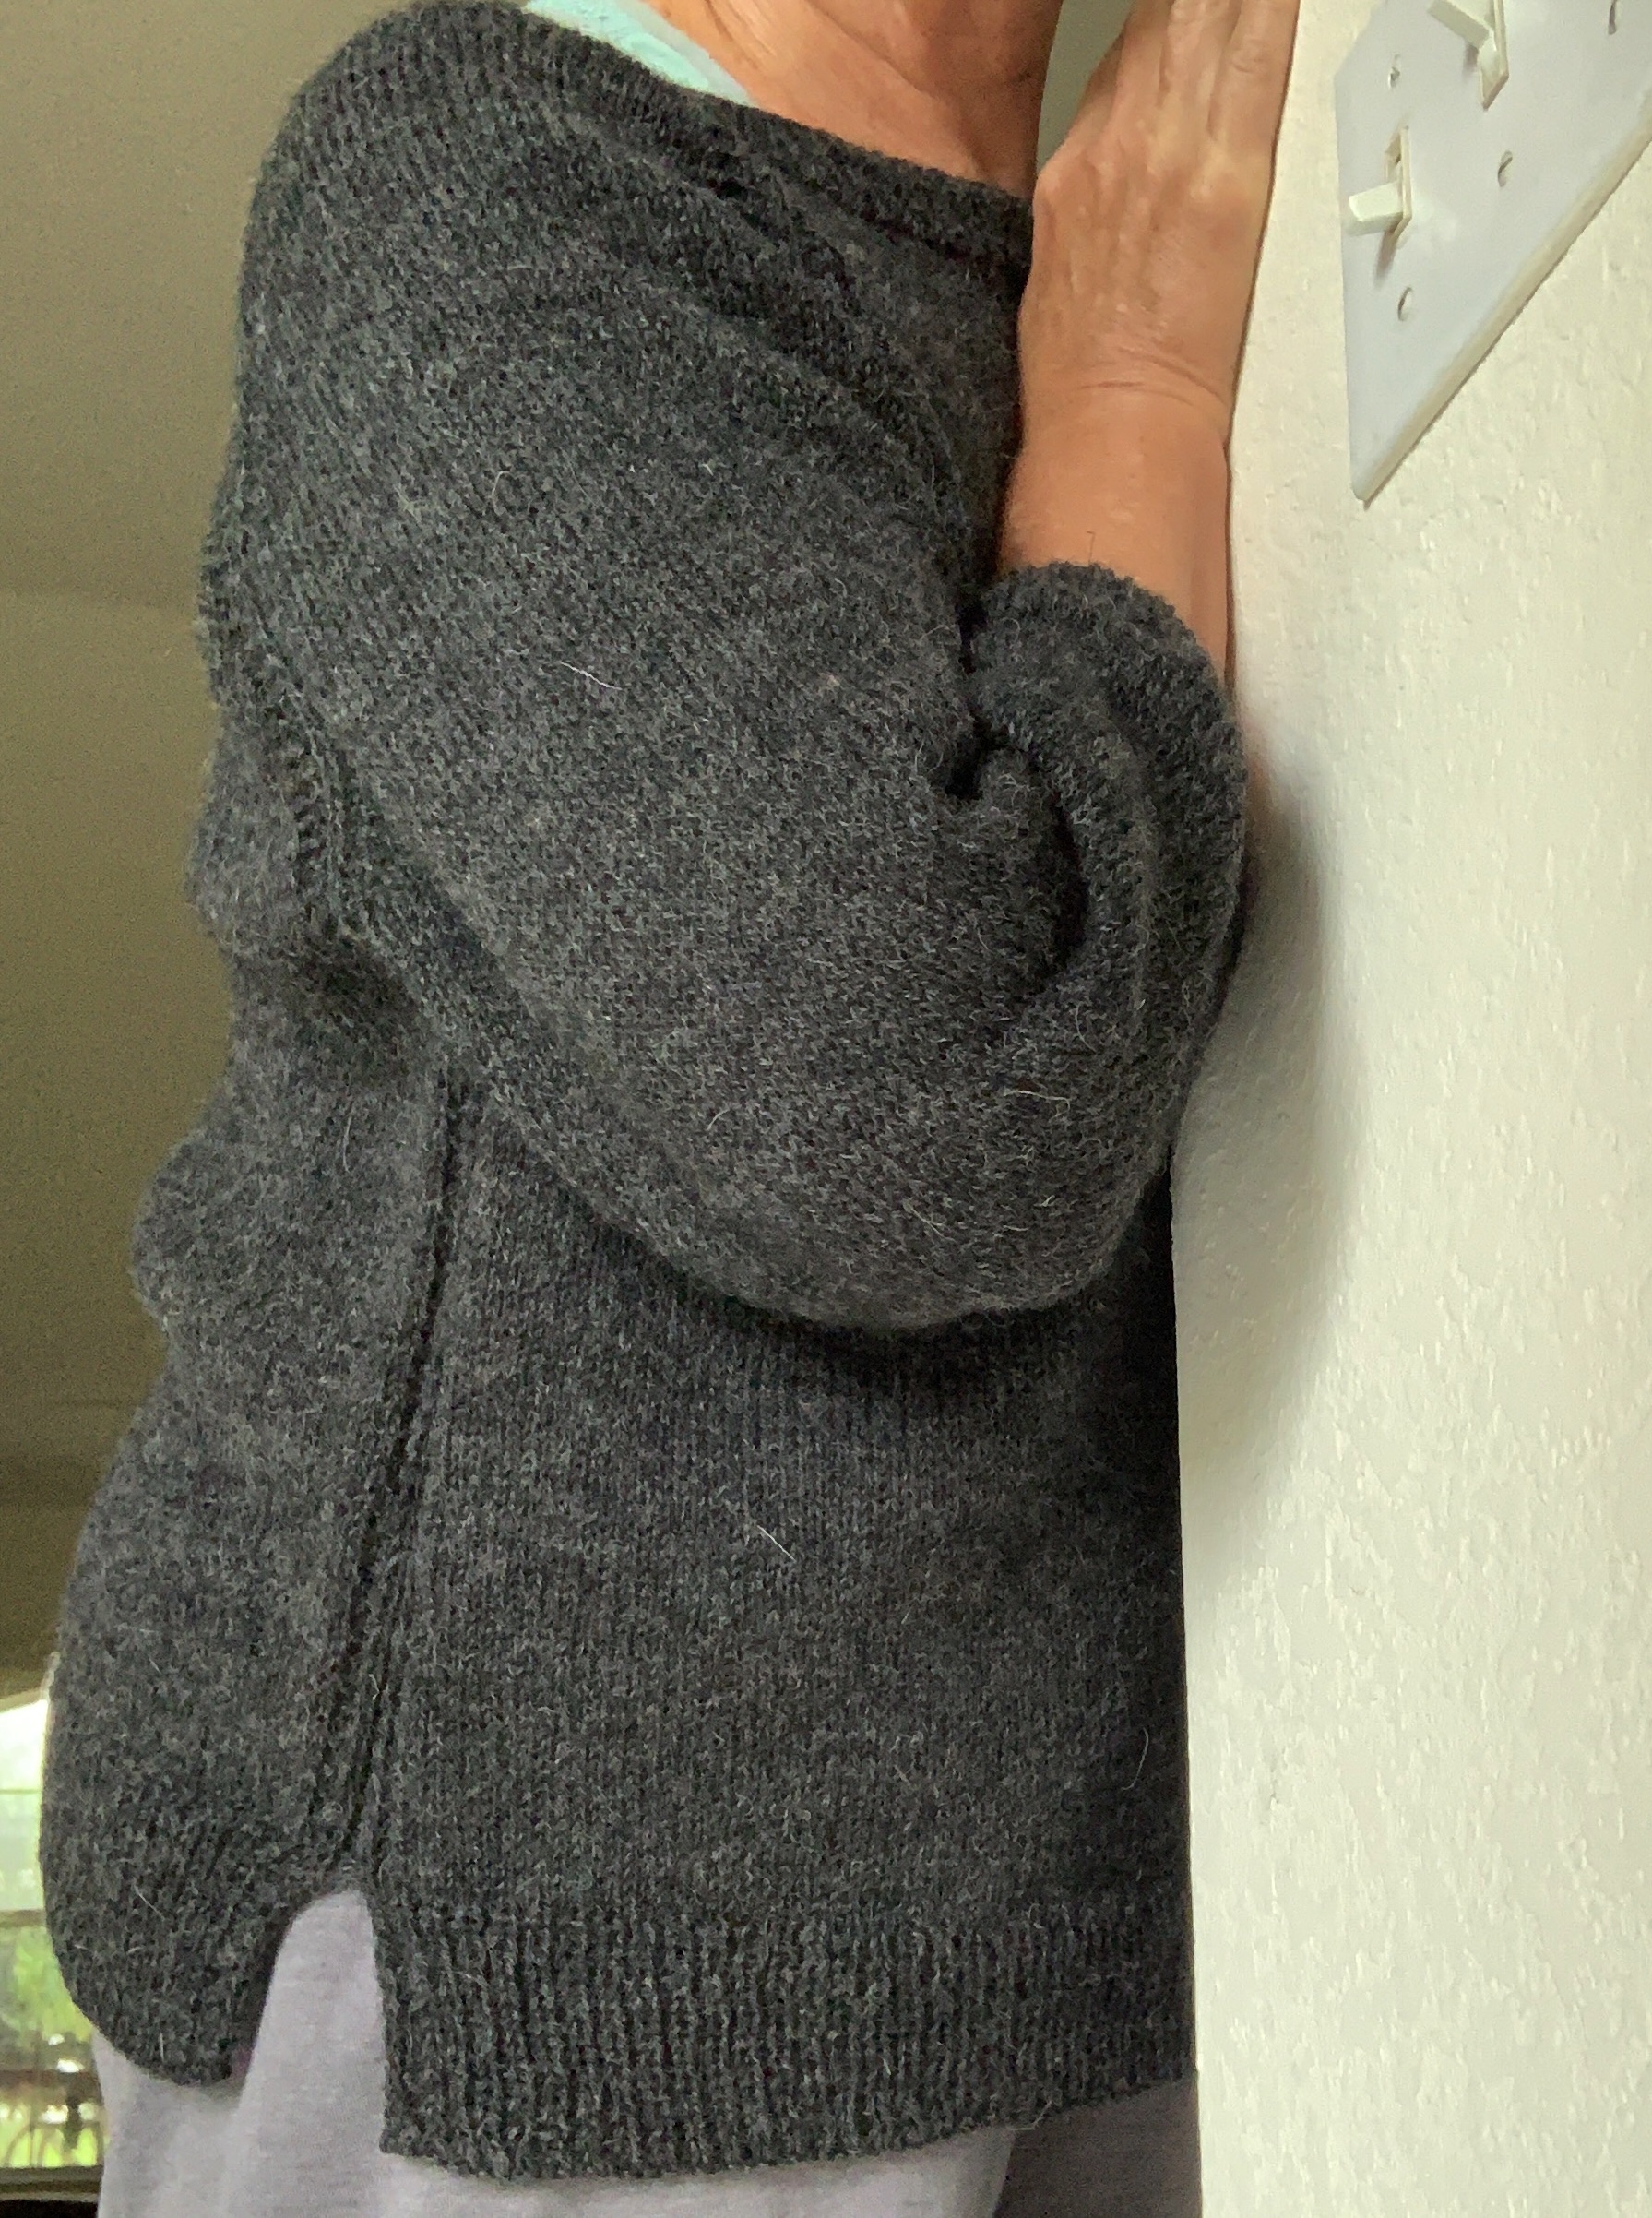
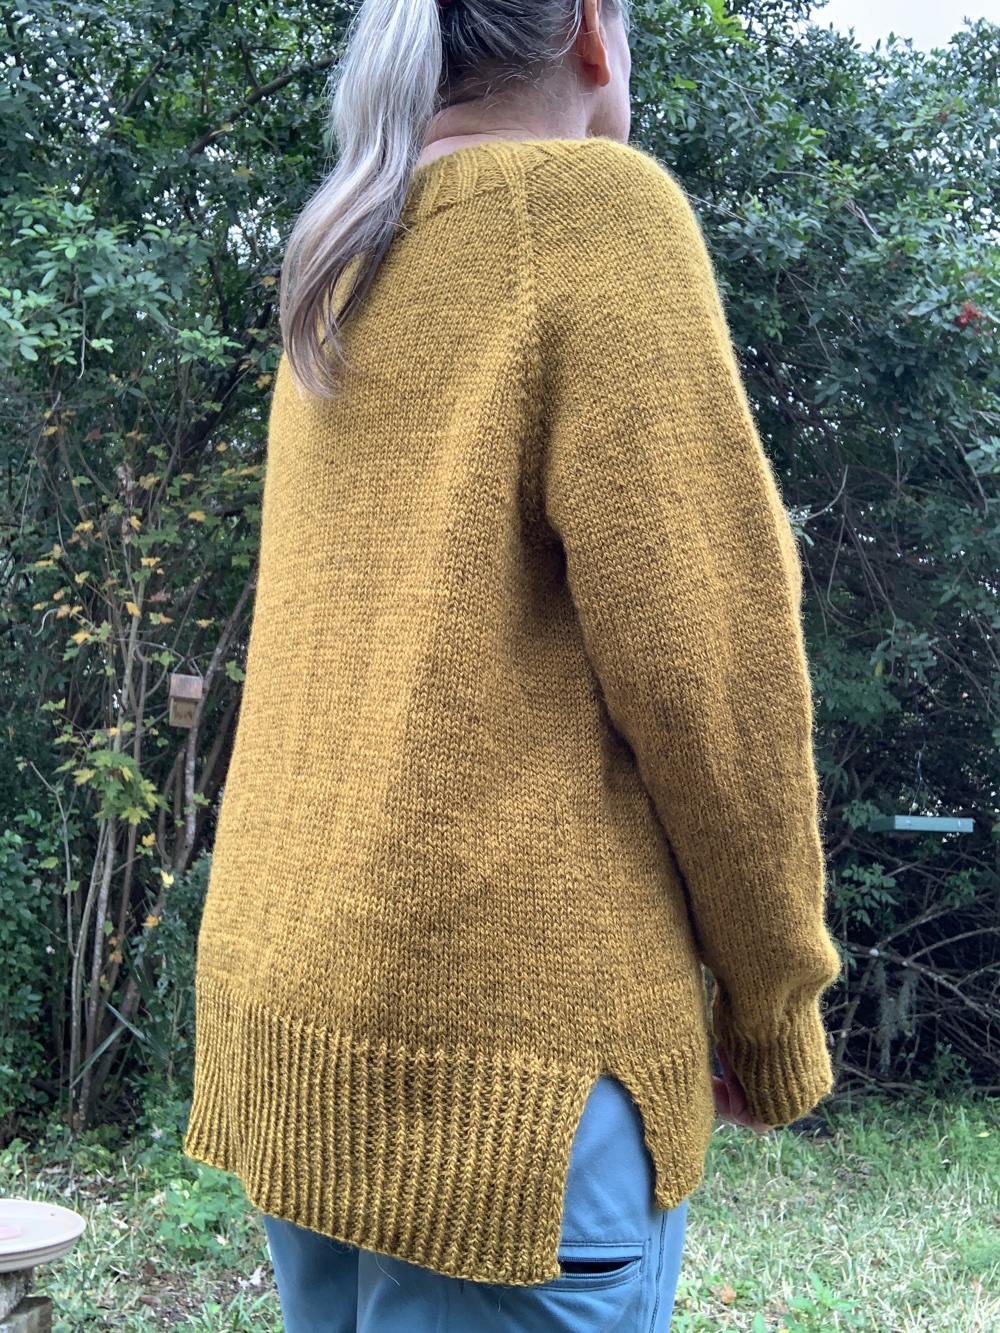
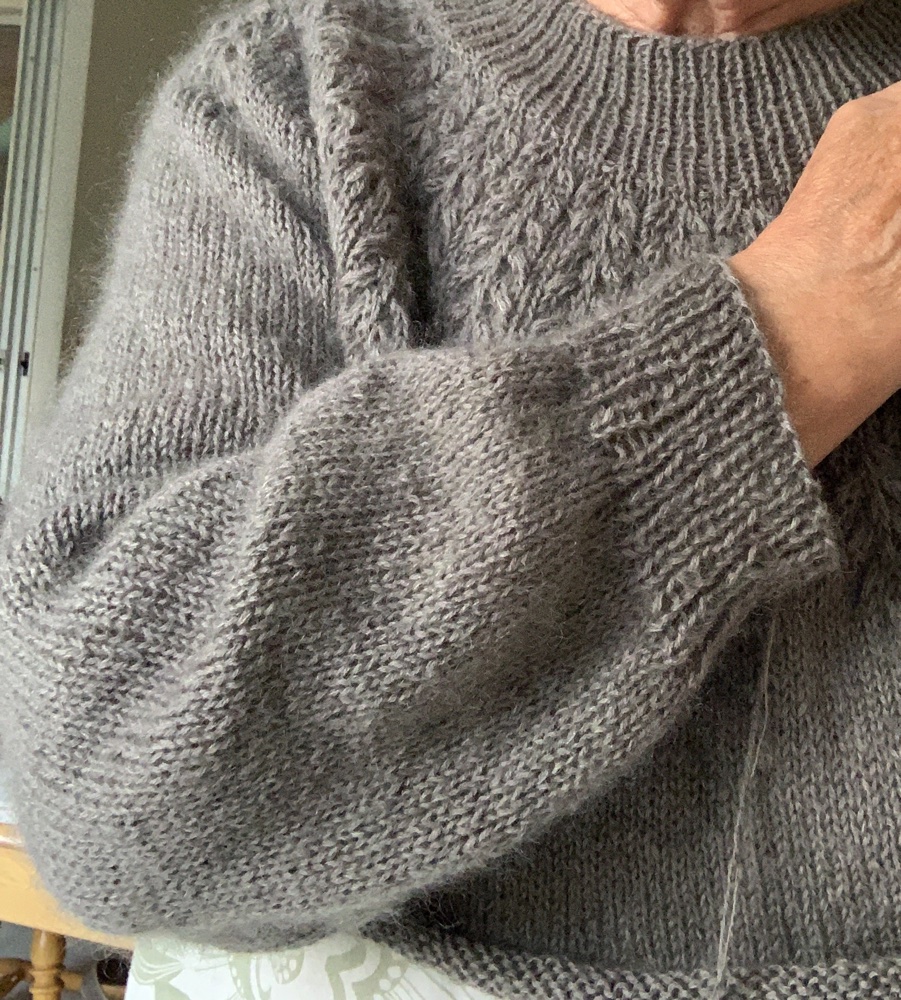
For example: I’ve re-knit the Calliope sweater in gold, and added different sleeves and body ribbing. I also added a split hem because I had just finished knitting a sweater that had a pretty split hem (Blueberry Vodka Lemonade Pullover – gray sweater below). I took some of the information from one pattern and incorporated it into another. The Calliope has a beautiful neckline. I may knit this one again one day.
split hemSplit hem – made longer in the back
The more patterns I acquire, the more I learn. Usually, when looking for a new pattern to buy, I try something different to expand my knowledge. Every pattern gets printed out, and I make handwritten notes all over it. I try to keep track of favorite parts to possibly use elsewhere.
Remember, do not share specific pattern notes and instructions written by a designer. They work hard to come up with patterns that knitters will want to buy. Patterns are relatively inexpensive. Support designers by purchasing a pattern you love.
Making a Second Warm Up Sweater, With Mods
I already have plans (yarn on the way) to knit another Warm Up sweater (link goes to pattern page at Ravelry). This time I will do a different neck opening. I’ll also do a little colorwork among some stripes. My plans for this are still rolling around in my head.
The Warm Up Sweater is a pattern by Espace Tricot. I highly suggest it if you like a roomy “sweatshirt” type garment for cool days. It is a very basic pattern and includes short rows for a comfortable fit. See my review blog post here.
Warm Up, worn firesideA great sweater
My brown and tan striped Warm Up is a fabulous and warm pullover. It came out nice and big, and the Lettlopi wool is one of my favorite yarns. I chose this pattern to use up some yarn I already had. (The pattern used to be free, but no longer is.)
Even though I live in Florida, I wore this sweater on cold evenings by the fire in our yard. We took a January camping trip, which turned out to be cold and rainy, and I wore it all the time. Wool is wonderful for repelling water, and it drizzled for most of our trip! I love the big, roomy style… and now, I want another, but with a new type of neck opening.
Do You Make Mods to Patterns Frequently? Which are Your Favorite?
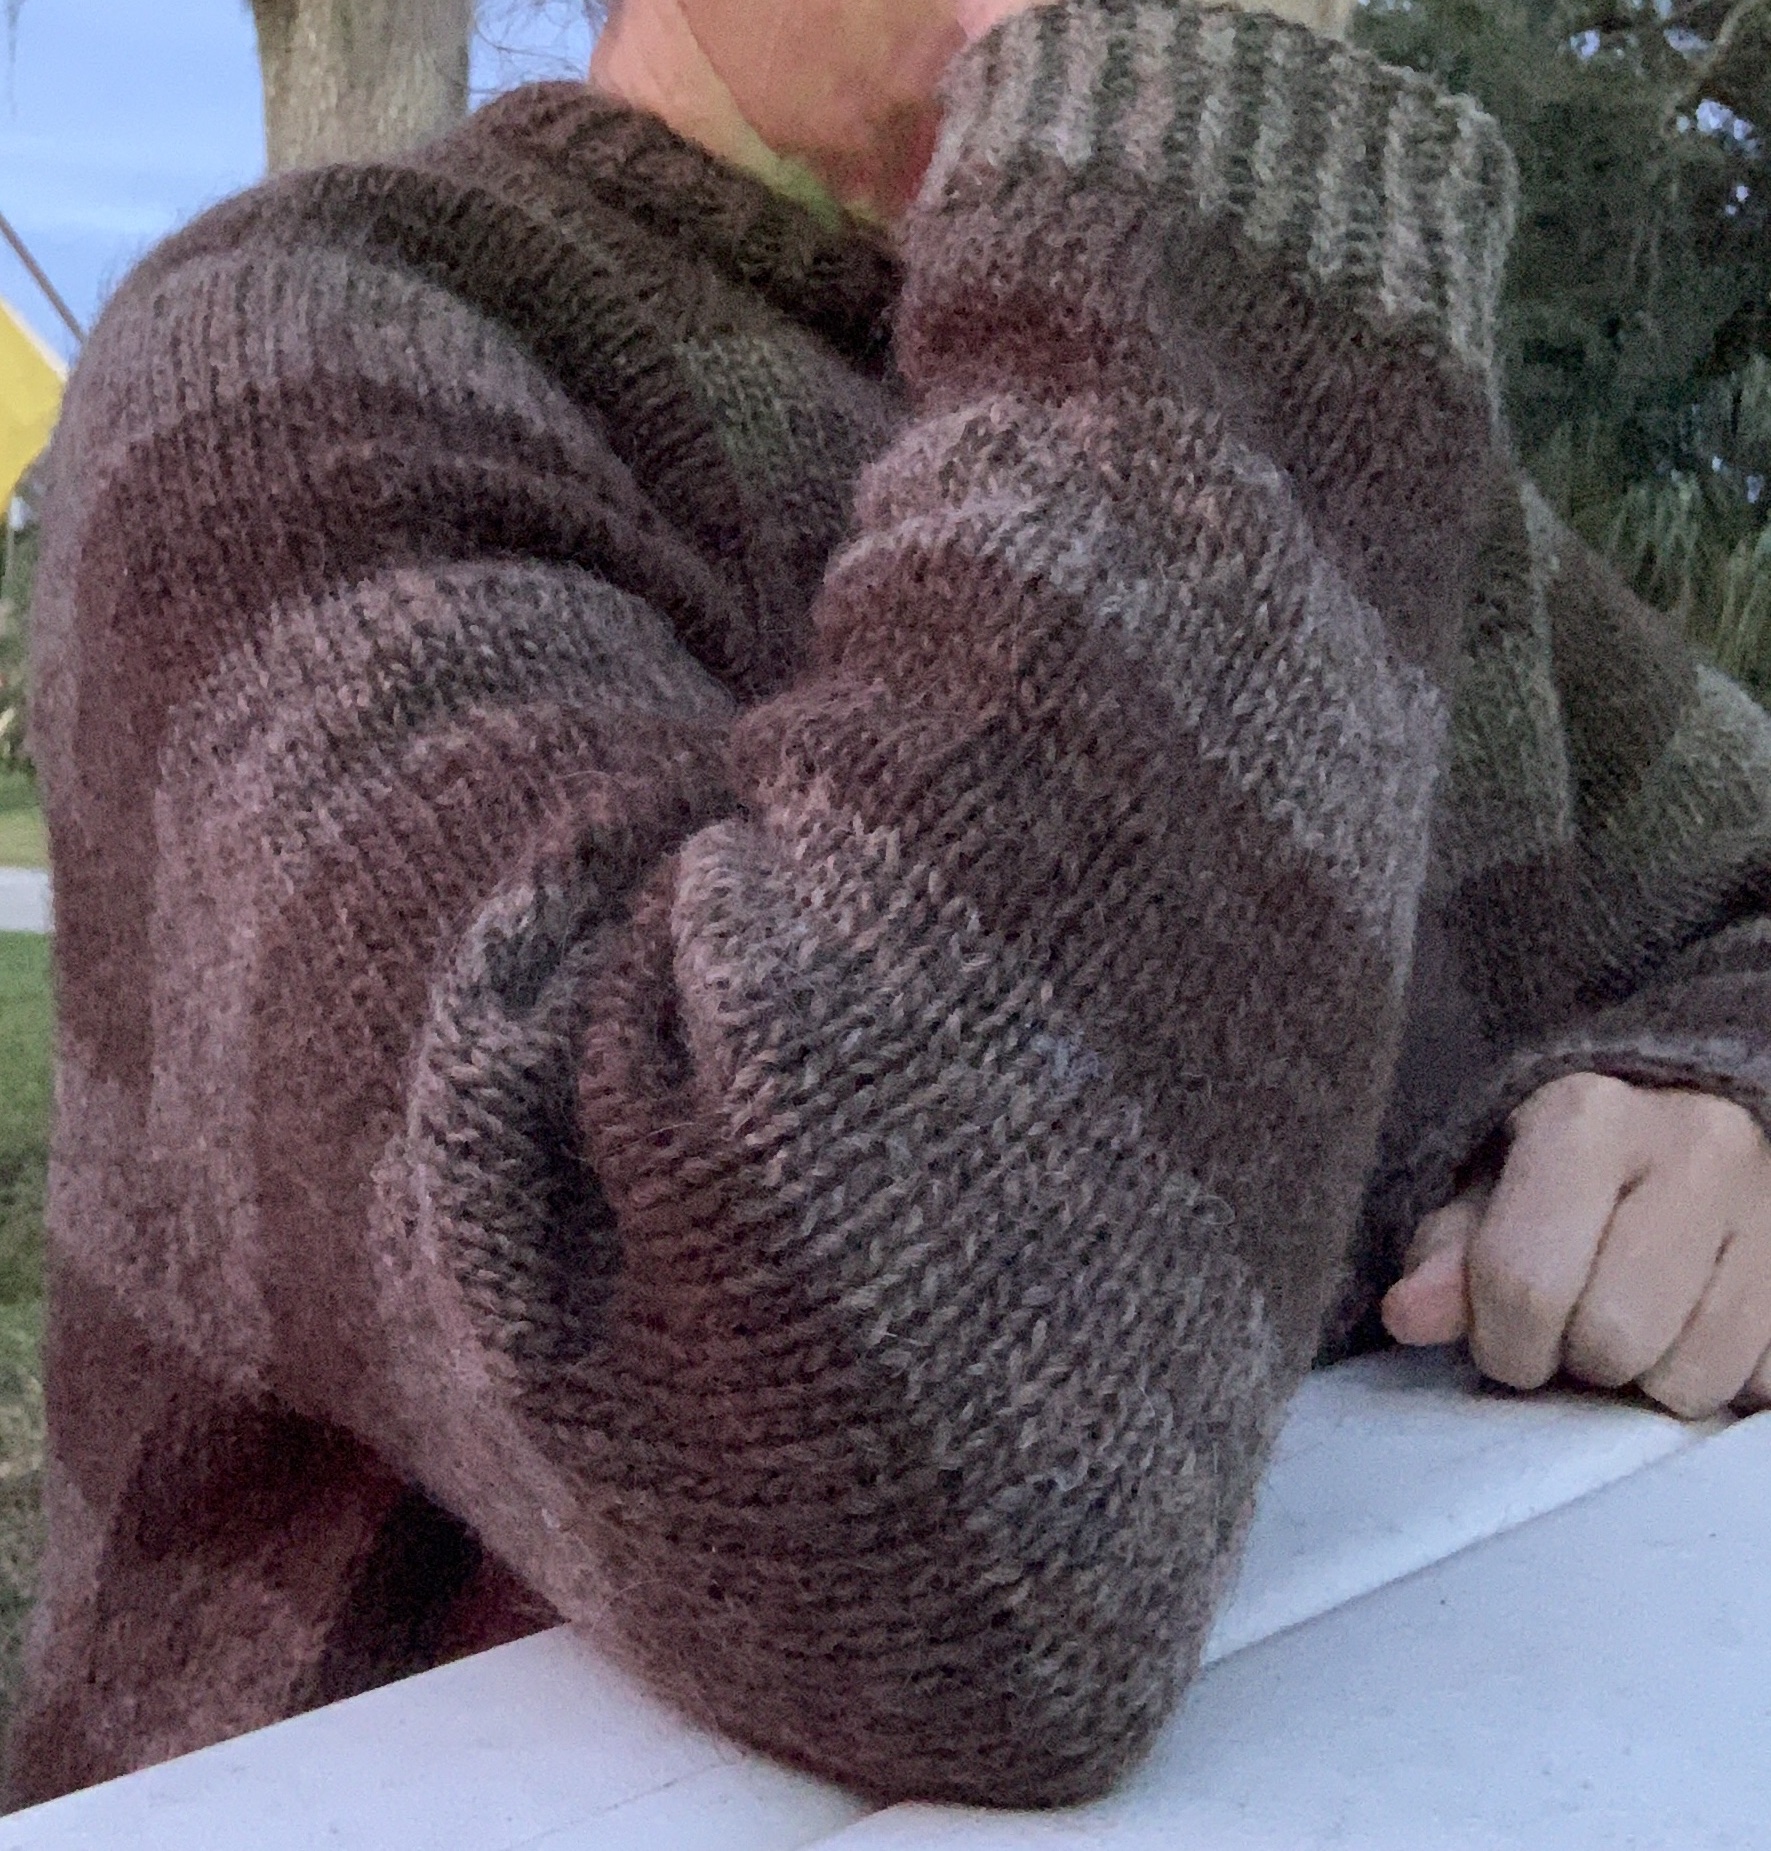
One modification I have begun doing more frequently is on sweater sleeves. I don’t like a fitted sleeve. A little roominess is needed if the sweater is layered. I changed the sleeves on my Field sweater, and I’m glad I did.
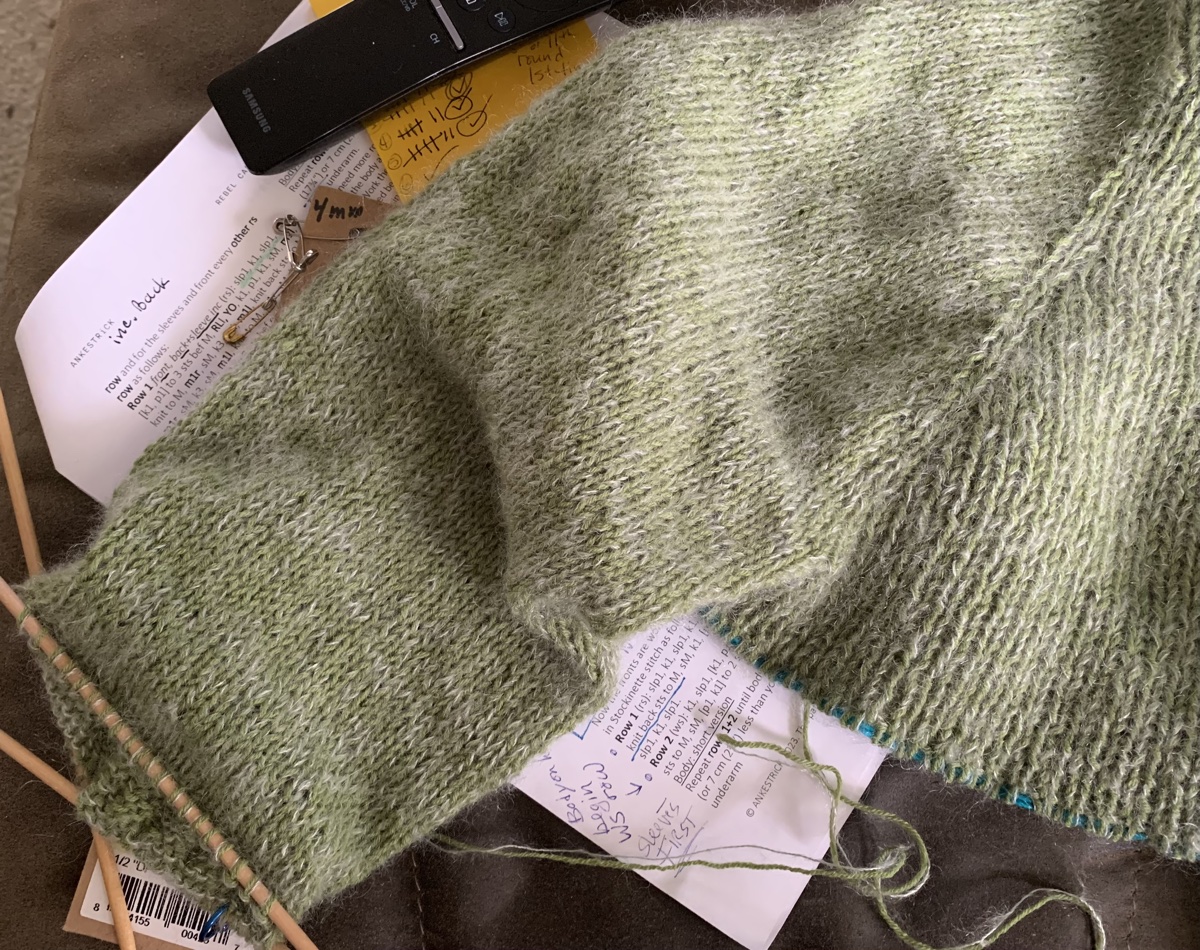
I’m currently knitting the Rebel Cardigan and I’m also making the sleeves a bit wider. Wider sleeves simply means I am not doing all the recommended decreases. The sleeve won’t taper as much as called for.
Field sleeveRebel sleeve
Once you have some knitting experience, don’t be afraid to make little changes to patterns. It will build knitting confidence!
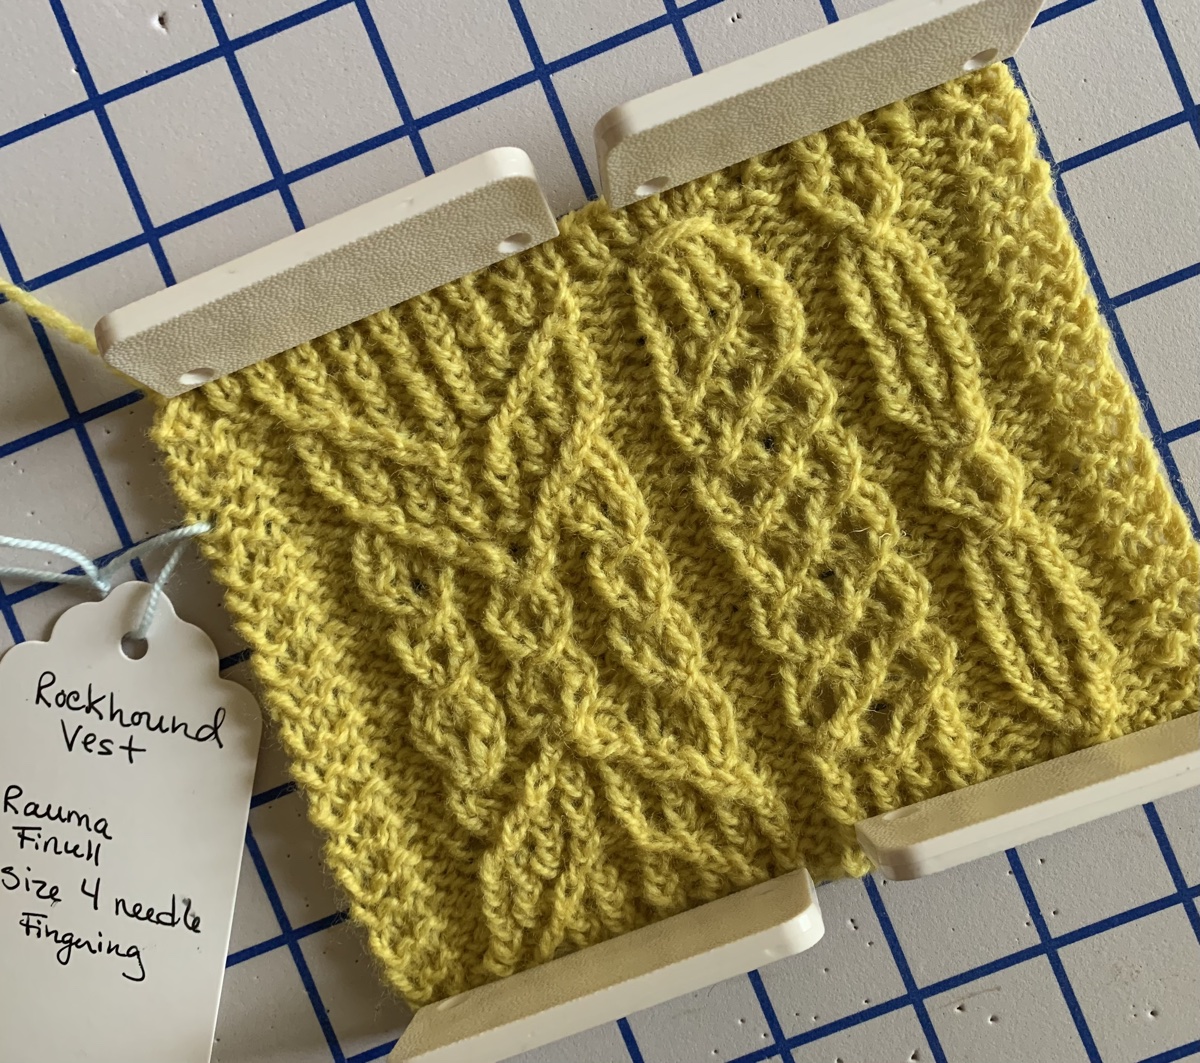
Knitting a cable vest swatch for size reference and cable chart practice. The Rockhound Vest is a beautiful cabled knitting project.
Cable knitting is not something I have much experience with. I tend to buy cable patterns and then file them away thinking “maybe one day”.
The biggest cable projects I have done were hats (Skiff and Habitat). Now I am looking at knitting a vest with cables on the front and back.
The Rockhound Vest is a pattern by Wool and Pine designs. The company was offering a discount on their patterns and I thought I would see what they had to offer.
You would think that a vest would be a simple and quick knit. This one has a section of cables that comes down from the shoulders and goes down the front. Cabling takes time, but it can be so pretty.
The V-neck and armholes have to be picked up and knit after, and I’m not looking forward to that. Also, the charts look a bit intimidating.
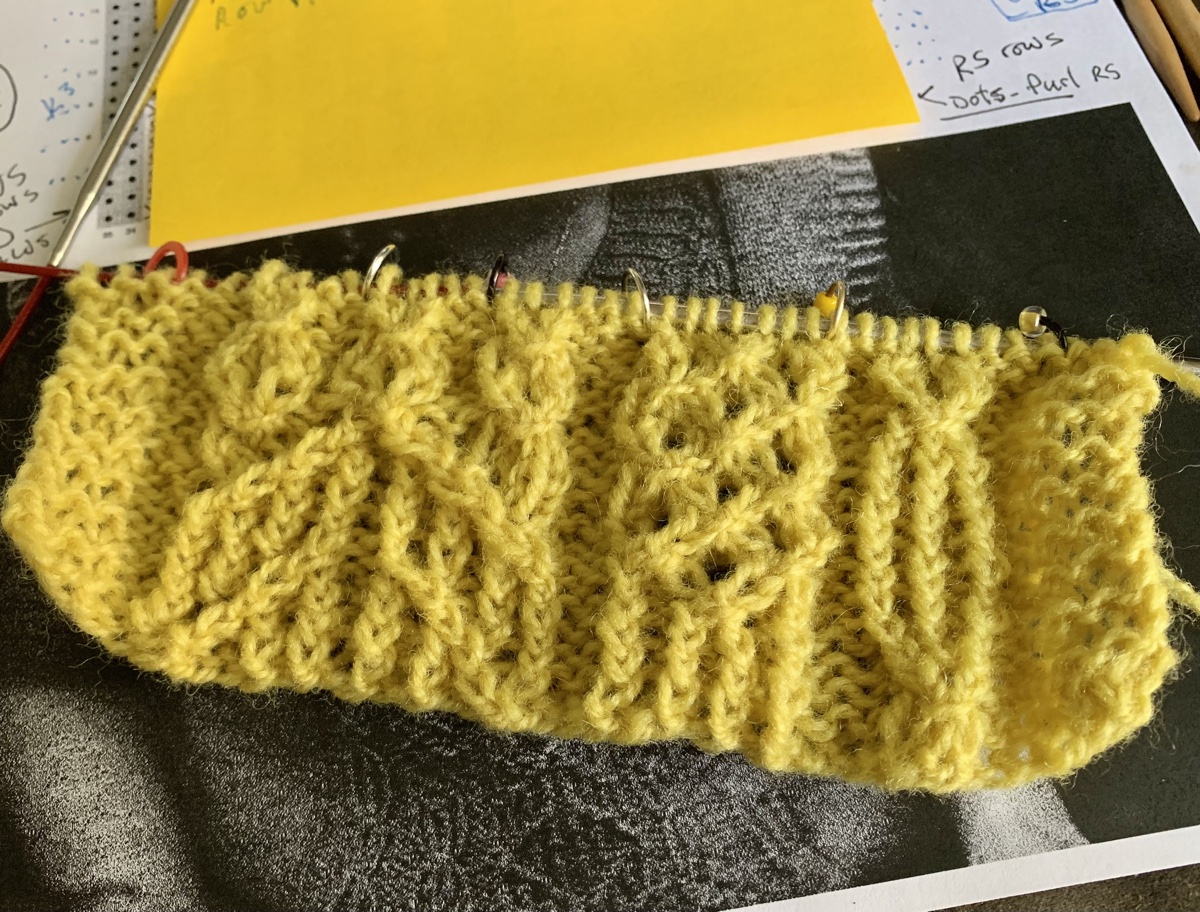
Knitting a Cable Swatch
The Rockhound Vest pattern (link at the bottom of this page) comes with a Swatch Chart, which is a section of cable that needs to be knit, washed, blocked and measured as a swatch – both flat and in the round.
This pattern is charted, which means you must knit following a cable chart!
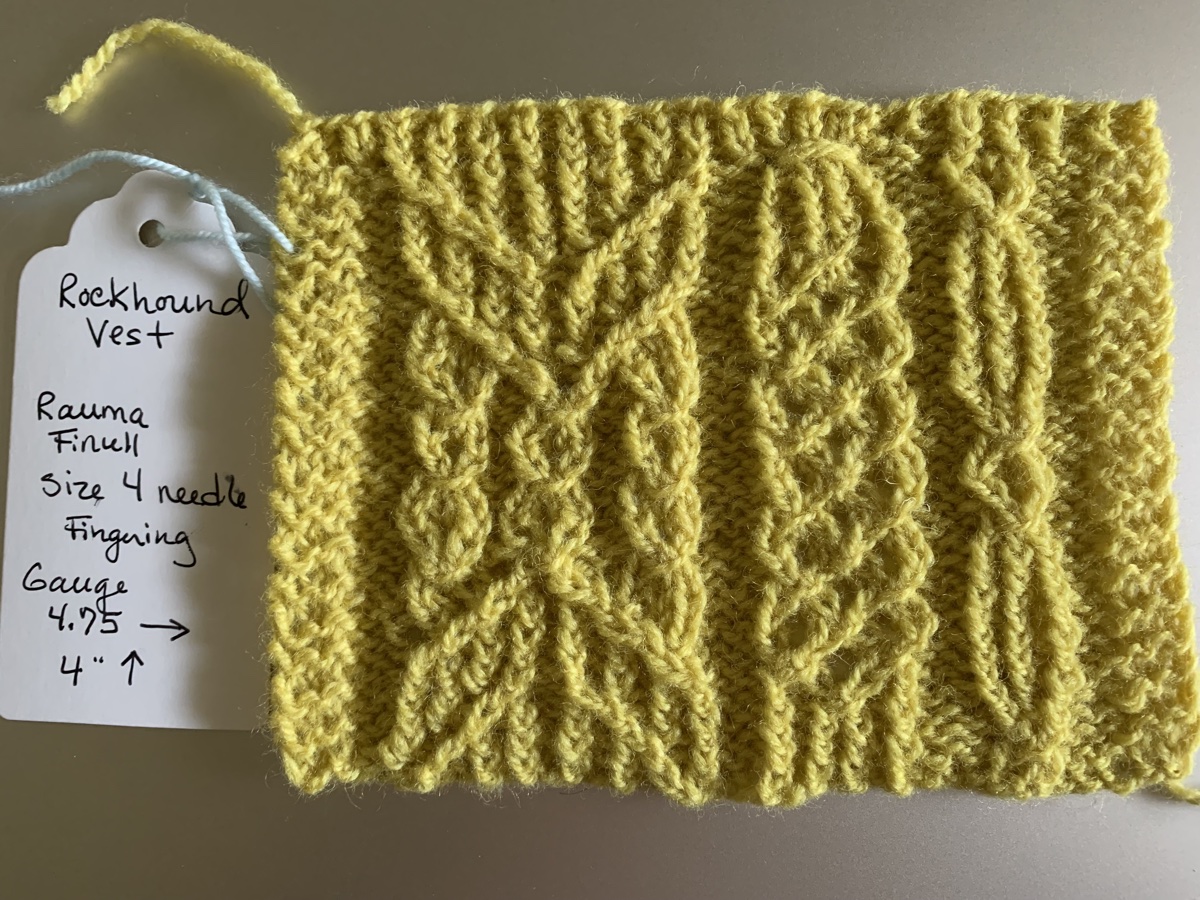
I decided to knit the swatch using Rauma Finull yarn because I had a skein, and I already know I love this fingering wool.
Helpful
First thing I do when knitting cables is color code them! I also write a short description of each cable next to each cable diagram. I have no idea how to read a cable stitch, so the color helps me find the description quicker.
Use stitch markers!!! This helped me a great deal, even though I had to keep moving some of them because the cable section would move. I made small sections on the row to prevent a lot of ripping back.
Use stitch markers to knit a flat cable swatch
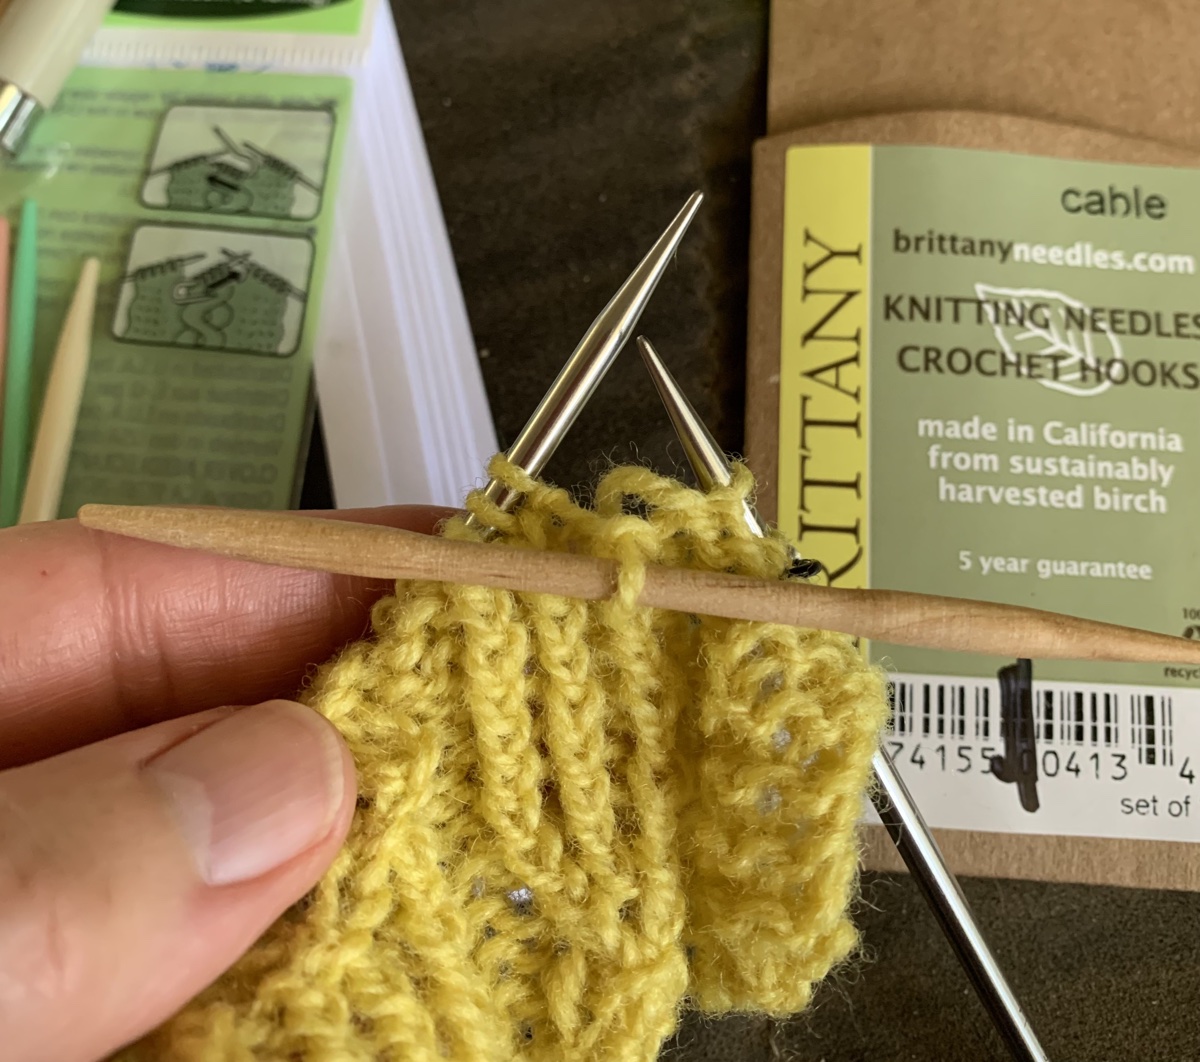
Get a better cable needle!!! I was trying to knit using my old, metal cable needle and had my usual problems. The thing would slip out and leave my stitches hanging, or I had to clumsily hold it to be sure that didn’t happen.
Then, I searched for new types of cable needles. I just couldn’t understand why cable needles couldn’t work better! Low and behold… I discovered the Brittany short wooden cable needles (Amazon paid link). Amazing!
New Brittany wood cable needle – LOVE!
This set of cable needles comes in three sizes, and I used the middle size for this project, which is fingering yarn (picture above). The short, wooden needle is thinner in the center so the stitches stay put. The shortness also helps when knitting off the cable needle. This has made cabling a lot easier for me. I highly recommend them.
Swatch and Sizing
After looking over reviews, at Ravelry, written by previous knitters of this vest pattern, I see that many finished projects have turned out to be too tight. Even when a seemingly larger size was chosen, the vest seems to end up with a smaller circumference than planned. Maybe knitters did not do a swatch in the round???
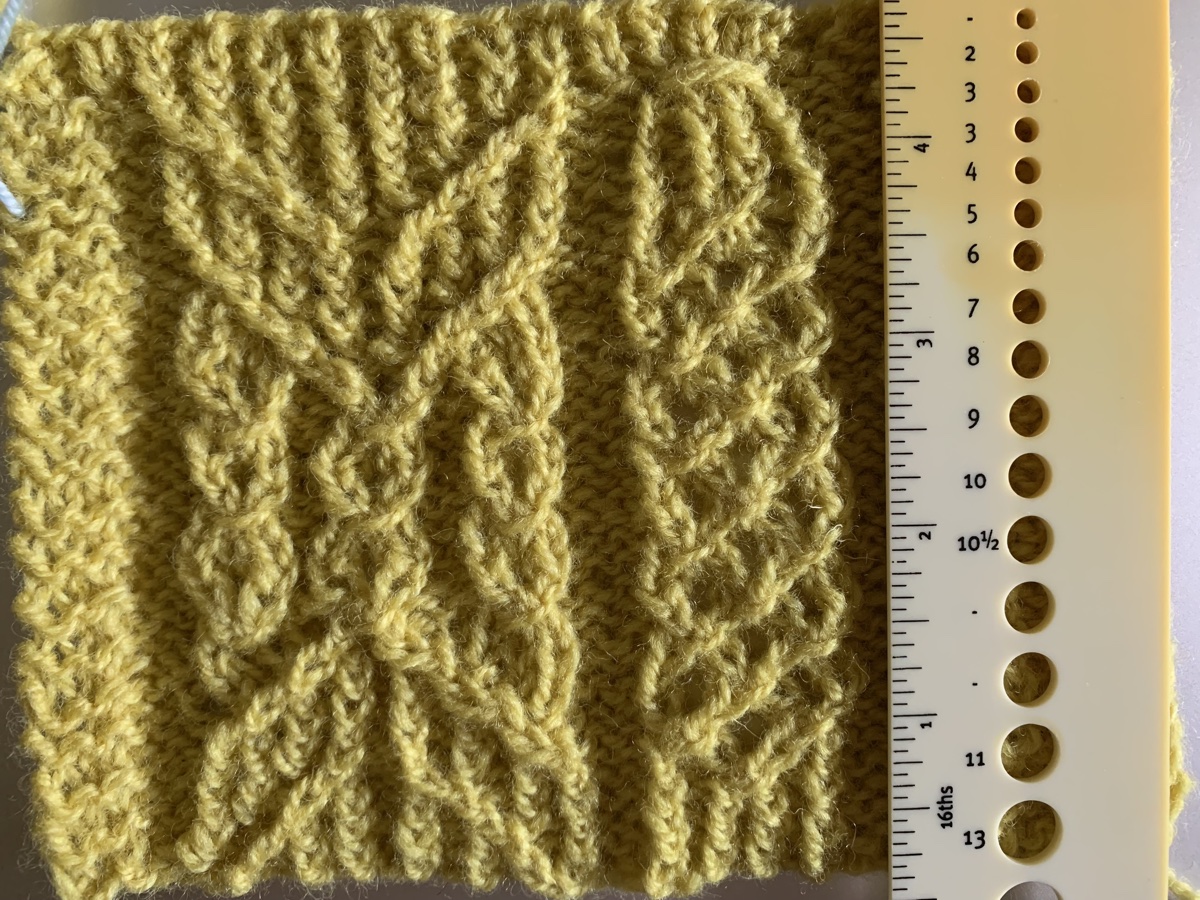
I have added six extra stitches (3 on each side) to my swatch. Those stitches are not part of my gauge.
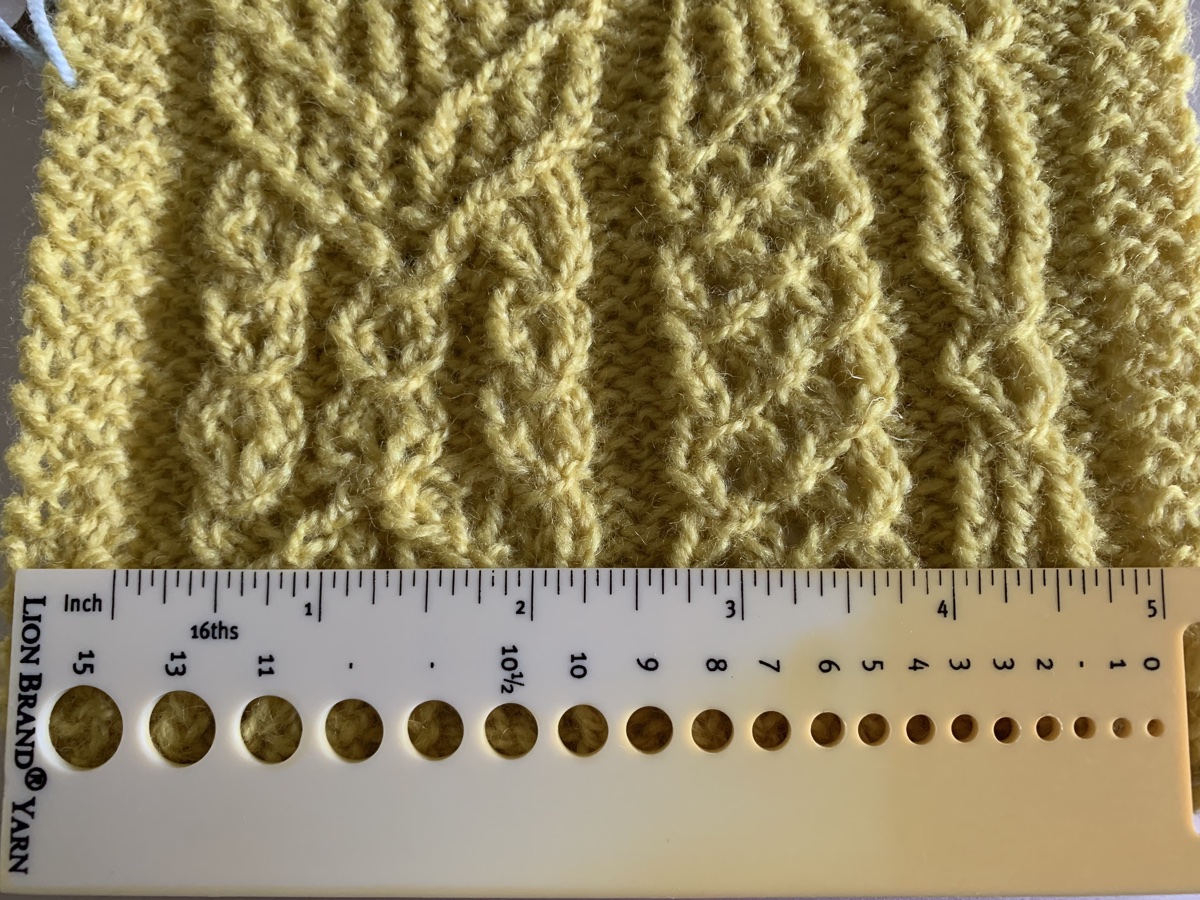
Measuring rowsMeasuring stitches
Knitting a swatch is very important and swatches should be knit flat and in the round, because that is how they are knit in the pattern. I’ve only done the flat swatch. The finished swatch size will be larger than normal 4×4 inches- according to the pattern. My swatch was nearly exact, but a tiny bit larger. Going down a needle size would most likely make this too small, and having things a little larger might be good with this pattern.
If I decide to knit this pattern, I need to buy the same kind of yarn, in a different color. I may knit a swatch in the round with my new yarn and see how that turns out. It is possible that the gauge is tighter in the round. That would explain why knitters were getting tighter vests. Maybe they never checked gauge in the round.
BlockedSwatch done and tagged
I definitely made some mistakes in this cable swatch, but it wasn’t that bad to knit. This swatch shows only part of the cable pattern which goes down the middle of the front and back. If nothing else, it was good practice at knitting from a cable chart.
I had a great time visiting New Hampshire and seeing my kids. That small town feel never gets old.
It’s been three years since I’ve been able to visit my old home town. Actually, I only lived in New Hampshire for eleven years, but I call it home. I would love to still be living there.
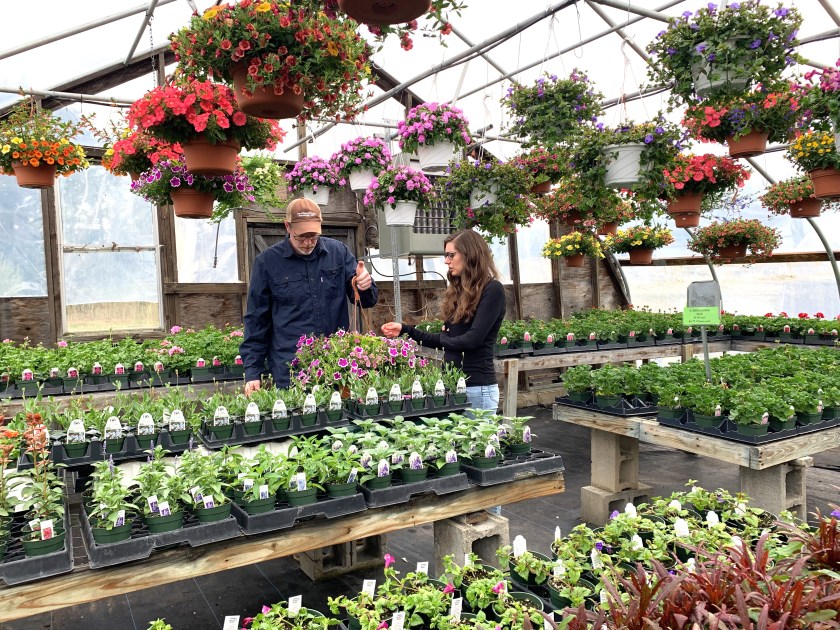
Visiting Tenney Farm
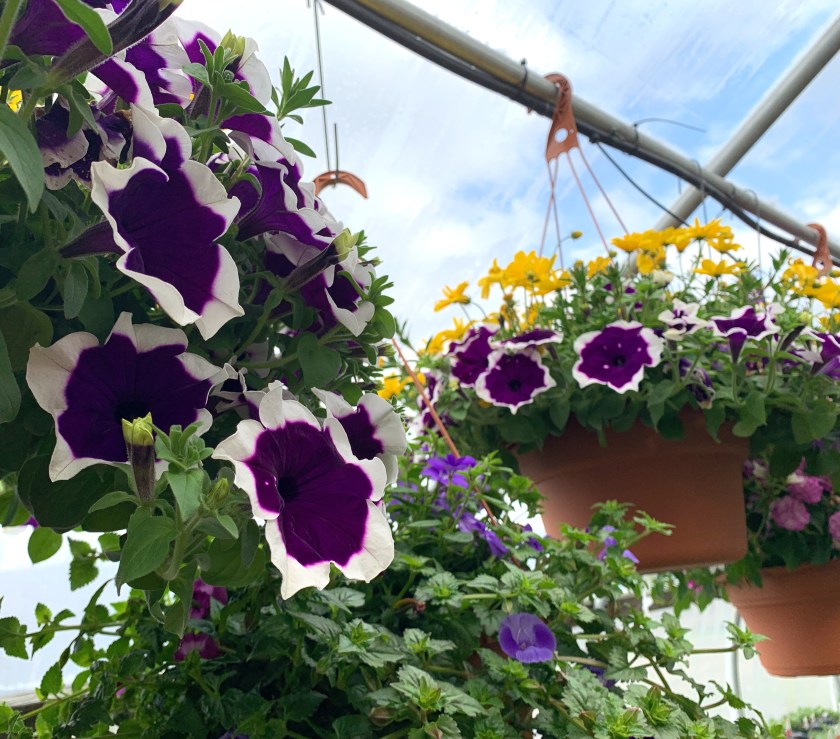
A favorite farm, in the town of Antrim, where I first lived when I moved north, is Tenney Farm. The greenhouses were being filled with little seedlings of all kinds, and loads of gorgeous hanging baskets.
“Out own Stuff”
Ready for spring in New Hampshire!
Greenhouses
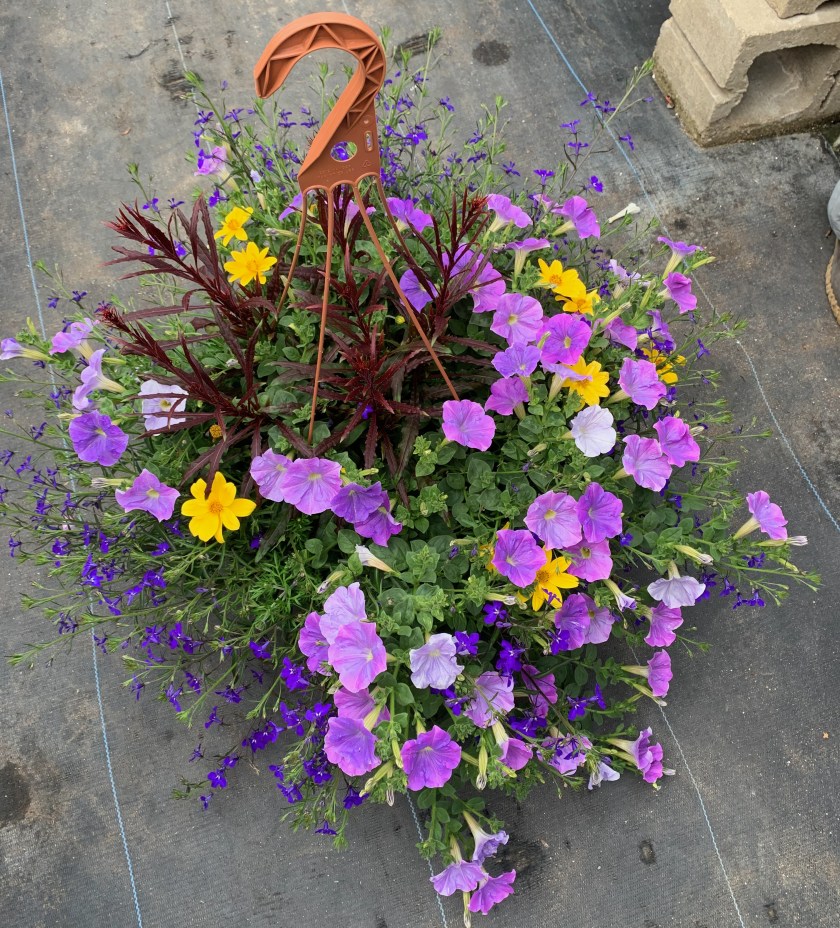
Picking out a hanging basket.
We were picking out a basket as a gift for someone, and it was so hard to choose from the wide, and gorgeous selection of flowers.
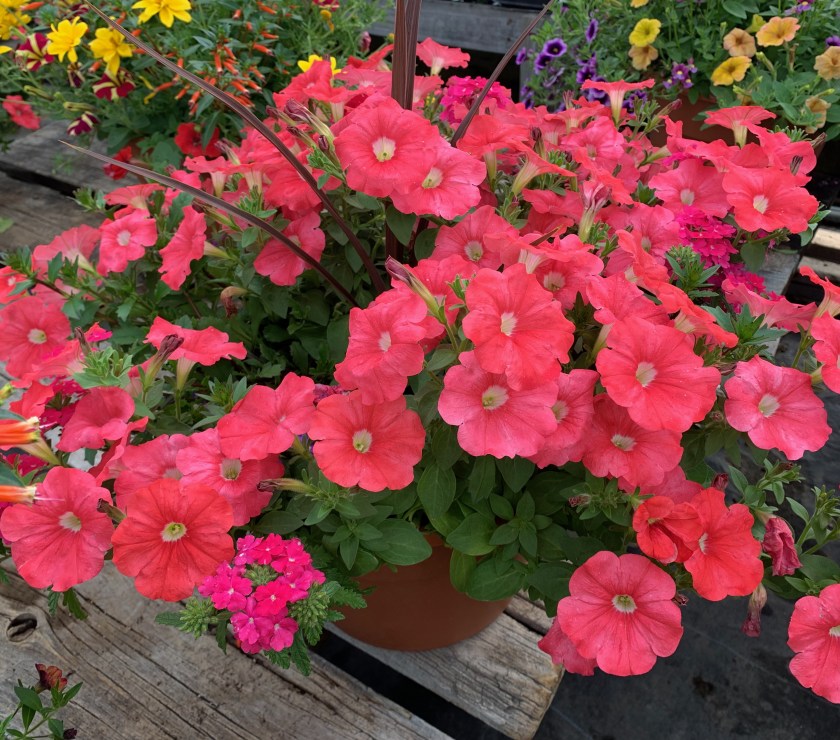
Nearly planting time.
Potted petunias in the greenhouse
I love, and miss, the small town feel of the area. I grew up in New England and miss the change of seasons. Spring is very welcome in the north, and much appreciated, after living through a long, cold winter. Unfortunately the Black Flies are out at this time of year, but they weren’t too bad yet..
Nature Inspiration
I’m staying with my daughter, and for the first few days we took walks in the woods behind her house. She does birding, so I tagged along for the fresh air. After we watched (from the house) a mama bear and two tiny, adorable cubs passing through the back woods, we stopped going for walks in the woods!
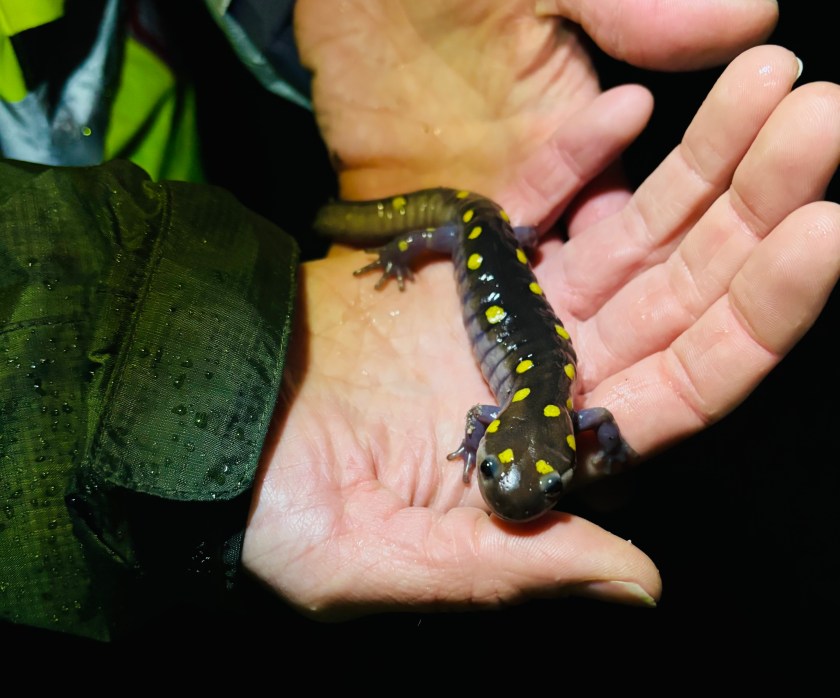
My daughter also volunteers and counts spotted salamanders with the Salamander Crossing Brigade. The volunteers go out on rainy nights and count the cool looking salamanders for science. Of course, my daughter dragged her old mum along for the fun! (Salamander photo in the slideshow below.)
Birch
Salamander crossing
Frankie loves the catnip plant!
A Trip to Harrisville to See the Yarn
I couldn’t be so close to Harrisville Designs and not visit! There was no room in my small suitcase for even one skein of yarn, but I loved viewing the shop. Will write another post about our outing on a beautiful Spring day AND the yarn I bought (ordered) once I got home!
Harrisville Designs Yarn Shop in Harrisville, New Hampshire
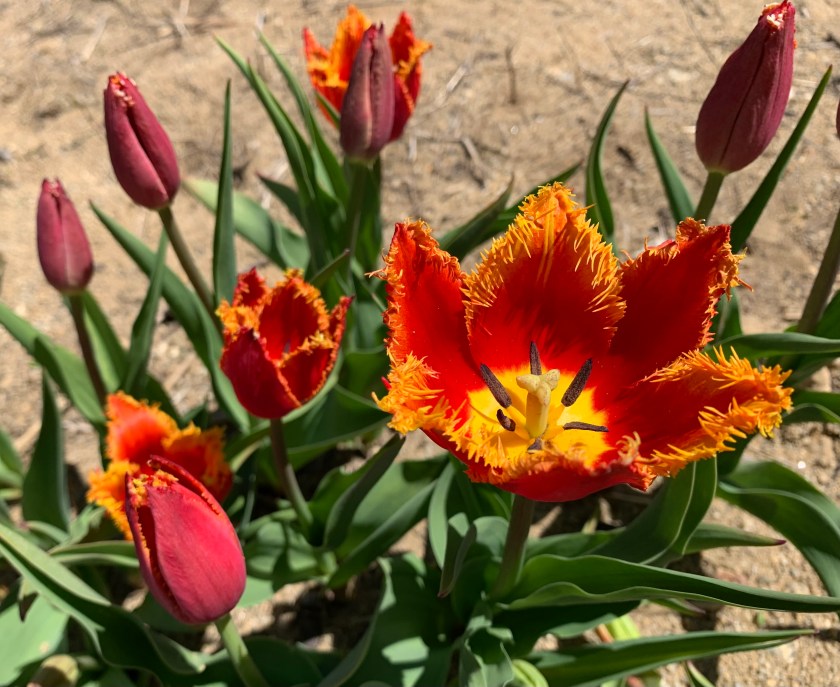
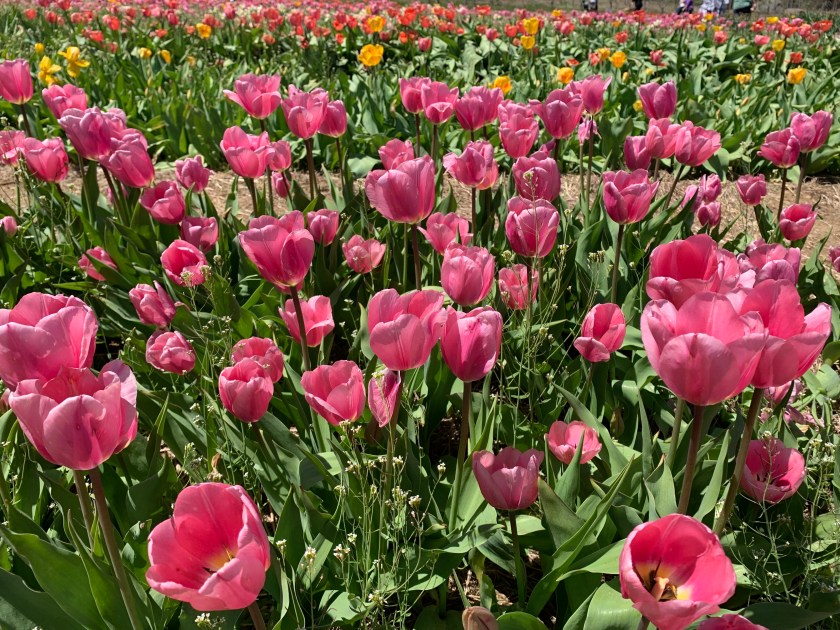
Picking Tulips in New Hampshire
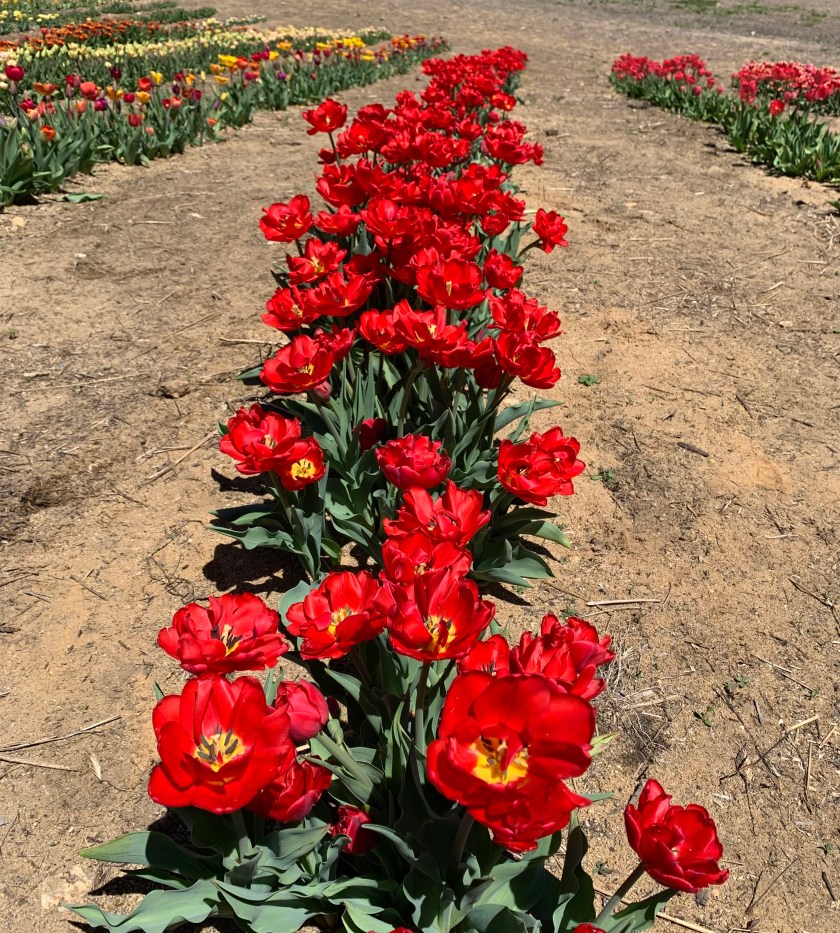
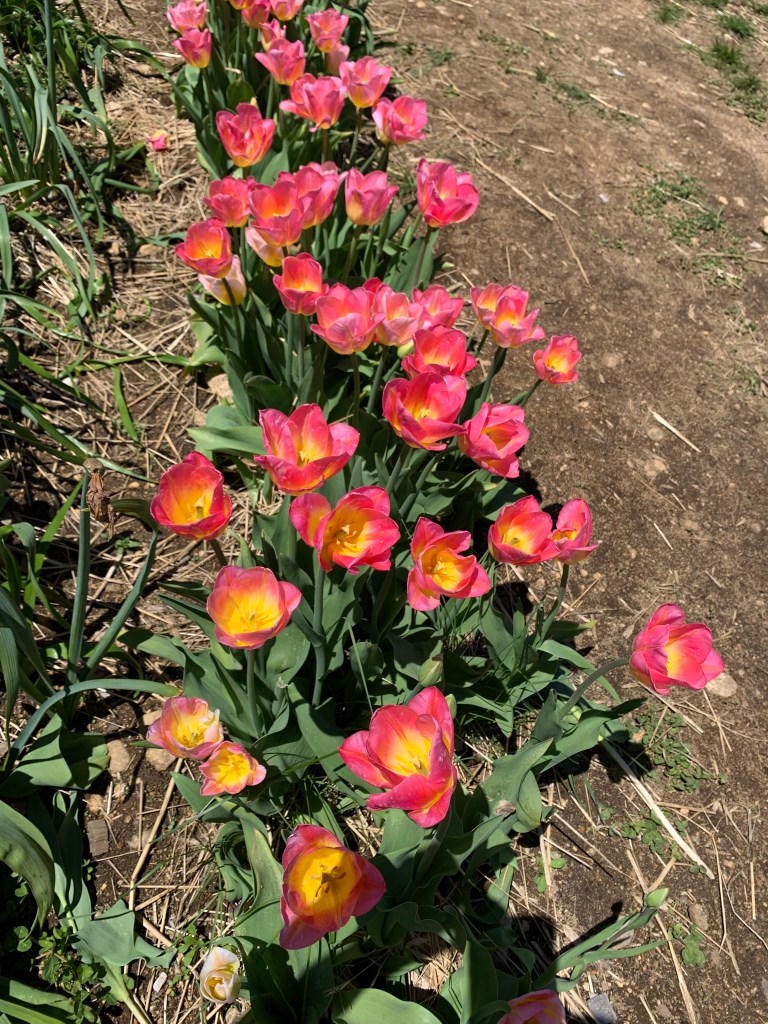
I certainly miss living in a place where Spring is celebrated in a big way. After a long cold winter, the plants go nuts and grow like mad. Gorgeous yellow forsythia were everywhere. All the daffodils were open, and the tulips were coming along. Everything grows fast, like it knows time is limited before the warmth is gone once again.
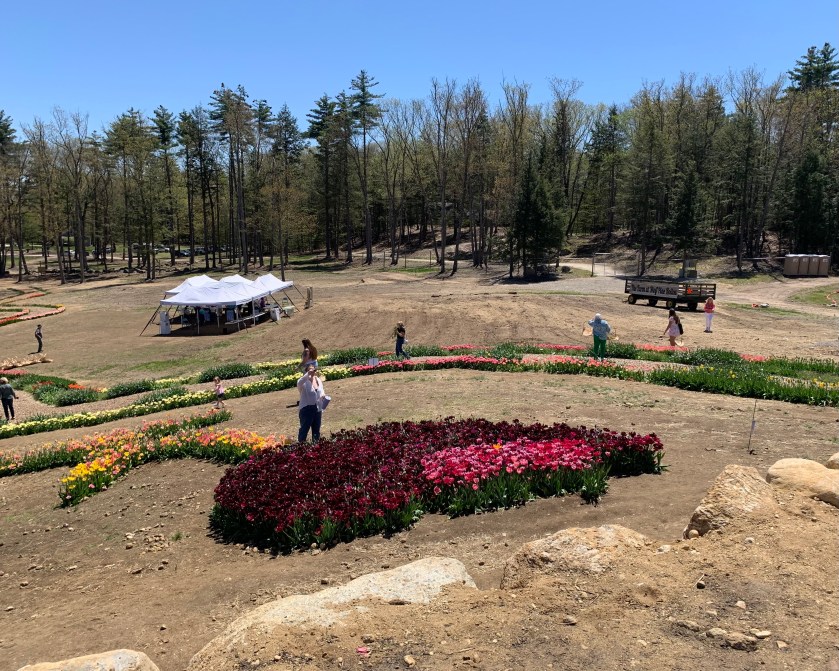
In Hancock, a quaint little town in the southern part of the state, there is now a farm that grows tulips. We stopped to check it out on our way home from Harrisville. My daughter said that they ask you to make parking reservations at busy times. It was mid-week, and we figured, “How busy could it be?” Well, for a mid day, mid week visit, the field (parking lot) was full of cars, the road was full of people, and the tulip field was hopping! We were stunned at the turn out. Wolf Pine Hollow Farm at tulip time is apparently a big deal.
L takes photos
Tractor on the hill
Tent where you pay, and port-a-potties (far right)
Old truck
Things to know before you visit:
Parking is in a grassy (and possibly muddy) field.
There is strenuous walking involved – from the field, up the road, up a hill, and through the tulip area. (We saw a parking area next to the tulip field and it looked like those with difficulty walking could park there – call first.)
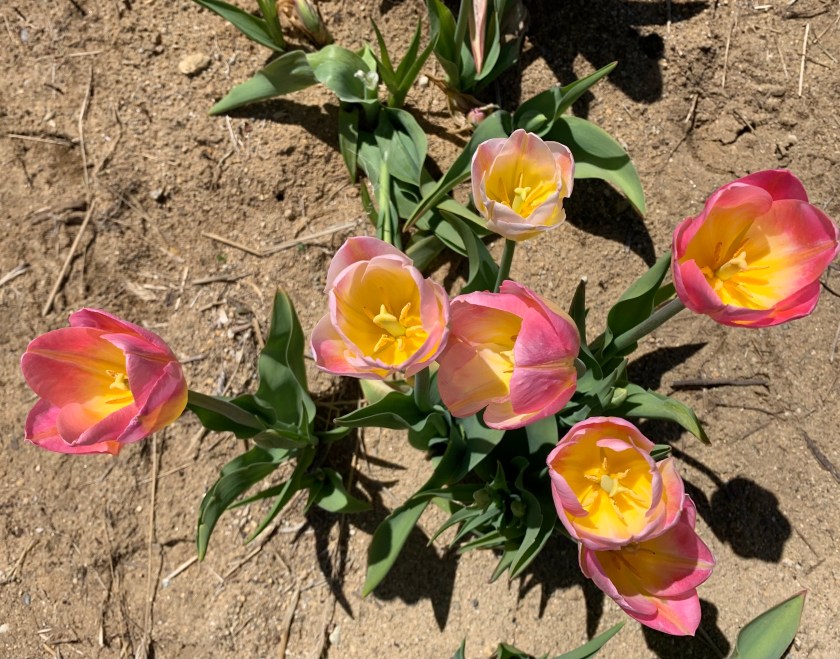
Pick your choice of tulips and pay $2.50 for each stem at a tent area at the field.
Way back beyond the tent are port-a-potties if you need them.
If you want ice cream, plan to wait, and wait, and wait. Our two tiny ice cream cones cost $11.50 and the girl admitted she didn’t know how to make change!
As is true in many small towns, the talk gets around. I heard stories about this place from the locals. Let’s just say that New Englanders like their small, quiet places and greatly resist most attempts to change things. A search reveals that the Farm is now up for sale. If you are a multi-millionaire you may be interested.
Time to Go Back South
After two weeks of visiting with my kids and enjoying the beauty of New Hampshire, I was heading back to heat and humidity. During my stay I reconnected with some old friends at my high school class reunion! Met up with my Aunt and cousin, whom I hadn’t seen for ages, and learned to play poker at my son’s house.
Leaving Manchester, NH
When I boarded the plane, I took with me some scrapes and bruises from falling off an e-bike (twice – I’m a klutz), and a tick bite on my back, but I was, as always, very sad to leave.