

A scarf is a great beginner pattern when learning how to knit. It’s what I knit the most, before graduating to knitting hats. A long, straight (knitting back and forth) project that should give the beginner lots of practice with knits and purls. And you just may have a beautiful and unique item to wear around your neck next winter.
I’ve decided to knit my own scarf as I show a beginner how to start. I live in Florida and my friend lives in New York. So she will be learning online. I have learned many things about knitting from YouTube, so I’ll include some favorite YouTube knitting tutorials.
Yarn and Needles
My friend had some very good and basic questions such as, what needles should I use and what kind of yarn? Obviously you need both of those things!
First buy some yarn, and look at the yarn band info. It should say what size needle is needed to knit with this yarn. The weight, or thickness, of the yarn will determine the size (thickness) of the needles. In the example skeins below, knitting needle size suggestion is US 1-3 (needle size can also be in mm). This is a thin yarn called fingering, so it needs a small needle.
I think a beginner knitter should buy a worsted weight. It is a mid-thickness and usually requires a size 6-8 needle size, but read the label on your yarn choice.

What is a circular needle?
Knitting can be done with either straight needles or circular. Circular needles allow the knitter to join their knitting and knit in the round. This is something you can’t do with straight needles. Think of a hat, cowl, or sweater that is circular. But this type of needle can also be used for plain old knitting – flat, like a scarf. Pretend the needles are not joined by a cable. Or, use a pair of normal, straight needles if it makes you feel better.
Read more about buying needles on my previous post.
What I Am Using To Knit My Landscape Lessons Scarf
I am naming this scarf so it will be easier to find and it will be “Landscape Lessons” because I plan to show you some very basic knit and purl combinations along the way. It’s all about practice and deciding which combinations you favor.
If you live near a yarn store, or craft store, go there and pick out some yarn you like. Otherwise, I can suggest Wool and Company, an online site that ships yarn for free – no minimum purchase required.
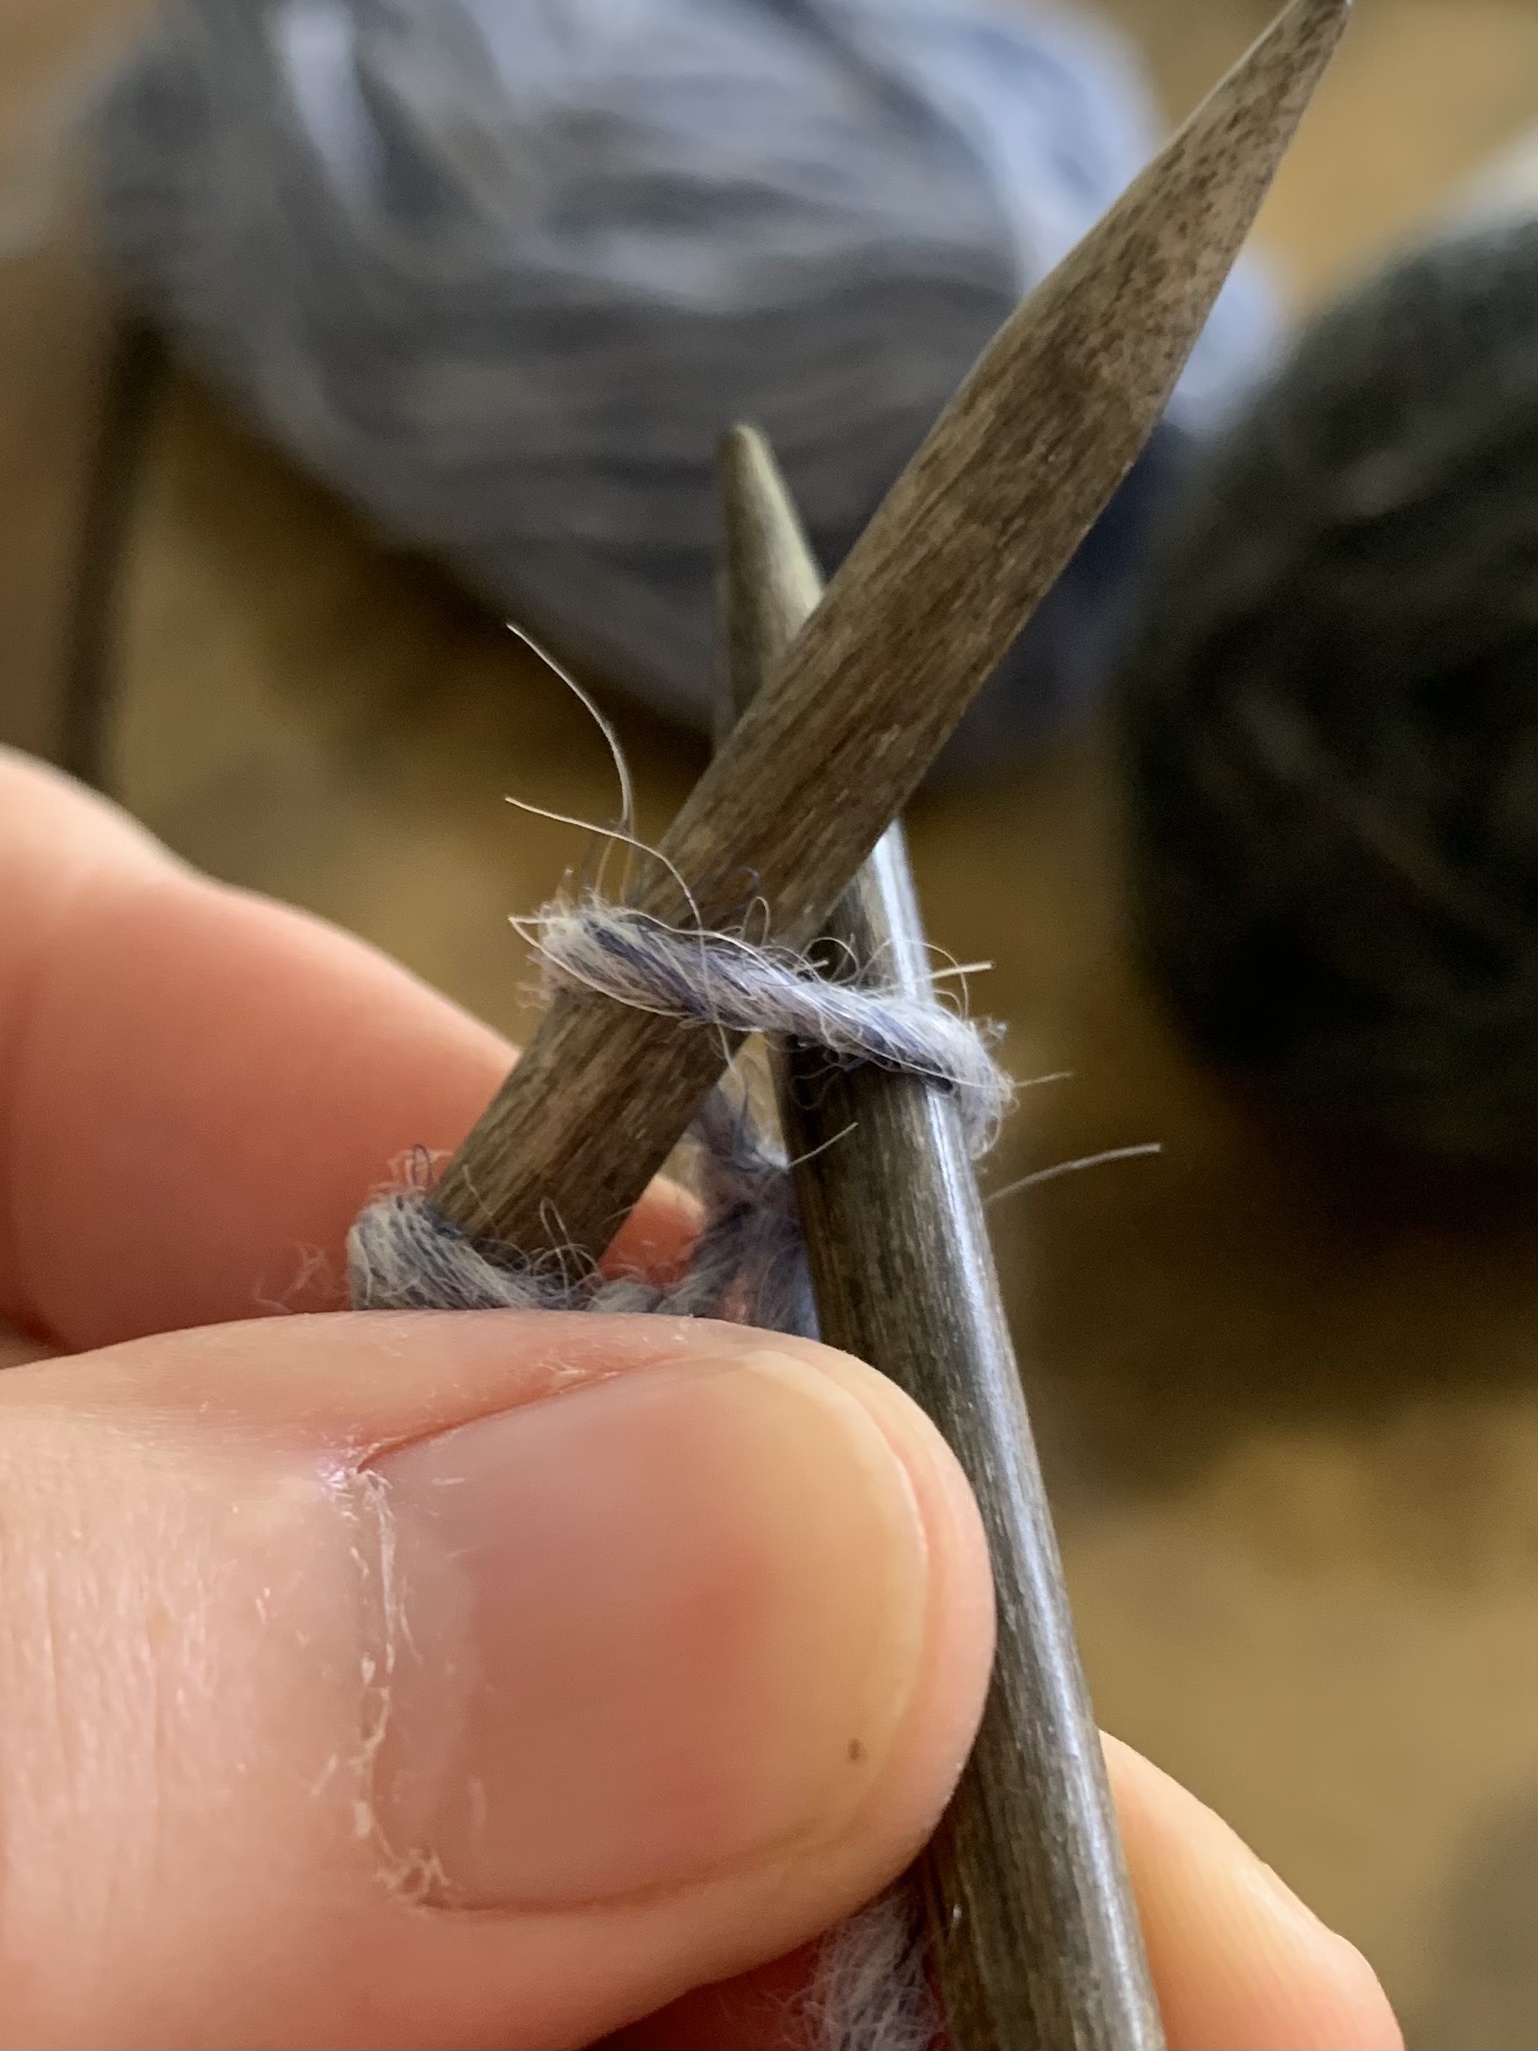
I am using Lykke brand wooden circular needles with Lettlopi wool yarn.

Some yarn skeins will need to be wound before using. If your skein is twisted – like the Miss Baby yarn in my photo above, it will have to be wound. Skeins, like the Lettlopi above, do not need winding.
Cast On
Once you have your yarn and needles, you will cast on. I have written a whole page about various cast on methods, but beginners can use the very simplest.
The video below is excellent, except that I would not suggest bulky yarn. Big needles and bulky yarn can make your hands tired after a while. You can do this same thing with worsted weight yarn and see the stitches fine.
In the video below, she shows how to make the slip knot, begin casting on, knitting back and forth, and binding off! Who needs me? Haha… She also knits right handed, and “throws” the yarn. This is exactly how I knit. (Some people knit continental, which is different, and I’m not getting into right now.)
Well, I do have one suggestion. When she casts on, she is putting her right-hand needle between the two strands and is using only one. This is also how you do the knit stitch – The right needle goes between the two on the needle (photo 2 below).
However, you can also put your needle under BOTH strands for the cast on (photo 1 below). Do the cast on the same way, just stick the needle right under the entire stitch. Either way will still make a nice cast on. Going under both strands makes a sturdier cast on, or something. I forget. Don’t do that while knitting… do it only for the cast on row.

This is a great video, but don’t do the cast off… if you want to knit a scarf, we must continue knitting. I have some changes in store, just in case you want to branch out and try something new along the way.
For my Landscape Lessons Scarf you will cast on, and knit back and forth for as many rows as you like. This will be one end of your scarf. By knitting back and forth, it will help you get a feel for the basic knit stitch.
A light color yarn makes stitches easier to see the stitches!
Do as the woman does in the video above and cast on your stitches. This will be the width of your scarf. If you are using worsted weight yarn with size 7 or 8 needles, cast on 35 stitches. This should make your scarf around 7 inches in width (after I began knitting, my scarf is more like 8.5 inches). Everyone knits differently, so width may be different. You won’t be able to see the actual width until you have knit quite a few rows. Don’t measure the cast on row!
Some people knit English style, and others prefer Continental. Here is a video explaining the difference.
Do as she does in the video and knit back and forth – she is knitting English style.
If you are using circular needles, do the exact same thing as she does using straight needles. Turn the work, and begin knitting again. Forget the cord is there attaching your needles.
The reason I suggest buying circular needles is that they can be used for more things later on if you find you really love knitting. I rarely ever use straight needles for anything these days.
Read This – a Helpful Hint
Let’s say you have to set your knitting down and you just plop it on the table, or into the basket. When you come back to continue knitting you must know where to begin.
I’ve made this mistake back when I began knitting. It’s easy to pick up the work and begin knitting in the wrong direction, unless you know this:
Your yarn strand must always be coming off the right-hand needle. Unless you are beginning a new row. If that’s the case, it will hang from the end of the needle where you need to begin knitting.
Don’t just pick up the project and flip the yarn to the back and begin knitting. Photo on the left shows the yarn in the wrong place. Turn the work around so that the yarn is coming off the right hand needle. Then begin.


This page should provide the start to an easy, beginner knitting project. Let me know how you do, or if there are question. When these skills are mastered, please proceed to Lesson #2.
Go On to Lesson #2
More Knitting Stories From the Blog

Lots of Changes This Year
Writing a blog, sharing photos, and doing research and making links takes time. Lately I don’t think the time spent doing all that is worth enough to continue. I have stopped writing my gardening blog, and downgraded my seashells/ boating / camping blog. I’ve been spread too thin for too long. The past 18 years…

Knitters and Our Many Projects
How many projects do you have on your needles? It is not uncommon to find that fellow knitters have many things going at once.

Happy New Year 2026 and Time to Cast On
A new year means a brand new knitting project to begin. What will you be making?

Christmas Day Project off the Needles
I finished knitting the Simple Stripes pullover on Christmas Day. Here is my review and photos.

Saying Good-bye to 2025 and Another Year of Knitting in the Books
A look back at all the knitting projects I’ve completed over the year. Also, what is already in the plans for 2026.

Year-Round Camping in Florida; Enjoying Nature While I Knit
The peaceful days of camping in the wilderness go perfectly with knitting. What could be better than having coffee outside, with knitting on my lap? We camped twice in the last month and here is a look at the knitting projects I took along.


2 thoughts on “Teaching a Friend How to Knit a Scarf, Landscape Lesson #1”