Ribbed Watch Cap Alternating Two Colors Invisibly

Starting a new little hat knitting project which is great for long car rides.

We were going camping. I needed a simple and small, knitting project for the two hour ride. I decided to use up some stash yarn and knit one more watch cap.

This pattern I used, for the third time, is the Ribbed Watch Cap and Beanie by Churchmouse Yarn & Teas. See the link to the pattern at the end of this page.

Because a small, size one needle is used, and there are many rows of 1×1 rib (knit one, purl one) this project can be a bit tedious, but it is just the thing for keeping hands busy. The completed hat is wonderfully wearable too.

two color ribbed watch cap knitting project
“Saffron” Yummy 2-ply by Miss Babs & “Turtle Haven” from Four Purls are the colors

All I needed was some fingering yarn – found easily in my stash. I chose orange and a variegated blue, both are fingering weight and Superwash merino. I’ve had these balls for a while.

Once again I did the Old Norwegian cast-on and not the involved tubular cast-on suggested in the pattern. I needed to get this project started because it was the day before my camping trip. I kept the cast on easy.

Making the Yarn Change Invisible

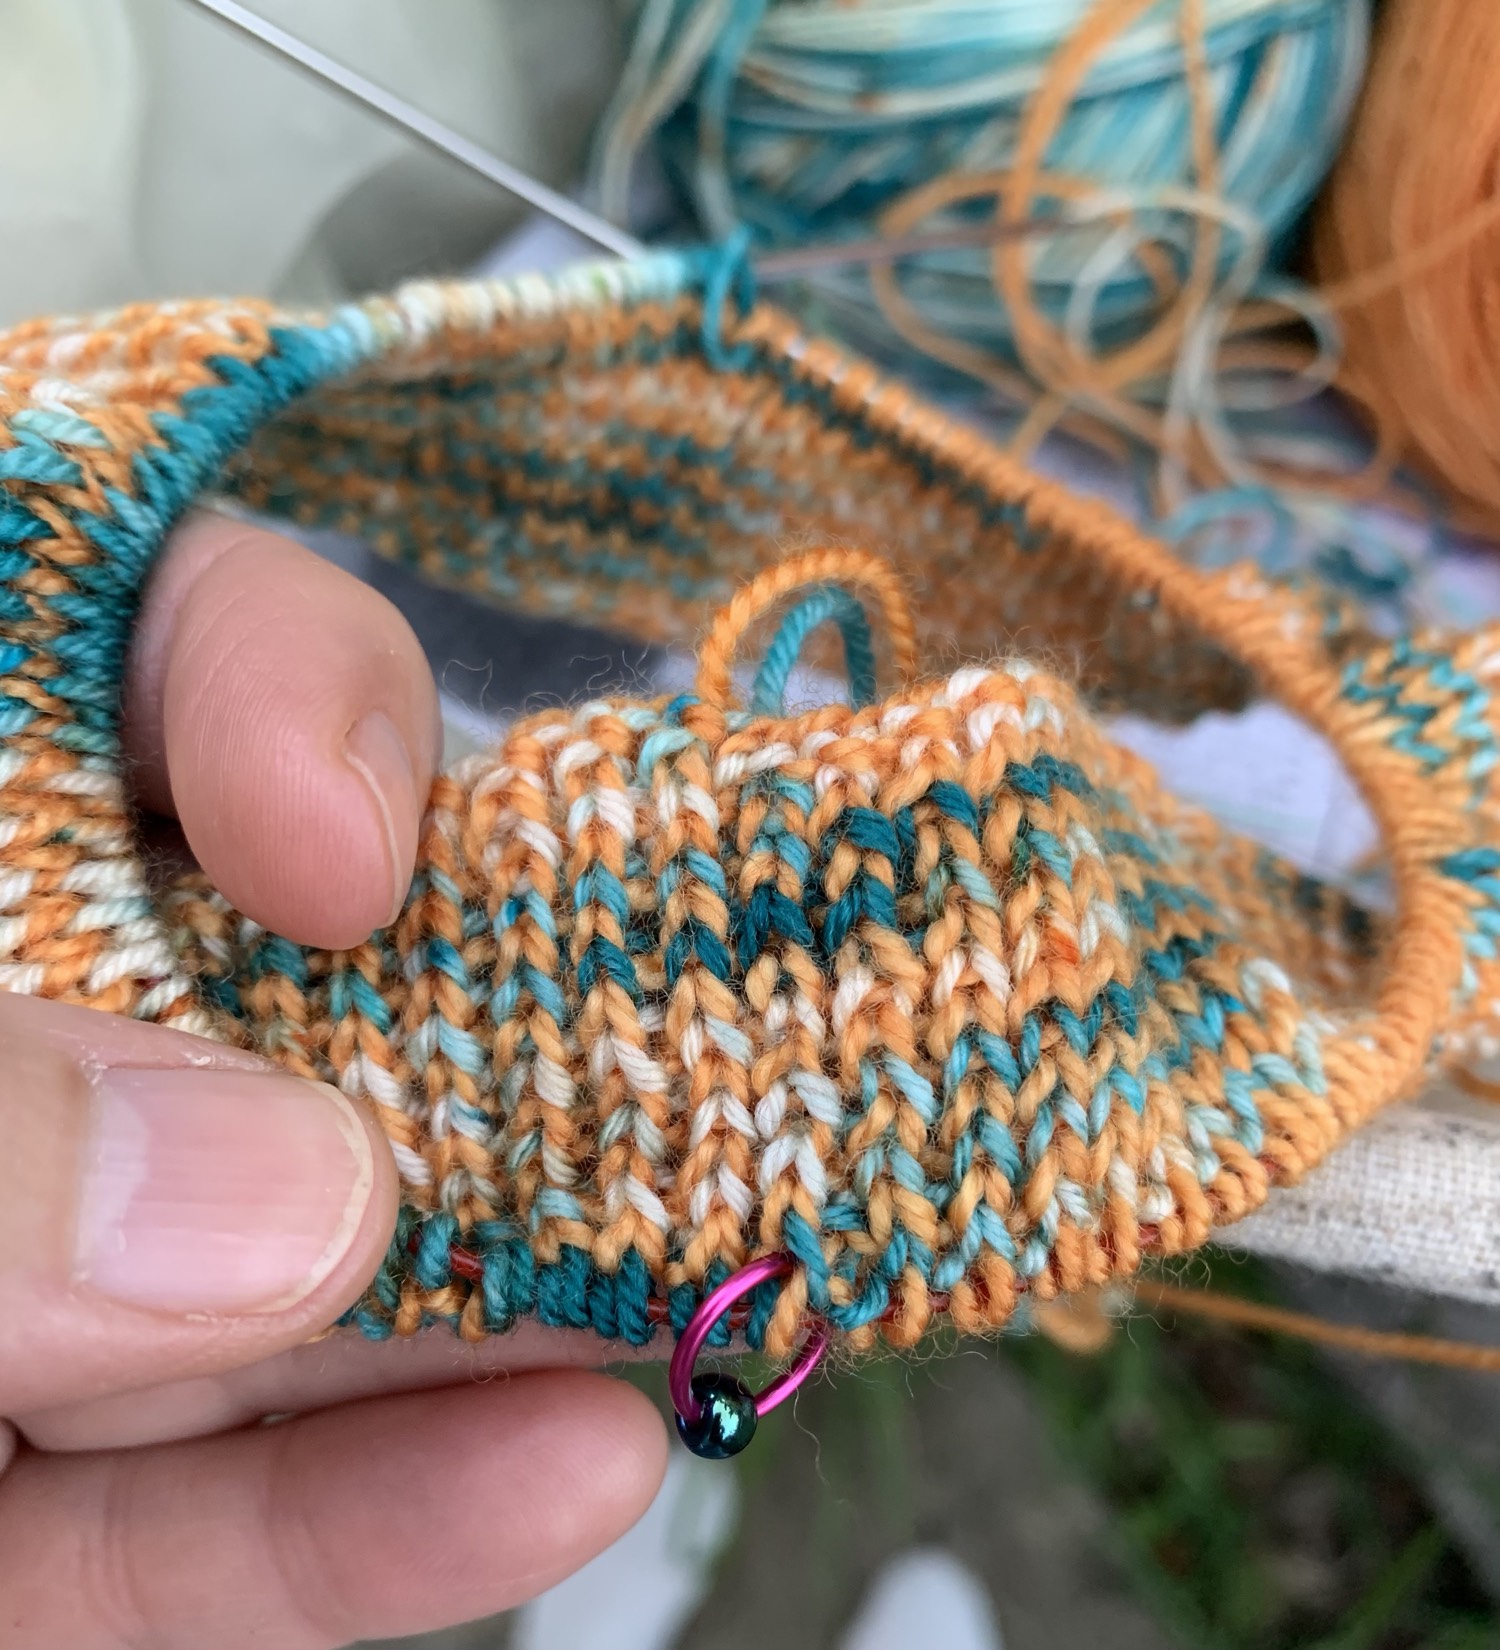
This time I am using two different yarn colors and changing color on each row. I am using the “yarn forward” (YouTube video), by Elizabeth Smith Knits. I learned this skein / color change hack when alternating skeins for the Arco Iris sweater. It is very simple to do and leaves no weird little squiggles when changing yarn – which is very important on this hat because it is knit on the wrong side and turned inside out when finished! This yarn change is invisible on both sides.

Photos below show both sides of the hat where I am changing yarns at the BOR marker.

Camping Knit

Our campsite was on an island, and our site was directly on the saltwater river. Here I am doing some early morning knitting at the waters edge. Coffee, water view and knitting. What could be better?

Knitting the watch cap
Knitting at the edge of the river.

I know this will be an ongoing project that may take a while to finish, which is fine. Using two colors makes the knitting a bit more fun. I’m thinking that two very similar colors would work well. Maybe next time!

My hat will end up looking like this one.

Slouchy hat knitting is done
Slouchy Watchcap in blue

Get the pattern: The Ribbed Watch Cap and Beanie


Please keep reading

Washable Watch Cap Knit Inside-out

A watch cap is pretty simple to make, and can be quite boring once the casing on is done. Any knit one, purl one, pattern can take ages to finish. But it is good and easy enough for evening knitting, when no pattern has to be followed … and I could be drinking wine.

Sometimes I begin a hat with one pattern in mind and switch to another once I get going. I must have some type of ADD or something, but I am doing that a lot recently. (See the Curly Snowflake Hat)

I’m getting a start on some hand-knit Christmas presents for my kids and have wanted to knit a hat for my youngest son. I have some washable Lorna’s Laces yarn so I got started.

Beginning the ribbed watchcap
Cast on 144 stitches and knit one, purl one… on and on

I have tried to do a Tubular Cast-on, but I failed to pull it off. So, now I stick to the Old Norwegian / German Twisted cast-on, which is stretchy and nice for a hat.

I cast on 144 stitches to a size 4 needle. I’m not sure where I got that number or which hat specifically I planned to knit. I have Churchmouse Classics, Ribbed Watch Cap and Beanie pattern, which I have wanted to try, and also a Stockinette Wachcap in my Hat’s On book. Both are similar but the Churchmouse hat has a different decrease at the top, and it’s knit inside out. Neither pattern suggests that number for a cast-on, but I ended up doing the Churchmouse crown decreases. Since my stitch numbers were different I had to do some figuring.

This is “sock” yarn, and the Churchmouse cap calls for fingering yarn also, but in smaller needle sizes, with a larger number cast on. So my hat is looser. But I didn’t begin with this pattern in mind!

Crown, wrong side
Crown, wrong side, which is how it’s knit

The Decreases at the Crown

I was curious as to how this type of inside-out knitting and decreasing would look. Well, if you were curious too, there you have it. In my photo above, which is the wrong side – but knit as the right side until the end – you can see the four decrease sections.

Ribbed watchcap
Ladders! Ugh

The photo above is how the hat looks when it’s turned rightside out. As I was knitting on my DPN’s I had such trouble trying to keep the yarn tight to prevent “ladders”. You can see my difficulty in the finished product. Between each decrease section there is a weird row that doesn’t look right. That is the change between DPN’s where the yarn was looser. I pulled the yarn tight to try to prevent this, but it didn’t work.

I have never had ladder problems before, and I blame the stretchiness of this yarn. I bought my Lorna’s Laces Grand Street Ink color a while ago on sale somewhere, and it’s not cheap. This yarn is nice for making washable items which can also go in the dryer. This hat is for my son who will not be washing anything by hand!

Notes and Observations

I was glad to be done knitting this hat! Haha… But, I would like to try the actual Churchmouse pattern – correct cast-on with the correct yarn – maybe in the “beanie” without the long, rolled brim. It would mean less knitting before the decreases.

Next time I would use something like Rauma Finull wool, which I use for colorwork hats. I think that would turn out very nice, but then it would need hand-washing, so couldn’t give it to my son!

There is the dilemma. Knitting for boys is tough.

finished watchcap hand knit
Finished watchcap – washed and drying