Short rows are just that, shorter than normal knitting rows. Most often I come across directions to use short rows while knitting sweaters. In order for a sweater to fit properly, the back needs to be raised up a little higher than the front. It makes the neckline lower in front and therefore more comfortable. This is done by knitting back and forth over one section (the back) and ignoring the front stitches, for a few rows.
Short rows also can be used to shape things, like sock heels, or shawl edges. I’m no expert on short rows, but I feel they are necessary as part of sweater knitting.
Sweaters Knit Without Short Rows
I’ve knit a couple of sweaters that did not include short row shaping. They are not the most comfortable to wear. The Carbeth Cardigan really needed short rows. The pattern was unique and pretty nice except that the back pulls downward, and shouldn’t. I tried to add some short rows myself, which I think helped, but I didn’t really know for sure if I had done them correctly.


Farfuglar was another pattern that omitted short rows. I wish that pullover pattern had included a few short rows as well.
Without short rows, there will be a noticeable difference when wearing a sweater.
Picturing Short Rows
It is always more helpful to me when I can picture how short rows will be knit. The Warm Up Sweater is a pattern from Espace Tricot and it includes short row shaping. I will use this pattern as an example to explain how the rows are knit.
Warm Up is a top-down raglan. Once the neck ribbing is knit, the sleeves, front and back are separated and expanded. Markers are placed to delegate all these sections. The sleeves will have fewer stitches than the front and back, because our arms are smaller parts of our bodies! You should also have a BOR (beginning of round) marker that should be different from the other markers.

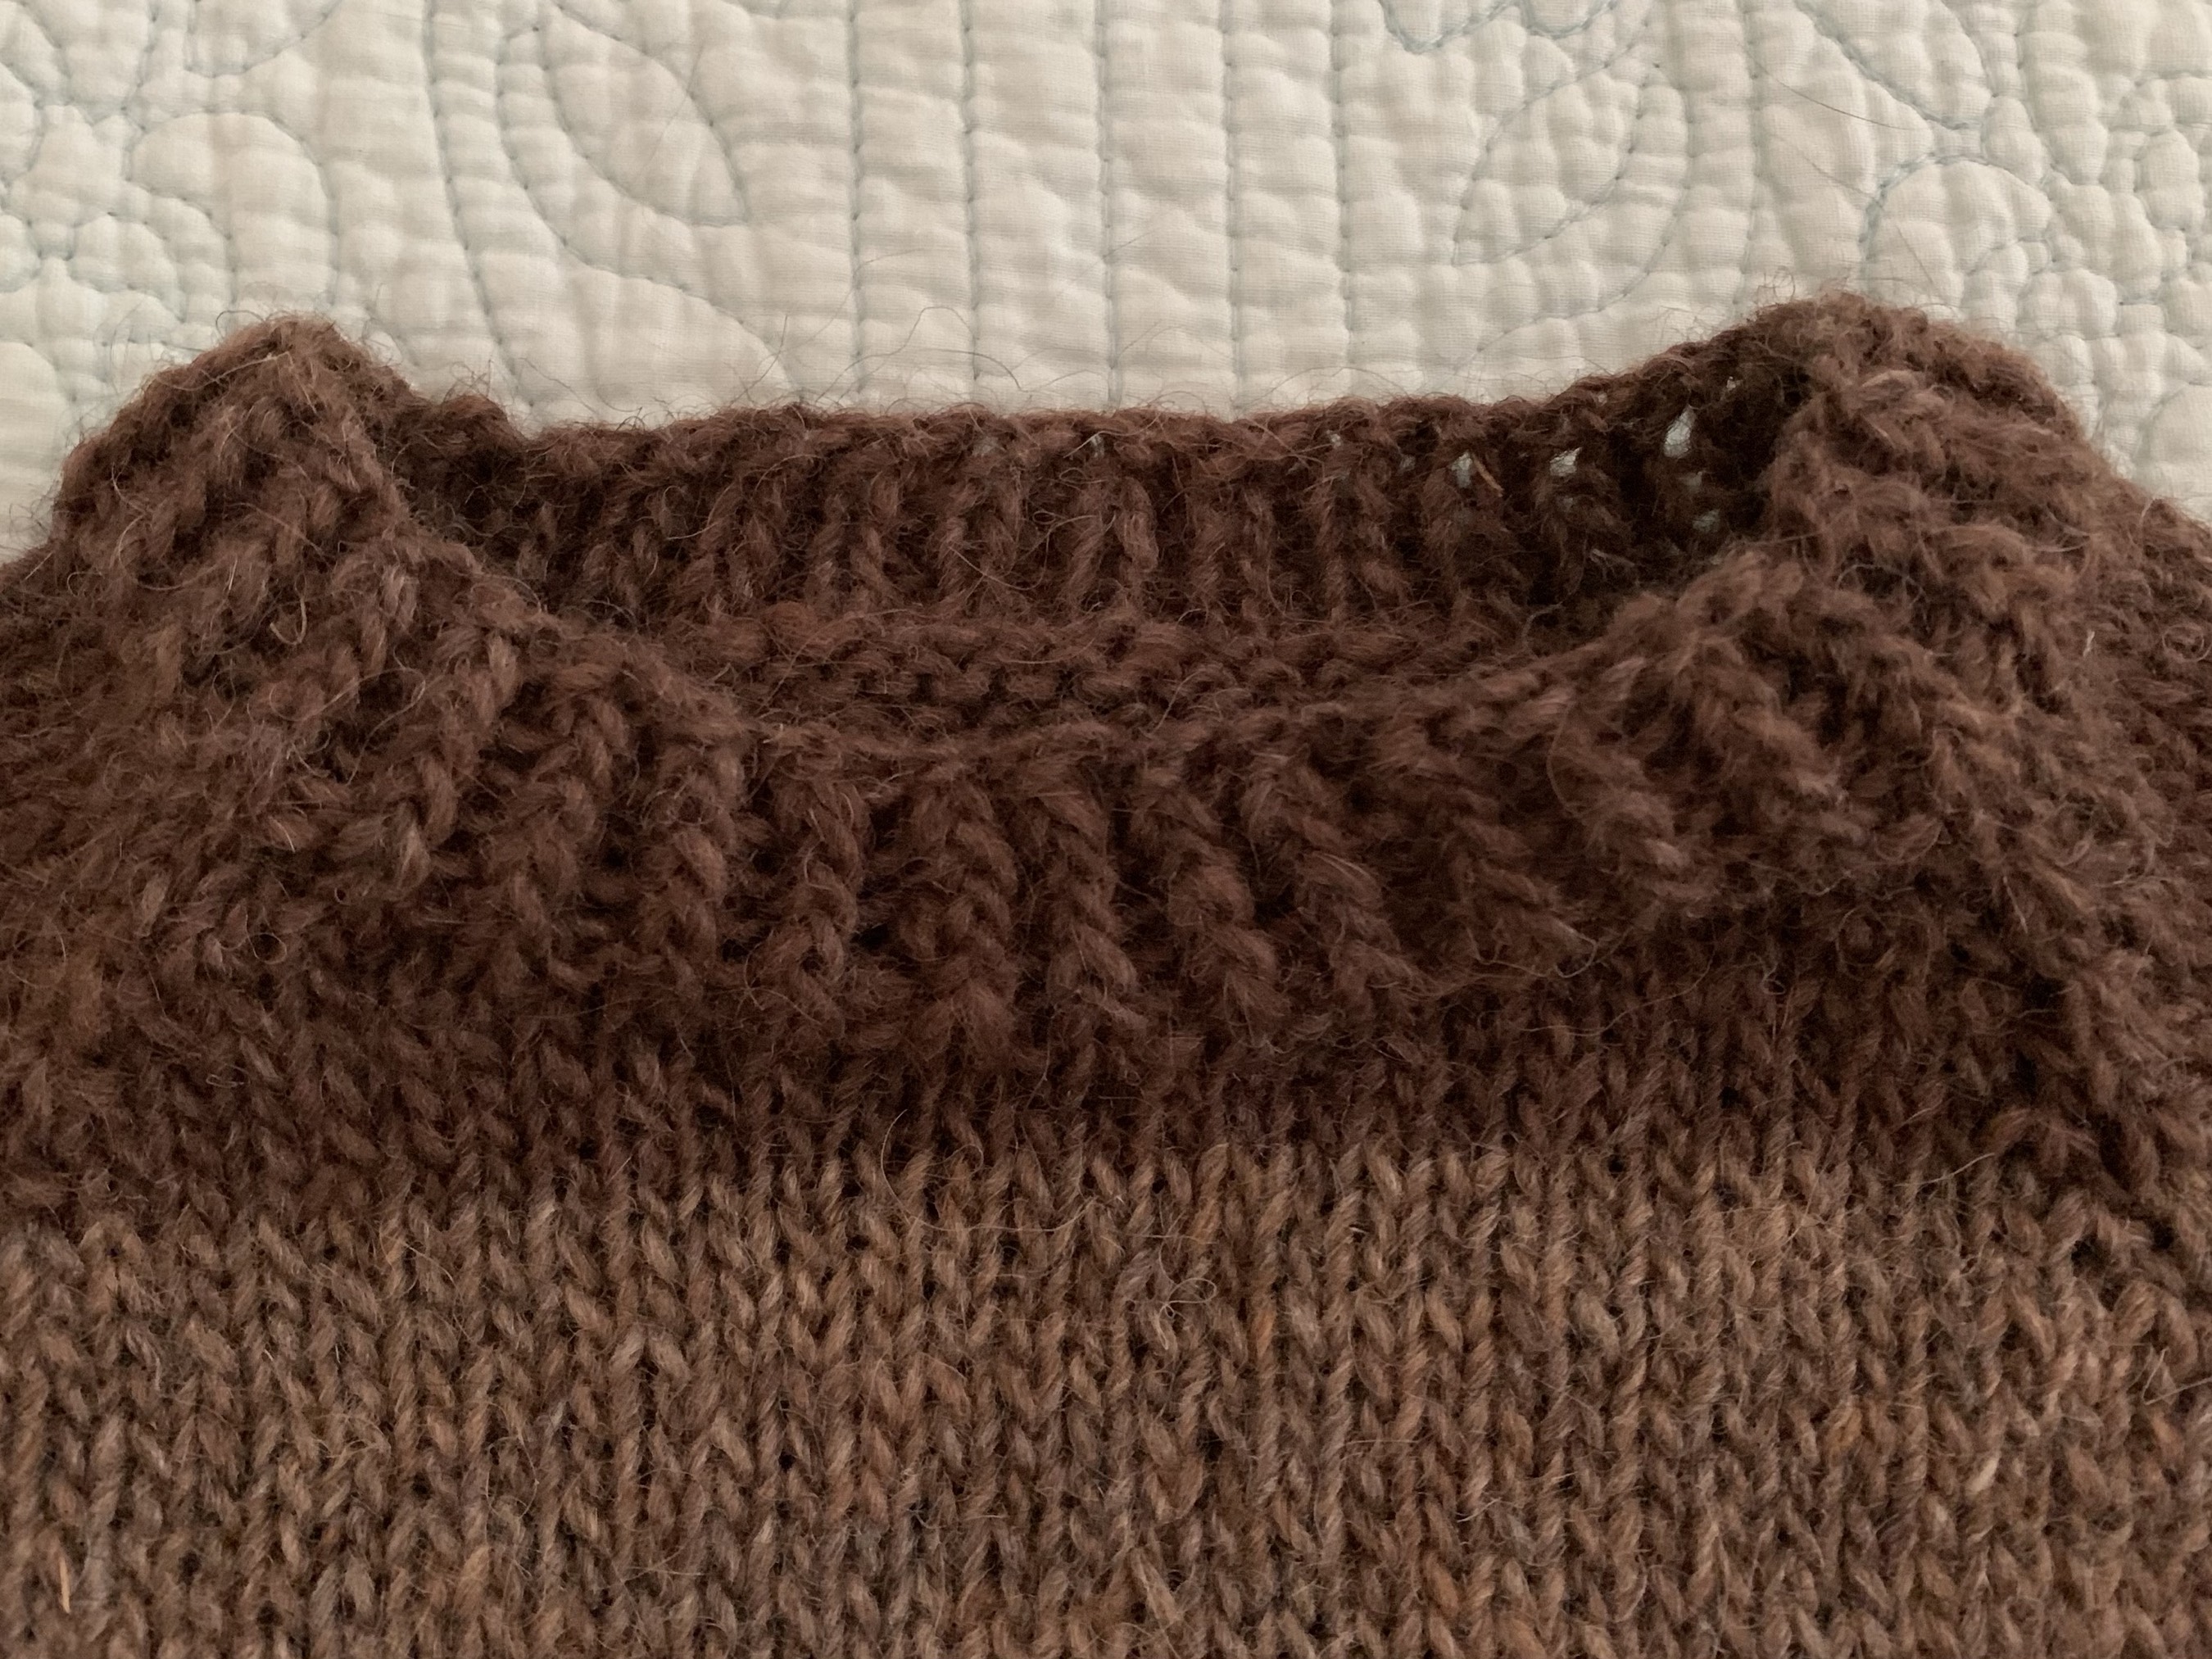
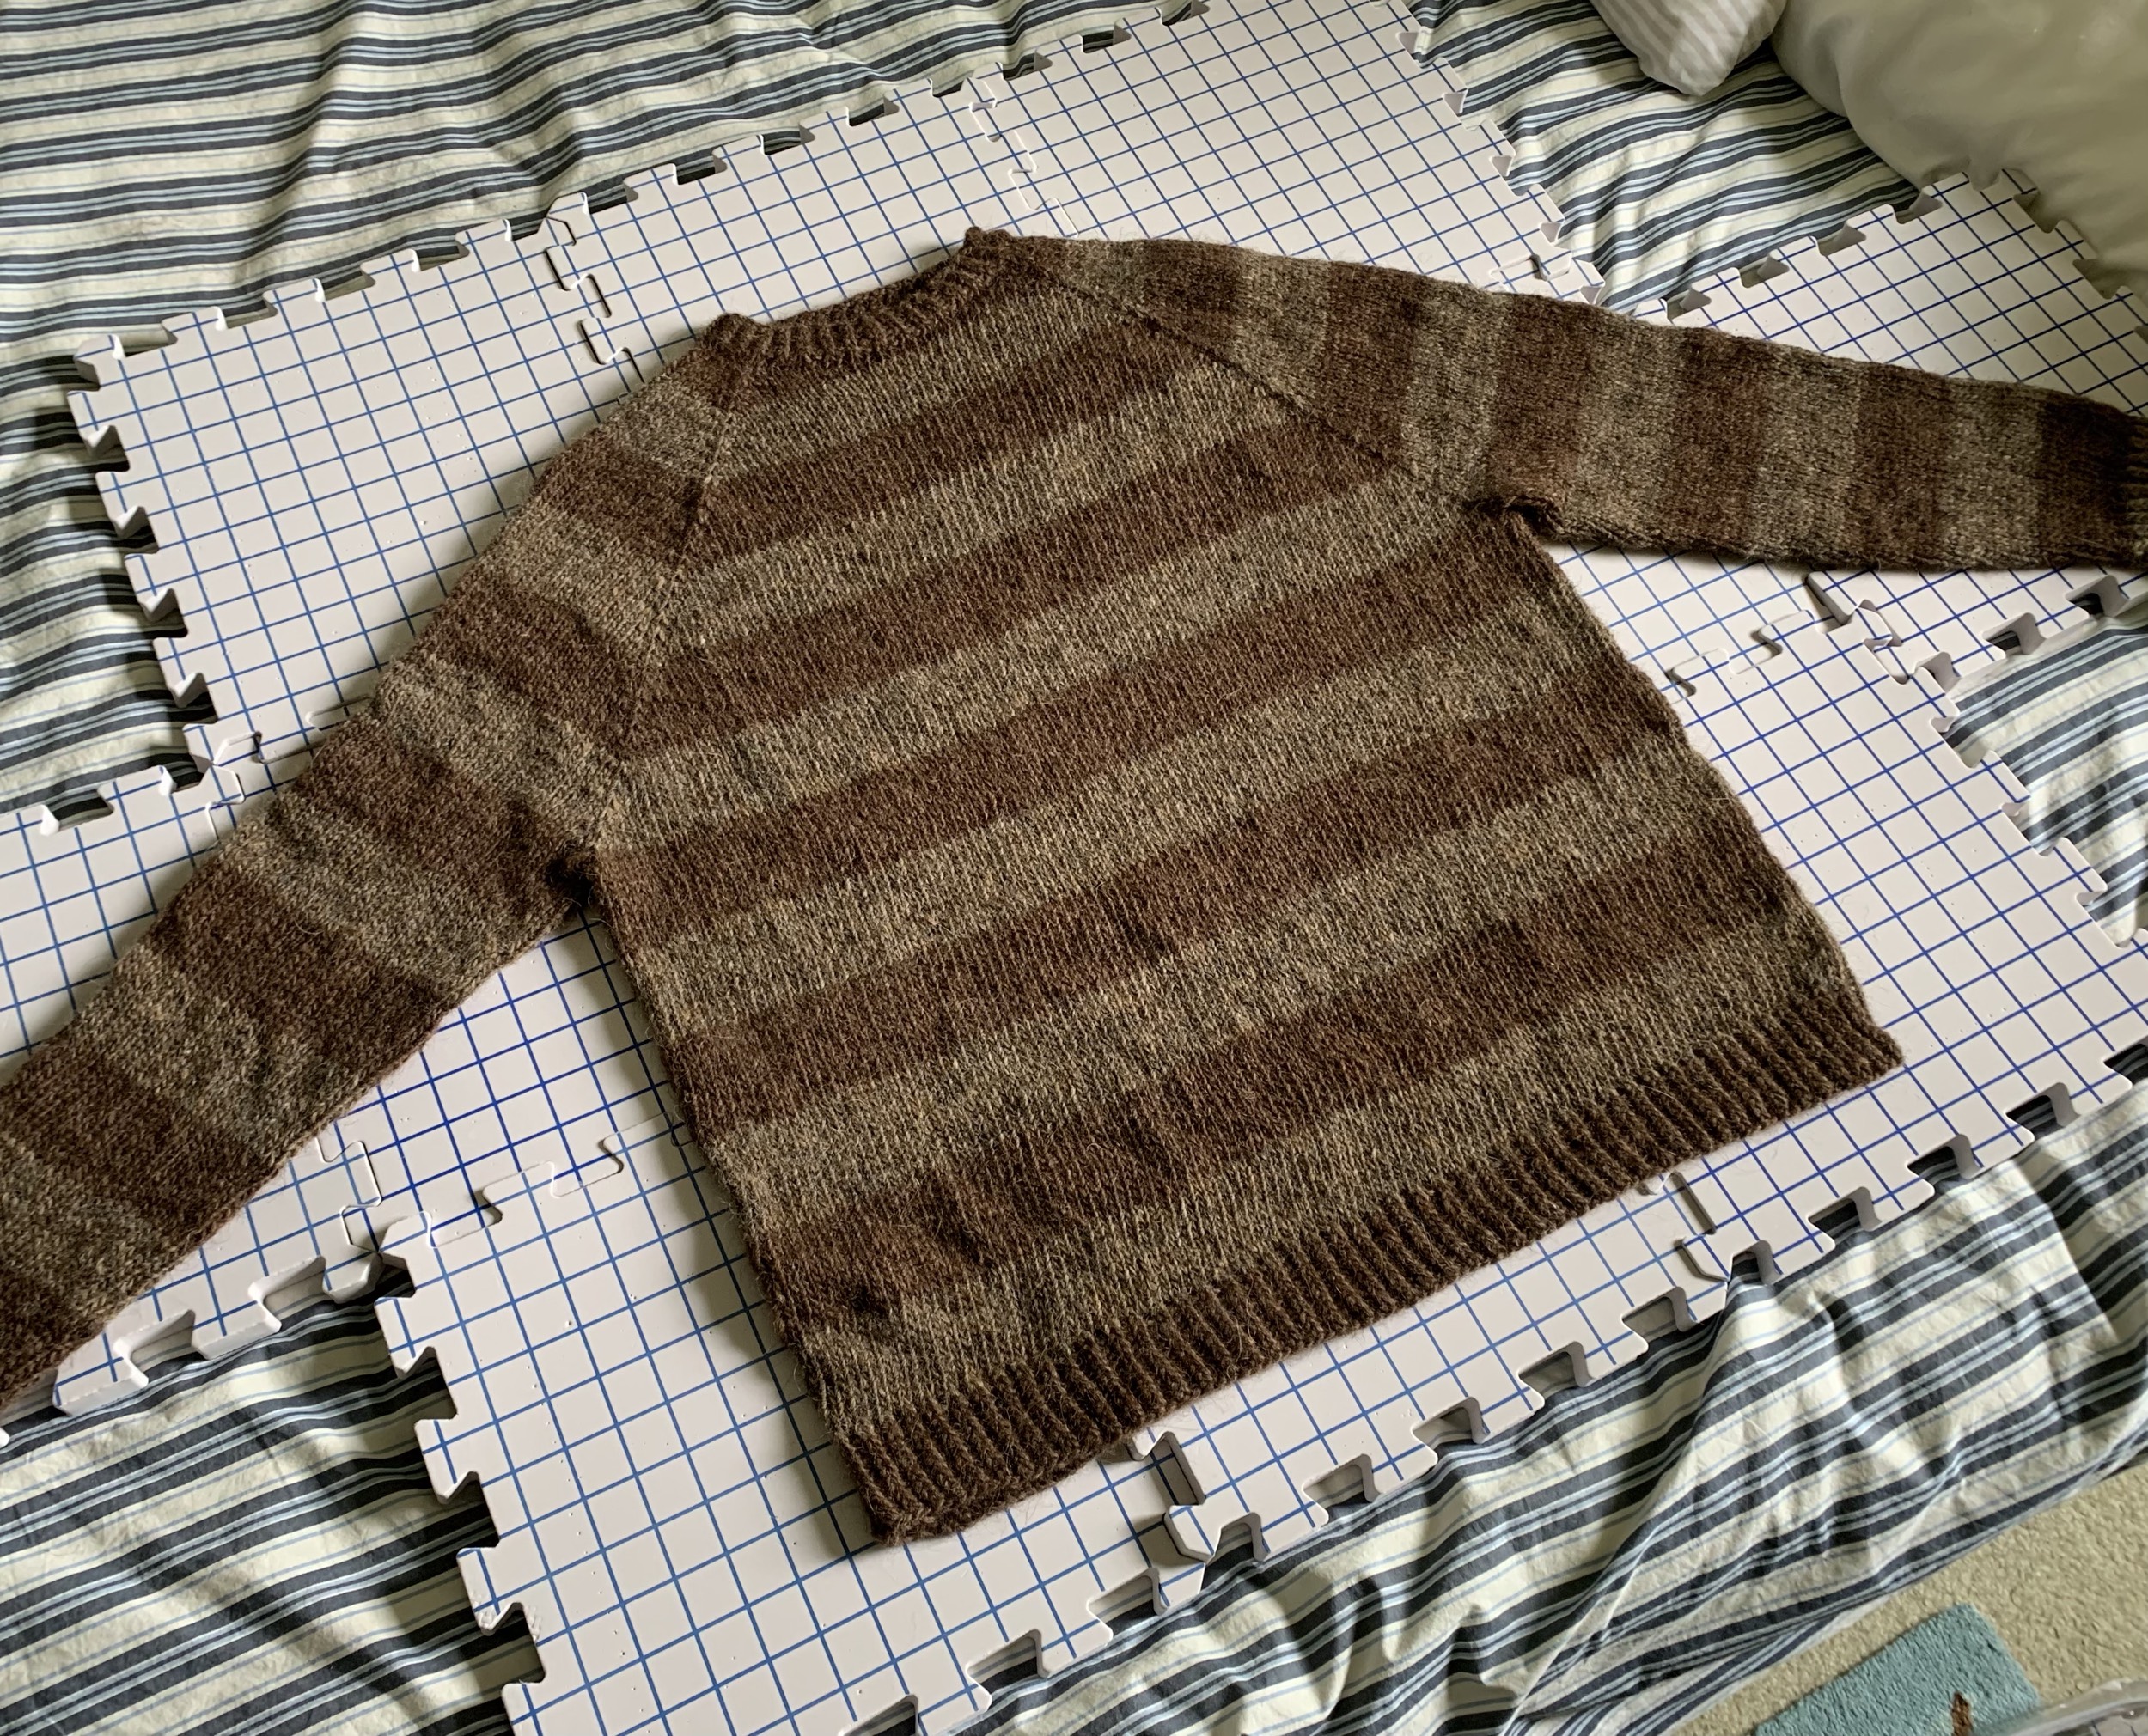
You can see how the dark brown block of color is not as deep at the front as it is on the sleeves and the back. This happened because of the short rows. The front neckline sits nice and low compared to the back.
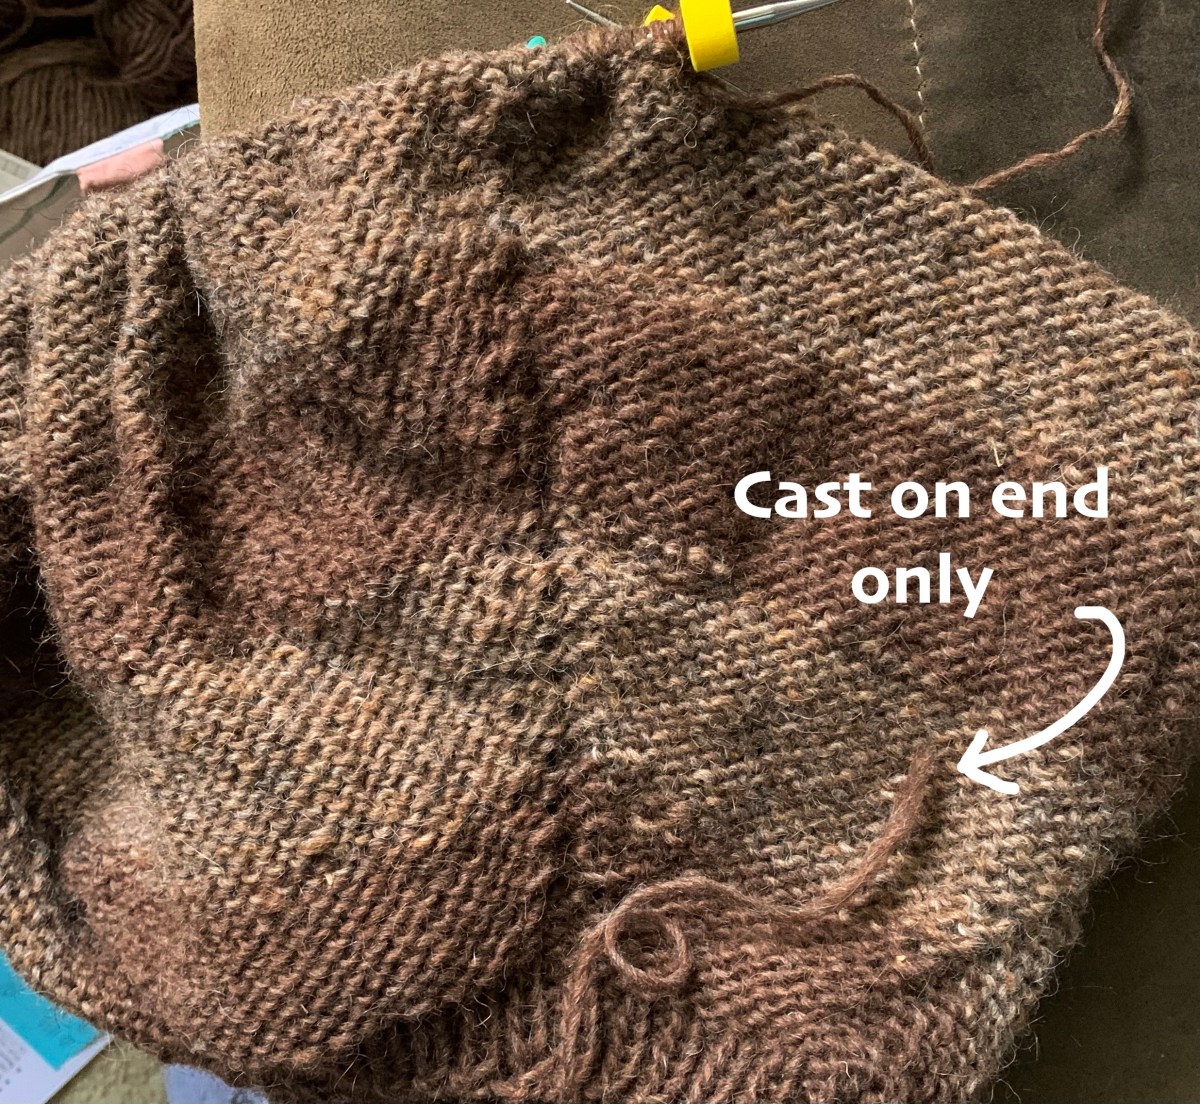
We knit from right to left. We cast on and do the neck, and then begin the body. Our sweater is being knit top-down, but while we are knitting we are holding it upside down.
The Warm Up pattern short row directions say that the first marked area is the Right Sleeve, then Front, then Left Sleeve, and Back. In that order. (See my chart below.)
*Helpful hint: Place a removable marker at the “back” middle area. I do this just to keep the front and back straight in my mind – because no knitting should be done across the front (only while making short rows). Short rows will be knit across the back, and in this case, the sleeves.
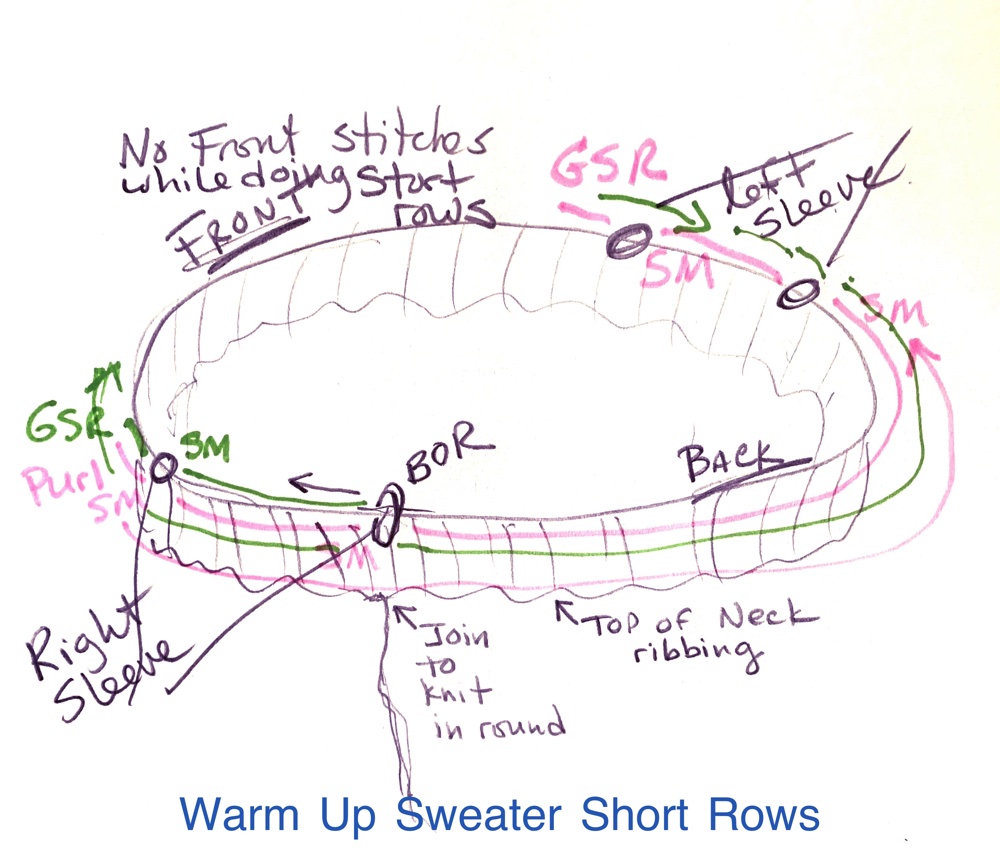
Short row shaping on the Warm Up sweater begins with Row 1 which says to “knit to marker”. From the BOR the knitting goes across the Right Sleeve. Then, “slip marker and knit X” which ever number for your size.
This brings you a few stitches into the “front” of the sweater (Green GSR in my image), but now you turn – doing a German Short Row (see how below) – and will purl back (pink line in my image) – across the right sleeve, and the back, and the left sleeve. (This is Row 2, which says: *P to marker, SM and repeat 3 more times. This takes you past the R. sleeve marker, BOR marker, and both L sleeve markers – plus 3 or 4 stitches into the other side of the Front.)
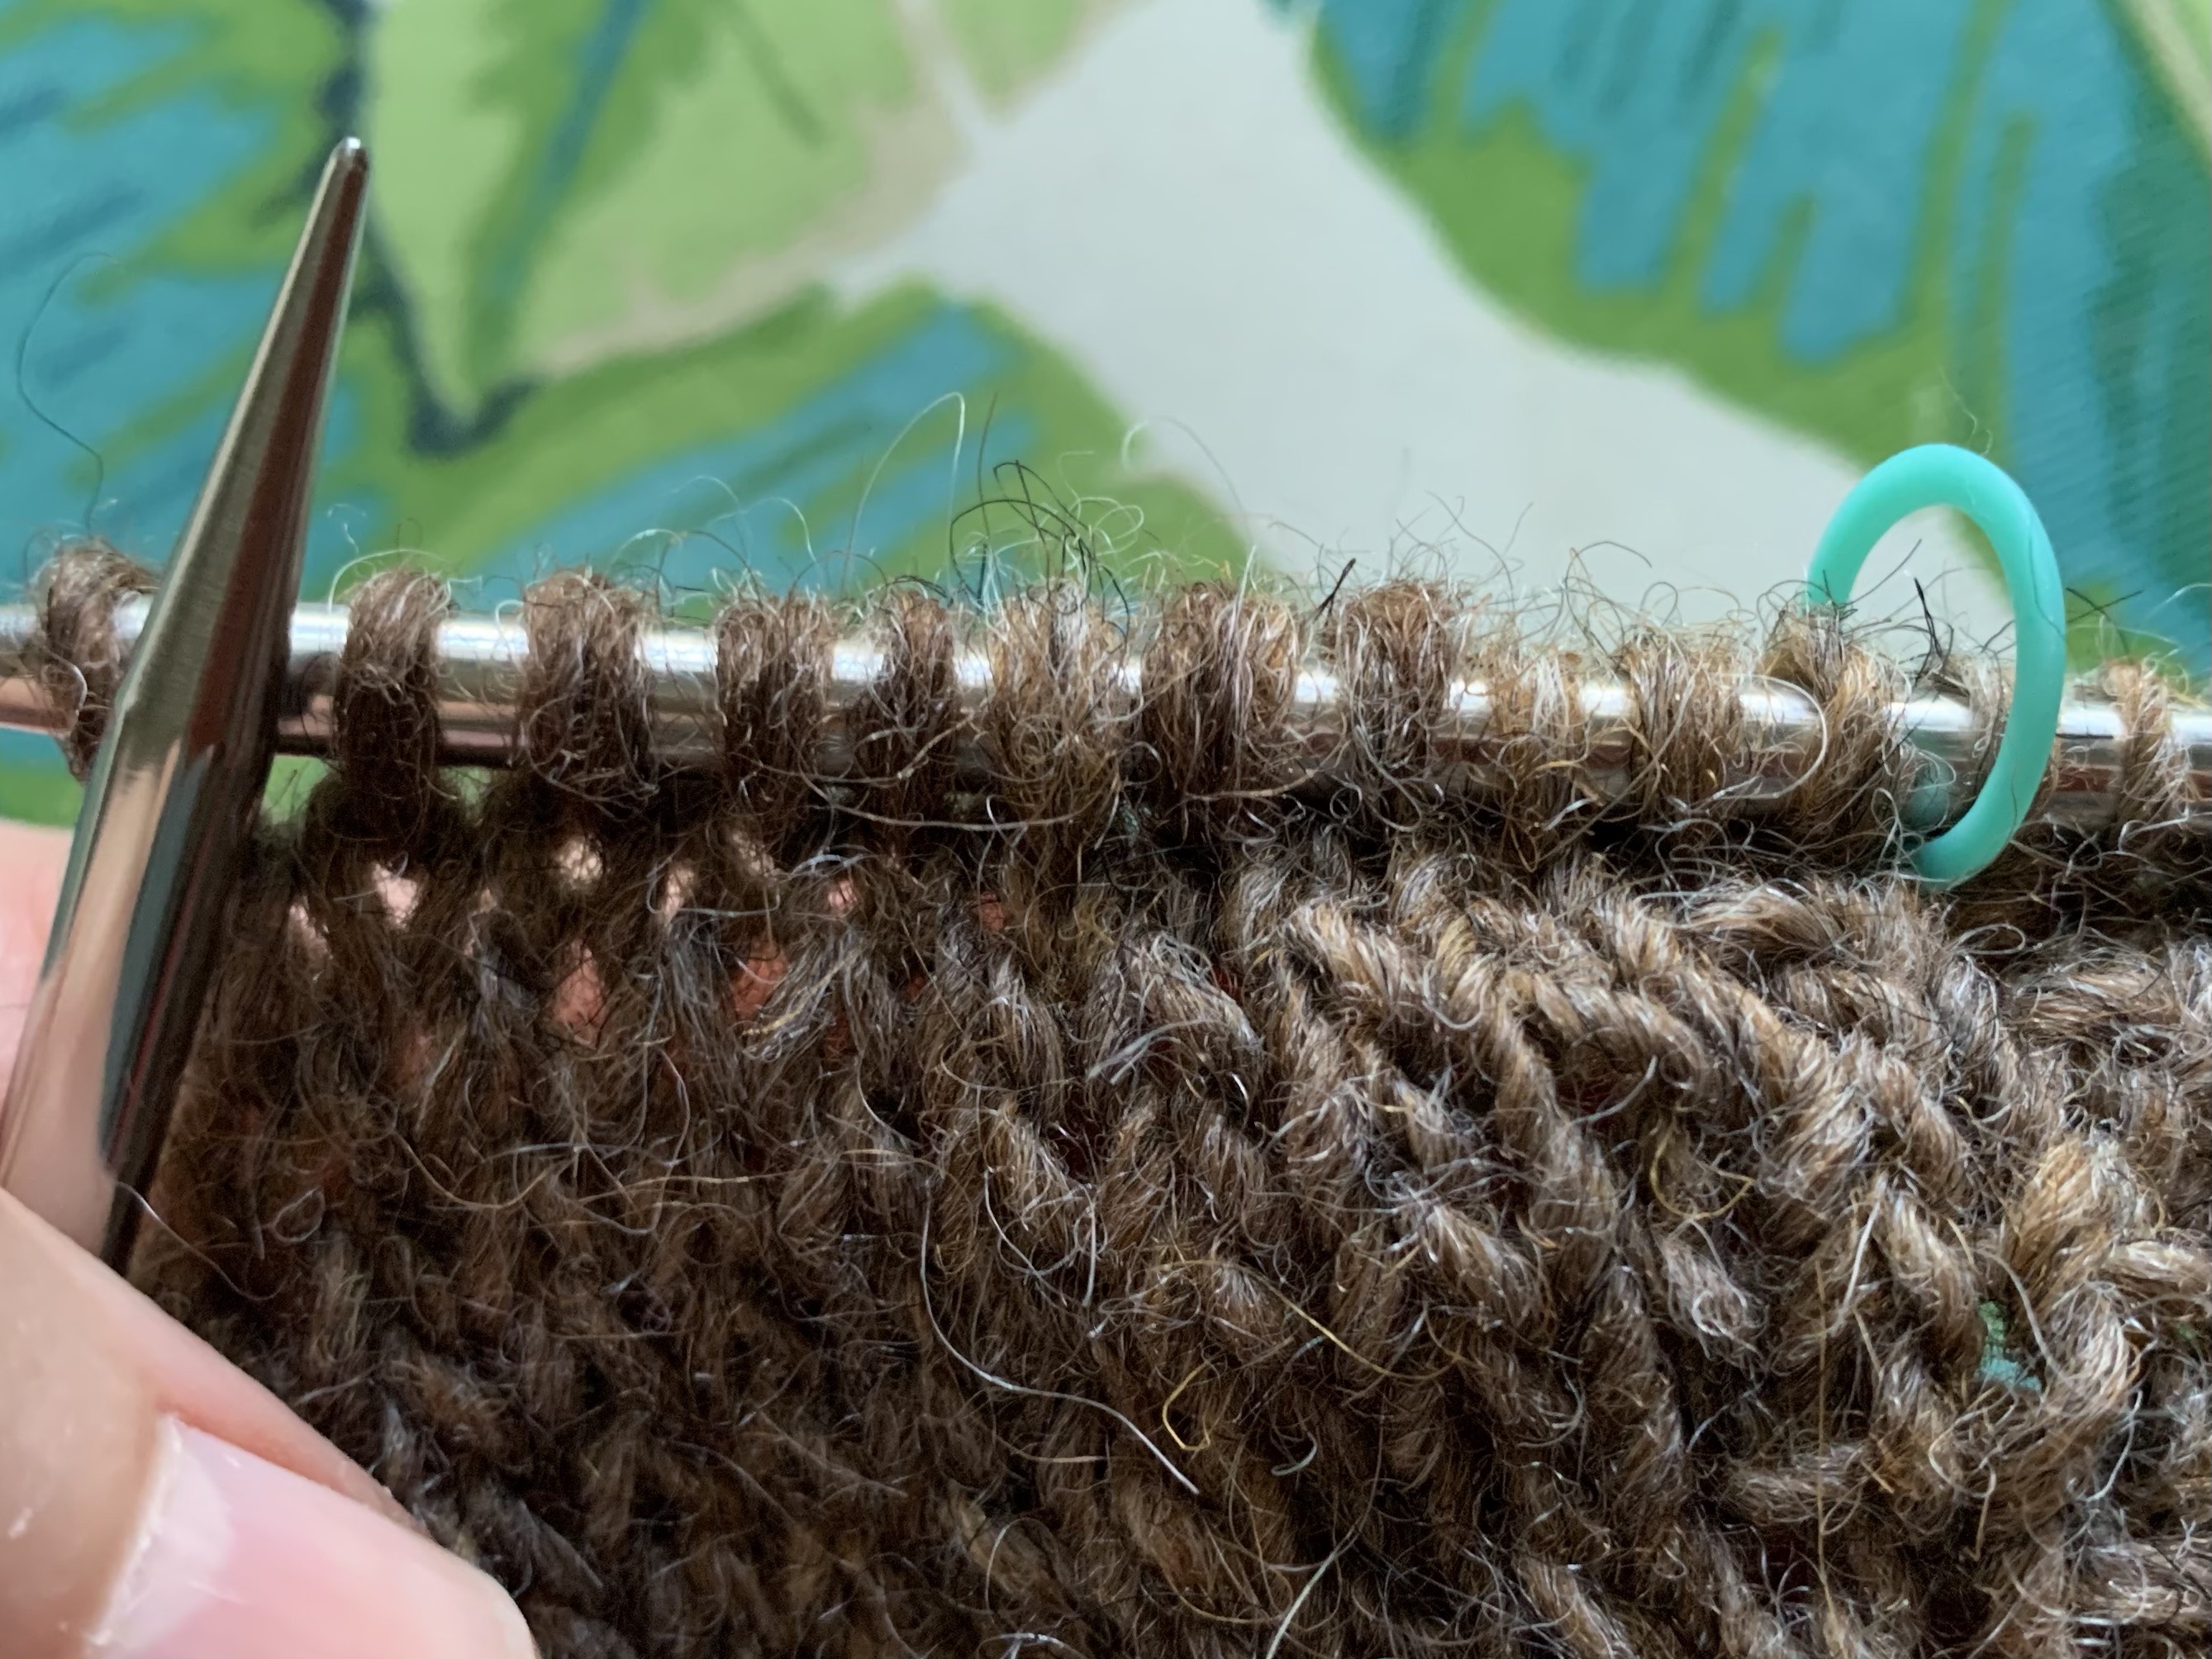
Row 3 of this Short Row section includes increases, in the form of kfb (knit front and back) which are done on either side of the sleeves. You also do a GSR. It is not hard, just do each thing when it says to in the pattern. Some people mark where their short row turns are, but the double stitch made will stand out so there is really no need.
The German short row turn is done like this: Knit (or purl) to the stitch indicated. Turn the work and with the yarn in front, slip the stitch on the left needle onto the right. Then pull that stitch up and over. It will look odd, like two stitches. You are now ready to either knit – on the RS, or purl, on the WS. Follow the directions for the next short row.
Watch this excellent Short Rows Video for more help.
More About Short Rows
Making the turn for short rows will become second nature once you practice enough. If the pattern is well-written, the designer will walk you through those rows. Once the short rows are finished, you will continue knitting normally, or as the pattern directs.
The funny looking short row stitch is always knit together – as one stitch – when it comes time to either knit, or purl that weird stitch.
Socks use short row shaping at the heel. And short rows can make a ruffle on a scarf or other project.


My Knitting Life


Something went wrong. Please refresh the page and/or try again.