This cute little baby bonnet knitting pattern is offered by Tin Can Knits and it’s called “Beloved“.
That link will take you to the Ravelry site where you can buy the pattern for $5.00US (at time of this writing).
Knitting the Bonnet
This unique pattern begins on one side of the bonnet where an i-cord “tie” is made. Then you knit up and over and down the other side of the hat!
The written directions are easy to follow. Short rows are made to shape the hat and excellent directions are given to make those rows. I’m not sure a beginner knitter would be able to handle this pattern. If you can knit, purl, knit front and back, make short rows (or follow the directions) and do the i-cord (directions are included for that as well) you can knit this cute little baby hat. Or, knit it larger to fit anyone!
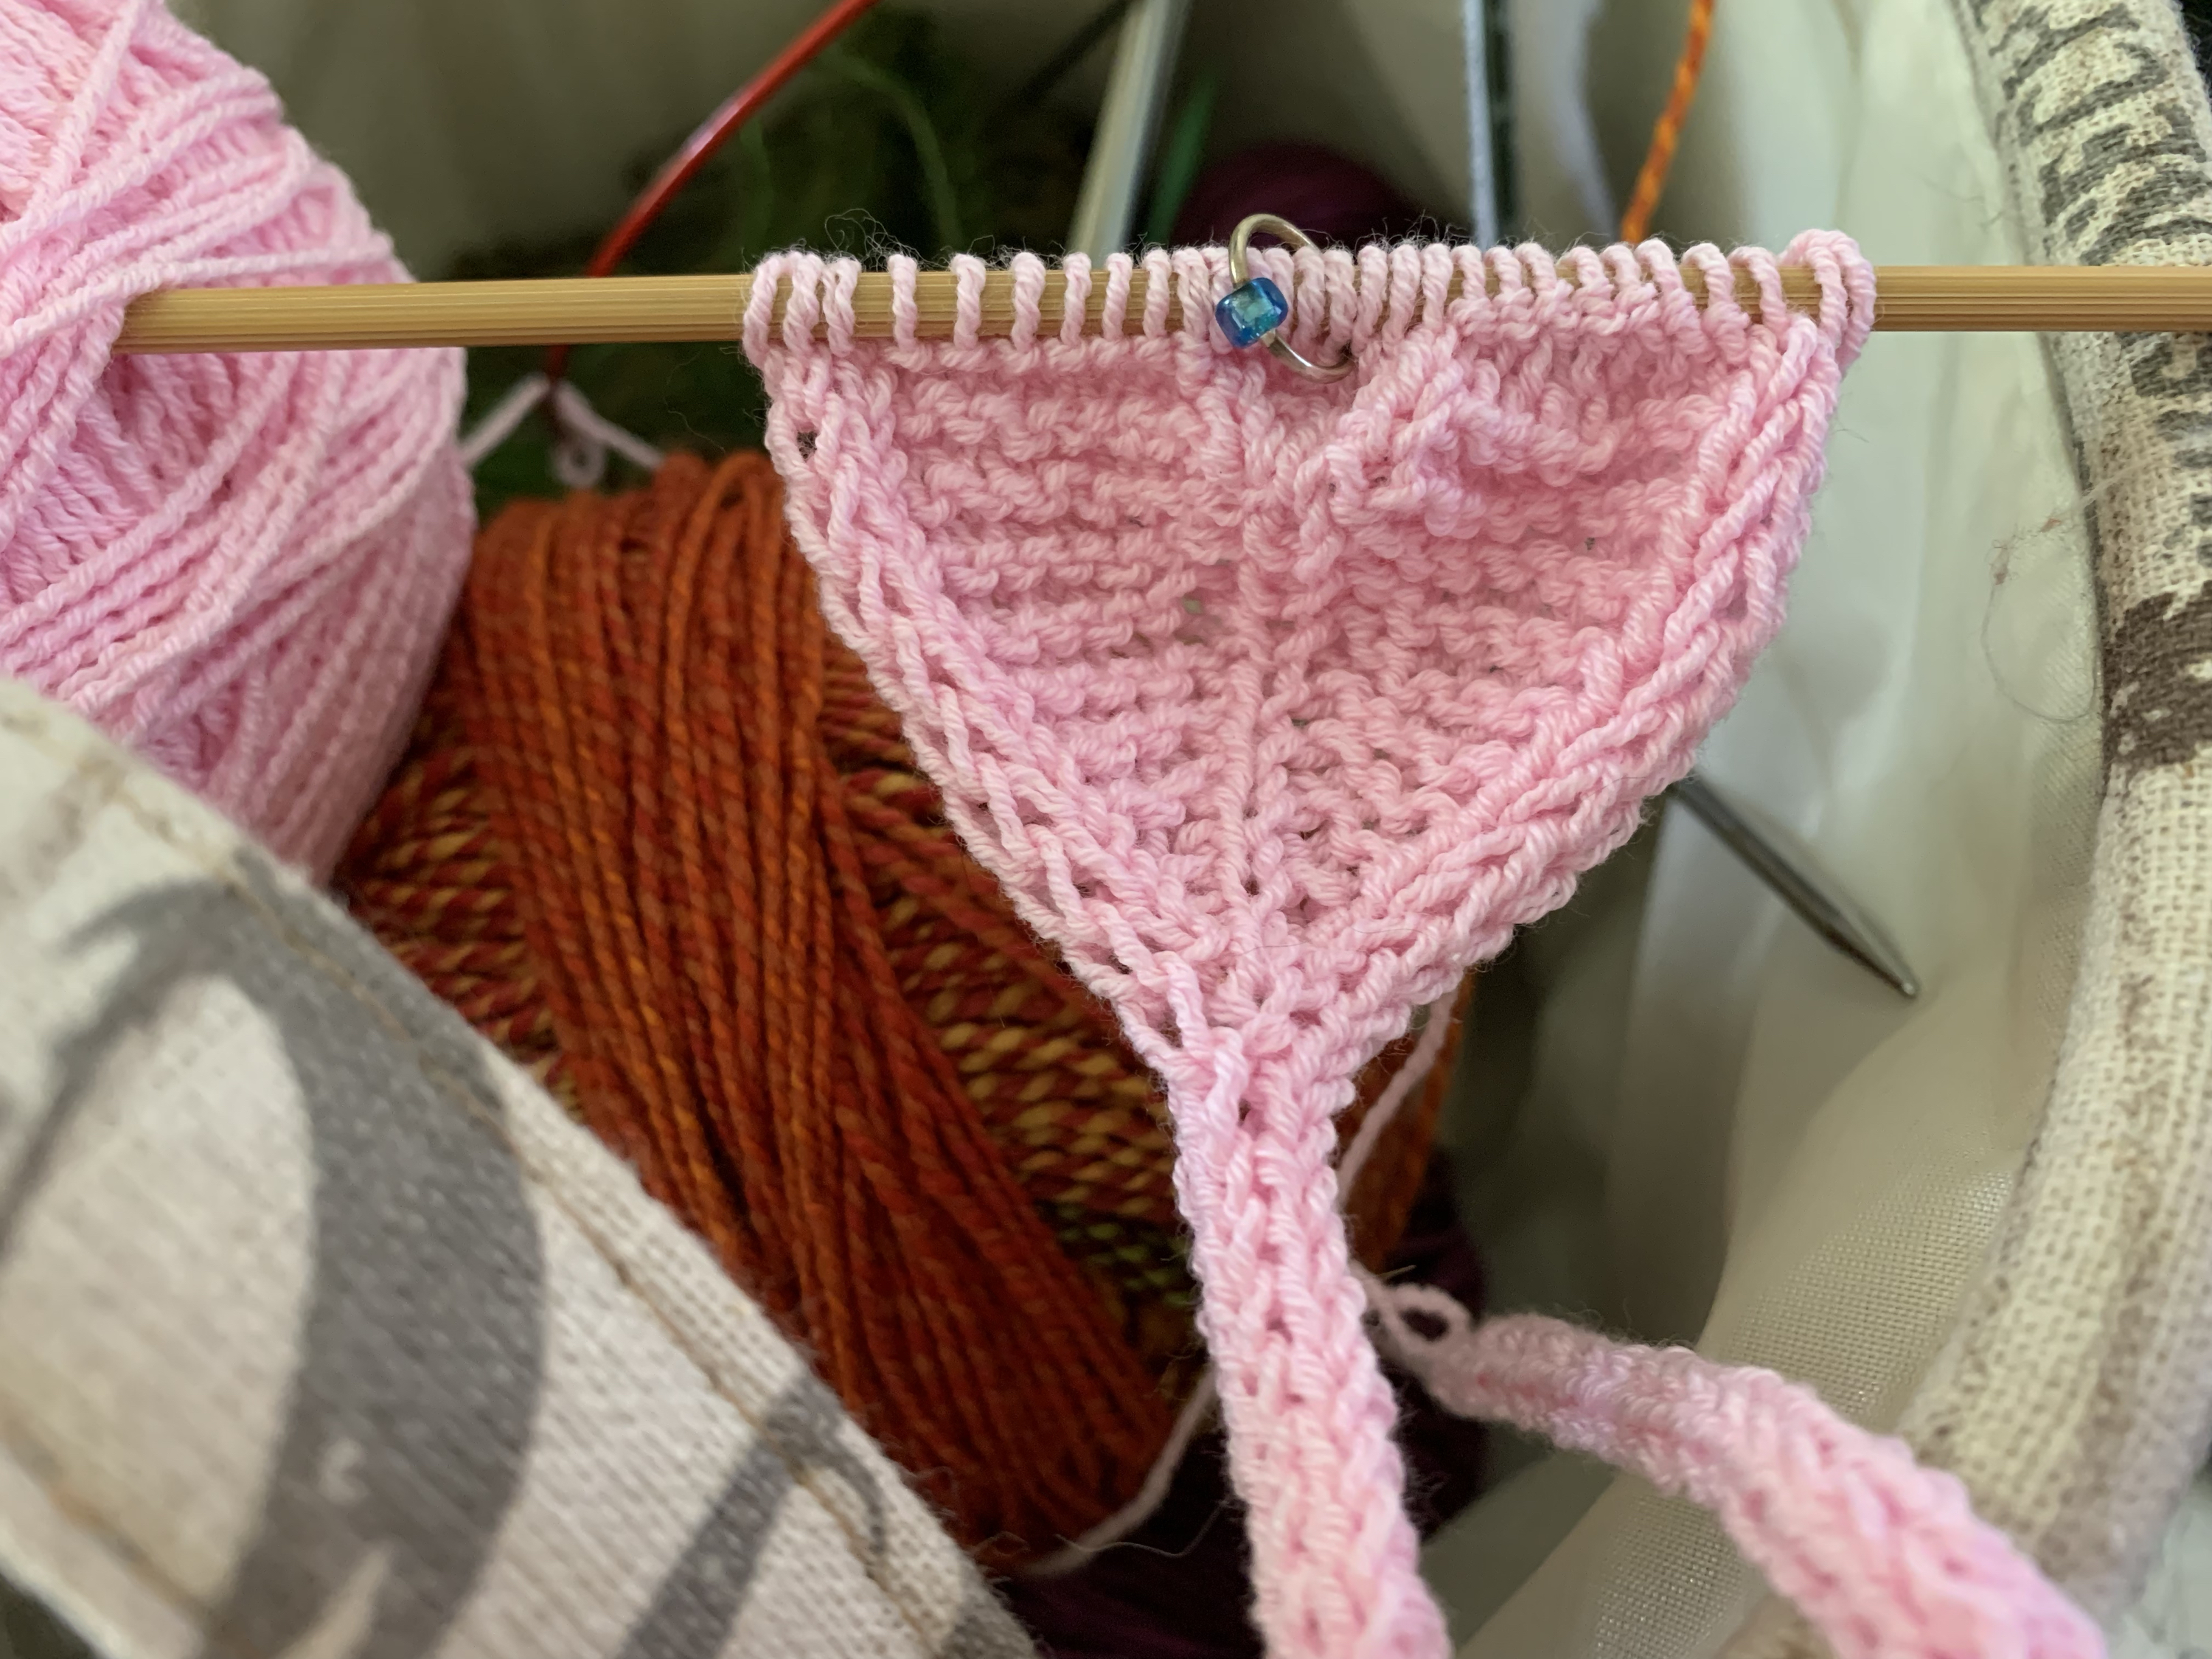
The pink yarn (Bubblegum) I am using is CoBaSi (link goes to Yarn(dot)com) and I’ve never knit with it before. There is no wool in it, which makes it perfect for anyone who dislikes wool, or for babies who could be allergic to wool. It is made up of cotton, bamboo and silk – hence the name.
This yarn can be machine washed and dried!
Knitter’s reviews call this yarn “splitty” which I could see. I’m not having trouble with that but the strand is a little strange. I think the yarn would be perfect when knitting for babies and small projects. One reviewer used it to line a wool hat, which sounds like an excellent idea.
I’ll see how much yarn is leftover after knitting the bonnet and maybe I will make some booties to match.

Would be cuter on a baby’s head! 
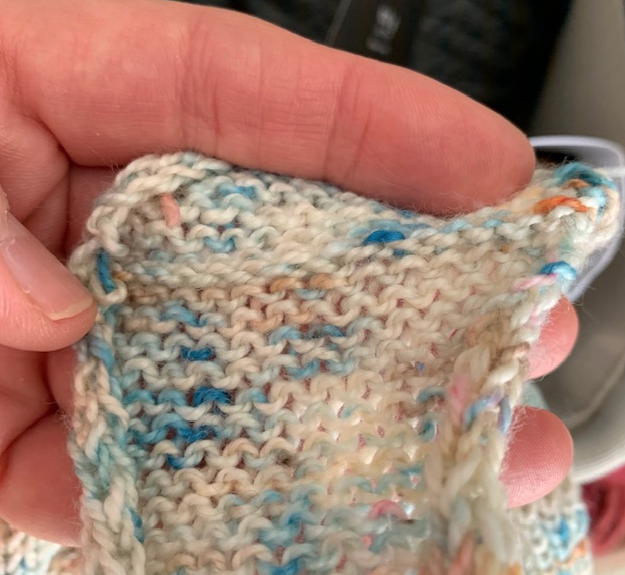
Front of bonnet 
Back with short row shaping

Once the cute baby hat was done, I knit a pair of little socks (a free pattern). See that post here: Perfect Newborn Socks.
More Knitting For Babies Fun
Although I have no grandchildren, I wanted to try to knit some baby things. Don’t fool yourself into thinking that because the items are small they will be easier to knit, but they do require less yarn and knit up quickly.
I knit some simple baby hats and sent them to a friend. Booties are a bit more challenging but I’ve made a few of those. The Polliwog Popover came out a little weird, but I enjoyed knitting the Playdate Cardigan (see below).
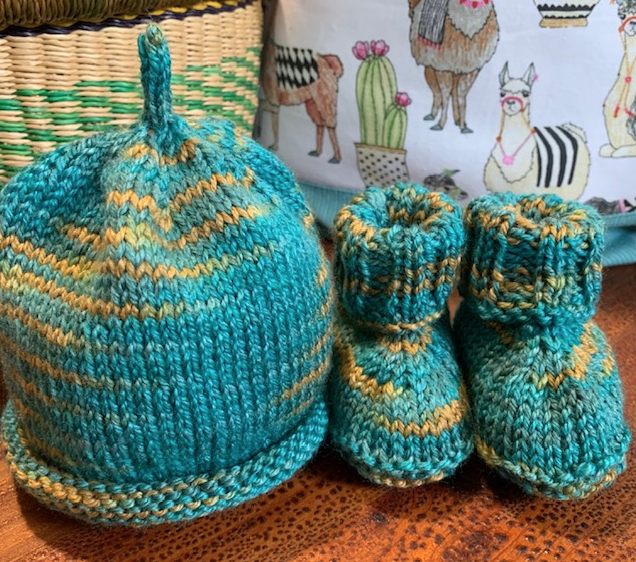
This baby set of hat and booties was something I knit just for fun. I really don’t like the colors, but the yarn is machine washable. It would work for a boy, but I don’t know anyone who has a new baby boy!
Finding the right yarn when knitting for babies and children can be a chore! It should be washable, and maybe even able to go into the dryer. Personally, I don’t like acrylic yarn so I wrote a whole page on washable yarn that would work for knitting for kids, and anyone who will not hand-wash their garments.
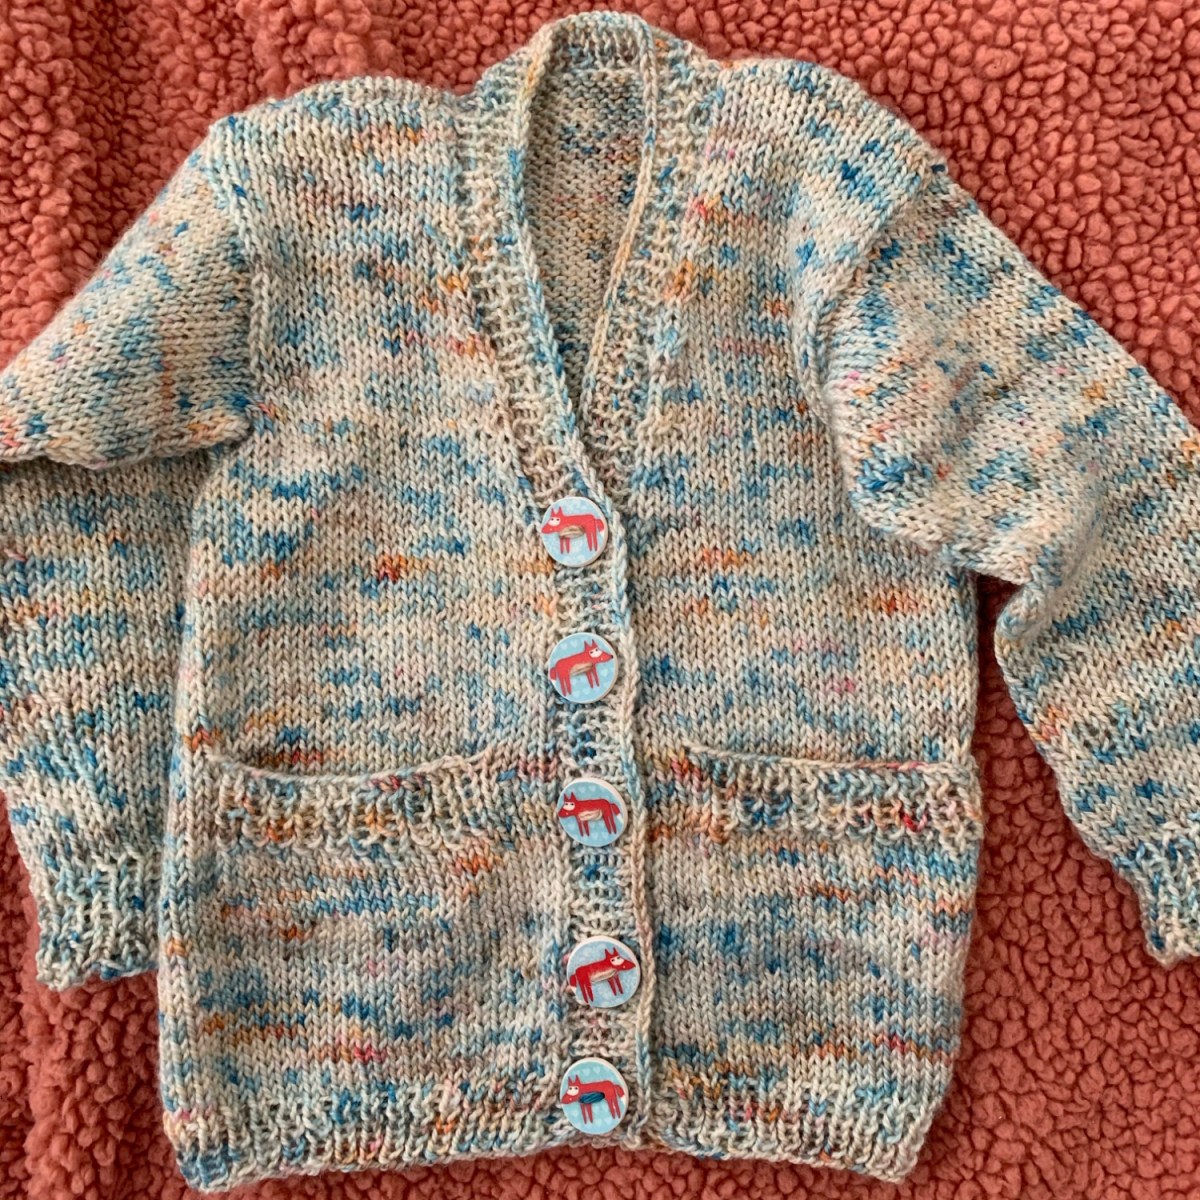
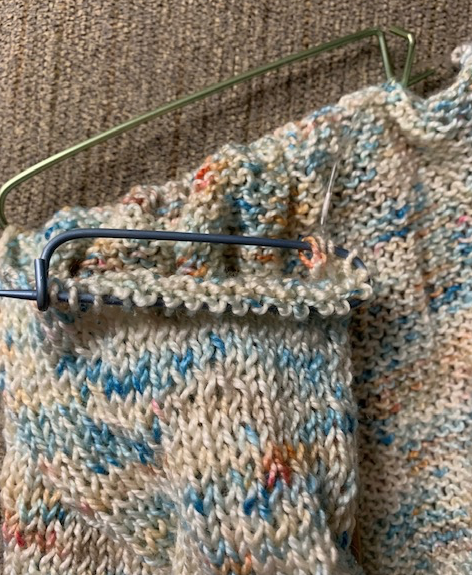
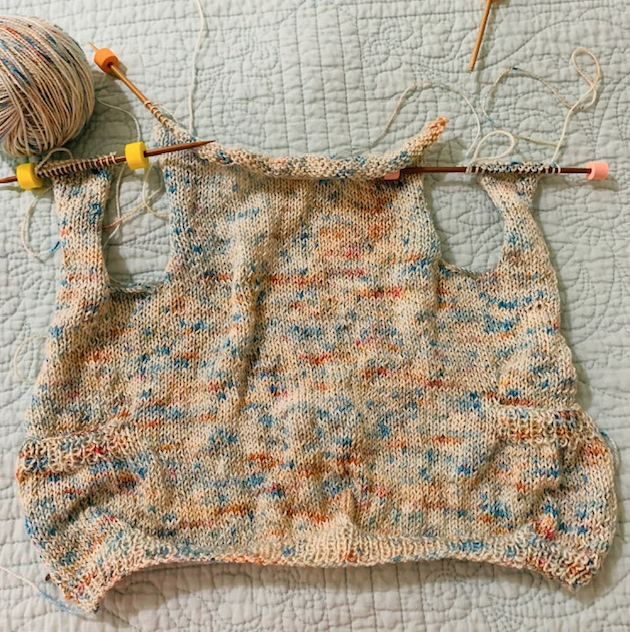
The Playdate Cardigan by Tin Can Knits
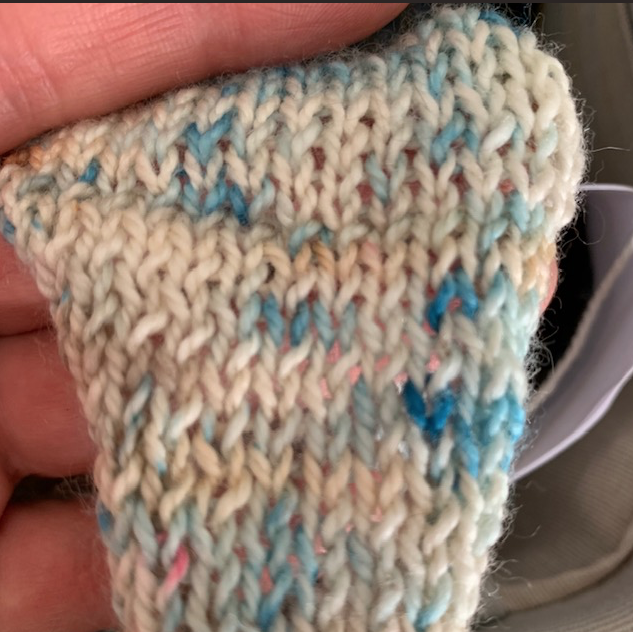
Just for fun, I chose to knit this cute little sweater pattern by Tin Can Knits. I used a sock yarn, which I didn’t end up liking much for a cardigan, but the design was such fun to knit. I learned how to make pockets and kitchener stitch the shoulders. I would love to knit this one again with a pretty merino wool yarn.

Three Little Baby Hats

Knitting Baby Booties

Latest from the Blog

Lots of Changes This Year
Writing a blog, sharing photos, and doing research and making links takes time. Lately I don’t think the time spent doing all that is worth enough to continue. I have stopped writing my gardening blog, and downgraded my seashells/ boating / camping blog. I’ve been spread too thin for too long. The past 18 years…

Knitters and Our Many Projects
How many projects do you have on your needles? It is not uncommon to find that fellow knitters have many things going at once.

Happy New Year 2026 and Time to Cast On
A new year means a brand new knitting project to begin. What will you be making?