The Easy V Colorwork Sweater Knitting Project Review

Finished knitting the Easy V sweater and these are my thoughts on the knitting project.

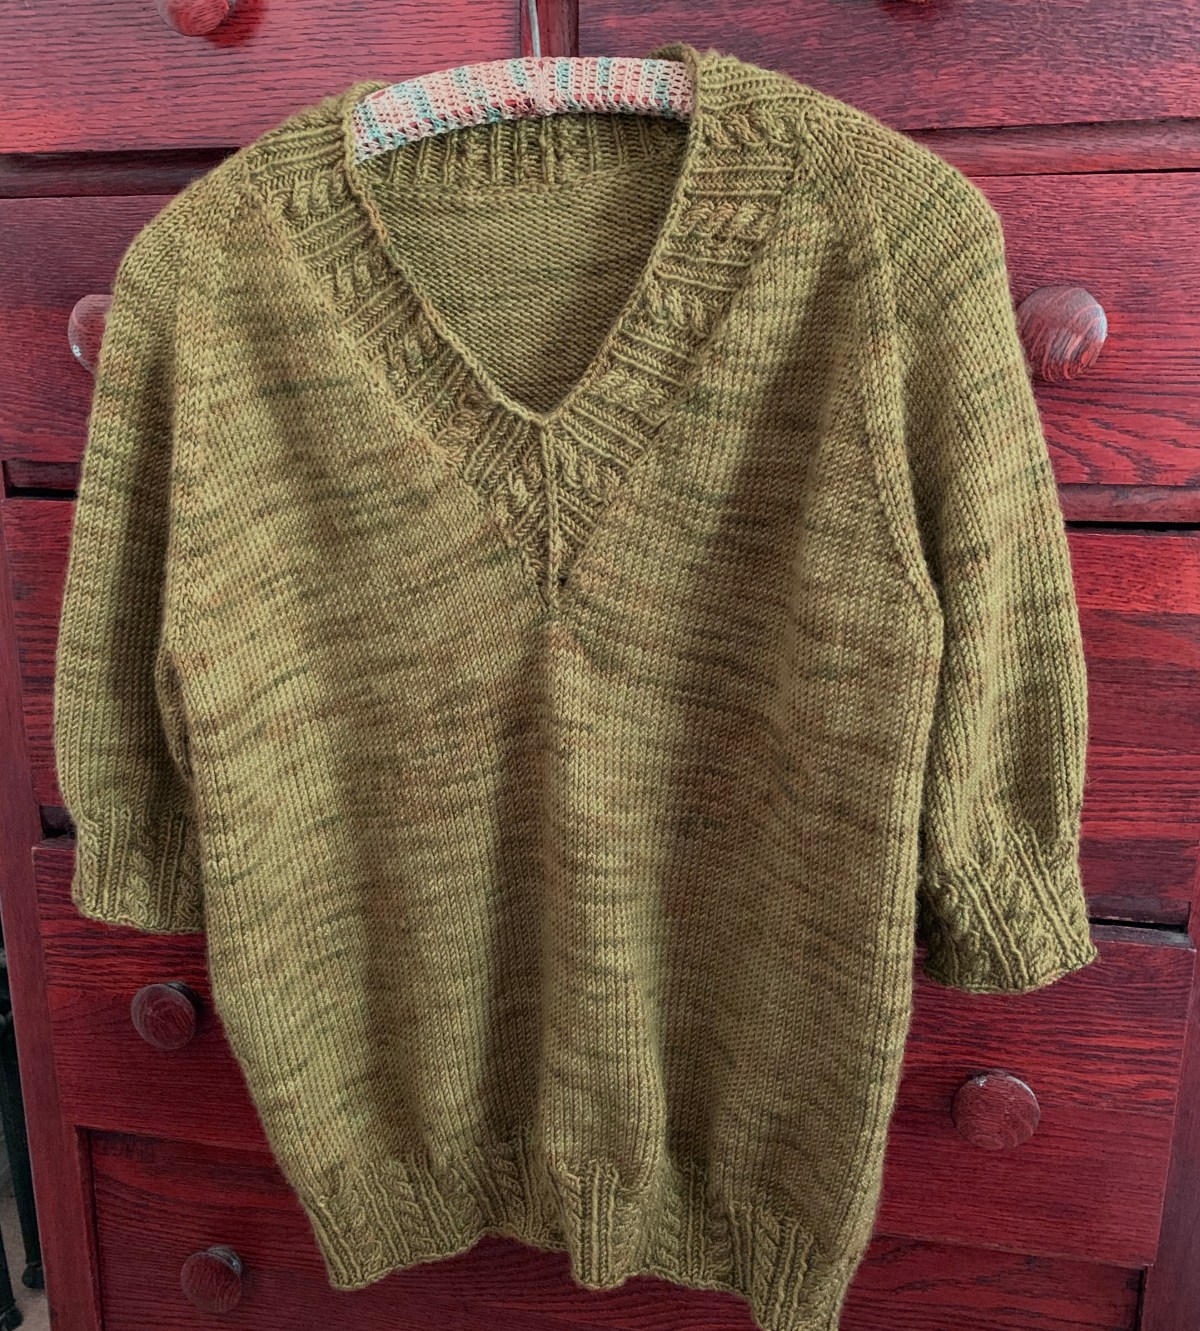
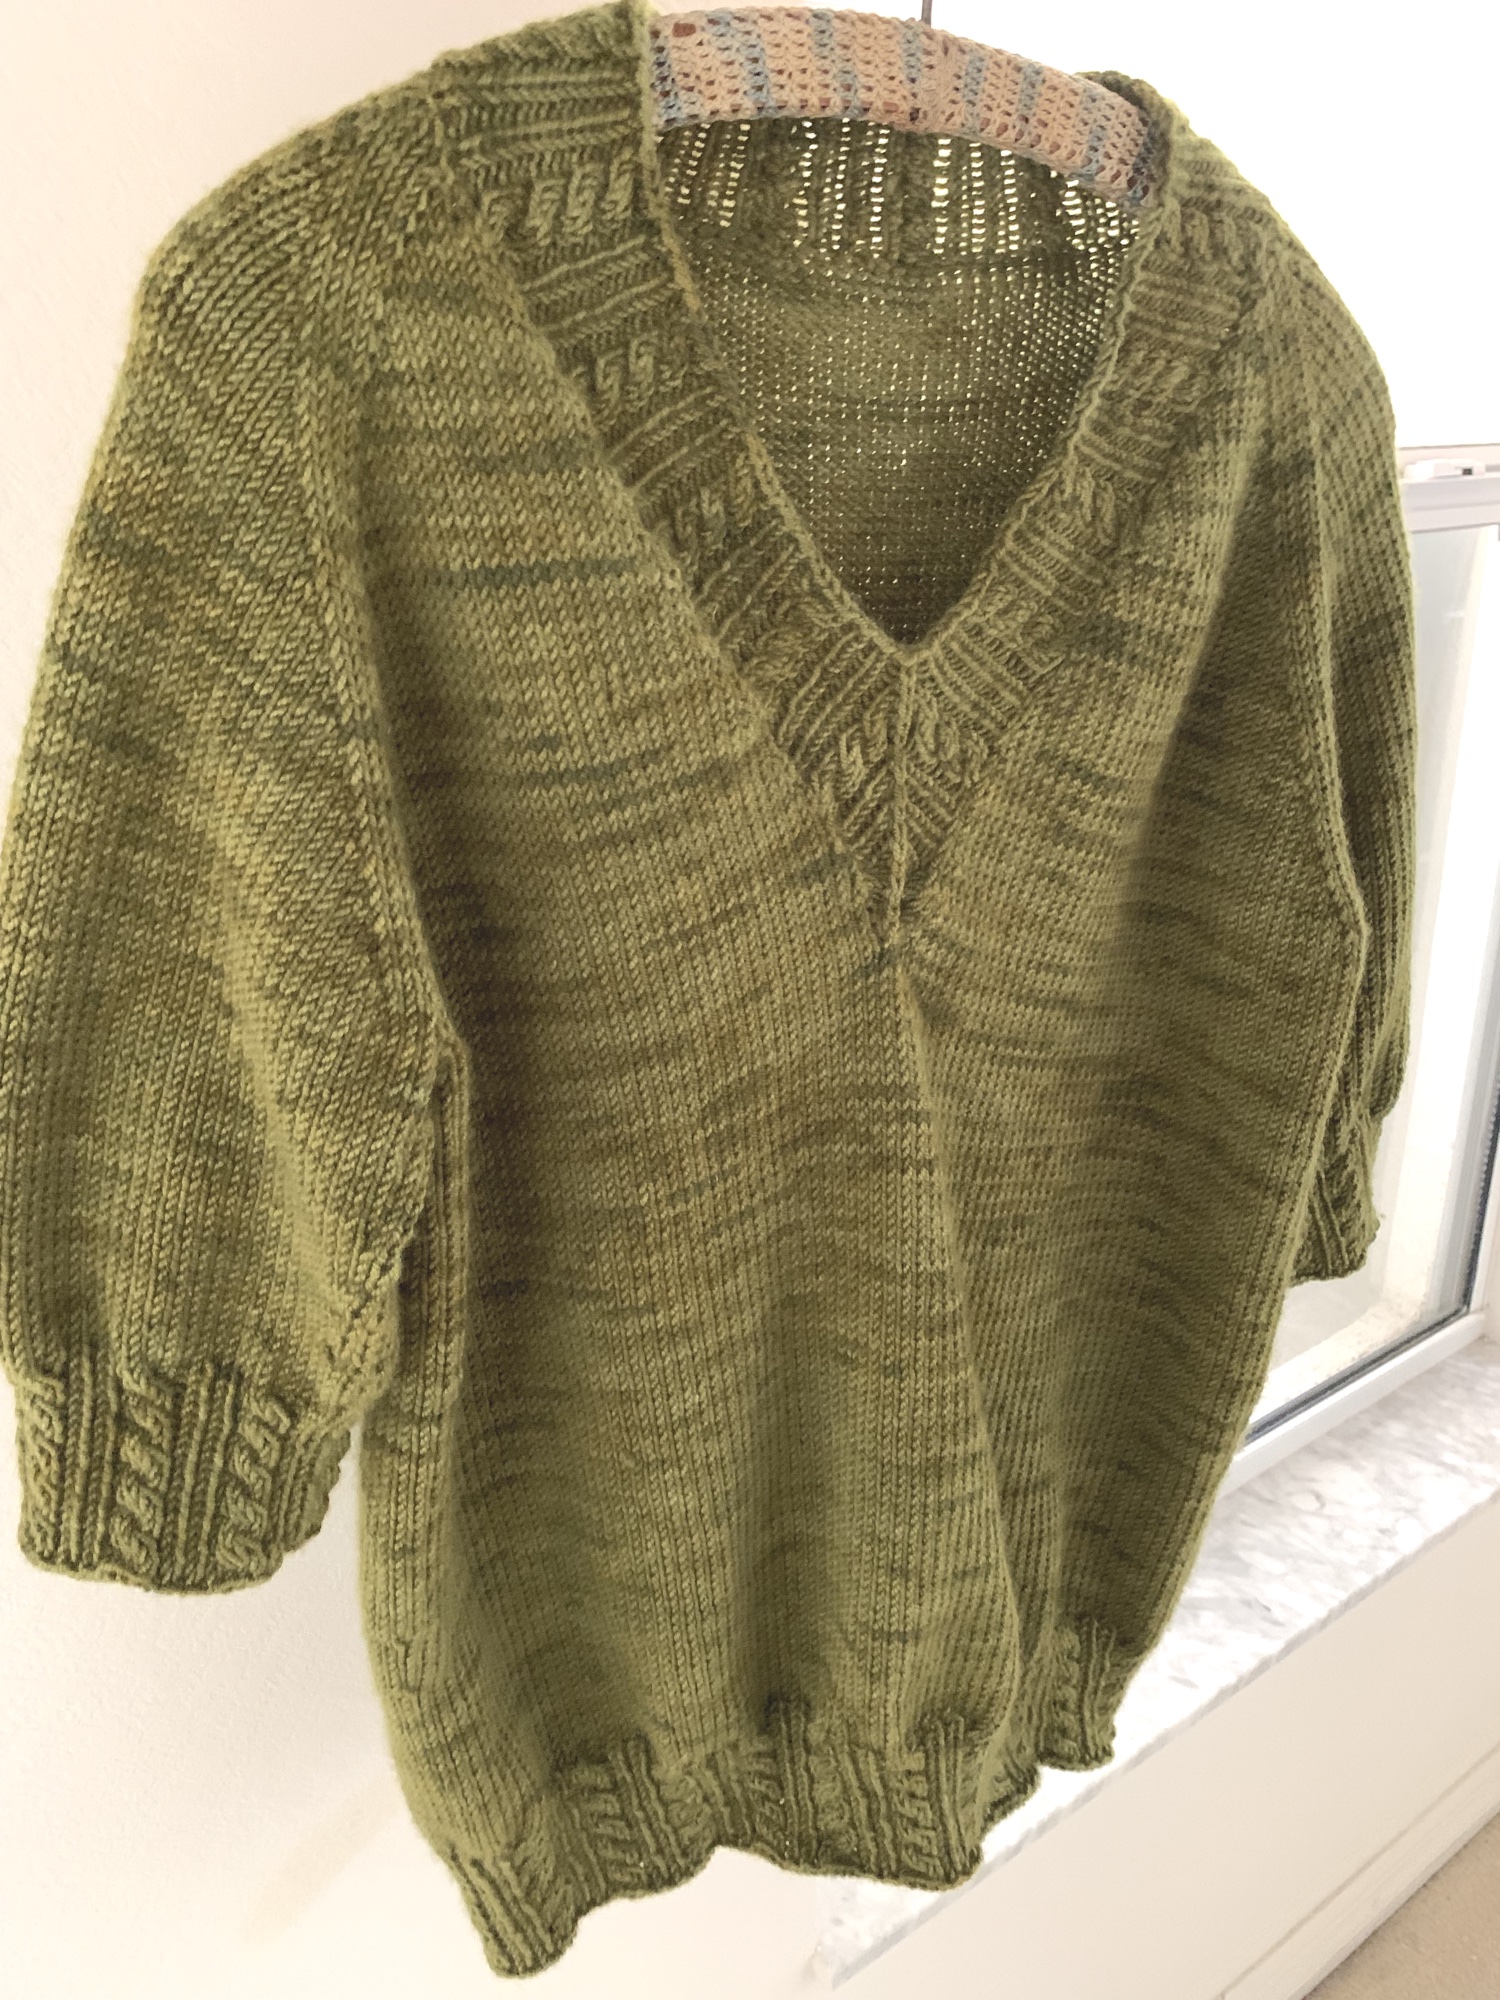
Now that I have finished the body on the Easy V sweater, I tried it on. Length is good, but other than that, I am not super happy with this knitting project. The pattern is fine, but I don’t like the style on me. I’m not happy with my yarn choices either.

See a link to the pattern buying page below in the pink block.

Easy V body of sweater is finished so I tried it on for length, which is perfect.

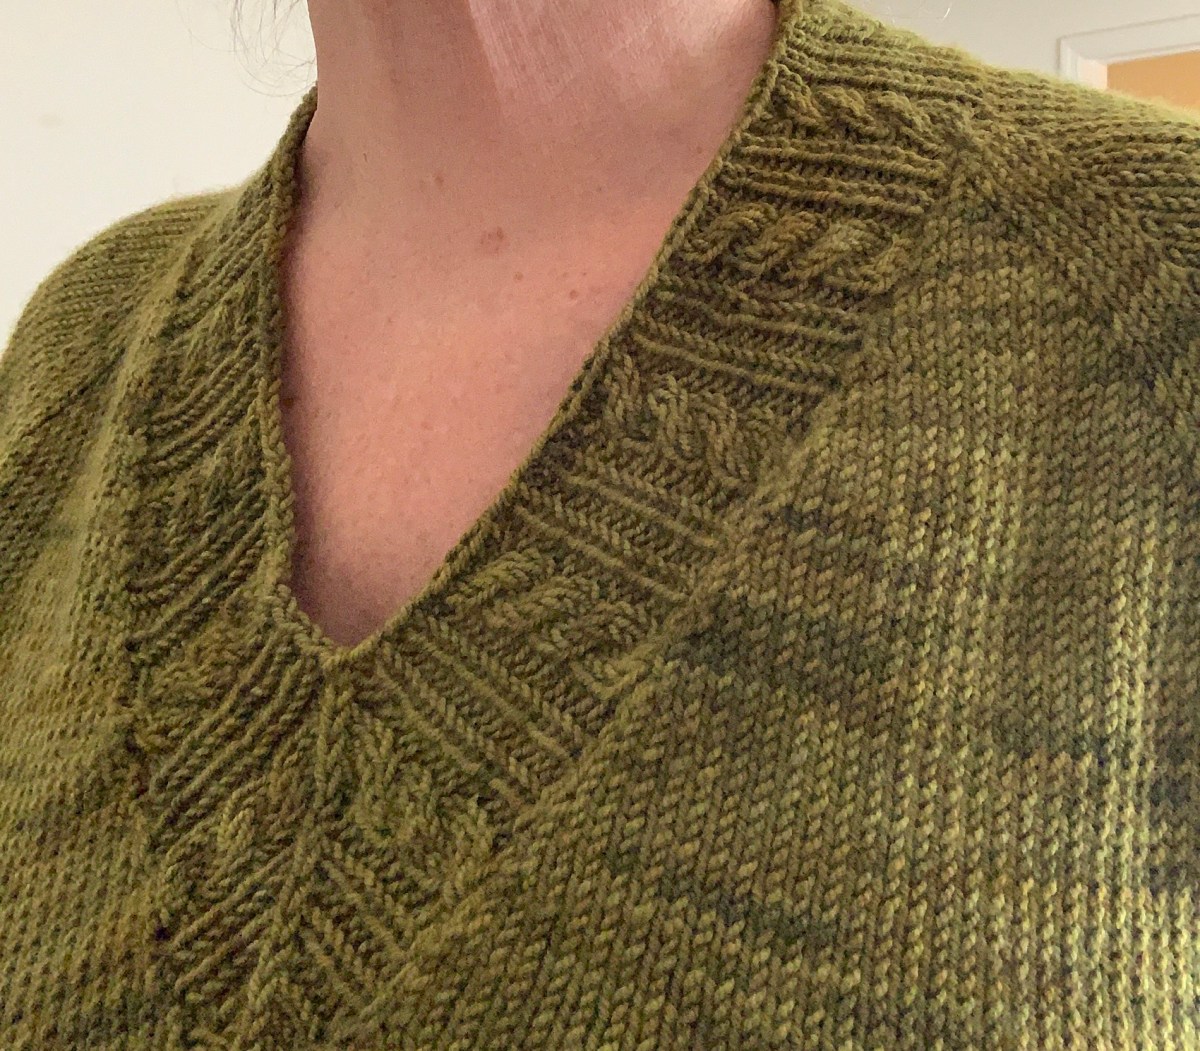
I had trouble getting the neck size cast on right. I’d begun with a green yarn and larger needle. Restarted the sweater using white Lettlopi yarn in a smaller size. This size seemed better.

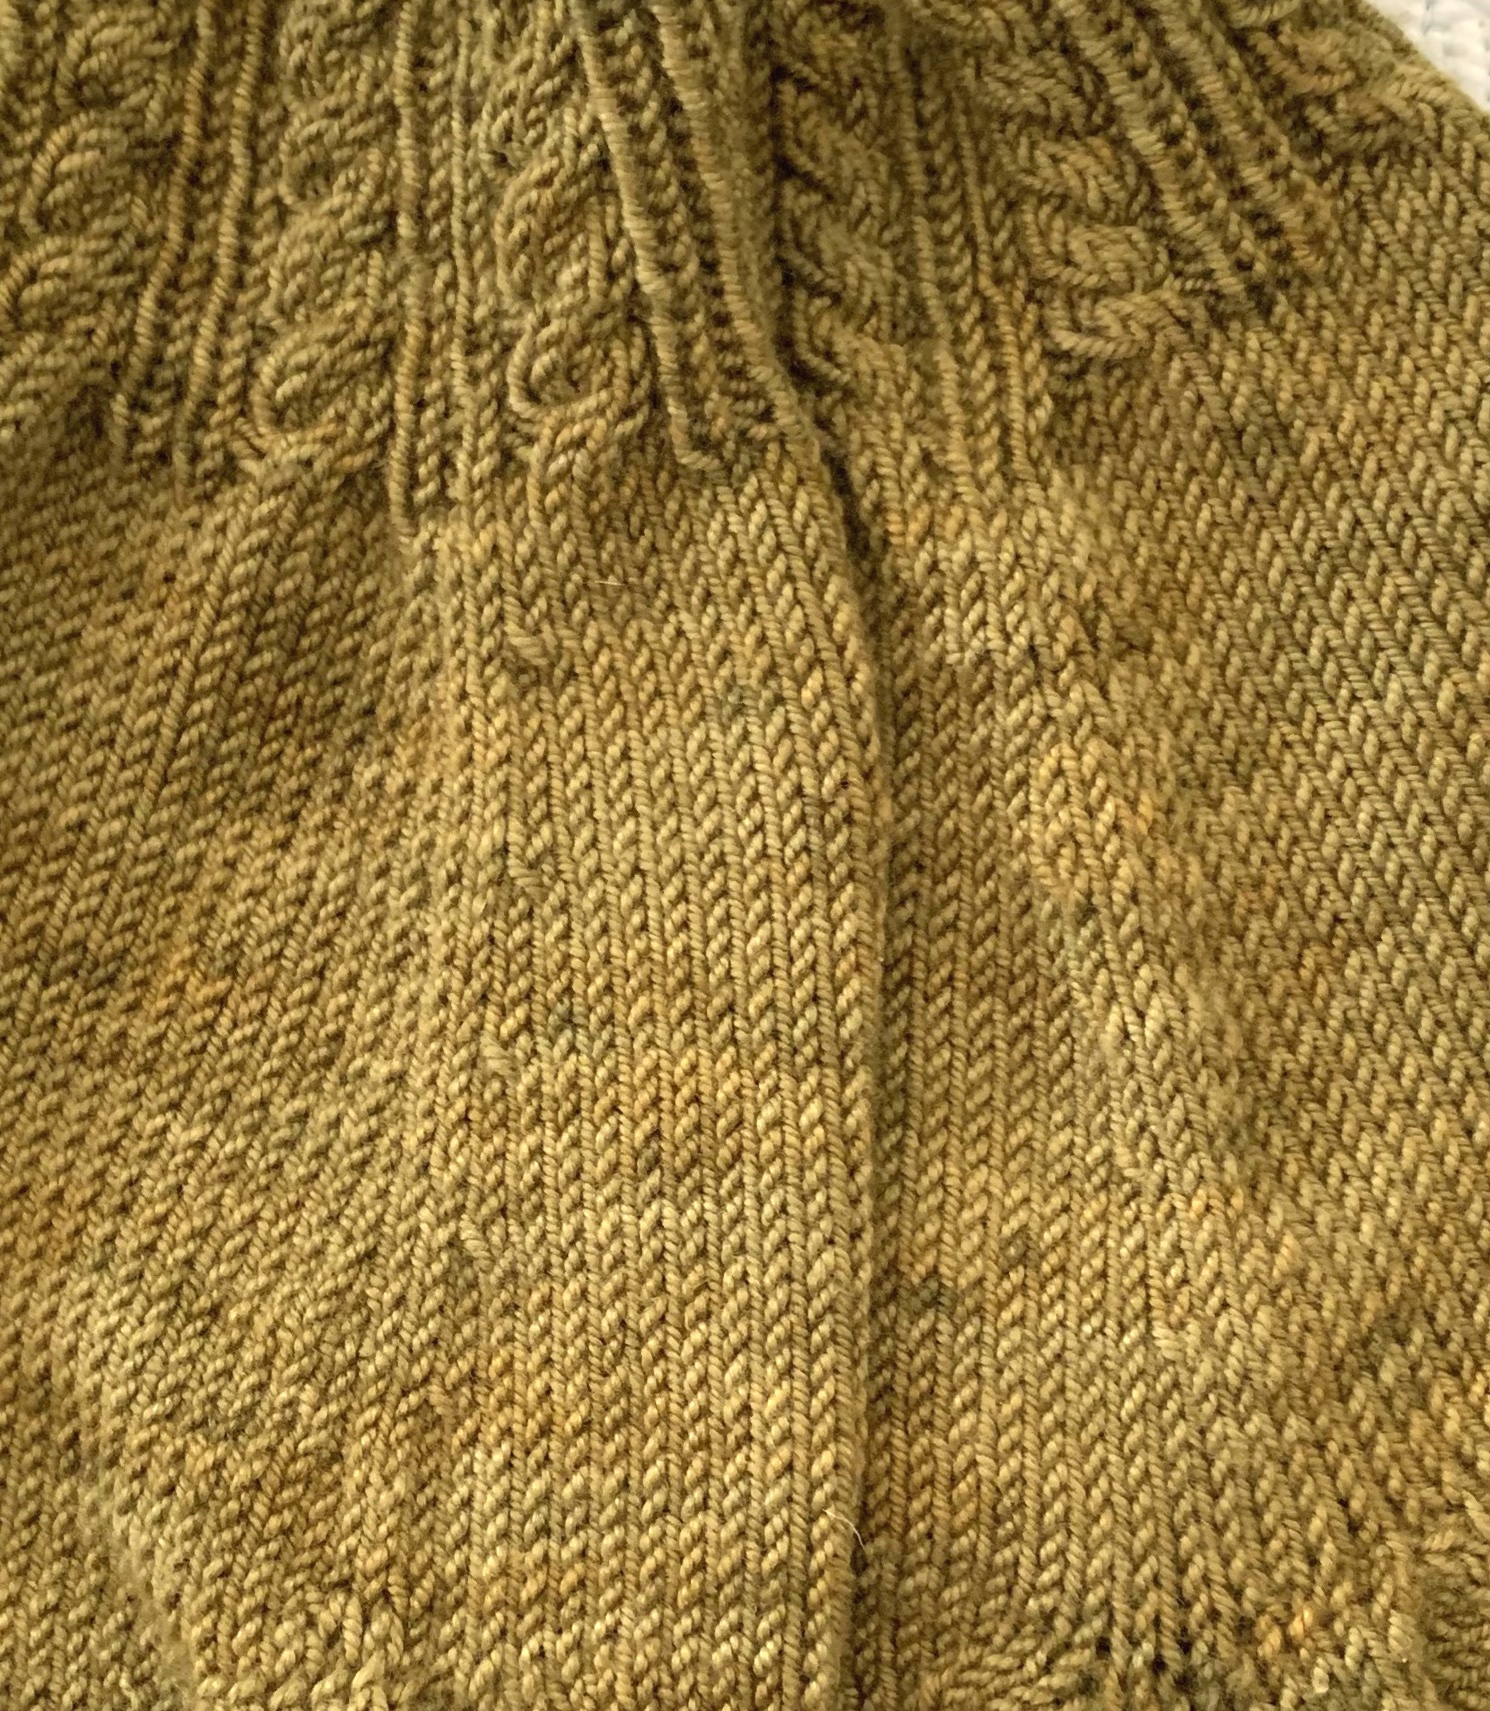
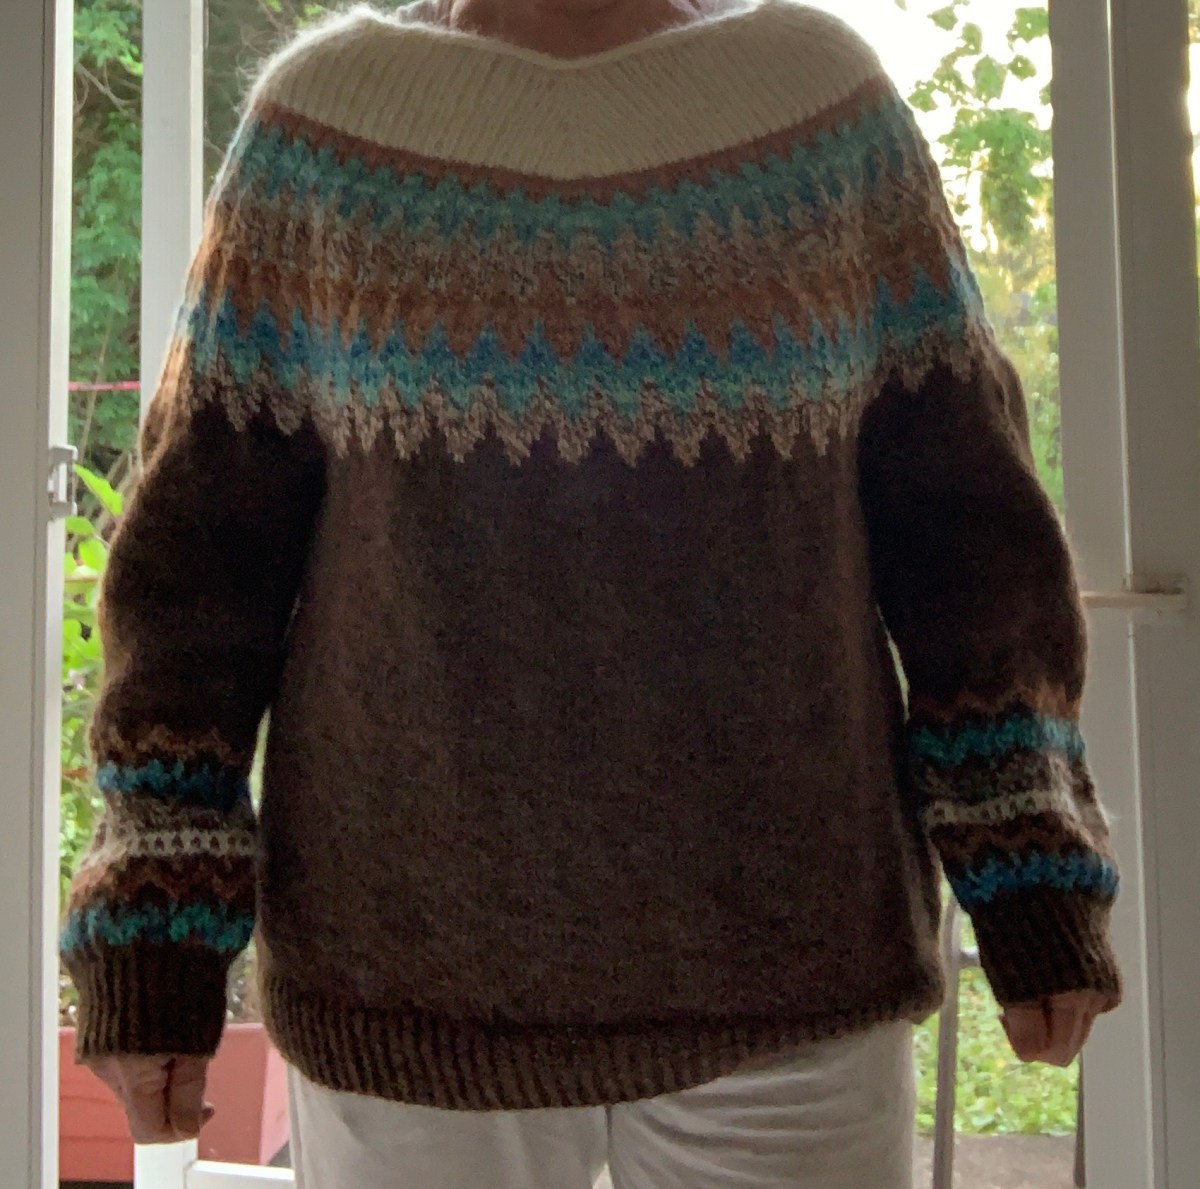
When it came to using the hand-spun variegated yarn, the colors didn’t really mesh that well, but I was fairly happy with the color work yoke. But, the yarn is quite bulky and makes the fabric thick – even though I went up a needle size to knit that area.

Sometimes after washing and blocking a sweater can look immensely better. I’ve knit so much that I do plan to finish.

Easy V sweater knitting

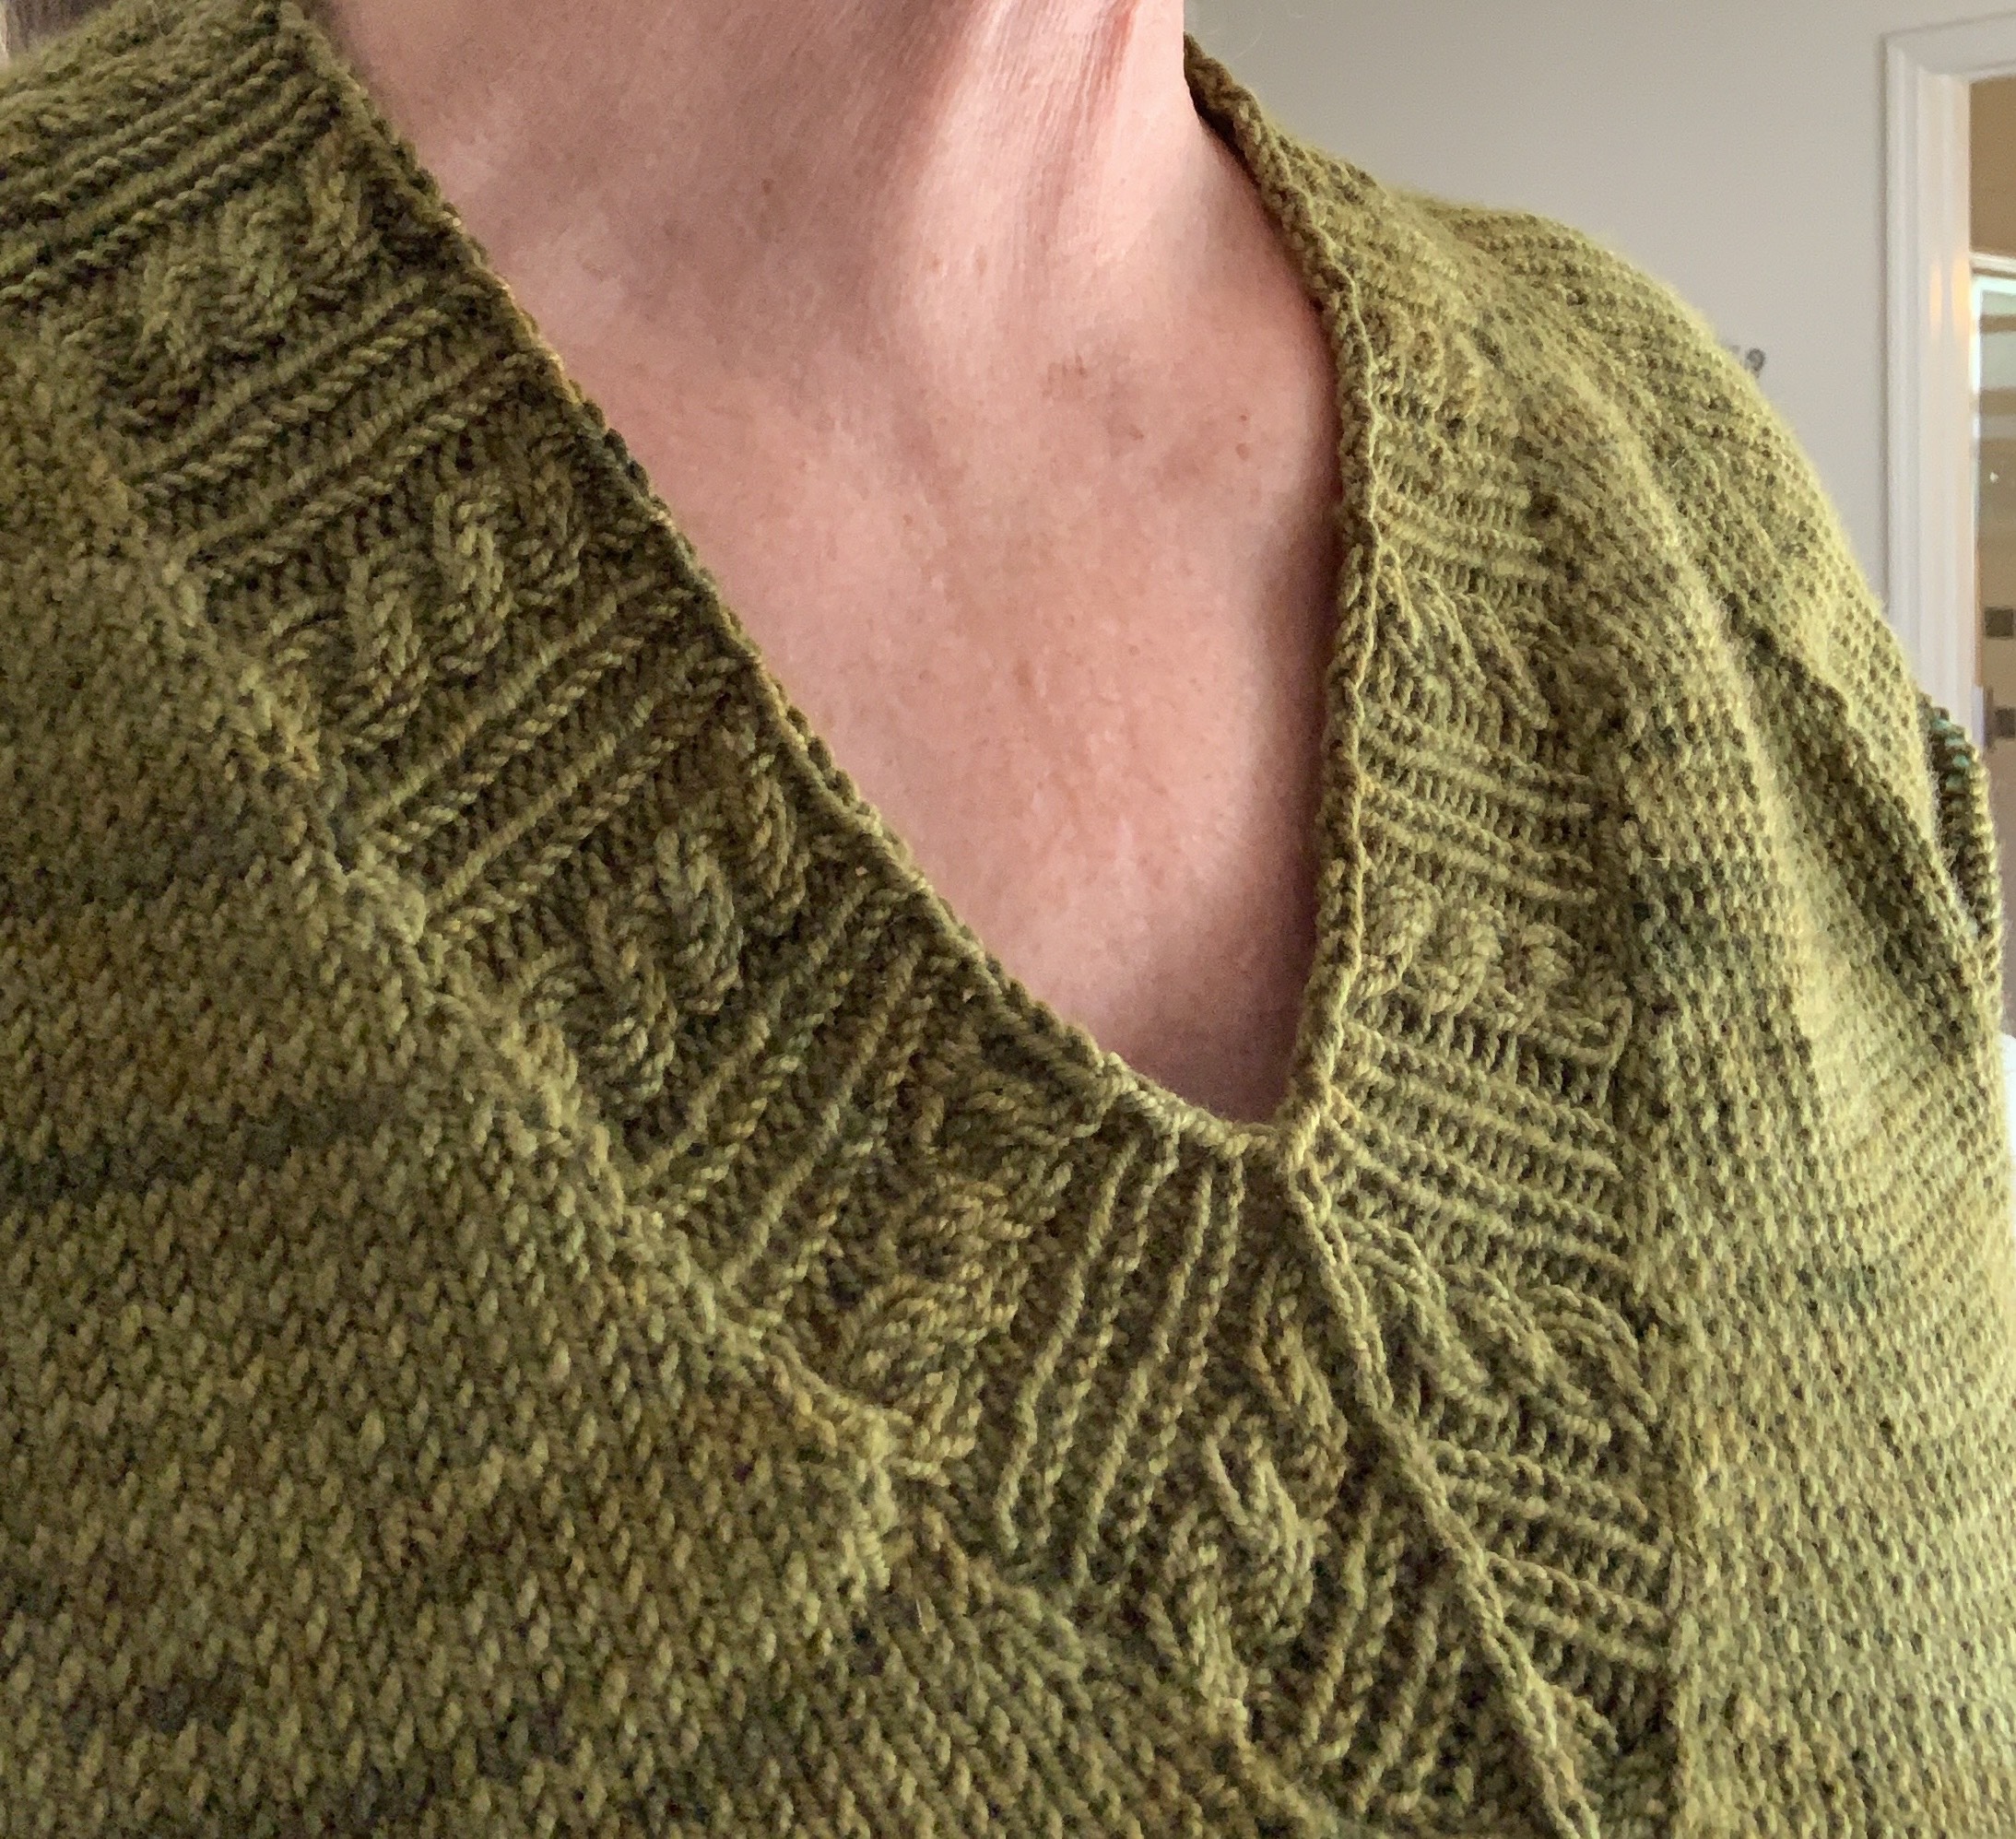
Maybe the neck will look better after washing and blocking. It is one of the elements of this top that is unique.

Easy V

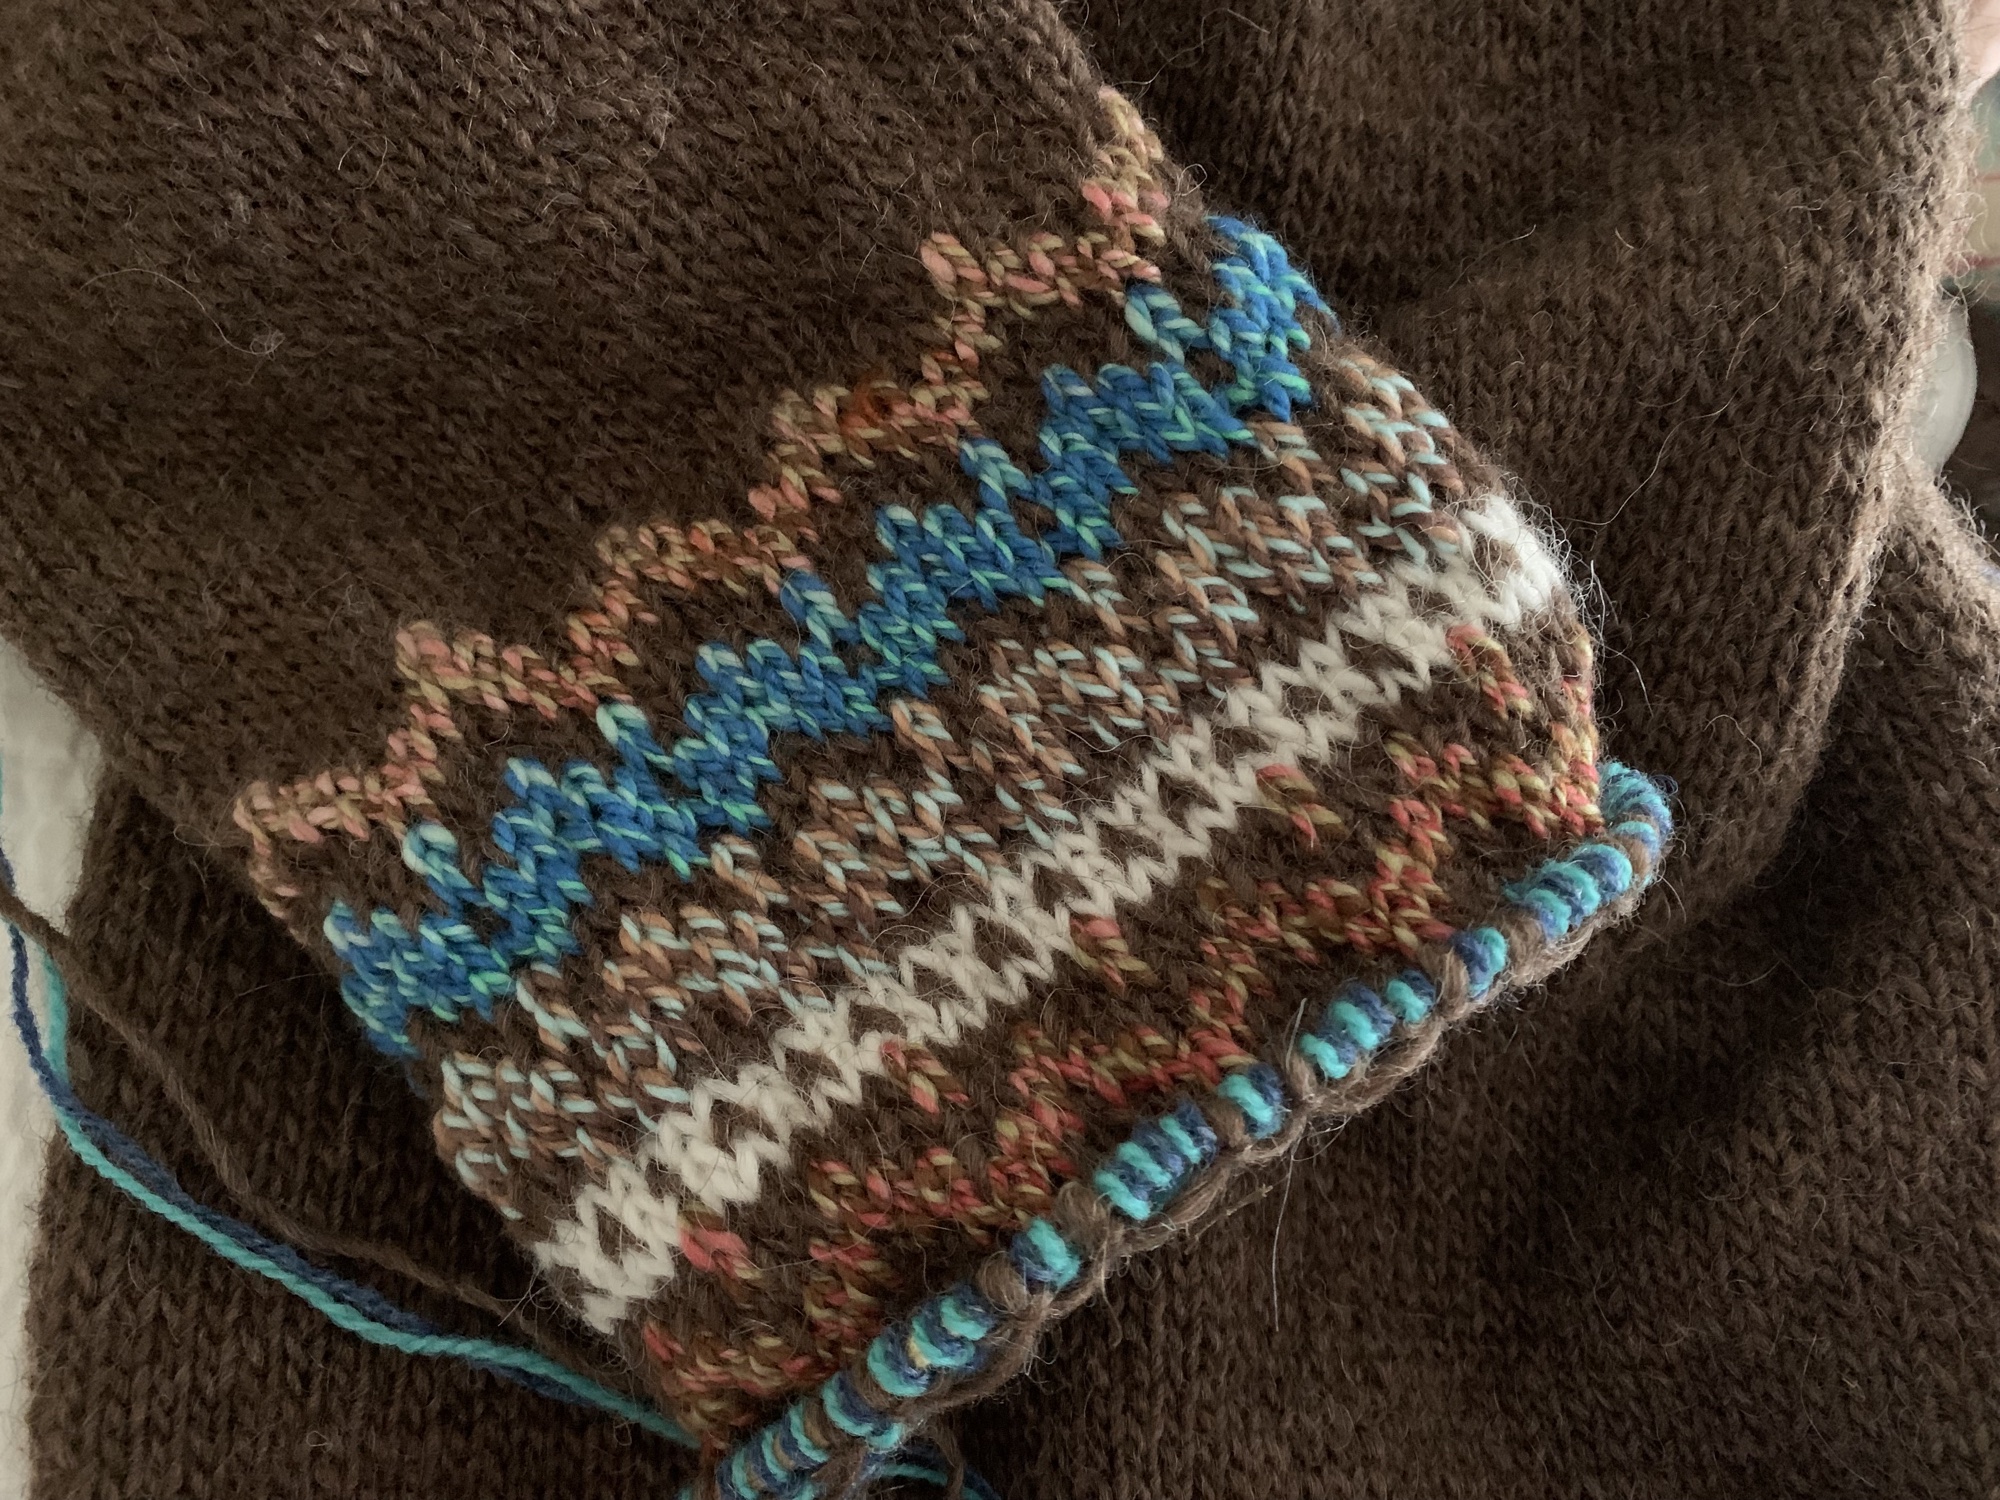
Pattern directions are very good, and it’s not that I don’t recommend this sweater pattern, but be sure you like the style before choosing it. The colorwork is very easy to do. It is supposed to be similar on the sleeves, but I changed the pattern for the sleeves to one of my own. The colors needed to be divided up a bit for my liking, and I was running low on the variegated yarn.

Easy V sweater body with twisted ribbing at the bottom.

The Sleeves

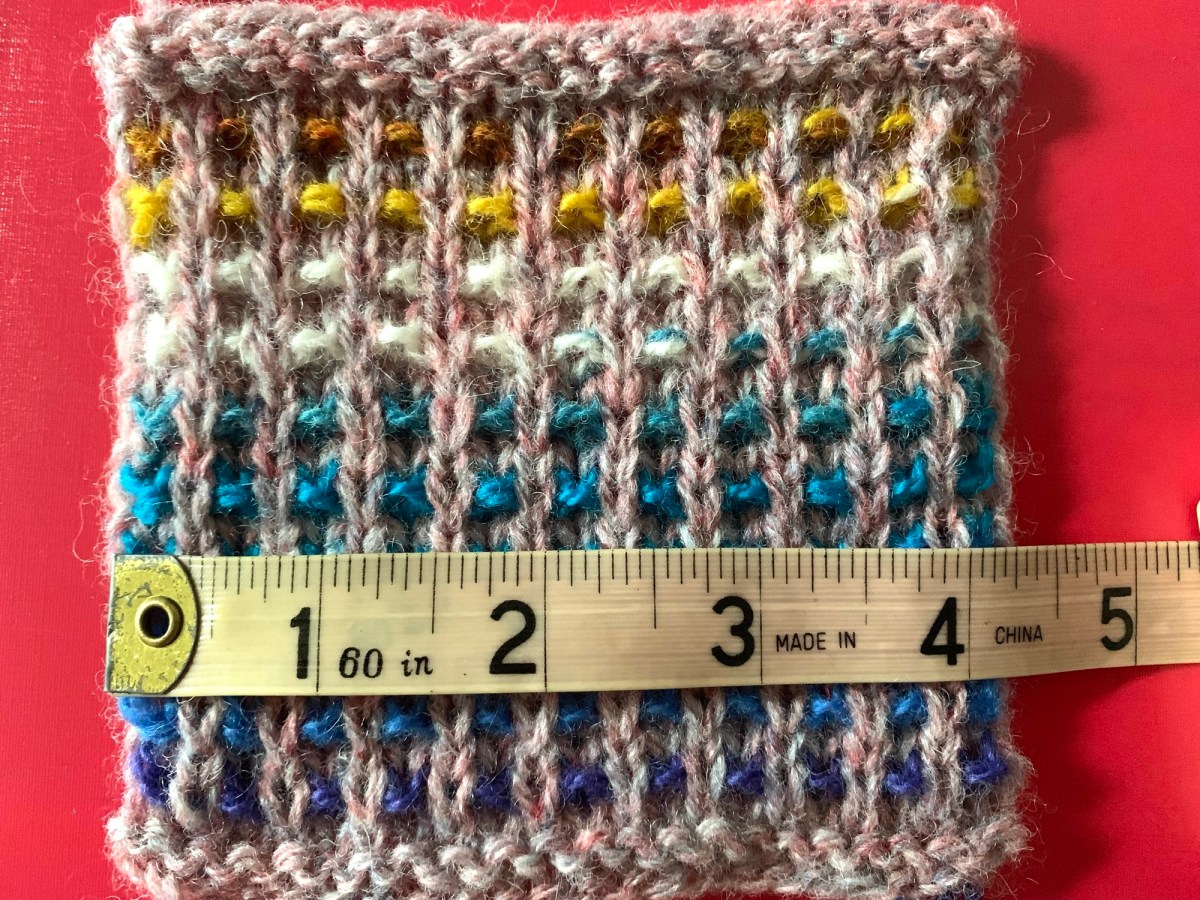
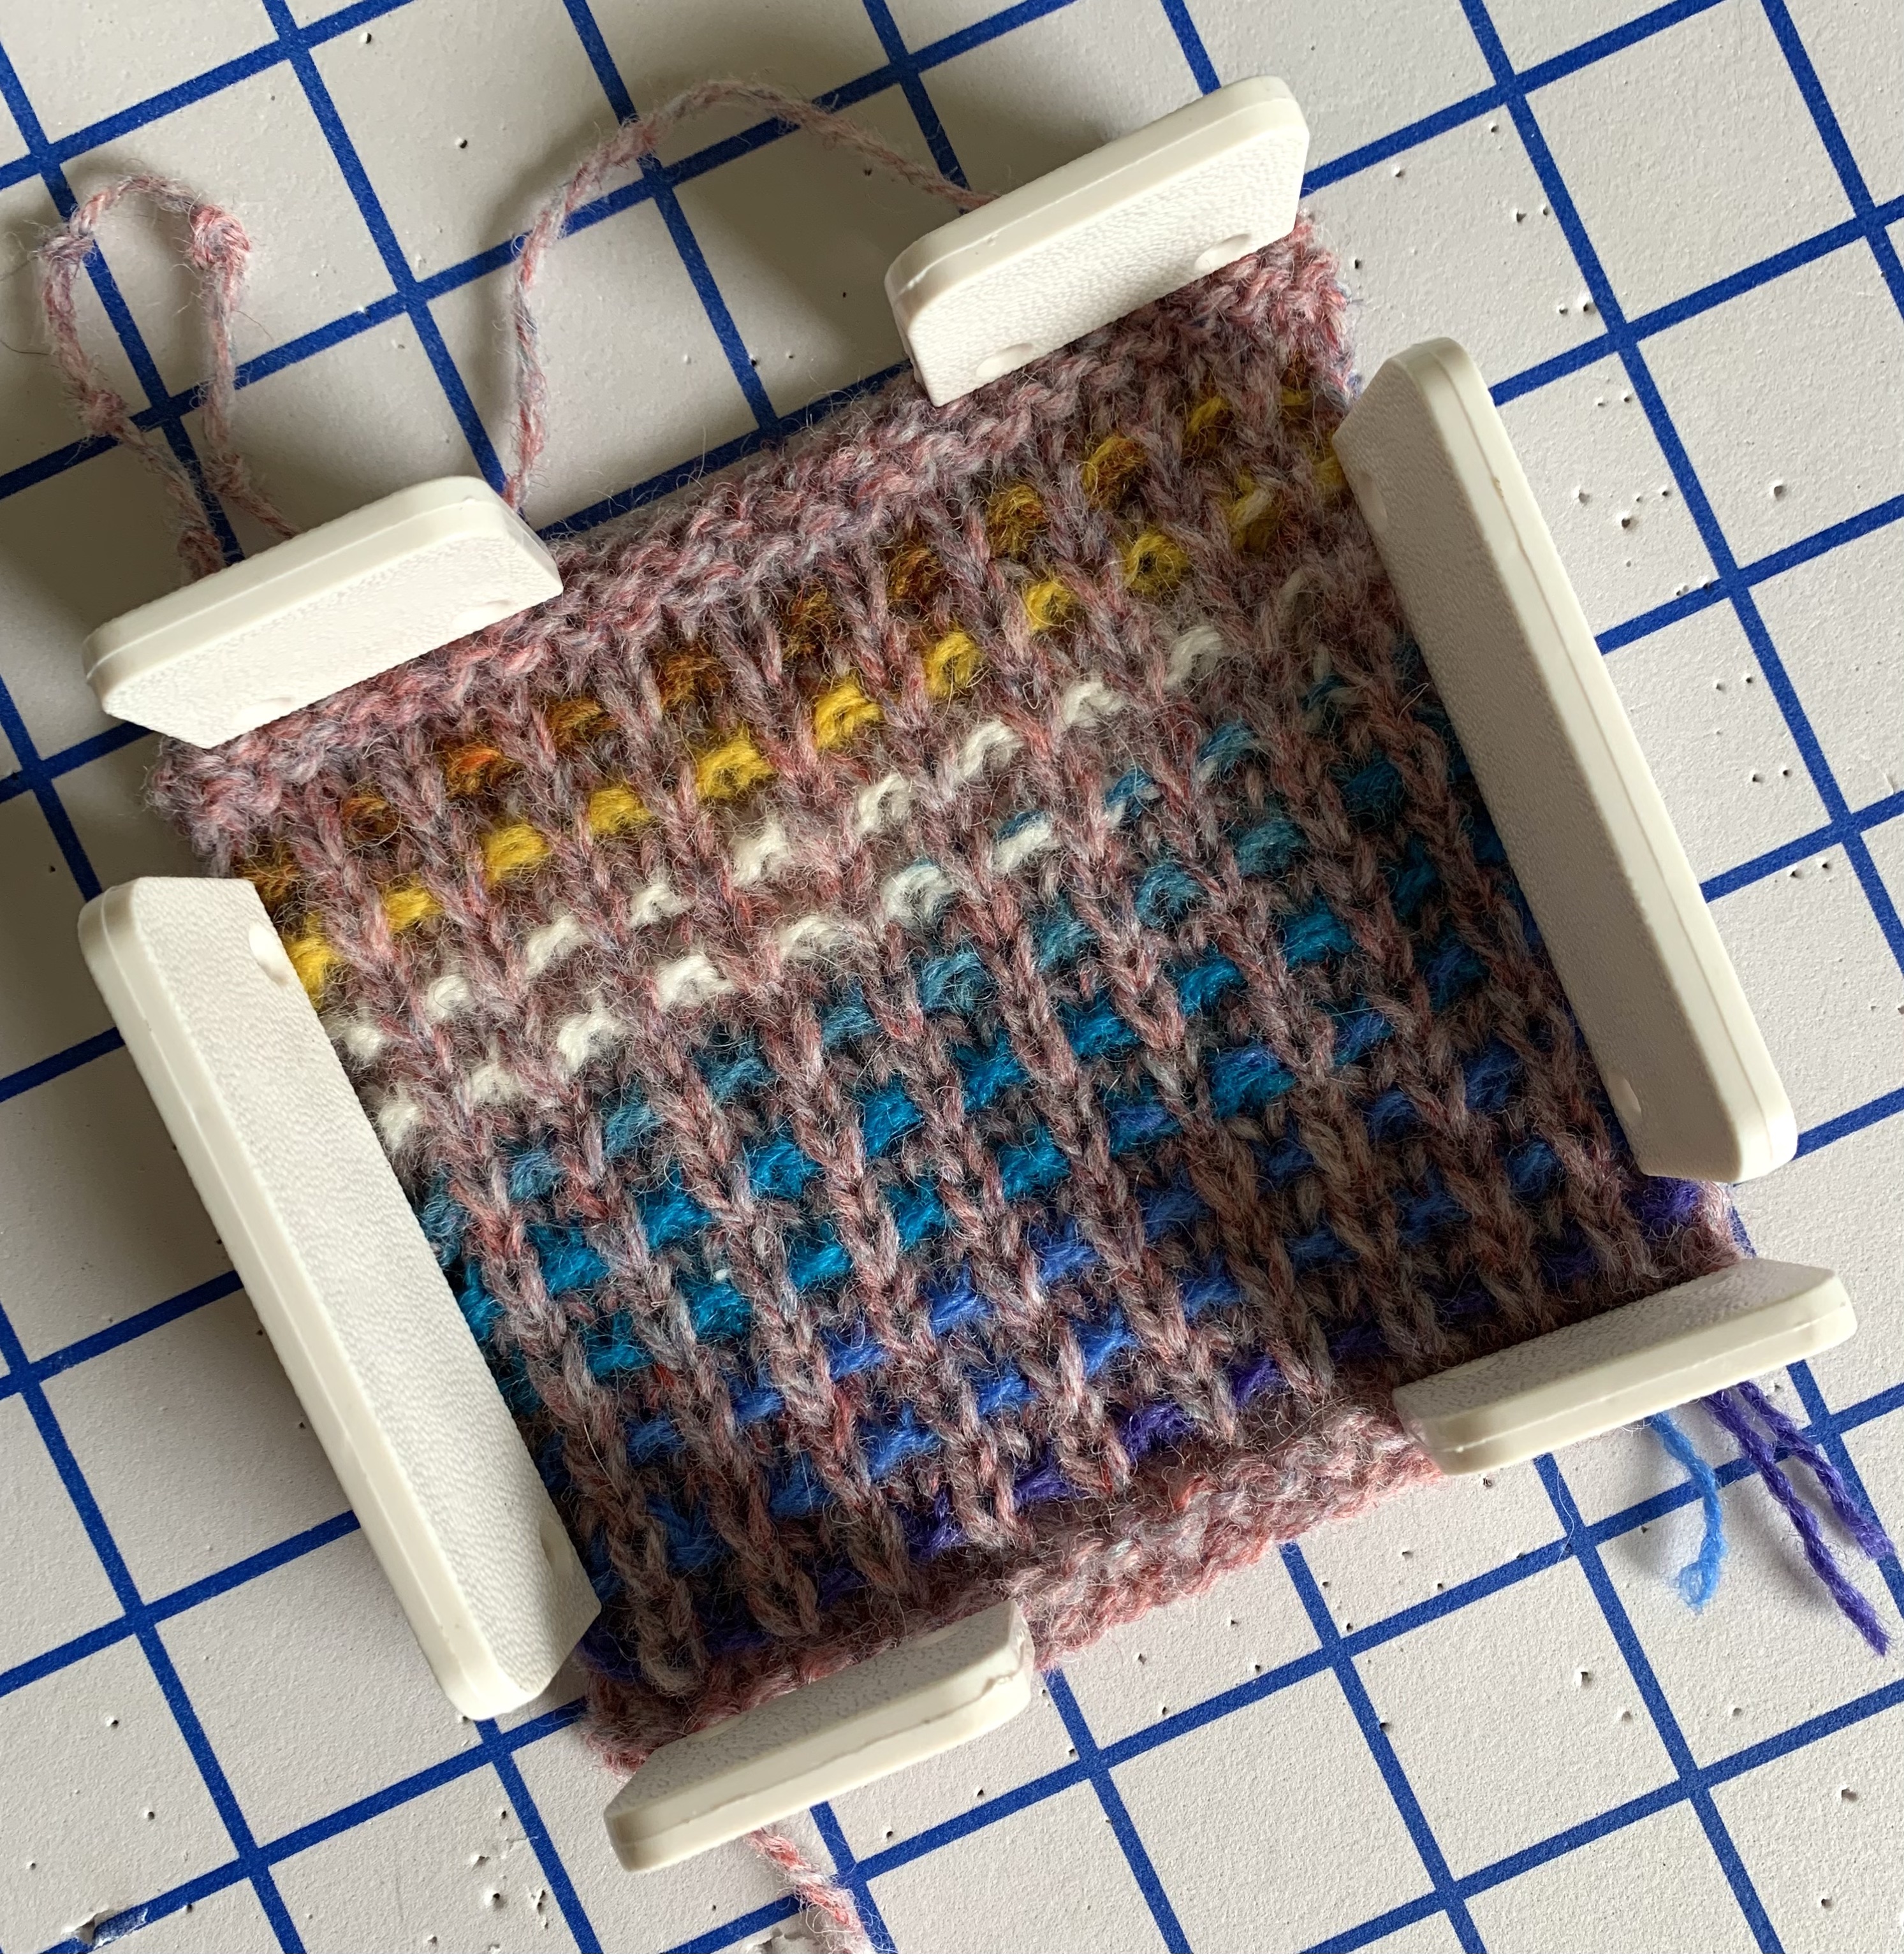
I substituted my own colorwork pattern on the sleeves. This is not part of the pattern. I debated omitting colorwork on the sleeves, but in the end I changed it up instead. It was an opportunity to use up the yarn and incorporate the white which is on the neck.

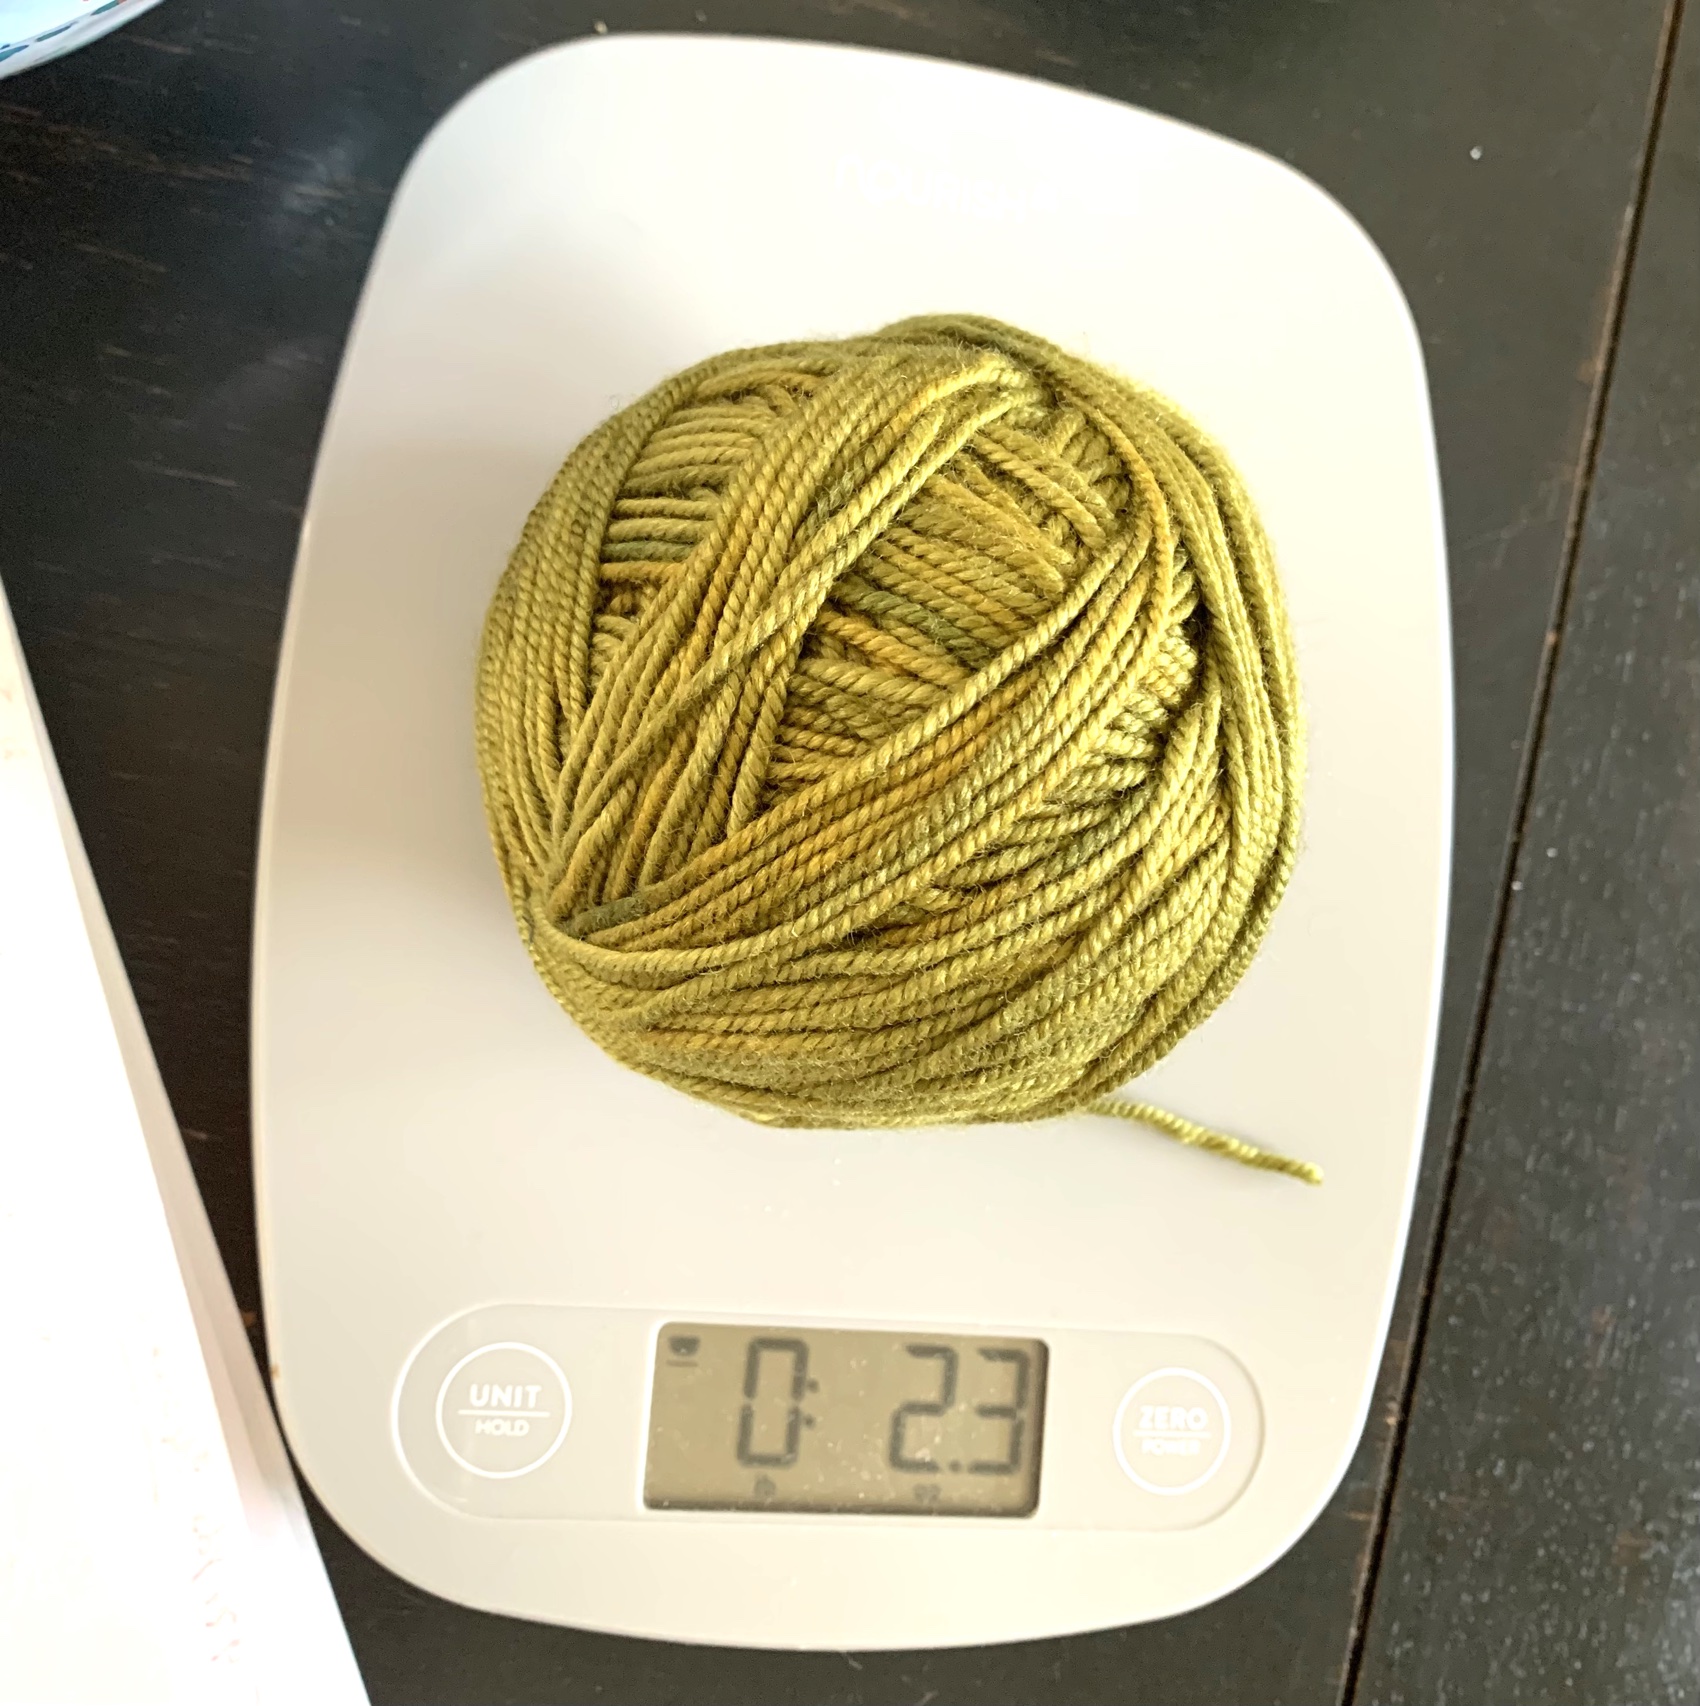
I ran out of the blue yarn and substituted two strands of Jamieson and Smith fingering held together.

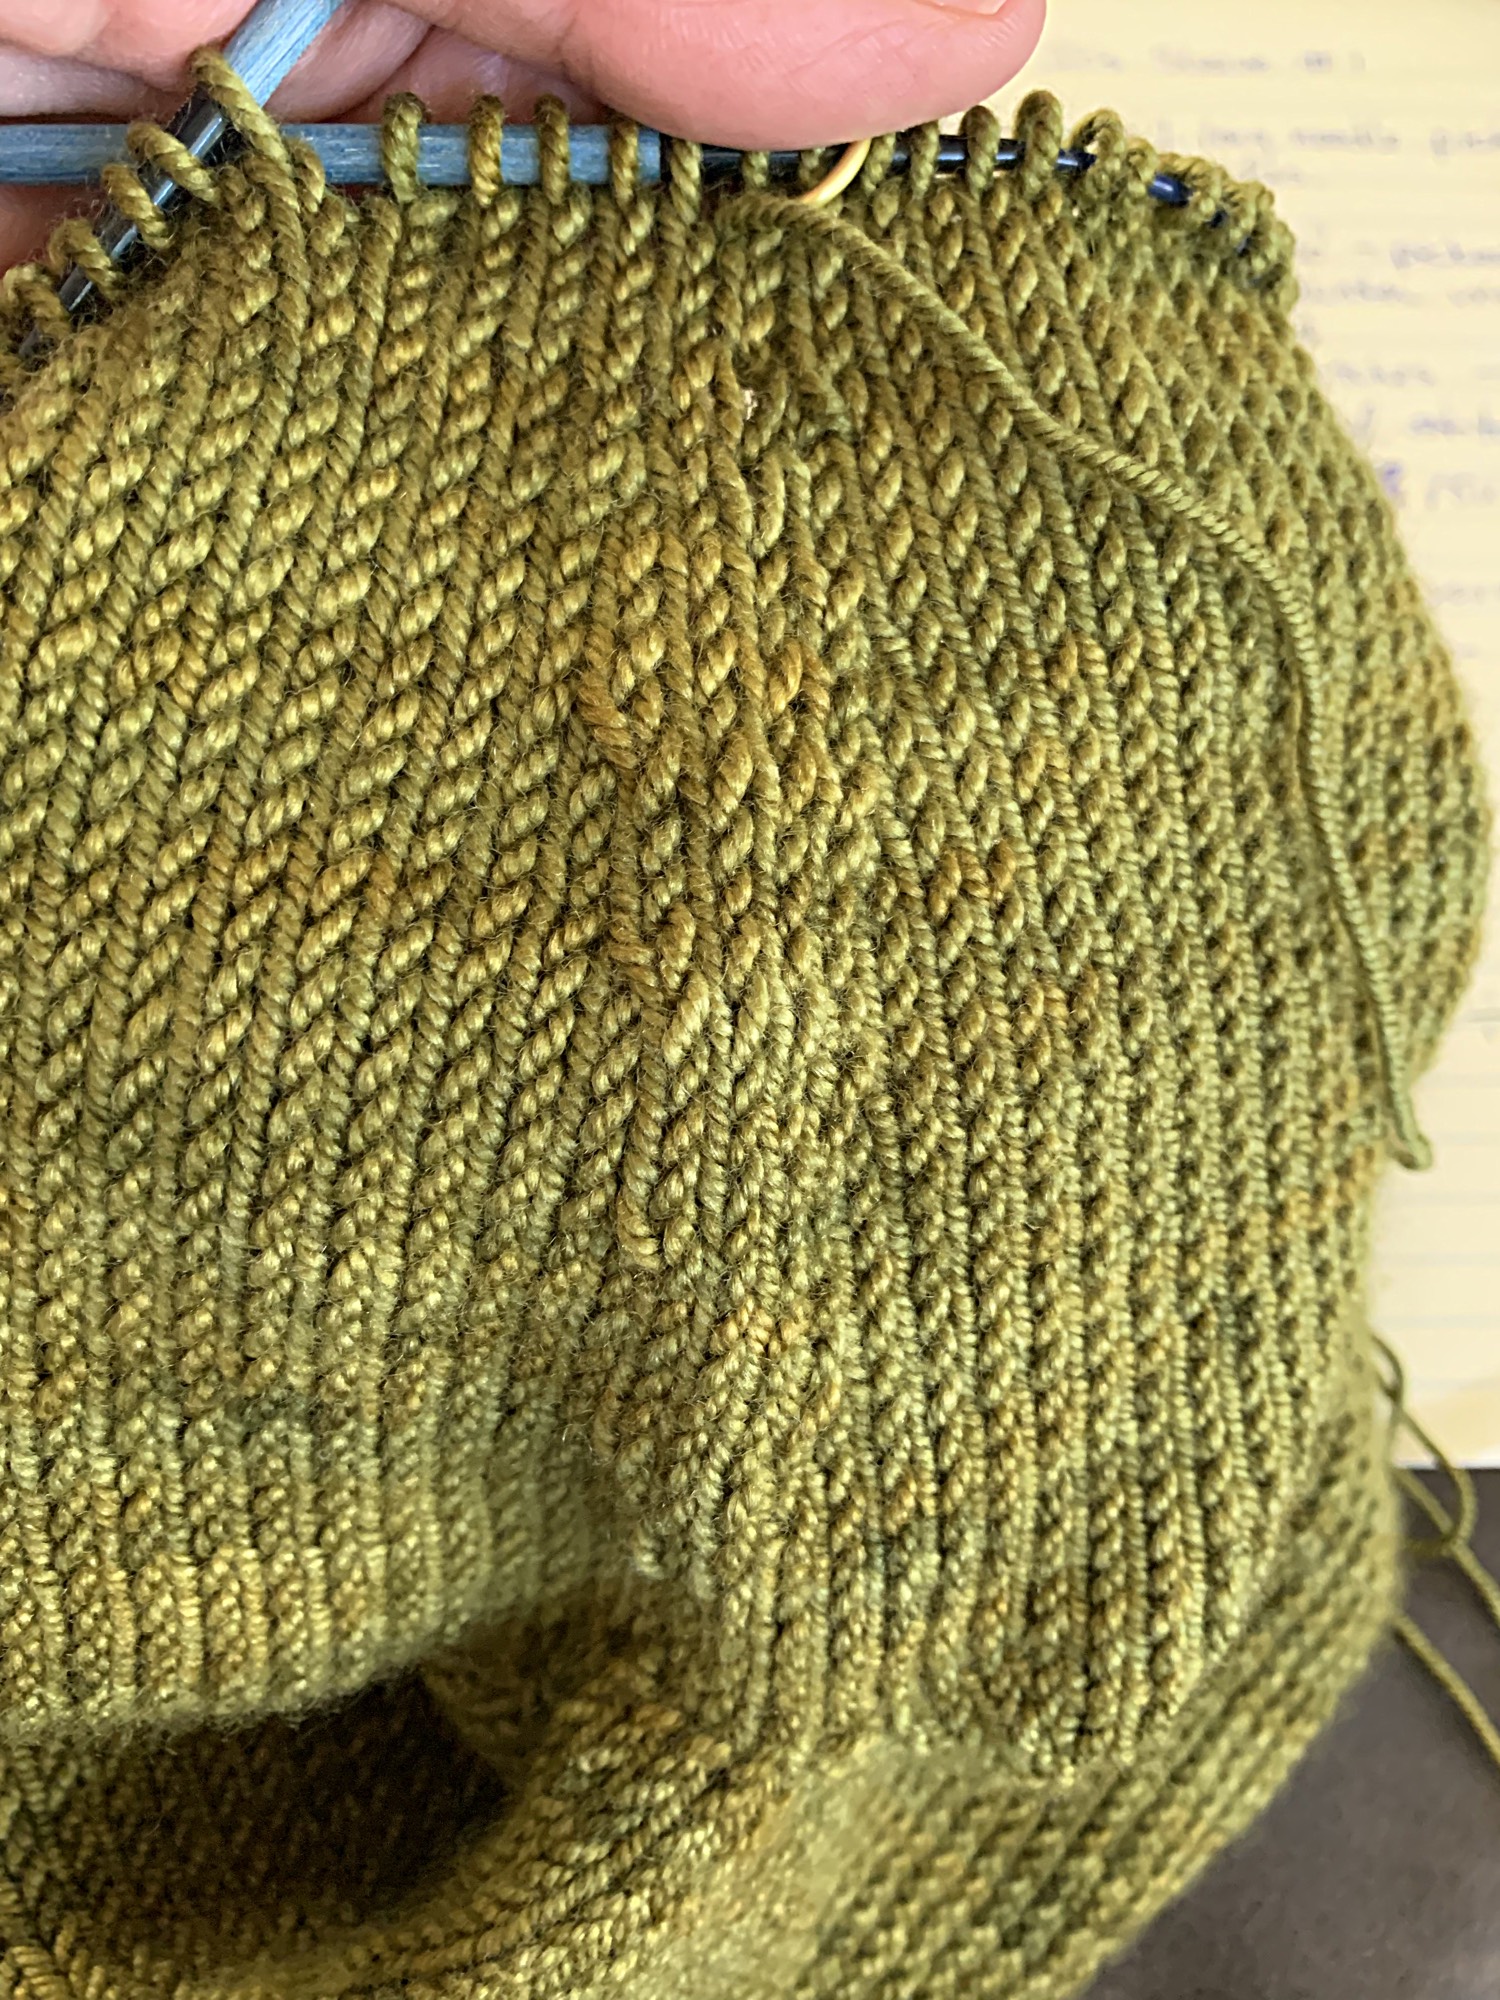
The ribbing is twisted rib, like the body ribbing. This is also my own doing and not part of the pattern. I like the looks of a twisted rib. To do it, simply knit through the back loop, and purl – around.

At this point, finishing this sweater is a bit of a chore. I’m ready to move on. My yarn selections were bad (except for the brown Lettlopi), with that colored yarn being very bulky. I wish I had not followed the yoke colorwork and left some brown showing.

The more I knit, the more I realize which types of yarn to avoid, and which I like best. This sweater is really not my style, but I’m sure it will be cozy warm for when I need warmth — two days out of the year!

Check out the Easy V pattern page at Ravelry, and be sure to browse color combinations from other knitters.

Have you knit this sweater? What do you think? I’ll be trying mine on soon – in the air conditioned house.

Easy V finished and has been washed and is drying on the boards.

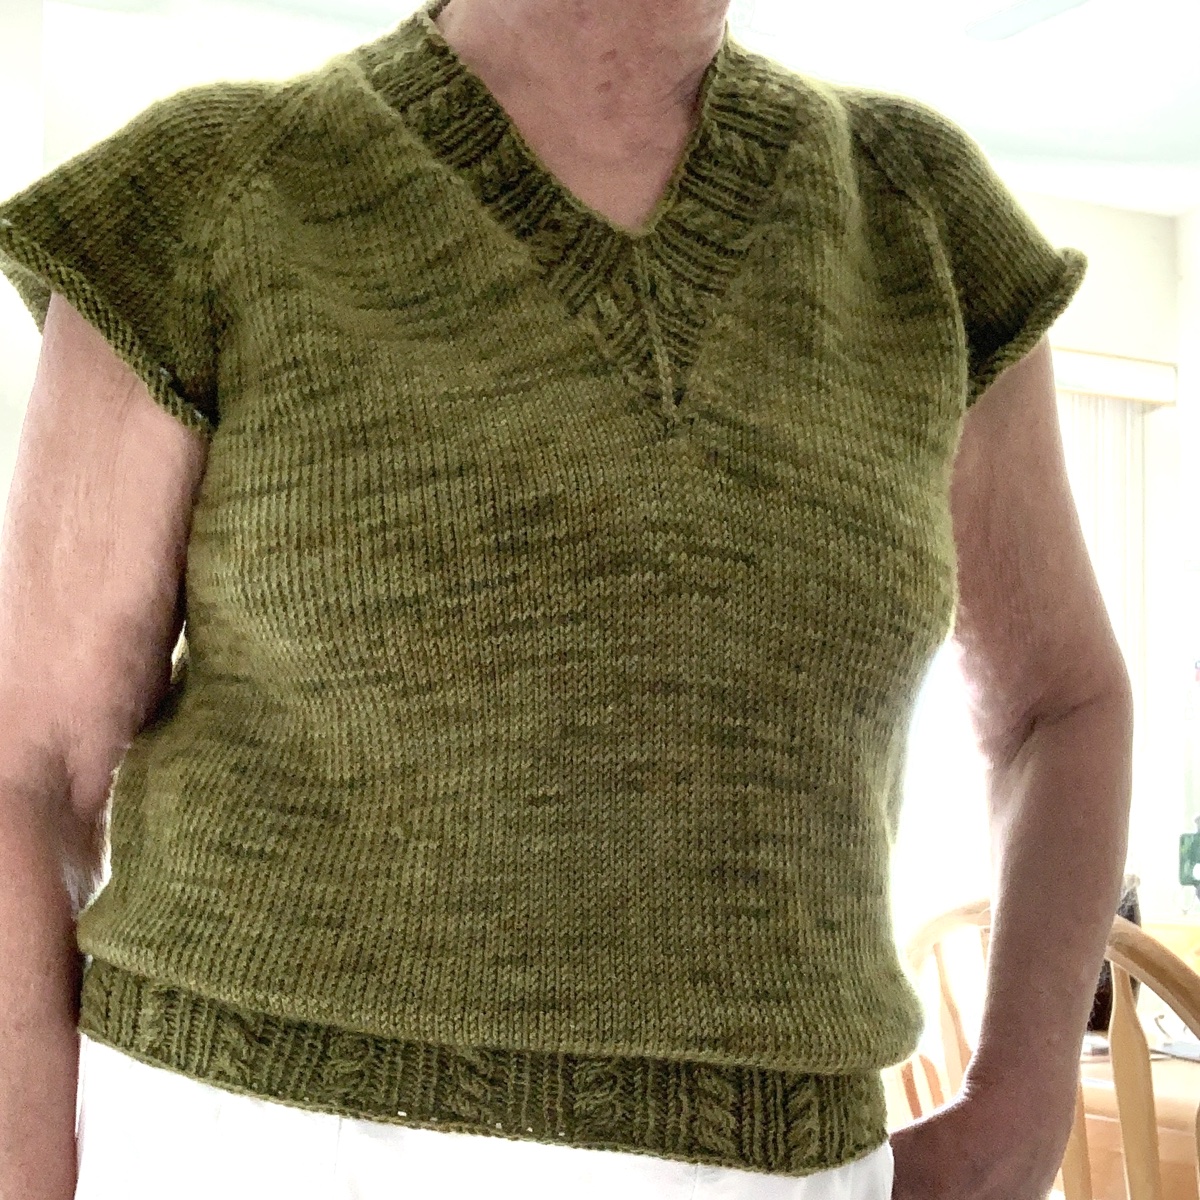
Sweater is dry and here are my photos after trying it on. I’m not too happy with the fit as the neckline is loose and makes the whole sweater sag. I used a size 3 needle to do the neckline, but it really should be tighter. I’m not happy with the outcome.


More knitting stories from the blog…

Knitters and Our Many Projects

How many projects do you have on your needles? It is not uncommon to find that fellow knitters have many things going at once.

Finishing Up the Arco Iris Sweater Pattern

All notes on knitting the Arco Iris sweater have been completed. The sweater is very nice, love the yarn, and end product, but had a few struggles along the way with this pattern.

Over the past couple of days I’ve been knitting like mad to finish up the body of the Arco Iris sweater pattern by Joji Locatelli.

Instead of dreading that k1, p1round and round hem, this hem has an interesting cable and rib alternating pattern. It’s a nice way to finish up after long rows of plain old knitting. And it looks pretty cute too!

I was already familiar with this ribbing because I jumped ahead and knit the v-neck before finishing the body.

I knit sweater size 4 (with mods), using main needle size 6, hem needle size 4.

My selfies are not great, but I’d say that photo #3 is the way to wear this top. It’s sort of a blouson effect.

Notes about the body and ribbing

I followed the advice of one test knitter who added 12 extra stitches under the arms. This widened the bust and body area (I did not reduce those stitches until near the bottom) which seemed to be a good idea once I tried it on.

I would not have reduced at all except that I needed an exact number of stitches (a 18 stitch repeat) for that hem. *Hint: Place markers between the 18 stitch repeat just in case you lose your place.

Knitting The Sleeves

I have two balls of yarn left to knit the 3/4 sleeves of this sweater. This is when a scale can come in handy. I don’t know yet if I will alternate skeins, but knowing the amount of yarn (by weighing) will be helpful if it seems I might run short.

Notes on Knitting the Sleeves

While knitting the first sleeve of the Arco Iris sweater, I made some mods and will share them here.

I felt that I had to be mindful of yarn use so I only knit to six inches before beginning the ribbing. I would have liked to go about another inch and have the cuff fall just below my elbow, but didn’t dare. It turns out I probably could have done that and had enough yarn.

I also began with more stitches at the arm pick up. I picked up 8 extra stitches and that gave me 74 total stitches when I began knitting down the sleeve (as opposed to 66 per directions). I reduced stitches on every 5th row, until I got to 63 total. I did alternate balls of yarn.

sleeve underarm

Also, I did not reduce as many stitches as called for while knitting down the sleeve. AND the decrease directions seemed wrong to me. The pattern says to do the SSK first and the K2TOG at the end of the round.

If you follow the designer’s suggestion, this is what it will look like (photo below). I think every sweater I’ve knit has the decreases listed the opposite way. By following the directions, my knitting left a weird bump because on each side the decreases faced outward. On the last decrease I did it the right way with the k2tog first, and the SSK last – and it looks much better!

*Note: Check those decrease directions, you may want to change them.

The ribbing is done much like the body hem and neck, except the repeat is only 9 stitches and not 18. The reason is that the cables will all face the same way on each sleeve cuff. So you must begin the cuff with a stitch count that is a multiple of nine. For the sweater size 4, which I was knitting, the cuff should have 54 stitches. I had 63. I’m glad I did not reduce to 54 because my cuff is perfect.

*FYI: My actual elbow measurement- where the cuff ended up – measures 10 inches around. This cuff feels perfect at 63 stitches, and I’m glad it is not any tighter.

Buy the Arco Iris Pattern Here

Pictures of the top once I finished knitting. Washing and blocking to come. The style is not really made for my body type, but I do like the finished sweater. The fabric is quite heavy, so it won’t get worn at all until maybe next December.


More stories from the blog…

Knitting a Swatch For Trove

Knitting a gauge swatch for the Trove slip stitch sweater pattern.

I’m always on the lookout for interesting sweater pattern to knit. I’m not an expert so I’m always looking at difficulty too.

The Trove pullover pattern is made up of slip stitch rows with alternating colors. The pattern interests me because I can use up some of my J&S wool.

I bought the pattern and knitted up a swatch. The pattern says to use Sport weight yarn, but I want to use fingering and DK. I went up a needle size to do the swatch, hoping this will work out.

measuring a swatch

After knitting a few rows, I wanted to see if the knitting was close to 4 inches across, and it is. The real measurement will be done after washing and blocking, but if this was really off, I would not continue with this needle size.

The colors I grabbed may not be the ones I use to knit the sweater. This is a trial piece, and a good time to try out colors.

How I Knit My Swatch

It took me a bit to figure out how to knit the swatch, so I will share how I did it here.

I cast on 23 stitches. The gauge swatch should be 22 stitches across, but the swatch needed to be an odd number to work out knitting flat (or so it seemed to me).

Knitting swatch for Trove
Swatch for Trove, after washing

Each section is four rows of knitting, and rows can be easily counted when you remember that. 40 rows long should be 4 inches, so do 10 repeats of the 4 row count to equal 40 rows. In my swatch you may be able to see the 10 colored rows (those colors are actually 2 rows of knitting).

After casting on, I knit back and forth, then did a purl row so the “Dotted Stripes Stitch” begins on the right side (RS) – as it will when knitting the sweater. Usually I have 3 extra stitches on each side of my swatch, but I did not do that this time.

Measuring My Gauge

This is my Trove sweater swatch after washing and blocking to dry. Gauge in the pattern is 22 stitches by 40 rows in four inches of knitting. My stitches are pretty much exact. I have one extra (23 total) stitches in my swatch.

The row gauge is short, so I will have to watch the length of things when I knit. It is better to have stitches correct, as the length can be dealt with more easily.

The Advantage of Knitting With Wool

When, and if, I do get around to knitting the sweater, I will alternate skeins of wool – Jamieson & Smith, and Rauma – by spit splicing (no ends to weave in!) to alternate the colors. I will be using more than the 5 colors suggested.

The main color will be Jamieson’s lavender – pink color. I bought a bunch of skeins to knit something else, then decided I didn’t really like the yarn for that project. I think it will work well for Trove.

Notes and Suggestions From Knitters

I’m always grateful for knitters who bother to leave truthful comments about their experience with knitting a pattern. Some things I noticed while reading comments about Trove were that the sleeves are too wide. Also the neck tends to be too loose and wide. These are a couple of things I can be aware of when knitting my own sweater.

Can a Beginner Knit this Pattern?

If this is your first sweater, or you have not been knitting long, this one might be a challenge. I mainly say this because if you need to make changes to the pattern, a beginner might not know what to do. I have not knit it yet, but maybe a solid color pattern would work better for a beginner knitter. I’ve had a lot of luck knitting the free sweater patterns by Espace Tricot.

Link to Trove pattern page at Ravelry. Have you knit Trove? In the midst of knitting it? I’d love to hear what you think.


A Simple Sweater With Stripes

My newest knitting project is a simple sweater with stripes. A link to the pattern page on Ravelry is further down the page. This one is advertised as a good project to use…

Keep reading

Knitting The Neck Ribbing of the “Arco Iris” Sweater

Knitting the ribbing around the v-neck for the Arco Iris sweater pattern.

This v-neck sweater, the “Arco Iris”, has a pretty ribbed and cable border around the neck to match the sleeve cuffs and body ribbing.

Once I got the sleeves put on hold, and began knitting the body, I decided to take on that v-neck ribbing. I had a quiet day to myself, and decided not to knit round and round, but take on the challenge of the neckline.

Picking up Neckline Stitches

This pattern tells you exactly how many stitches to pick up for each section of the neckline. I had no trouble picking up stitches for the back of the neck. Each loop was easy to see. But going down, and then up, the V got tricky.

I have decided that I absolutely hate doing this. I came close to throwing the knitting across the room.

For this sweater the stitch count must be exact. The cables and ribbing are done in multiples of 9 / 18. I ripped out my pick ups more than I will admit, and finally gave up and did the best I could.

I ended up 5 stitches short and added those stitches back in (using backwards loop cast ons) when I did the first row around. So my advice to you is to maybe keep this in mind so you don’t go insane.

cats and knitting

Skittle the Cat had to jump up into my lap at exactly the WRONG TIME. I had dropped a stitch and was trying to fix my problem while the cat insisted that I pet her. All I could do was laugh at the unlikelihood of that. Finally she settled in on my lap and was happy for me to continue knitting.

The first couple of rows of directions on the neck are the set up pattern for the cables and rib. Once that is done, the pattern gets very easy.

Once I finished the neckline, I put my body stitches onto waste yarn so I could try the sweater on and see how it looks. I actually like it a lot. My cables are off, but once I did one wrong, I had to continue to do it the same (left leaning / right leaning) way. Most people will never notice my mistake.

When you are told to do a “cable crossing every 4th round”, do the cable as you did in the beginning. The “lefts” will always be left. Each cable will be done the same way – with yarn held either to the back or front. If you are not familiar with cables, this could be confusing.

As I knit, the circle for the neck opening kept getting smaller, and I was getting worried, but it ended up perfect. That front part of the V is a decrease, so the circumference gets smaller on every round. I ended up using a 16” circular needle but began with a 24 inch.

Don’t make the bind-off too loose. You won’t want the neckline gaping open. Also, don’t make it too tight!

This pattern is not one of the easiest to follow. I’ve knit quite a few sweaters over the past couple of years. Some were lacking in directions, one in particular I simply hated, and many have been fun and easy to knit. Occasionally there will be a small mistake in a pattern, which is understandable. Common sense may be all that is needed to keep knitting.

I respect the time and effort that knitwear designers have put into creating their patterns. I suppose a designer may assume the knitter will figure it out. But I like to be told specifically what to do when knitting. Usually all it takes it one more sentence to explain.

What About the Test Knitters?

What is a test knitter? Someone who knits the project just as it is written. They look for problems and make sure the pattern is ready for everyone to knit. Usually designers will search for knitters who will make the pattern in a variety of sizes to be sure the pattern works for everyone. The testers are in touch with the designer and communicate any and all problems with the pattern to make it read to sell.

One test knitter included no notes at all. I guess they don’t have to. (I recently finished a Jenn Steingass sweater and she had a ton of test knitters, who did include helpful notes, and that pattern was very easy to follow.)

Test knitter Toriyu had helpful information which I am actually following, but she is the only one with useful notes.

The other test knitters had skimpy notes such as “made the sleeves longer”. Not a single one of them found problems with the purl increases… apparently. Or if they did, they may have told the designer, who knows? All I can say is that I found a few parts of the directions difficult to understand. And I probably would have gone ahead and done the purl increases incorrectly without realizing.

I’m going to leave notes on my Ravelry page incase anyone has my same problems.

There have been 76 projects knit (according to Ravelry numbers as of the date of this writing), or begun, by knitters such as myself, on this sweater. The pattern came out in December 2022, which means it is a new pattern (this is January) and lots of knitters plan to knit it. In the end this should be a beautiful new addition to the wardrobe.

Onward I knit. I’m thinking the most complicated part is behind me.

v-neck sweater Arco Iris
Finished the v-neck before the body and sleeves.