A Simple Sweater With Stripes

My newest knitting project is a simple sweater with stripes. A link to the pattern page on Ravelry is further down the page. This one is advertised as a good project to use up stash yarn. I can see how that would be true.

I was finishing up knitting the Warm Up sweater (#3), and I had to decide on a new knitting project. In the queue I had planned on a colorwork pullover and I was looking forward to it.

I began the cast on for the Secret Garden Sweater (pattern page at Ravelry). I messed it up when completing the join. It was twisted! I have not done that since back when I was a beginner. While casting on, I really was not happy with the yarn. It was very thin. And I had my doubts about the pattern. Something told me to move on and skip this one for now.

Uradale yarn skeins in brown and blue
Uradale yarn

If I don’t use the Uradale gift yarn for this planned project, what will I use it for? The Simple Stripes sweater was a pattern I had recently saved. It uses the same weight yarn. If I mix the Uradale with some of my stash wool, that could work. I could incorporate some colorwork into it. 🤔

I almost decided to simply use an old pattern I had already purchased. After knitting a few sweaters over the years, I could easily knit almost any pattern and do stripes, as I did with Warm Ups #1 & 2.

The Simple Stripes Sweater Pattern

The Simple Stripes pullover is a pattern by SuviKnits. I’m using needle sizes suggested in the pattern. Main needle is a 4.

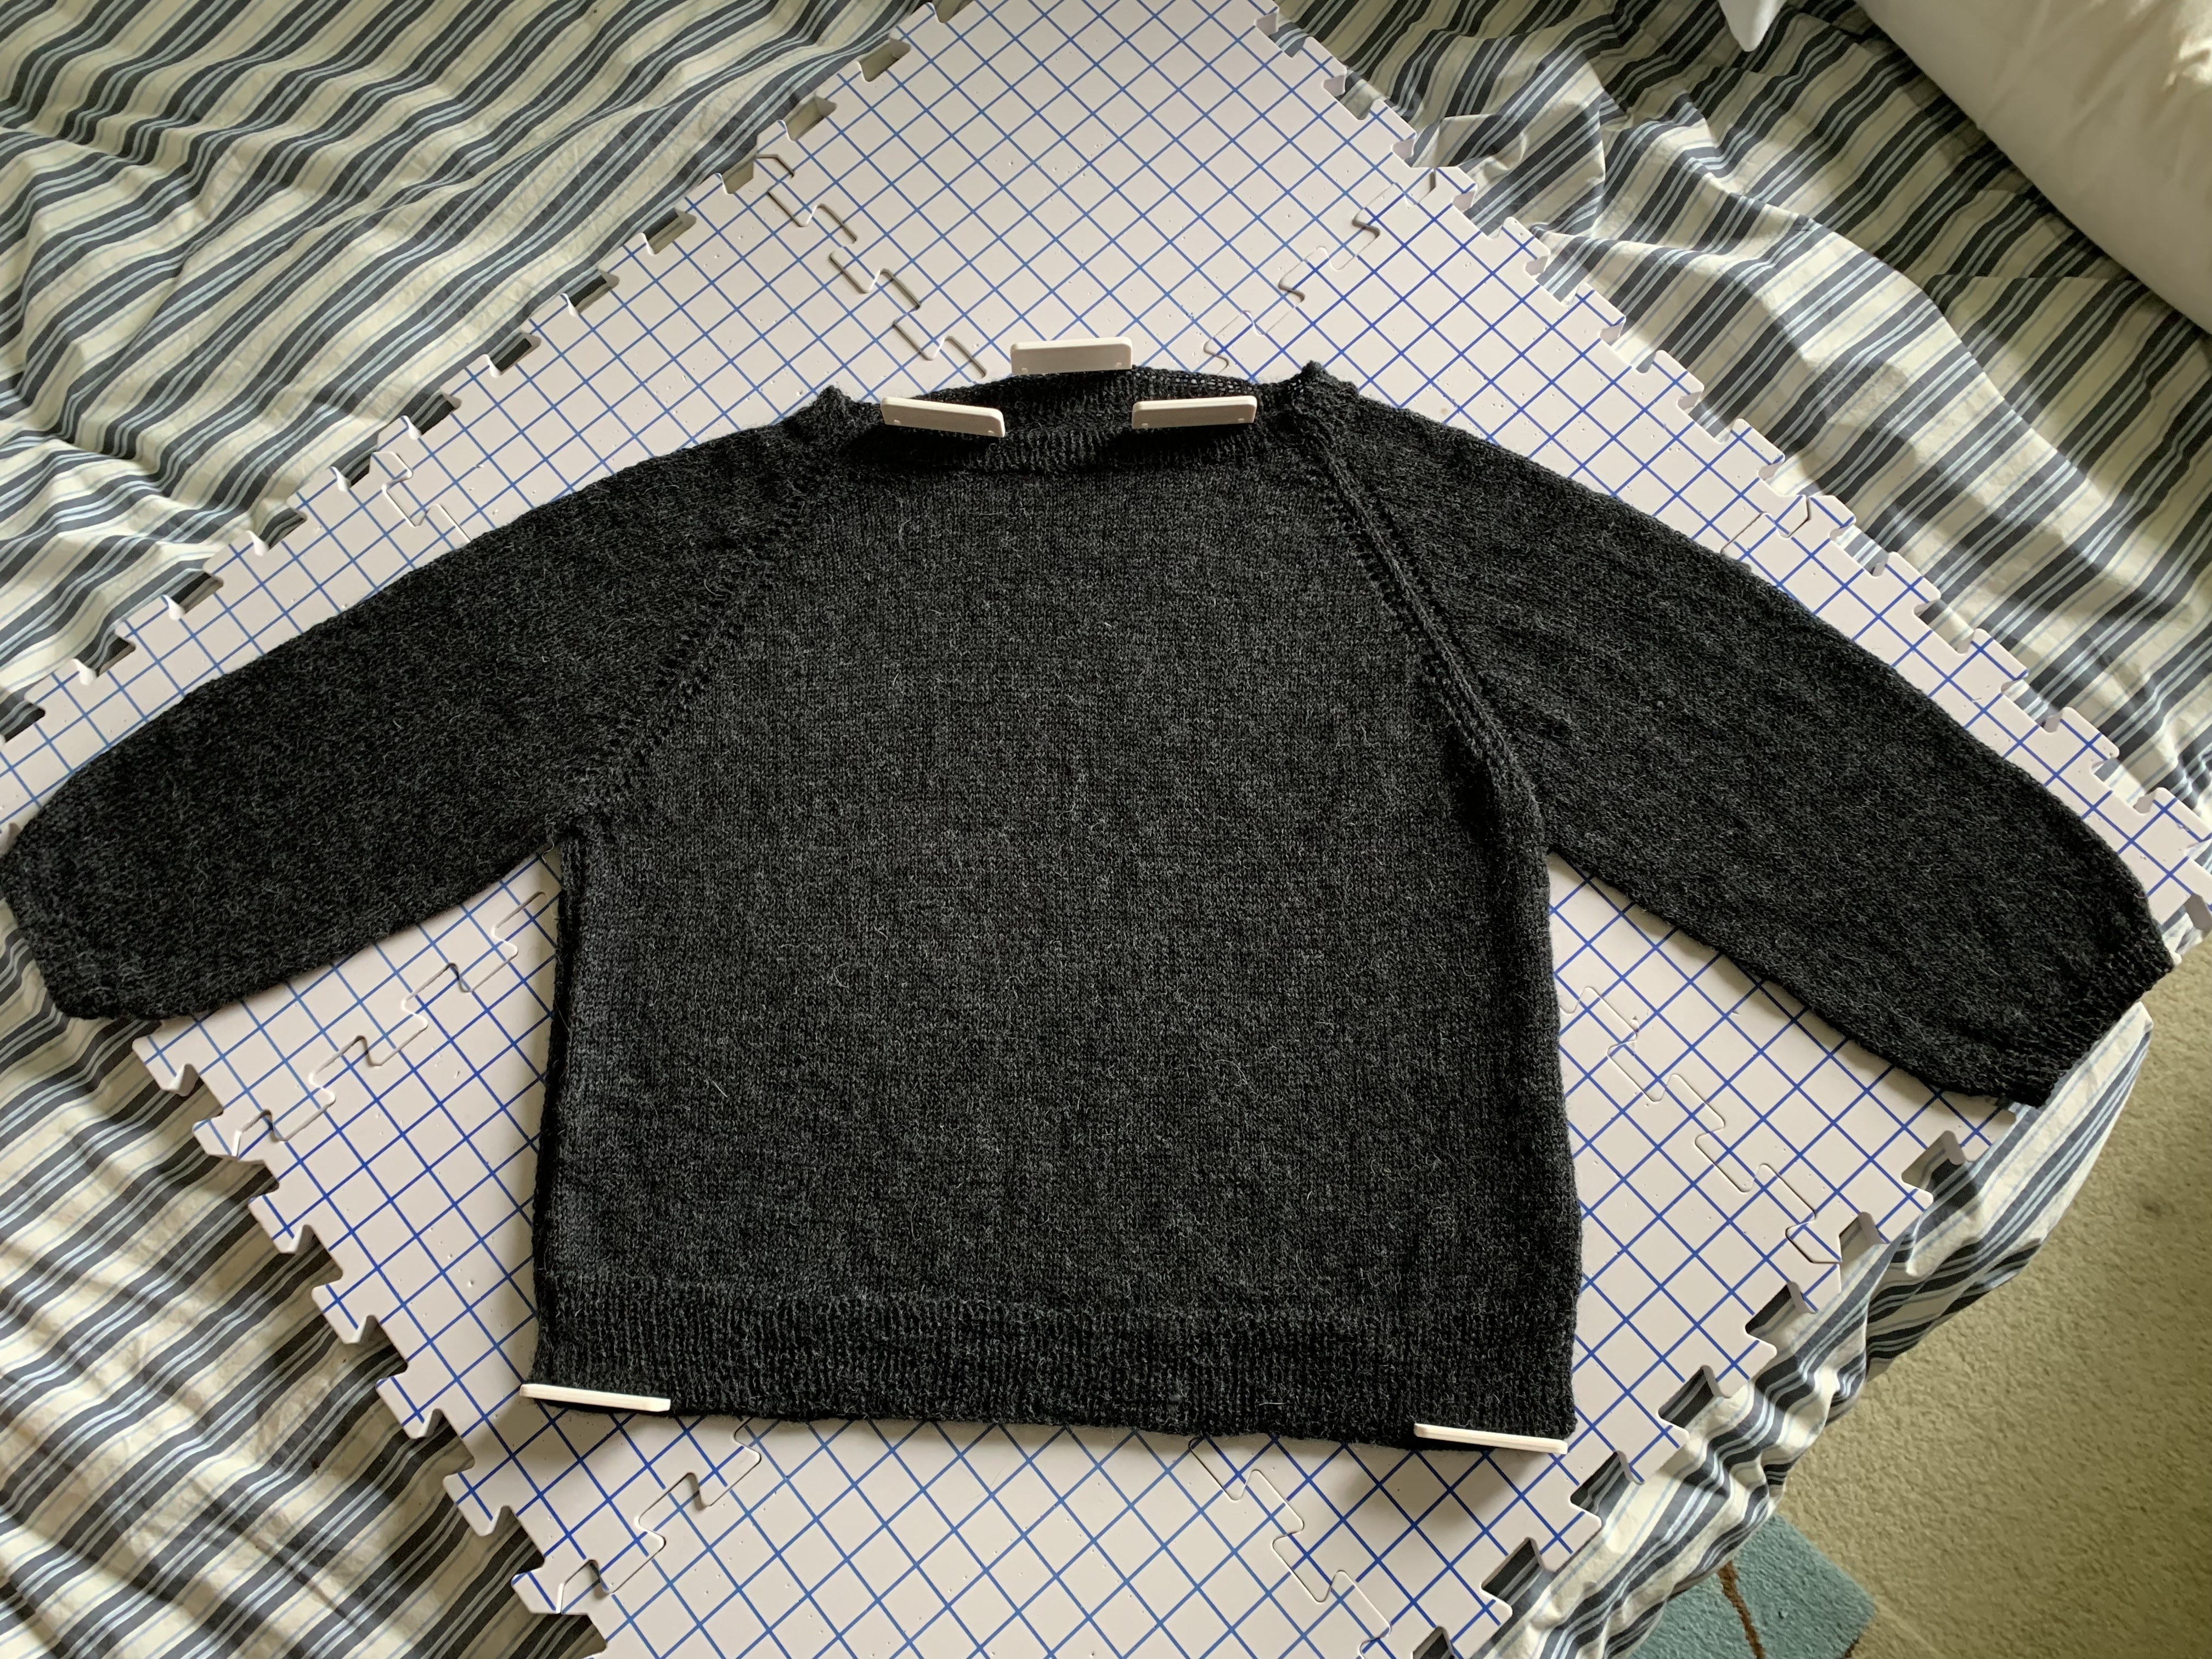
Although this is a straight forward raglan sweater, there are two things you should know before getting started. Further down the page, I explain how to do both.

First, the stripes need to be smooth and even. This is simple until a new color is added. You need to make the Jogless Join. Find a method you like, and do it. You will be happy to have smooth stripes in the end!

Second, learn to weave in the yarn ends as you knit. This is not necessary, but will save lots of time later when the project is complete.

Simple Stripes sweater pattern cast on
Cast on and short rows complete

Know How to Do the Jogless Join

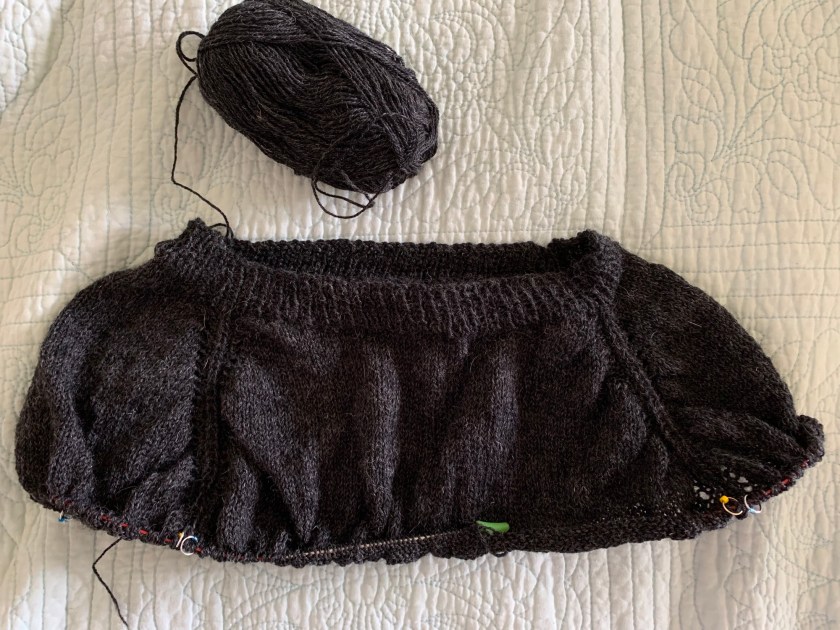
This is important. While knitting this sweater in stripes as indicated, you will need to do the jogless join when adding a new color. What this does is leave a smooth transition from one wide stripe to the next. You will want this!

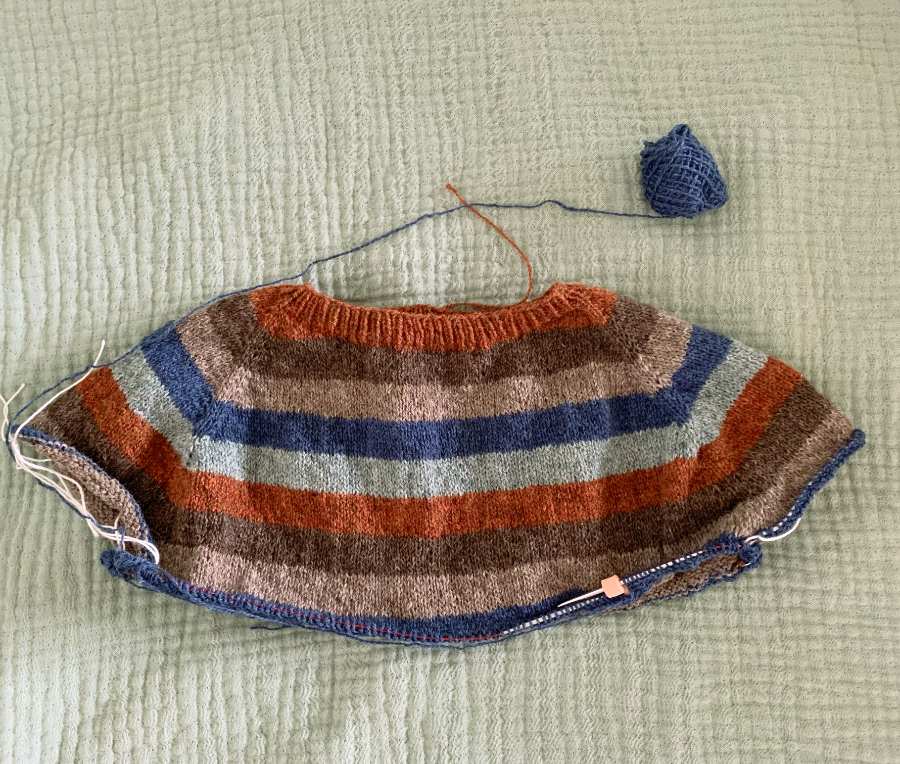
In my photo here, the jogless join was made up the center of the back, until the separation for the sleeves. After that, the BOR (beginning of round) is placed at the side of the sweater. You will still need to do the special join whenever the colors change. It is easy to do, but there are a variety of methods for this.

Simple stripes pullover doing invisible join

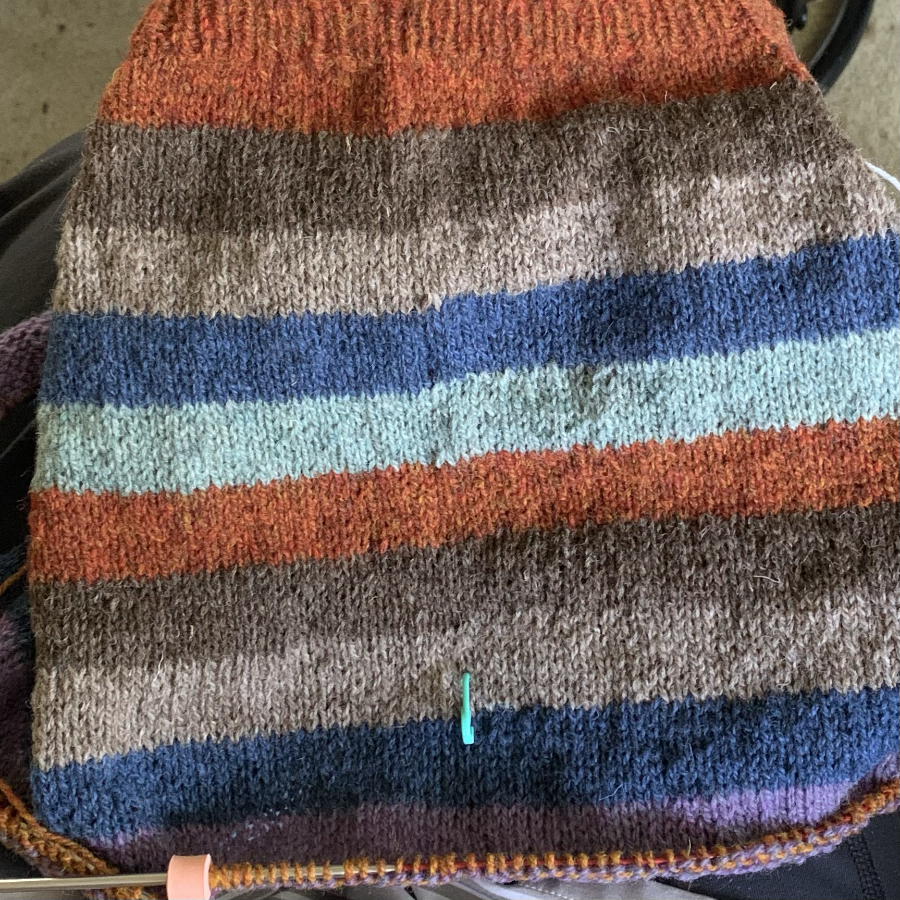
If you simply keep knitting around and around without making the join correctly, there will be an obvious “jog”, or uneven rows, at the location where the new yarn is added. There could be a little hole there as well.

YouTube Videos For the Jogless Join

I could not find a video with the method that I used. But this is how I knit my jogless join. When a new color is needed add the new yarn. Before knitting the first stitch, wrap the old color over the new, so it tightens up the stitch. Knit normally around. On round #2, at the BOR first stitch, lift the right side of the stitch below onto the left-hand needle. Then knit that stitch together with the new color.

If you don’t have a preferred method for doing this, these videos may help.

The Chili Dog has a video for doing the join a bit differently, with the same outcome.

How to Knit Jogless Stripes – with good info on wrapping the yarn so there is no hole.

Suzanne Bryan has yet another way to do this. See her video here.

Weave in The Ends As You Go

Each time a new stripe is begun you will have a two new yarn tails to weave in. The old color will be cut (tail #1) and a new color is added (tail #2).

What I do is grab one of the tails and carry it along as I do when knitting colorwork. I hold the extra strand in my left hand. This tucks the yarn into the stitches for about 8-10 stitches. On the next row, I grab the other color that is left hanging, and do the same thing.

If you need another way, watch this video by Stephen West. He explains how to easily twist the yarn (in Continental or English style) so that the ends are held.

If you choose not to weave in the ends as you go, this leaves LOTS of ends to do all at once, when the sweater is finished.

Simple Stripes – The Beginning

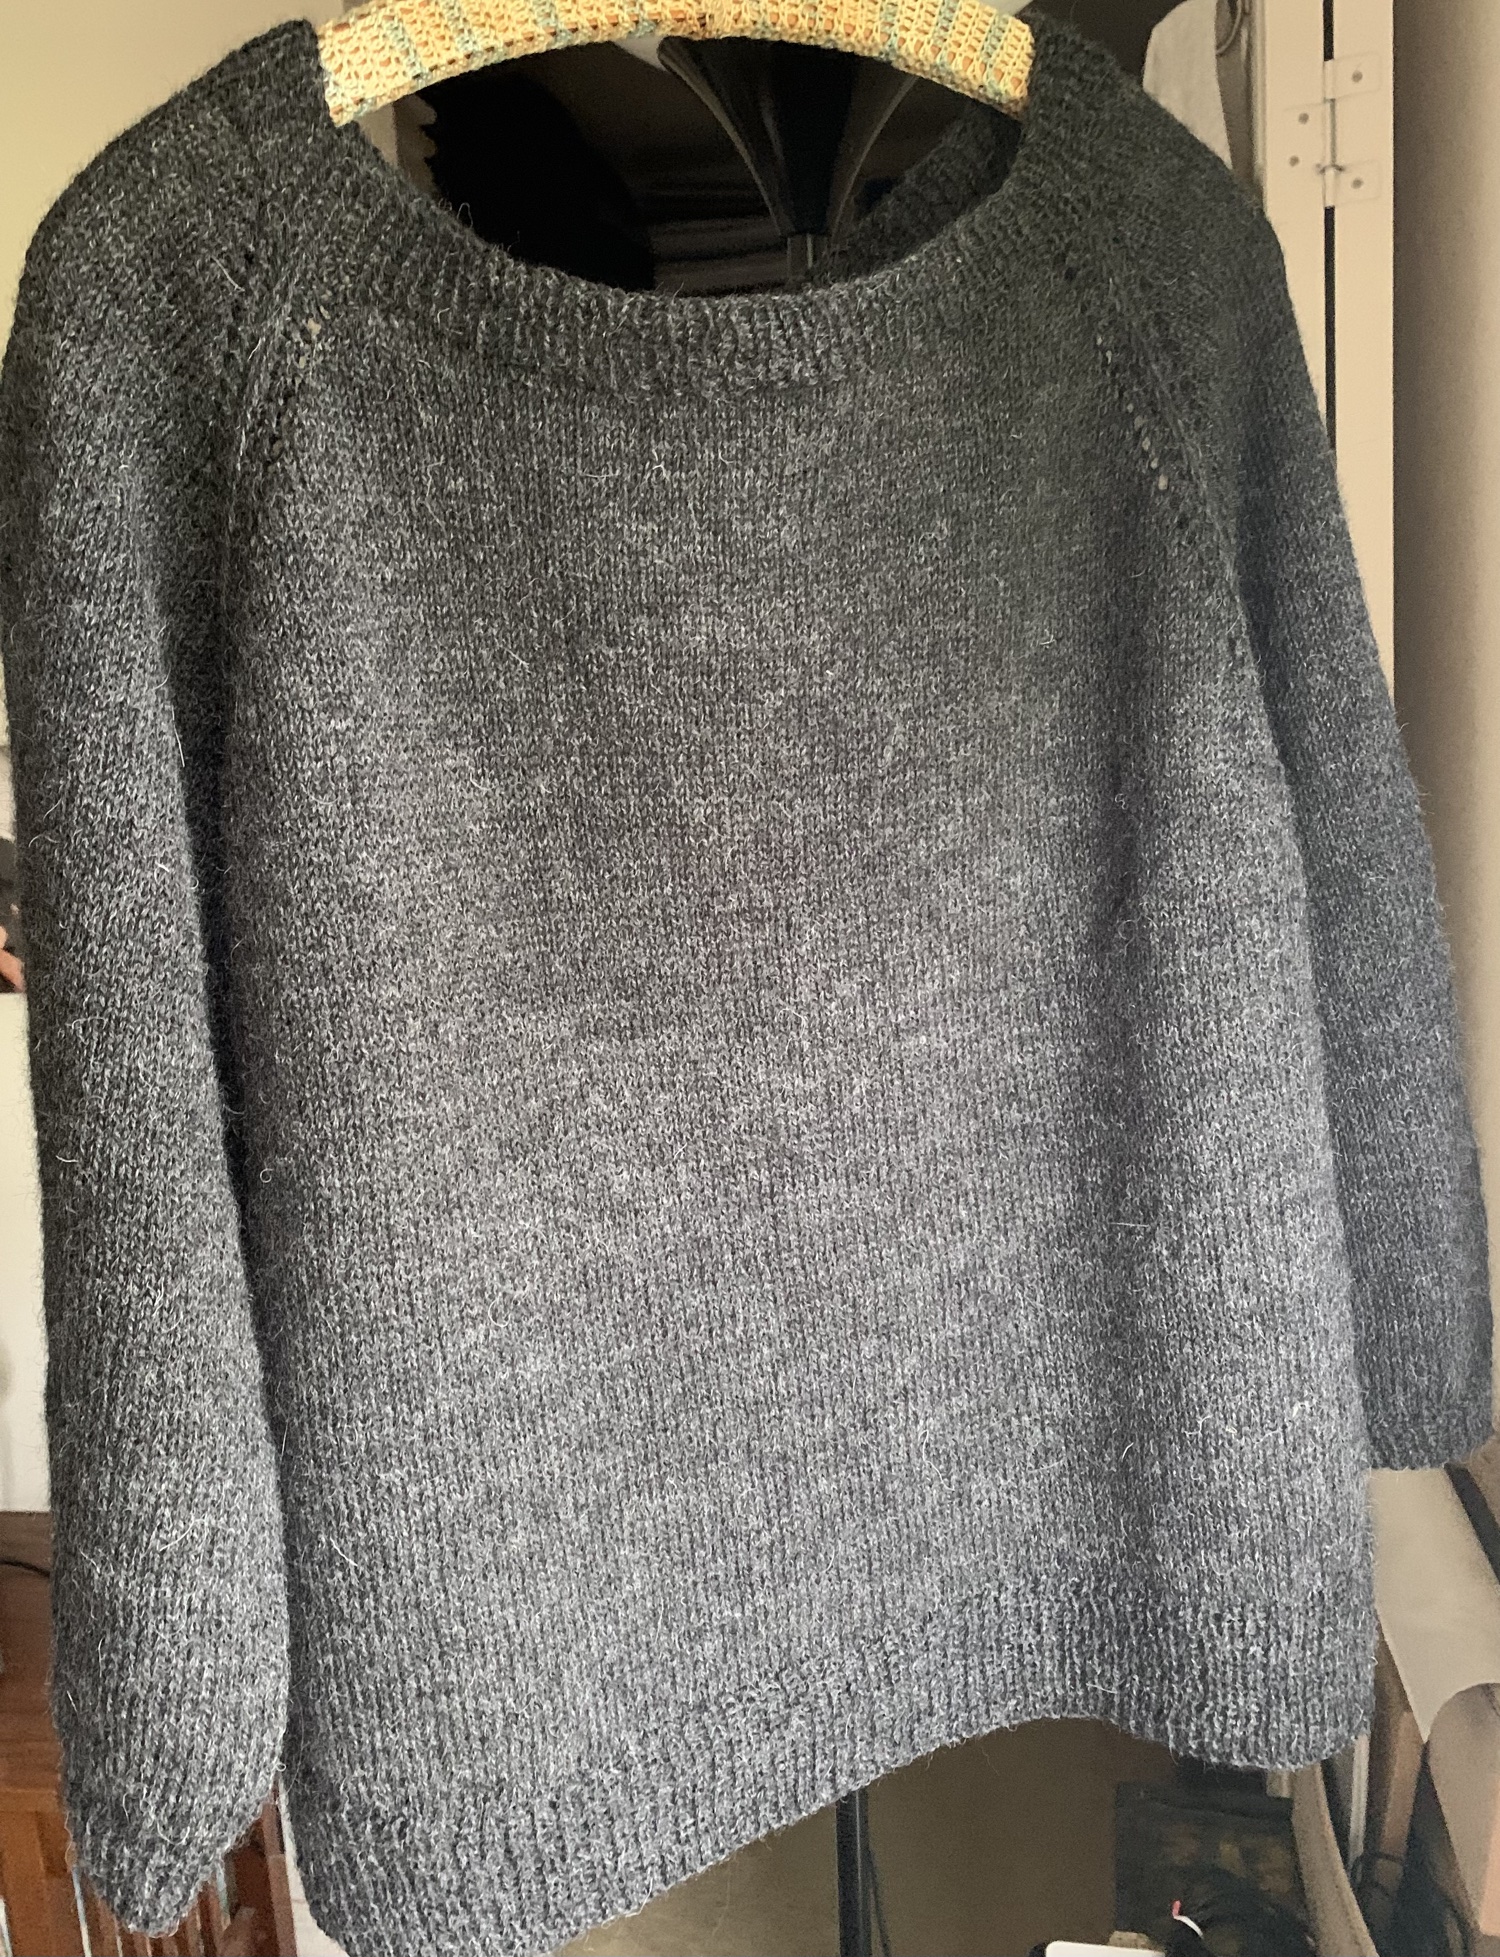
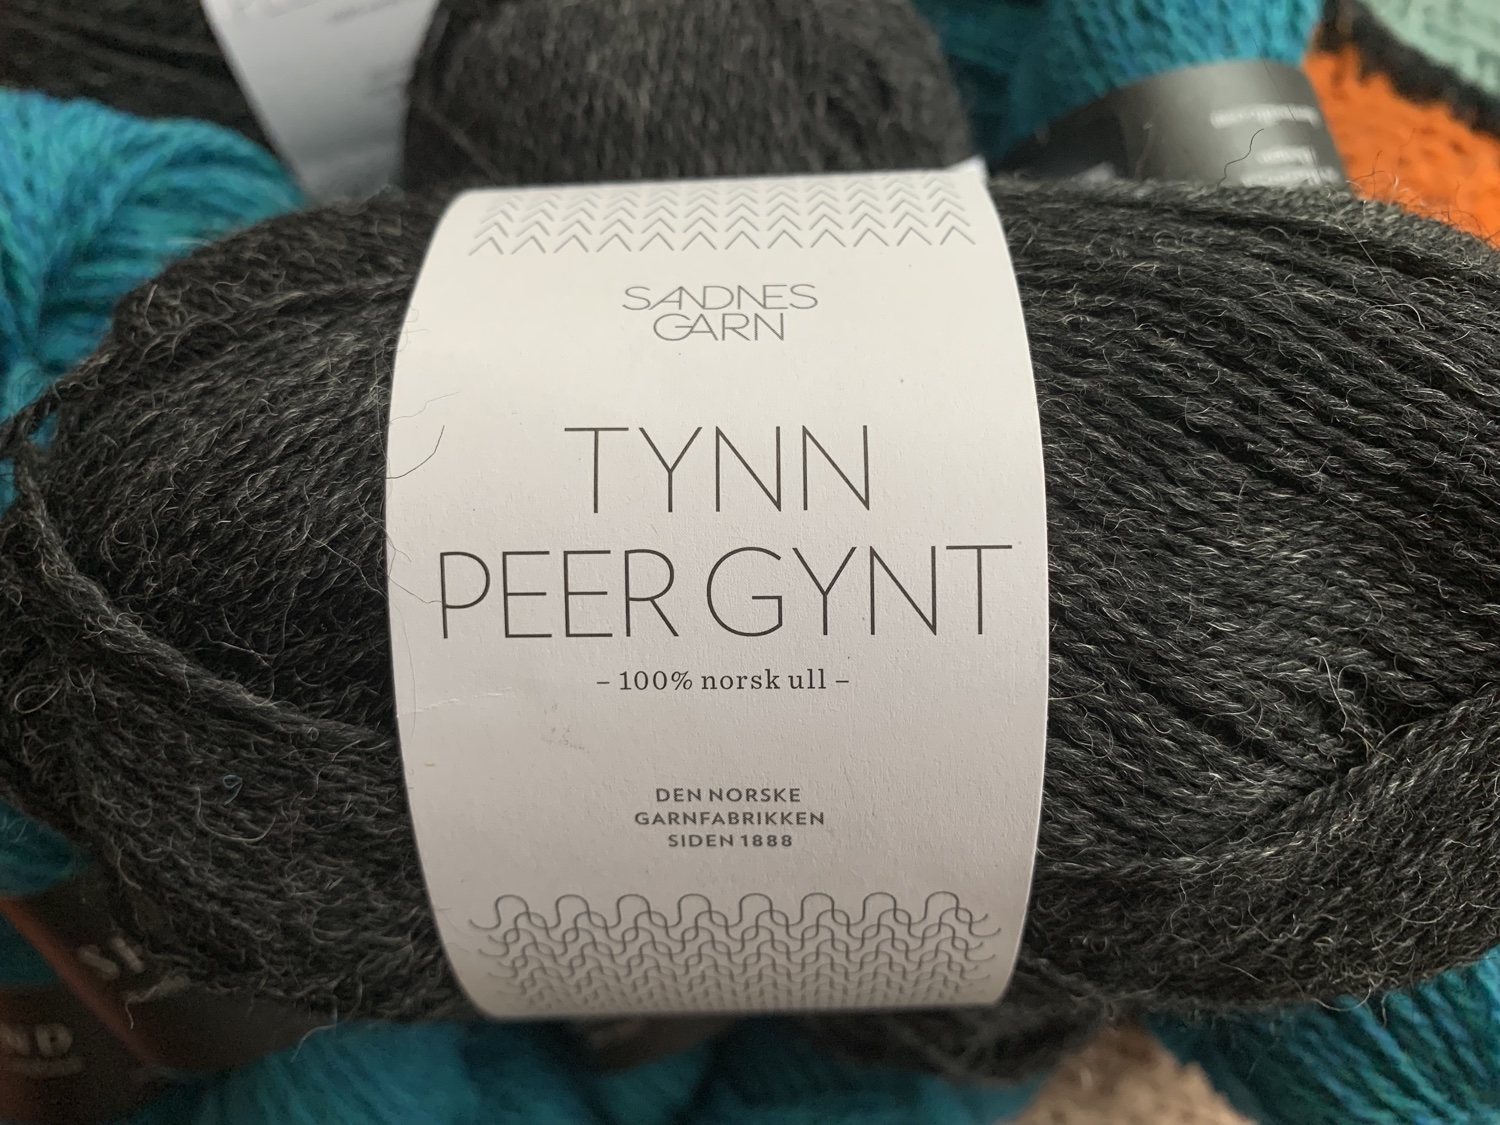
My cast on is complete, and I went with the Jamison’s in a rustic orange. Jamieson’s yarn is a consistent size, whereas the Uradale is not. The pattern is very basic with short ribbing at the neck, then raglan increases along with short rows.

The Uradale yarn is fickle. The darker brown Moorit was quite thin compared to the Jamieson & Smith. When I added the Uradale Aess, which is beige, it is thicker. In general the yarn seems to deviate, sometimes becoming very thin.

I like the fact that Uradale yarn comes from a small farm on Shetland, but I can buy similar yarn in the US that costs me much less. This yarn was a gift, and I would not use it again.

I intend to mix the yarns I have to create stripes that vary in colors. I won’t have enough of the Jamison’s in one color to continue the color palette.

Simple stripes sweater knitting

As I knit this pattern, the raglan increases are done differently than most raglan patterns I’ve knit in the past. I’m wondering how this will turn out.

I’ve separated the sleeve, and there are big cast ons for under the sleeves. Now the knitting is round and round for the body.

Simple stripes sweater knitting project

More to come as I knit on this pattern. It’s the end of summer and here in Central Florida it’s a time to get planning the Fall garden. It means I am not doing a lot of knitting.

Update: Sleeve #1 is Finished

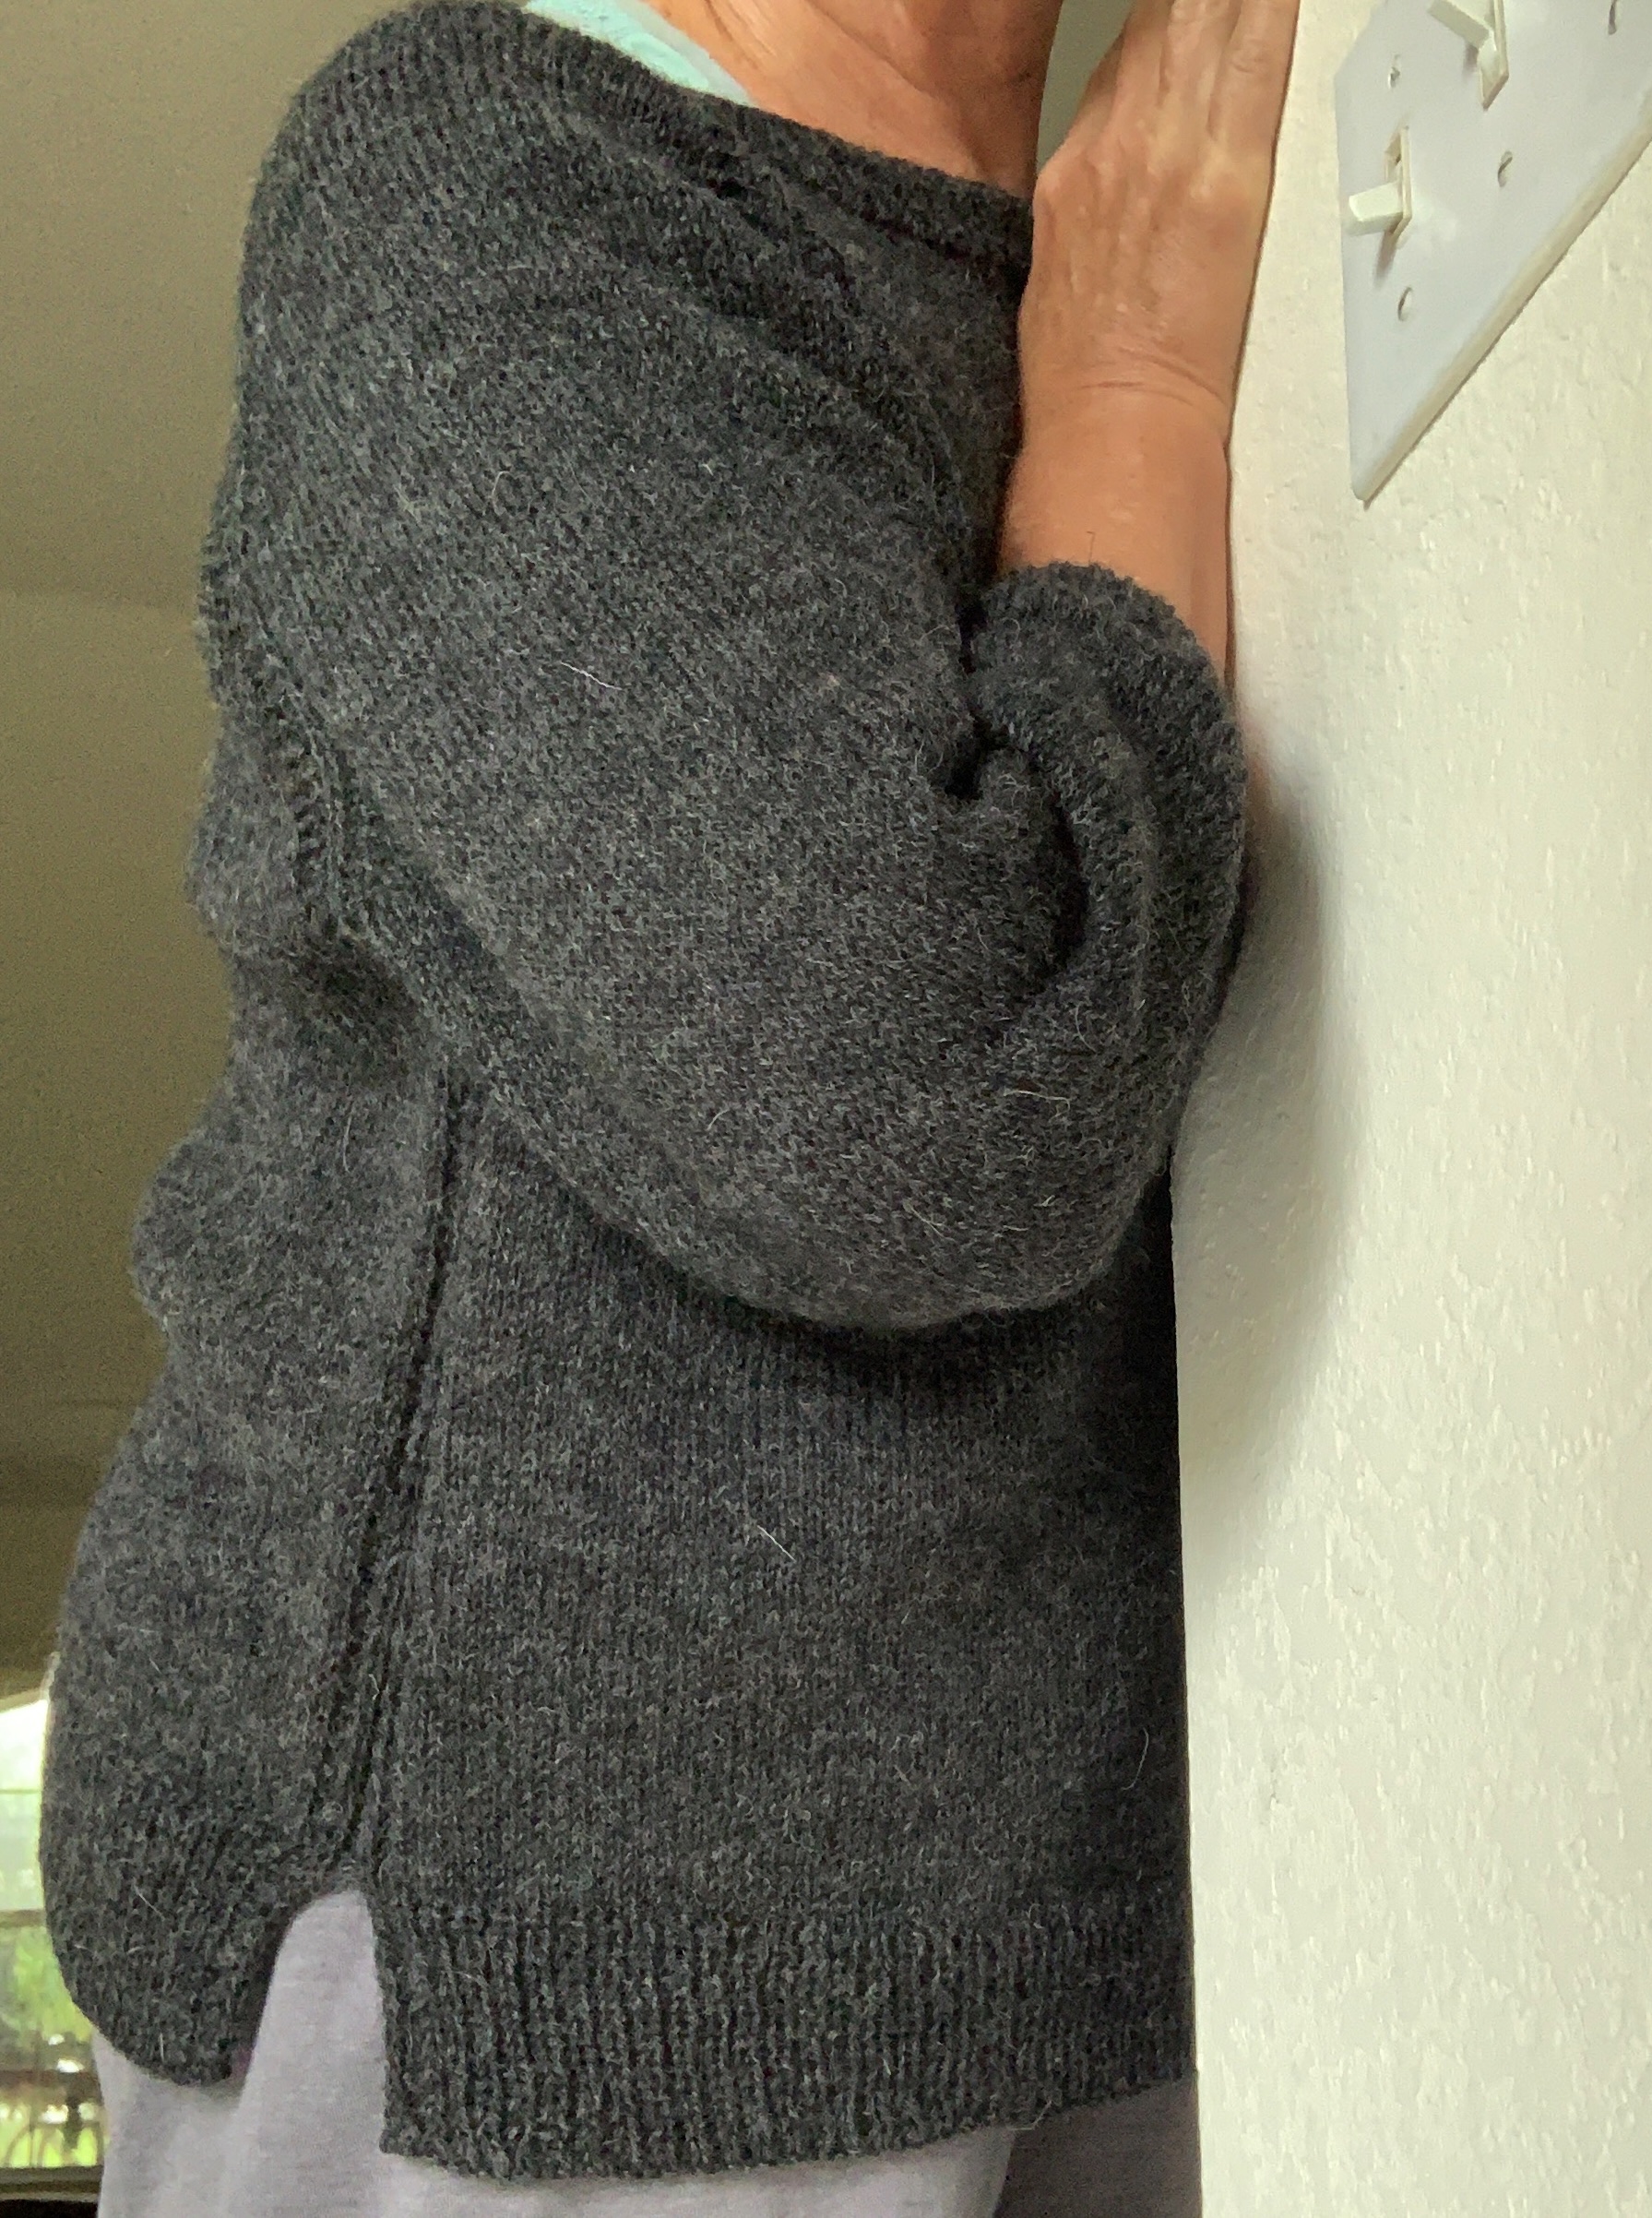
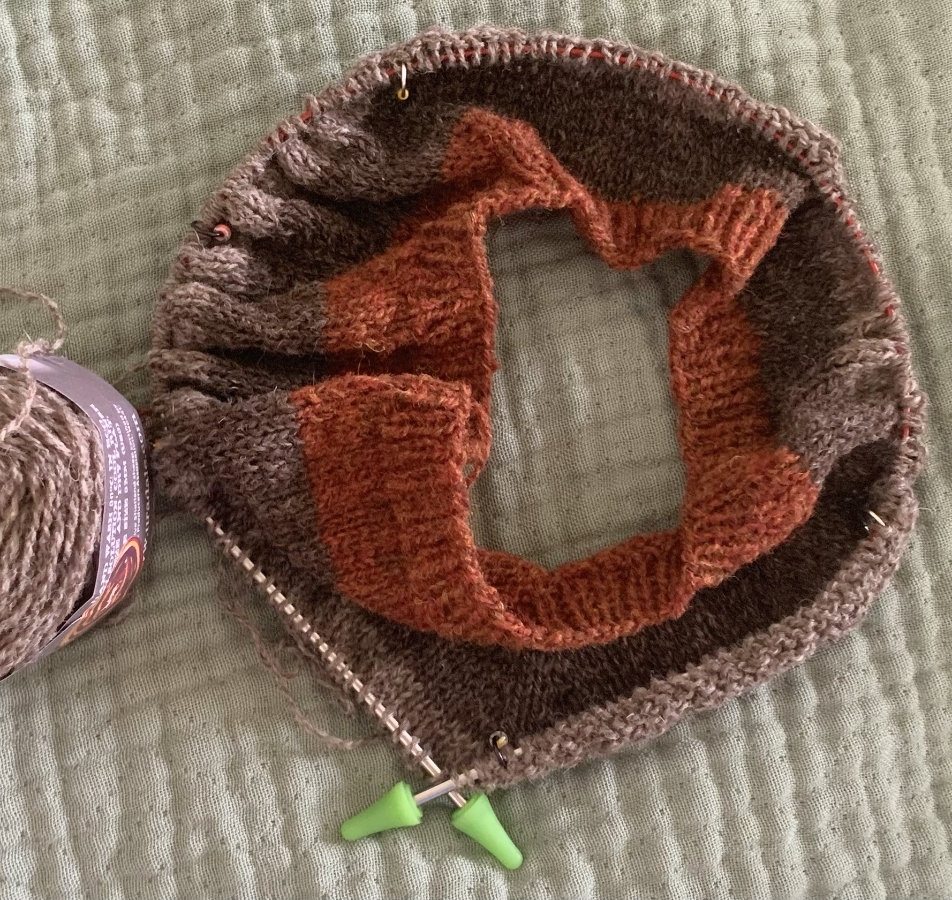
Hey, it’s September and I have finished knitting sleeve #1 of the Simple Stripes sweater. A little kitty-cat colorwork was added, and the cuff is a 3×2 (3 knits / 2 purls) ribbing on 65 stitches. Sleeve length is approximately 17-18 inches.

Sleeve number two will be all stripes and I will try to match colors. I do love the ribbing I chose, and the Rauma wool in off-white.

The Bind Off is normal and follows the knits and purls.

Sleeve number one is finished with a ribbed cuff

The holidays are coming – believe it or not – and any holiday knits need to be worked on. I have one or two on the needles. How about you?

Reading list

Beautiful Wool For Knitting From Sonder Yarn Company.

Here is a look at some new yarn I recently purchased from a new (to me) shop.

Sometimes I cannot resist a yarn sale. I’ve become much better at controlling my urges when it comes to yarn. I have narrowed my choices down to buying beautiful wool.

The Sonder Yarn Co. is located in Canada. I’ve been watching their yarn and knitting projects slip by on Instagram (I’m usually looking in the middle of the night when I can’t sleep), and I’ll tell you.. they have lovely colors!

You must spend a lot to get free shipping, and I just never wanted to spend the money. And then, I saw that there would be a sale on their pretty yarn. A very good sale too, at 20% off!

I had just finished knitting the Blueberry Vodka Lemonade sweater pattern and was seriously thinking of knitting another one. I needed fingering weight yarn for it.

My Wool Order

The Sonder Yarn company said there would be a bit of a delay getting all the sale orders out. I was in no hurry. Finally, I got an e-mail saying that my order had been sent to the wrong place. Instead of waiting for the order to come back to them, they were sending a replacement to me. So, altogether it took about three weeks to arrive.

The yarn did not come in the box you see in my photo – just stuffed into a bag. There was nothing extra, just a “thank you” on the order invoice. I am only mentioning this because some places add extras, like a free stitch marker, tissue wrapping, etc. – this place did not.

On the same day that the yarn arrived, another shipment of something arrived and came in this box, which fit the yarn very nicely. Perfect!

Sonder Yarn delivery with two colors and nine skeins.
Yarn delivery – (did not come in this box)

The Fingering Weight Yarn

The Sunday Morning 4 Ply yarn is fingering weight. It is made up of two types of wool; 75% BFL, or yarn from the Blue Face Leicester sheep, and 25% Masham wool. I ordered the color “French Press” which is a rich brown. Each skein has 432 yards!

Sonder Yarn Sunday Morning 4 ply in French press brown color
Color “French Press”

The DK Weight Yarn

The other yarn I ordered is Sunday Morning DK. It is made up of the same wool mentioned above for the 4ply. I choose color “Toast & Honey” colorway, and I love it! Each skein has 268 yards.

Already I have cast on and begun knitting a second Calliope pullover in this pretty golden color. My first Calliope came out too big, and the yarn was not right for it. I’ve been wanting to knit another for a while. I think this pretty wool will be just right.

sonder yarn skein in Toast and honey color way.
Pretty Toast and Honey yarn color.

Happiness

All in all, I am very happy with my yarn purchase. It’s tough buying yarn online but the colors shown on the website match very closely to what I got. The brown really caught my eye, but I ended up loving the golden color even more once I had it in hand.

I spent more money than I usually do, but I have gorgeous yarn and plans to use it. Also I got free shipping because of the amount, so that’s a plus. The wonderful color options may keep me going back for more, or at least keeping an eye out for sales at the Sonder Yarn Co..

more knitting stories

Something went wrong. Please refresh the page and/or try again.

Surprisingly Sweet Blueberry Vodka Lemonade Sweater Pattern

My experience and notes about knitting the Blueberry Vodka Lemonade sweater pattern by Thea Colman, aka Baby Cocktails.

After some summer top knitting, I needed to have wool in my hands again. I chose a new pattern and some new-to-me yarn and got knitting on the Blueberry Vodka Lemonade sweater (pattern link below).

I made a stupid mistake when beginning the first rows after the neck ribbing, and had to rip it all out and begin again. Believing I would be able to do those yarn-overs just fine, I began to screw things up again – because, no I did not do yarnovers correctly. This time I kept knitting and took a refresher in doing yarn-overs.

Once I had all that down, the knitting went smoothly and the yoke became fun to knit.

The Yarn

I am knitting with Sandnes Garn Tynn Line Peer Gynt wool yarn (link goes to Wool & Co.). I’ve never knit with it before, but it’s soft and beautiful. There are some thick to thin areas, but I don’t mind that and I think it’s typical.

Although I bought two types and colors of yarn as possible choices for this project, the Tynn Peer Gynt worked out better for the needle size. I’ve ended up knitting with the black yarn.

  • Sandnes Garn Tynn Peer Gynt fingering wool yarn
  • skeins of wool yarn
  • Knitting swatches drying
  • Harrisville Designs shetland wool

Let’s Try This Thing On!

Using fingering weight yarn to knit a sweater means lots of little stitches and many rounds of knitting. Surprisingly, to me, I was done knitting on this fun project in just a little over a months time.

Finally I have split the body at the hem which means I can get this thing tried on! Yay…!

I am very pleased. That neckline seems perfect. A bit wide, but not too wide, just as the designer promised. I did knit for one more inch on the body, stopping at around ten inches and not nine. Two more inches of hem will be added, but first I plan to knit the sleeves.

We cannot run out of yarn on the sleeves, so I want to knit them without worry. IF I run low on yarn for the body ribbing, I can order another skein and not worry if it’s not a perfect match. *No problem here. I ended up with plenty of yarn even with adding a couple of extra inches to the body length.

Blueberry vodka lemonade raglan sweater knitting pattern
Hem split done, time to try it on

I began knitting this sweater on July 20th and today is August 15th, so it has taken almost a month to get this much done on the BVL sweater. *Then I finished on August 29th.

A few days later, I had one sleeve knit. They are 3/4 sleeves which stay wide until just before the short cuff. I ended up liking them a lot.

Decreasing for the Cuff

The knitting round where the many decreases are made, just before the cuff, gave me pause. Then I realized that the first set of knit stitches – in the parenthesis () – is done ONE TIME ONLY to begin the round. The next set of stitches – in the brackets [] is the number of stiches to knit along with the k2tog – and this is repeated in the round. The last set of stitches is what is left at the end of the round, and they will be knit – unless there are no stitches left and you knit zero.

For example: For my size, on this decrease round, I had to knit 2, then knit 4 + k2tog for the repeat, until I had only 2 stitches left at the end of the round, which were simply knit.

knitting sleeve cuff
Sleeve cuff
knitting sweater sleeve
Sleeve 1 done

Buy the Blueberry Vodka Lemonade Pattern

Finished and Happy

It took me about a month to finish knitting the Blueberry Vodka Lemonade sweater. I enjoyed knitting it because there was always something going on while knitting. The yarn-overs at the raglan sleeves, the texture down each side, and the bottom split rib, all added to the enjoyment.

Blueberry Vodka Lemonade sweater

The sweater was dry after a day and I did a quick photo shoot. We were getting the outer bands from Hurricane Idalia, with wind and rain, so I couldn’t go outside.

I also love this yarn. It is wool, but very soft. I would compare it to Rauma, but it may actually be softer. The finished project is absolutely fabulous! I’m always amazed at much more lovely a hand-knit becomes when washed. I’m very happy with my new sweater!

I don’t often say this, because once I knit a pattern, I move on to something new, but this is a pattern I would absolutely use again.

  • Blueberry Vodka Lemonade sweater

Please keep reading the blog…

New Sweater Pattern and Yarn Overs to Learn

Figuring out how to knit the yarn over eyelets for the Blueberry Vodka Lemonade sweater knitting pattern.

These days I find most of my new knitting projects while browsing Instagram. I’m pretty clueless about the tech side of Instagram, but I have found some very interesting patterns.

The Blueberry Vodka Lemonade pullover is the newest, and I have just cast on to knit it. This pattern is by designer Thea Colman, aka Baby Cocktails, and it is a raglan style with a wide collar and eyelets down the sides of the sleeves.

It calls for a fingering weight yarn and I have chosen to use Sandnes Garn Tynn Peer Gynt. A mouthful, but a beautiful wool that comes from Norway. It is a bit thin, so I had to go down a needle size to get gauge.

Two firsts here for me: I’ve never knit anything by this designer. The pattern is one of the best I’ve ever followed. It’s 9 pages long, and full of good info needed to successfully knit the project. I did have some trouble in the beginning and had to begin again, but it was totally my own fault for not paying attention.

Sandnes Garn Tynn Peer Gynt fingering wool yarn
Pretty black wool
knitting the yoke of a sweater in black wool
Short rows have been completed and I’m on to knitting my way down the yoke.

Help on Knitting the Eyelets

This sweater has eyelets, or little holes, along the edges of the sleeves. To create them, you must be familiar with yarn-overs. And I was not! I never knit much of anything that calls for yarn-overs, but I have done them before. I needed a refresher.

The YouTube video from Purl Soho is very good and covers all the ways a yarn-over is made. But the pattern yarn-overs are made at stitch markers so a “slip marker (sm)” is included, and that is where I got confused.

For instance, the directions will say, “Yarn over, slip marker, purl”. What this means is to do the yarn over (forward) and it will be on the needle before the marker. Then the marker is slipped, and when the purl is done – by wrapping the yarn back around the needle (watch that Purl Soho video if you need to), that purl strand must stay on the needle to the right of the marker. Not doing this throws off the stitch counts between the markers – the strand will be next to the purl when it should be behind the marker. I was doing it wrong, and it took me a few rounds to figure it out.

By the time I knew what I should be doing, my stitch counts for the back section and sleeves were off. I had to add in some stitches as I continued knitting.

So, the sweater is a big mess already… LOL. I already had to re-start this project, so onward I knit. My counts are good…the eyelets are a little off in some places, but …. It’s all good.

Knitting eyelets with yarn overs

I thought I would share this info just in case anyone else is having the same kind of trouble doing the yarn-overs.

I look forward to seeing how this sweater turns out. More to come about knitting this pattern.

balls of yarn graphic

Keep reading…