My experience knitting the Field Sweater pattern was a good one and I am very happy with the finished project.
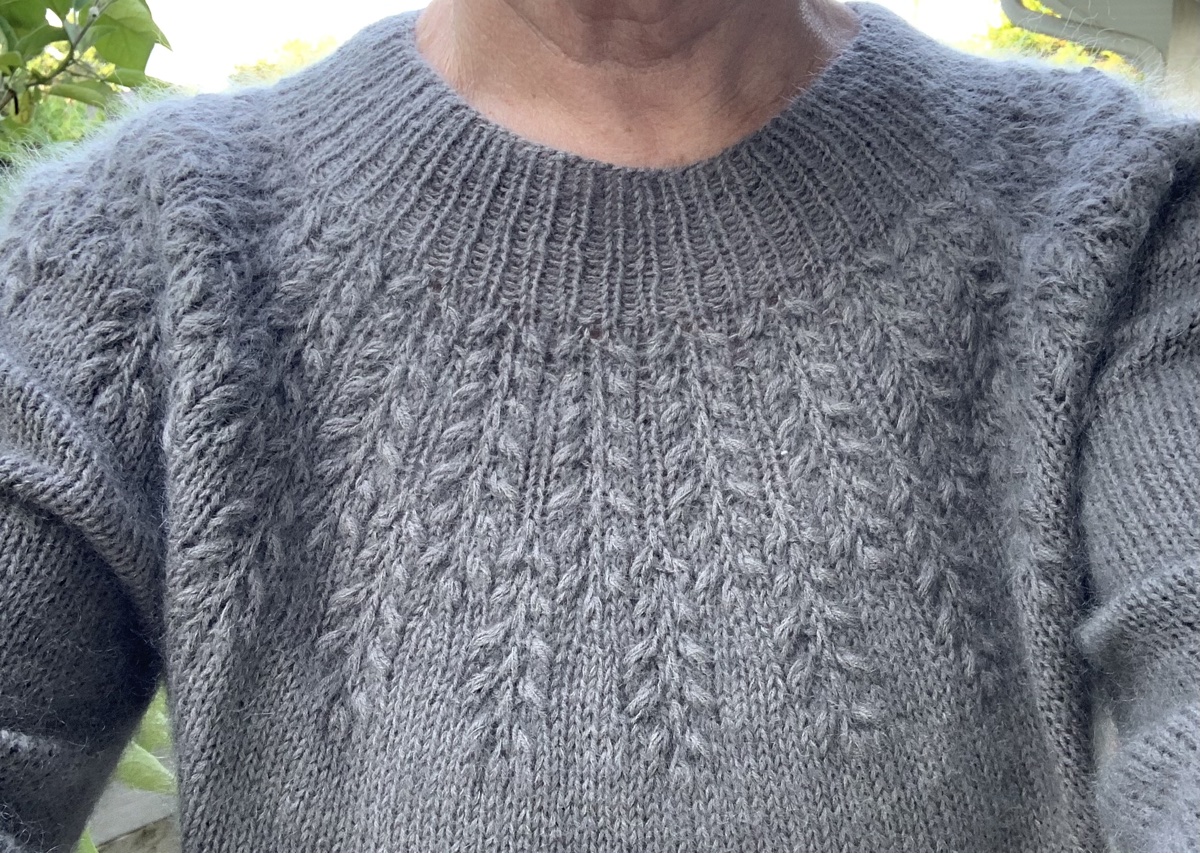
The Field Sweater knitting pattern has a beautiful textured yoke. The “grains” can be a bit daunting to knit, at first. A kind knitter has shared informational tutorials on her YouTube channel, and these helped me a lot. I wrote a whole page about beginning this sweater project and knitting the grains.
The Pattern
I found the pattern to be very easy to follow, but a few things were not as well explained as they could have been. The description of the M1L increase was different, but each row of the entire grain section was written out. I did find the grains easier to knit after watching the videos that were made by another knitter.
Changes
The only change made by me, was to knit a wider sleeve. Once the sleeve stitches were picked up, I decreased only enough to come to the 70 stitches that begin the top of the sleeve, for the size I knit.
I continued knitting, using a 16 inch circular needle, all the way to the cuff. For the row before the ribbing began, I decreased to the suggested number (50) for the cuff.
Sleeve Decrease Round
Just before the cuff ribbing, I did one round and decreased from 70 to 50 stitches. After much contemplation (and exasperation!)… I finally figured it out and did the round like this:
To decrease from 70 to 50 stitches all at once: *k1,k2tog,k1,k2tog,k1 – Repeat to end of row.
Hey, I have come across this page / site by Mimi Codd where she shares a calculator for this very thing! You can try it out HERE. In fact when I put the numbers in (70 stitches to decrease to 50) this is what I get: K5, k2tog, [k1, k2tog] until last 6 stitches, K6. This would have saved me loads of time. I’m linking it in my top of page menu under knitting.
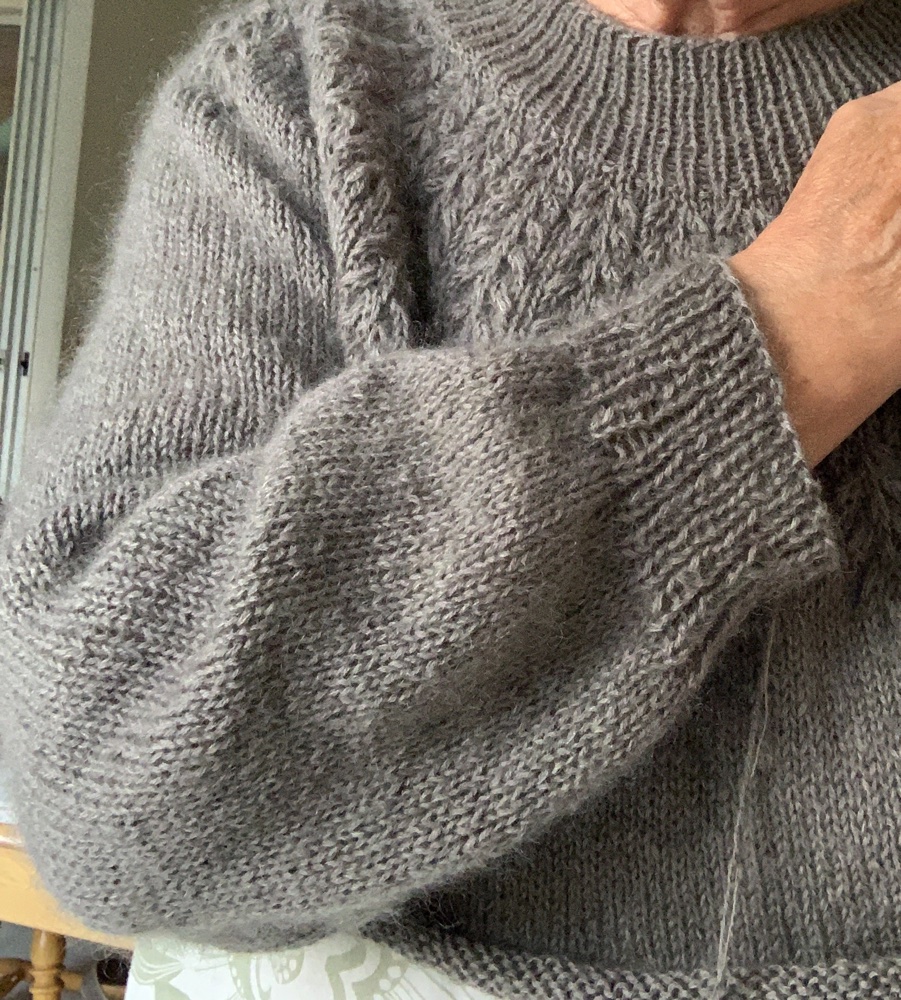
Right sleeve finishedField sweater – not yet washed and blockedLove this comfy neckline
The sleeve ended up being loose, as I’d hoped, and was knit to the length suggested in the pattern. With a wider sleeve, it is possible to wear this over a top.
I did my bind off a little differently with a k1, p1tbl. Someone on Instagram had mentioned doing this as a bind off and I do like it.
Finished and Happy
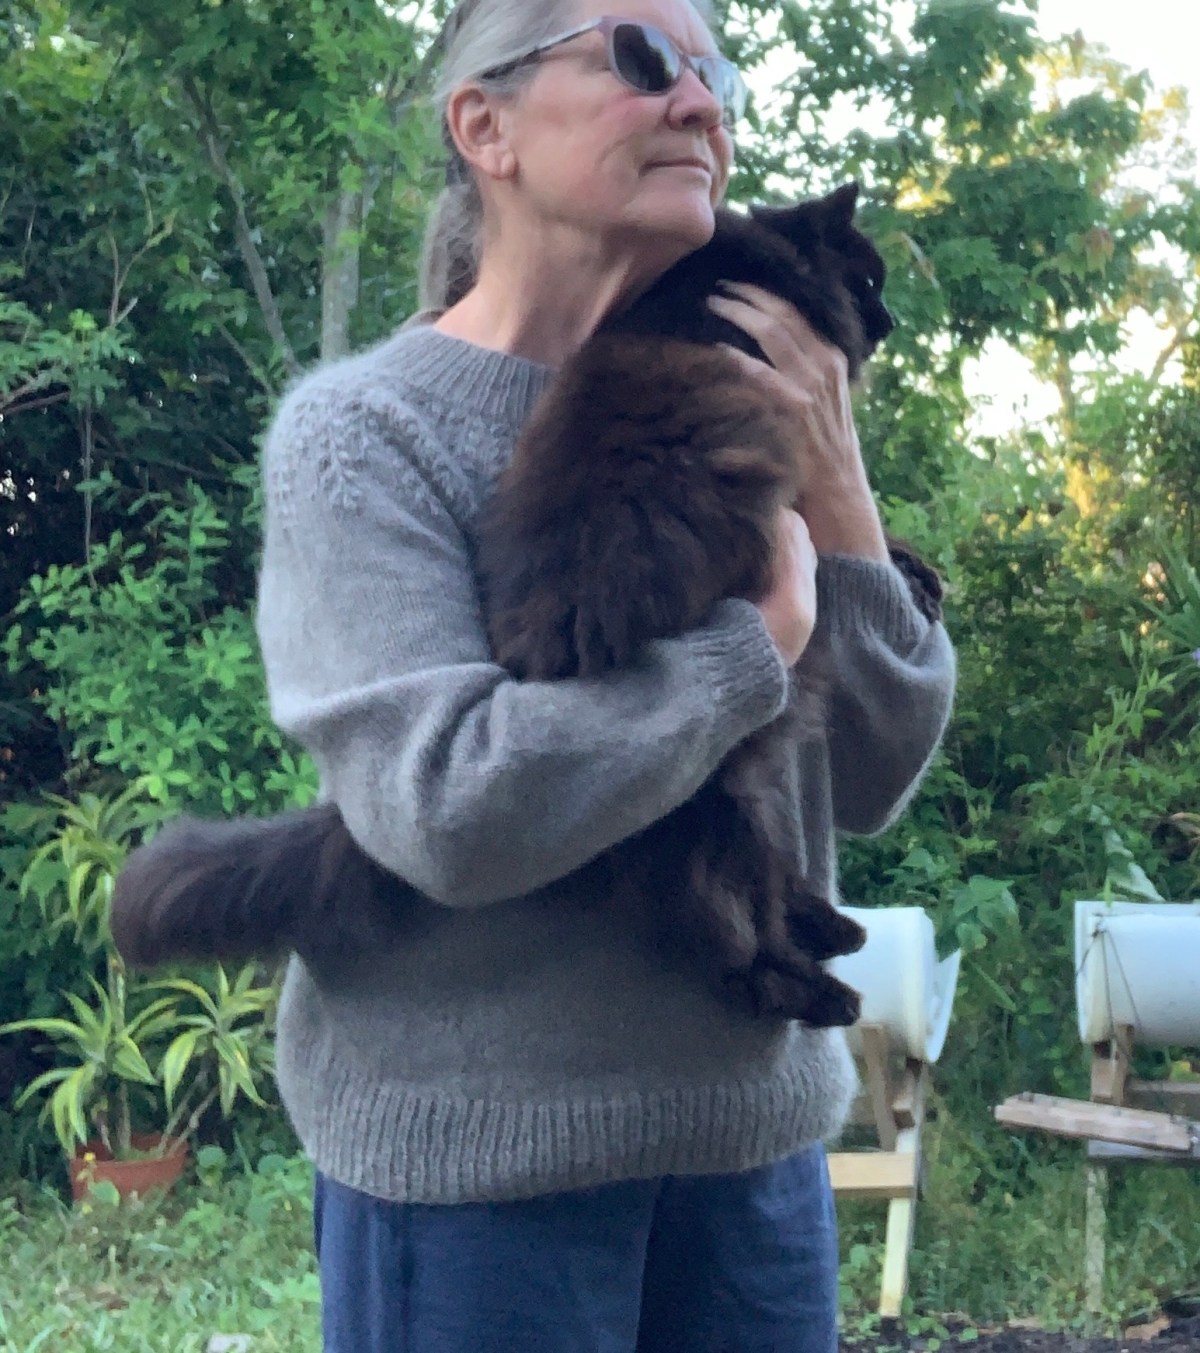
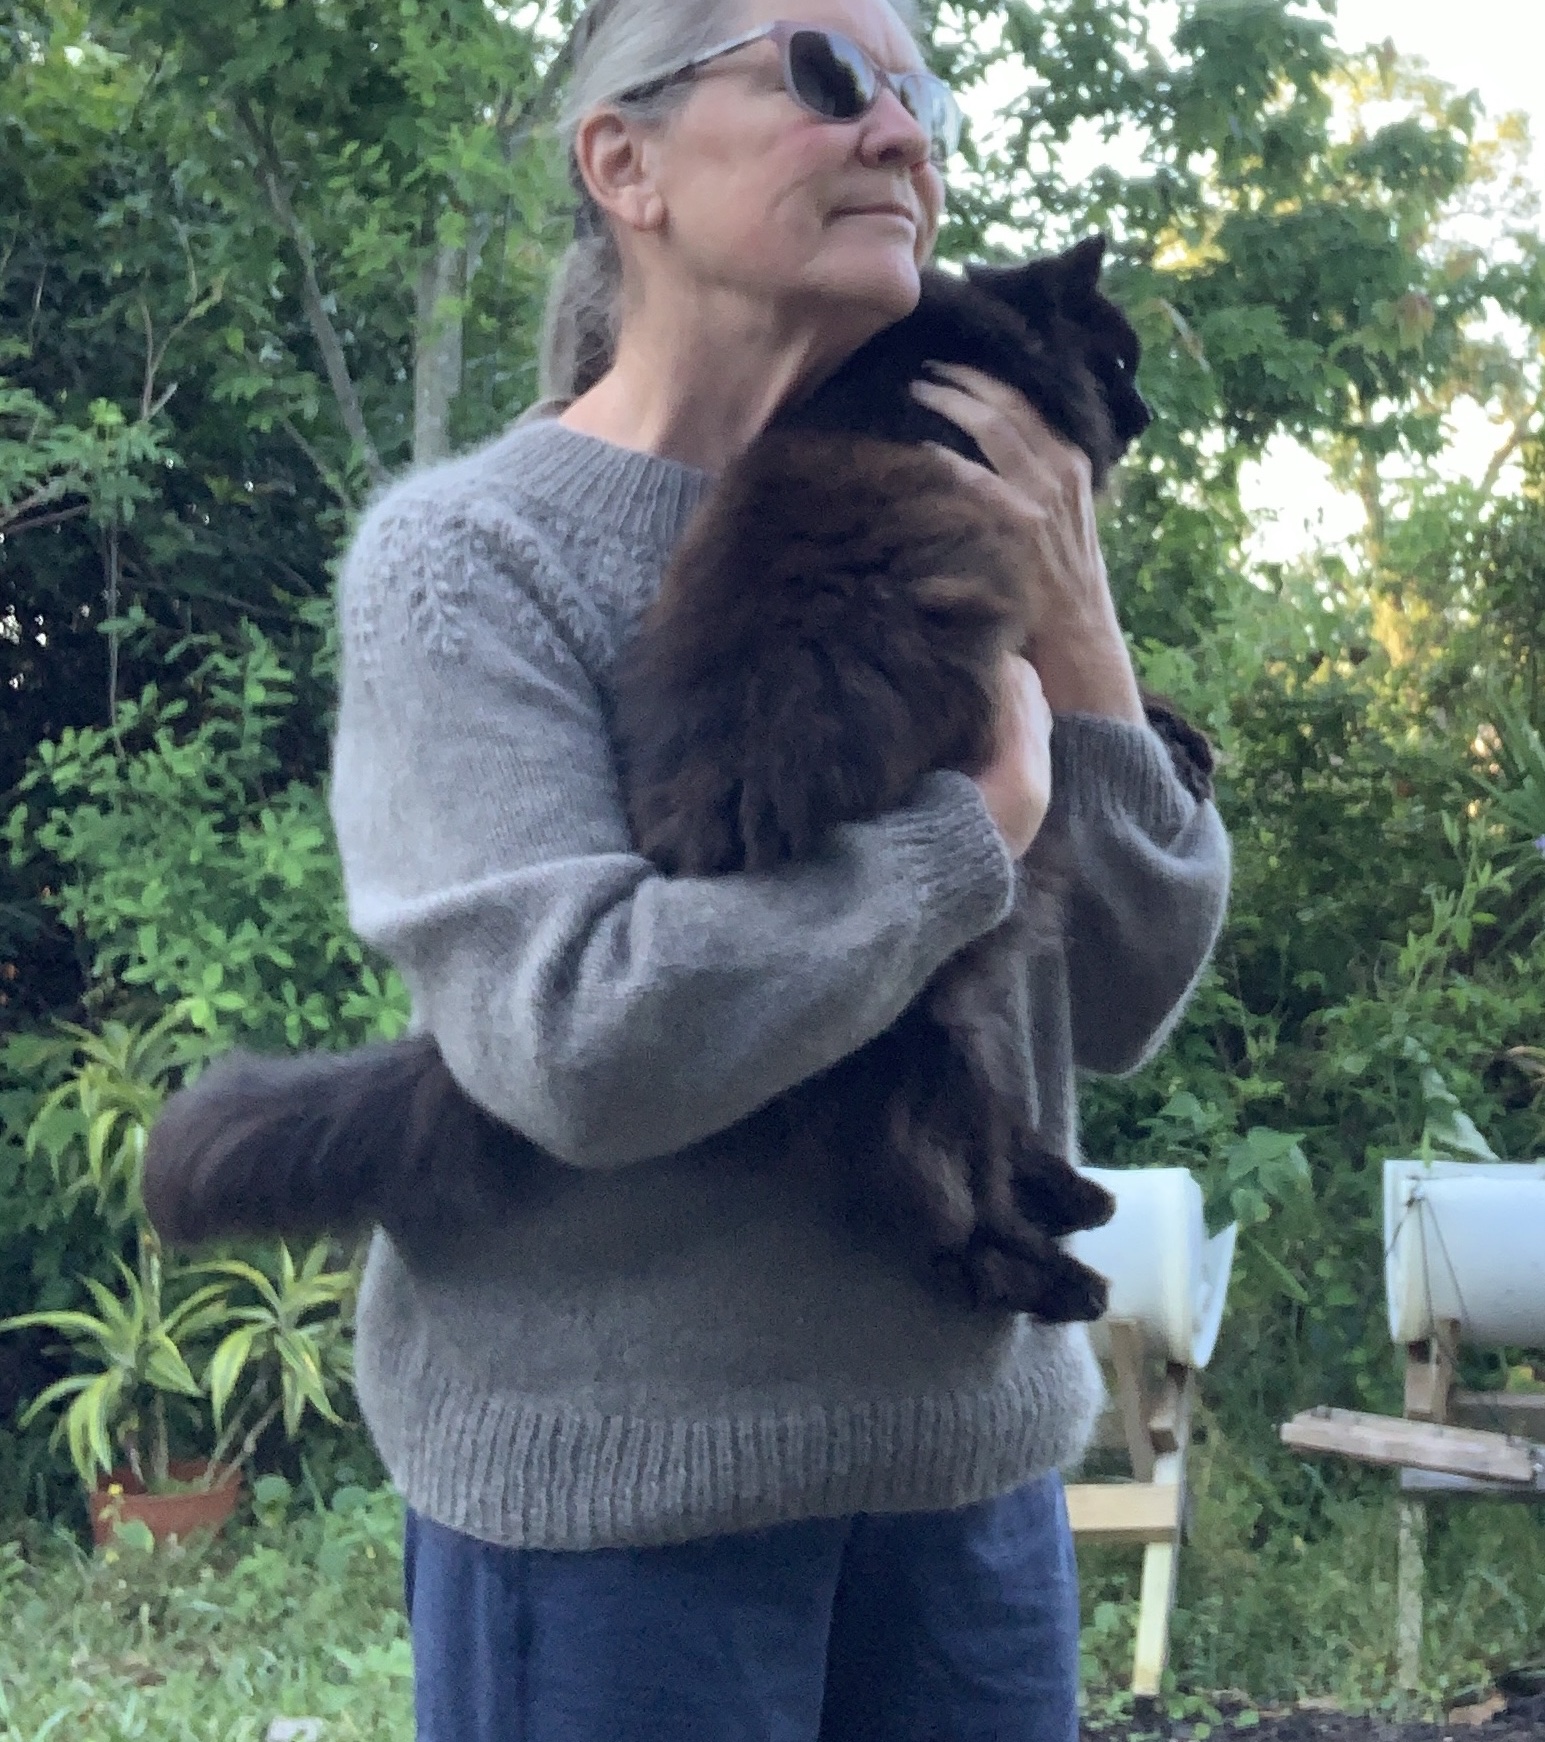
Now, I have finished knitting this pretty pattern. The sweater fits me perfectly. It still needs a wash, but I’m already in love with it. It won’t be the last time I use this yarn.
Ready for a washFontana snuggle
More Knitting Ideas and Stories…
Please keep reading. I love to hear from fellow knitters.
As I begin knitting the Field Sweater pattern, some video tutorials have been very helpful.
The Field Sweater, by Camilla Vad, is pretty popular and very beautiful. The pattern I am knitting is a pullover, but a cardigan pattern is also available.
I’ve continuously seen some form of this sweater all over Instagram. The yoke is textured with “grain” pods, which are made by wrapping the yarn to create a bump. However, it’s not that simple.
This is a top-down knit and I quickly knit the neck ribbing, which is basic. As I read over the grain rounds I became a little confused and went in search of videos.
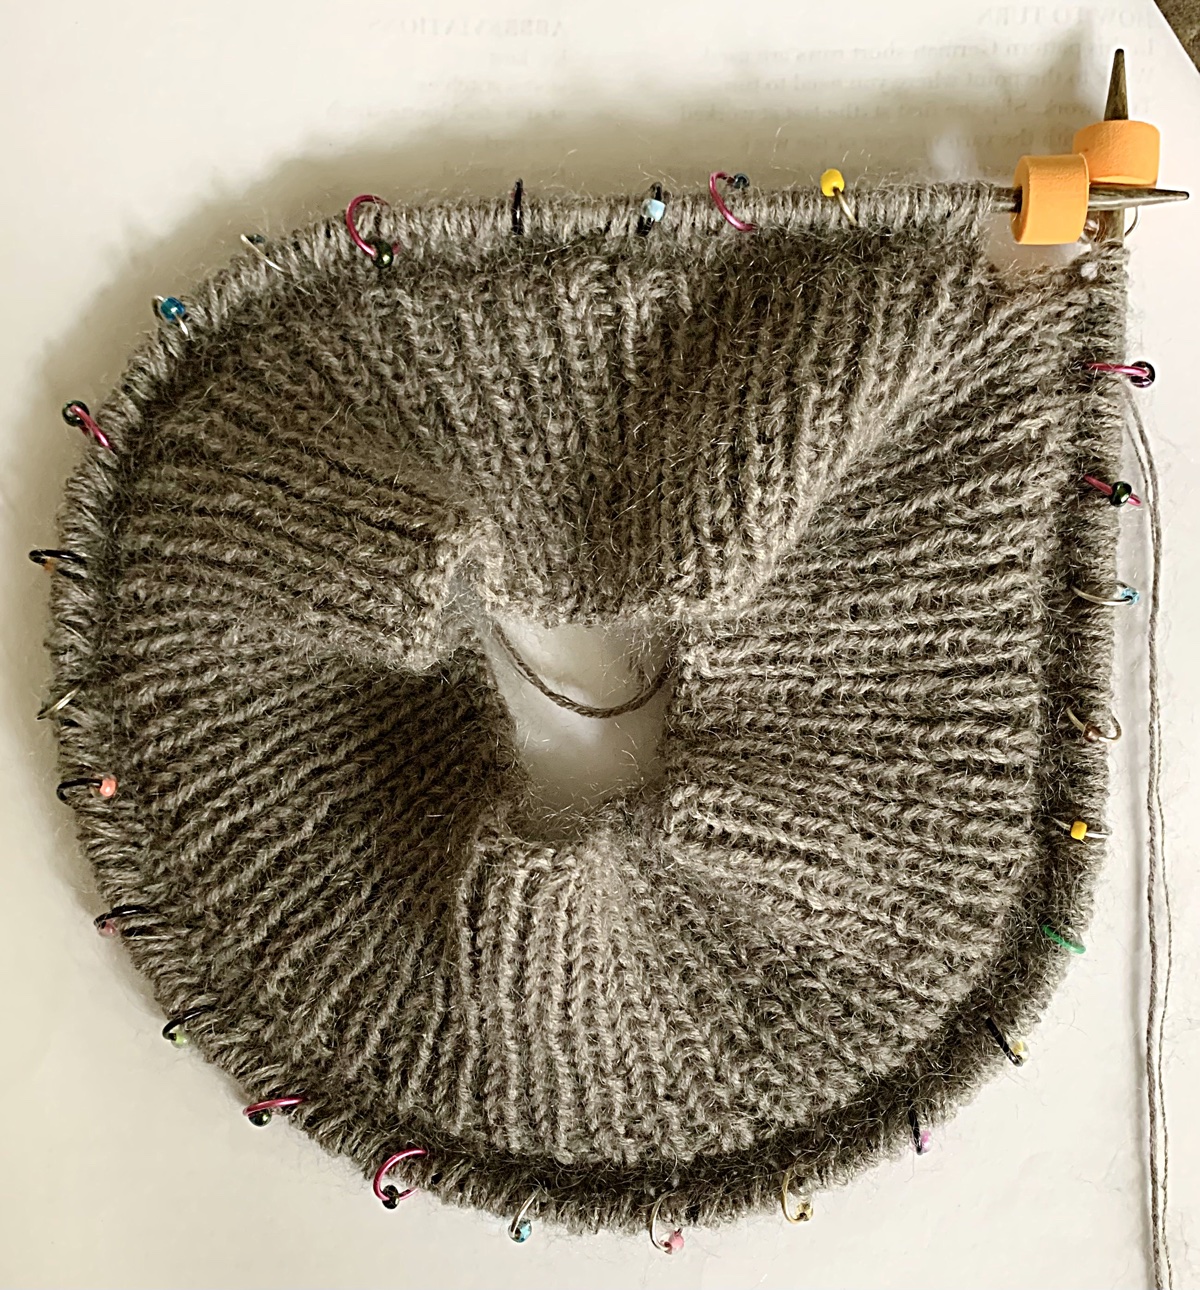
13 round swatch
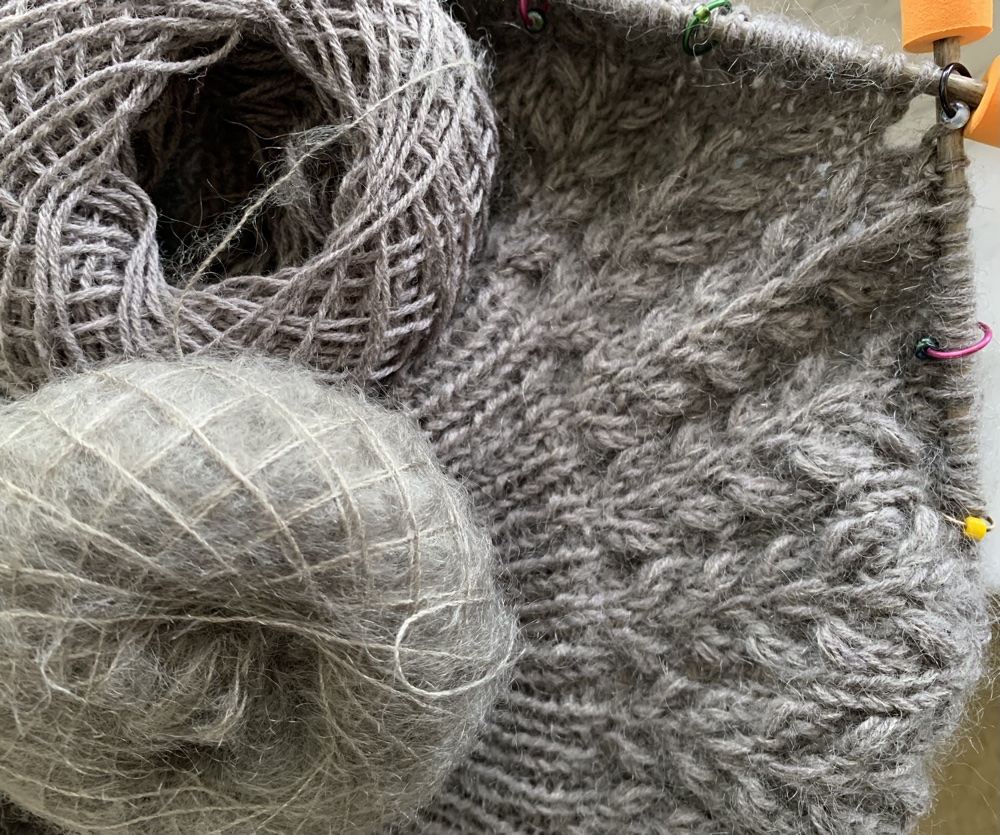
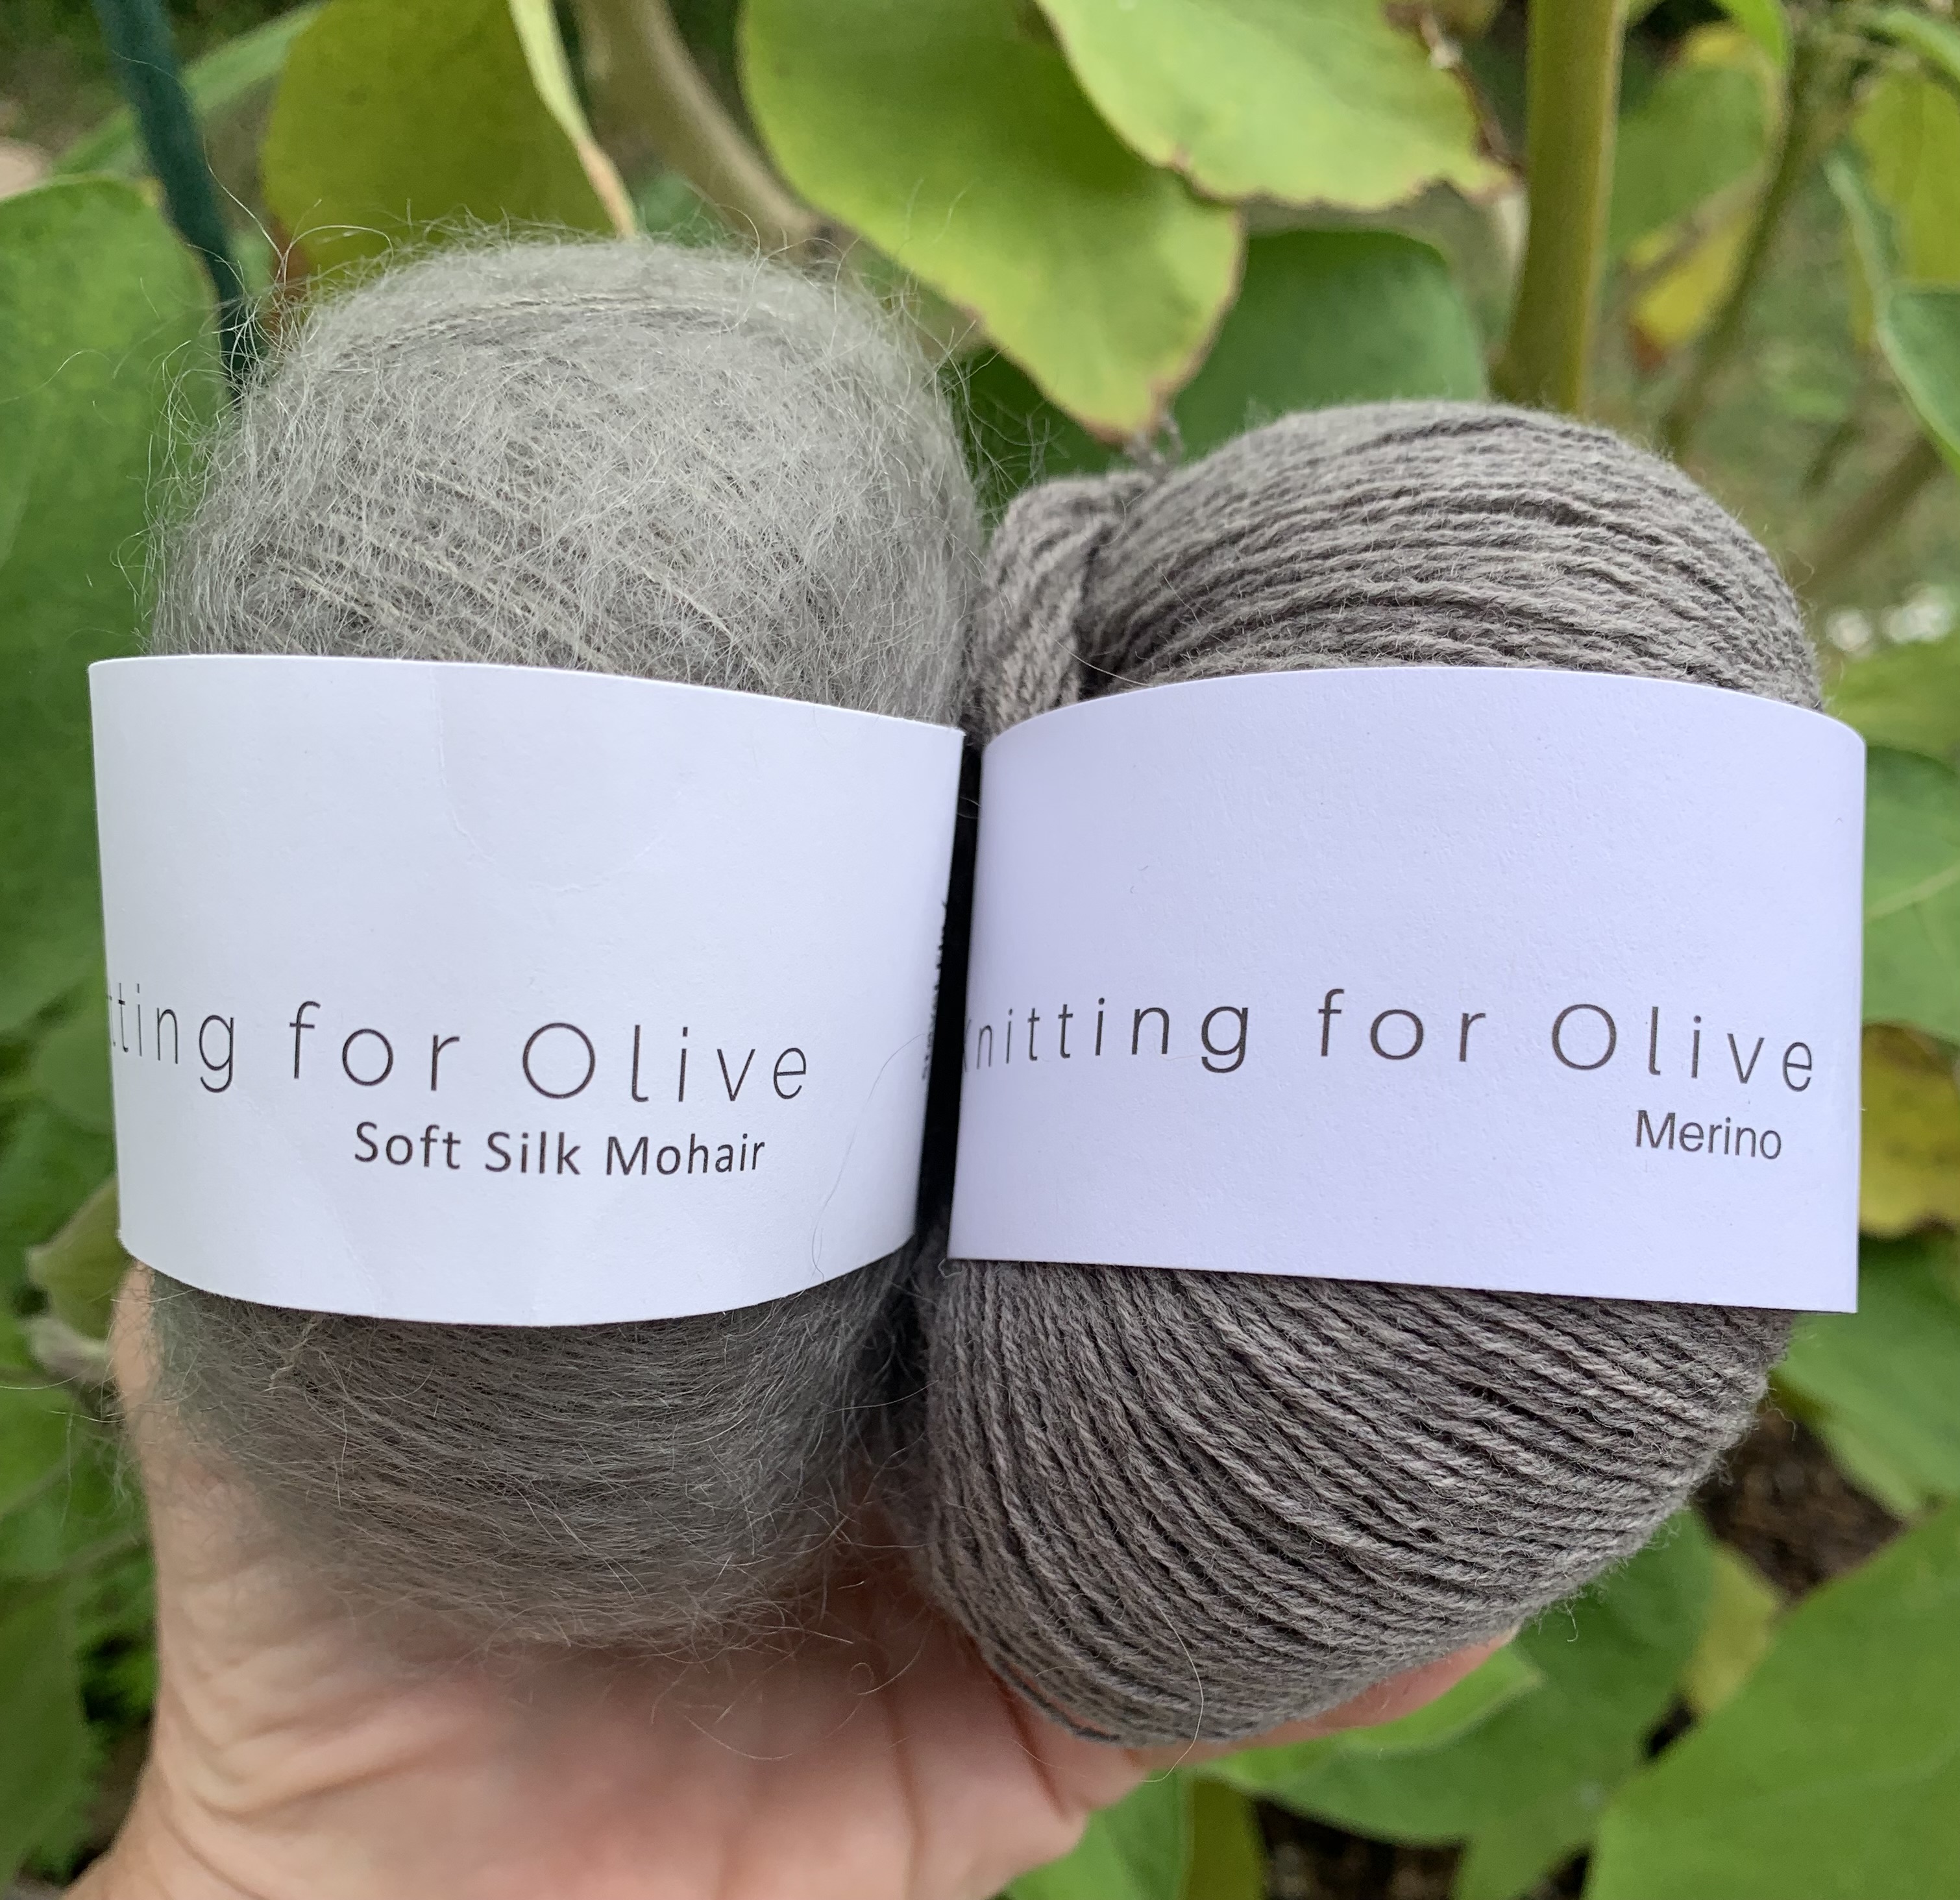
My yarn choice is Knitting For Olive fine merino combined with Soft Silk Mohair (also by Knitting for Olive). Both are in color Dusty Moose, which is a gray brown color. Bought at an end-of-year sale, I’ve never knit with this yarn before. (Now that I have begun the sweater, I absolutely love this yarn.)
Video Help For Knitting the Grain
The Making Grains tutorial by Mostly Knitting is the first one I watched and it is very easy to understand. She covers how to do the rows that make the smaller grain. (There is also a Large Grain to make further down the yoke – she covers that also in another video – Making the Large Grain.)
The grain is a bunch of stitches that make a texture around the yoke. Each grain takes many rows to accomplish. The directions are written out, row by row, in the pattern, with the “grain” part written as “make grain”. Making the Grain and Large Grain is also explained on the first page of the pattern directions. HOWEVER, it is helpful to watch someone actually knit this grain stitch.
After watching the videos I’m questioning whether I want to try these textured stitches using two yarns held together. In fact, I was debating whether or not to knit this sweater at all!
Knit a Little Swatch
The only way to know if I would be able to manage this pattern, while holding two strands of yarn together, (or even one strand) was to try it out. I don’t want to get into the yoke area only to find that I hate what I am attempting, mess it all up, and then be sorry.
So I knit a little swatch which is similar to the one shown in the video. The strands of yarn were carried across the back to mimic knitting in the round. I knit up to Round 13 and did 2 increase rounds.
Cut the strands that are too tightAs knitAs worn
Some of my strands were too tight so I cut them after the swatch was washed. *After knitting this swatch I realized I had accidentally used a smaller needle size than I should have! Chalk it up to bad eyes and tiny print on needles.
Use Stitch Markers
In the video, linked above, the knitter uses stitch markers to separate her two example sections of the grains. As I started the grain sections, I separated each section with markers. It’s a lot of markers, but will help me with this intense knitting project.
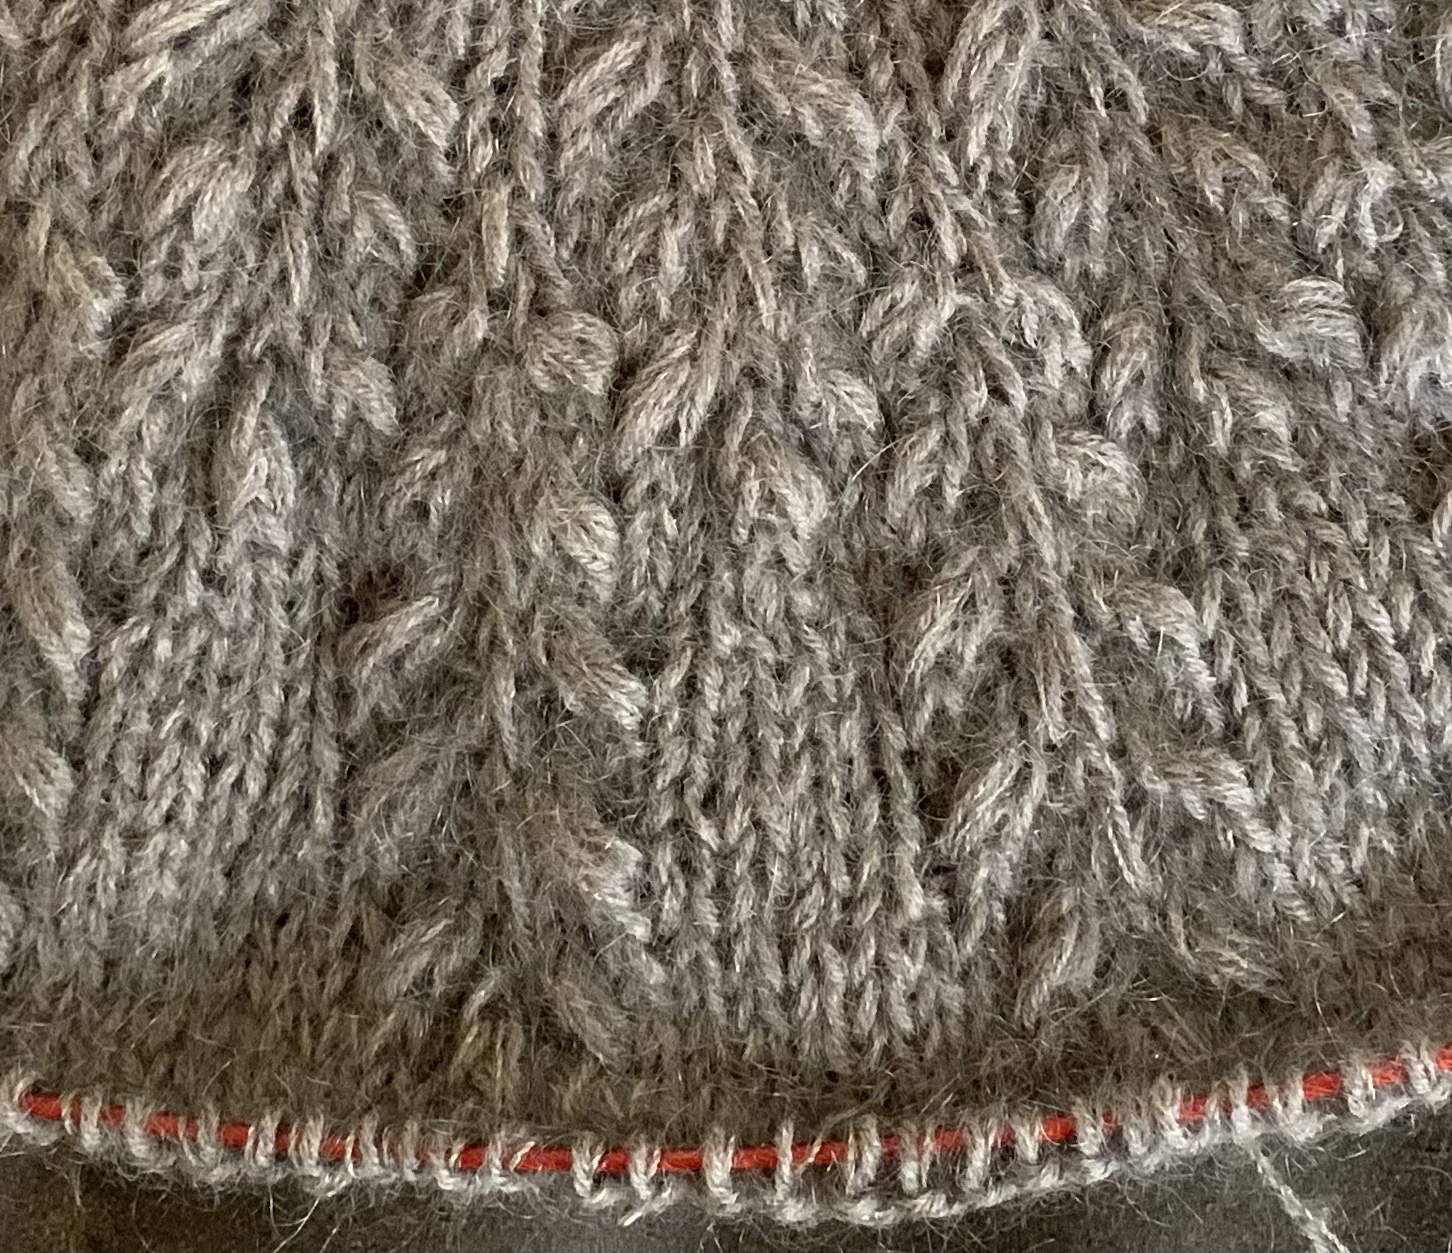
Field Sweater grains on yoke
Knitting Combinations
How do you eat an elephant? One bite at a time.
As we knit, each round will have its own combination of stitches. Some rounds are fairly simple, and some will be a struggle – for me. Using a cable needle and knitting many stitches together, slipping stitches, yarn overs – and other types of increases, are all needed to create this interesting texture. For any semi-experienced knitter, these stitches are not difficult. And that is how I have to look at it going in. Knit one small section at a time and hopefully keep mistakes contained…!!
Many Thanks to Mostly Knitting
Thanks to Mostly Knitting – link goes to her YouTube channel – and her excellent video tutorials that seem to answer the many questions knitters have concerning the Field Sweater pattern.
I think the pattern itself is well written, but in places, not as well explained as it could be. For example; “pick up the strand between the sts and knit it tbl” could be stated as “make one left” – see how it’s done in Mostly Knitting’s video “Round 9 of the Field Sweater“. There are two ways to pick up that strand, and if you do it wrong, you will be making a hole.
So far I’ve seen three different ways that the yoke increases are made. I guess it’s kinda fun to change things up. I like knowing that I can look up a video for help with this intricate knitting project. Onward I knit, with more to come.
Here’s my progress…
Yarn: Knitting for OliveStarting Round 23
When I began the yoke texture (making the grains), I realized that going slowly is key. Having markers for each section is very helpful. As I finished up a section, I would go back and count the stitches to double check. As the yoke expands, the sections do as well, and there is more and more to do for each one.
I began knitting using a wooden Lykke circular needle (24 inches), but switched to metal Chaio Goo (32 inch) in Round 27 (photos below). The metal needle made things much easier!
Making, and Closing, the Large Grain
Later in the yoke: Making the Large Grain is part of Round 27. And closing the grain in round 29. See the easier way to close the grain, or knit all five stitches together, this in this video.
Making the large grain is not as difficult as knitting the five stitches together through the back loop.
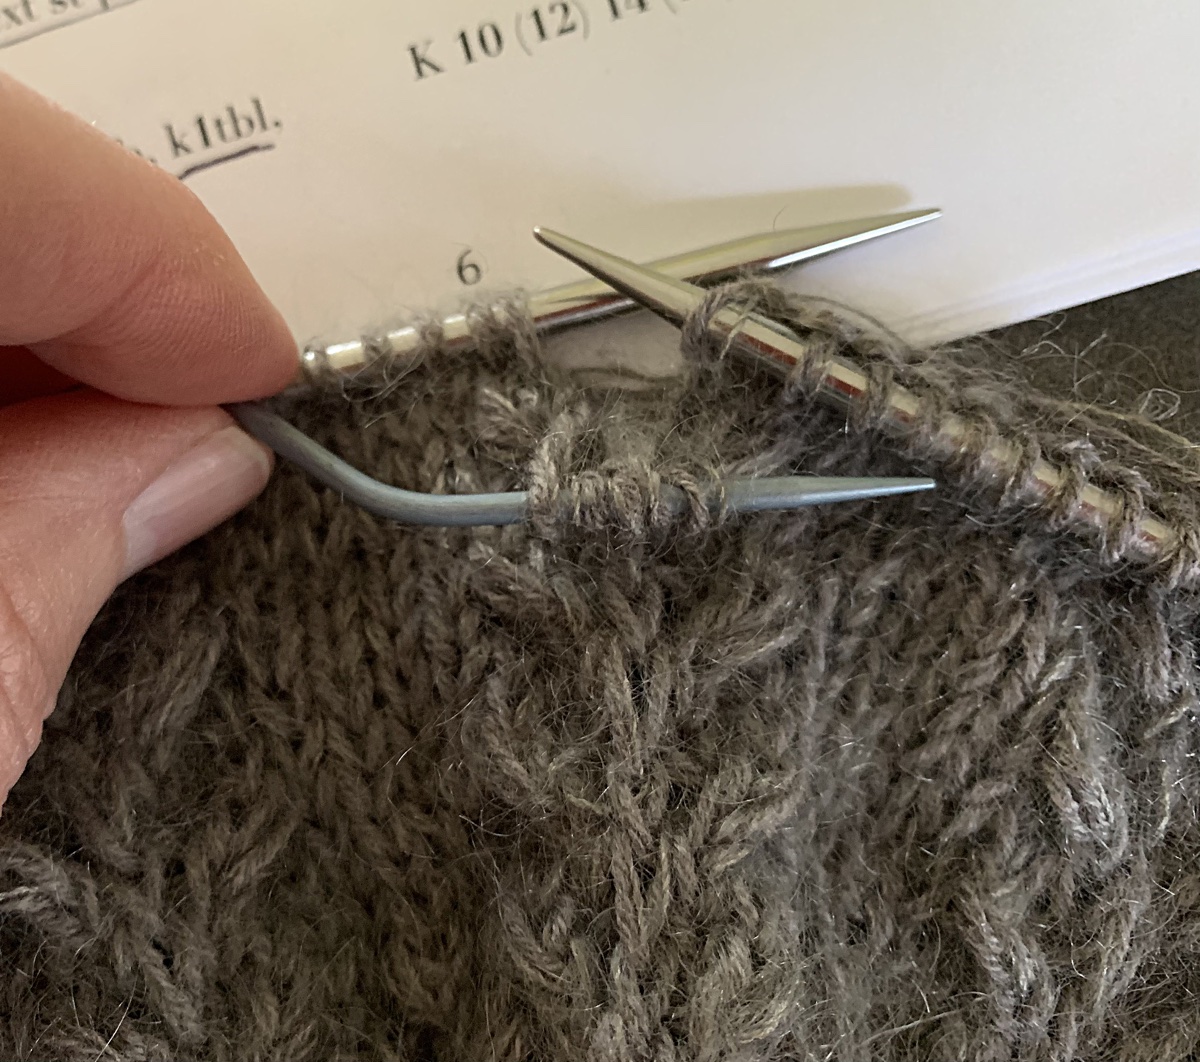
When I got to the last row that completes the Large Grains, I ended up using the cable needle to hold the five stitches that were to be knit through the back loop. The cable needle is smaller than my knitting needles leaving larger loops to pick up.
using cable needle to knit the large grain stitches together
I am enjoying this knitting project. The directions are very good, and completely written out. Having the additional videos is very helpful as well.
Weighing In
On the designer’s page for the Field Sweater page there are 145 comments (at the time of this writing) and many are angry words aimed at the designer for not including much larger sizes. In some opinions, this pattern is not size inclusive.
The measurement goes up to 142 cm , or 55 inches around. That seems pretty inclusive to me. Here’s the thing, if a designer only wants to go to a certain size, it is his/her prerogative. This is HER business. She is in control of her pattern size configurations. I’ve never written a pattern, but I’m sure a lot of math and figuring goes into creating the various sizes. Just like politics, could we please leave the size inclusive bickering out of knitting?