Beginning My House Renovations, Part Two

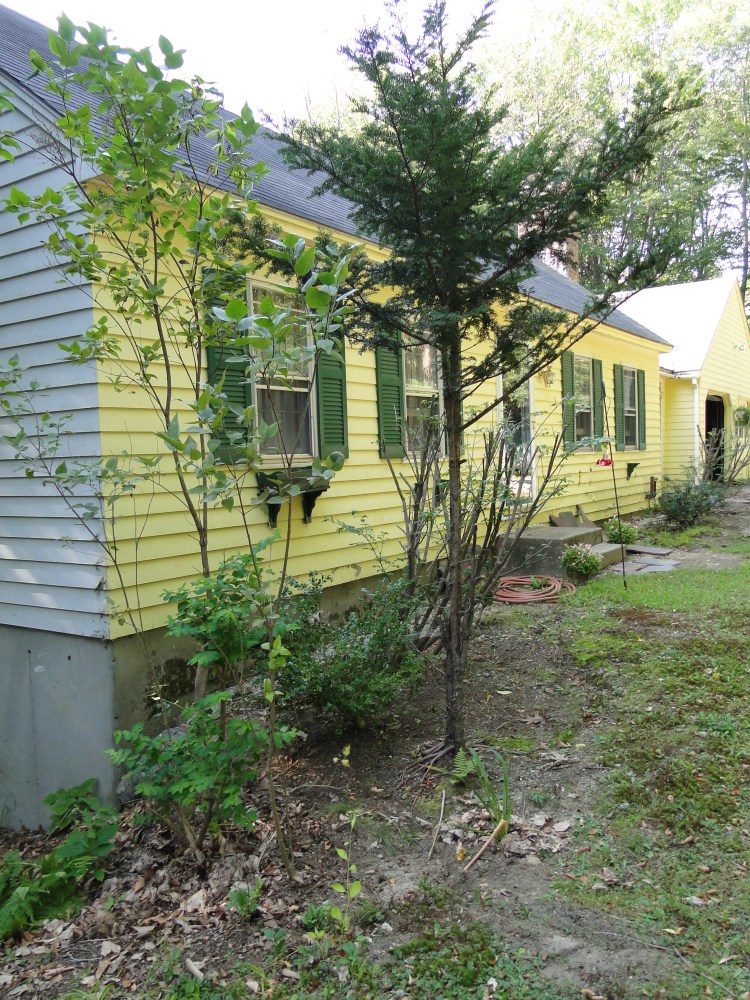
Shortly after I moved into the yellow house (June 2011) I began searching for someone to fix it for me. I was new to the area, and new to the state (see my first post on this subject if you haven’t already read it). I knew almost no one. I took a chance on a young man named Brandon who had a fairly new siding company. He said he would also put in new windows. He was easy to work with and ended up doing a nice job.

Replacing the Siding

Brandon began by removing the old clapboard siding on the front of the house which had been absorbing water for a while. Beneath it the wood was rotting and had to be replaced.

My house with the old clapboard siding removed to show rotted wood.
My house with the old clapboard siding removed
Rotting wood on the front of the house beneath one of the old windows.
Old rotted wood on the outside of the house

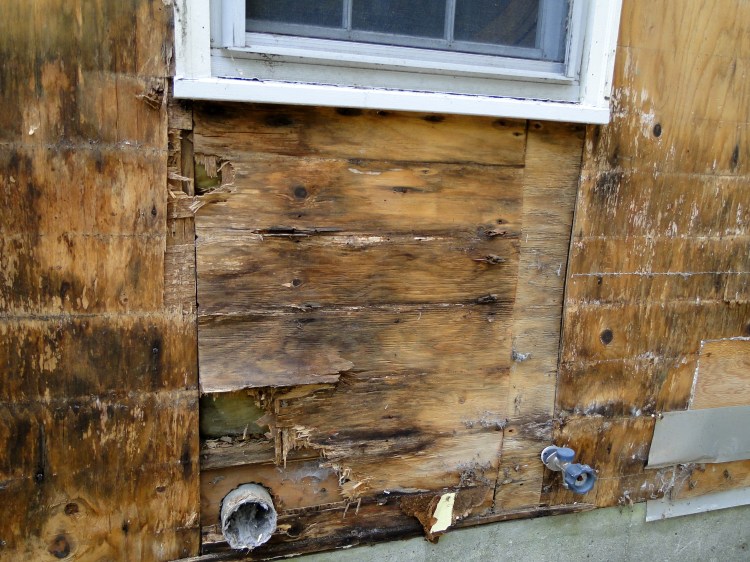
In the photo below you can see how the siding was bad and I had to cover the cement steps with plastic because there was a leak that went down into the basement when it rained. When Brandon replaced the siding, he addressed and fixed this problem.

Damaged front door
Unusable front door – covered with tarp when it rains

Working on The Garage

While this scaffolding was up, we had a freak, early season snowstorm! It was Halloween and in New Hampshire where I lived we got tons of snow. Further south where Brandon lived they got lots of ice. Because his power was out and my yard was buried, the renovations were put on hold.

scaffolding
Scaffolding for siding the garage area

Below is a photo of that freak snowstorm at Halloween. Many trees had still not lost their leaves at the end of October like this oak in my front yard.

fall snow storm
October Snowfall 2011

The only good thing about getting snow early in the season is that it melts away quickly.

At some point while Brandon was working on siding the front of the house I hired some guys to replace my garage doors. Elite Doors was recommended to me by a contractor who was working on my little deck at the time. They came right out and when I had a problem with something later on (can’t remember what), and fixed it at no charge. They really were very nice and capable guys.

As you can see in the photo below there were obvious signs that the previous owners had tried to keep water out of the garage by building a little ramp out of some black stuff. I also had water problems in winter, but that is another story.

Old garage doors
The old garage doors and old siding

Brandon added a vent to the top of the garage for heat to escape. Once the siding was done and the new doors on the place was looking good!

New garage doors and siding
New garage doors and new siding done!

Front of House, Before and After

Once the work was done, I had new siding on the front and sides of the house. Four widows on the front were replaced with double-hung, easy-to-clean windows and new screens. White shutters took the place of the green. (That yellow and green combo was carried over into the upstairs bathroom.)

My house as it looked before the replacement siding, windows and shutters.
Front of house before renovations
New siding, windows and shutters
New siding, windows and shutters complete

My Bathroom Fixer Upper, Before and After

bathroom renovation before
My Bathroom Before

I sometimes watch the show Fixer Upper with Jo and Chip, and it always amazes me at how much they can do in such a short amount of time. Of course they don’t do it alone, they have lots of help. It’s a tv show. The houses are so affordable, and they end up looking so darn nice – it almost makes me want to move to Texas.  Almost.

Jo’s tagline is “are you brave enough to take on a fixer upper?” And my answer to that is, “Did I have a choice?” Not only did I buy a fixer upper, but like those of us living in the real world, I had no team of contractors (or a handyman husband) to make the fixes. And, I had to live in the disgusting house while the work was slowly completed as I had the money to hire people to fix it.  I did what was most necessary, one job at a time.   I lived in a cold and leaky house and was just happy to finally have my own home.

This summer I had my own little bathroom renovation done. My daughter’s boyfriend is a carpenter, and he suggested putting beadboard on my bathroom walls. As you can see from the before photos the walls had ugly paneling on the lower half.  This is nowhere near being a big bathroom renovation, but it’s an example of what a big difference a small change can make.

The wall next to the toilet was covered with duct tape (that was my own handy fix!) after the plumber had to cut it to access the tub / shower plumbing right after I moved in.  There was old, gold and white tile on the walls behind the paneling.  That big green shelf came with the house.  In fact my house had an all-over, dark green and bright yellow palette.  Hideous!
As you can see, the bathroom needed help in the worst way. (By the way, I’d already had the tub re-finished after I moved in. Talk about disgusting.)

bathroom before and after pictures
Modern beadboard replaces the ugly paneling, and a new shelf provides storage.

Scott did a wonderful job on my bathroom walls. He had to remove the toilet for the weeks it took to finish the project. He even took off the heater and stripped off the layers of gross paint, and I then repainted it white. As the beadboard went up, and the new trim was added, I painted it.  My daughter and I painted the upper part of the walls a pretty blue color.  Then I painted a little bookcase to put next to the sink as additional storage for towels.  As you can see, the green shelf is gone.  It’s been replaced with an over-the-toilet shelf that was in the upstairs bathroom.

The bathroom is not done yet. Soon it will have a brand new window! Then I will put up a new window shade and my bathroom fixer upper will be complete. It’s not perfect, but it’s so much better than what it was.

Yes, Jo, I am brave enough.

bathroom renovation before and after
New beadboard, blue paint, and towel & tp holder, gave my bathroom a cleaner look.

Before and After, New Siding, Home Makeover

My new yellow house fixer-upper
My new house, as it looked before I moved in.

I haven’t been good at keeping photos coming of my new home makeover, but here is the final picture (below) and you can see the changes that have been made to the foreclosure I bought this past summer.

The old, dark yellow clapboard was rotted and gross – as you can see in the photo above that was taken in May this year. Since I couldn’t afford to have the entire back of the house sided just yet, I opted to keep the yellow color but chose a lighter shade for the new siding. The left side wall had never been painted to match the rest of the house, so now it does match.

Instead of adding green shutters (the old ones were crumbling), I chose neutral white, which may look a bit dull in comparison, but will, in the end, look nice once I have the gardens planted along the front. I’m trying to look at the big picture and I know it will take years to accomplish, but for now I know that my house won’t rot away beneath me.

As you can see, our 2 feet of snow has pretty much melted away! Yay…

The new siding job – removing the old from the front and both sides – and replacing the front door and 4 windows in the front, took 2 weeks. The guys lost one day to power outages and the freak snow storm, but they were here rain or shine otherwise and I am completely happy with their work. I would  recommend “Branchas Siding” (now called ProVision Exteriors), to anyone.

after house renovations completed
The “after” photo of my home renovations.