
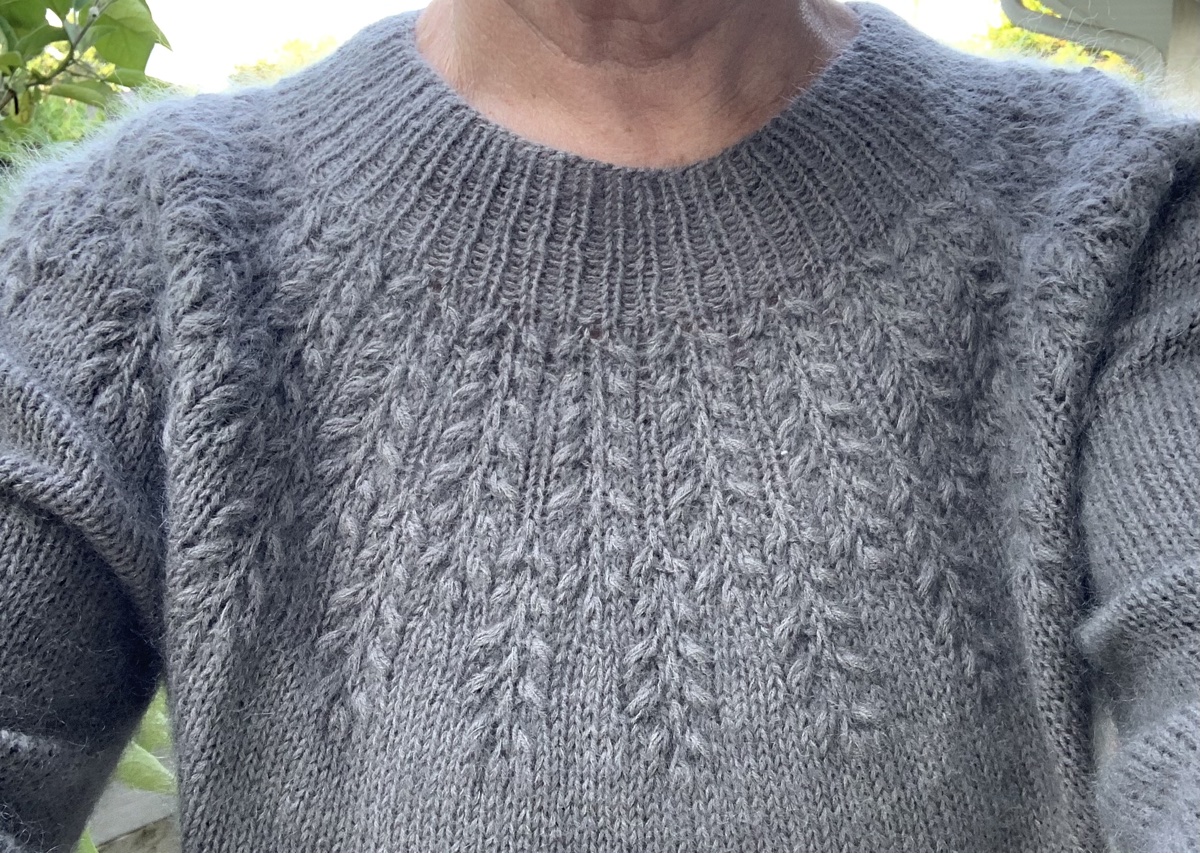
The Field Sweater knitting pattern has a beautiful textured yoke. The “grains” can be a bit daunting to knit, at first. A kind knitter has shared informational tutorials on her YouTube channel, and these helped me a lot. I wrote a whole page about beginning this sweater project and knitting the grains.
The Pattern
I found the pattern to be very easy to follow, but a few things were not as well explained as they could have been. The description of the M1L increase was different, but each row of the entire grain section was written out. I did find the grains easier to knit after watching the videos that were made by another knitter.
Changes
The only change made by me, was to knit a wider sleeve. Once the sleeve stitches were picked up, I decreased only enough to come to the 70 stitches that begin the top of the sleeve, for the size I knit.
I continued knitting, using a 16 inch circular needle, all the way to the cuff. For the row before the ribbing began, I decreased to the suggested number (50) for the cuff.
Sleeve Decrease Round
Just before the cuff ribbing, I did one round and decreased from 70 to 50 stitches. After much contemplation (and exasperation!)… I finally figured it out and did the round like this:
To decrease from 70 to 50 stitches all at once: *k1,k2tog,k1,k2tog,k1 – Repeat to end of row.
Hey, I have come across this page / site by Mimi Codd where she shares a calculator for this very thing! You can try it out HERE. In fact when I put the numbers in (70 stitches to decrease to 50) this is what I get: K5, k2tog, [k1, k2tog] until last 6 stitches, K6. This would have saved me loads of time. I’m linking it in my top of page menu under knitting.
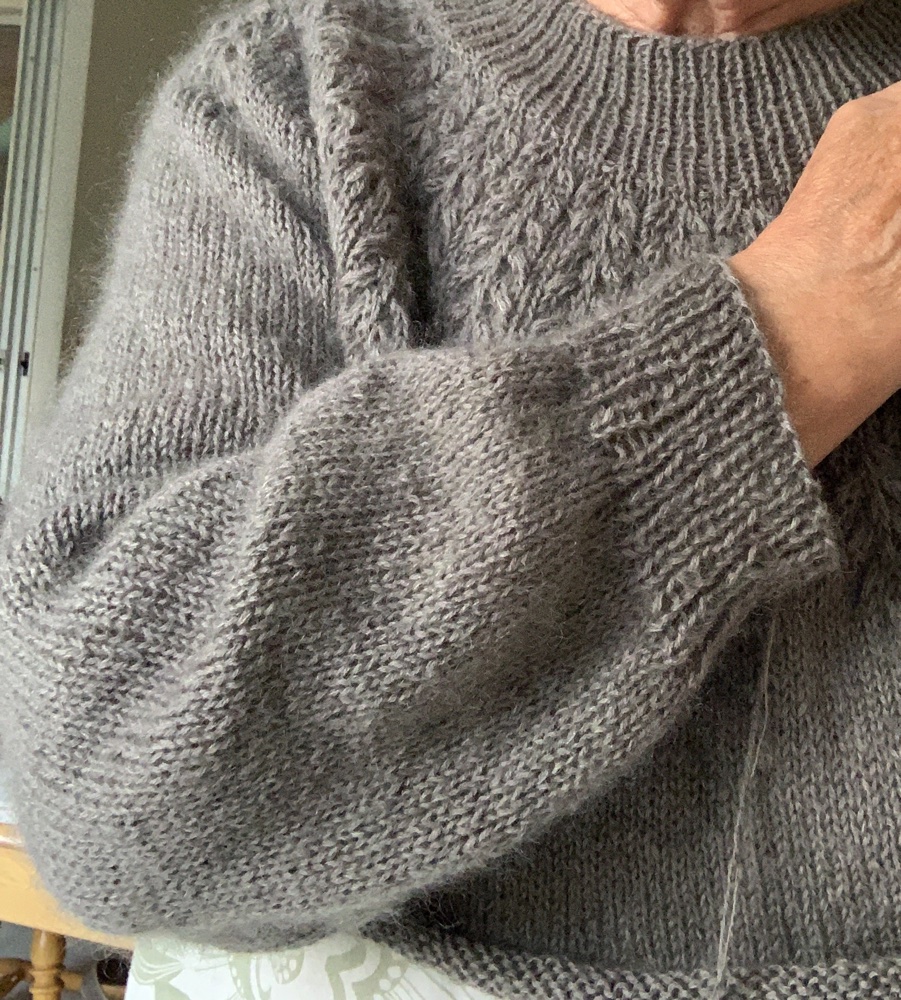


The sleeve ended up being loose, as I’d hoped, and was knit to the length suggested in the pattern. With a wider sleeve, it is possible to wear this over a top.
I did my bind off a little differently with a k1, p1tbl. Someone on Instagram had mentioned doing this as a bind off and I do like it.
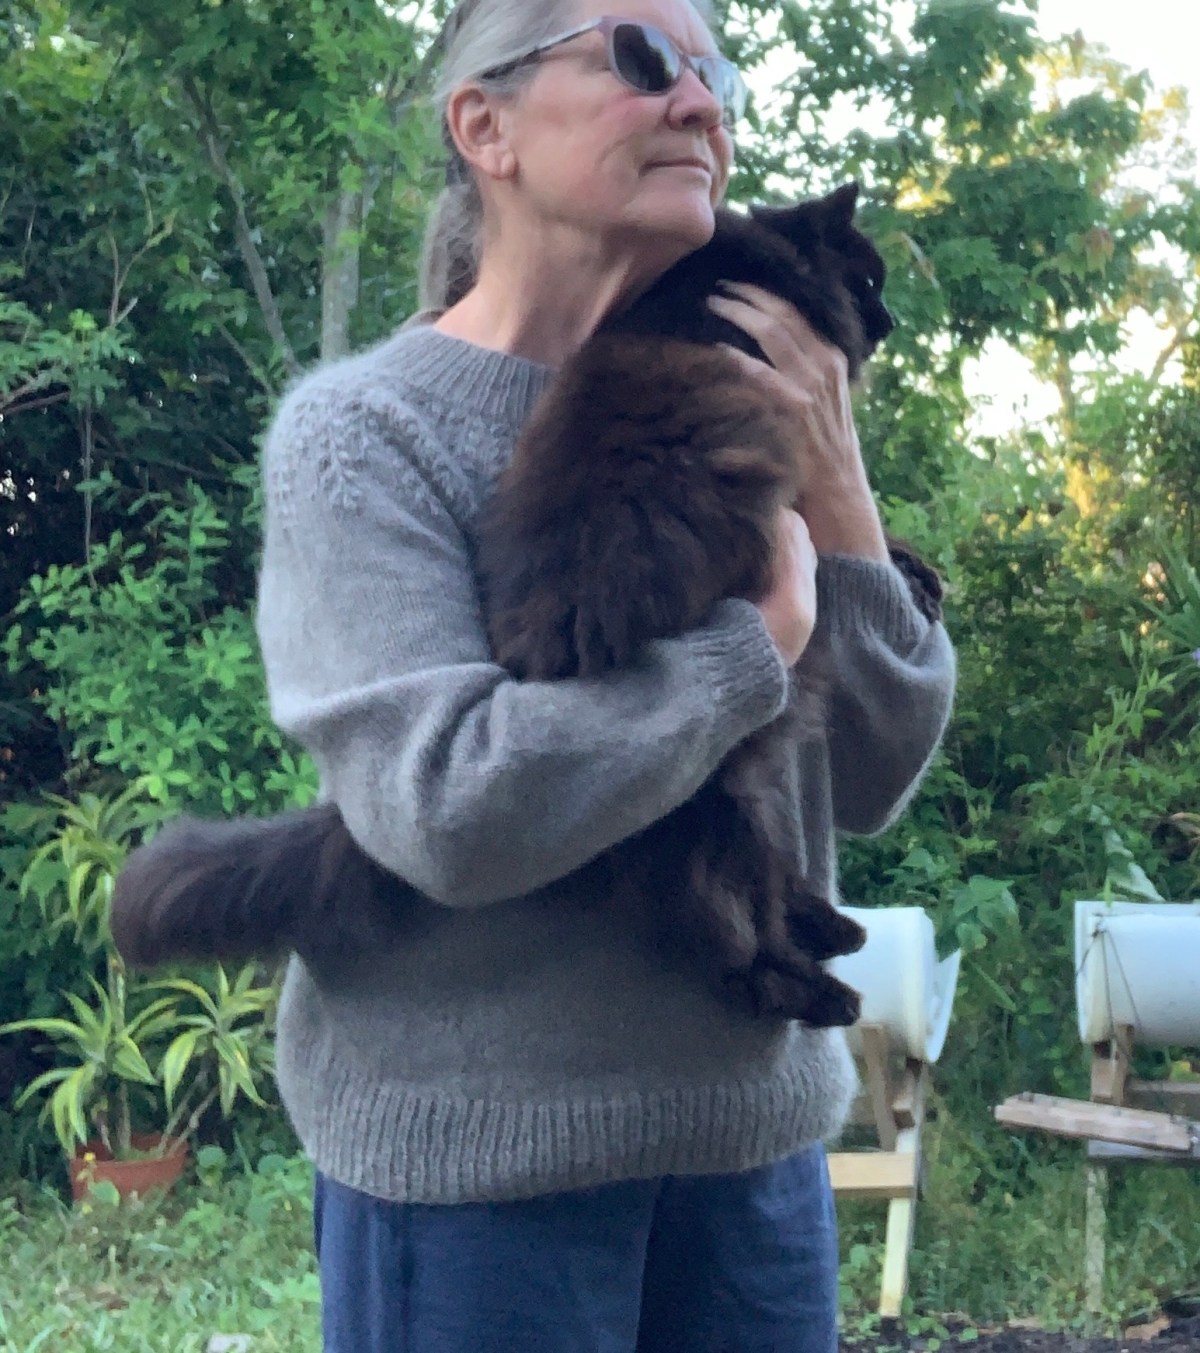
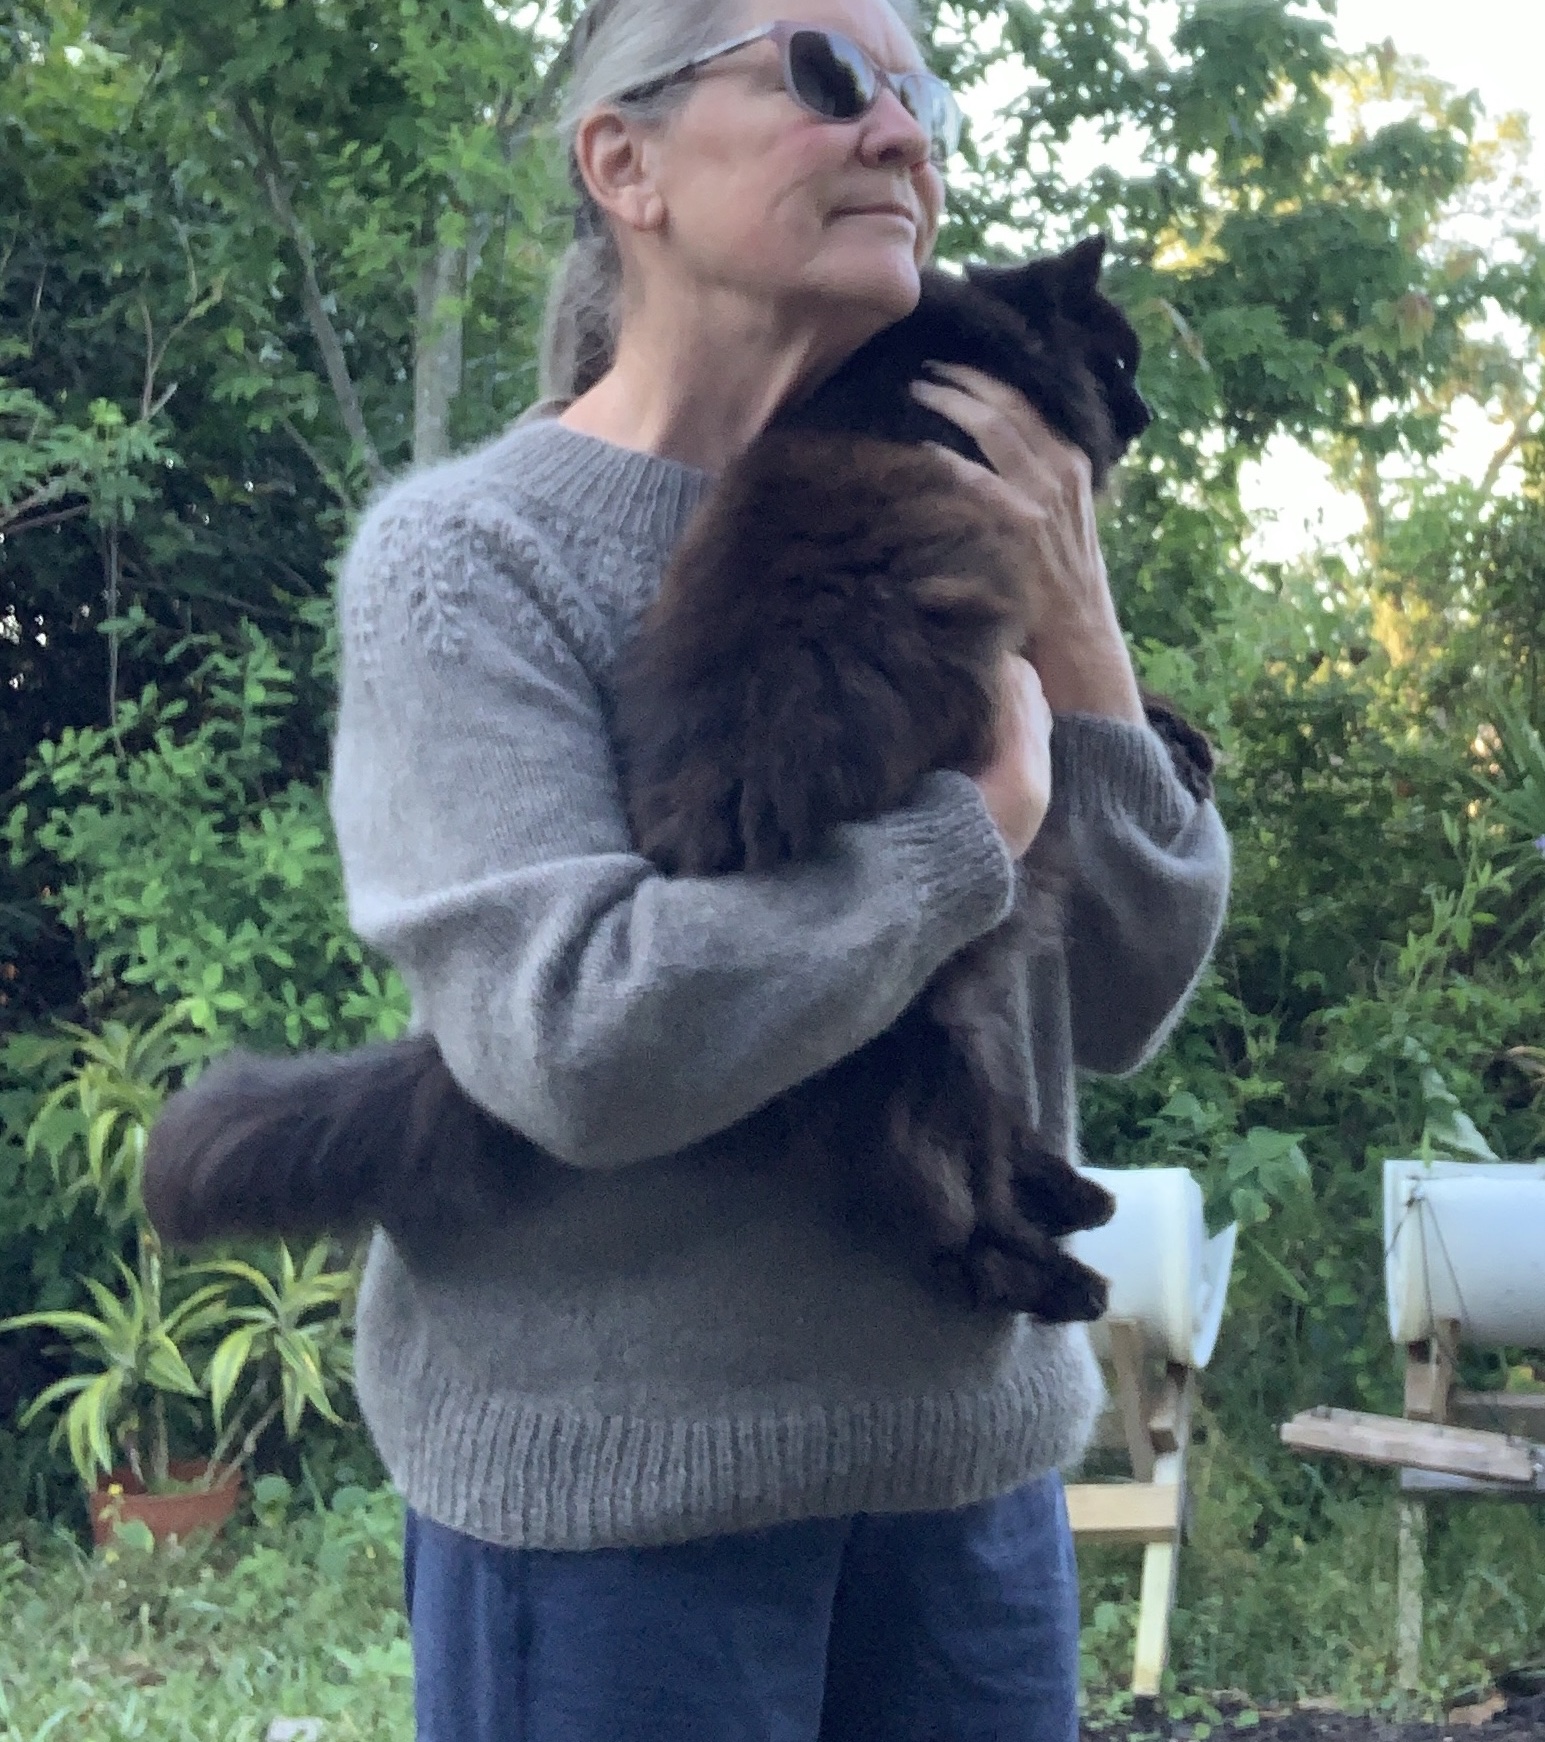
Finished and Happy
Now, I have finished knitting this pretty pattern. The sweater fits me perfectly. It still needs a wash, but I’m already in love with it. It won’t be the last time I use this yarn.


More Knitting Ideas and Stories…
Please keep reading. I love to hear from fellow knitters.


Something went wrong. Please refresh the page and/or try again.


Did you break the yarn after splitting for sleeves and rejoin at the armpit per the instructions? I found no reason to since there was no body shaping, so continuing BOR at the center back and I think I’ll be fine.
LikeLiked by 1 person
Honestly, I can’t remember. I do try to not break yarn if I don’t have to. But often I will knit sleeves first and the body last. I say whatever makes sense, do it.
LikeLike