

I knew nothing about lifelines in knitting until not long ago. I thought, “what a great idea”. Often I will not attempt a difficult pattern simply because I know I will mess it up eventually, and then what?
Now I know that I will not have to undo all my hard work and start over completely – if I do the lifeline correctly.
The Craftsy site has a page about using lifelines, but I have some other information to add.
First of all, choose a place where going back to pick up the stitches will actually work.
I’m not a very experienced knitter, but I am trying to get better by trying new and bigger projects. I ordered some beautiful “Spring Clover Green” fingering yarn from Miss Babs with the intention of making a rectangular shawl.
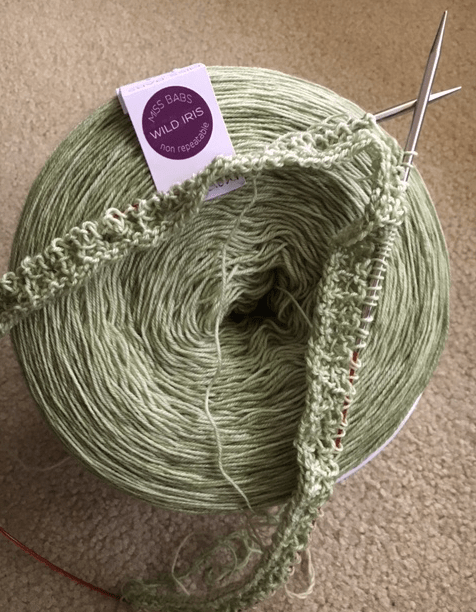
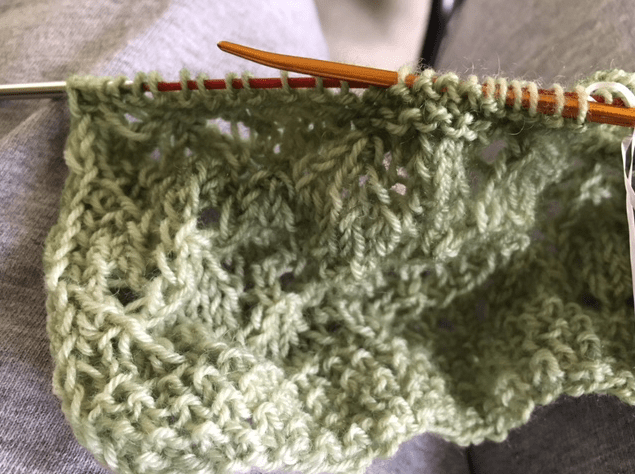
For this shawl project (which is a pattern mostly made up by me, and I will share at some point) I am following a diamond stitch pattern which goes on for 12 rows. I decided to add a lifeline after the 12th row.
Sure enough, I messed up about 4 rows later, so I decided to go back – rip out stitches to the lifeline – and go from there.
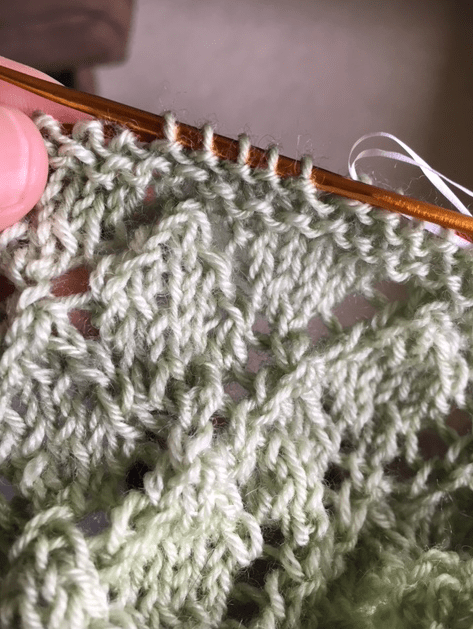
NOT SO EASILY DONE…. The stitches at my lifeline row were so intertwined that I couldn’t follow the lifeline and pick up the stitches….! I got a tiny crochet hook to try to pull the stitches into place and painstakingly edged my knitting needle along the row. It took forever! I nearly threw the entire project into the front yard. The cost of all that nice yarn stopped me…..
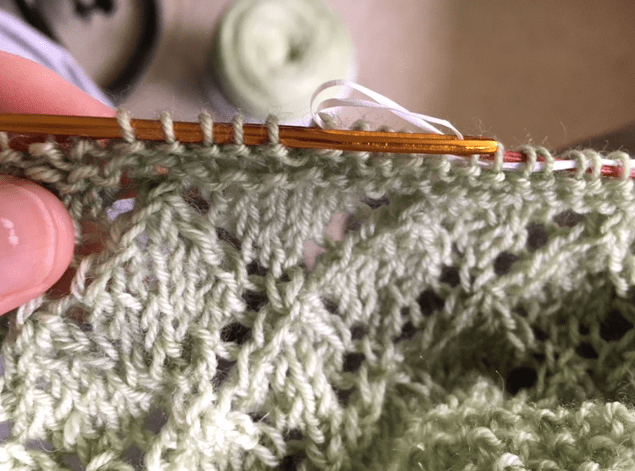
The row was such a mess I couldn’t continue the pattern from where I left off, so I did a couple rows of garter stitch and then added a new lifeline. Because this lifeline is on a continuous knit stitch, it should be easier to pick up the stitches if I have to go back. I’ll move the lifeline up as I get further along in the project.
It messed up my pattern, but the diamond design will now be separated by a few rows of garter stitch.
Dental floss is one of the suggestions to use when creating a lifeline. Whatever you use it needs to be easy to see and easy to remove. And make a note as to where you placed the lifeline so you can continue the pattern accordingly. On the first row above the lifeline simply ignore it and knit the row as the pattern says. Leave it there until you get further along. Pull out the floss or yarn and create a new lifeline.
Be sure the yarn or floss is long enough to hang out both ends of the needle so you don’t lose it while knitting.
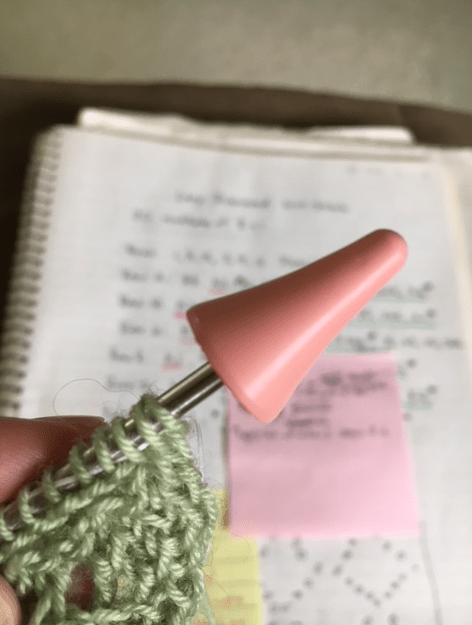
Have some of these needle tip covers for to prevent stitches from slipping off. You’ll get a lot of use out of them, believe me.
I have continued on with this pattern but I am still making mistakes. Since I plan to give this shawl to my daughter, or keep it for myself, I may keep going and see how it goes. I’ve put so much work into it already and I love the yarn color. Once it is blocked, I think it will look pretty. I have to learn about blocking.


3 thoughts on “My Experience With Using a Lifeline While Knitting”