On January 24th I began knitting the Cobblestone Cardigan pattern by Jarod Flood. It is rated at two stars out of five for difficulty, so should be an easy knitting project.
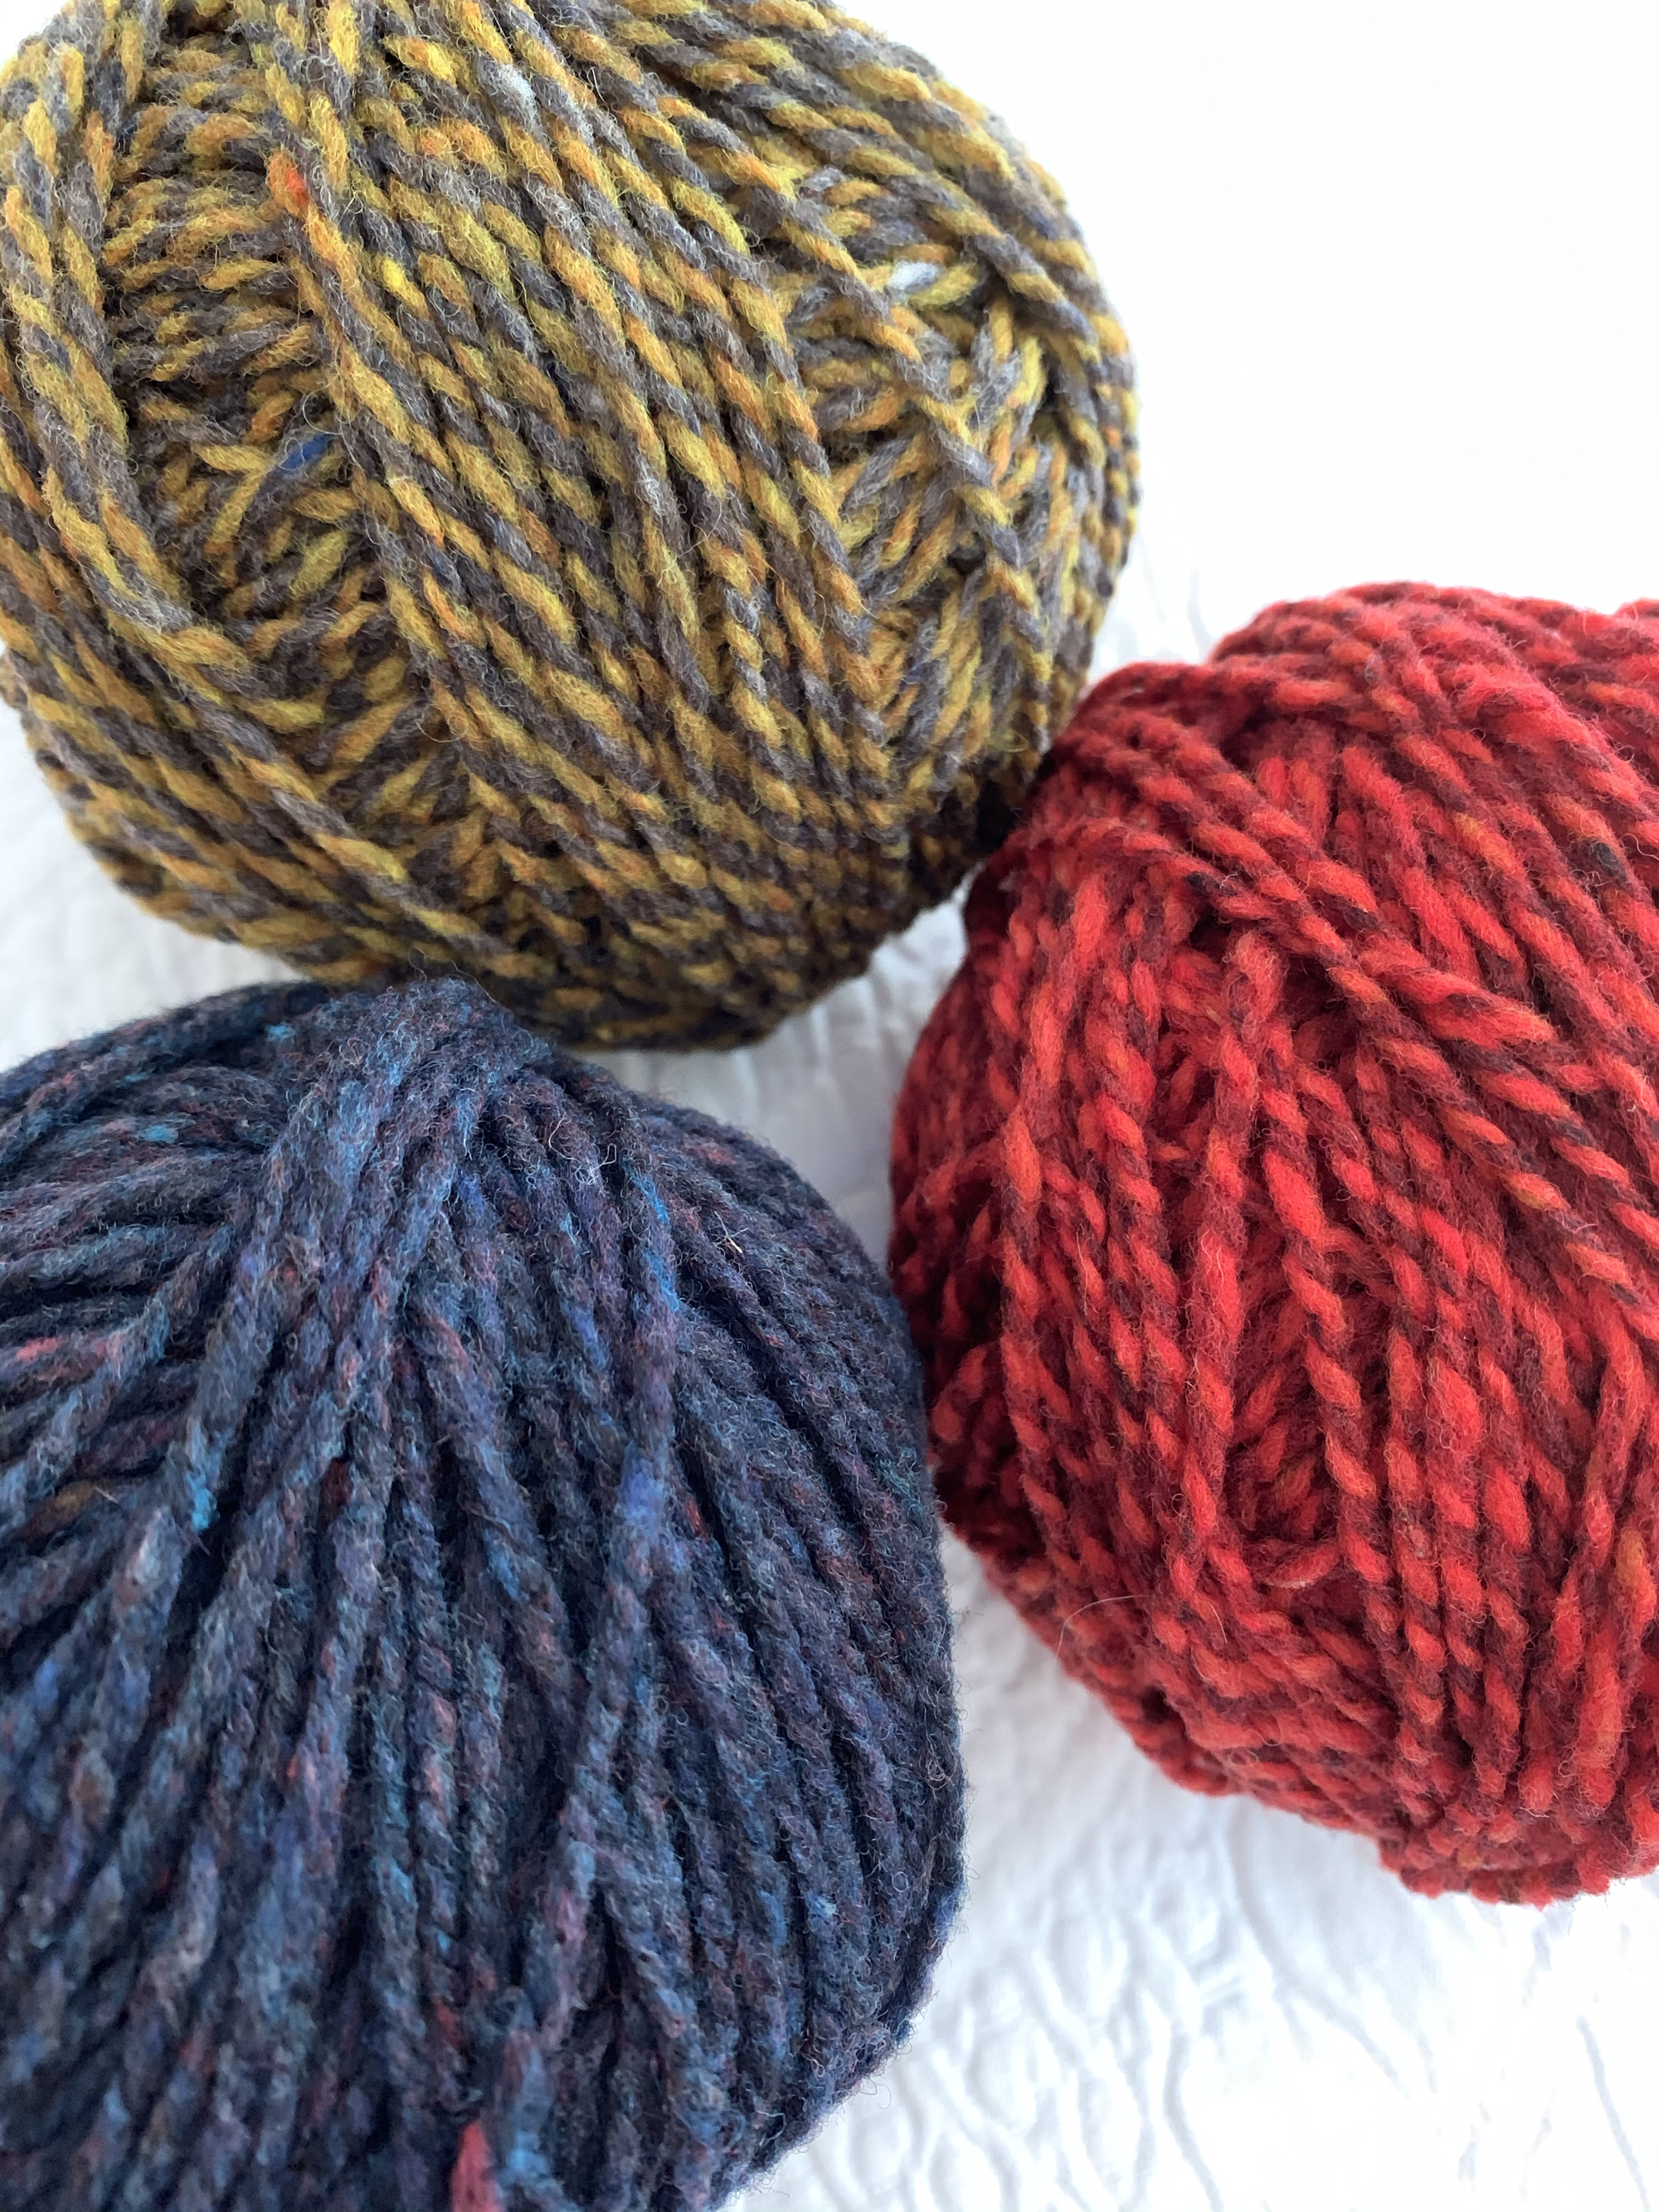
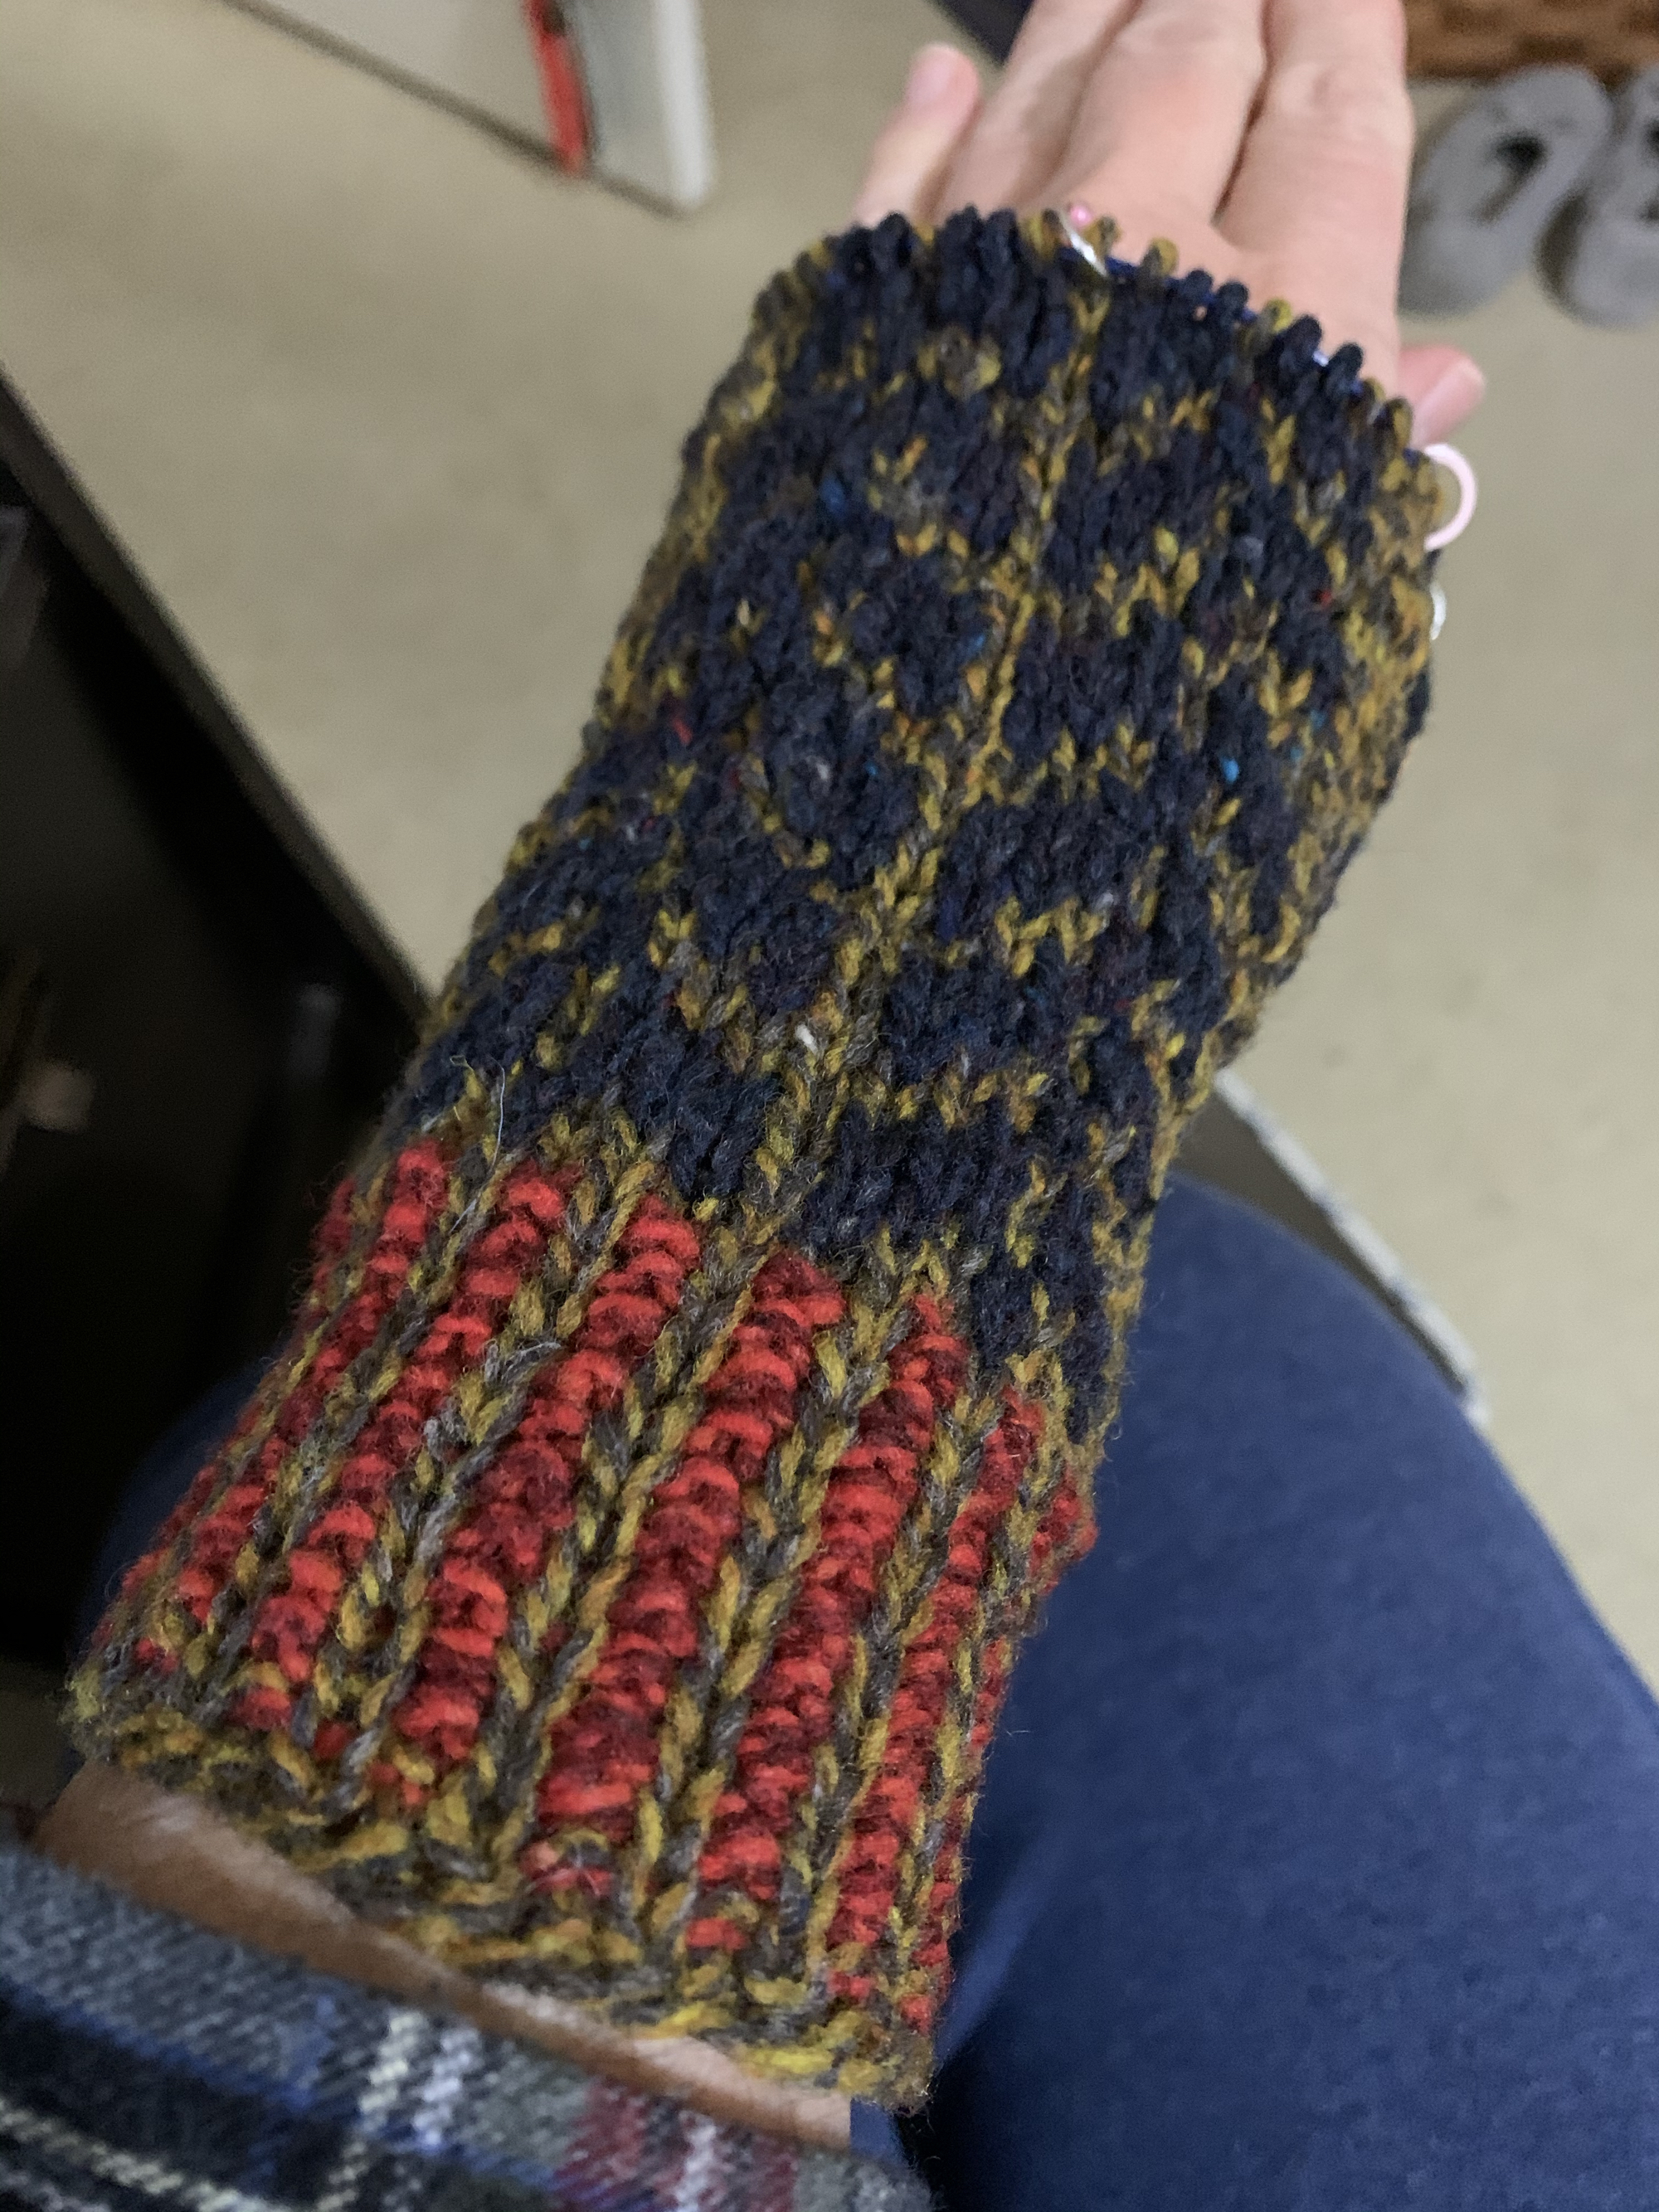
The yarn I used was Brooklyn Tweed Shelter in “Narwhal” color which is a marl of two colors twisted together. I bought 10 skeins and my size calls for 11 skeins, but I did squeak by with 10 – just barely. I prefer knitting with a lighter color yarn because my eyesight is not that great. Knitting in the evening is especially difficult. My knitting wish is that designers would print up their patterns in bolder, larger print.
A highlighter comes in handy to remind me of the pattern’s important information.

I read through the pattern and will have to learn the new increase mentioned when the time comes. I love to try new things and I think this pattern will be just challenging enough in places to keep me happy. Also, lots of the knitting is simply round and round (sleeves) and back and forth, which I can do at night. I need this sweater for my trip to New Hampshire in March and I should have it done well ahead of that (*Nope- 3/1 I finished knitting – still needs buttons). Note: This is an easy pattern and would make a good first sweater. End project is large, will go down a sweater size next time.
End Results, Or Continue Down the Page
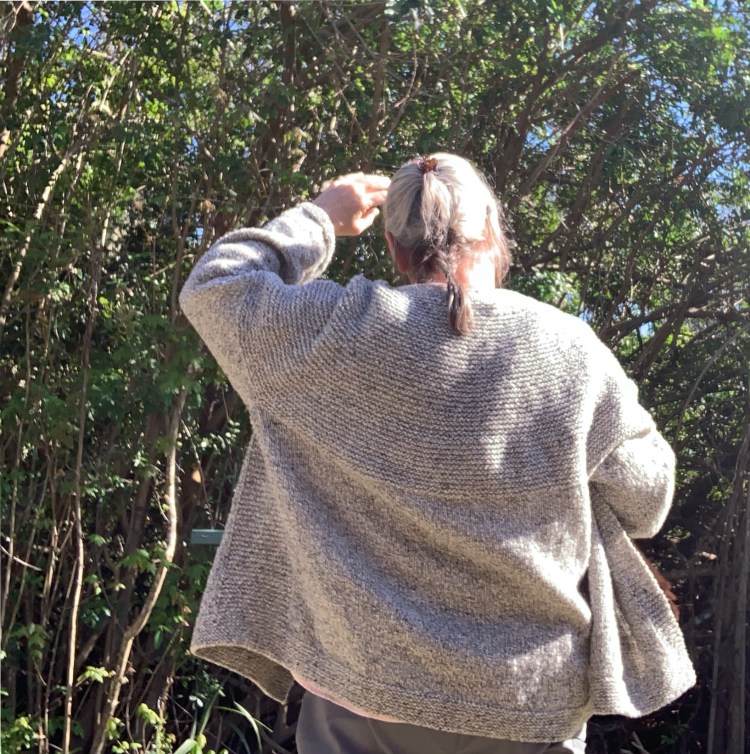
Please read on to see the notes I recorded while knitting this project. But, before the page got long, I wanted to comment on my finished garment. The Cobblestone Cardigan knitting is finished and the cardigan is very big. The neck had to be tightened up as it was very droopy. Doing that was a big improvement. Note: ***Don’t do a loose cast on! Also the sleeves are big around and droopy in the armpits. My gauge was right on, and I did go up a size, but it was a mistake. Now I am wondering if I should attempt to shrink it, or simply wear it around the house to be cozy. EXCEPT I live in Florida where I put a sweater on about five times a year. I’ve ordered some buttons from Etsy and will get more photos once I add them.

Beginning the Project: Cast On and Markers
I’m knitting the fourth size in the pattern although I expect it to be a little large (*Yes, this was a mistake!). I’d rather that than too tight. I cast on using the German Twisted / Old Norwegian cast-on (*Also a mistake – Do a regular cast-on, or the pattern recommendation, or the neck will be too loose!).
I placed a marker to remind me of the right side of the project. Whenever that blue marker is on my right when beginning a row, I am on the right side. I also placed a marker to show the first buttonhole.
Note: Count the stitches whenever the stitch count for the row is given!

Placing The Buttonholes
I wanted the buttonholes on the right side front (when wearing) and making that pattern change was easy – there is a note in the pattern for making the change. Without a yarn shop / button seller nearby, I’m forced to search online for my buttons and it’s hard to find them online in the right size but I did find some to order from Etsy.

Every time I knit a the hole for a button, I place a marker so it can be seen easily. Then I am knitting 12 ridges between buttonholes.
Moods Fabric has a chart that shows button sizes in inches / mm and ligne.
Learning a New (and Easy) Increase
The Raised Right Increase (RRI) in the Cobblestone pattern was something I had not done before. I found it to be a very easy increase to knit. I’ve done the yarn over increase, knit front and back increase, and the right / left lifted increases.
The RRI reminds me of knitting in the round with colors or stripes and creating the jogless knit stitch at the beginning of the round, except the stitches are not knit together. This is an increase stitch so it is creating an extra stitch by lifting a stitch from the previous row. The pattern provides detailed directions for doing this stitch. Note: Remember that the RRI includes a knit stitch so when the pattern says, “RRI and knit 2” you will be knitting 3 stitches total.…!
In case you want to know some variations on making a knit stitch increase, the Interweave site has a list of Six Essential Increases Every Knitter Should Know. I admit that I do not know them all!
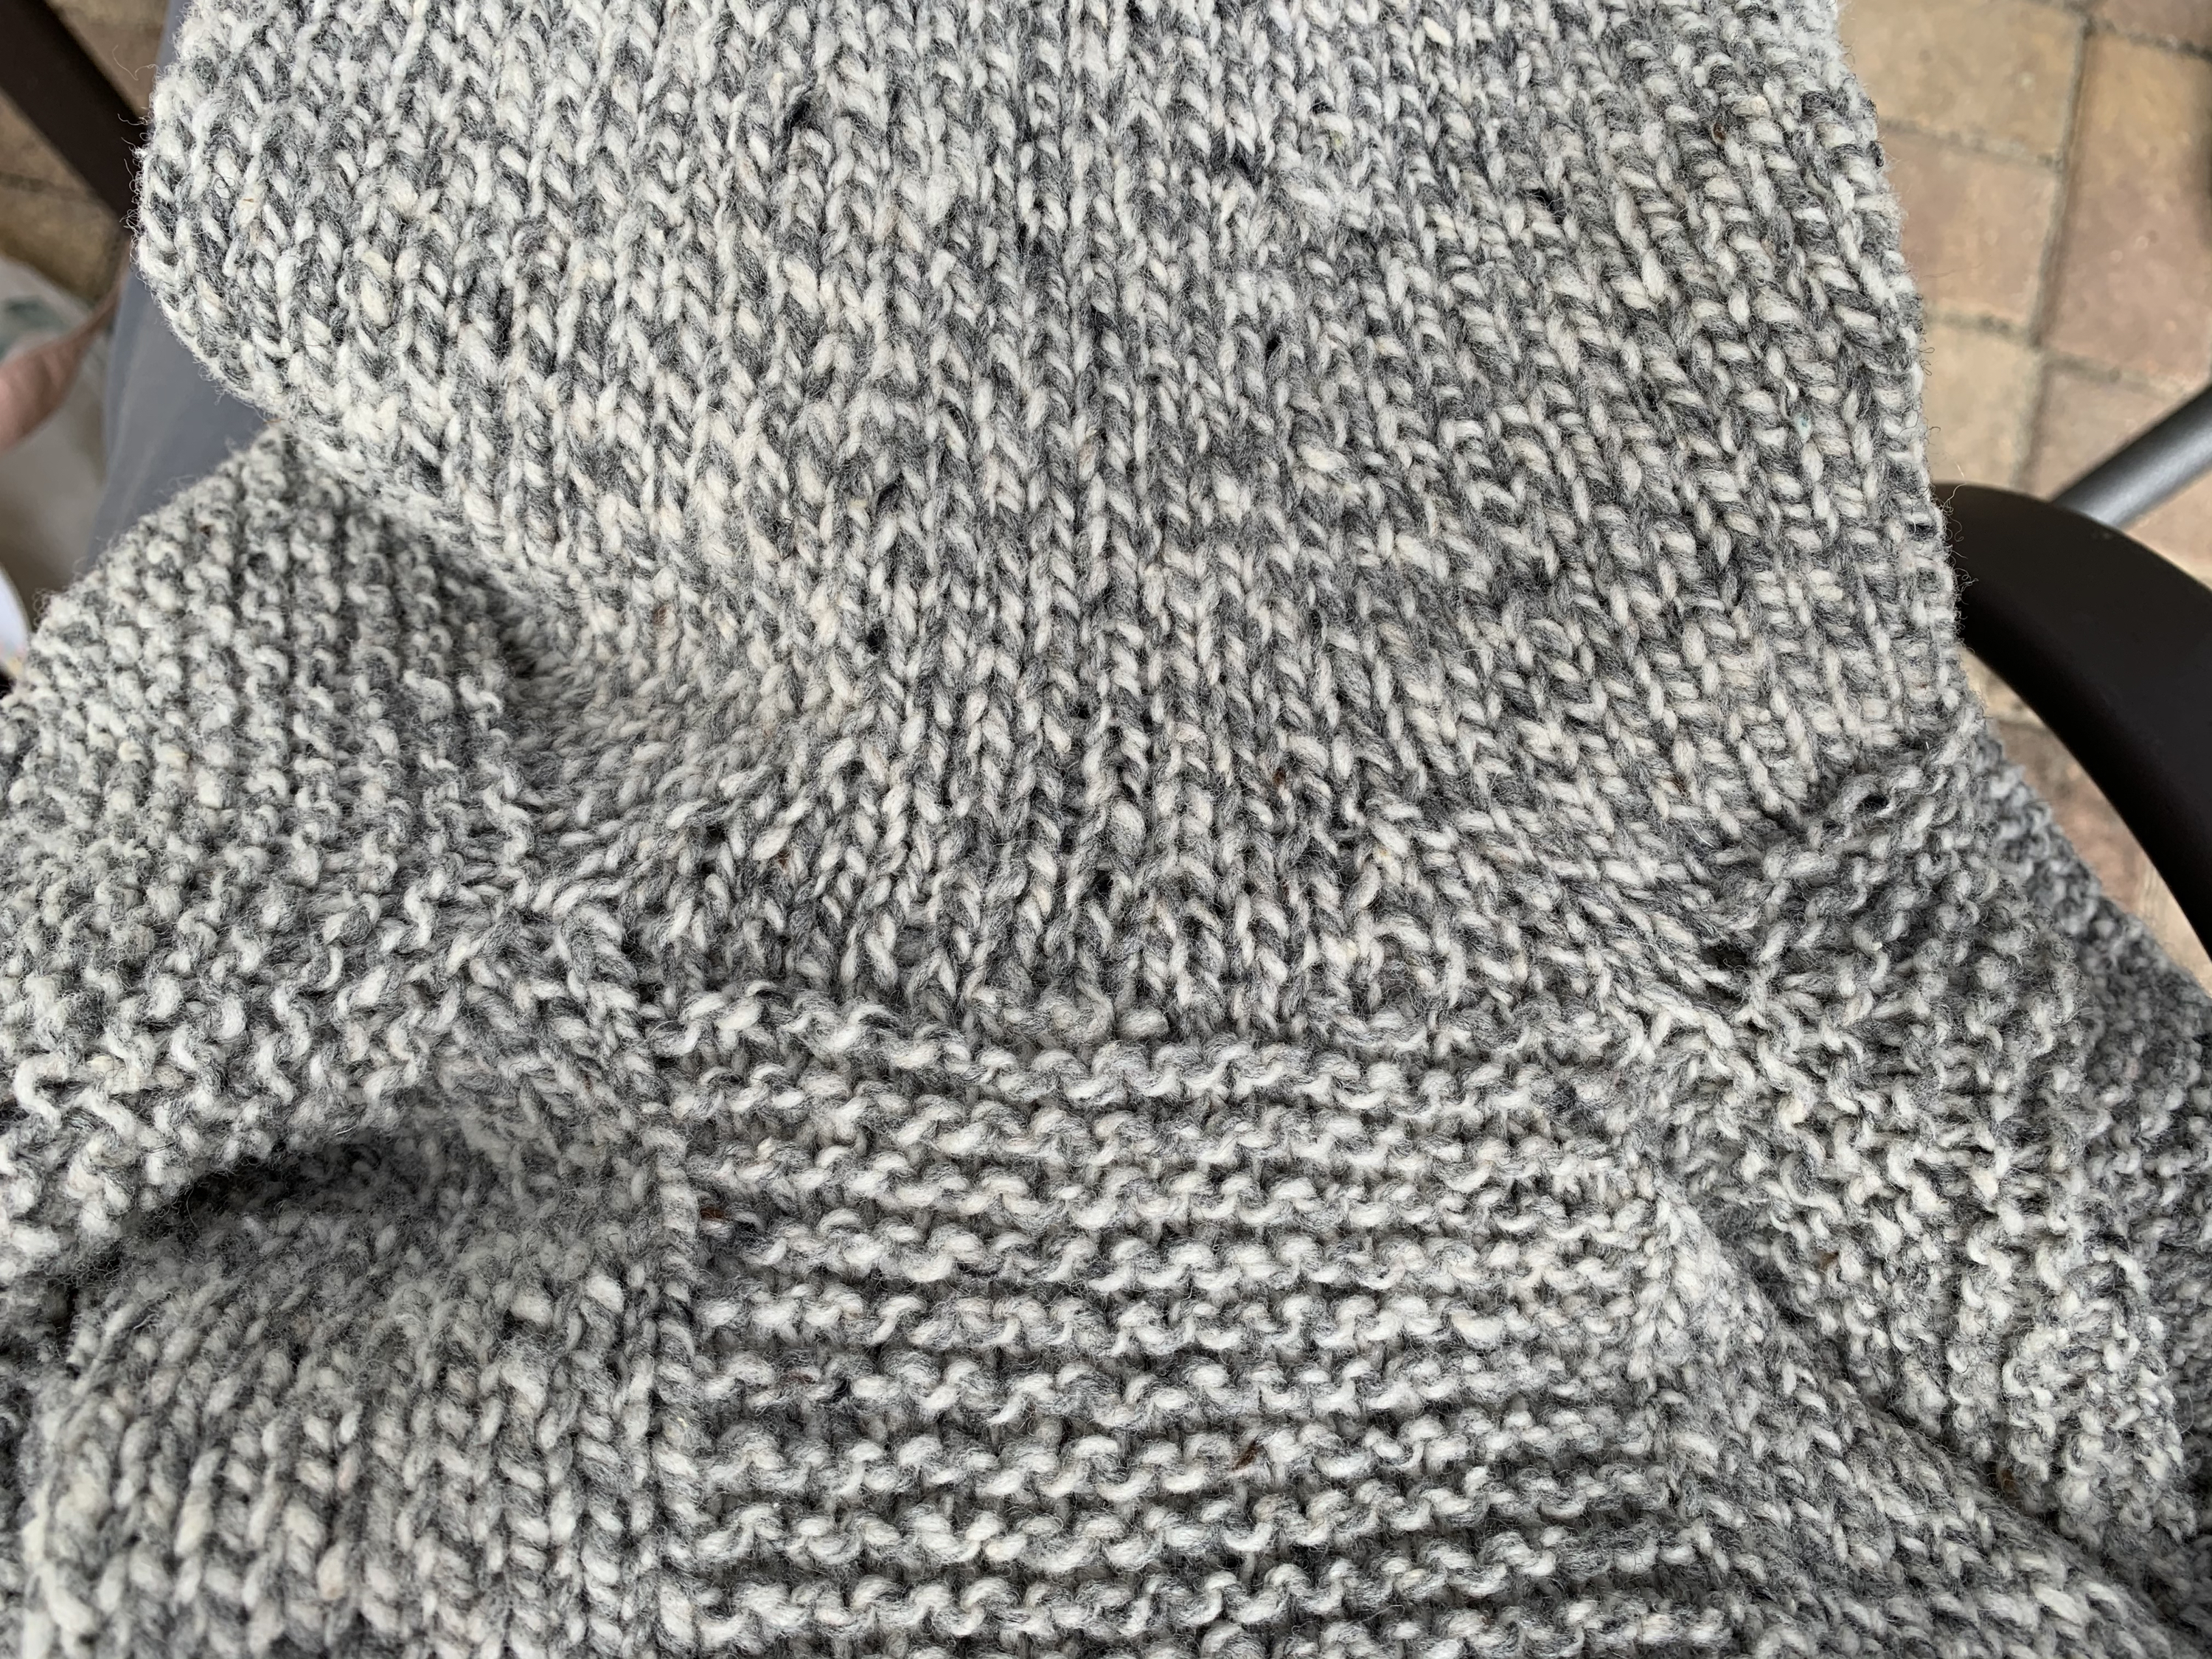
Knitting the Body of the Sweater
It is February 6th and there is not much to say here except to watch for buttonhole placement as I knit. (*I ended up not really liking the long garter stitch area of this sweater. I think I would shorten that up if I ever knit this again. It makes the shoulders / top of arms look bulky.)
Somehow cats know just when to show up and get into the photo, don’t they?

End of February and On To Knitting The Sleeves
Because I am one skein short of the recommended amount of yarn, I will begin the first sleeve with a new skein of yarn. Once I see how far I get, I will use up the remaining 1/2 of the ball leftover from the body of the sweater.
Stitches on hold were put onto a 16 inch circular needle. Using a wooden DPN, I began picking up stitches from the underarm and divided all stitches for the sleeve to fit four DPNs (19-20 stitches on each needle). After the stitches were picked up, I used the 16 inch circular needle to knit down the sleeve until close to the end when I changed to DPNs at the cuff – the sleeves are WIDE. *I reduced the number of rows before each decrease row. For my size I was to decrease on every 8th row, and I did it on row 7. After the decreases, the sleeves were about long enough, so I stopped knitting and did the cuff – change to the smaller needle.


Don’t forget to change to size B (6) needles to do the garter stitch cuff! I forgot on this first sleeve so I ripped the first cuff out and re-knit using the smaller, size 6 needles. I had enough gray yarn to finish up both sleeves correctly.
The underarm seam on my first sleeve looks really good! Because the stitches are picked up in the center of the underarm, leave a longer than usual tail to close up any holes at the edges. I did pick up a few extra stitches and then decreased back to the normal count.
The knitting is finished. I squeaked by with my ten skeins of yarn, but I would suggest buying the eleven skeins suggested. I shortened up the body a little and also the sleeves. If you need extra sleeve and body length, you will definitely need 11 skeins! The sweater, before washing, seems very large – and stayed large. The neck is loose, so I hope that blocking will help tighten it all up. *I had to pick up stitches around the neck to tighten it up and did a regular, rather tight bind-off with the smaller size needle.

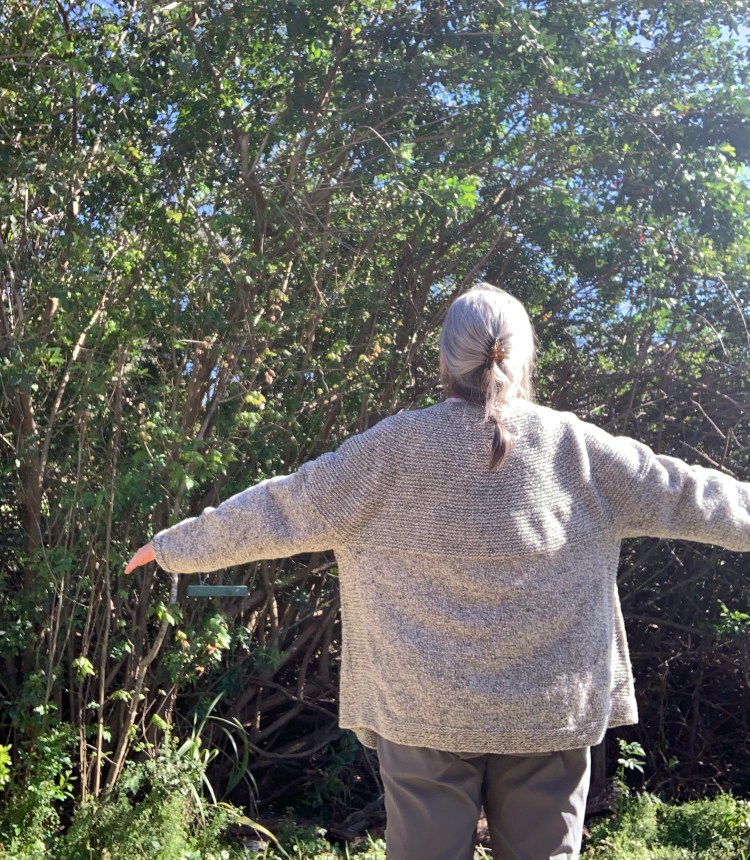


Knitting the Cobblestone Cardigan was fun, except that I put a time limit on myself due to my travel plans. The pattern is perfect for any beginner sweater knitter. Overall, I love the body and trim, with garter down the sides. I’m not as thrilled with the puffy shoulder area and big, wide sleeves. The neck was too wide and droopy, but mainly because of my cast-on choice – I think. A tighter neckline pulls the sweater up more and looks better.
Buttons came from TrimGem at Etsy. I ordered some black and gray and chose the gray which I think work nicely.

Recent Blog Posts


Something went wrong. Please refresh the page and/or try again.