
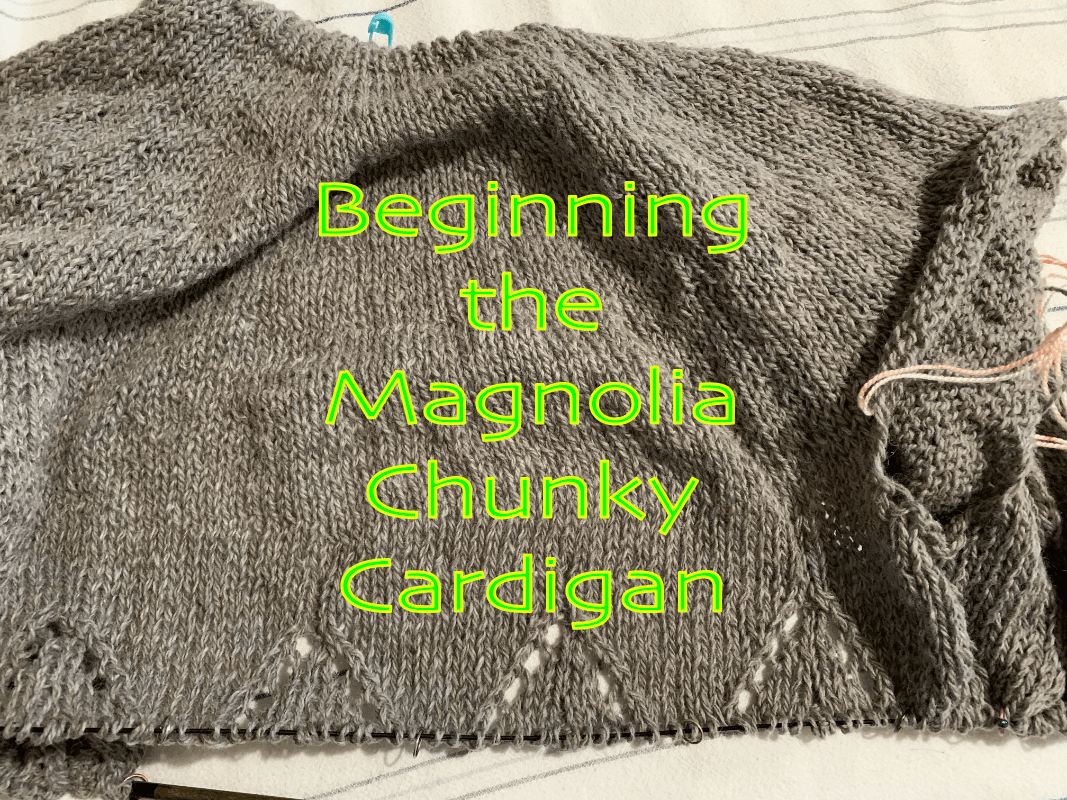
This is such a pretty cardigan, with lace at the bottom of the body and sleeves. The Magnolia Chunky Cardigan (Ravelry page) is a design by Camilla Vad. Although “chunky” is in the name, it is knit with a worsted weight yarn, or a combination of yarns held together that equal a worsted weight. The finished sweaters on her Ravelry page (link above) are so beautiful.
This button up sweater is shorter, with a boxy shape and 3/4 sleeves. Many knitters have lengthened it and knit long sleeves as well. Usually, I like a longer sweater, but this one is quite pretty as is. Personally, I like the way it is meant to be, so I will probably follow the pattern as written. Don’t hold me to it….:)
Heads Up
This is not a beginner pattern. It includes lace, which means yarn-overs done correctly. It includes bobbles (new to me), increases, knitting and purling through the back loop. There is a button band, or one with buttonholes. You should have experience with most of these things to complete this pattern.
The Yarn I Chose
Harrisville Designs Highland Wool, on a cone, is the yarn I chose for this cardigan. It is worsted weight, in the color Suede. The light gray yarn has a bit of brown in it, but the color is very neutral. Each cone contains 450 yards, and I have three cones. The yarn came from my stash, but I love the color for this project.

This yarn is awesome. I love wool, and it is strong and consistent. There are knots, but they splice nicely.
This one can be a little tricky
Almost as soon as I began the sweater project, I had some trouble.
With this pattern, for whatever reason, some things could have been made much clearer. Thankfully for me, I am late to the party, and over 2,000 cardigans have already been knit from this pattern…. so it is popular! I want to thank the knitters who kindly shared helpful notes on their Ravelry pages.
Edge Stitches
This seems to be the biggest problem knitters have with this pattern: Edge stitches. At times they are included in the line by line directions, but not always. More about that in the “yoke increases” section below. But first…
The First Wonky Thing
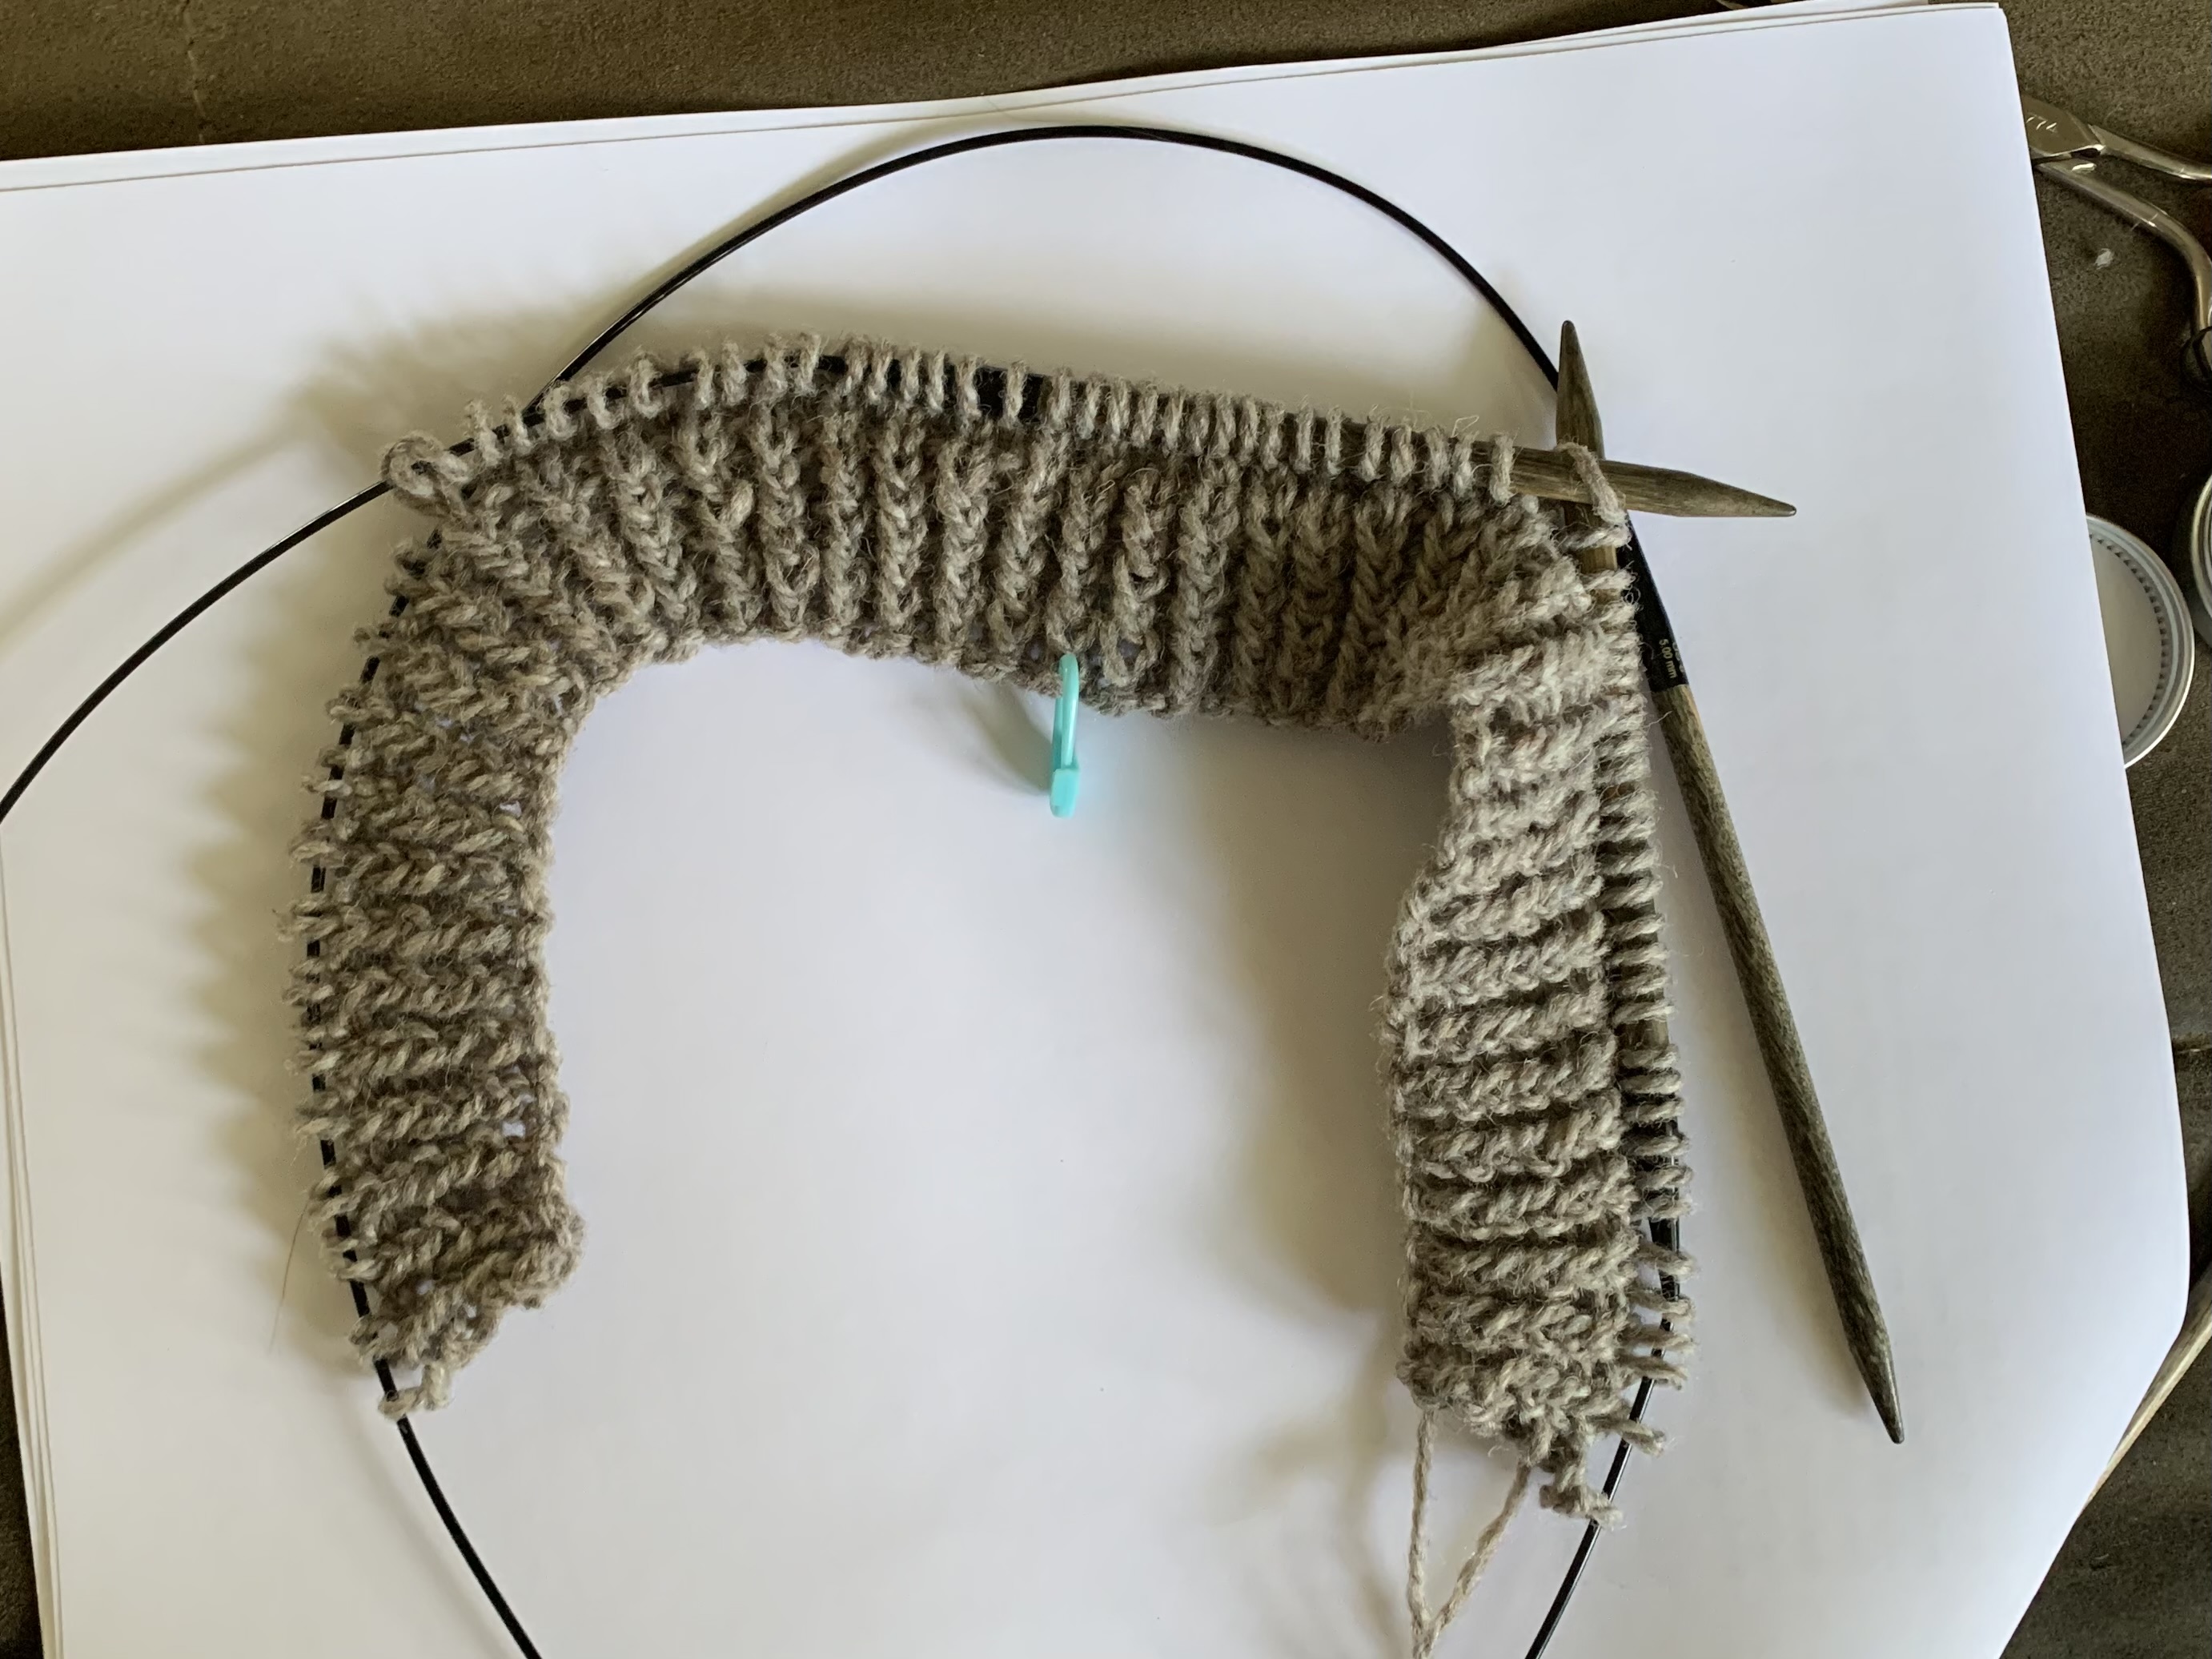
The cast on and twisted rib neckline are done on smaller needles. Once the rib is complete, you simultaneously switch to a bigger needle while also beginning short rows.
If you are familiar with how short rows are done, you will know that a short row is just that – it stops short of the entire row, and then turns to knit back (or purl back) the opposite way. Knitting goes back and forth like this to lengthen the back part of the sweater so it will fit correctly. It is needed. You will be working off two different size needles until all the short rows are complete.
When I got to the “turn” I mistakenly picked up the smaller needle to knit because it was there! I had to rip back and use the larger needle while letting the stitches on the smaller needle just hang there. This was very odd, but worked out fine when I paid attention!
When expanding past each turn, just knit those few stitches off the small needle. And remember to pick up the larger needle as you knit, or purl, back.

Yoke Increases
The designer makes a note at the beginning about making sure we don’t stagger the yoke increases. They should line up over one another. Each knitter must figure out how to space their set of increases. For the size Large sweater, which I am knitting, 11 evenly spaced increases must be figured.
I THINK that the trick here is to not include 2 stitches (the edge stitches) when dividing up the number of stitches for increases. Now that I’ve passed that part of the pattern, I can’t be sure. Next time I would try that.
I used Mimi Codd’s Knitulator to figure my stitch increases. I divided up the total number of stitches. I should have reduced that number by 2 (for the uncounted edge stitches).
This threw off my subsequent rows. Things did not match up to the pattern, but I marked the increase locations and kept my increases lined up – even though they were not exactly where it seemed they should be. All my stitch counts were correct.

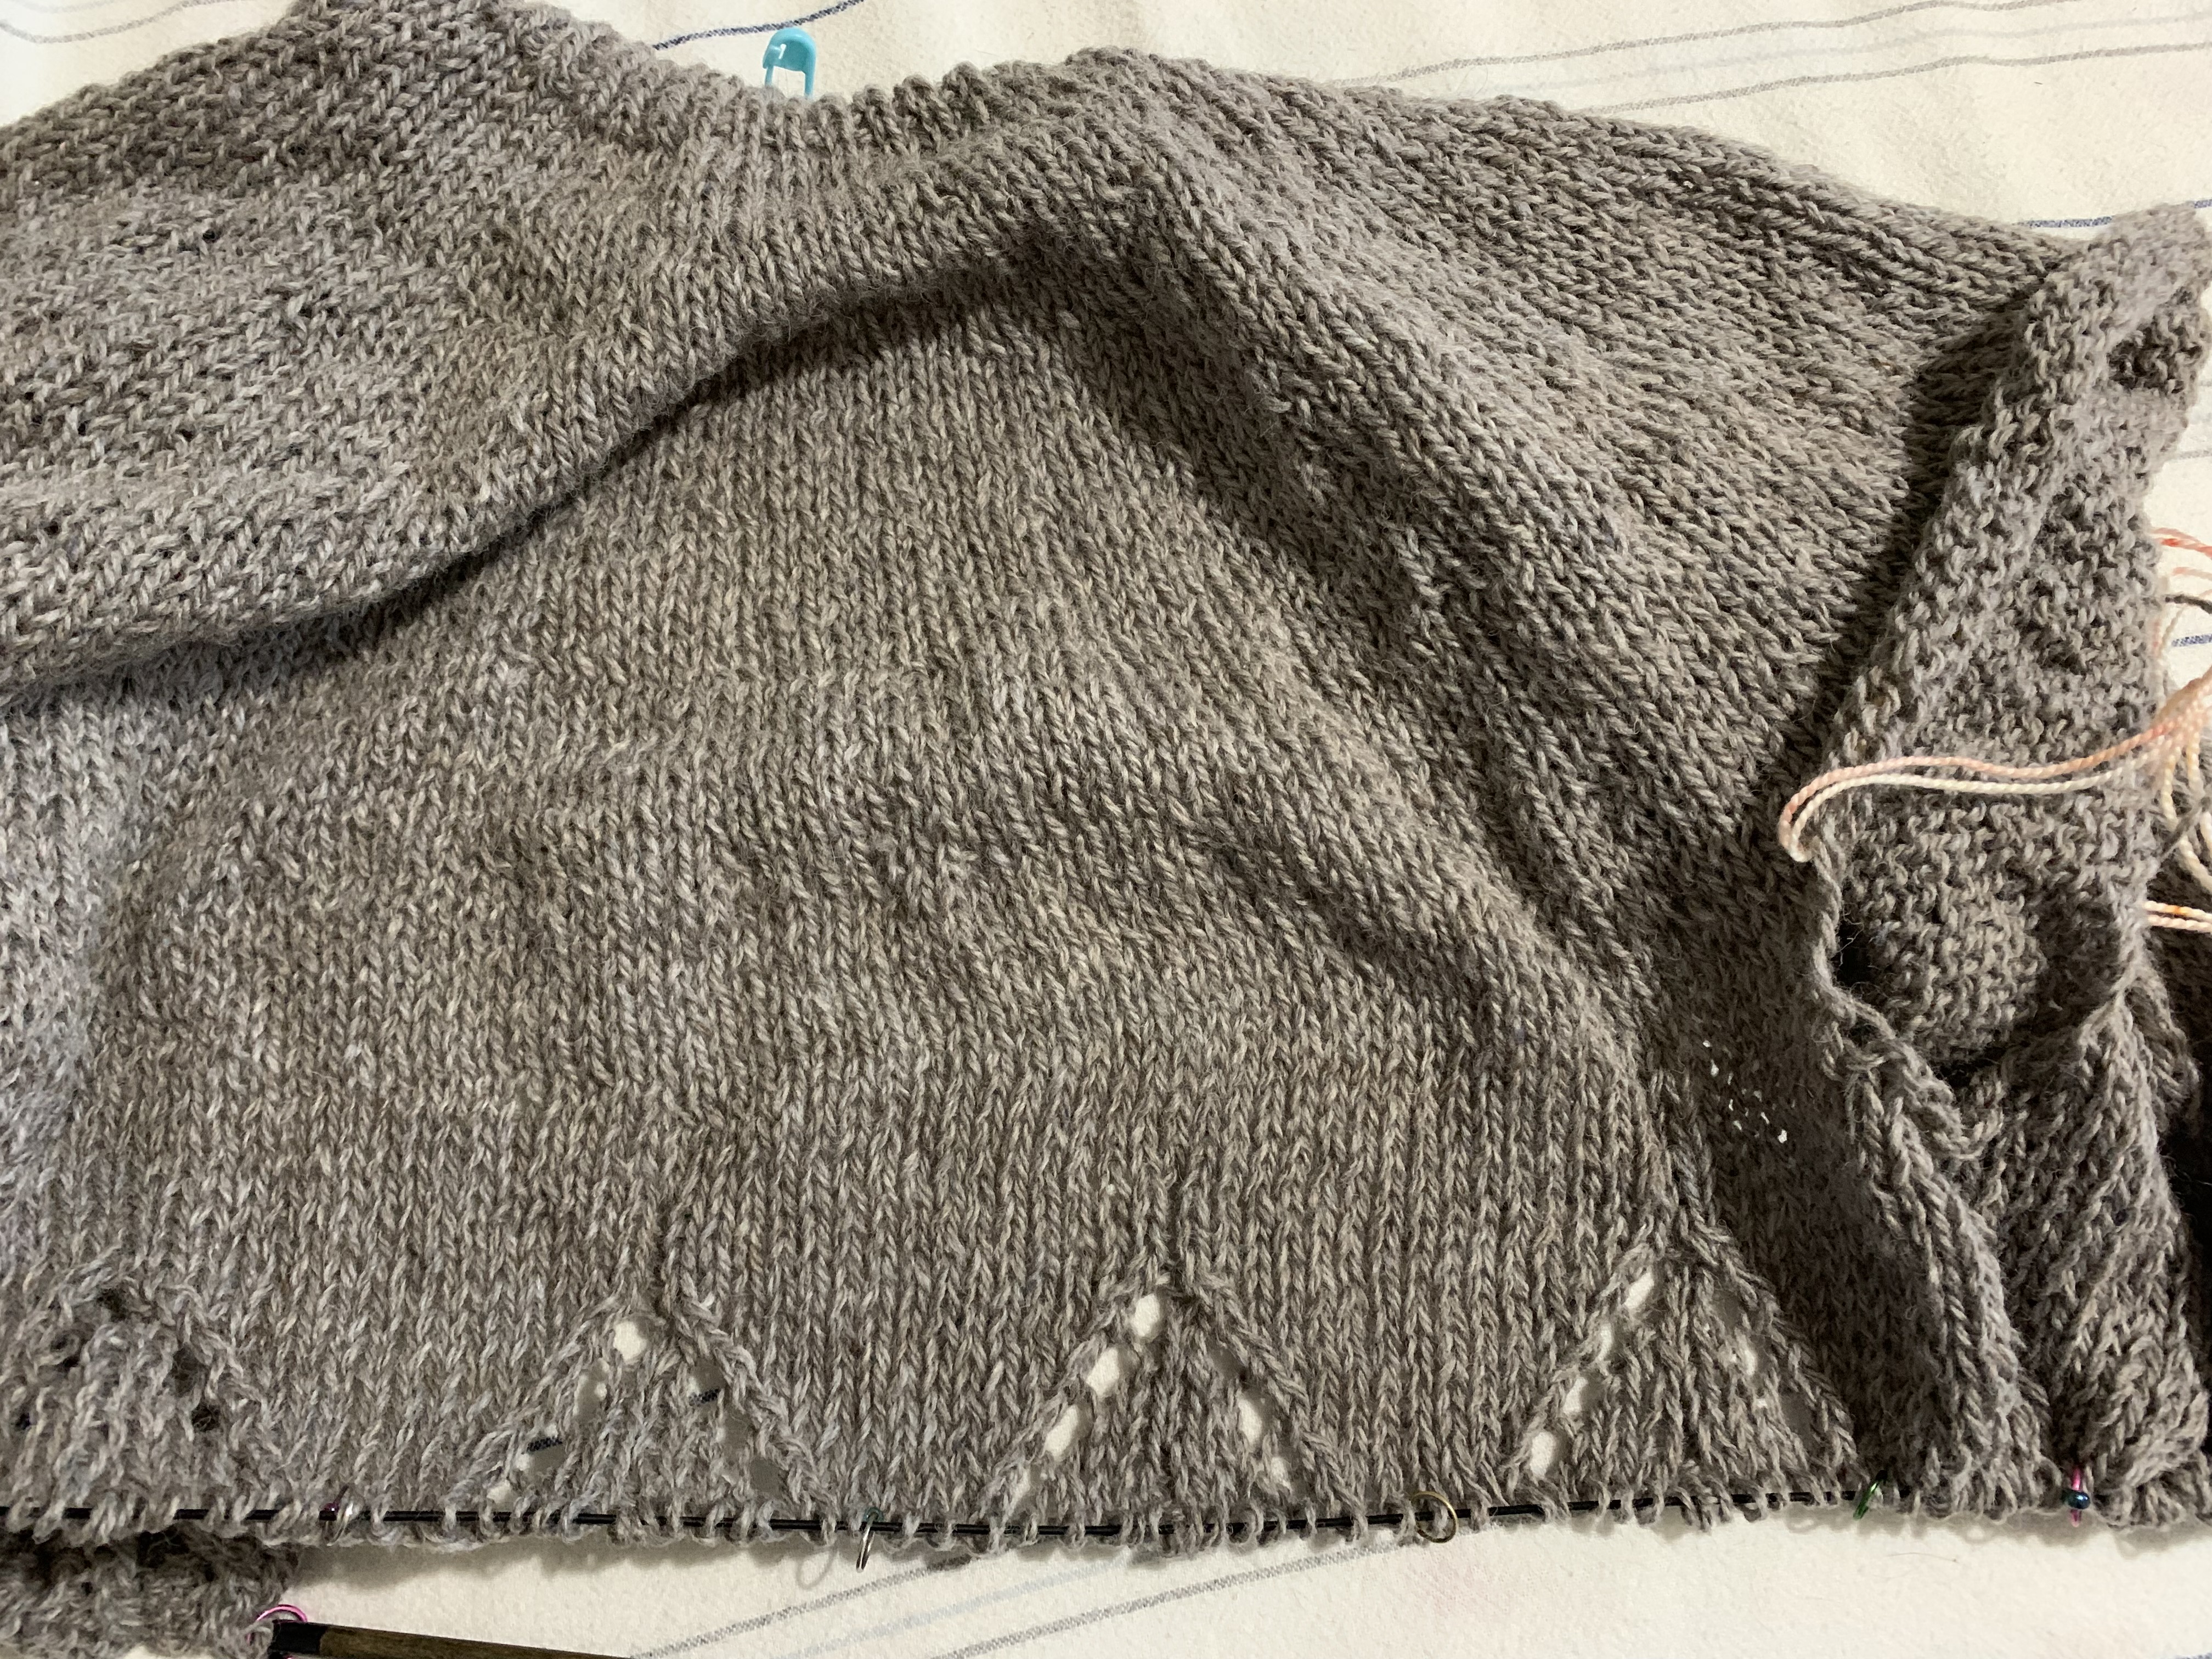
The Lace and bobble making
If you follow the pattern, the lace section will begin right after the body and sleeve separation. I knit a few extra rows here before beginning the lace. This is a good place to add length to the body, if you want it.
The pattern has some stitches that do not show up in the lace chart, or the lace written directions (the pattern has both). These stitches are mentioned before beginning the lace section. We simply must remember to add them when we knit, or purl, each row. The best way to do that is to use stitch markers.
Place one marker after the first stitch on the right side, and one just before the last two stitches. Also mark off each section for the lace repeats.
I’m following the written out lace pattern. I rarely knit lace, and when I do, I usually have trouble. Those darn yarn overs get me every time!

Those end stitches will remain knits – except for the extra one. Refer to the directions for changes to it.
Nupps or Bobbles – Swatching for Practice
I’ve never done a knitted bobble, but this pattern has something called nupps. They look like little knitting bobbles.
Before trying my hand at bobble making on my sweater, I decided to practice on a swatch. I practiced making the bobbles shown in this video. She goes a little fast, but it’s easy to pause and catch up.
To practice my bobbles and nupps, I knit a couple of swatches. I had a hard time at first with the pattern nupps. They are easy to do, but didn’t look very good.
Image below: Nupps tan swatch, and bobbles gray (many mess ups).

A bobble is fairly easy to unravel FYI, just in case it looks really awful.
My question is this, will the bobbles be too large compared to the nupps? Maybe I can find a nupp video. YAY… Mostly Knitting has a good Nupp making video which you can watch here.
To Be Continued
The directions for this sweater are actually pretty good. It’s just that you have to be careful and go back and reference particular rows and stitches. I’m grateful that all the lace rows are also written out! I’m not good at reading charts.
Now, I am going to finish the lace and ribbing and then start the sleeves. If I come across any other tricky directions, I’ll be sure to share. And if anyone who has already knit this sweater wants to chime in, please do so in the comments and help us out.
By the way, Camilla Vad has other beautiful sweater patterns. Her pullover, Magnolia Bloom, contains this same lace pattern, but it’s on the yoke. I have already knit the immensely popular Field Sweater.

More knitting stories here…


Something went wrong. Please refresh the page and/or try again.

